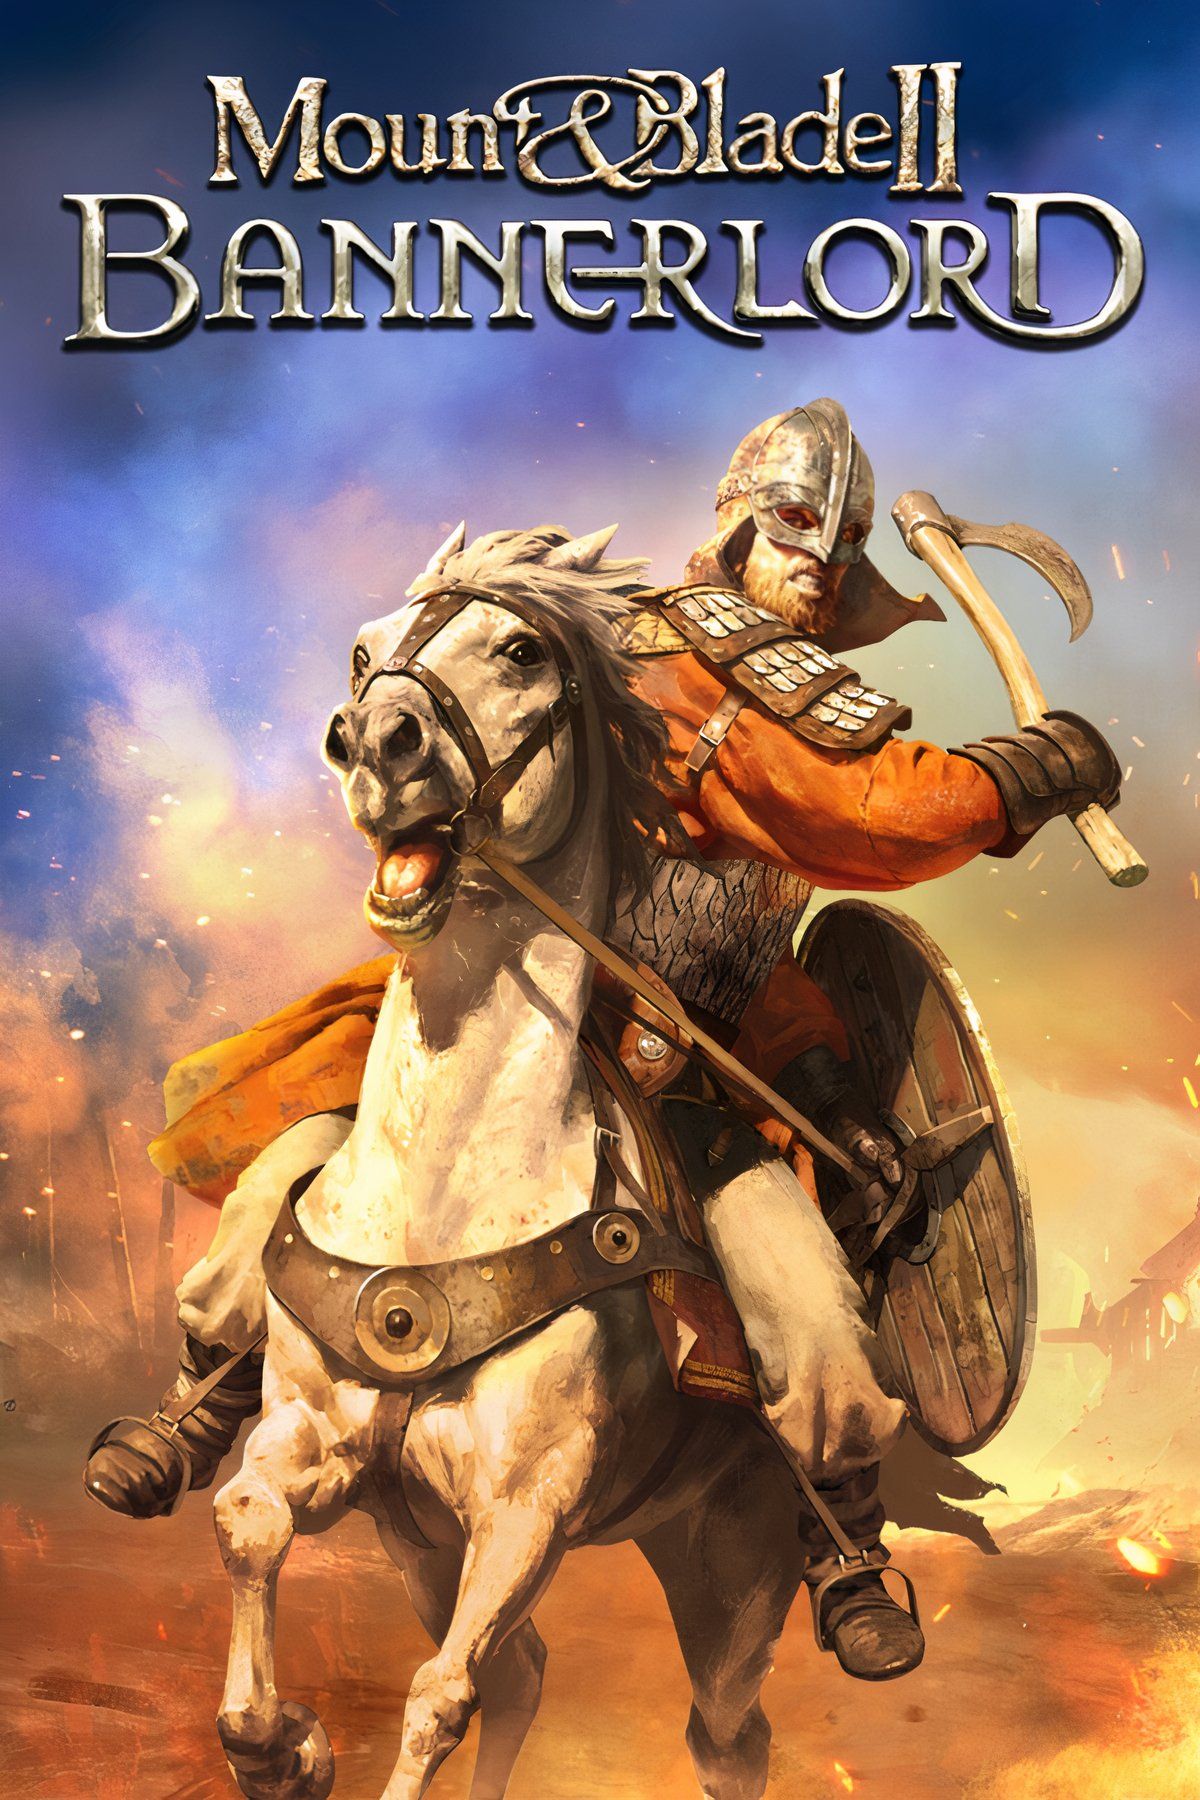
Mount & Blade 2: Bannerlord allows players to rise through the ranks, from little more than a peasant with a pitchfork to the crowned sovereign of a new Calradic Empire. Along that journey, the player will expand their lands by taking control of fiefs – the most powerful of which are towns. Being the owner of a town lets you choose how it’s governed, who’s in charge, and the general prosperity of the region.
Whether holding a town as a vassal to one of Calradia’s many factions or using it to forge an independent kingdom of their own, the player should make sure to choose their base of operations wisely. No matter what banner you’re under, enemies will come to try and take your fiefs immediately after making it your own. Here are some of the best towns to control in Mount & Blade 2: Bannerlord.
Updated On January 19th, 2025: Getting a fief is only the first step to making it beneficial to your kingdom. This article has been updated to include more information on Cultures when picking your governor to make sure you match up the right companions with the right towns to get the most out of both. Having the wrong governor can set up a town for unavoidable failure.

Related
How To Get Workshops In Mount & Blade 2: Bannerlord
Workshops are easy ways to make more denars in Mount & Blade 2: Bannerlord; here’s how to buy one.
Culture & Picking Governors
The overall prosperity of a town is determined by a lot of smaller aspects of the town, such as how safe it is, the buildings being built, and the trade that happens with nearby towns. While there are a lot of potential things to worry about when growing a town, the most important is Loyalty, as the rest won’t grow without it. When picking the governor of a town, be sure to pick someone of the same Culture of the Town, otherwise, the Loyalty of that town will be very low. Next to the names of each town is the Culture of the town, so be sure to keep that in mind when picking your governors. The five cultures are:
- Empire
- Khuzait
- Vlandian
- Battanian
- Aserai
15
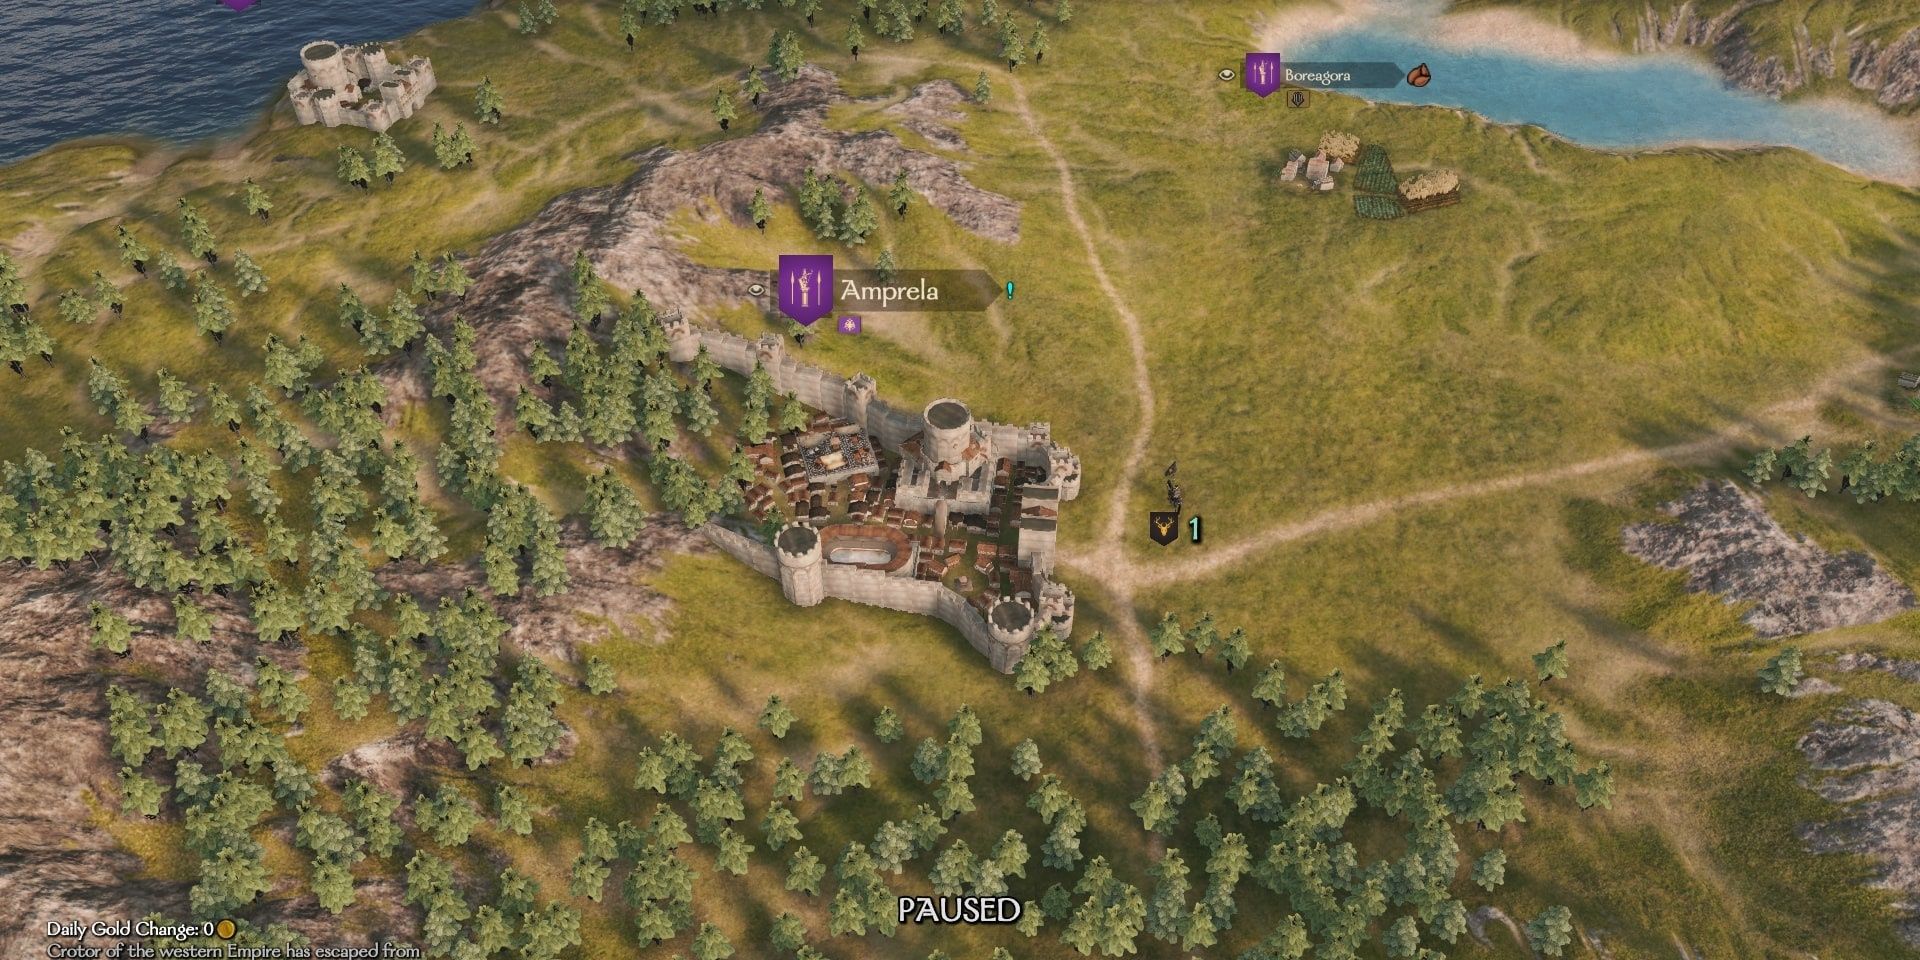
Amprela – Northern Empire
- Two Villages
- Strong military for or against Khuzait.
Another border town, Amprela is located on the very edge of the Northern Empire, close to Sturgian and Khuzait territory. It is well supplied, with three trade-bound fiefs, plenty of food, and some iron and hardwood for smithing.
Even though the Empire is split into three factions, any companion from the Empire culture can be a good governor for any Empire town.
While Amprela isn’t the safest town, most approaches require enemy armies to traverse bridges or narrow stretches of land that can be easily defended. A couple of castles also act as a buffer area, sometimes allowing Amprela to escape becoming the first target once war breaks out.
14
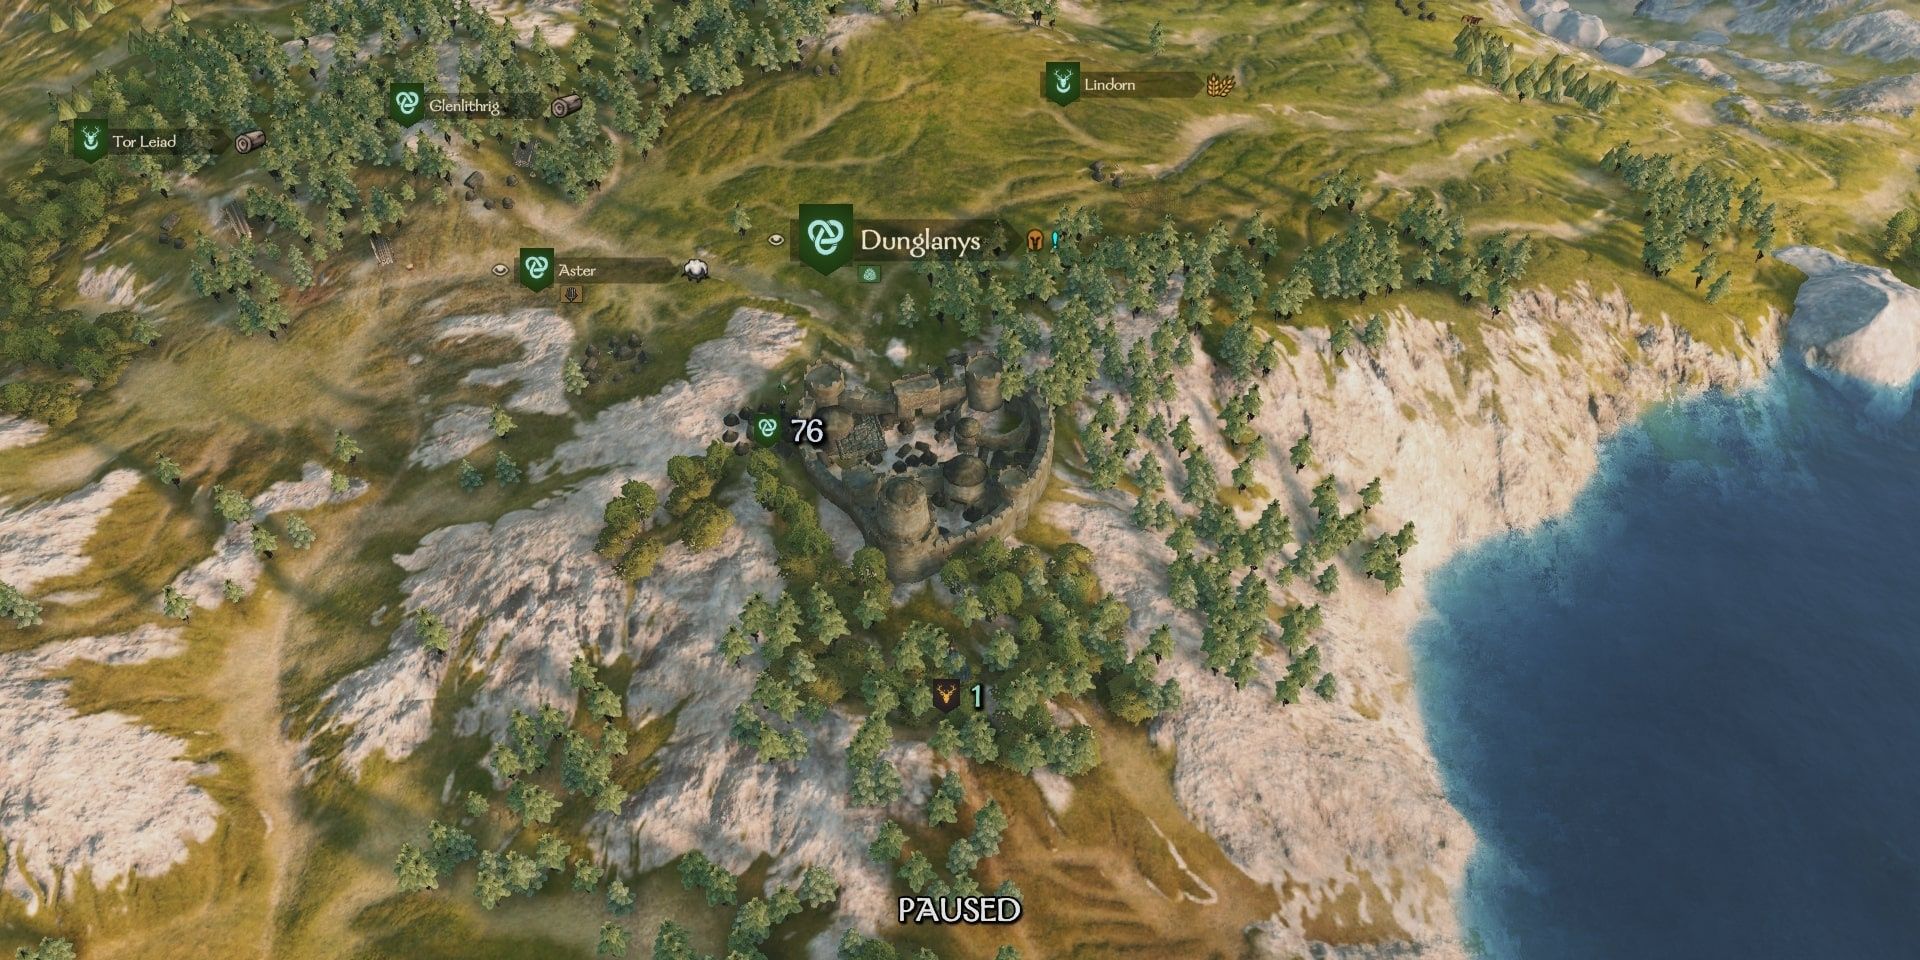
Dunglanys – Battania
- Three Villages
- Central for Battanian trade
With a decent starting prosperity of 4000, Dunglanys is located right in the heart of Battanian lands. As a result, it is fairly vulnerable to an attack but also benefits from a total of six trade-bound villages, including two grain and two grape-producing settlements that can keep the town well supplied.
Food should not be a problem for Dunglany,- and coupled with a narrow approach on either side, sieges are difficult to pull off. While the natural land keeps this location safe, you may want to consider extra caravans as the defense can lead to lower overall trade. Overall, a decent city to own and invest in.
13
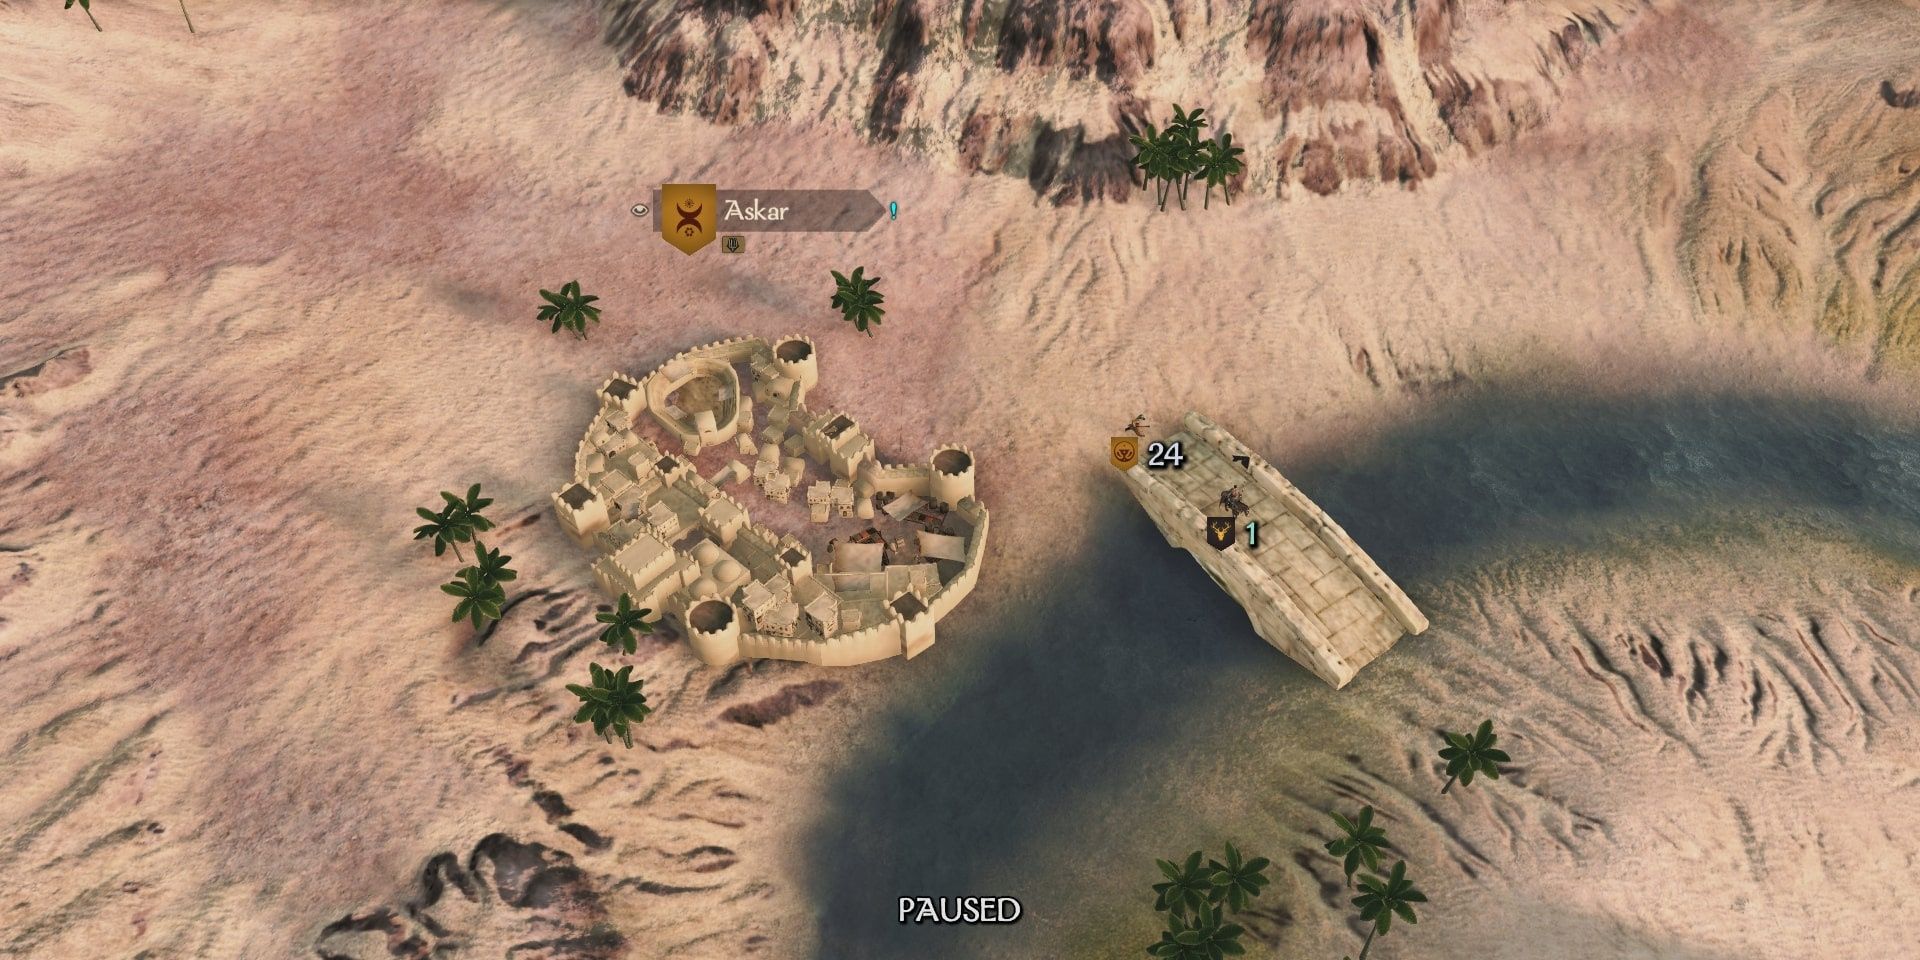
Askar – Aserai
- Three Villages
- Difficult to expand but difficult to take
Placed right in the middle of the southern desert, Askar is about as far away from any frontline that the player can get. That means it’s one of the safest settlements on the entire map, as enemy armies will rarely attack the city due to the sheer distance that needs to be covered to get there.
Related
Mount & Blade 2: Bannerlord – Tips & Tricks For Beginners
Mount & Blade 2: Bannerlord is a massive medieval sandbox for you to tell whatever story you want; here are some tips to get started.
Askar also has only one trade-bound village to it, with half of them producing food, meaning the town is not well-supplied and will easily run out in the event of a siege. The other downside is that it can be difficult for a start-up kingdom to expand due to the lack of nearby settlements.
12
Rovalt – Vlandia
- Two Villages
- Easy to defend
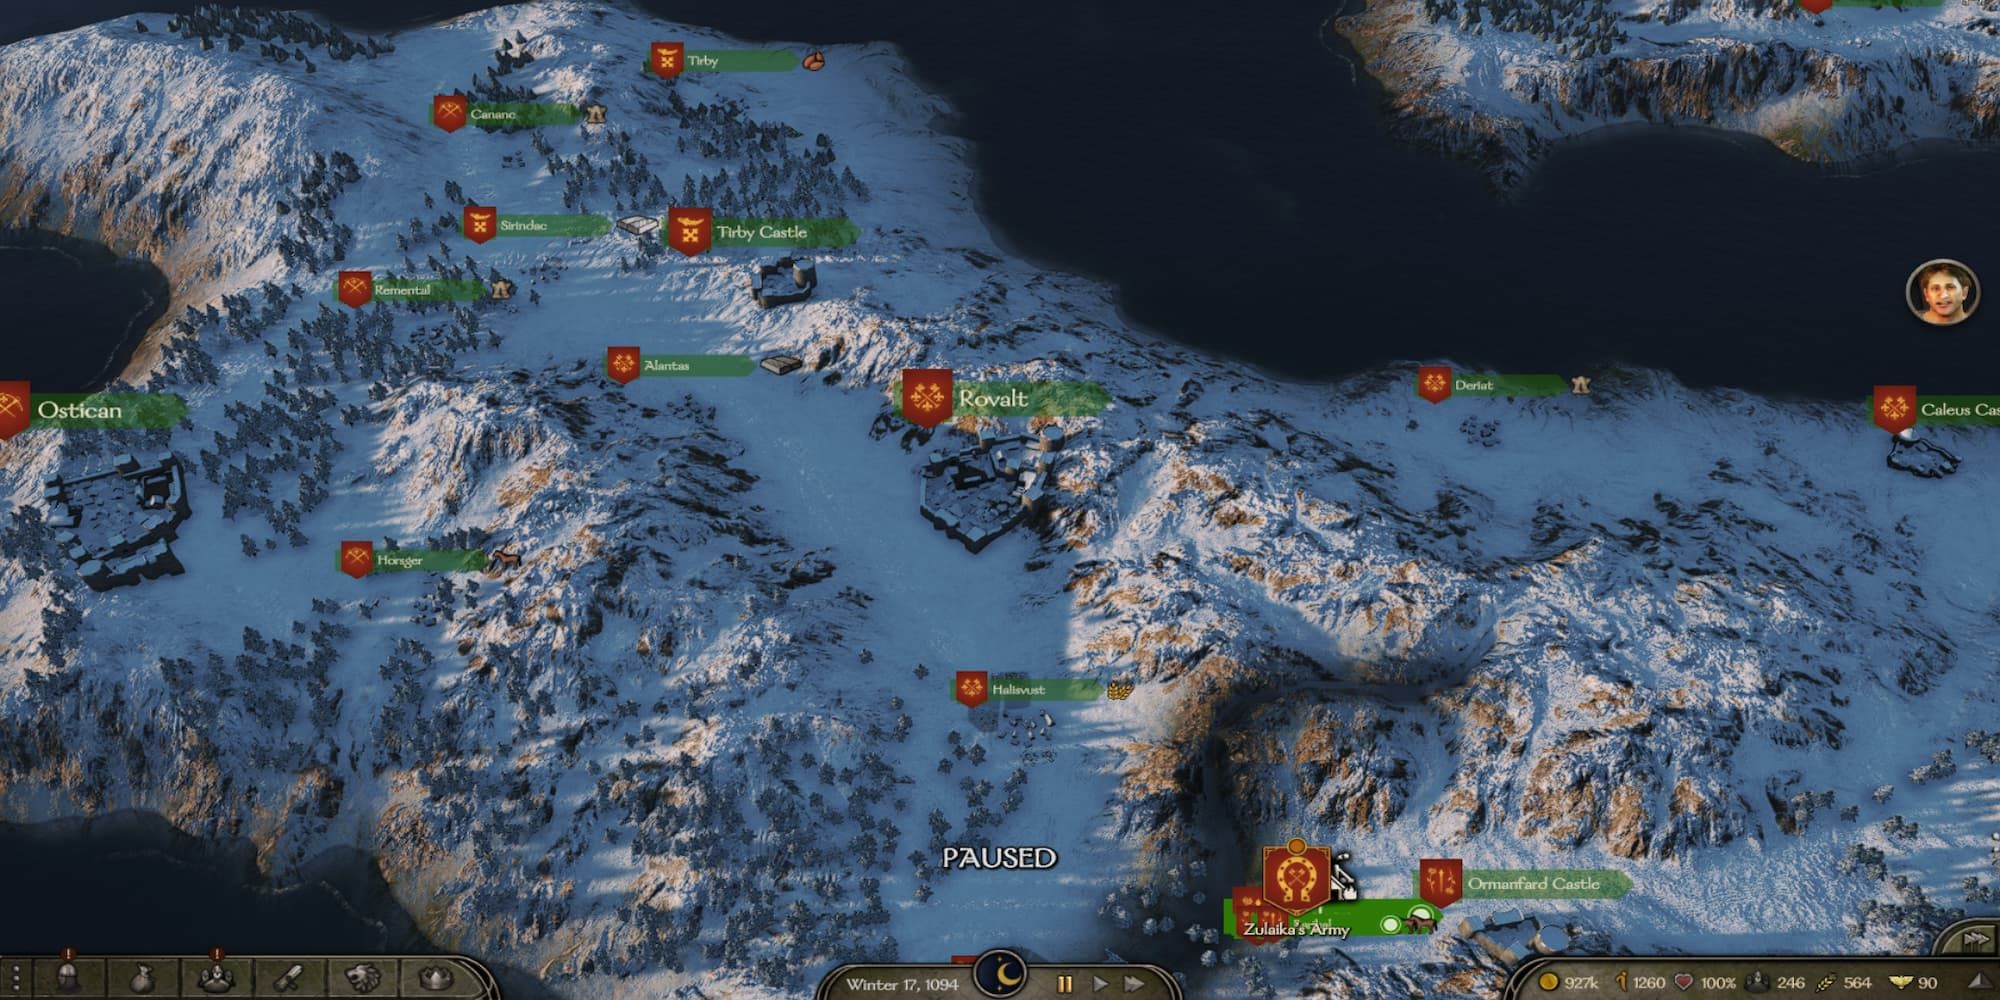
A common aspect of a fief players should take into account is how defensible it is. While Rovalt isn’t tucked away in the corner of the map, it is located at the beginning of a peninsula in the northwestern corner of the Vlandian kingdom.
If you are a part of the Vlandians, this fief is guaranteed to be safe. If you are not with them, taking this fief will cut off the one other fief on the peninsula, which can easily be taken out once this location is secured.
11
Revyl – Sturgia
- Two Villages
- Best defensive fief in the game
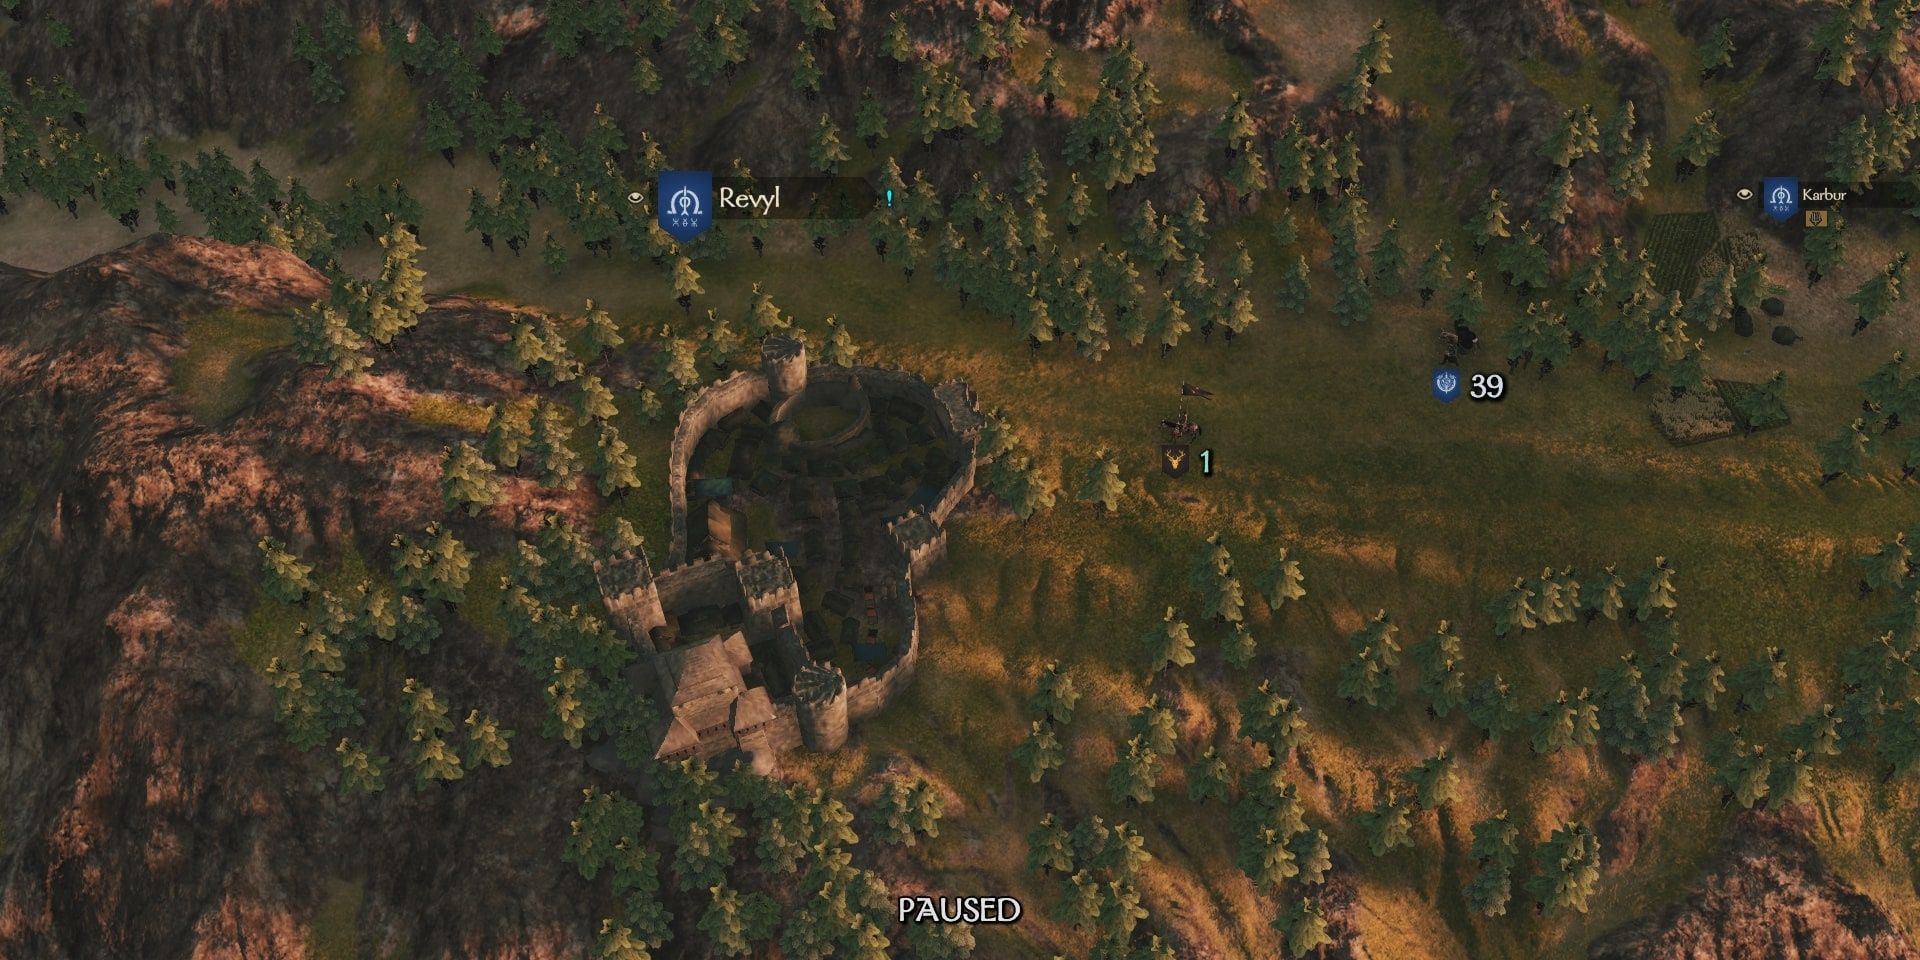
Another town in a great location, Revyl is perhaps the most defensible settlement in the game. It only has one way to approach it, a winding mountainous path that is even tighter than the area around Ostican.
Revyl also has a castle nearby, which is an ideal target for early expansion as the surrounding terrain will protect both settlements from attack. Only the Vlandians or perhaps the Battanians will target this area, and players can use the narrow valleys nearby to tie up enemy forces or snipe any incoming reinforcements.
10
Galend – Vlandia
- Three Villages
- Deep in Vlandian territory
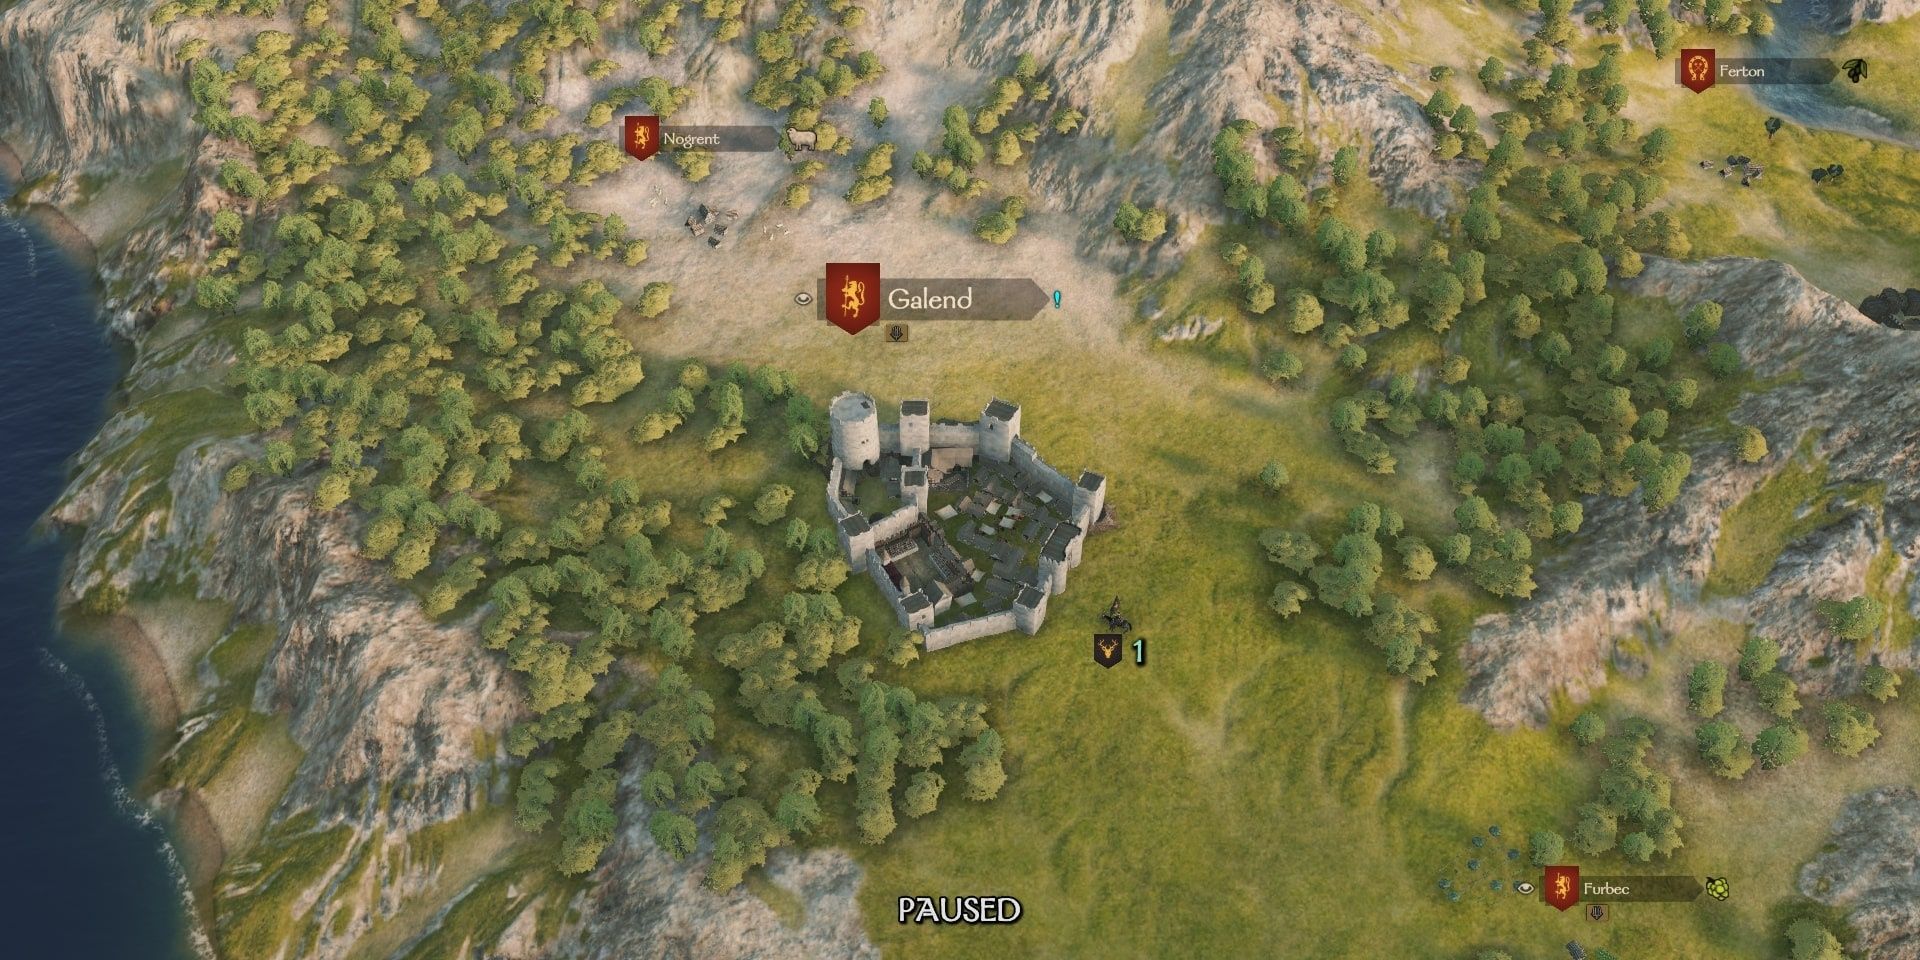
Over on the southwestern portion of the map, Galend is a relatively isolated town that is well insulated from most wars. While the city itself only starts with a prosperity of 1900 and is often plagued by bandit hideouts and looters, Galend is situated in a prime position to take over the rest of Vlandia’s land.
Related
Mount & Blade 2: Bannerlord – How To Hire Mercenaries
Mercenaries are an easy way to hire high-tier soldiers in Mount & Blade 2: Bannerlord; here’s how to recruit them.
Nearby cities like Jaculan and Sargot are easy expansion opportunities, and the mountains on either side are ideal for funneling enemies into choke points. After the area has been fully secured, players can then invade the fertile and extensive lands of Pravend nearby.
9
Baltakhand – Khuzait
- Three Villages
- Surrounded by fields that take advantage of Khuzait cavalry
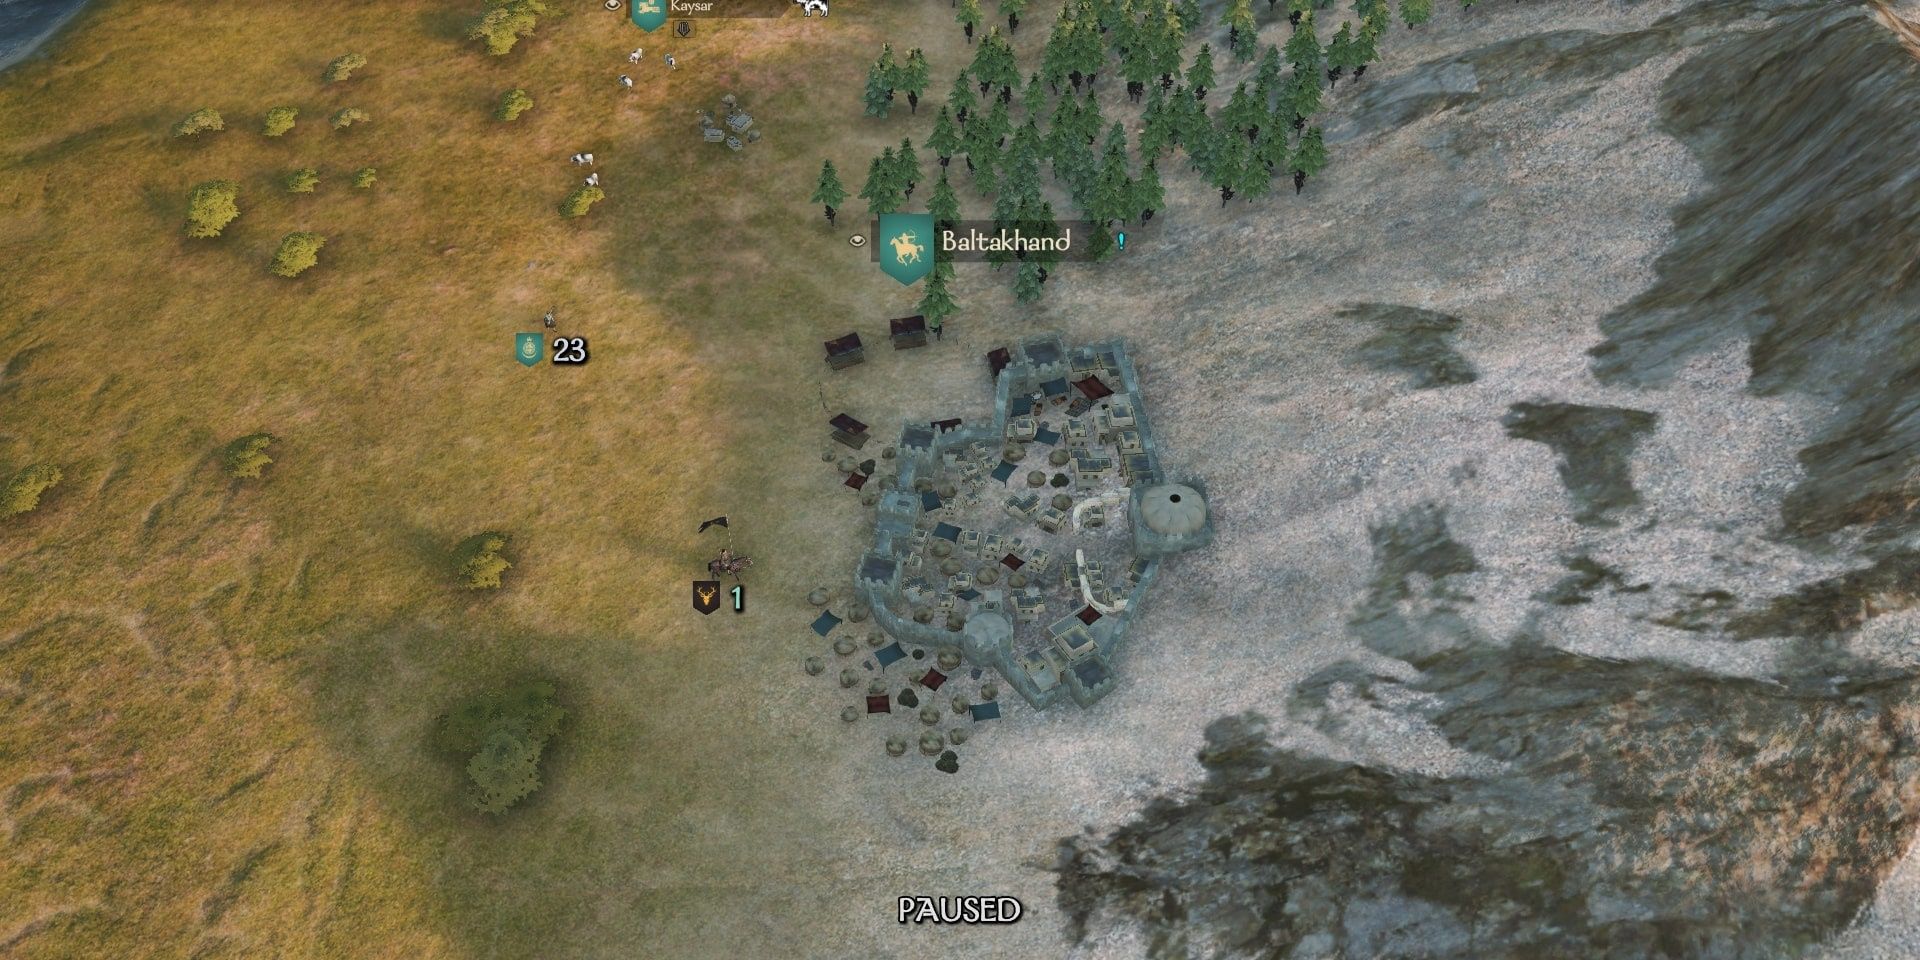
This settlement has one of the worst starting prosperities in the game, at only 1800, and due to being close to the border with Sturgia, Baltakhand can come under attack relatively easily. If you do plan on taking this Fief, it will require a lot of attention and will usually be on the frontline of many wars.
However, its potential comes from the fact that the town has four villages bound to it, meaning its prosperity can skyrocket due to the number of goods being brought in. Sturgia also tends to be one of the weaker factions and the Khuzaits one of the stronger, meaning Baltakhand may not be as vulnerable as it first appears.
8
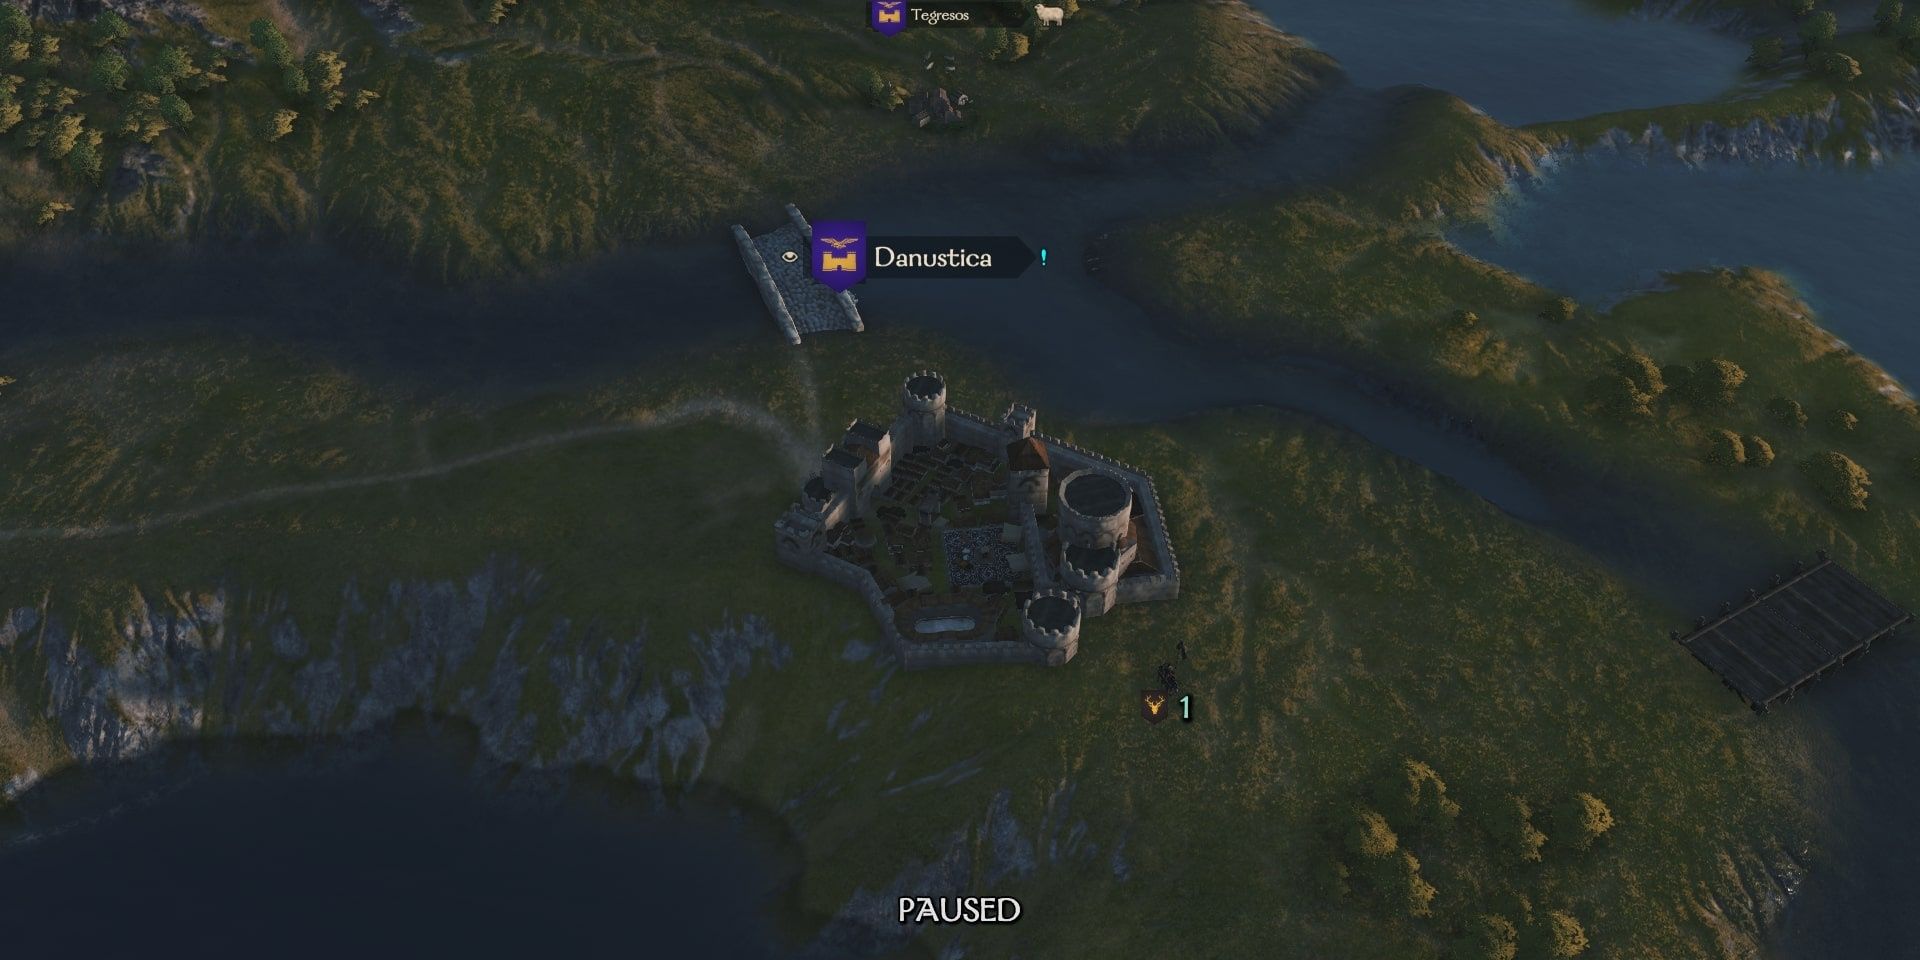
Danustica – Southern Empire
- Three Villages
- Central to the crossroads of the southeastern section of the map
Standing on the border between Aserai and the Southern Empire, Danustica guards access to the fertile imperial lands contained within. It is placed in a rather strategic position, forcing enemy armies to skirt right past it or take another, narrow land bridge to enter imperial territory.
Starting with a below-average prosperity of 2800, Danustica is nothing special economically. Despite this, it starts the game with multiple buildings fully constructed, which will allow the town to quickly prosper if defended adequately.
7
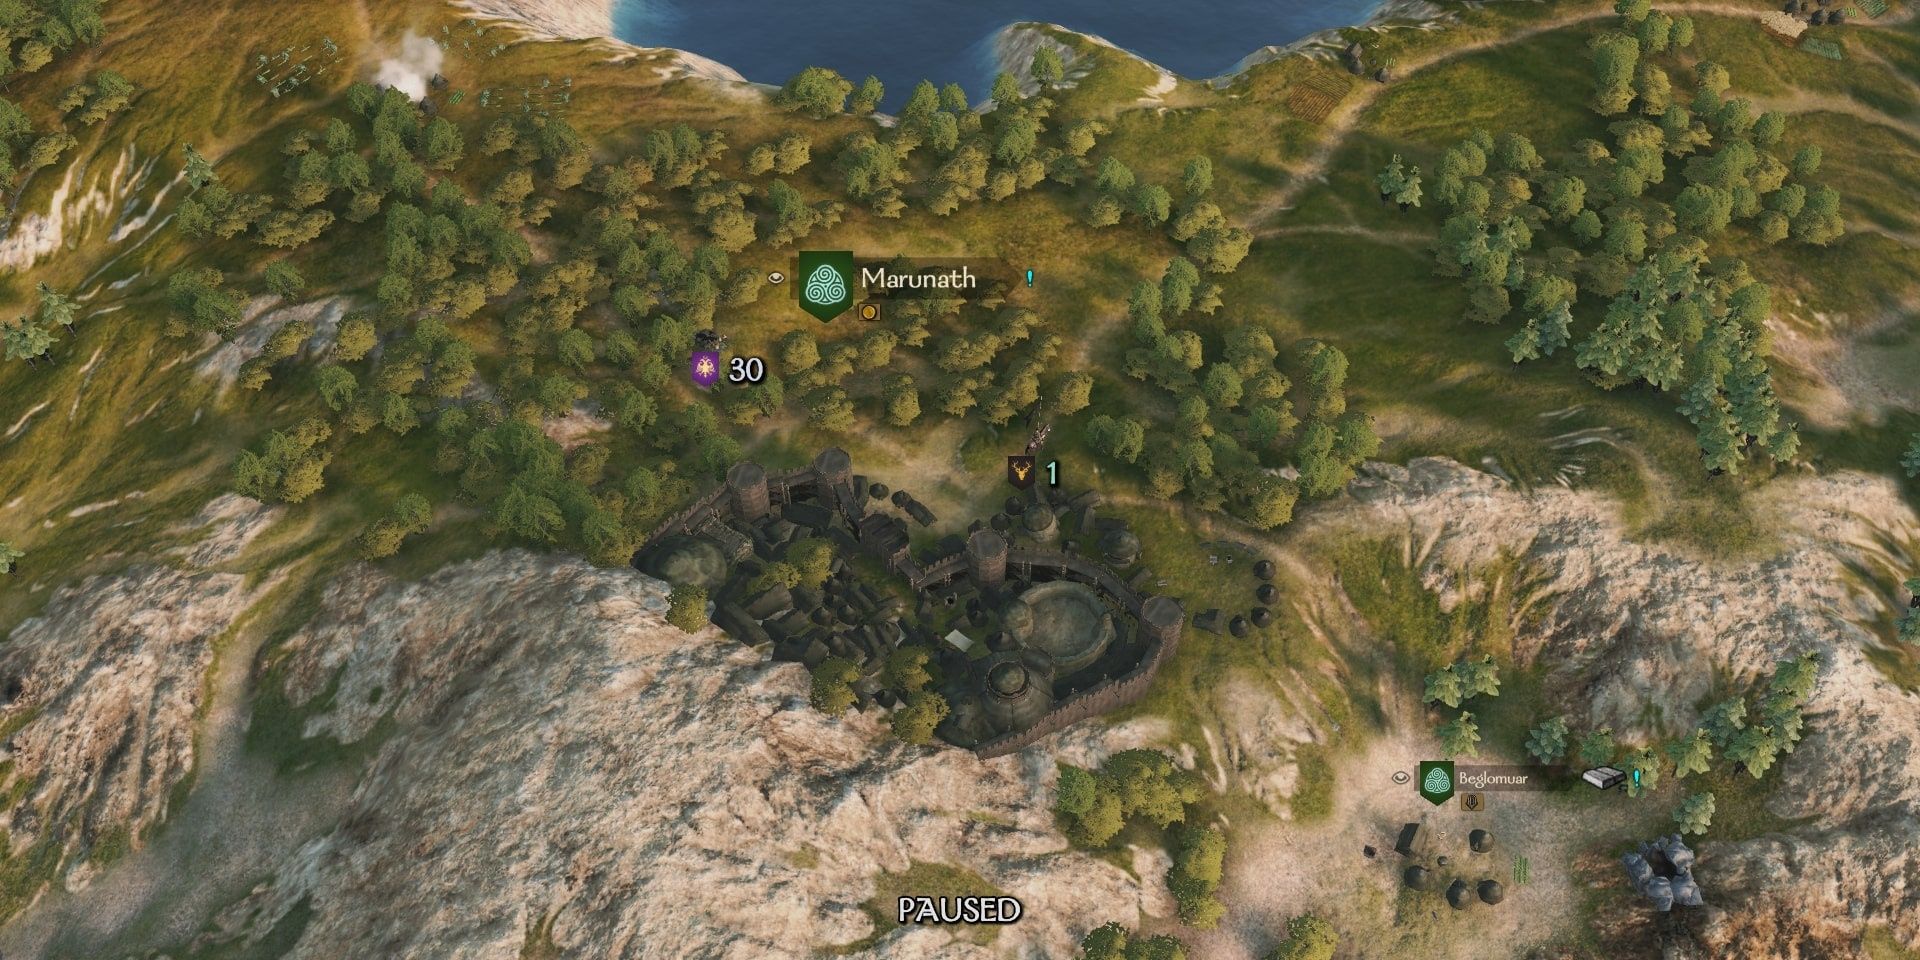
Marunath – Battania
- Four Villages
- Hub of the Battanian empire
One of the few settlements starting with a prosperity of 5000 or above, Marunath is the main economic hub of Battania. It has four bound villages, with a strong mix of food-producing hubs and settlements making other goods.
It’s in a central location, with Vlandia and the Western Empire both having easy access. That means it often comes under attack from one or both kingdoms, but if defended adequately, can remain a strong and wealthy town to add to the player’s holdings.
6
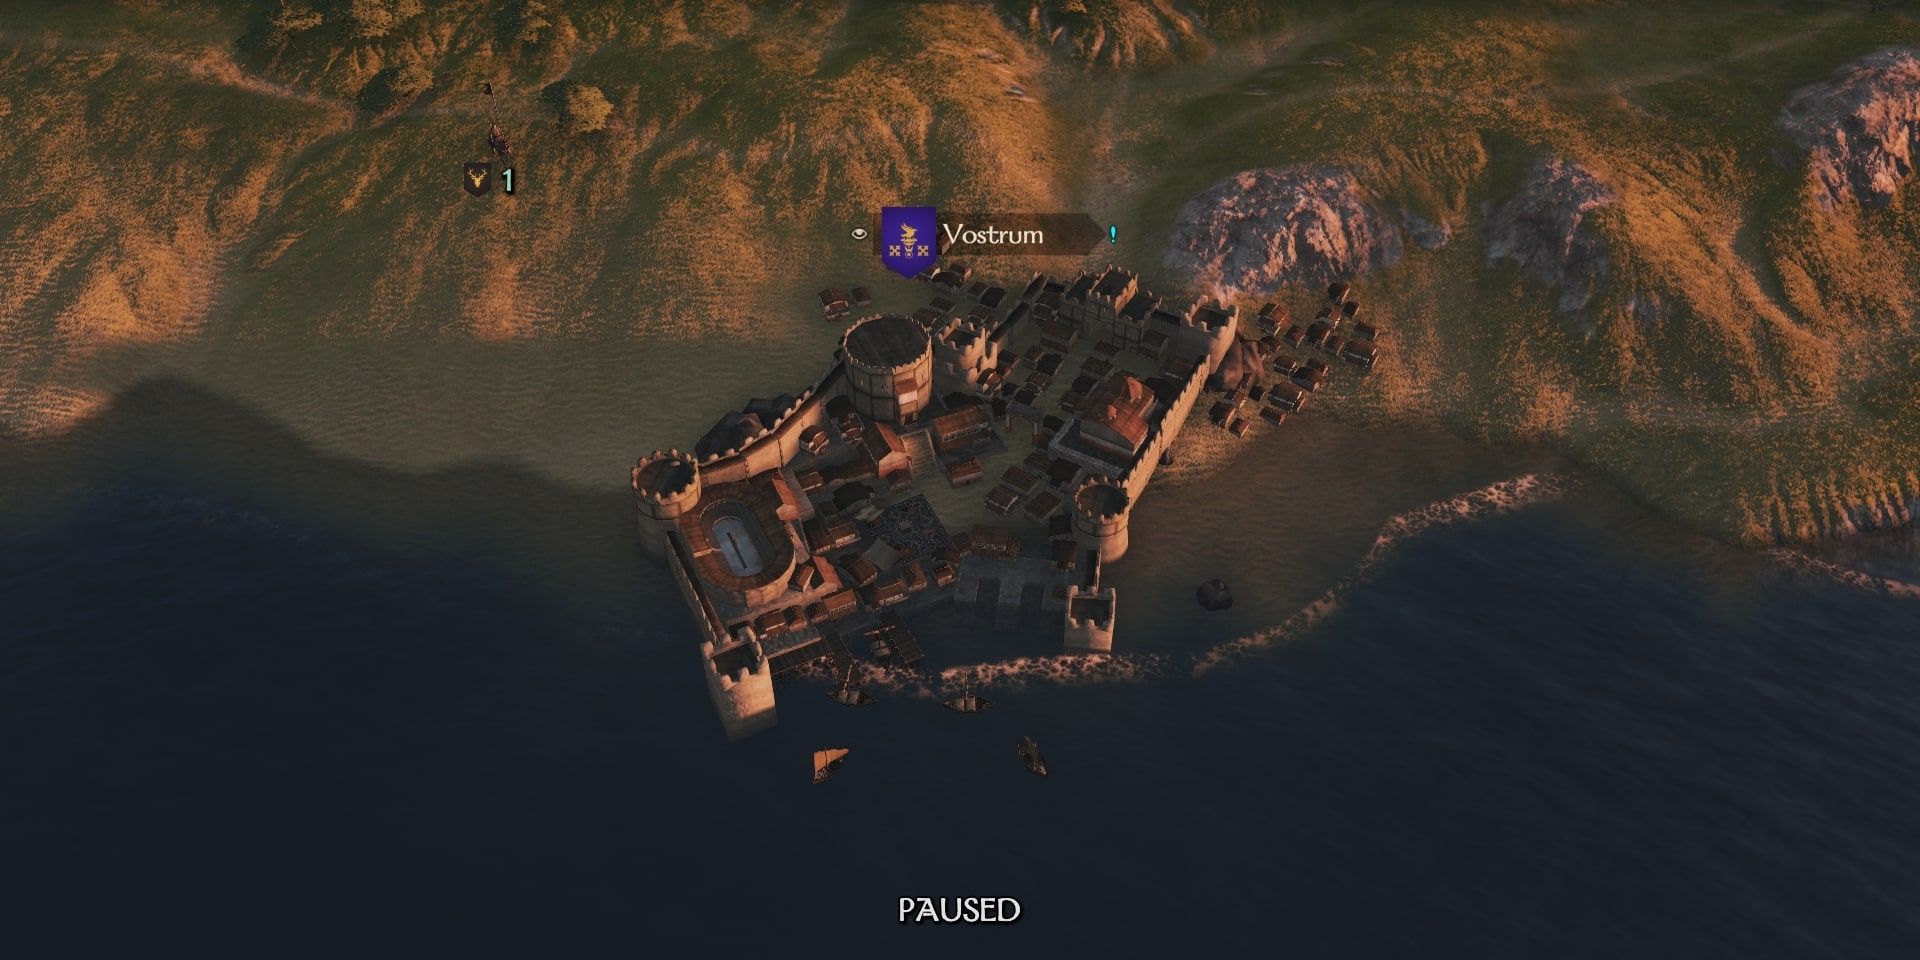
Vostrum – Southern Empire
- Three villages
- Surrounded by water and choke-point bridges
A well-placed and highly affluent settlement, Vostrum has a starting prosperity of 5100 and is defended by other Southern Empire settlements in the north, east, and west, and covered by a massive lake to the south.
Related
Mount & Blade 2: Bannerlord – How To Increase Inventory Capacity
Inventory management will be a constant battle in Mount & Blade 2: Bannerlord; here’s how to increase your inventory capacity.
Vostrum doesn’t usually see too much action because of this and can be considered quite a safe settlement to own. Its villages produce grain and fish, meaning food shouldn’t be a big issue. It isn’t exceptional by any means but is nonetheless a solid choice for any aspiring monarch.
5
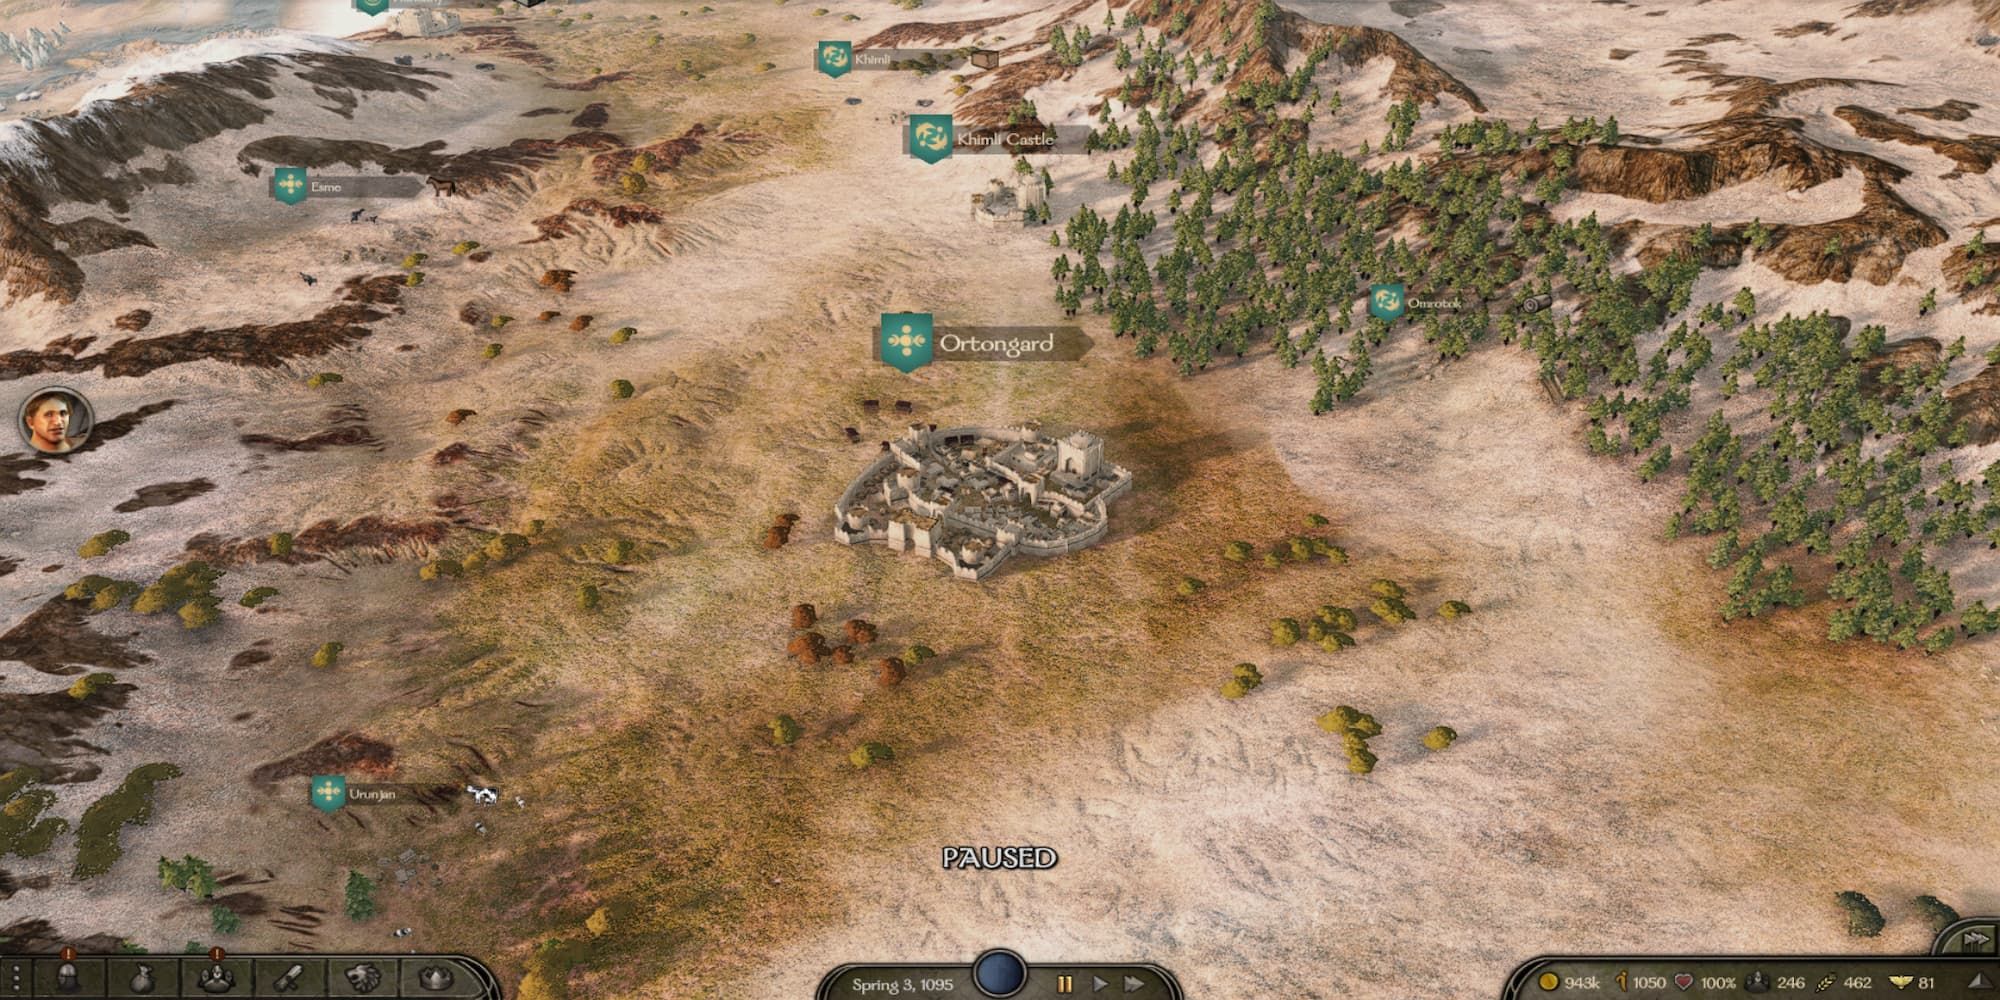
Ortongard – Khuzait
- Three Villages
- Six trade-bound villages
Ortongard is the center of the Khuzait empire and is located deep within their territory with lots of buffer room before any enemy can get remotely close. Not only is this one of the safest fiefs in the game, but it has six trade-bound villages.
With that many villages constantly trading, goods and overall prosperity in this fief are set in stone. Players can focus on other governor focuses and upgrades to help the city focus on the happiness of the people, leading to the best overall fief players can get as long as they keep their enemies far away.
4
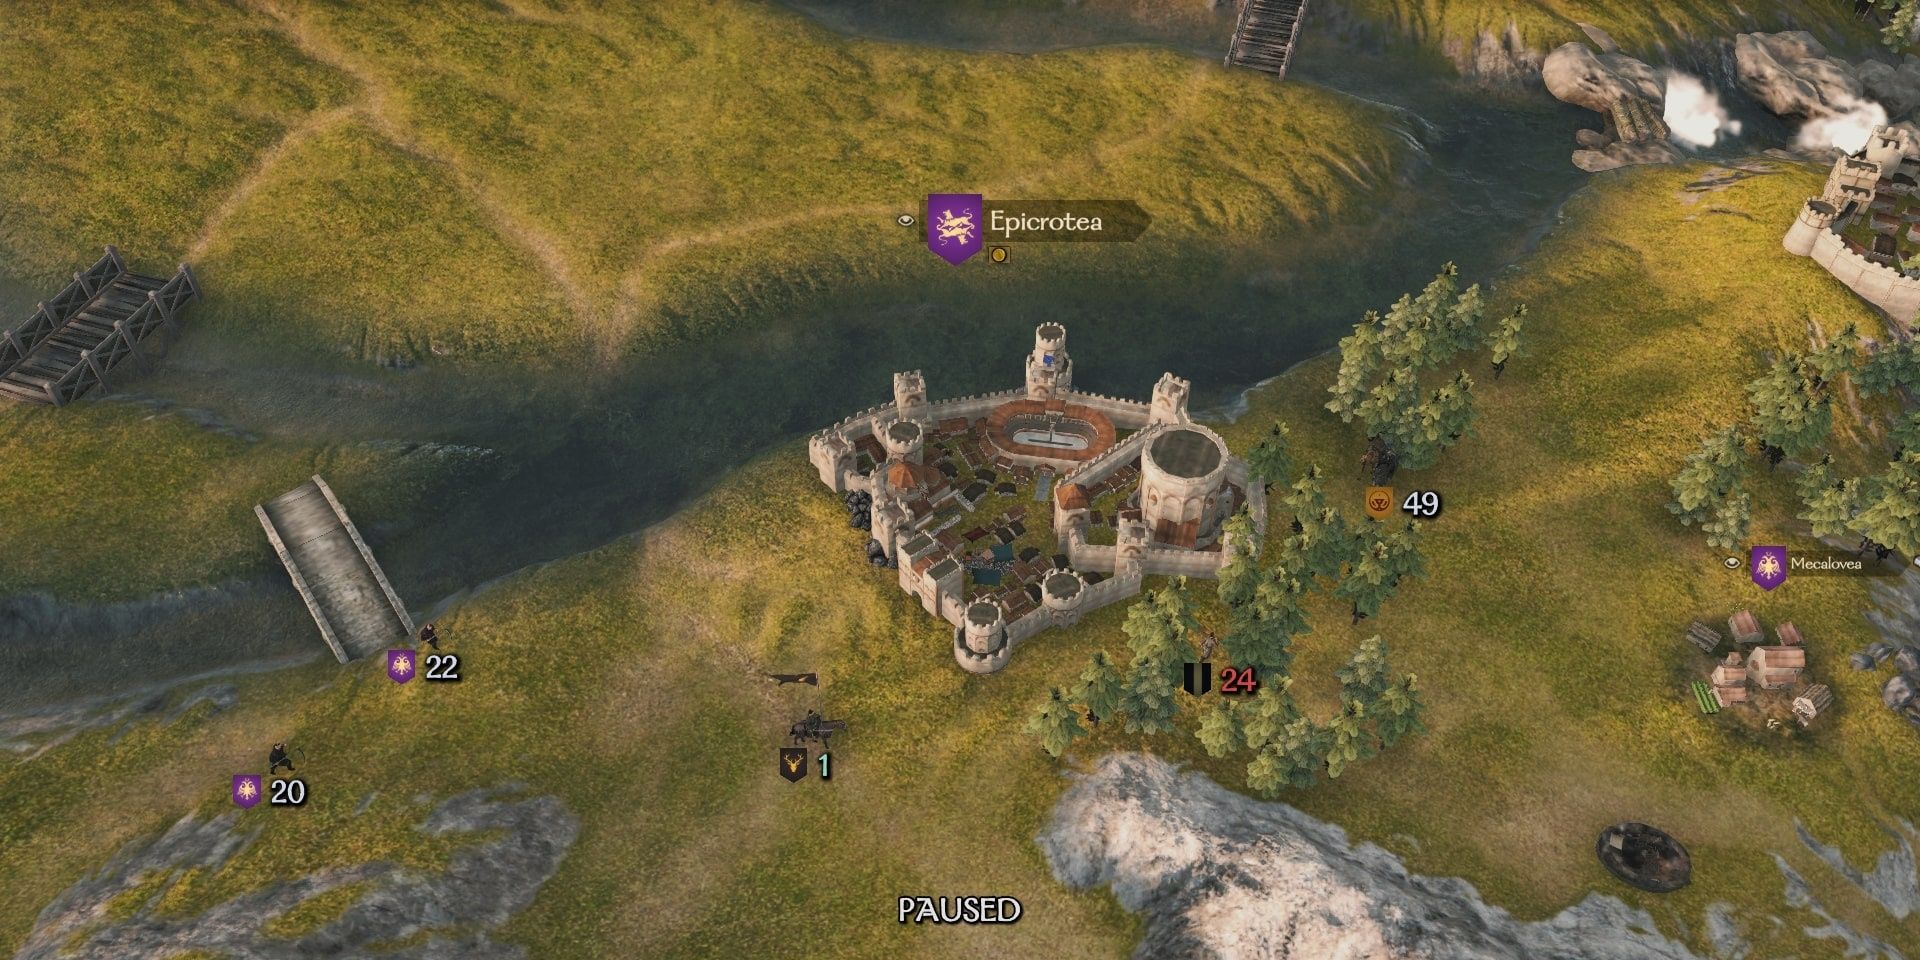
Epicrotea – Northern Empire
- Three Villages
- Seven trade-bound villages
Another high prosperity town, starting at 5100, Epicrotrea is a trade hub that resides in a central location, positioned in-between Battania, Sturgia, and the Western and Northern Empires.
Combine the strong location with the fact that it has seven bound villages, and Epicrotea proves to be a highly valuable and profitable settlement for the player to own. It will likely come under attack a great deal, due to its location, but the surrounding castles make good targets for quick and easy expansion.
3
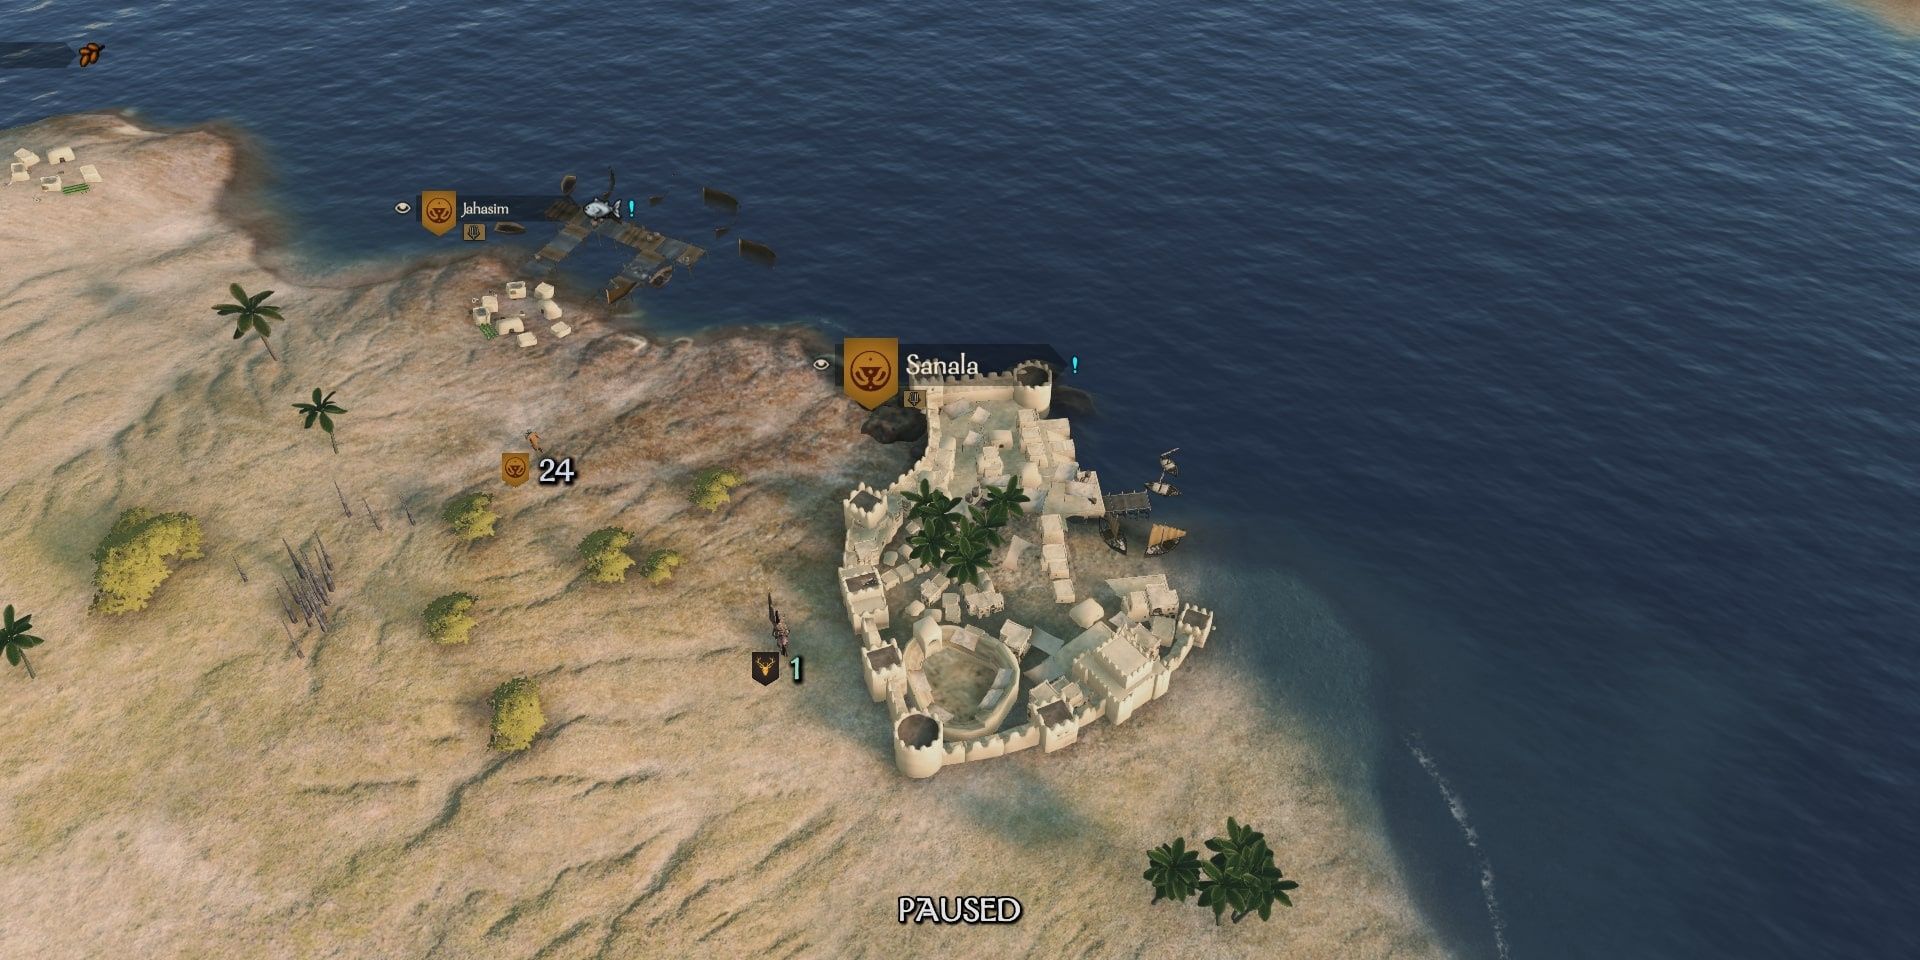
Sanala – Aserai
- Four Villages
- Five trade-bound villages
While not top-tier in terms of starting prosperity, Sanala has a lot of potential to become the best town in the game. Out of four bound villages, three produce food, meaning the city is never lacking sustenance and can quickly grow, pushing prosperity higher and higher.
Related
Mount & Blade 2: Bannerlord – How To Get & Use Influence
Influence is a key currency players will be using after they join a kingdom in Mount & Blade 2: Bannerlord; here’s how to get it and what to use it on
It’s also located in a central trading position along the Aserai desert but is far enough away from the borders to avoid frequent sieges and raids. If left to develop, Sanala’s economic power can quickly spiral out of control, making it a strong choice for a kingdom’s capital.
2
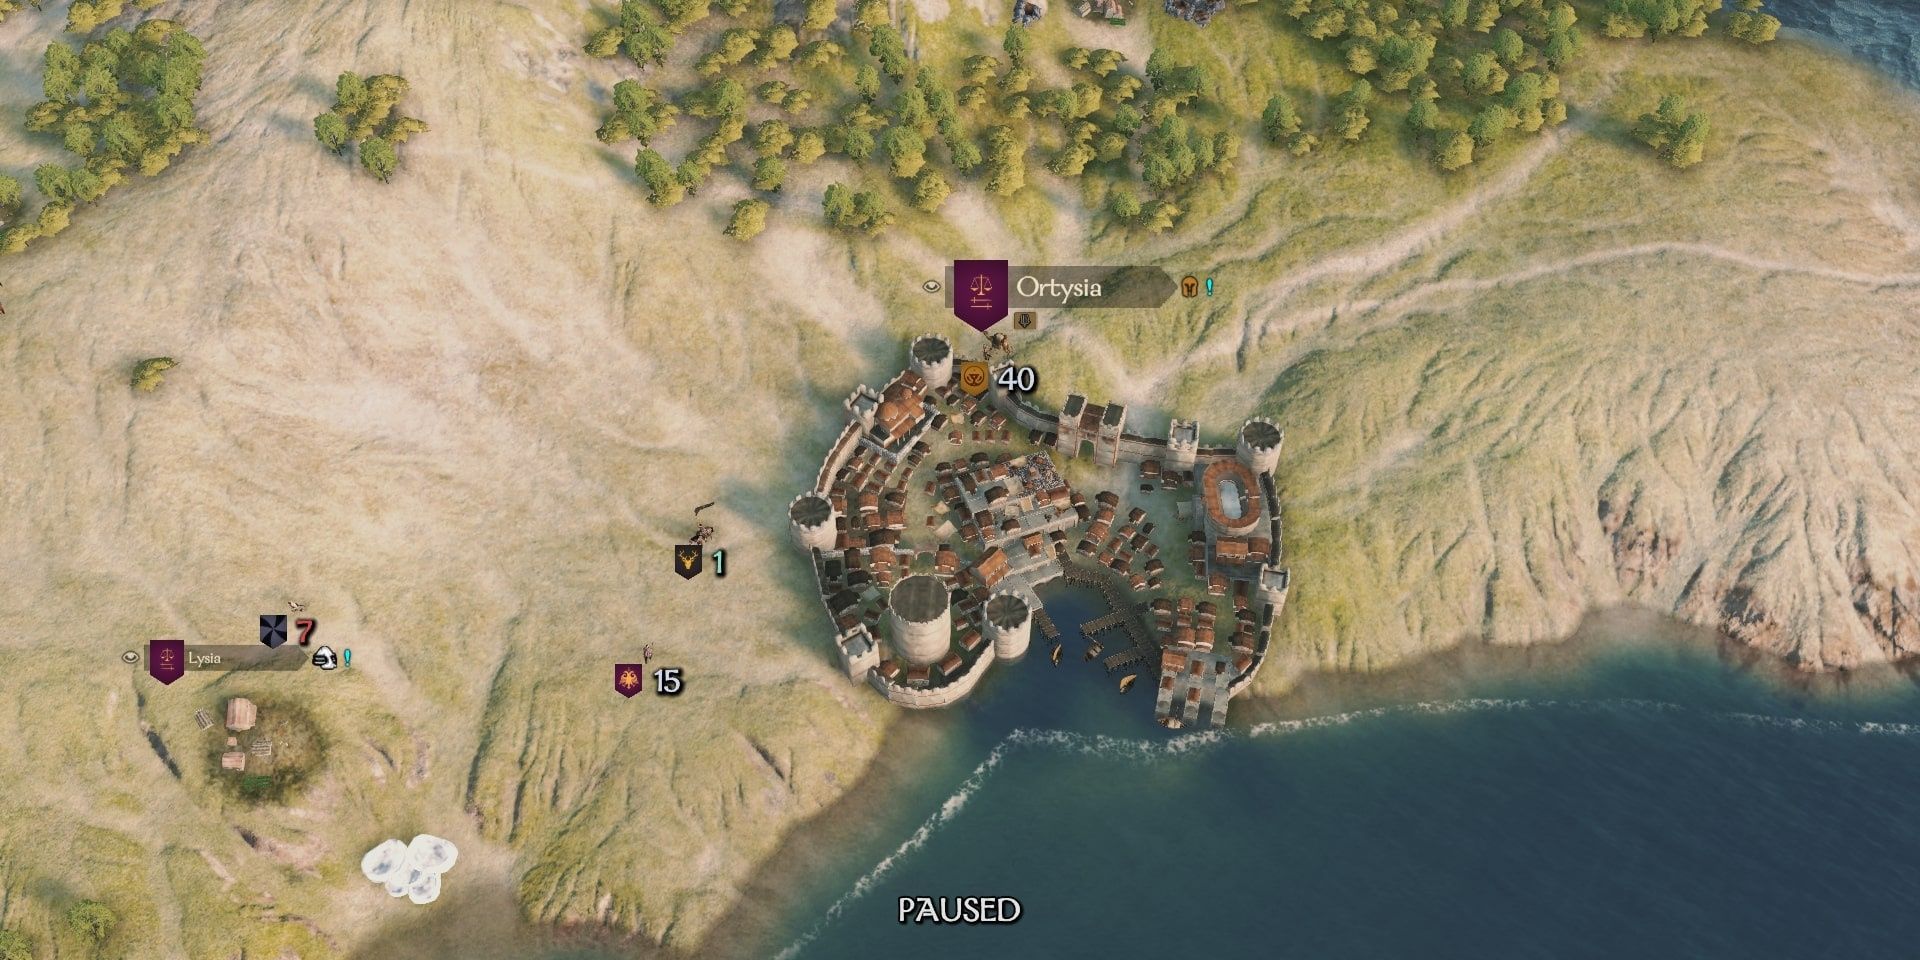
Ortysia – Western Empire
- Three villages
- Choke point to the Aserai to the south.
With the highest starting prosperity of all settlements in the game at 5600, Ortysia is one of the busiest trading towns in all of Calradia. It gets a lot of caravan traffic from the Aserai and marks the border between the Western Empire and Vlandia, making it a key stop for traders passing through.
Players can earn a lot of decent income from this town, and it allows for some control over the narrow path that connects Aserai to the rest of Calradia, making Ortysia less vulnerable than other towns as well. Astute players can all but sever trade between nations by operating out of this strategically placed settlement.
1
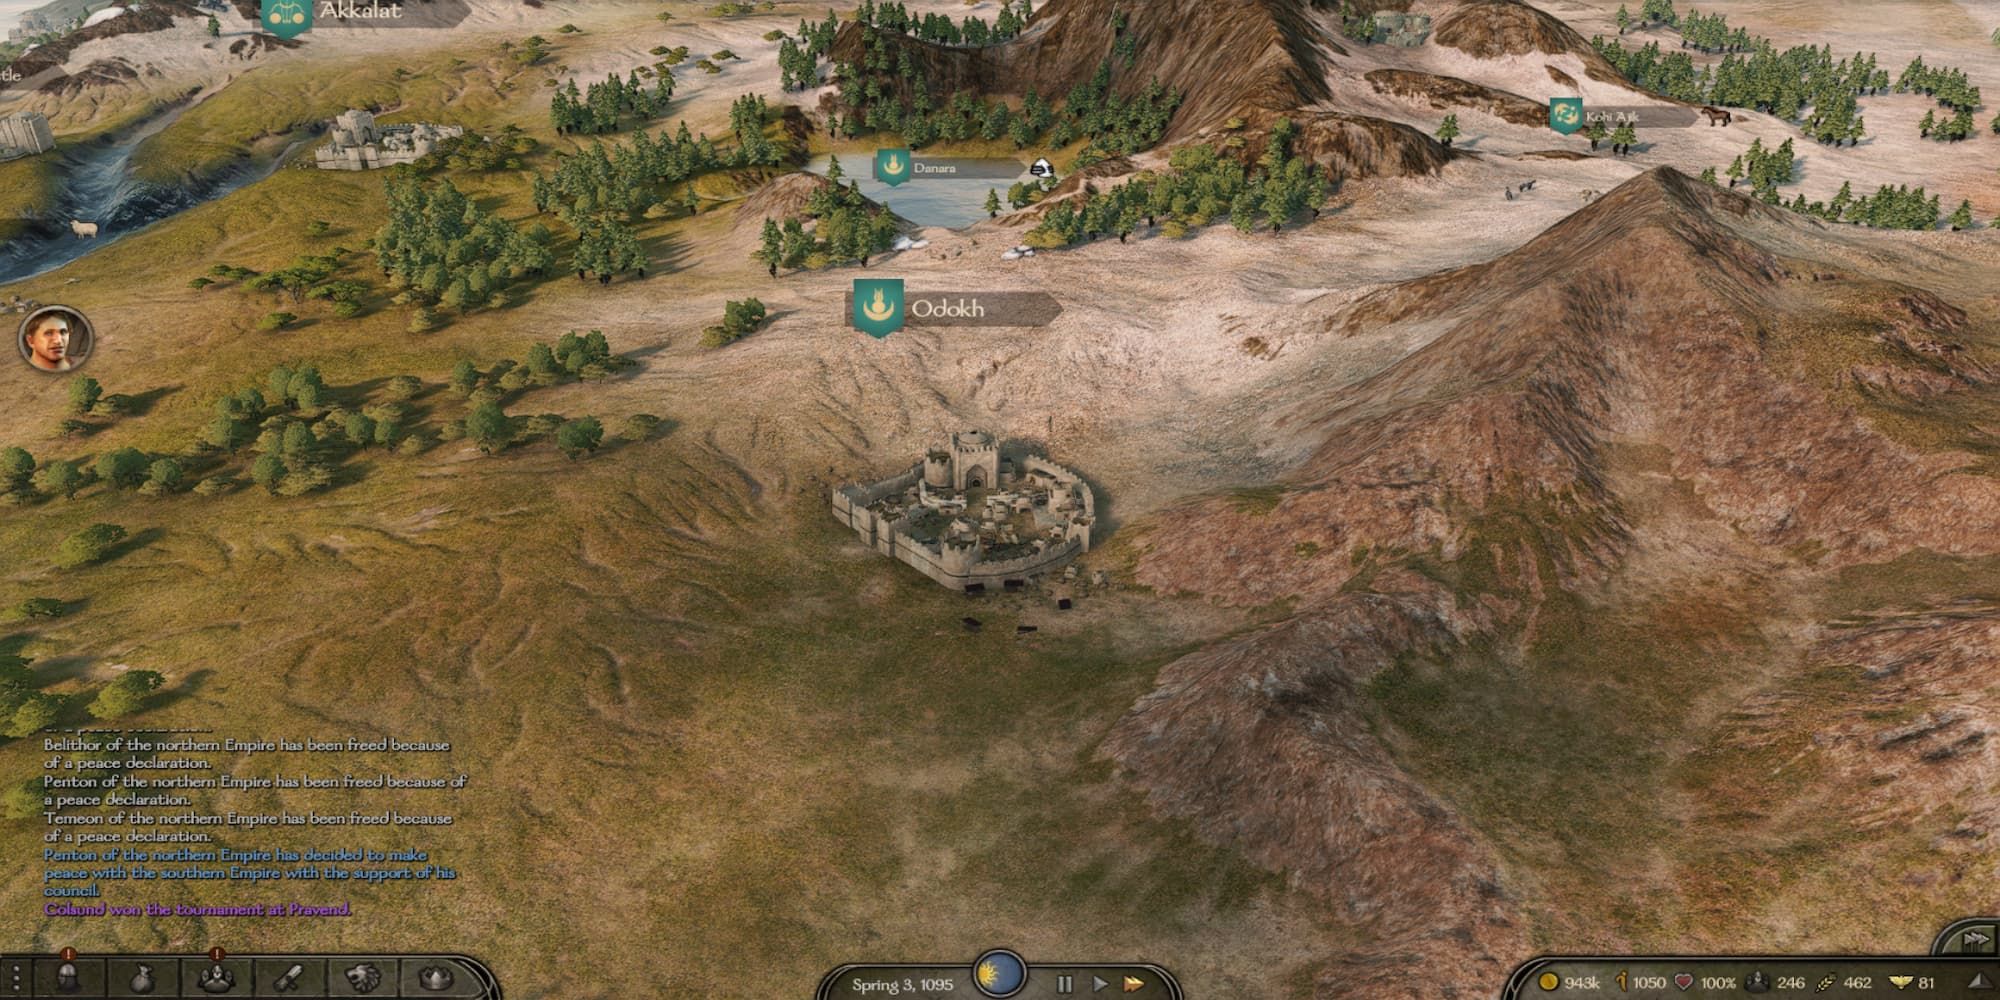
Odokh – Khuzait
- Three Villages
- Difficult to reach by invaders
While this fief may not seem like it’s in the middle of nowhere, the only way to reach it is by marching deeper into Khuzait land and going around the river, or further south through Aserai territory. Nearby fiefs and castles act as a buffer before this fief would ever be attacked.
The nearby plains surrounding this fief make it easy to spot an approaching army and ride out to meet them long before a siege begins. While there are only two trade-bound villages to this fief, it is a great place to start a caravan due to its more remote location to maximize personal profits.





Leave a Reply