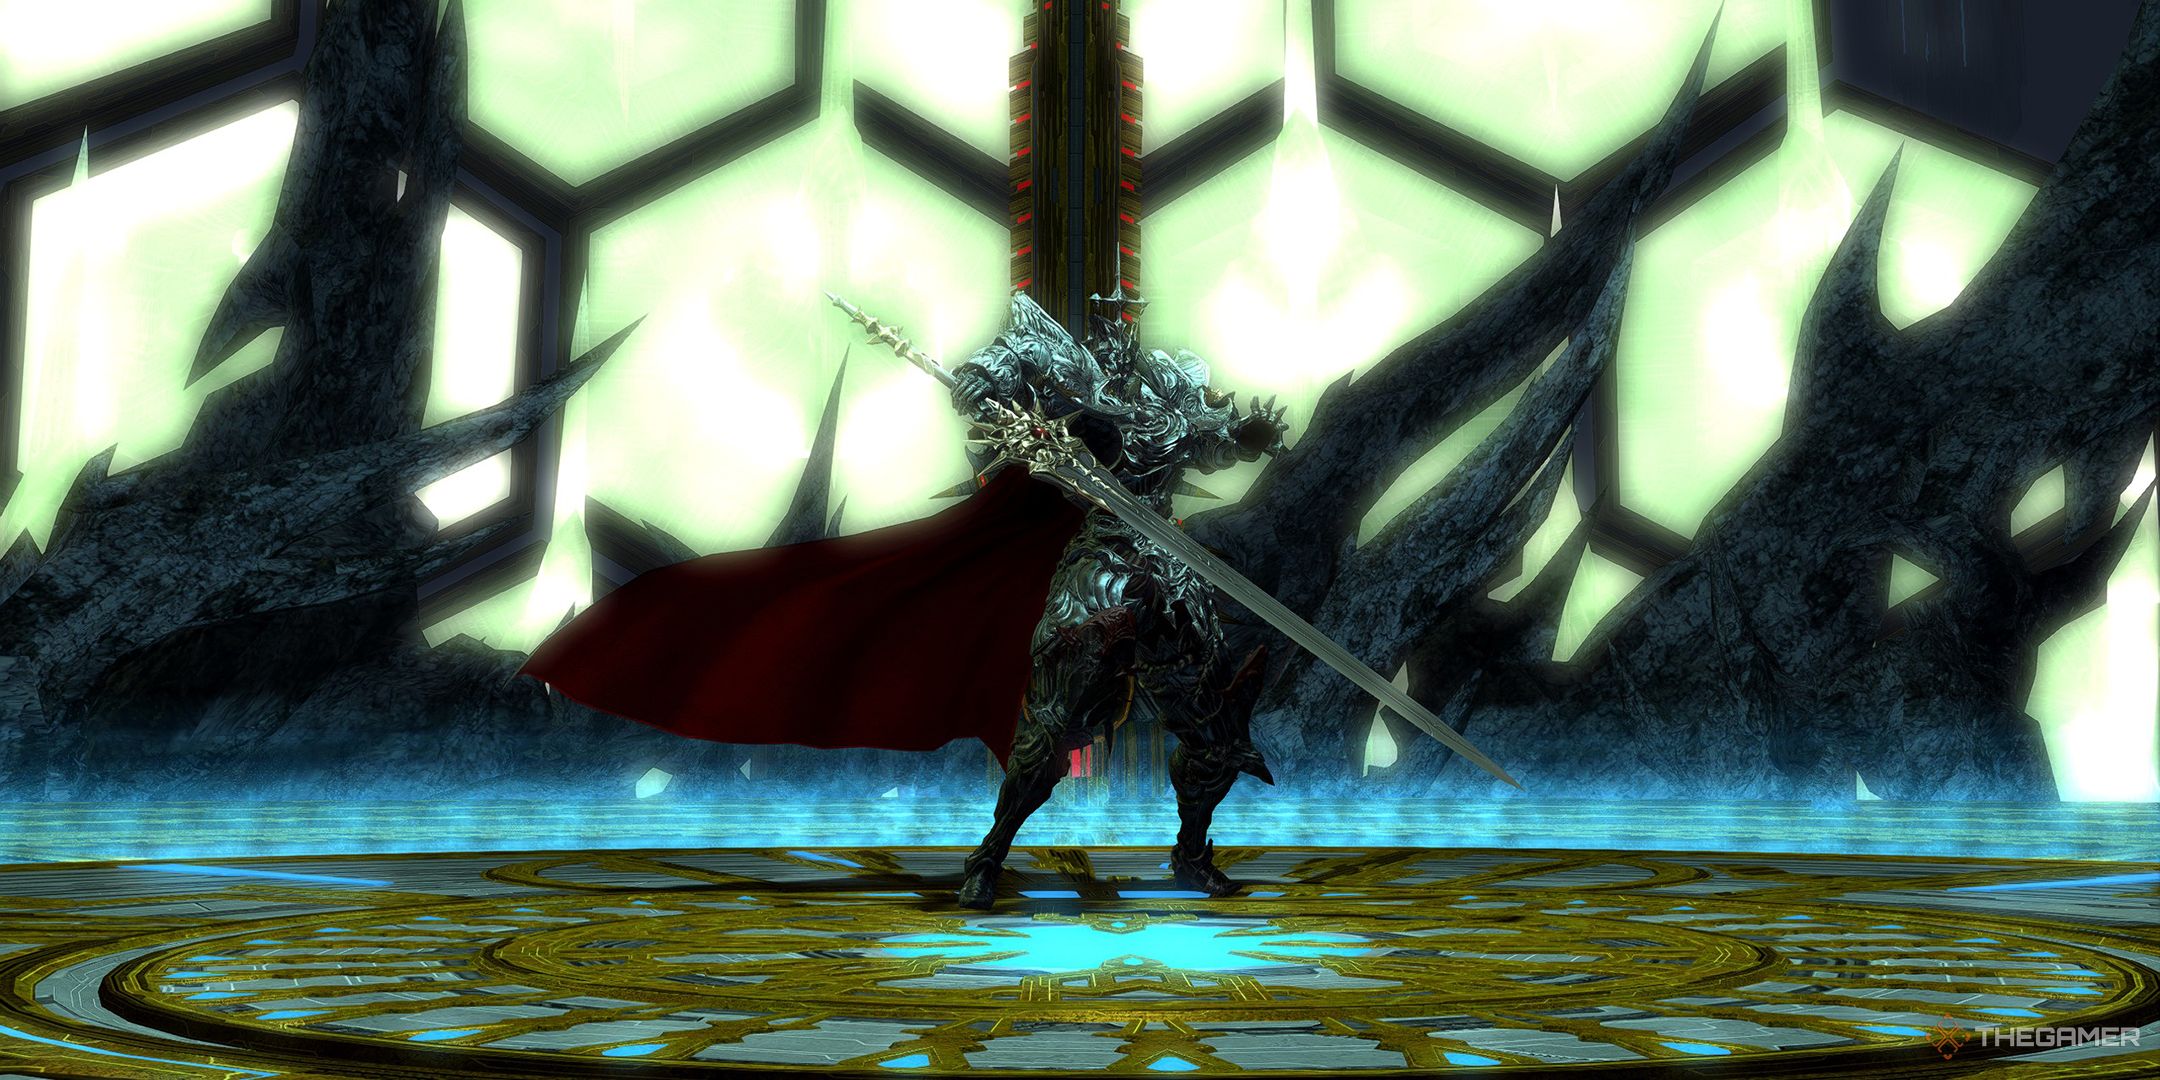
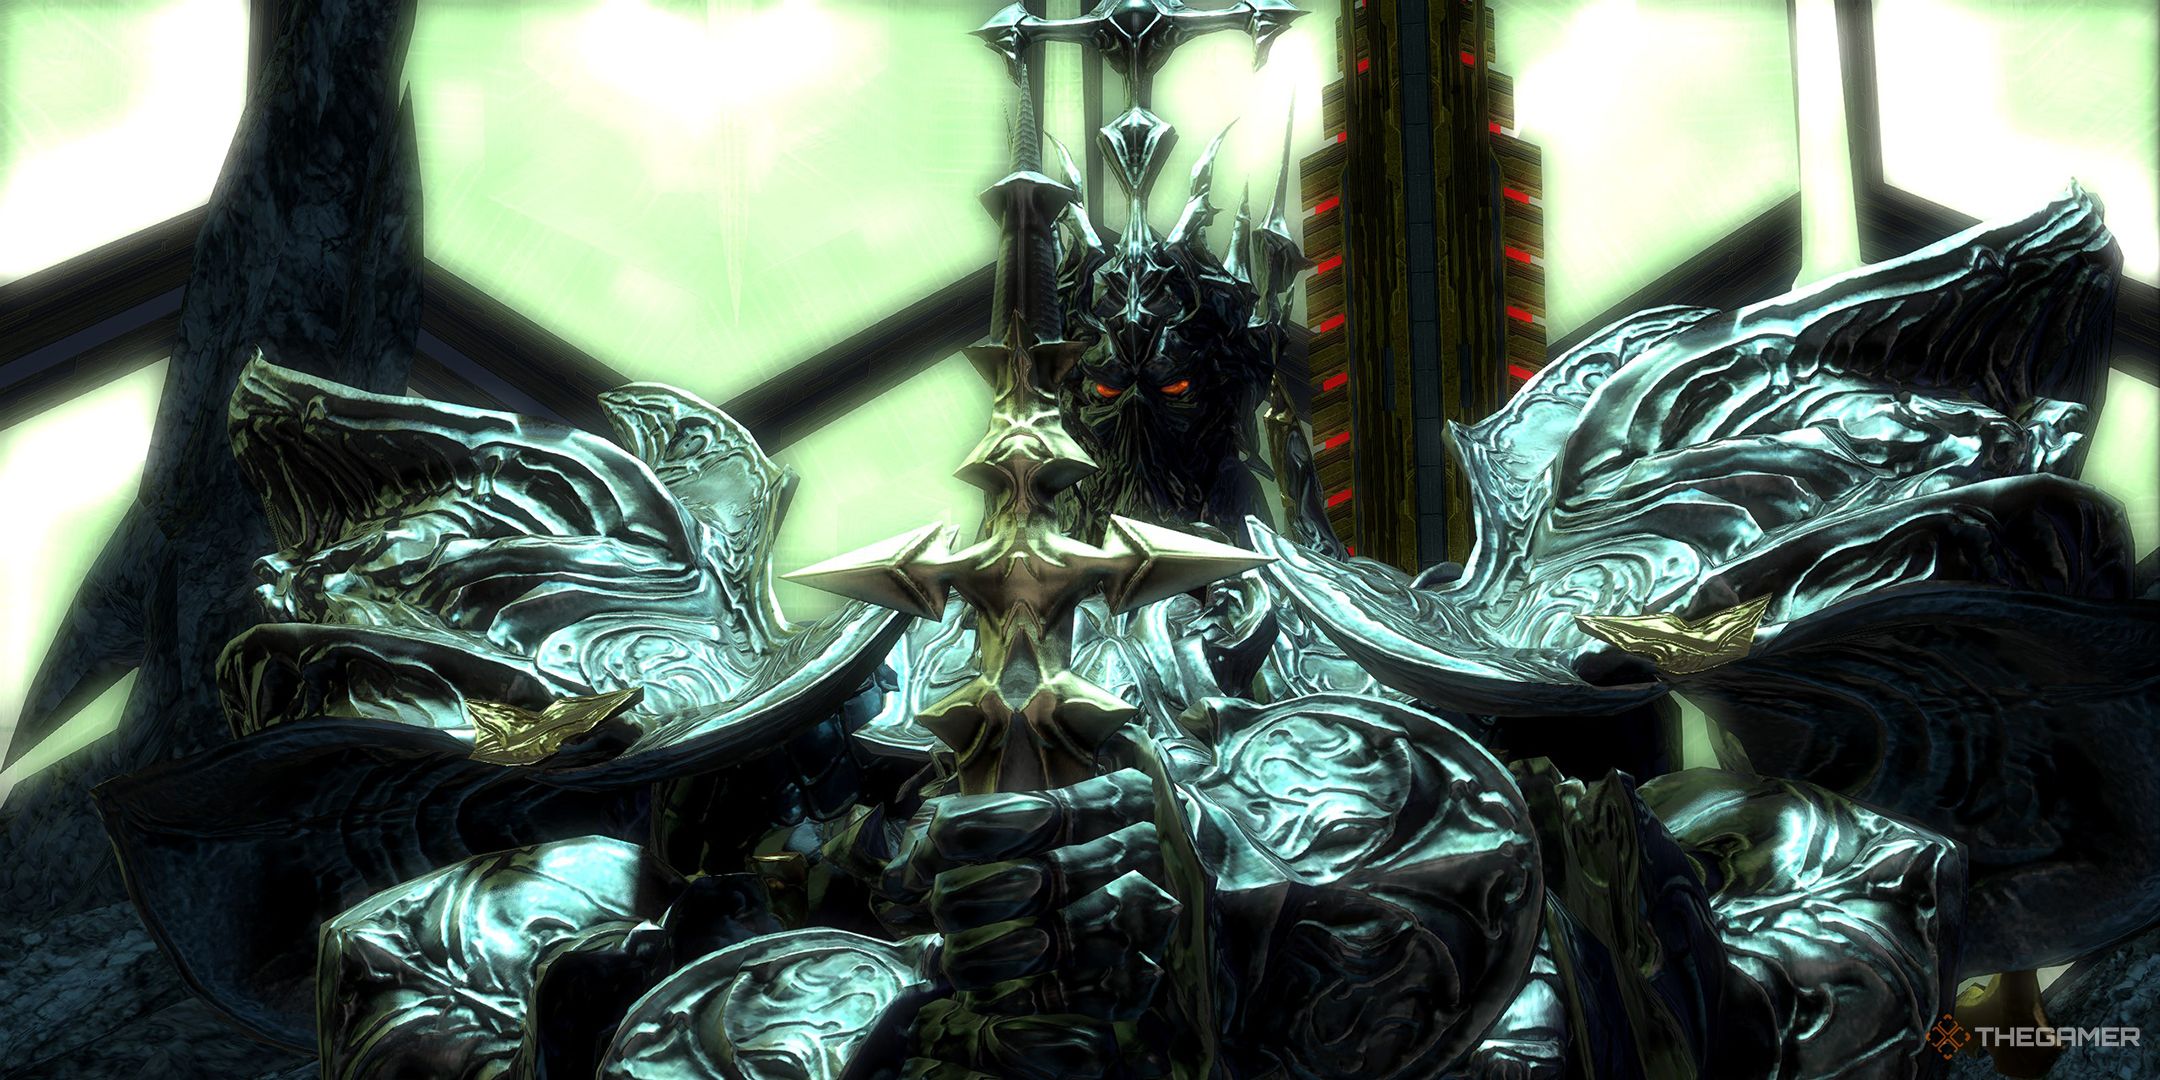
The Singularity Reactor is a level 60 Trial in Final Fantasy 14. This Trial marks the final battle of the Heavensward expansion, as the archbishop of the Heavens’ Ward takes on the soul of the legendary King Thordan.
Related
With the power of Nidhogg’s Eye, King Thordan won’t go quietly, so it’s up to you to end his iron reign. Below, we’ll take a look at everything you need to know about this fight, including how to deal with each of King Thordan’s attacks and mechanics.
This content is outdated, and most mechanics will be easily skipped by a competent party. As such, some of the mechanics detailed below may not appear during the course of a normal run of The Singularity Reactor.
How To Unlock The Singularity Reactor
The Singularity Reactor is unlocked through the final quest in the Heavensward expansion, ‘Heavensward’. After clearing the Aetherochemical Research Facility, this level 60 Trial will be unlocked.
King Thordan Fight Walkthrough
This fight is divided into two main phases, with with a third ‘ending’ phase. Below you can find details on each phase.
Phase 1
During the first phase, King Thordan will use the following attacks and mechanics.
|
Attack Name |
Type |
Details |
|---|---|---|
|
Ascalon’s Mercy |
Conal AoE |
Deals damage in three cones to the front of King Thordan that inflict Windburn, dealing damage over time. Move out of the AoE indicators to avoid this attack. |
|
Ancient Quaga |
Roomwide AoE |
Deals damage to all party members. Recover with AoE healing. |
|
Lightning Storm |
Circle AoEs |
Targets several players with circular AoEs. Spread out to avoid overlapping these or hitting other players with them. |
|
Meteorain |
Circle AoEs |
Immediately after Lightning Storm, several more circle AoEs will be created around the arena. Simply move out of the AoE indicators to avoid them. |
|
Knights of the Round |
Special |
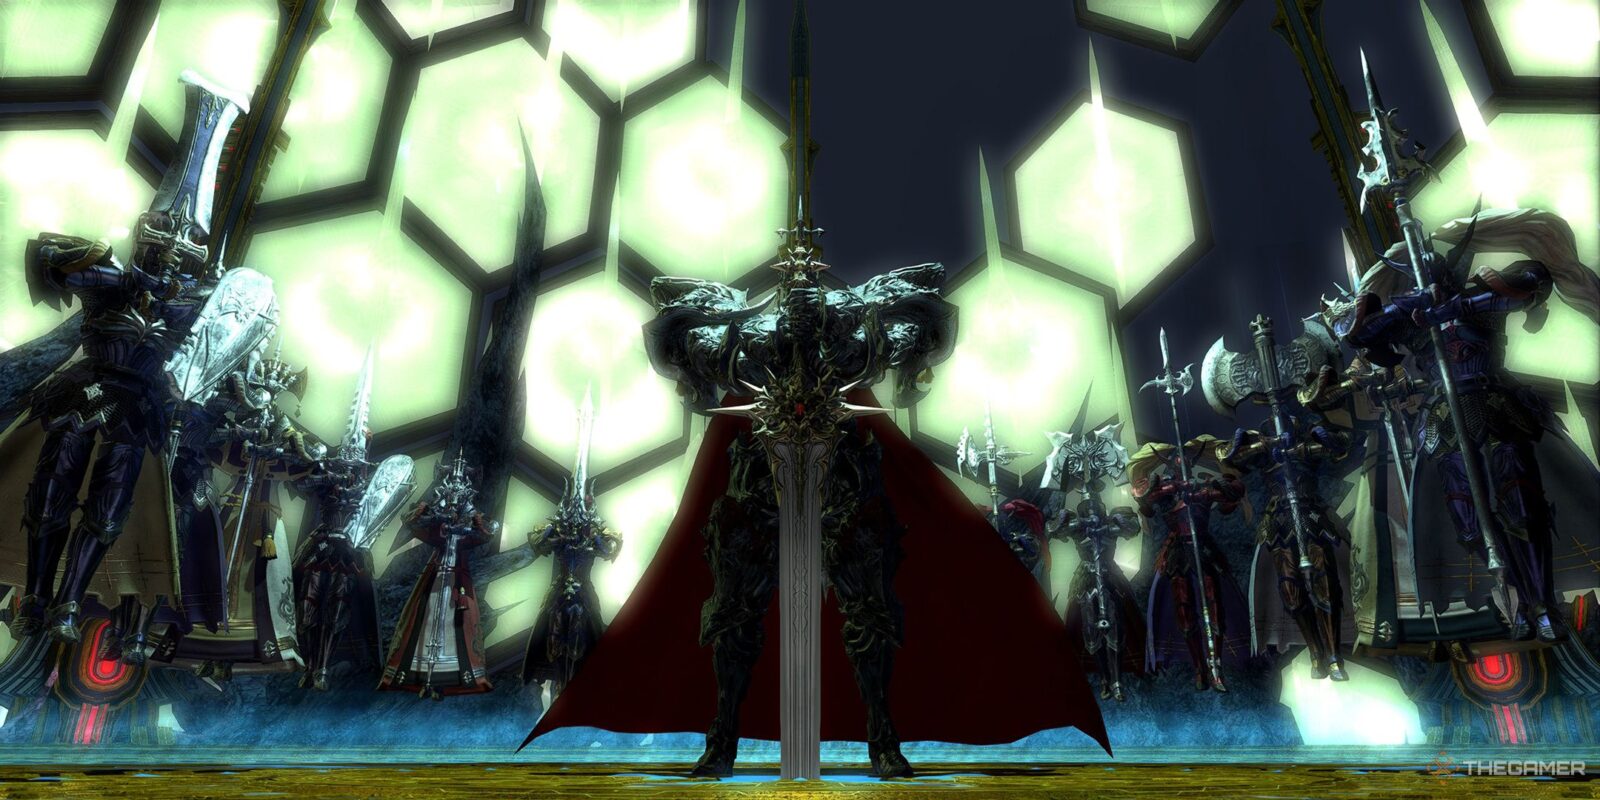
King Thordan will summon some of the Knights Twelve und to perform various attacks.
|
|
The Dragon’s Eye |
Buff |
Grants King Thordan a Damage Up buff and empowers his next Ascalon’s Mercy, causing it to create more AoEs. |
|
The Dragon’s Gaze |
Gaze Attack |
Immediately after casting The Dragon’s Eye, Thordan will use The Dragon’s Gaze, which deals damage and inflicts Terror on any player looking at the boss when the cast finishes. Turn your back to Thordan before the cast is complete to avoid this debuff. |
Thordan will repeat these attacks until he reaches around 15 percent health remaining, at which point he will disappear, and phase two will begin.
Phase 2
During phase two, you will have to battle each of the Knights Twelve and deal with each of their mechanics. These follow a set order, as detailed below.
- Ser Charibert and Ser Hermenost: Charibert will create three rows of three circular AoEs while Hermenost summons three pillars that need to be absorbed in the same way as the previous phase.
- Ser Zephirin: He will begin casting Sacred Cross, which deals conversely proportional damage according to his health percentage. If you deplete his health to one before Sacred Cross finishes casting, it will deal negligible damage to the party.
- Ser Vellguine: Deals damage in a large line AoE in the same way as he does during the previous phase.
- Ser Adelphel and Ser Janlenoux: Attack in tandem, using Holiest of Holy to deal damage to the entire party and Holy Bladedance to deal high damage to their main target.
- Ser Ignasse: Deals damage in a proximity AoE. Move away from the proximity marker to reduce the damage of this attack.
- Ser Paulecrain and Ser Haumeric: Paulecrain will target one player with a tracking line AoE, while Haumeric targets players with ice AoEs that create puddles that inflict Leaden and Frostbite, slowing movement speed while dealing damage over time.
- Ser Grinnaux: Creates four AoEs that grow over time. Move away from these to avoid them.
- Ser Noudenet: Creates several Comet Circles around the edge of the arena, and one Meteor Circle in the center. Destroy all of these to prevent meteors from dropping to the arena, dealing damage.
- Ser Guerrique: During the meteor section, Guerrique will deal damage in a cascading conal AoE, with a safe spot directly behind him.
After the Comet and Meteor Circles are destroyed, Thordan and all of the Knights Twelve will appear and cast Ultimate End, dealing damage to the party. Recover with AoE healing as the fight moves into its final phase.
Phase 3
In this phase, Thordan will gain the Damage Down debuff, and will only use weak auto attacks. Burst down his last few percent of health, and the fight will be complete.
Next
Final Fantasy 14: Containment Bay S1T7 Trial Guide
Here’s how to beat Sephirot of the Warring Triad in Containment Bay S1T7 in Final Fantasy 14.





Leave a Reply