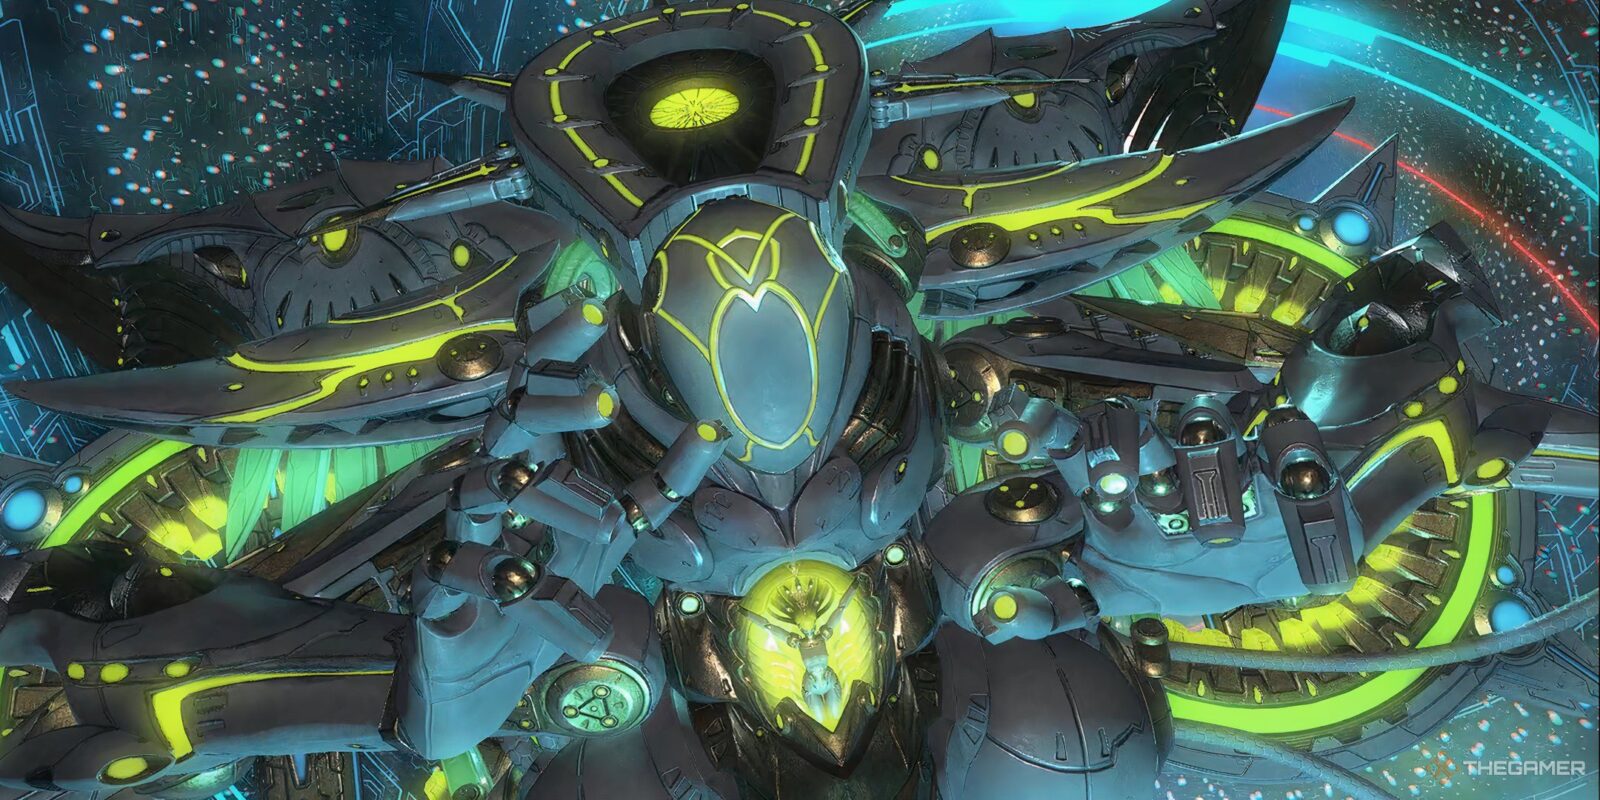
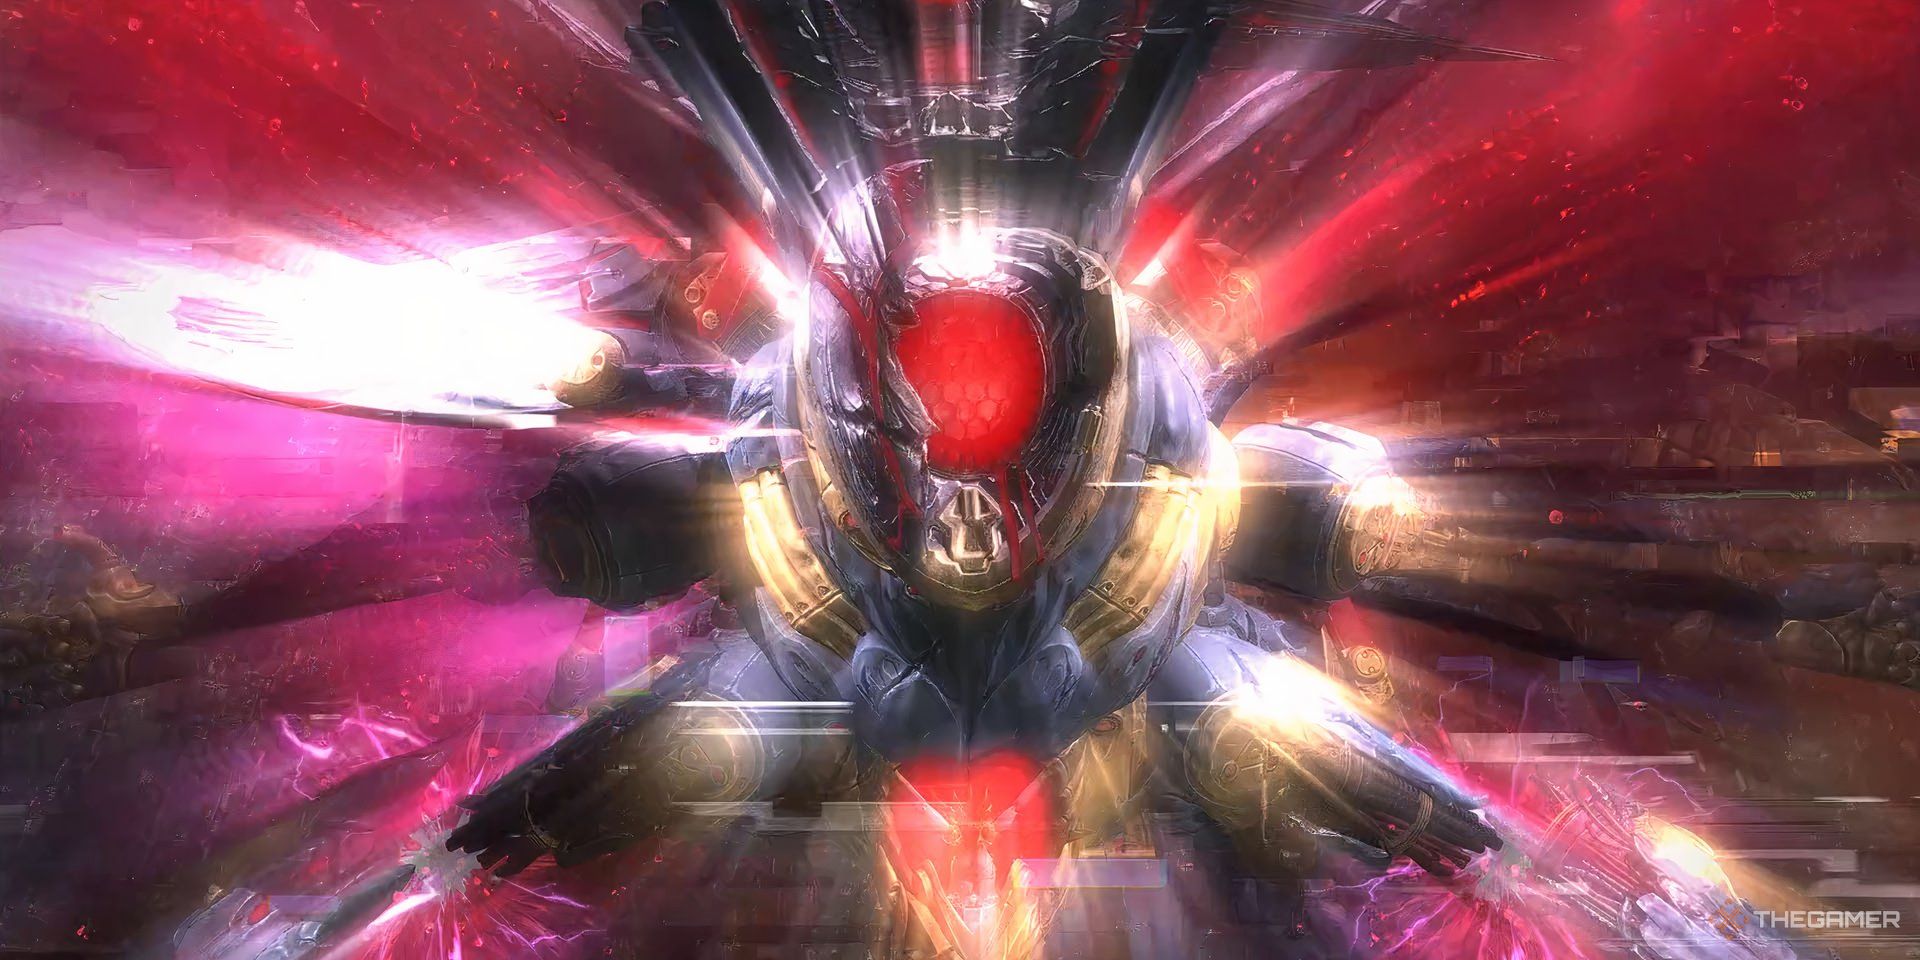
After overcoming the final boss in the Final Fantasy 14: Dawntrail expansion, players can unlock her harder, cruelest version in The Minstrel’s Ballad: Sphene’s Burden. The Extreme difficulty of this Trial makes the Queen Eternal even more deadly than it was during your confrontation.

Related
Final Fantasy 14: Dawntrail – 8 Best Quests
Here are the best quests in Final Fantasy 14: Dawntrail!
With no external allies to help you at the last moment, it’s all up to you (and your party) to bring down Sphene once and for all. It’ll prove to be a much harder challenge than before, but the possible rewards are worth the trouble, especially if you’re already into the marvelous Extreme Trial mounts added to Dawntrail.
How To Unlock Sphene’s Burden
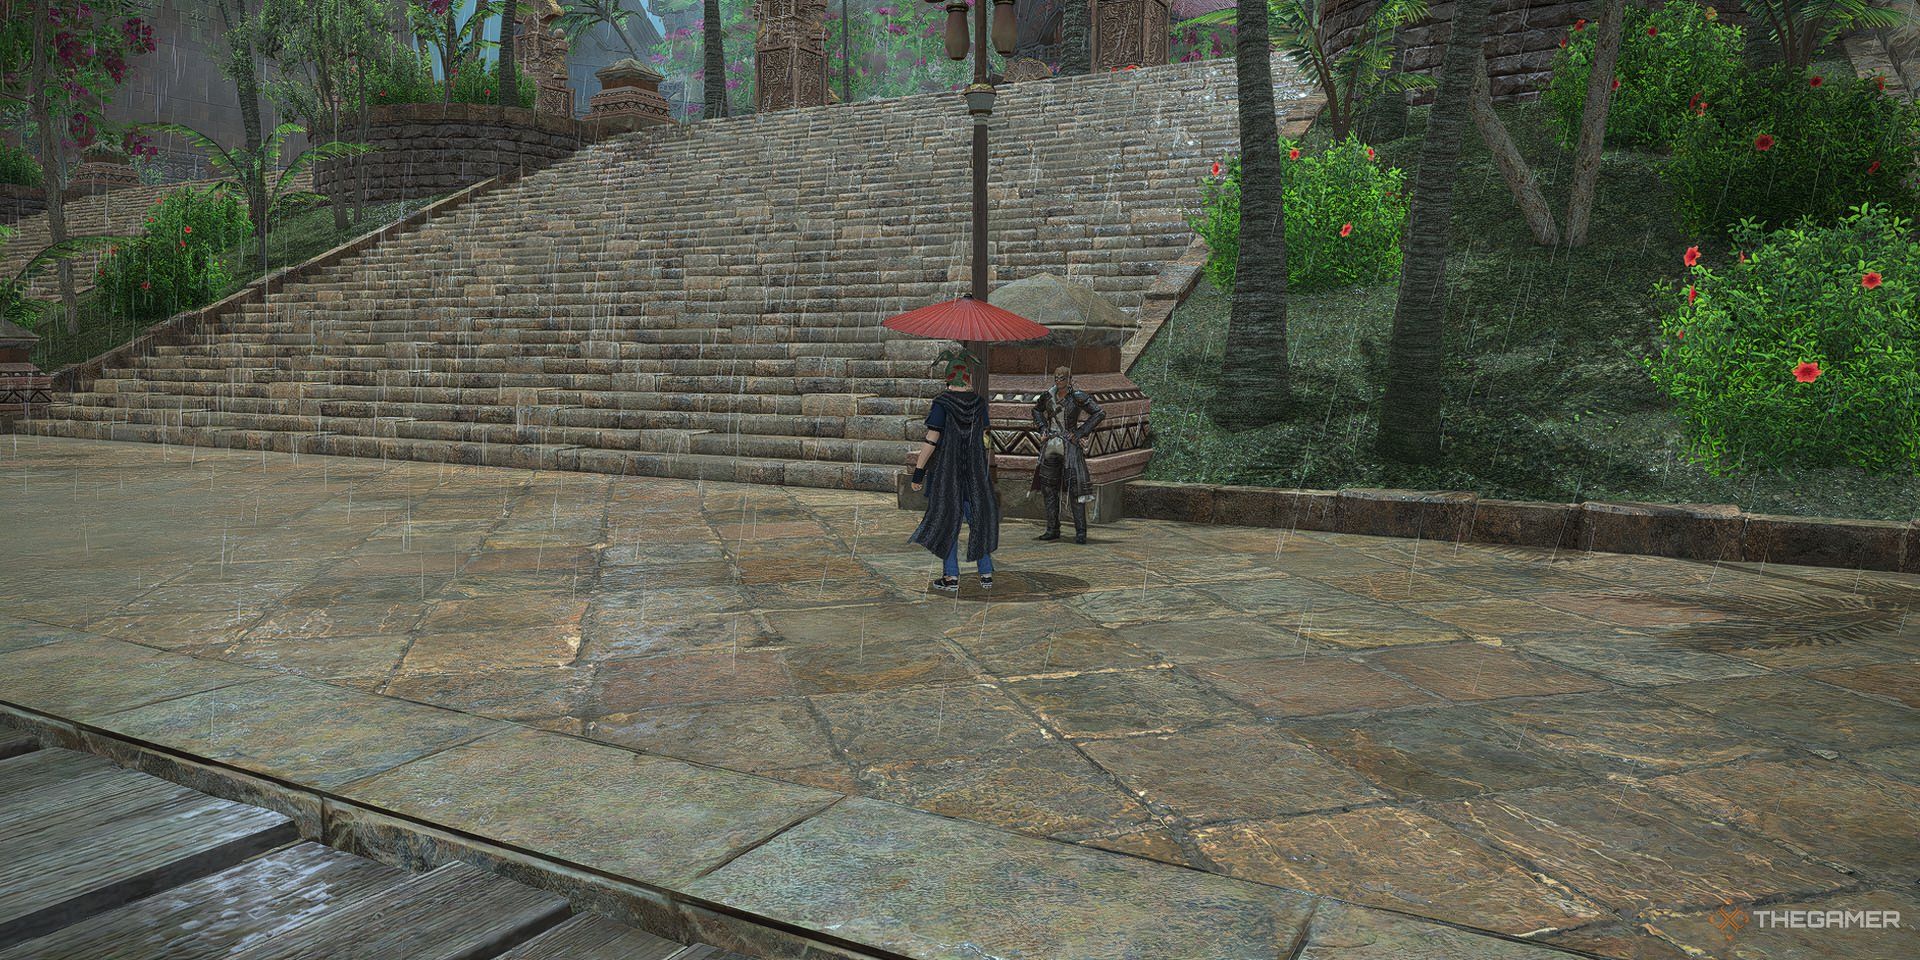
You can unlock The Minstrel’s Ballad: Sphene’s Burden by speaking with the Wandering Minstrel in Tuliyollal (X:11.2, Y:14.7) after finishing the Main Scenario Quest “Dawntrail”. Talk to him about Sphene, and as he composes a melody about the Queen Eternal, you’ll end up unlocking the duty.
The Level 100 Extreme Trial has a minimum Item Level of 710, and pushes everything you’ve seen in the story version to a new level with more deadly attacks.
You can find groups for practicing the fight through the Party Finder. Studying its mechanics beforehand is a must unless joining a ‘blind progression’ party, as well as knowing which strategies each group uses.
Strategies presented here are popularly used in the North American Data Center. Other DCs might have different solutions to certain mechanics.
The Minstrel’s Ballad: Sphene’s Burden Guide
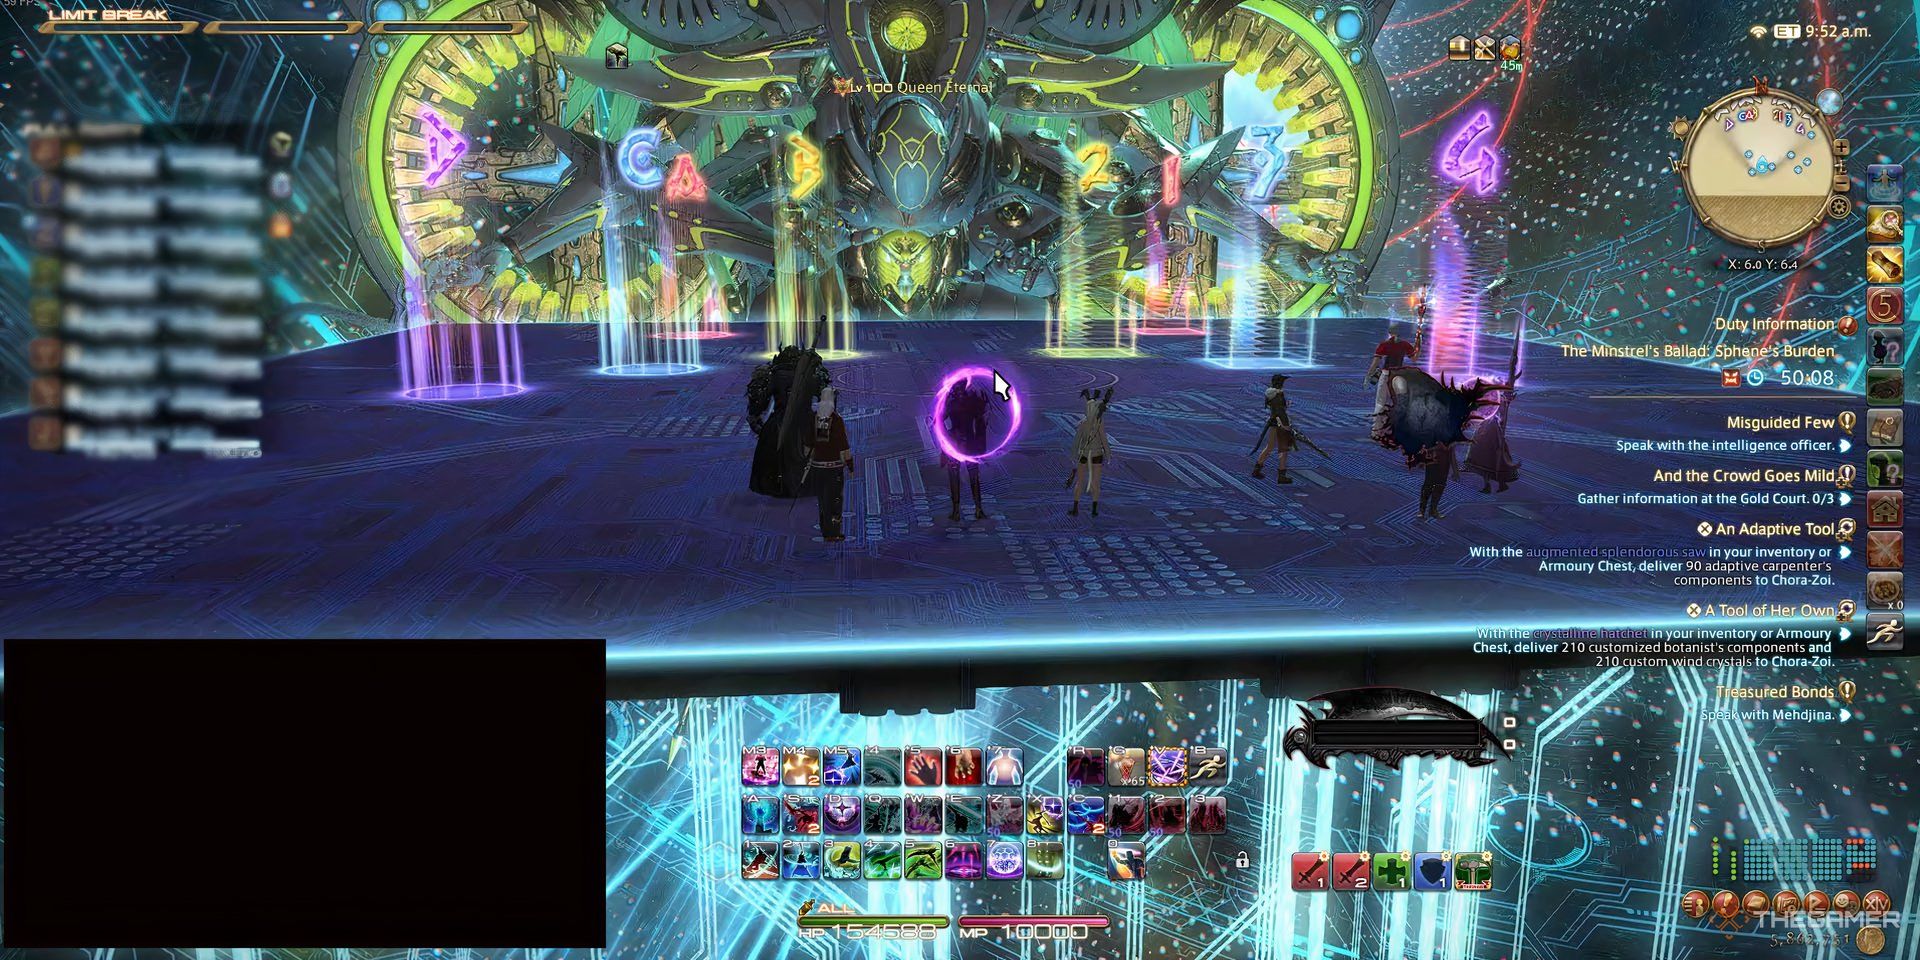
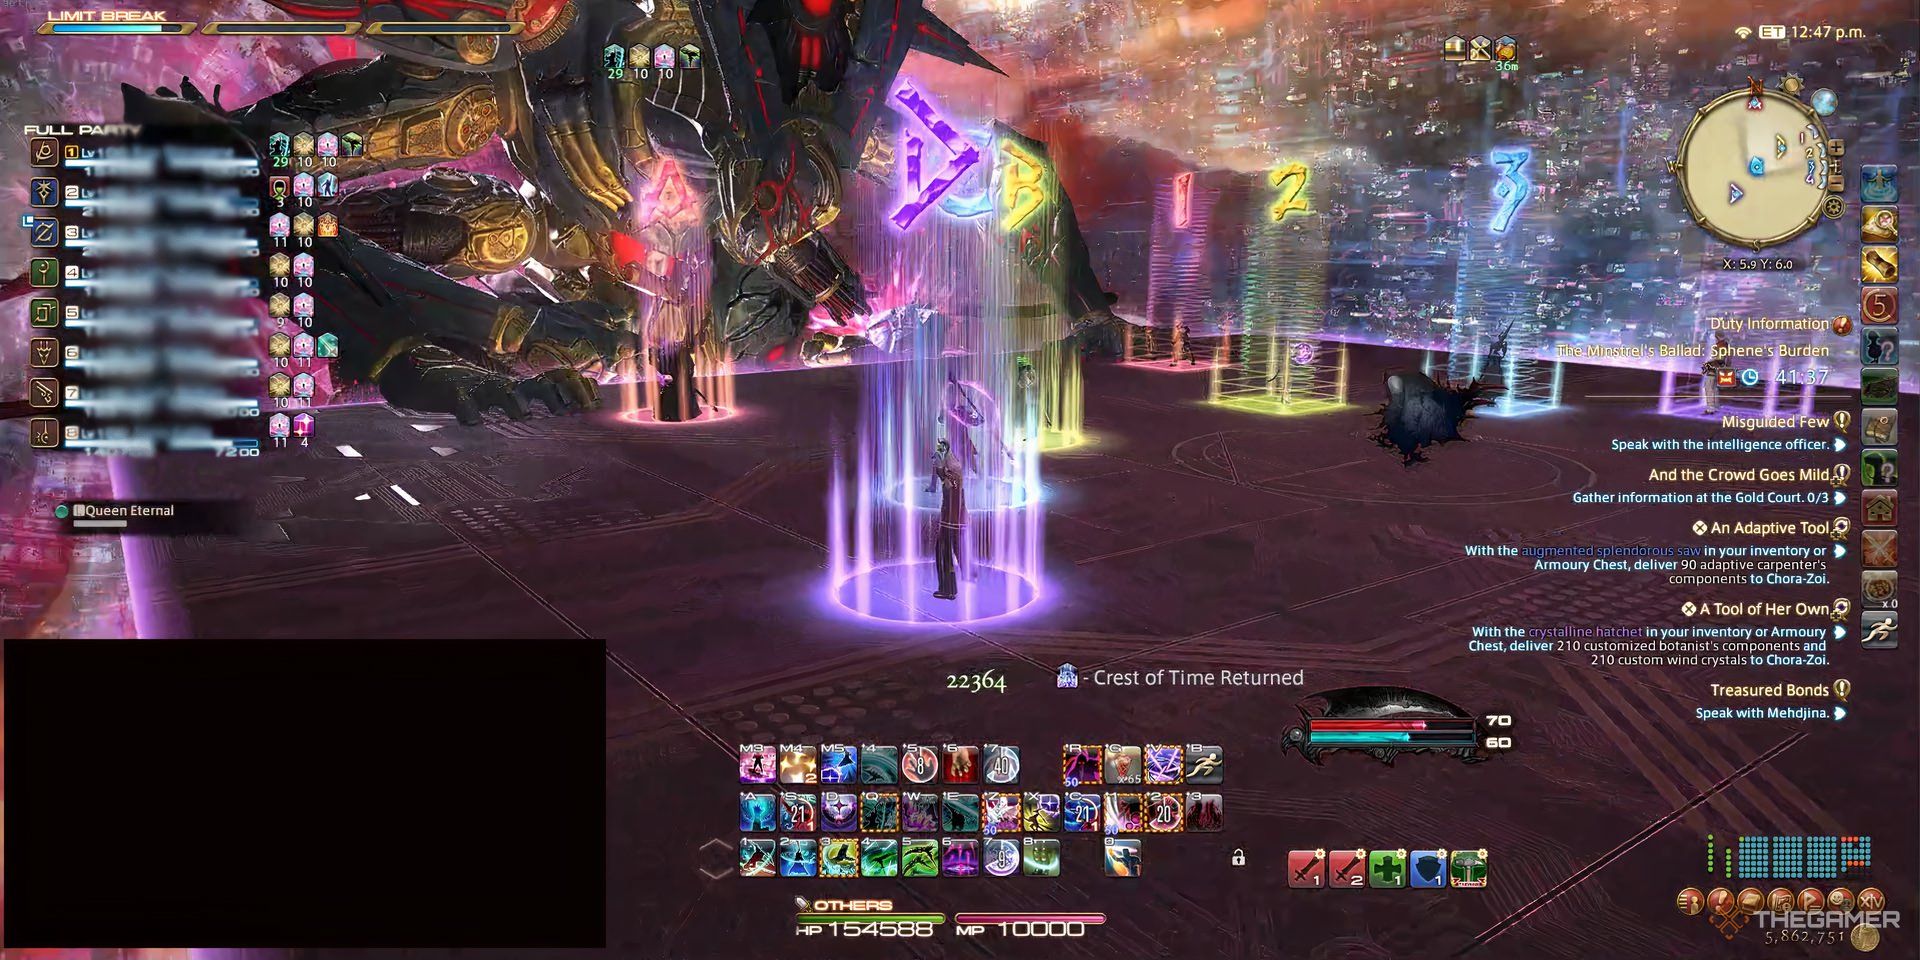
As usual for Extreme fights, separate your group into two Light Parties (2 DPS, 1 Healer, and 1 Tank). Set up square positions for her Meteor Impact attack, in which DPS stands outside and Tanks/Healers inside (relative to which side they are).
The Queen Eternal has the following attacks:
Wind Phase
|
Attack |
Type |
Description |
|---|---|---|
|
Aethertite |
Special |
Similar to normal mode, Sphene distorts a portion of the arena, drawing any players that stand on it. Afterwards, she fires a laser beam at each healer. This damage must be soaked by other players. She repeats this three times, distorting three different points of the arena. Split into your light parties and dodge it accordingly. The points are always the same, but the order is random. |
|
Virtual Shift |
AoE |
Heavy raidwide damage on all players. Transitions the arena to use new attacks. |
|
Laws of Wind |
Stack AoE |
Targets both healers with a stack marker. Group 1 stands northwest while Group 2 stands southeast. The stack leaves a tornado after it concludes, so walk to the center after it resolves. Also, it tethers all DPS with a random Tank/Healer and gives them a random arrow debuff. |
|
Legitimate Force |
Special |
Sphene attacks one side of the arena, then immediately attacks the other. Look at the boss once she casts it. The side that glows first is where she’s attacking first. You must simultaneously deal with debuffs from the previous attack. Here’s how to solve it:
|
|
World Shatter |
AoE |
Heavy raidwide damage on all players. Returns the arena to normal. |
After returning to the initial arena, she uses regular attacks before starting the first real wall in the fight: the Meteors.
Earth Phase
|
Attack |
Type |
Description |
|---|---|---|
|
Prosecution of War |
Double-hitting Tankbuster |
Hits the main target twice, applying a Vulnerability Up debuff. Tanks must swap mid-attacks or use their invulnerability. |
|
Divide and Conquer |
Line AoEs |
Targets all players with a Line AoE. After the final player is hit, the lines reappear at the same spot they were baited. All players must spread and dodge to a safe spot before they reappear. Will kill you if you don’t dodge. |
|
Royal Domain |
AoE |
Raidwide damage on all players. |
|
Virtual Shift |
AoE |
Heavy raidwide damage on all players. Transitions the arena to use new attacks. This new arena has two platforms and a gravity device to push you up or down, letting you cross them. |
|
Laws of Earth |
Special |
Spawns eight “towers”, with four on each platform. Light parties must take these using the square positions defined beforehand. |
|
Legitimate Force |
Special |
Sphene attacks one side of the arena, then immediately attacks the other. Look at the boss once she casts it. The side that glows first is where she’s attacking first. This time, you have to deal with the gravity gimmick and rush to your spot once both attacks are resolved. You cannot soak the tower while mid-air, so don’t forget to get down before heading for the tower. |
|
Gravitational Empire |
Special |
Targets 2 players on each side with a spread debuff and a line AoE.
|
|
Meteor Impact |
Special |
All players are targeted by a meteor that drops above them. Players must be floating, or the meteor kills them.
|
|
Weighty Blow |
Special |
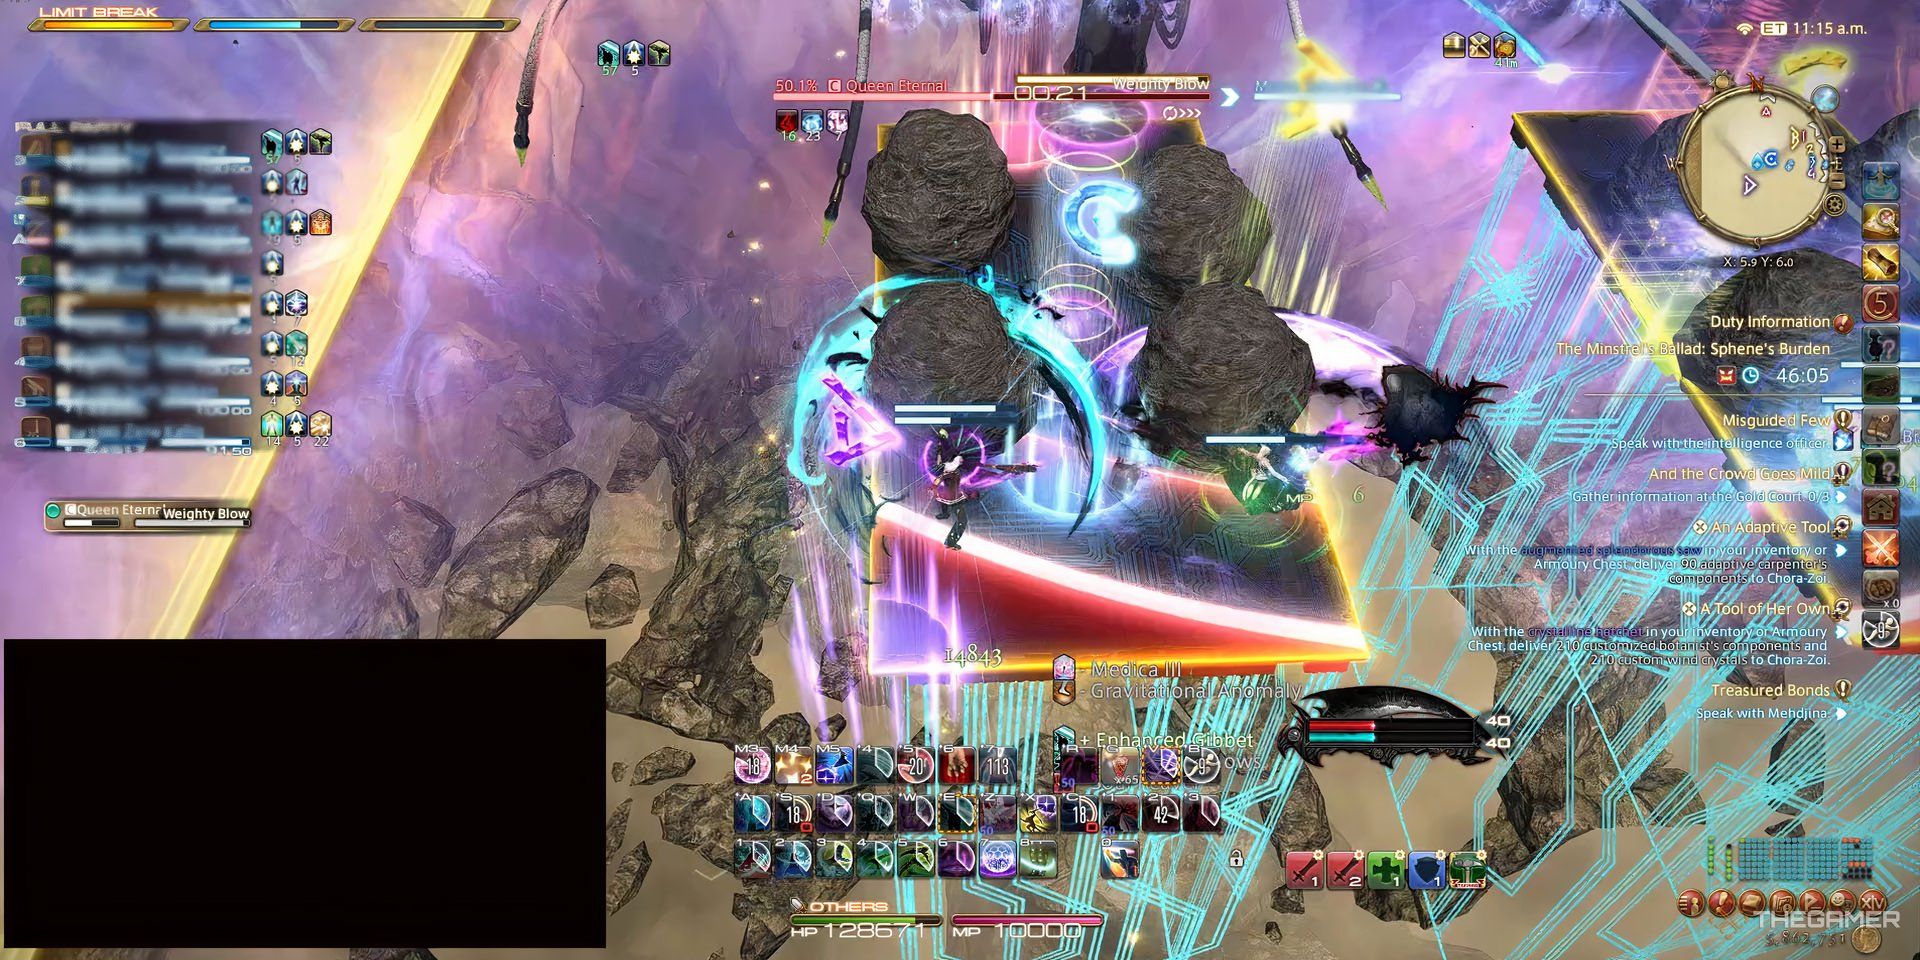
Sphene targets a random player on each platform with an explosive attack four times. These attacks can be blocked by meteors, so the party must stand behind them. Run to the next meteor once the previous one is destroyed. If the front meteors are positioned correctly (not too far in the corner), you can use just the back meteors to hide and won’t need to walk as much. |
|
World Shatter |
AoE |
Heavy raidwide damage on all players. Returns the arena to normal. |
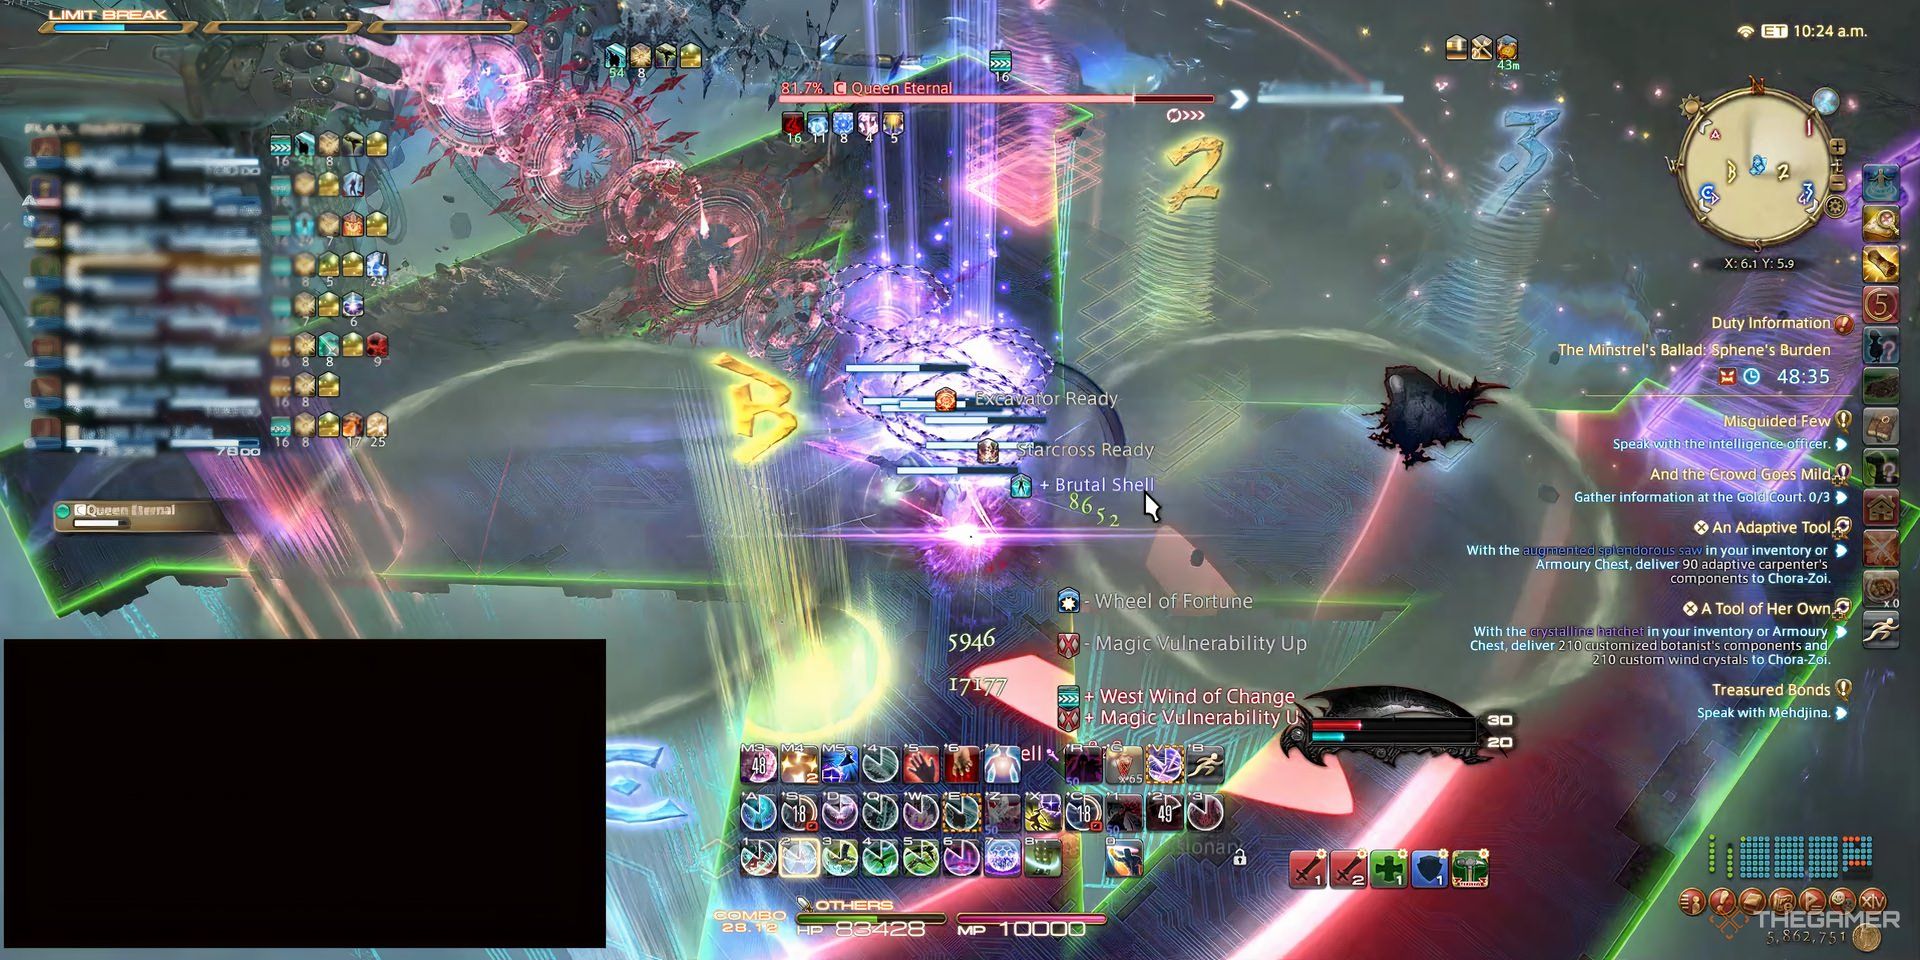
There’s a variation for meteor placement known as “L Meteors”, where players form an L instead of a box. Group 1’s L will be inverted.
This mechanic can take a while to understand, as it’s too much at once. It’s also easy to forget to use the gravity device, or end up overlapping meteors, so be patient. After that, it’s time for Coronation.
Coronation
|
Attack |
Type |
Description |
|---|---|---|
|
Prosecution of War |
Double-hitting Tankbuster |
Hits the main target twice, applying a Vulnerability Up debuff. Tanks must swap mid-attacks or use their invulnerability. |
|
Coronation |
Special |
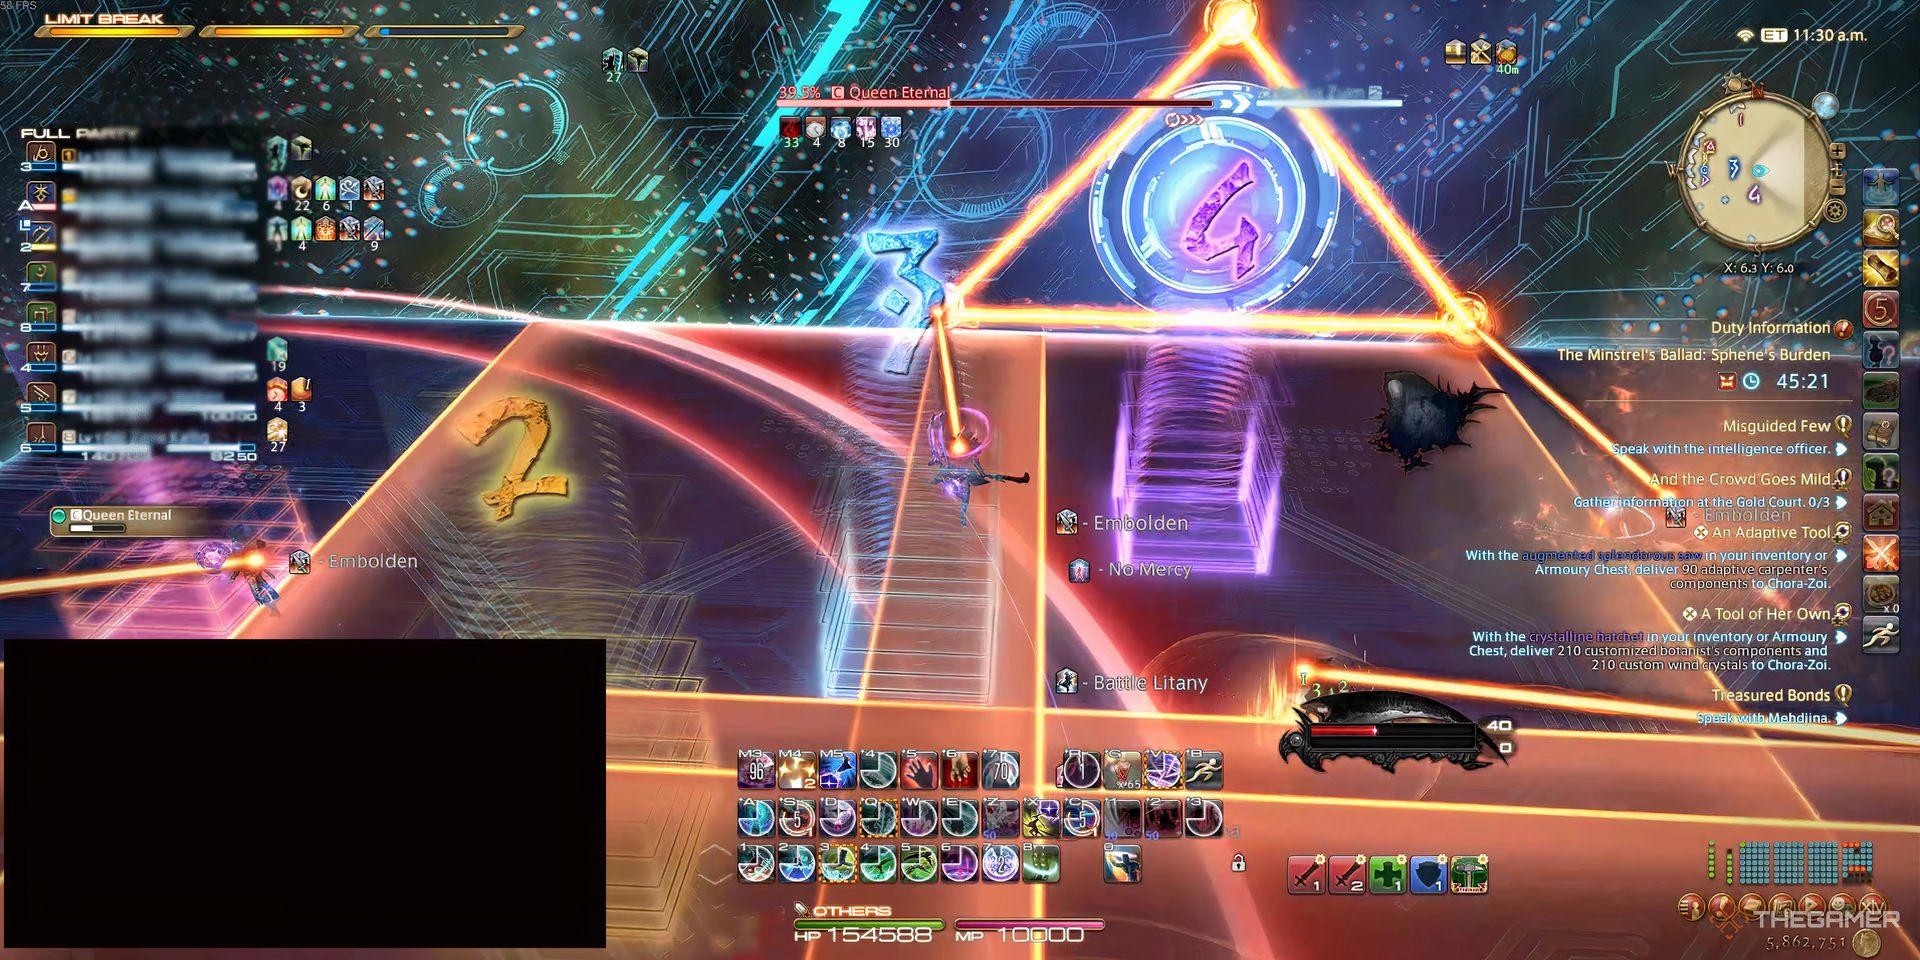
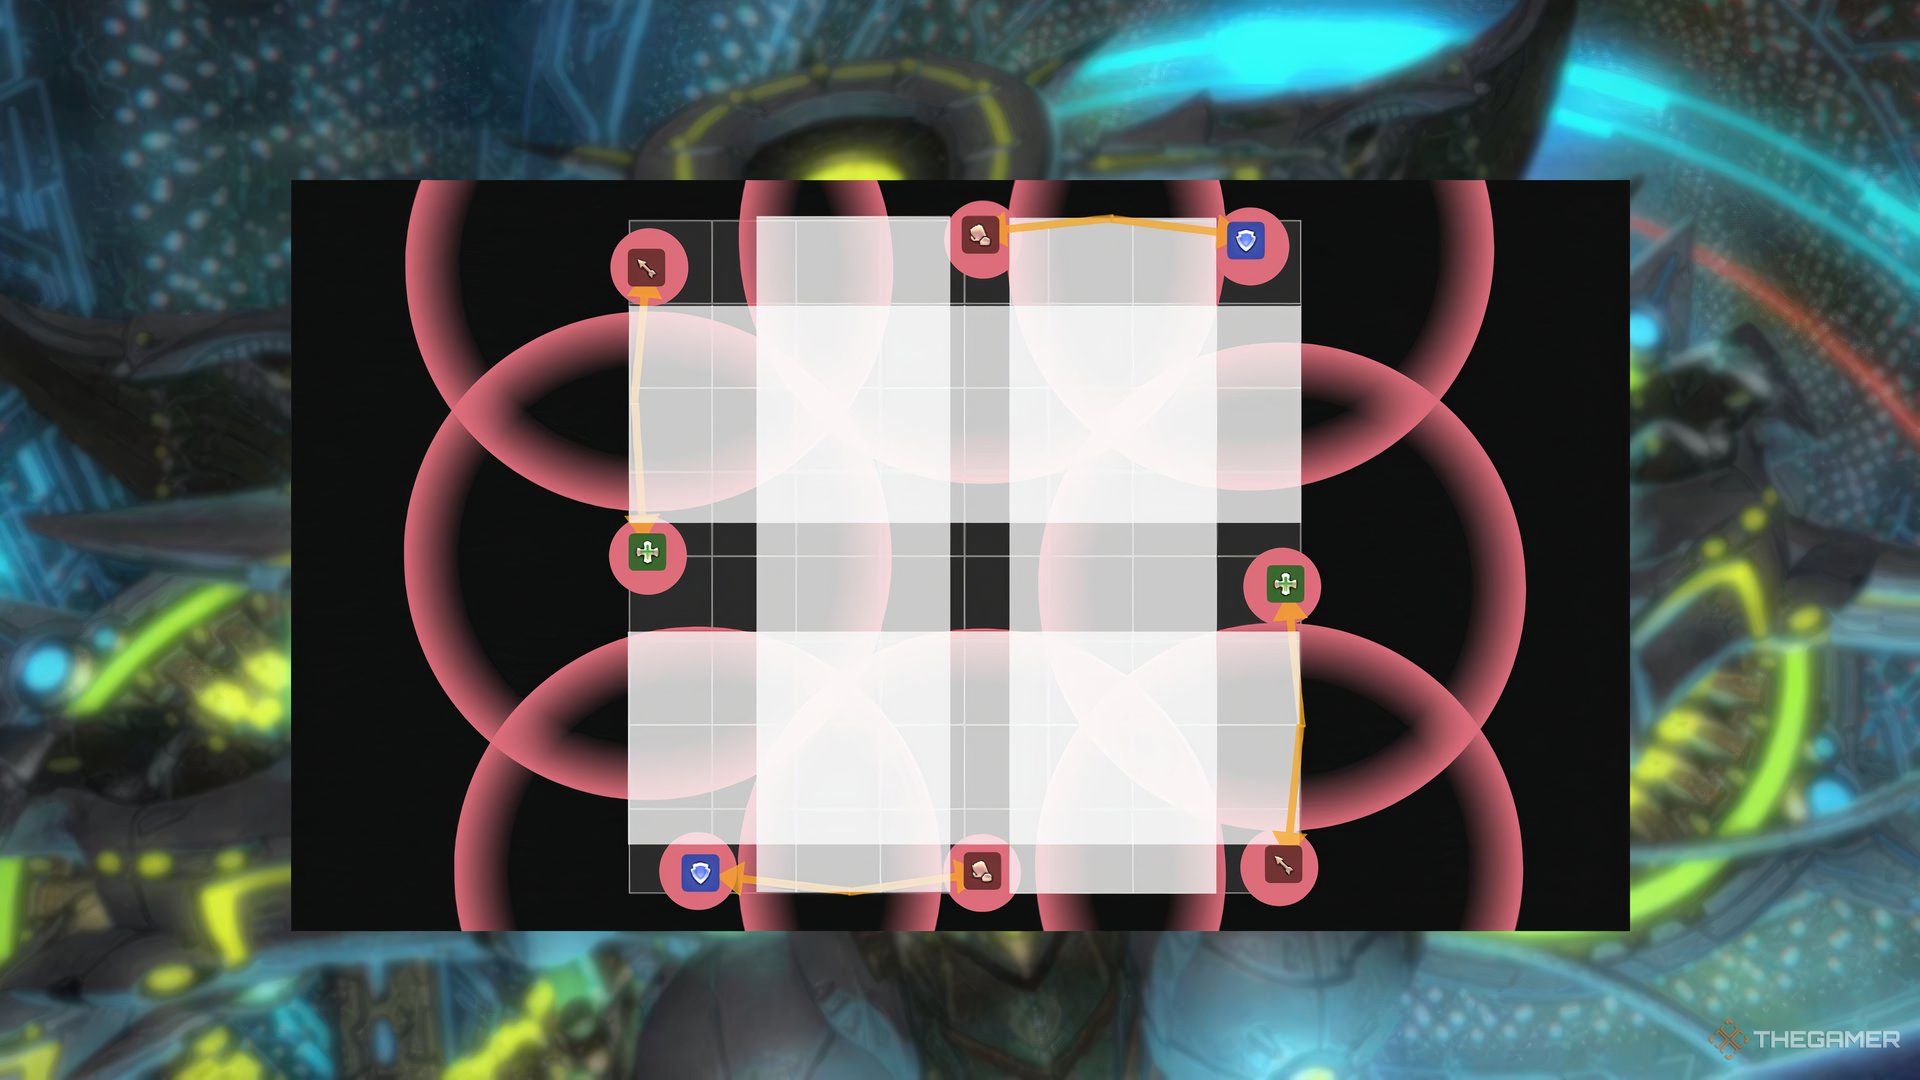
Spawns four triangles through the arena, then targets two random players to each of them. These triangles will shoot a laser directly in front of them, and can be moved by the two linked players. Each player also gets a big spread debuff. To solve this:
|
|
Atomic Ray |
Special |
Laser cast for Coronation. |
|
Absolute Authority |
Special |
After Coronation concludes, drops various damage puddles below all players, while simultaneously launching heavy-hitting AoEs. Finished with a knockback that can kill you, so use your immunity here.
|
Coronation is much simpler than it seems, so don’t be scared when you see it. Here’s an example of what the spreads should look like. Any player can be in any spot, as tethers are fully random.
Absolute Authority is a huge healing check, so healers should save enough resources for it, but still ensure no one dies from previous mechanics. Coronation itself isn’t enough to kill, so no need to overmitigate it.
After that, it’s finally time for the penultimate phase.
Ice Phase
|
Attack |
Type |
Description |
|---|---|---|
|
Virtual Shift |
AoE |
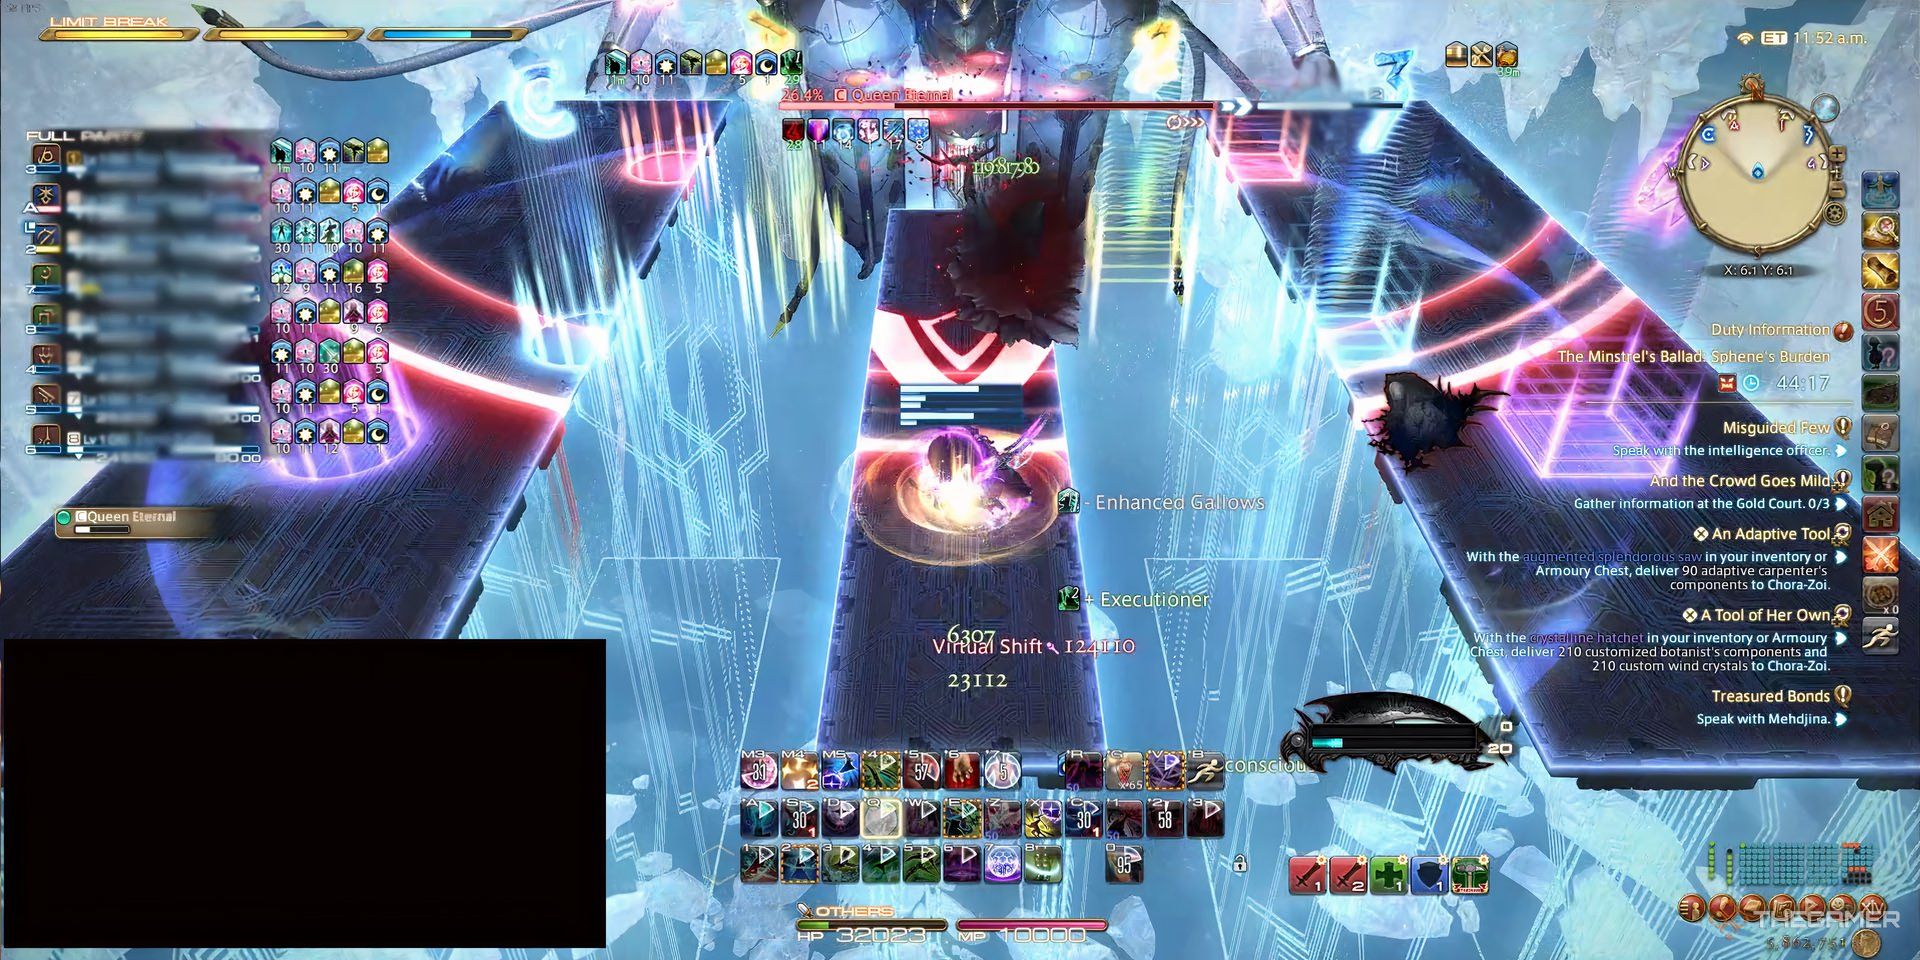
Heavy raidwide damage on all players. Transitions the arena to use new attacks. The new arena has ice platforms, and if two or more players stand on it at the same time, it breaks, killing all of them. |
|
Laws of Ice |
Special |
Puts a timer on all players. Keep moving when the timer is over, or you’ll freeze. |
|
Rush |
Line AoE |
Links all players to an ice shard that kills them if not stretched correctly. You can only stretch it on the side platforms, and each shard has a specific place to stretch. Four shards spawn from south, and then four more spawn from the sides. All players should stay in the middle platform during Laws of Ice, then follow these rules:
|
|
Legitimate Force |
Special |
Sphene attacks one side of the arena, then immediately attacks the other. Look at the boss once she casts it. The side that glows first is where she’s attacking first. Make sure you cross back to the middle platform in time, but be careful not to break the bridges. |
|
Laws of Ice |
Special |
Puts a timer on all players. Keep moving when the timer is over, or you’ll freeze. Simultaneously, two players are targeted with a tether, and another is targeted with a line stack. The tether deals a huge AoE around its target, and the damage is enough to kill players on the line stack. The tethers hit four times. To solve it:
|
|
Virtual Shift |
AoE |
Heavy raidwide damage on all players. Transitions the arena, but this time back to normal. |
The whole ice phase is definitely the hardest part of the fight. Everything happens very quickly, so you need to react accordingly.
Overcoming this onslaught puts you in a soft enrage phase. The Queen Eternal uses attacks you’ve already seen until you bring her HP to 0.1 percent. The moves are the following:
- Prosecution of War (Double tankbuster)
- Royal Domain (AoE)
- Legitimate Force (Half-arena cleaves)
- Royal Domain (AoE)
After these, she’ll cast Autorithy Ethernal. You have until the end of her cast to lower her HP, or she’ll wipe the raid. If you succeed, you finally enter the final phase. This phase is simple, but gimmicky:
Shifting Phase
|
Attack |
Type |
Description |
|---|---|---|
|
Radical Shift |
Special |
Changes the regular arena to one of the three alternative arenas (Wind, Earth, or Ice). Pay attention to the spinning effects behind Sphene. If they’re spinning clockwise, the new arena will be the one displayed east. If it spins counterclockwise, it’ll be the arena on west. Prepare yourself accordingly, so you don’t fall when the new arena drops. After the arena is changed, all players receive a spread debuff. It does little damage, but kills if overlapped. She does it twice |
|
World Shatter |
AoE |
Heavy raidwide damage on all players. Returns the arena to normal. |
|
Dimensional Distortion |
Flare AoE |
Creates various moving AoE circles at the top of the arena in two sets. Stand on top of the second set and wait for the first to go out, then immediately enter to dodge the second. |
|
Tyrant’s Grasp |
AoE |
Hits the front area of the arena (where players just dodged Dimensional Distortion) and creates two towers. Tanks must take these towers. Afterwards, she starts dealing heavy raidwide damage. |
|
Royal Banishment |
Line AoE |
More heavy AoEs in a stack line. Needs heavier mitigation than the previous attacks. |
After Royal Banishment, Sphene repeats Radical Shift two more times, If she’s not killed by then, you have one final cast of Preservation to get the clear, or you’ll wipe to her enrage.
Popular markers for this fight are the “AFK markers” for Radical Shift. You can stand on them without worrying about falling. Just don’t stand exactly in the center, as some patterns can still make you fall.
Minstrel’s Ballad: Sphene’s Burden Rewards
Each player immediately gets x2 Totem Eternal, which can be exchanged for other rewards. Aside from that, the Treasure Coffer will drop the following items:
|
Item |
Type |
Guaranteed? |
|---|---|---|
|
Queen Eternal Weapon Coffer (ILVL 725) |
Weapon |
Yes |
|
Random Eternal Weapon |
Weapon |
Yes |
|
Faded Copy of Paved in Solitude |
Orchestrion Roll |
No |
|
Eternal Queensguard |
Material |
No |
|
Wings of Eternity |
Mount |
No |
You can also get the Queen Eternal Triple Triad Card at a random chance, which is also immediately added to your inventory.
Totem Eternals can be exchanged in Solution Nine with Uah’shepya at (X:8.7 Y:13.5) for the weapons, in case you’re unlucky with your rolls. Ten Totems are needed per weapon.
The Wings of Eternity can also be obtained for x99 totems, but only a few months after the fight is released.

Next
Final Fantasy 14: Every Unique Hairstyle And How To Get Them
In FF14, unique hairstyles can be unlocked through gameplay. We look at all the hairstyle options and how to unlock each one for your characters.




Leave a Reply