Quick Links
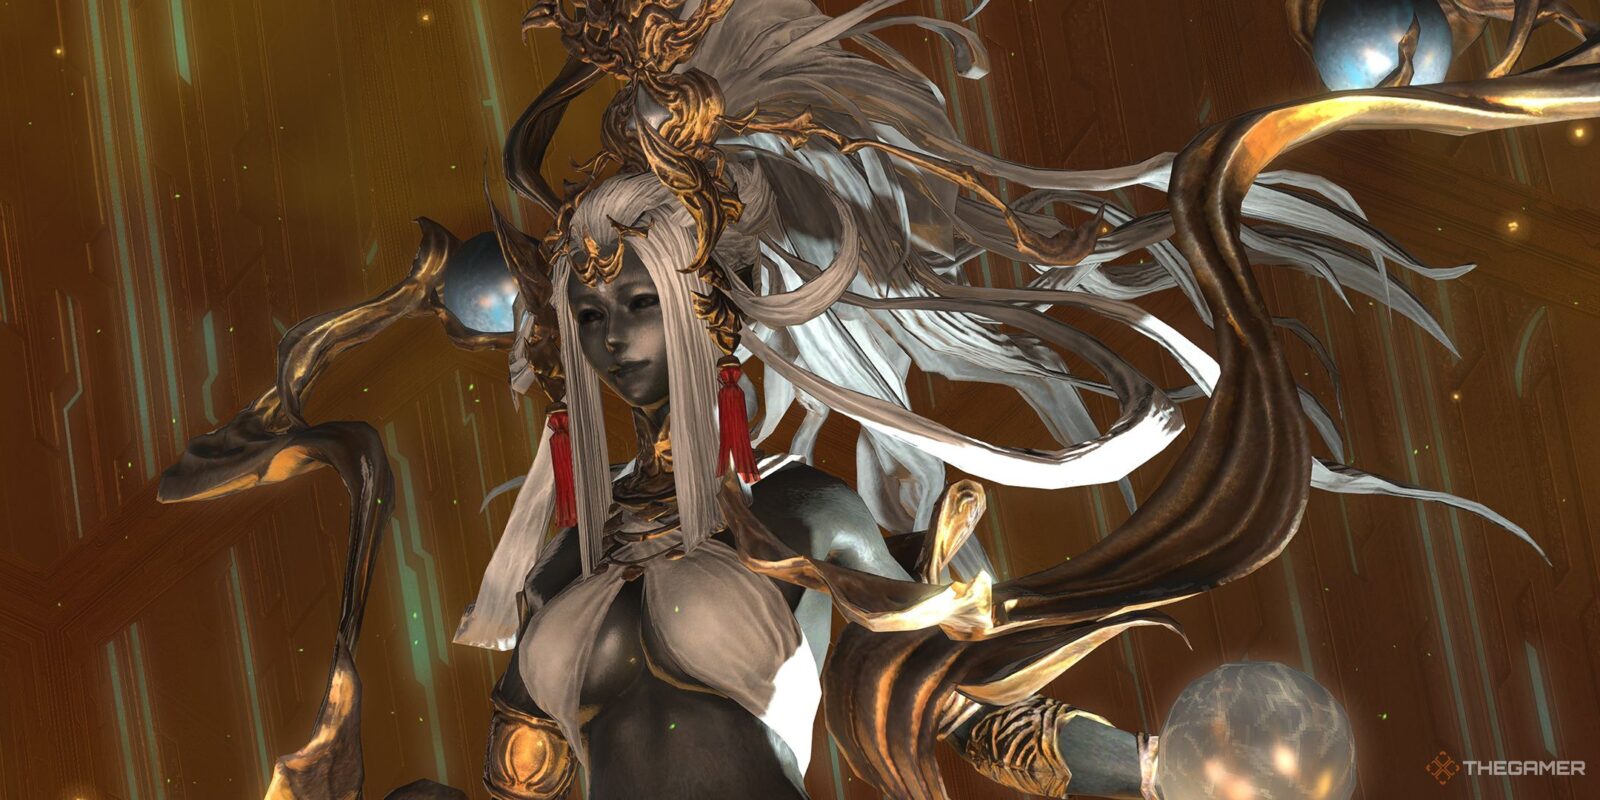
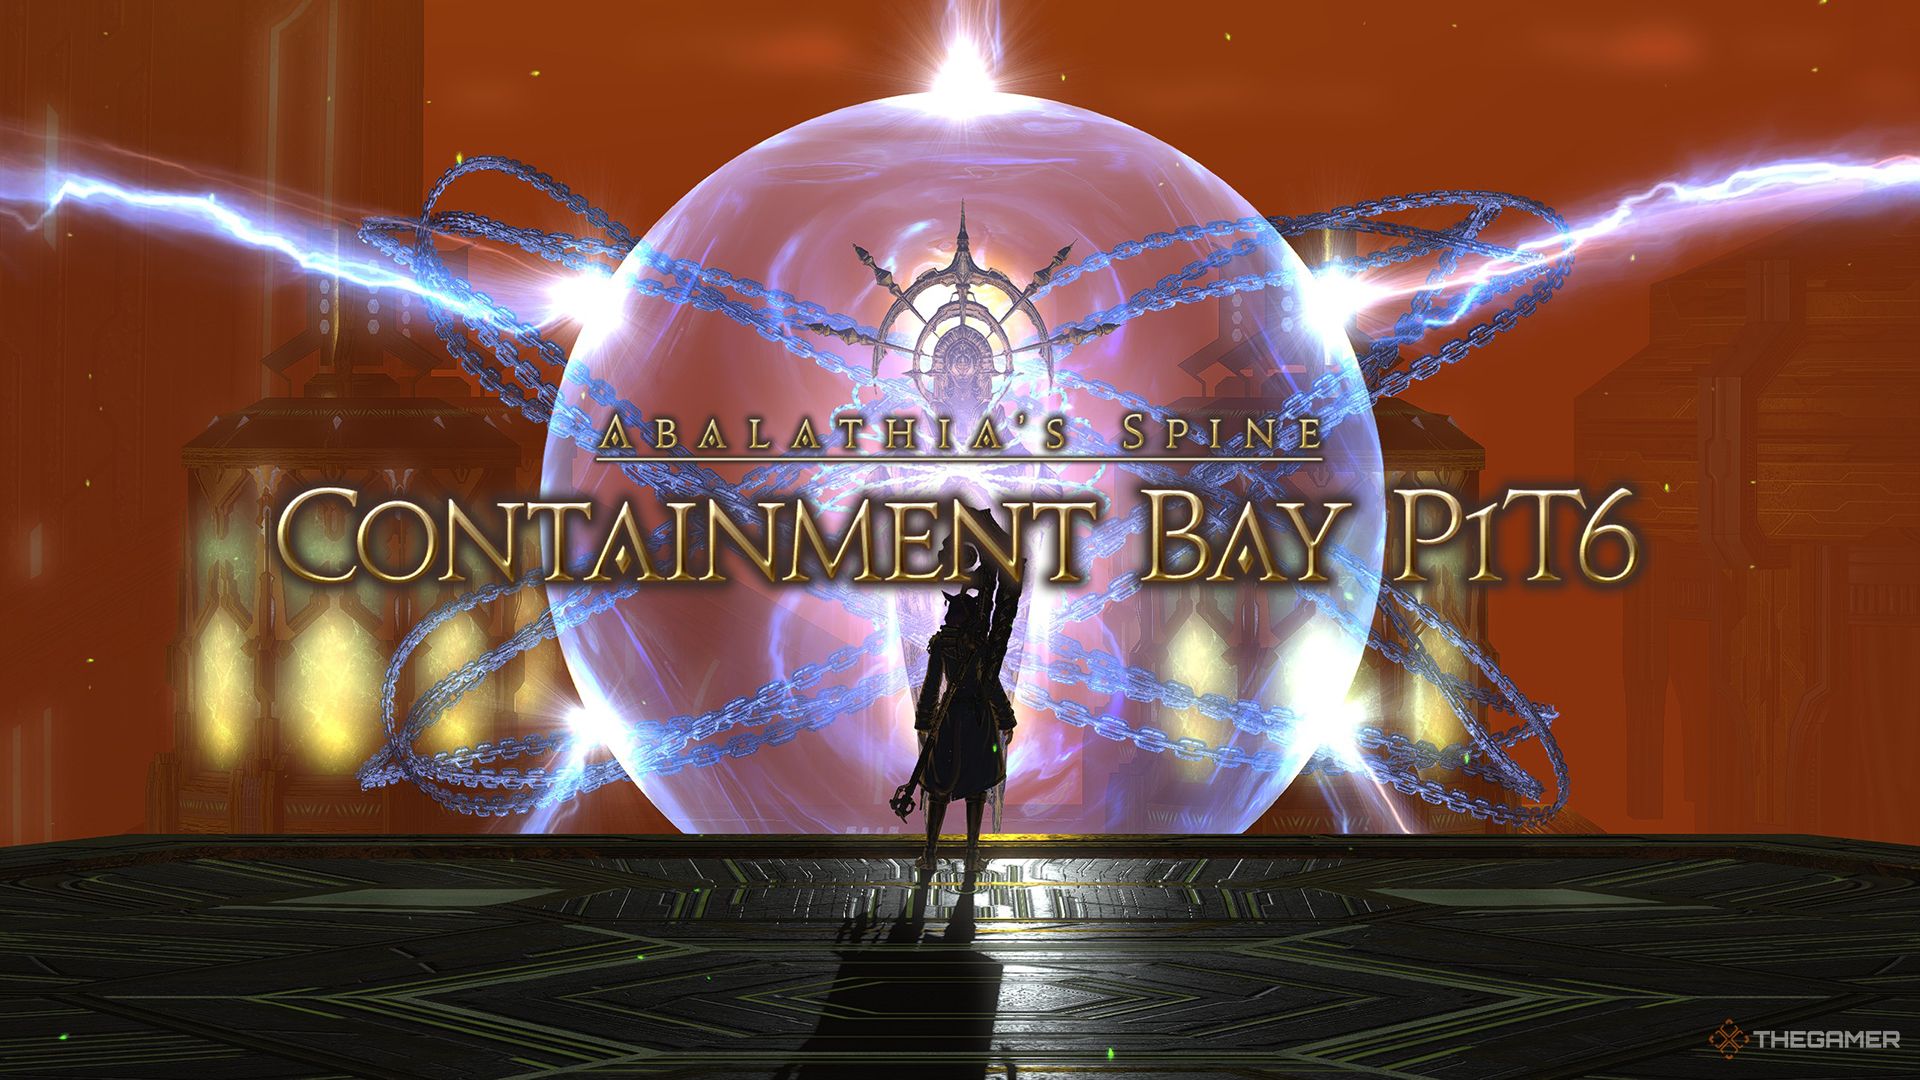
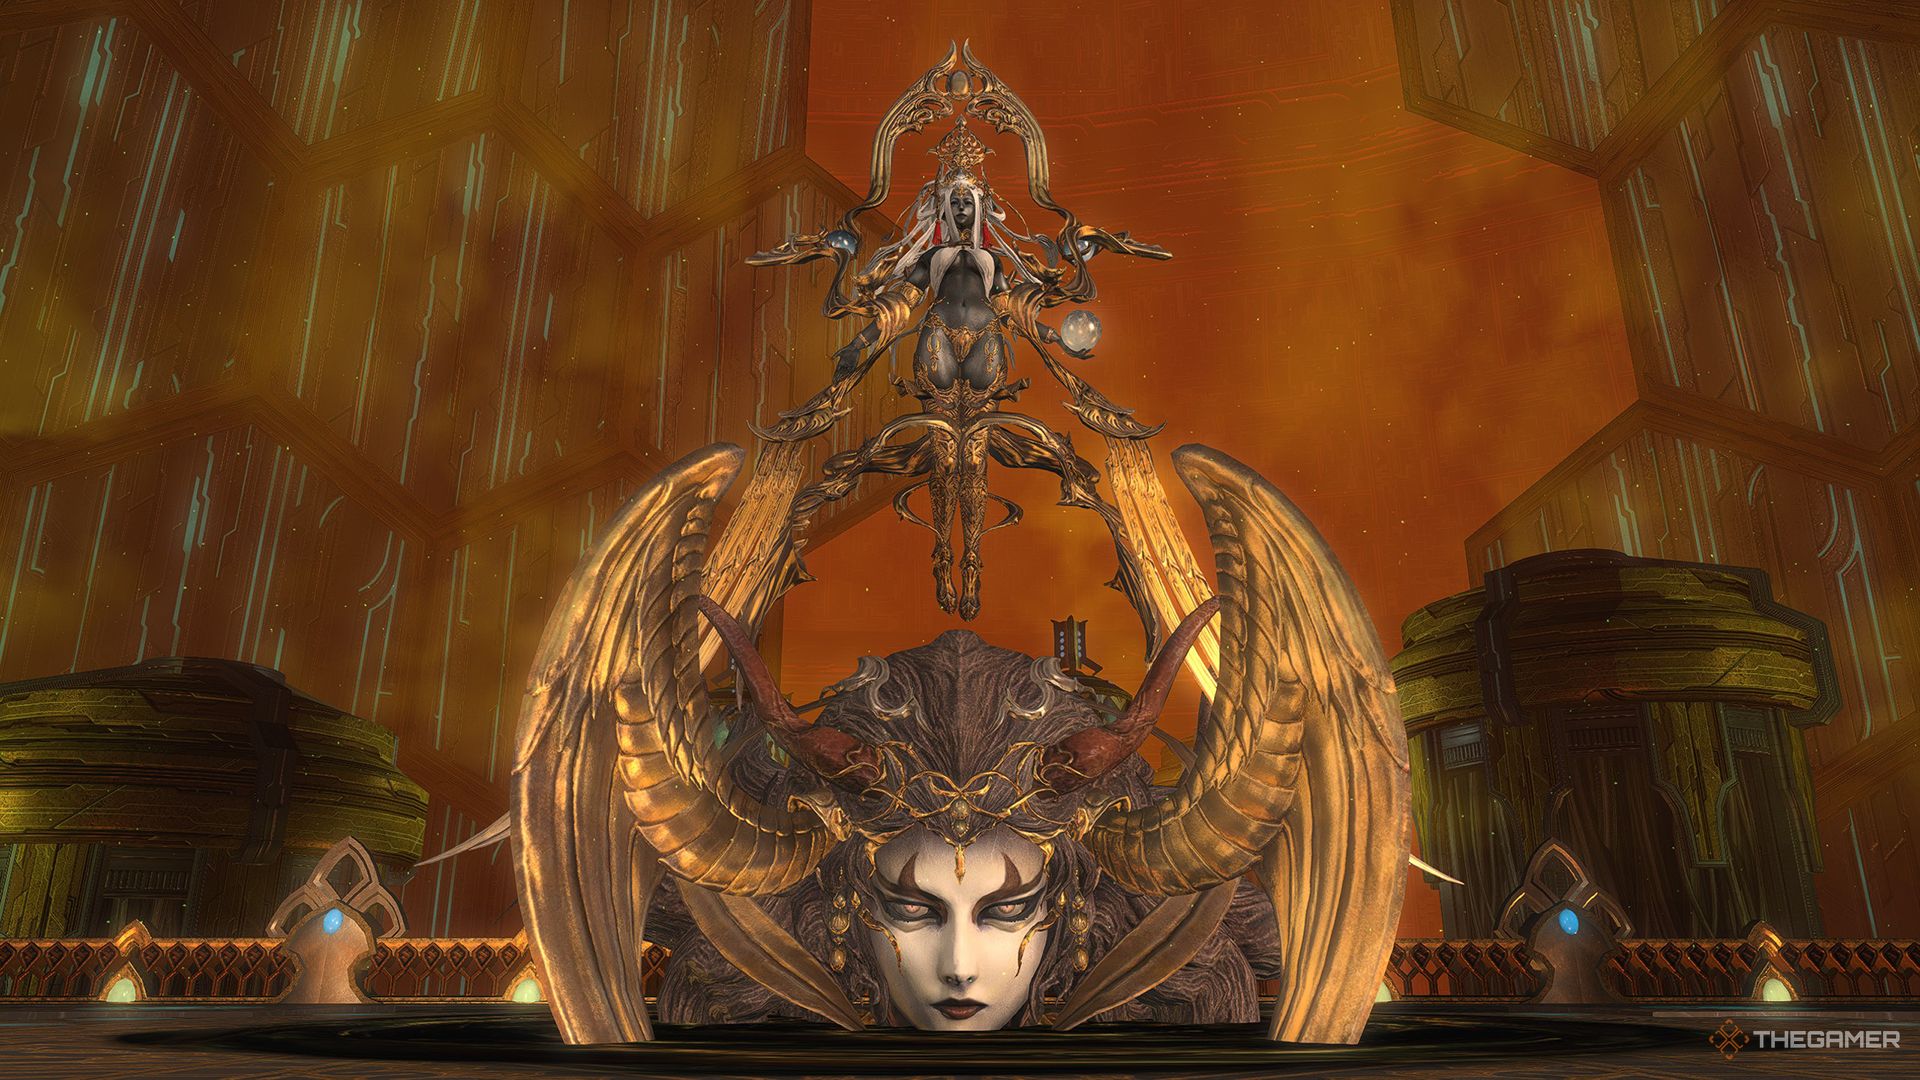
Containment Bay P1T6 is a level 60 Trial in Final Fantasy 14, and the second in the Warring Triad series. This time, you will face Sophia, The Goddess, a one-time ruler of man in Meracydia, where she enacted perfect balance to her worshippers.
Related
If you want to tip the scales and defeat Sophia, you’ve come to the right place. This boss has several attacks that may catch you off guard the first time around, but that’s nothing a little practice and foresight can’t help. Below, we’ll take a look at everything you need to know about Sophia of the Warring Triad, including how to unlock this fight and how to beat her.
How To Unlock Containment Bay P1T6
Containment Bay P1T6 is the second in the Warring Triad series, so you’ll need to first complete the quest ‘When the Bough Wakes’ and defeat Sephirot. Then, you can accept the quest ‘The Fate of Stars’ from Unukalhai in The Rising Stones (X:6, Y:5), followed by the quest ‘Balance unto All’ from the same place, which unlocks Containment Bay P1T6.
Sophia Fight Walkthrough
This fight is divided into three distinct phases, in which different mechanics will occur.
Phase 1
The fight will begin with Sophia using the following attacks and mechanics.
|
Attack Name |
Type |
Details |
|---|---|---|
|
Aero III |
Point blank AoE/Knockback |
Sophia deals damage in the area around herself that knocks back. Move out of the AoE indicator to avoid this attack. |
|
Thunder III |
Ring AoE |
Deals damage in a large ring AoE, with a safe spot inside of Sophia’s hitbox or outside of the AoE, near the edges of the arena. Quickly move toward Sophia or out of the AoE indicator to avoid Thunder III. |
|
Light Dew |
Line AoE |
Sophia will send Daughter, her head mount, away, which will reappear along one side of the arena. Then, Daughter will fire a laser in a line AoE forward, dealing damage and inflicting Vulnerability Up. When Daughter disappears, look around the arena and move accordingly to dodge this attack. |
|
Quasar |
Proximity AoE |
Sophia will place proximity AoEs in the center of the arena that deal more damage the closer you are. Run away from the center of the arena to reduce the damage of Quasar. |
|
Onrush |
Line AoE |
Sophia will become untargetable before quickly reappearing along the east or west edges of the arena. Then, she will charge forward, dealing damage in a line AoE and inflicting Vulnerability Up. Watch where Sophia reappears and move accordingly to dodge. |
|
Cintamani |
Roomwide AoE |
Deals unavoidable damage to the whole party. Recover with AoE healing. |
|
Thunder II |
Conal AoE |
Deals damage in a conal AoE to the front of Sophia and inflicts Electrocution, dealing damage over time. Move out of the AoE indicator to avoid. |
Around 70 percent health remaining, Sophia will teleport to the north edge of the arena, then cast Cloudy Heavens, marking the beginning of the second phase of the fight.
Phase 2
Cloudy Heavens will inflict all players with Eternal Doom, a debuff that will inflict Zombification when the timer expires, which will turn them into mindless zombies that randomly attack allies.
At the same time, Sophia will summon the First, Second, and Third Demiurges; killing these enemies will remove Eternal Doom. The Second Demiurge can use Cure II to heal the other two, so we recommend taking out this one first.
The Second Demiurge will also use Divine Spark, a Gaze attack that inflicts Confused if you are looking at the enemy when the cast finishes. To avoid this attack, turn around so your back is to the enemy.
Between the Third and First Demiurge, the Third is more dangerous. This enemy will create an ice puddle on the arena that deals damage and inflicts Frostbite, which will be problematic during the upcoming phase transition. If possible, one Tank should drag the Third Demiurge to one of the corners of the arena until it drops the puddle, then bring it back to the rest of the group.
Finally, defeating the last of the Demiurges will cause Sophia to cast The Scales of Wisdom, tipping the arena in either direction, dealing damage to all party members, and removing the railings on the edges of the arena.
Phase 3
In Phase three, it is now possible to fall off the edge of the arena, so be careful.
For the most part, Sophia will use the same attacks as the first phase, but with a few additions and changes.
|
Attack Name |
Type |
Details |
|---|---|---|
|
Quasar |
Knockback |
Sophia will tether to one of the scales on the right or left side of the arena, causing a meteorite to drop on it and tilt the arena in that direction. Run to the opposite side of the arena to avoid being knocked off the edge. Subsequent uses of this attack will also incorporate the proximity AoE from the previous phase. Move accordingly to reduce the damage of the AoE while avoiding being knocked off the arena. Later in the fight, Sophia will tether to both scales, but one side will have two tethers connected to it, making it ‘heavier’ than the other side. Run to the side with the least amount of tethers. |
|
Cintamani |
Roomwide AoE |
This attack will now be used two times in a row. |
|
Sin and Punishment |
Special |
Players will be marked with either a white or black circle, which will deal damage and inflict Bleeding after a short delay. To prevent this, players will need to partner up and stand near someone of the opposite color circle, which will negate the damage and debuff. |
When Sophia reaches low health, she will summon one of the three Demiurges from before. If her health is low enough, you can ignore the add and take out Sophia. Alternatively, you may wish to kill the Demiurge to make the rest of the fight easier.
Sophia will repeat these attacks, along with most of the ones from phase one, until she is defeated. The main thing to watch out for during this final phase is your positioning. Falling off the edge will instantly kill you, so you’ll need to be especially mindful of where you’re standing.
Next
Final Fantasy 14: The Jade Stoa (Extreme) Trial Guide
Here’s how to beat The Jade Stoa (Extreme) trial in Final Fantasy 14.




Leave a Reply