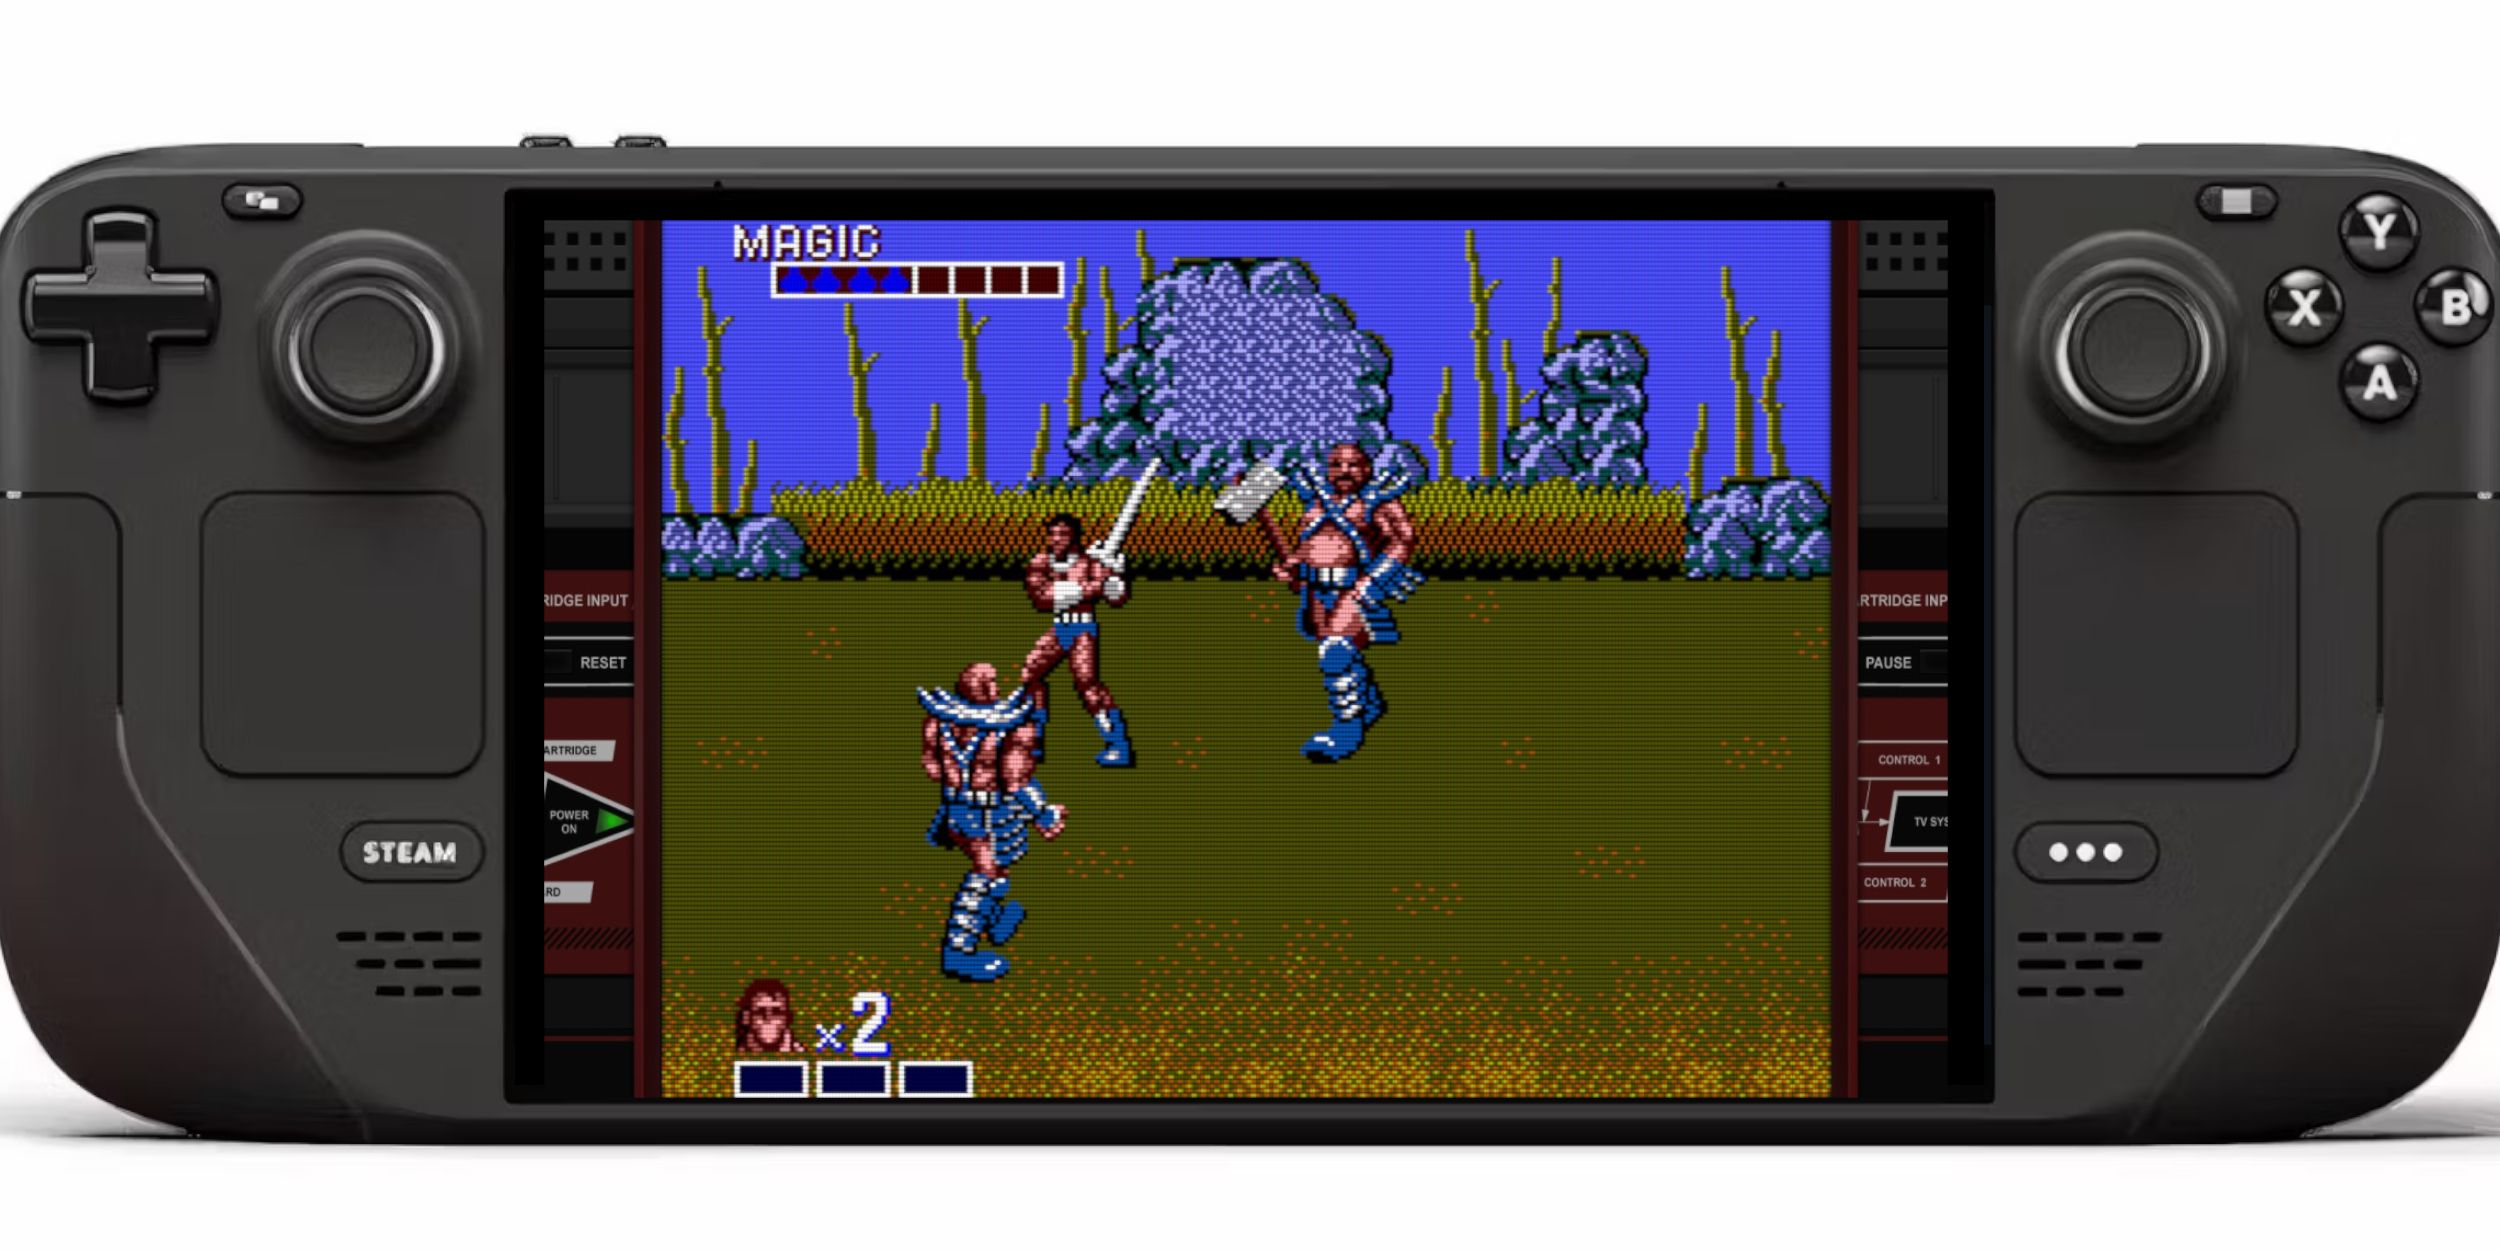
The Sega Master System, an 8-bit competitor to the NES, offered fans fantastic games that were either exclusive to the console or had unique versions. Notable titles on the Sega Master System included exceptional ports and versions of Golden Axe, Double Dragon, and Streets of Rage, among others. The console even stretched its capabilities with games like Mortal Kombat and Asterix & Obelix, which performed closer to 16-Bit Megadrive/Genesis titles of that era.
Enthusiasts of retro gaming are limited when playing Sega Master System games on a modern system, yet the Steam Deck, coupled with a robust program known as EmuDeck, makes this feasible. Here’s how to install the emulators for Sega Master System games on the Steam Deck.
Related
Steam Deck: How To Play Xbox 360 Games
For those unsure of what the process entails, here’s how to run Xbox 360 games on the Steam Deck with the EmuDeck and Emulation Station.
Updated January 15, 2024, by Michael Llewellyn: Sega Master System games aren’t an issue for a system as powerful as the Steam Deck, but being unable to replicate the performance of an 8-bit games console can cause problems. That’s where the Decky Loader program and a Power Tools plugin come in. The EmuDeck developers recommend installing both to get the best from retro games. As such, this guide has been updated to outline the installation steps and detail the fix required to restore functionality after a Steam Deck update.
Before Installing EmuDeck
Before installing EmuDeck on the Steam Deck for Sega Master System games, you must have the appropriate tools and settings for a seamless installation process:
- Ensure the Steam Deck is either plugged into a mains or fully charged.
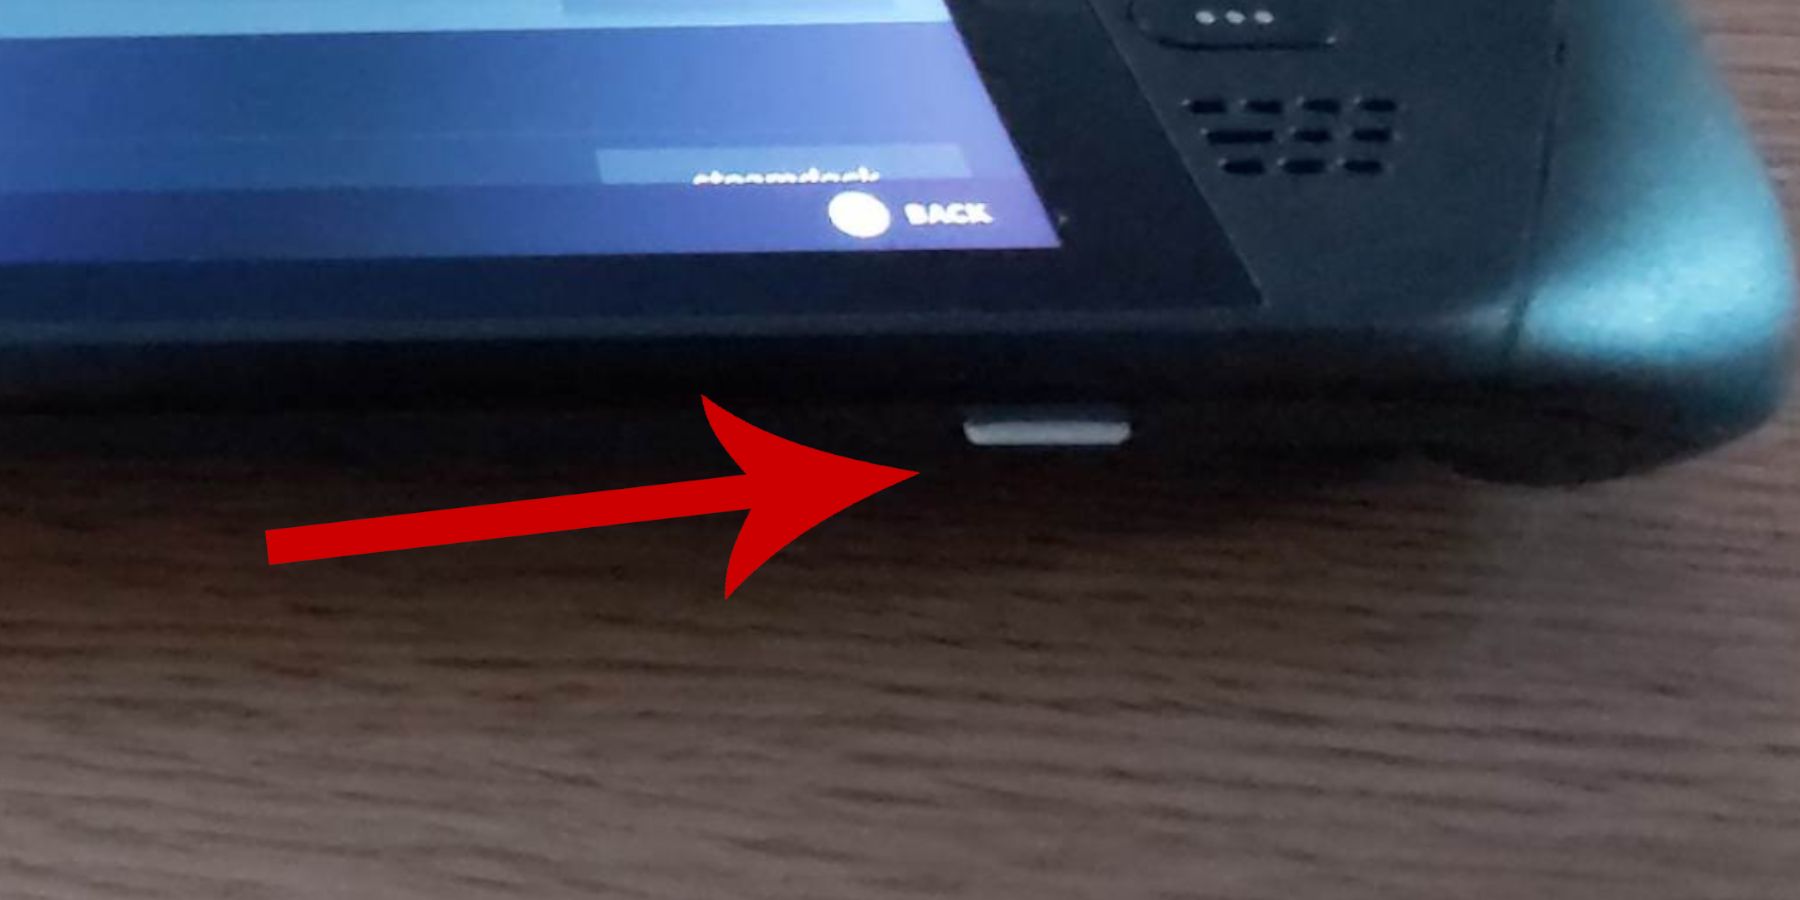
- You’ll need a high-speed micro SD card to plug into the bottom of the Steam Deck and format on the Steam Deck.
- Instead of an SD card, you could use an external HDD, but the Steam Deck will lose its portability as a result.
- Using a keyboard and mouse like a home computer can streamline the process of transferring files and executing installation programs.
- If you don’t have a keyboard and mouse, you can pull up the built-in keyboard by pressing the Steam and X buttons together and use the trackpads instead of a mouse.
Activate Developer Mode
Before installing emulators and expecting to run games properly on the Steam Deck, you must activate Developer Mode to ensure everything plays and runs smoothly.
- Press the Steam button to open the left access panel.
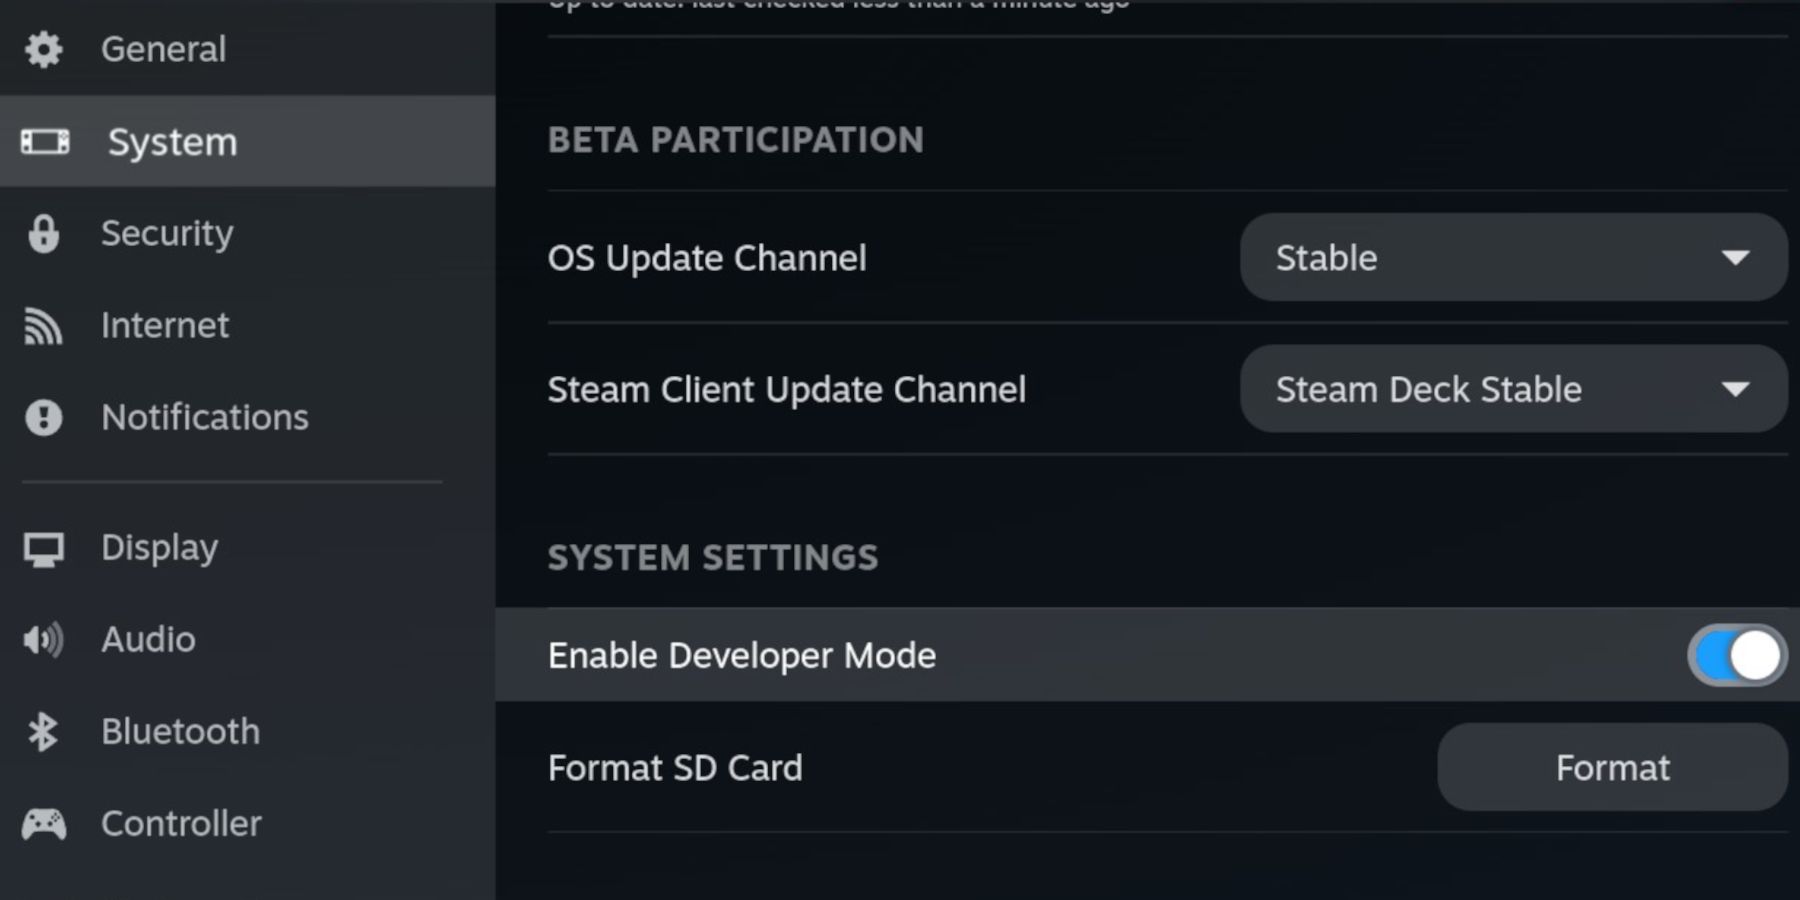
- Open the System menu and look for System Settings.
- Toggle Enable Developer Mode on.
- The Developer menu is located at the bottom of the access panel.
- Open the Developer menu.
- Under Miscellaneous, switch on CEF Remote Debugging.
- Press the Steam Button.
- Highlight Power and Restart the Steam Deck.
CEF Remote Debugging can get disabled after an update. This can deactivate plugins, programs, and interfere with the emulators. Always check the Developer Menu after an update to ensure it remains switched on.
Installing EmuDeck In Desktop Mode
- To access the side menu, press the Steam button located below the left trackpad. Then, select the Power option and switch to Desktop Mode.
- Use a browser like Chrome or Firefox to obtain the EmuDeck Download.
- Select the desired SteamOS version and initiate the download. Once the EmuDeck download is complete, double-click on the installer and agree to the recommended install to start the installation process.
- Select Custom Install.
- After installing EmuDeck, open the menu and choose the SD card image labeled Primary. This will rename your SD card to Primary, making it easier to locate under Removable Devices in the Dolphin file manager.
- You can install all the emulators or just focus on the Sega Master System and select Retroarch.
RetroArch can run various emulators for classic gaming systems through a single application. These are accessible under the ‘Emulators’ tab in the Steam library.
- Make sure the Steam Rom Manager is also selected with Retroarch to show the games in the main Steam library.
- Navigate through the options and activate the ‘Configure CRT Shader for Classic 3D Games’ feature if you want that classic TV look to the games.
- Select Finish to finalize the installation.
Transferring Master System Roms
With Retroarch and EmuDeck installed, it’s time to transfer your Sega Master System ROMS to their desired folders.
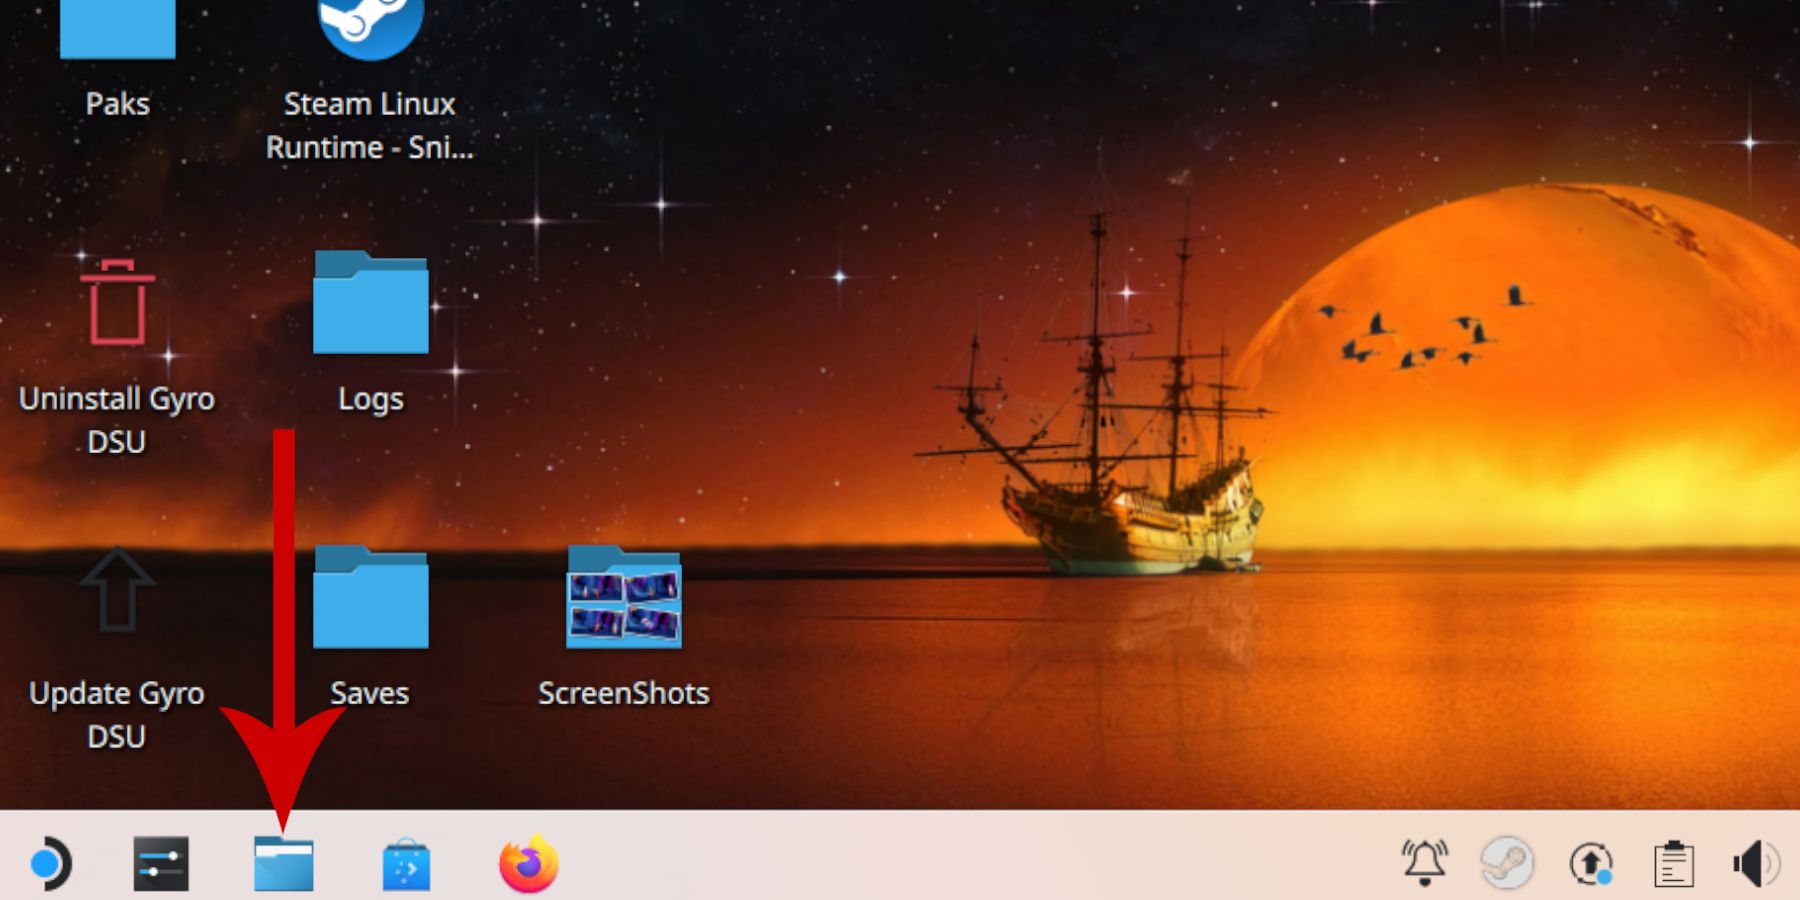
- Open the Dolphin File Manager.
- On the left panel, scroll down to Removable Devices, and open the SD card labeled Primary.
- Open the Emulation folder and click ROMS.
- Scroll down the list and locate the ‘mastersystem’ folder.
- Transfer or copy the Sega Master System files. Sega Master System ROM files typically have the extension ‘.sms,’ such as ‘Pro Wrestling.sms.’ Disregard the file named ‘media.’
Adding Master System Games To The Steam Library
Even though you can run the Sega Master system games from Retroarch in Desktop Mode, you’ll want to add the games to your Steam Library to play them in Gaming Mode.
- Open EmuDeck in Desktop Mode.
- Click or tap on the Steam Rom Manager.
- Click Next on the Welcome to SRM! page.
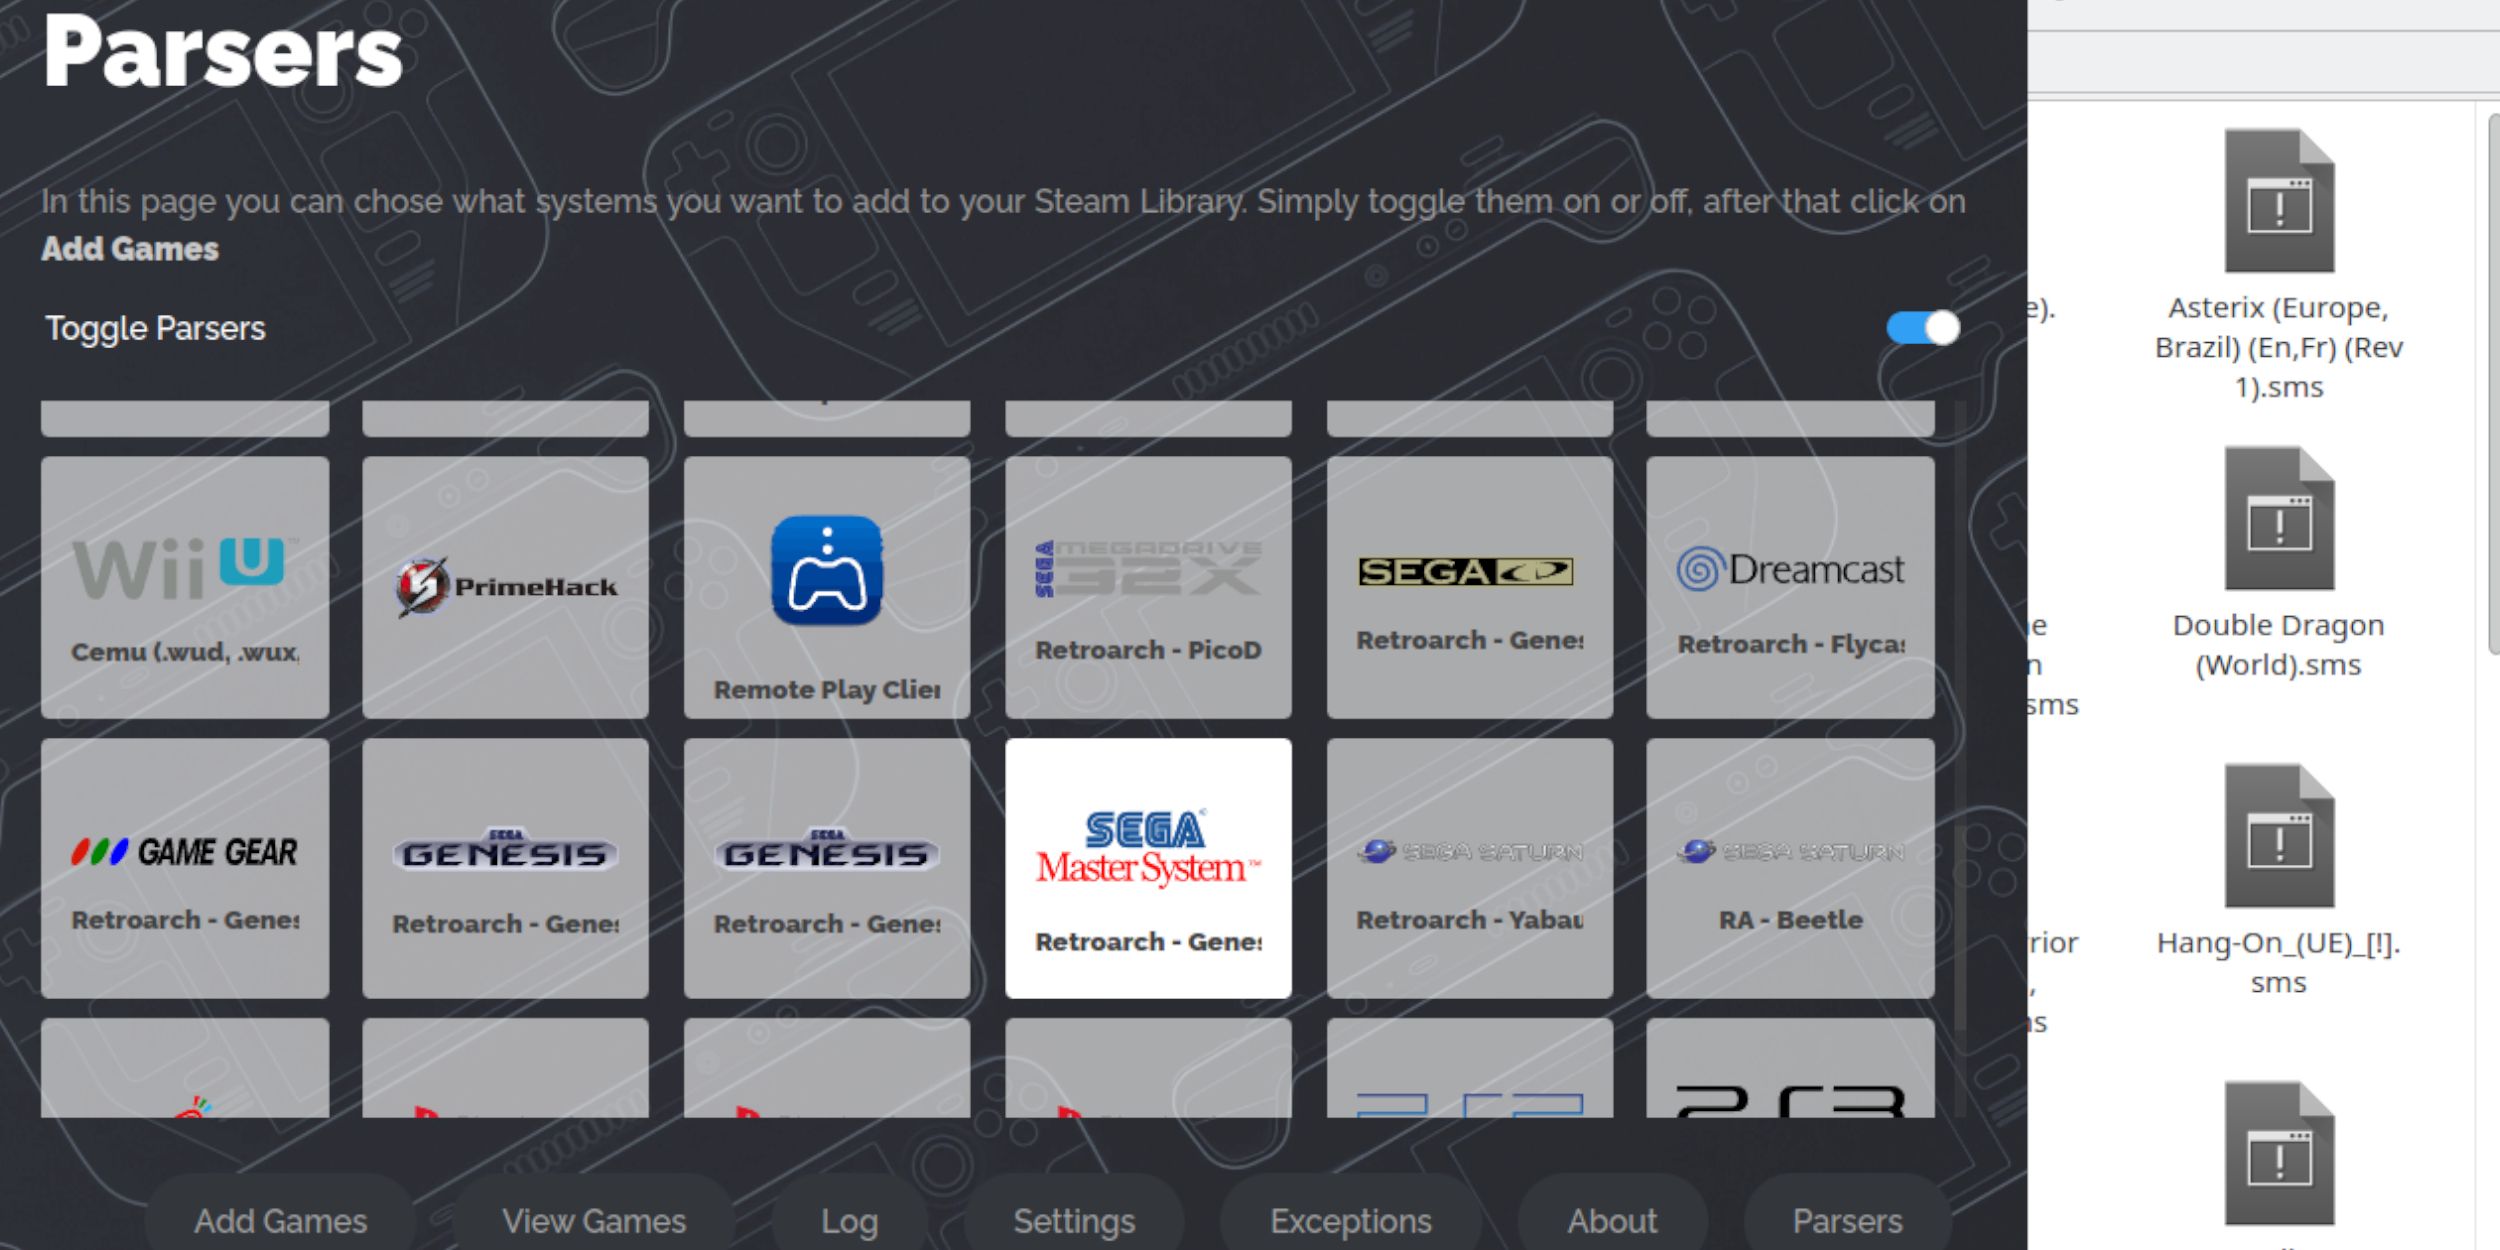
- Toggle Parsers off.
- Highlight Sega Master System on the Parsers screen.
- Select Add Games and then select Parse.
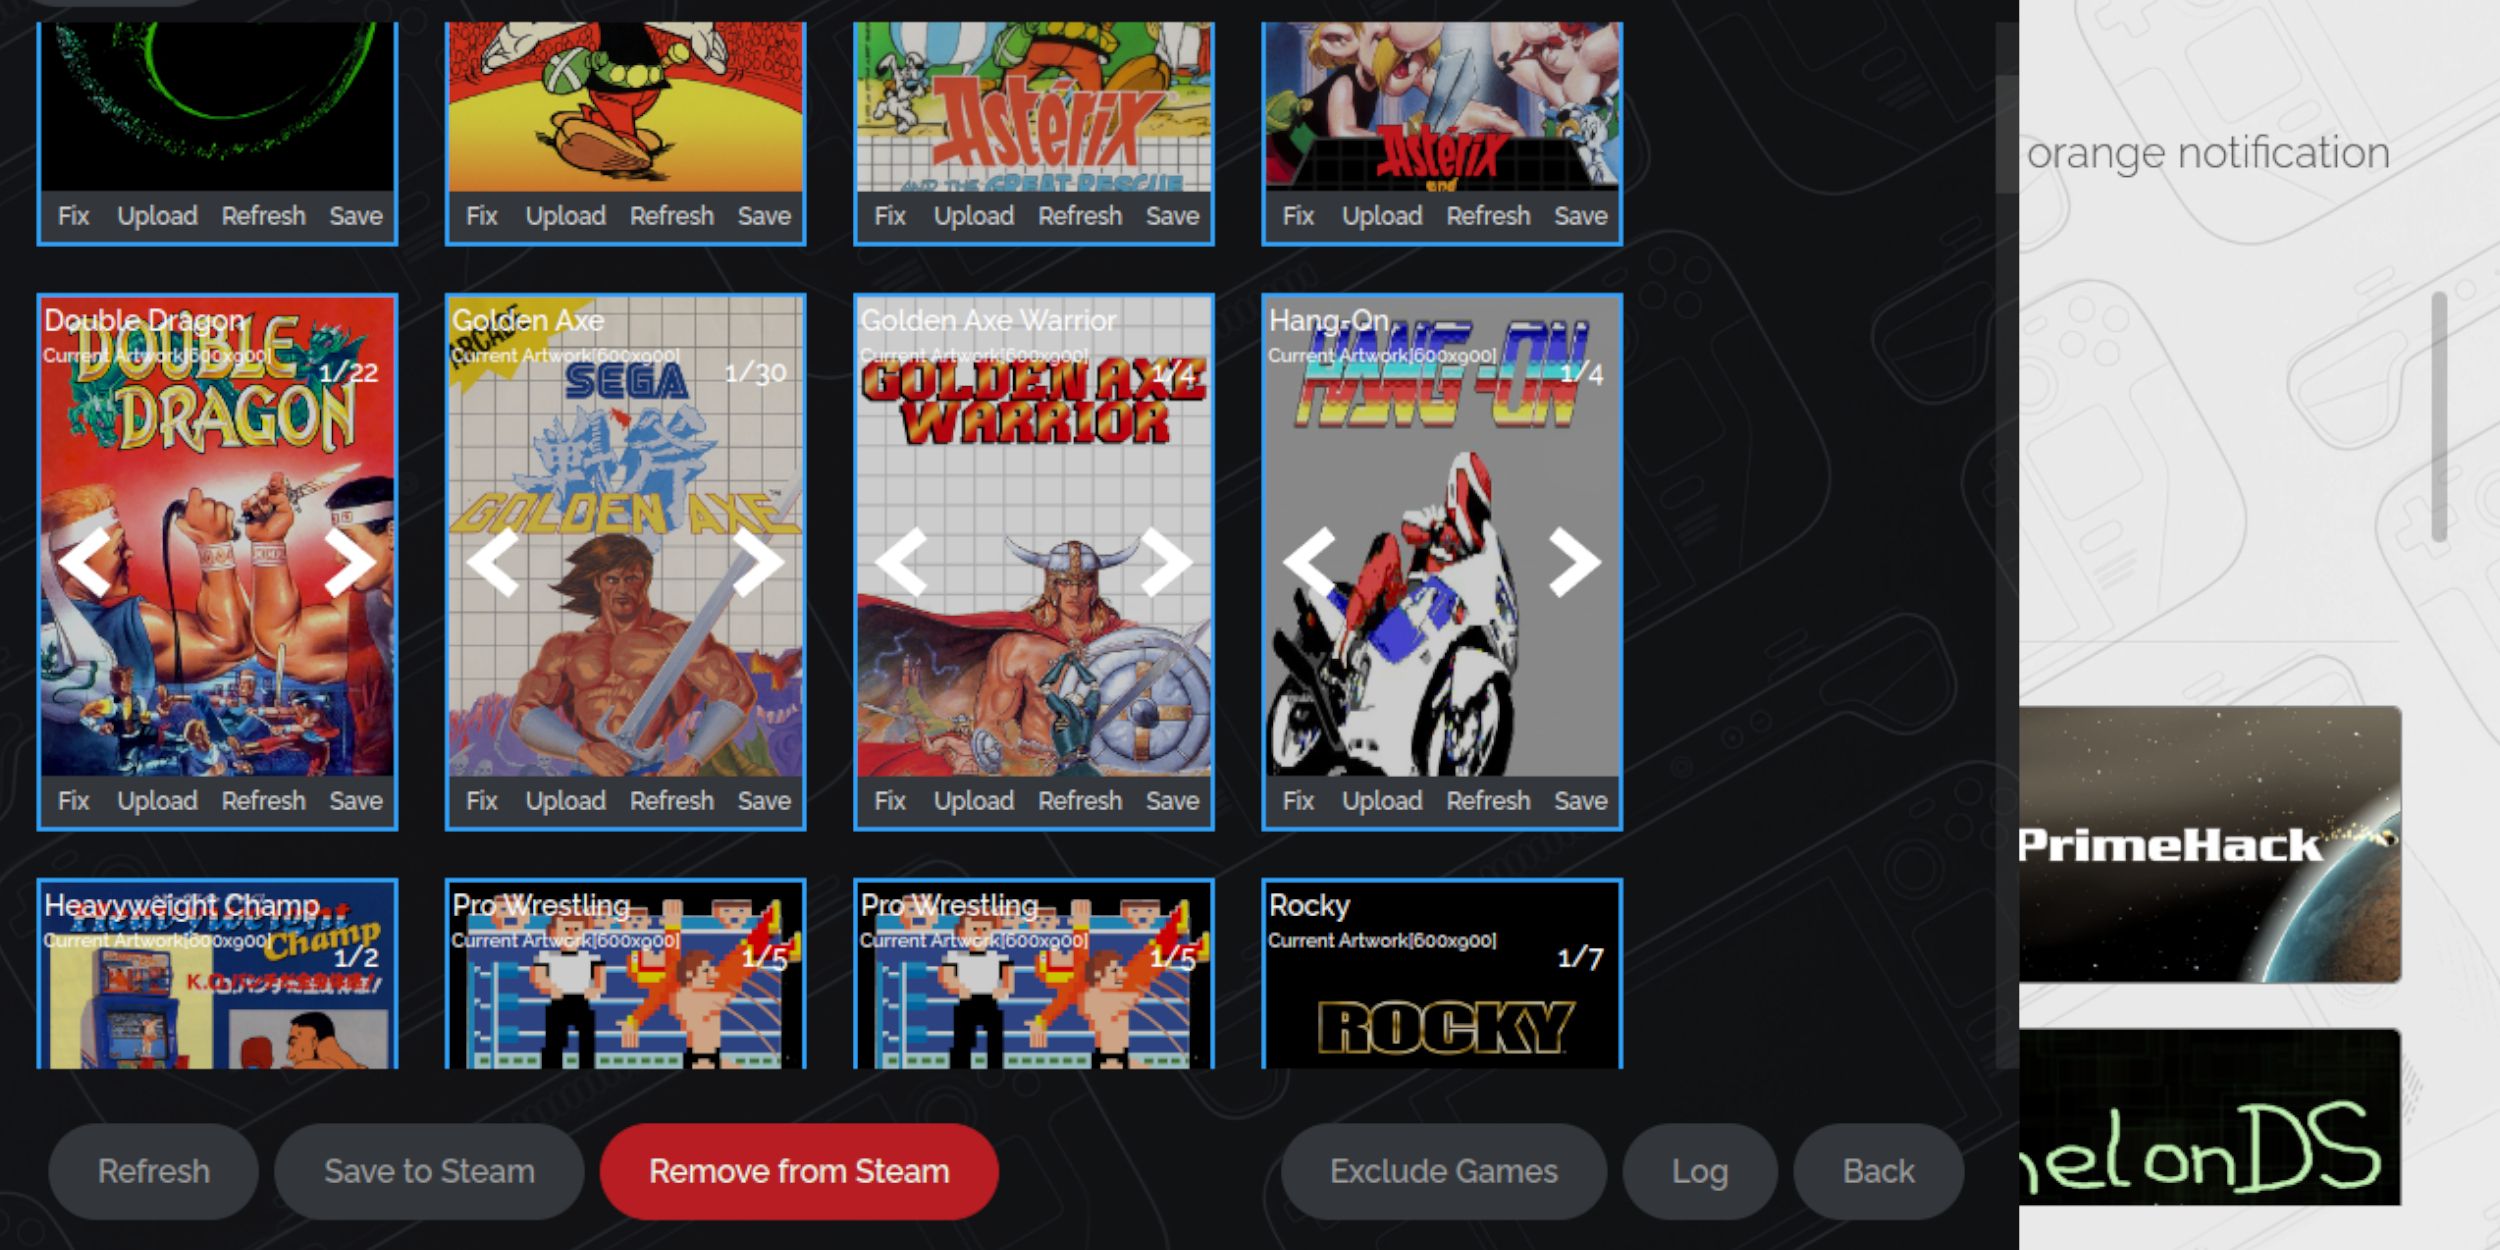
- Ensure the games and the cover arts are displayed and select Save to Steam.
Fix Or Upload Missing Artwork
Given that the Sega Master System is a retro console, it’s possible to encounter missing or incorrect artwork. Use the following steps to replace or fix the cover art.
- Click Fix on the cover frame.
- Typically, the Steam ROM Manager will automatically display cover art. If it is missing, enter the game’s title into the Search for game field.
- Browse the list of game covers, select and highlight the best one, then choose Save and close.
Upload Missing Artwork
Use the following steps to upload a cover if the Steam Rom Manager doesn’t locate one for you:
- Use a browser to find the correct artwork and save it to the Steam Deck’s Pictures folder.
- Click Upload on the cover frame.
- Select the new artwork from the Pictures folder, then save and close.
- If the image isn’t displaying, click on the left and right arrows to find it.
- Then, click on Save to Steam.
- When the batch files have finished, return to the Steam Deck’s Gaming Mode.
Related
Steam Deck – How To Run PSP Games With EmuDeck
Here’s how to install EmuDeck and run PSP games through the Steam OS on the handheld.
Playing Master System Games On The Steam Deck
After the Steam Rom Manager has finished uploading the covers and game artwork to the Steam library, you can access the emulated games the same way as the official ones.
- With the Steam Deck in Gaming Mode, press the Steam button underneath the left trackpad.
- Select Library from the side menu.
- Press the R1 button to highlight the new Collections tabs.
- Tap or click on the Sega Master System window.
- Then, select the Sega game and play.
Improve Performance
Some classic games can have stuttering and frame rate issues running on the Steam Deck. Use the following steps to address this:
- Open your Sega Master System game and press the QAM button underneath the right trackpad.
- Open the Performance menu.
- Toggle ‘Use game profile’ on.
- Increase the Frame Limit to 60 FPS.
- Switch on Half Rate Shading.
Install Decky Loader For The Steam Deck
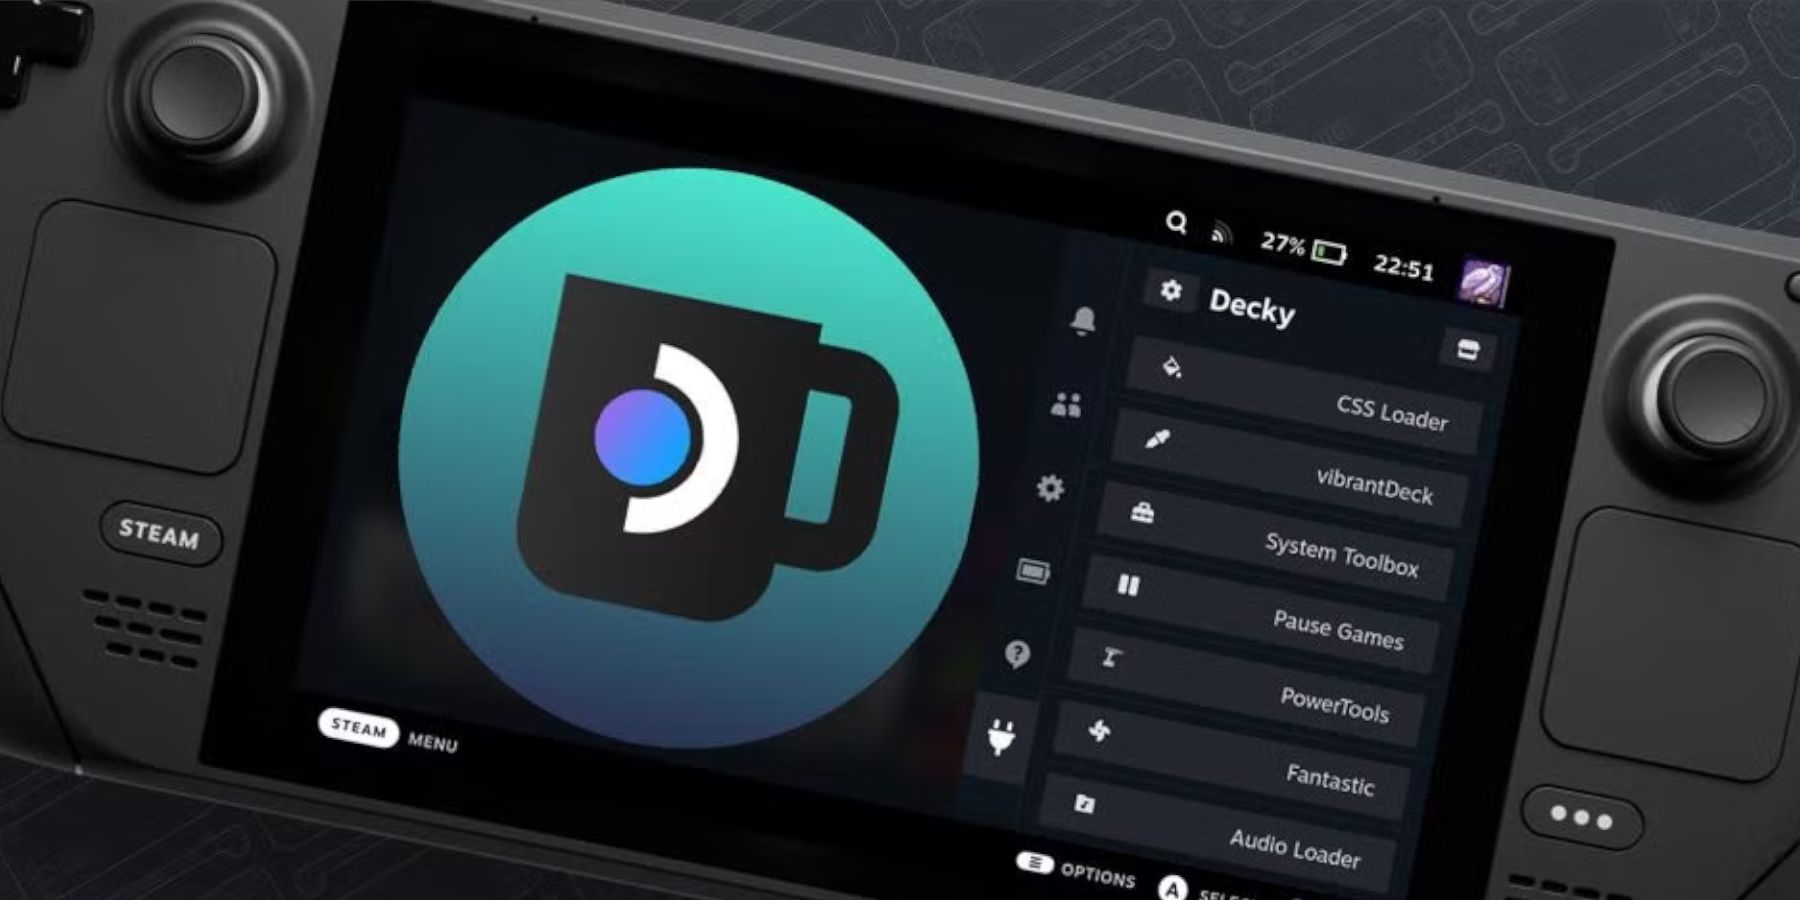
The EmuDeck developers recommend installing Decky Loader and the plugin Power Tools for all emulated games so you have more power and control over the Steam Deck’s performance. Follow these steps to install them:
- Connect a keyboard and mouse for smoother and user-friendly navigation with menus and downloads. (You can also use the trackpads for the curser and the on-screen keyboard by pressing Steam and X.)
- If you are in Gaming Mode, press the Steam button, then Power, and switch to Desktop Mode.
- To use Desktop Mode, open a web browser. You can download browsers from the Discovery Store.
- In your preferred browser, navigate to the GitHub Decky Loader page.
- Locate the large Download icon and click it to start downloading.
- Once the download is complete, double-click on the launcher and choose the Recommended Install option.
- With the installation complete, restart the Steam Deck in Gaming Mode.
With Decky installed, you can now add the Power Tools plugin by following these steps:
- In Gaming Mode, press the Quick Access Menu (QAM) button beneath the right trackpad.
- In the QAM, select the new plugin icon at the bottom.
- Next, choose the store icon at the top of the Decky Loader menu.
- In the Decky Store, locate the Power Tools plugin and install it.
Power Tools Settings For Emulated Games
- Press the Steam button and open your Library to launch a Master System game from your Collections menu.
- Press the QAM button, Decky Loader, and select the Power Tools menu.
- Turn off SMTs.
- Adjust the number of Threads to 4.
- First, press the QAM button, then open the Performance menu by selecting the small battery icon.
- Enable Advance View.
- Then, switch the Manual GPU Clock Control On.
- Increase GPU Clock Frequency to 1200.
- Next, select the Per Game Profile option to save these settings for each game.
Fixing Decky Loader After A Steam Deck Update
Major Steam Deck updates can make alterations to the menu and settings. This can result in third-party apps getting removed from your Quick Access menu. Follow these steps to restore it and your plugins:
- If you are still in Gaming Mode, press the Steam button to open the Power menu and switch to Desktop Mode.
- Open a browser when the Steam Deck restarts in Desktop Mode.
- Head to the Decky Loader GitHub page and click the Download icon.
- Unlike previous installs, you must select Execute.
- Enter your pseudo password when prompted.
- If you have not yet created a pseudo password, follow the on-screen instructions to set up a new one. Choose a memorable password and keep a record for future installations.
- After installation, turn off the Steam Deck and then restart it in Gaming Mode.
- Press the QAM button, and the Decky Loader app, along with your settings and plugins, will return to its previous state.
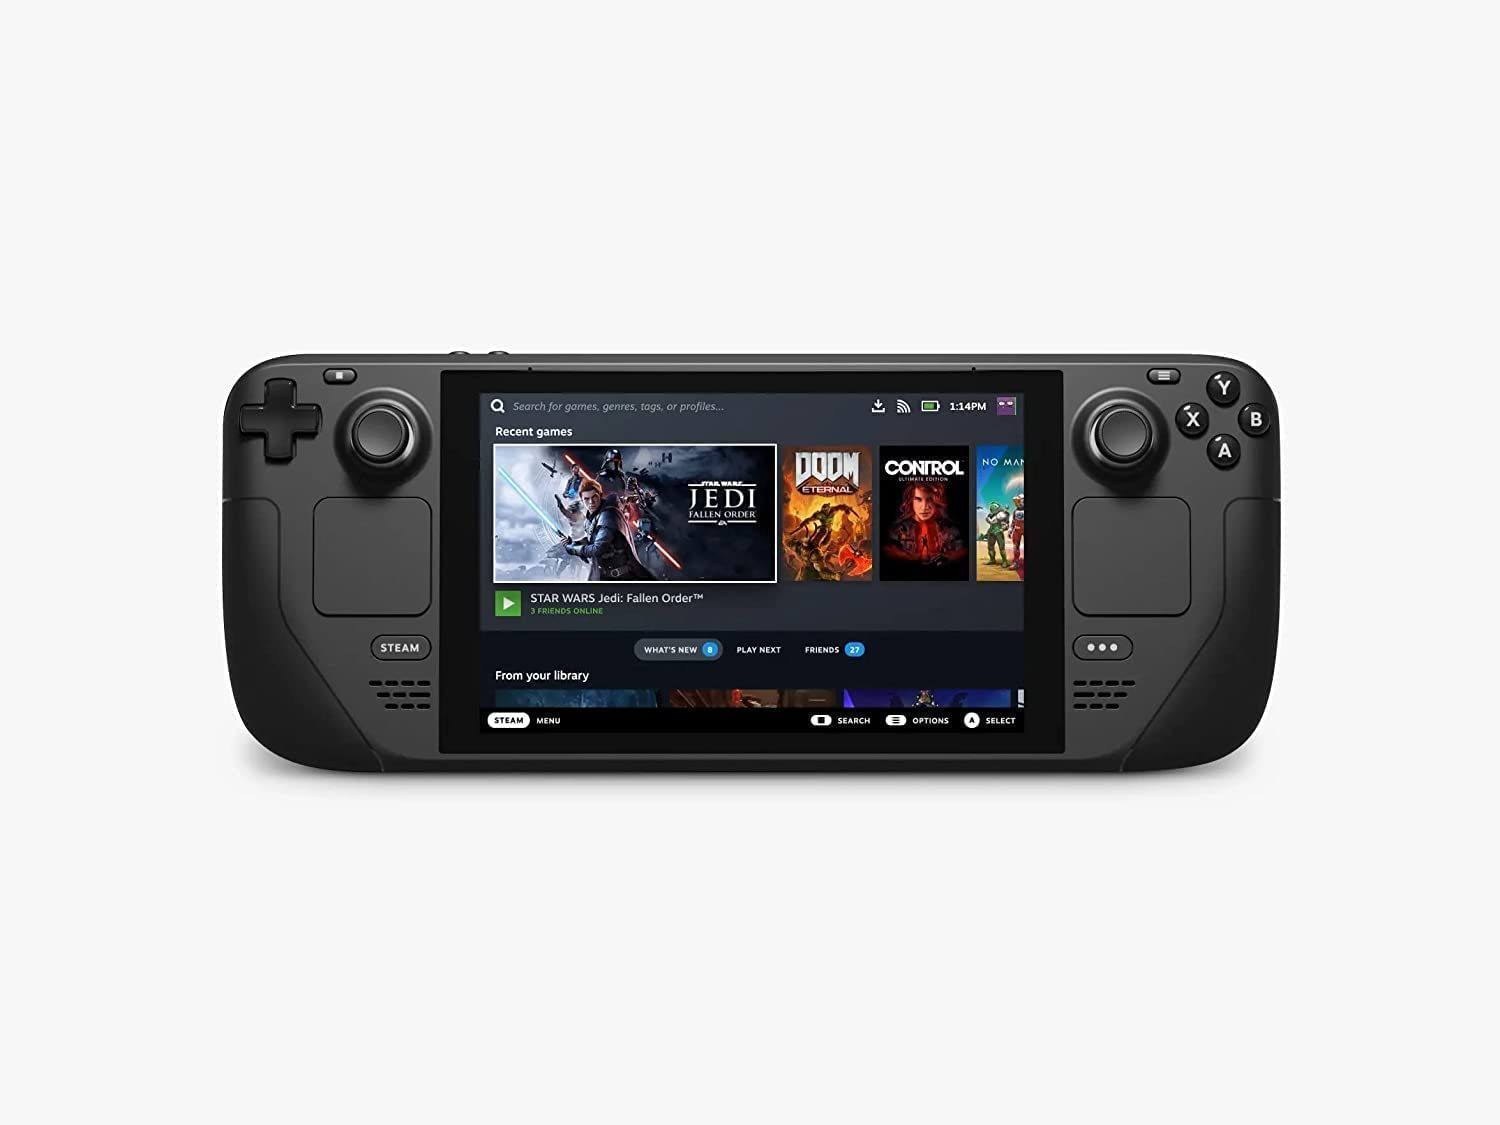
Steam Deck
- Screen
-
7″ diagonal 1280 x 800px (16:10 aspect ratio) 60Hz
- Storage
-
64 GB – 512 GB
- CPU
-
AMD APU Zen 2 4c/8t, 2.4-3.5GHz
- Connectivity
-
Bluetooth 5.0 and Dual-band Wi-Fi radio, 2.4GHz and 5GHz






Leave a Reply