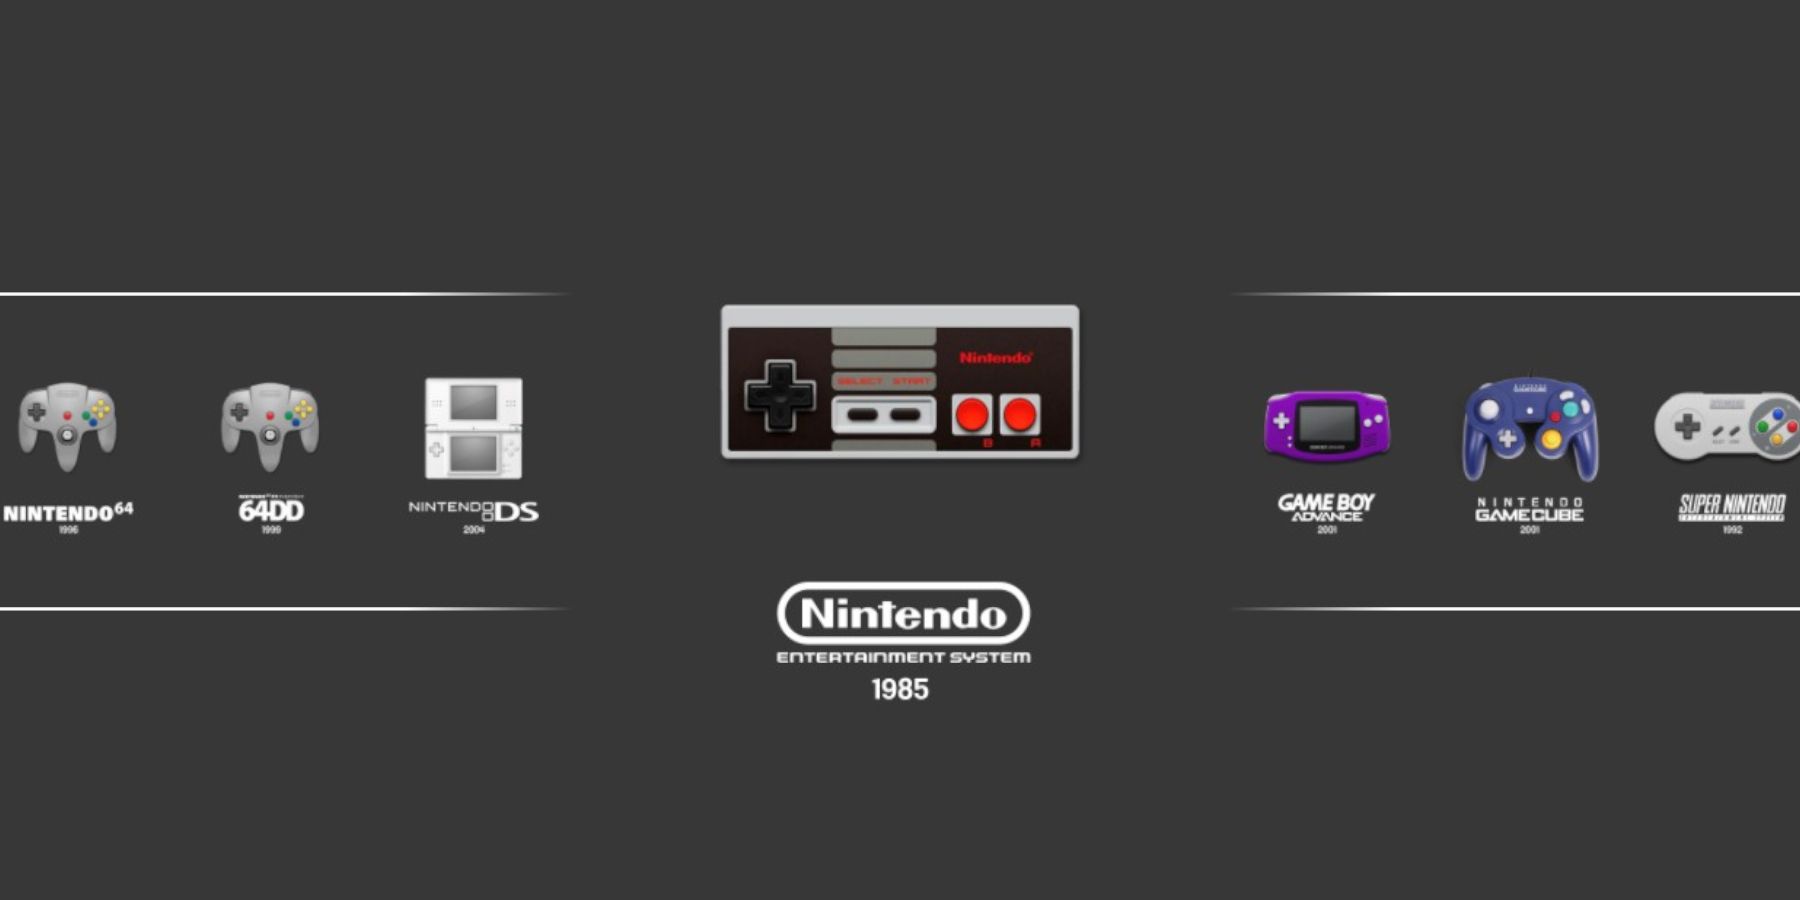
The NES or Nintendo Entertainment System helped pull console gaming back into the mainstream after the infamous Video Game Crash of 1983. It was marketed as an entertainment system that fit neatly under the television, alongside the VCR.
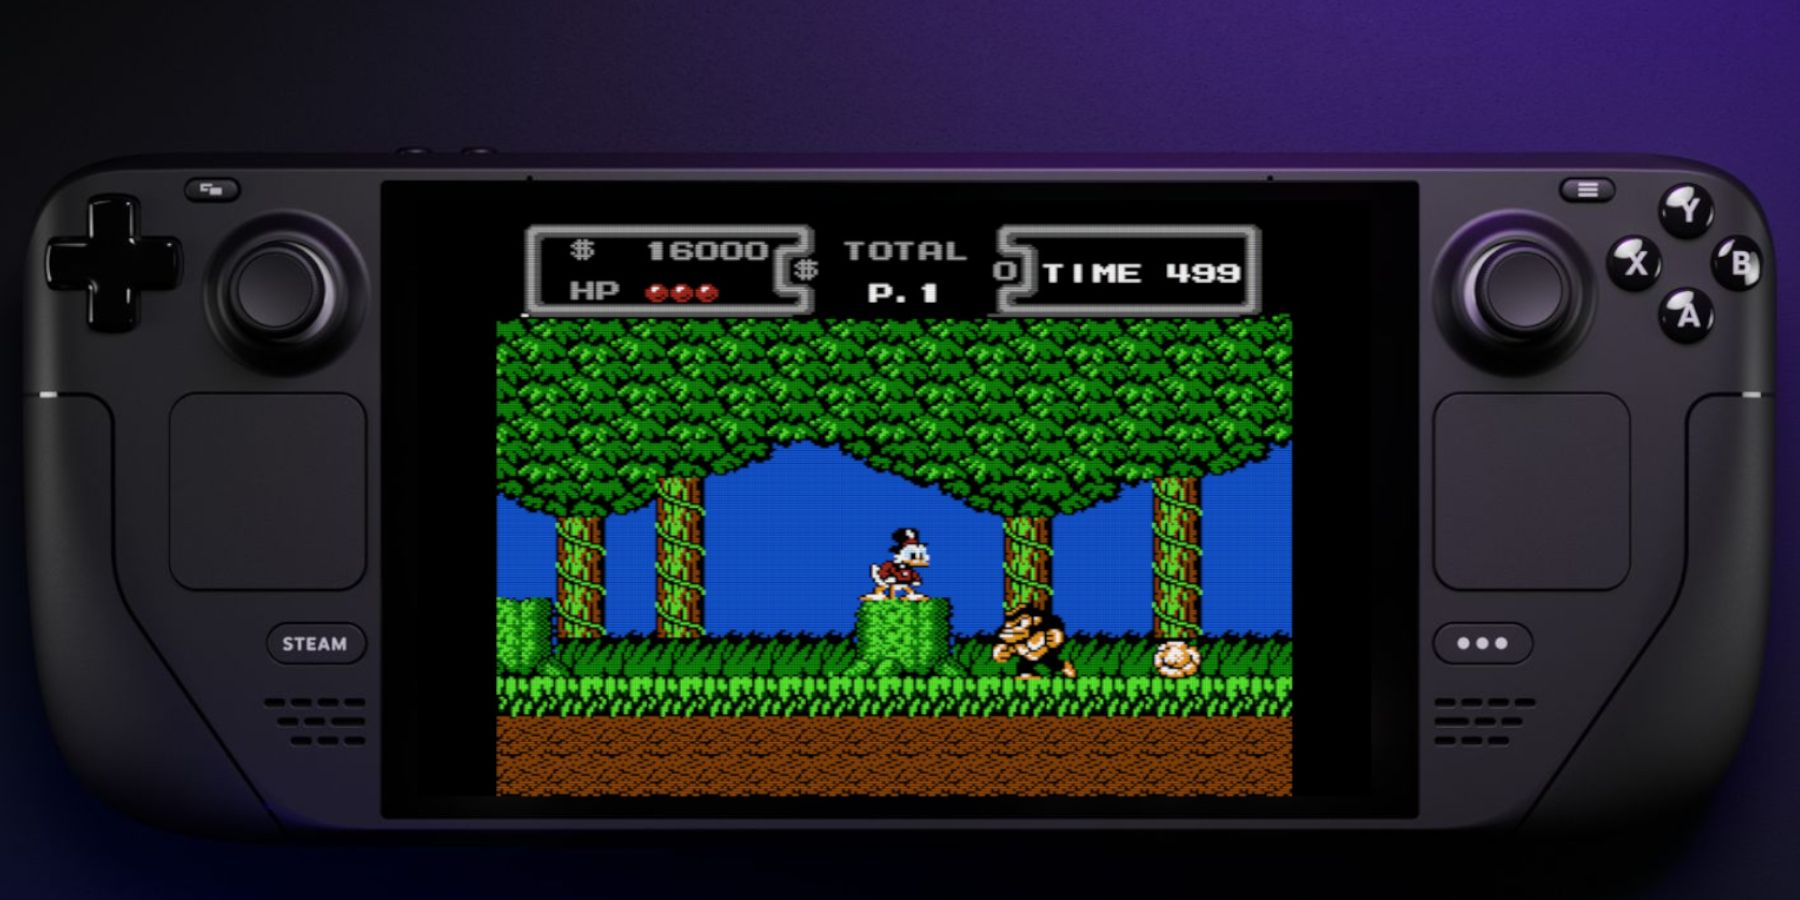
It boasted light gun games suitable for the whole family and, of course, the iconic Mario. Next to the brilliant Super Mario Bros. games, there was The Legend of Zelda, Castlevania 3, Dragon Quest, and more. For those looking to play their favorite NES games on their Steam Deck via emulation, here’s how to do so.
Related
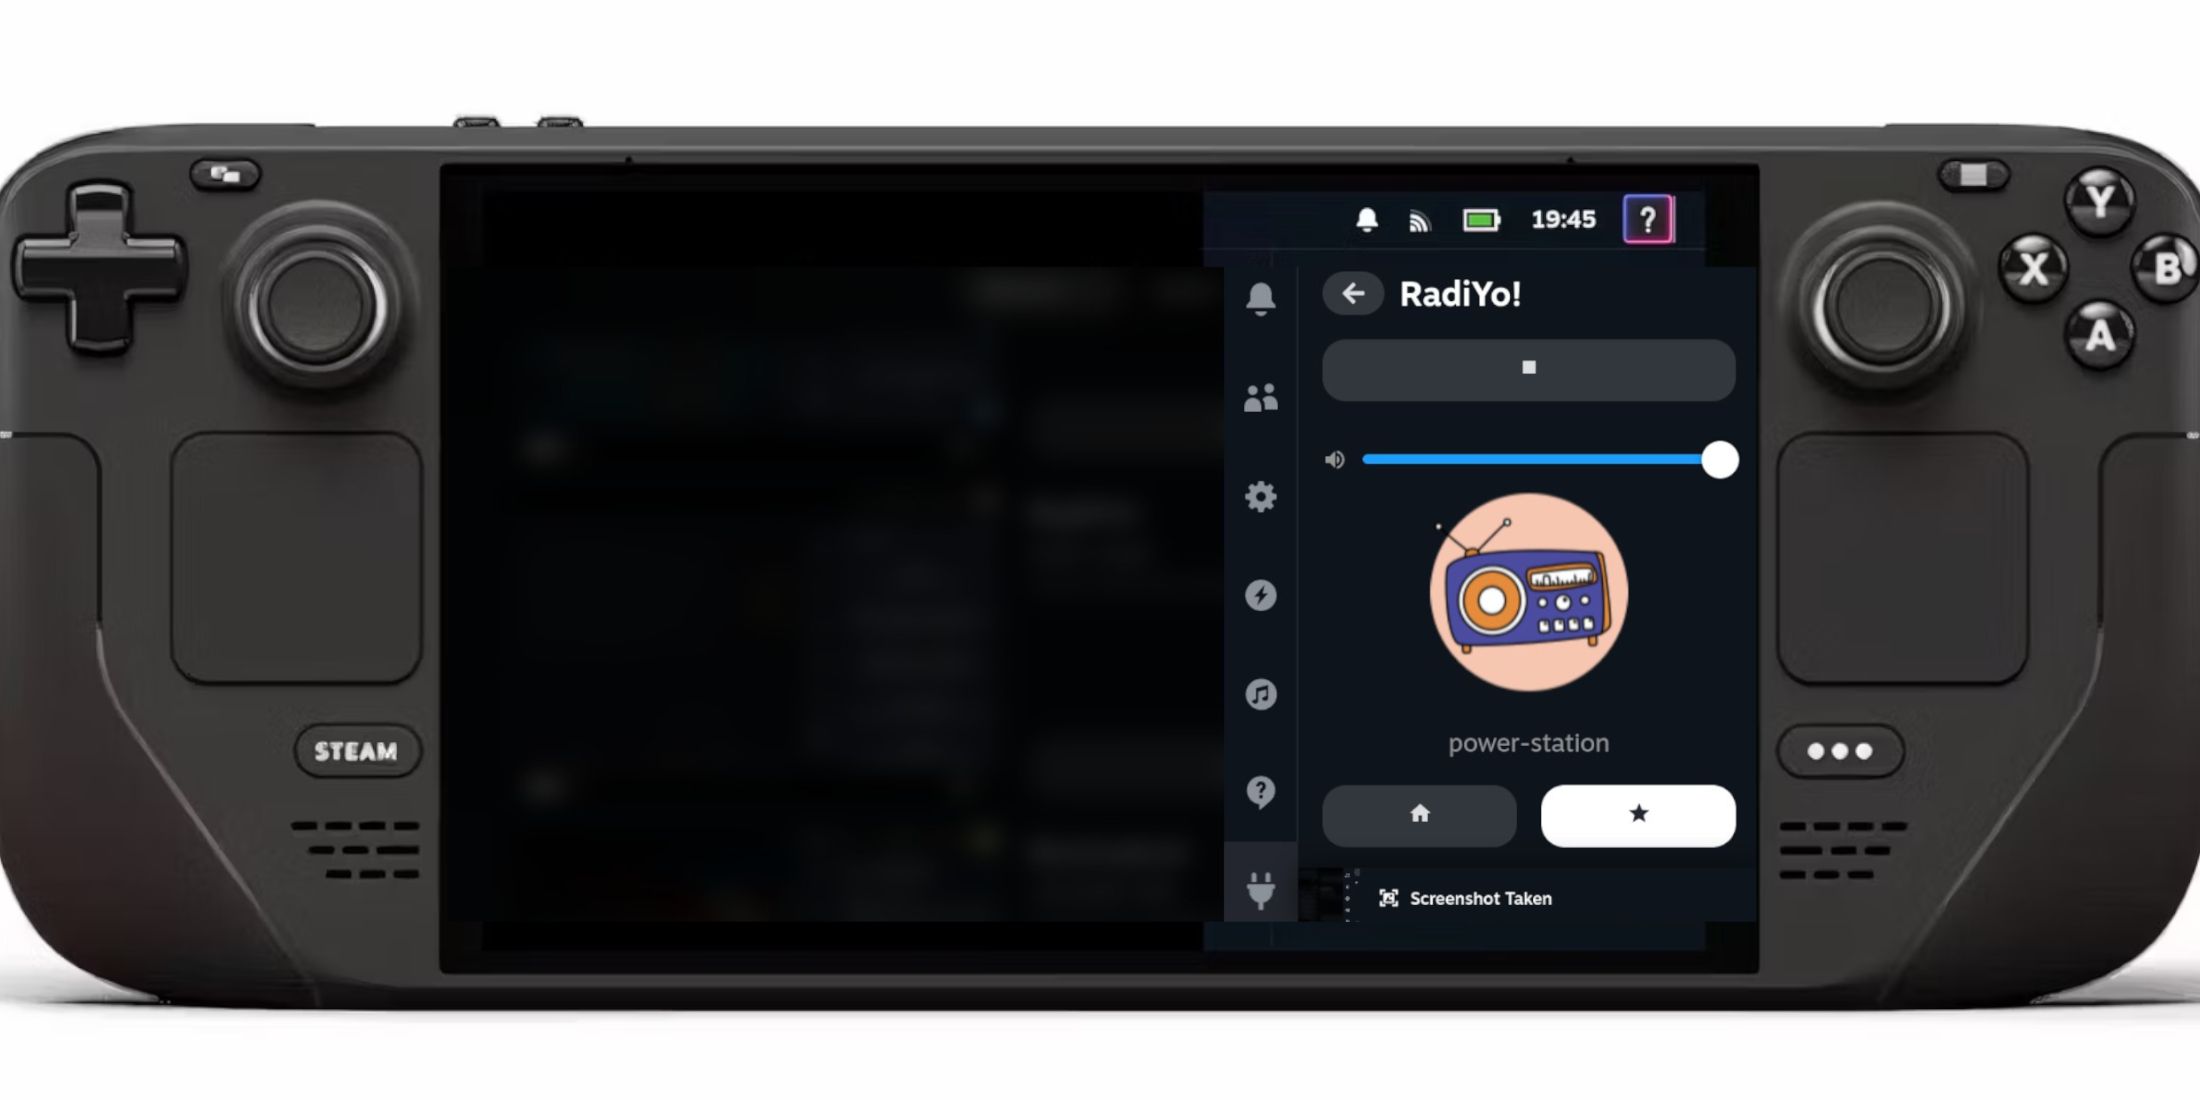
Steam Deck: How To Play Internet Radio Stations While Gaming
For those who enjoy listening to music while playing video games, here’s how to play radio stations on the Steam Deck.
Updated January 14, 2025 by Michael Llewellyn: NES games aren’t performance-intensive but they may require special settings to function properly. This article has been updated to include the suggested Decky Loader and Power Tools programs, allowing more control over the Steam Deck’s settings. The update also includes instructions for recovering the Steam Deck following an update.
Before Installing EmuDeck
Installing NES games on the Steam Deck with EmuDeck requires certain tools to ensure they run properly and preserve the health of the Steam Deck’s internal SSD.
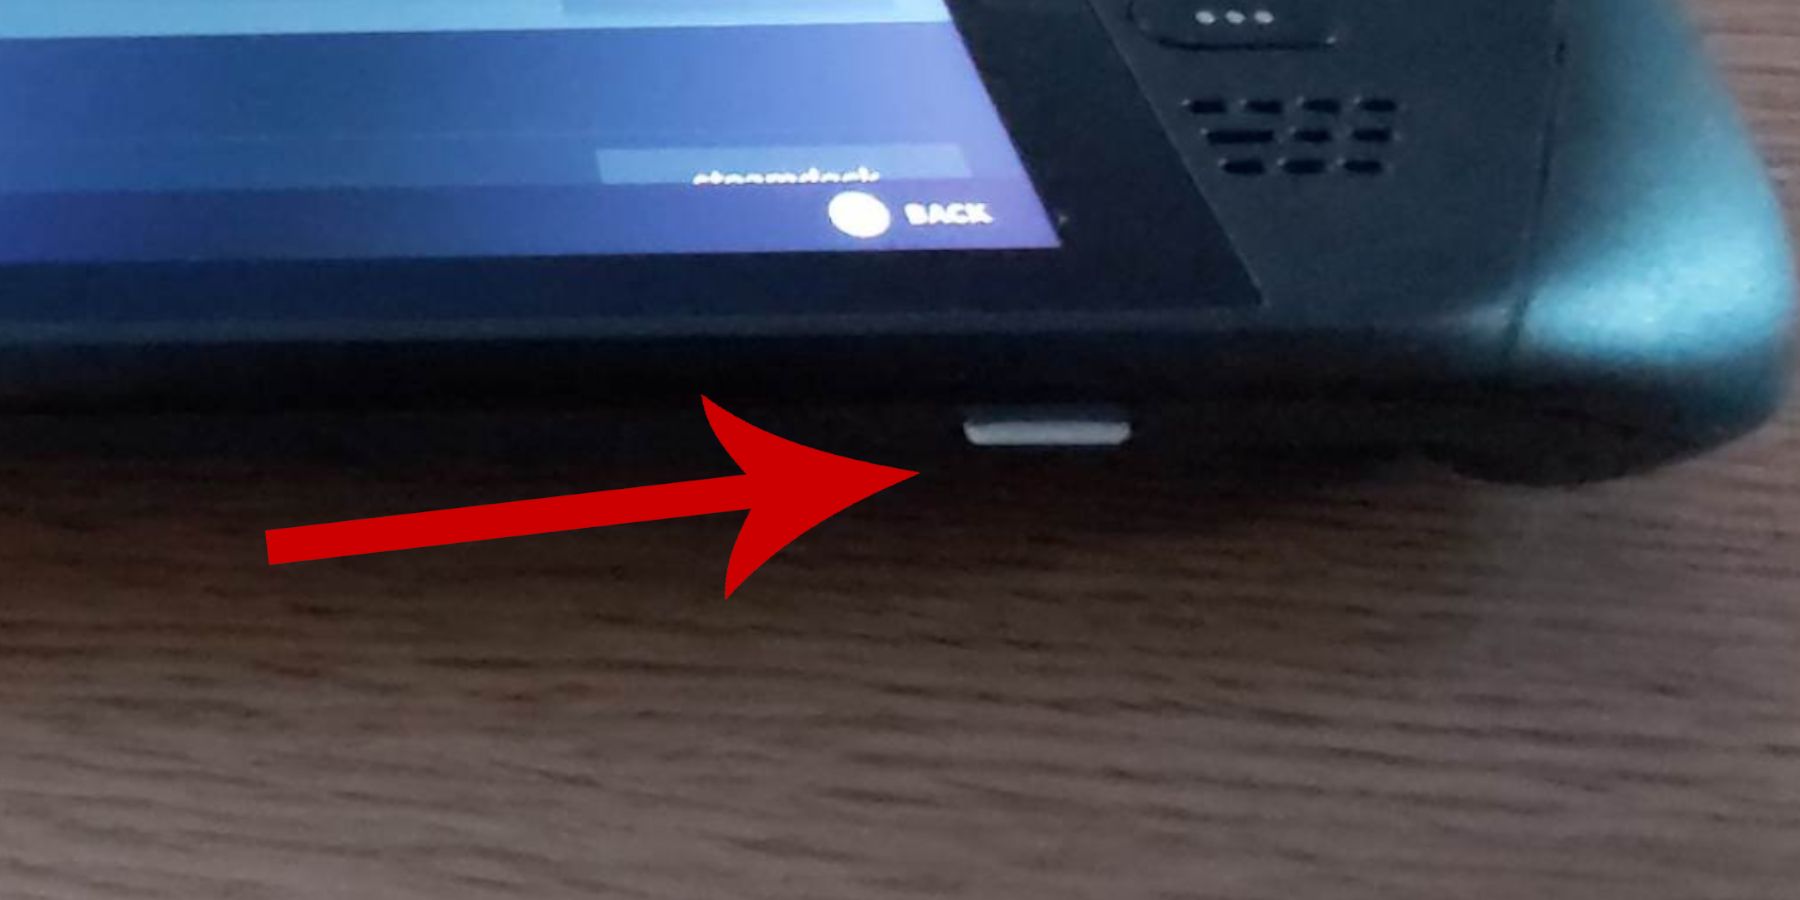
- The most important item you’ll need is a High-speed A2 Micro SD card to keep the emulators separate from the Steam Deck’s internal SSD and free it for official Steam games. The Samsung EVO Plus is a fast and affordable SSD card with solid gaming performance. Alternatively, you can use an external HDD, but it will require a Steam Deck Dock with extra USB-C slots.
- Legally owned NES ROMS. You can create digital copies of the physical games you own.
- Desktop Mode becomes more functional when paired with a keyboard and mouse; tasks such as copying, pasting, and transferring files are less cumbersome, and using the search bar in Steam Rom Manager is more convenient with a keyboard.
Activate Developer Mode Features
Before installing emulators and NES games, you need to activate Developer Mode to ensure everything runs without issue. Here’s how this can be done:
- Press the Steam button.
- Highlight and open the System menu.
- Under System Settings, toggle Enable Developer Mode on.
- Look for the Developer menu at the bottom of the left panel.
- In the Developer menu, look for Miscellaneous.
- Switch on CEF Remote Debugging.
- Press the Steam Button.
- Highlight Power and select Restart.
Installing EmuDeck For NES Games
- Press the Steam button below the left trackpad, highlight the Power option, and switch to Desktop Mode.
- Connect a keyboard and mouse if you have one.
- Wait for Desktop Mode to boot and Launch a browser like DuckDuckGo or Firefox and Download the EmuDeck program.
- Move down the page until you find the Download icon, then double-click it to initiate the installer.
- Opt for the Recommended Settings and choose Custom Install.
- In the EmuDeck menu, choose the SD card image labeled ‘Primary’ to rename the SD card to Primary under Removable Devices.
- You can install all available emulators or opt for Retroarch and Emulation Station to play NES games. Don’t forget to include the Steam Rom Manager in your selection. The Steam Rom Manager is required to add games to the Steam Deck’s Gaming Mode.
- To achieve the classic TV appearance for your games, navigate through the options and enable the ‘Configure CRT Shader for Classic 3D Games’ feature. This can be switched on or off in the EmuDeck’s settings.
- Click Finish to install the emulators and the Steam Rom Manager.
Transfer Your NES ROMS
You can now transfer your NES ROMs so they run through EmuDeck’s designated file system.
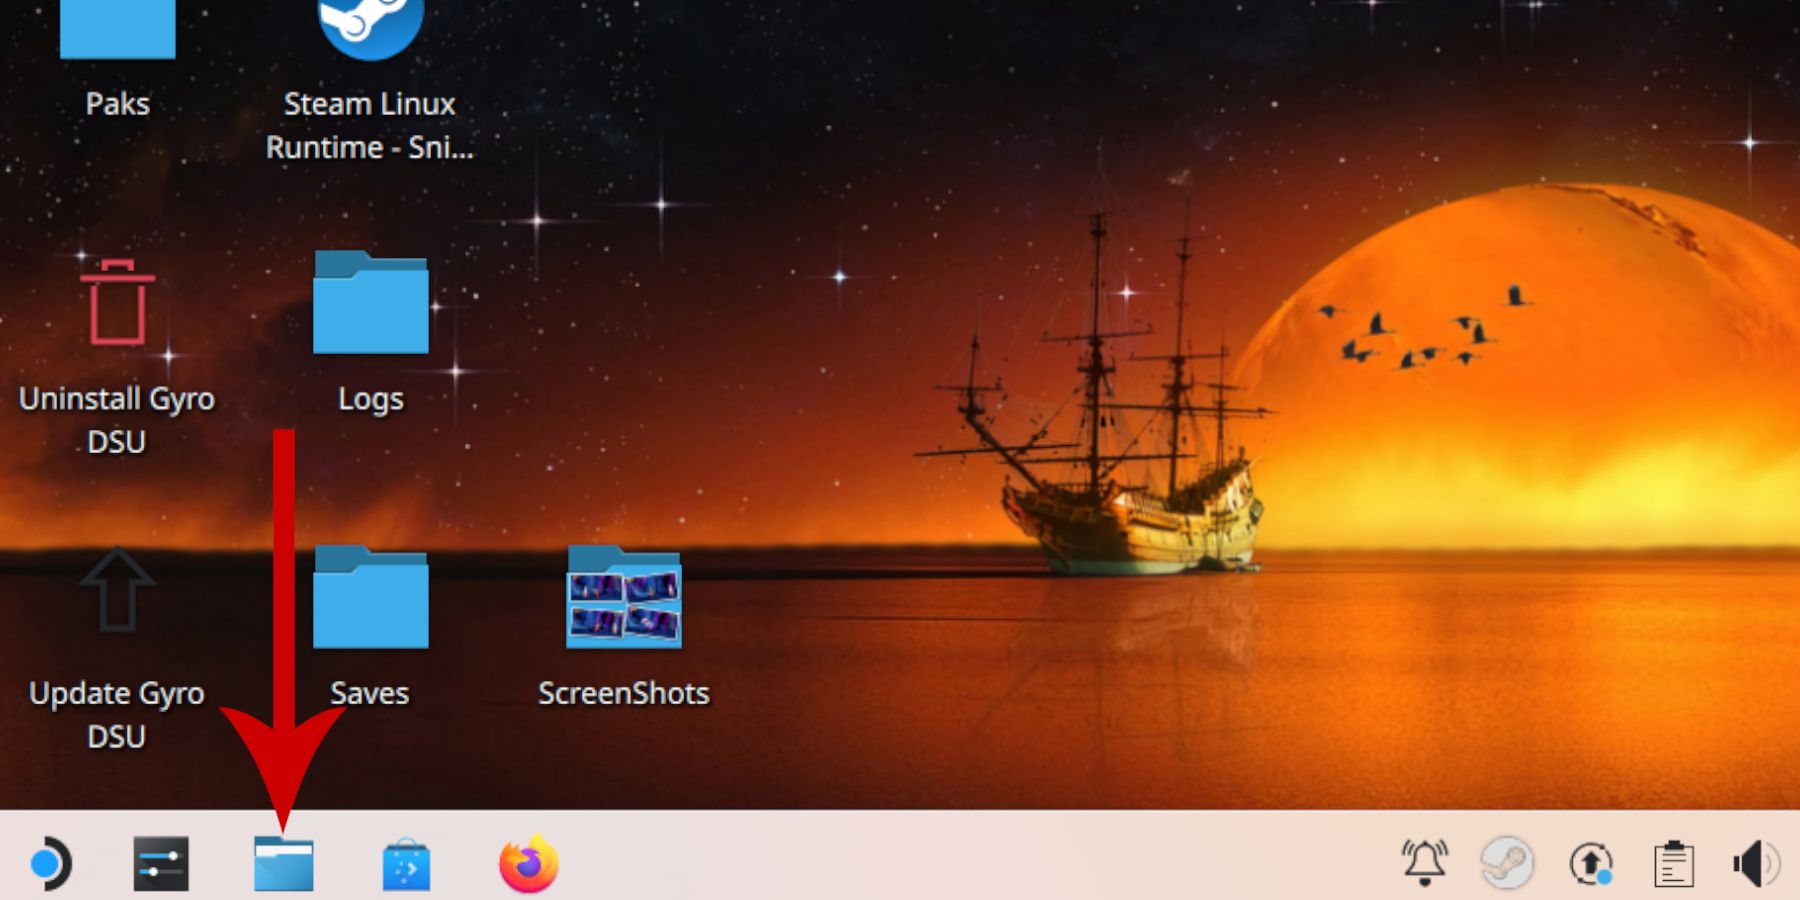
- Click or tap on the folder icon to open the Dolphin File Manager.
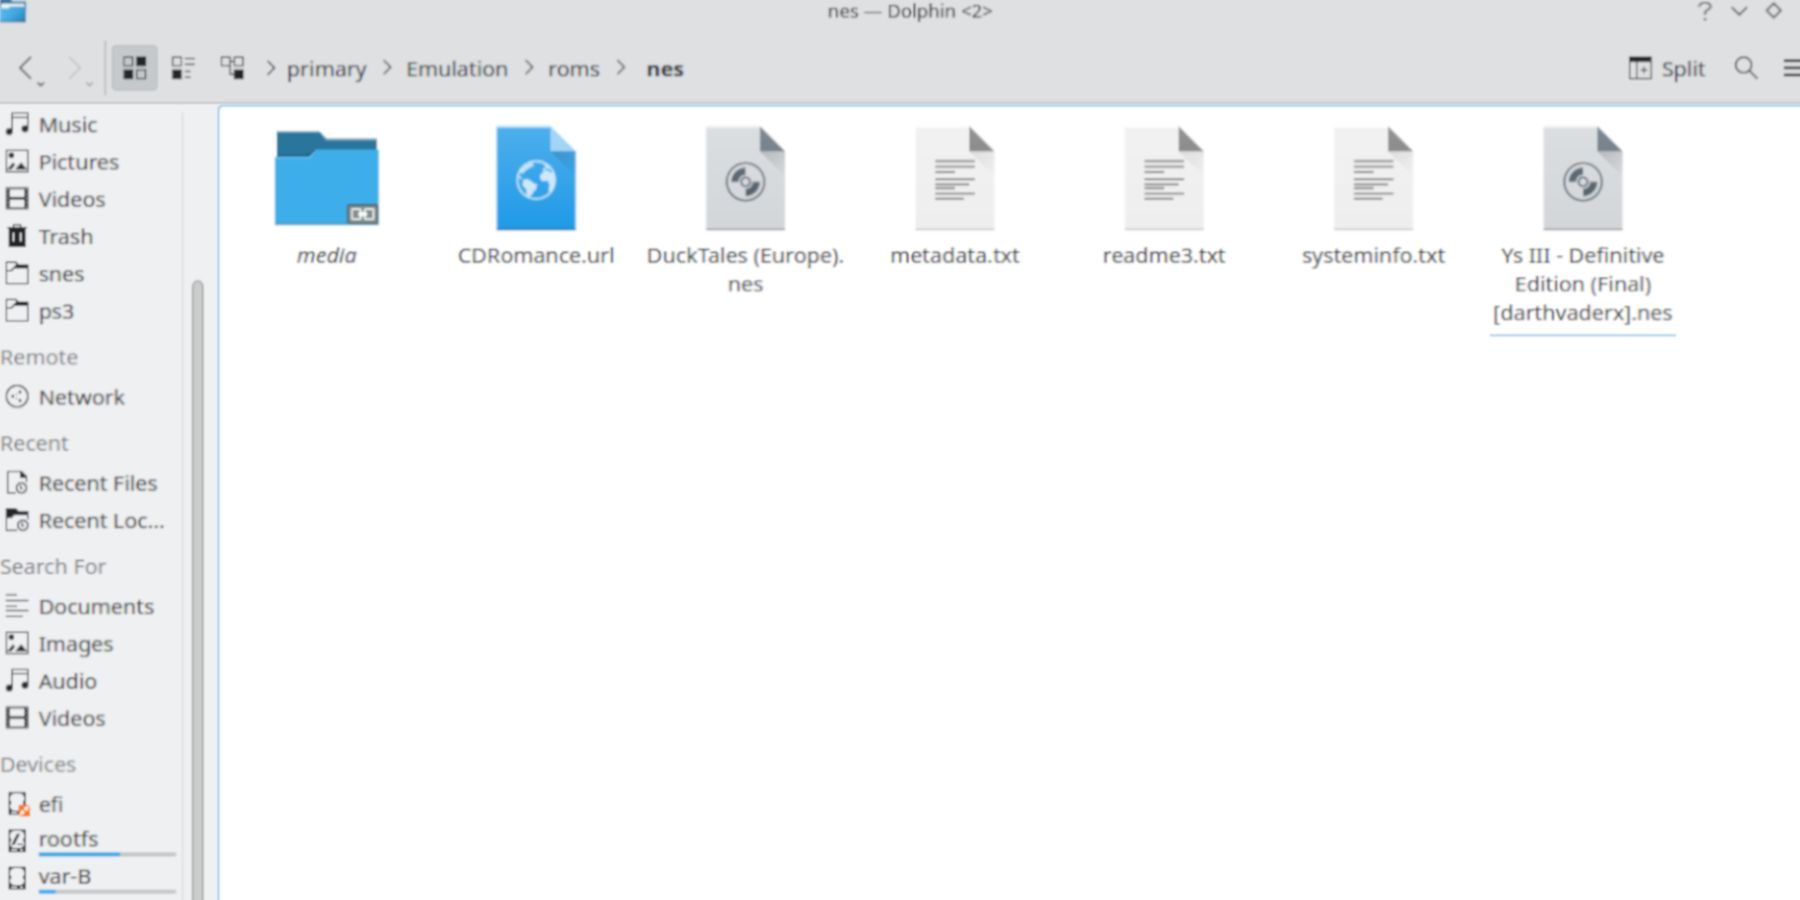
- Navigate to the Primary folder underneath the Removable Devices section.
- Open the Emulation Folder.
- Click on ROMs.
- Look for the folder named NES.
- Transfer your legally acquired NES games. (File names should have a .nes extension, such as “Duck Tales 2.nes.”)
Related
Steam Deck: How To Remote Play PS5 Games
Gamers looking to play some PS5 games on a more portable device can do so via the Steam Deck. Here’s what the process entails.
Adding NES Games To The Steam Library
Emulation Station and Retroarch are robust tools capable of running emulated games in Desktop Mode. However, the goal is to seamlessly integrate NES games into the Steam Deck’s library, enabling them to function as if they were official games. Use the following steps to add games with the Steam Rom Manager:
- With the Steam Deck in Desktop Mode, click on the Steam icon in the bottom left of the screen and click All Applications.
- Open the EmuDeck progam.
- Click on the Steam ROM Manager from the left panel.
- Click yes to exit the Steam app running in the background and allow the Steam ROM Manager to take over.
- Click Next on the ‘Welcome to SRM!’ screen.
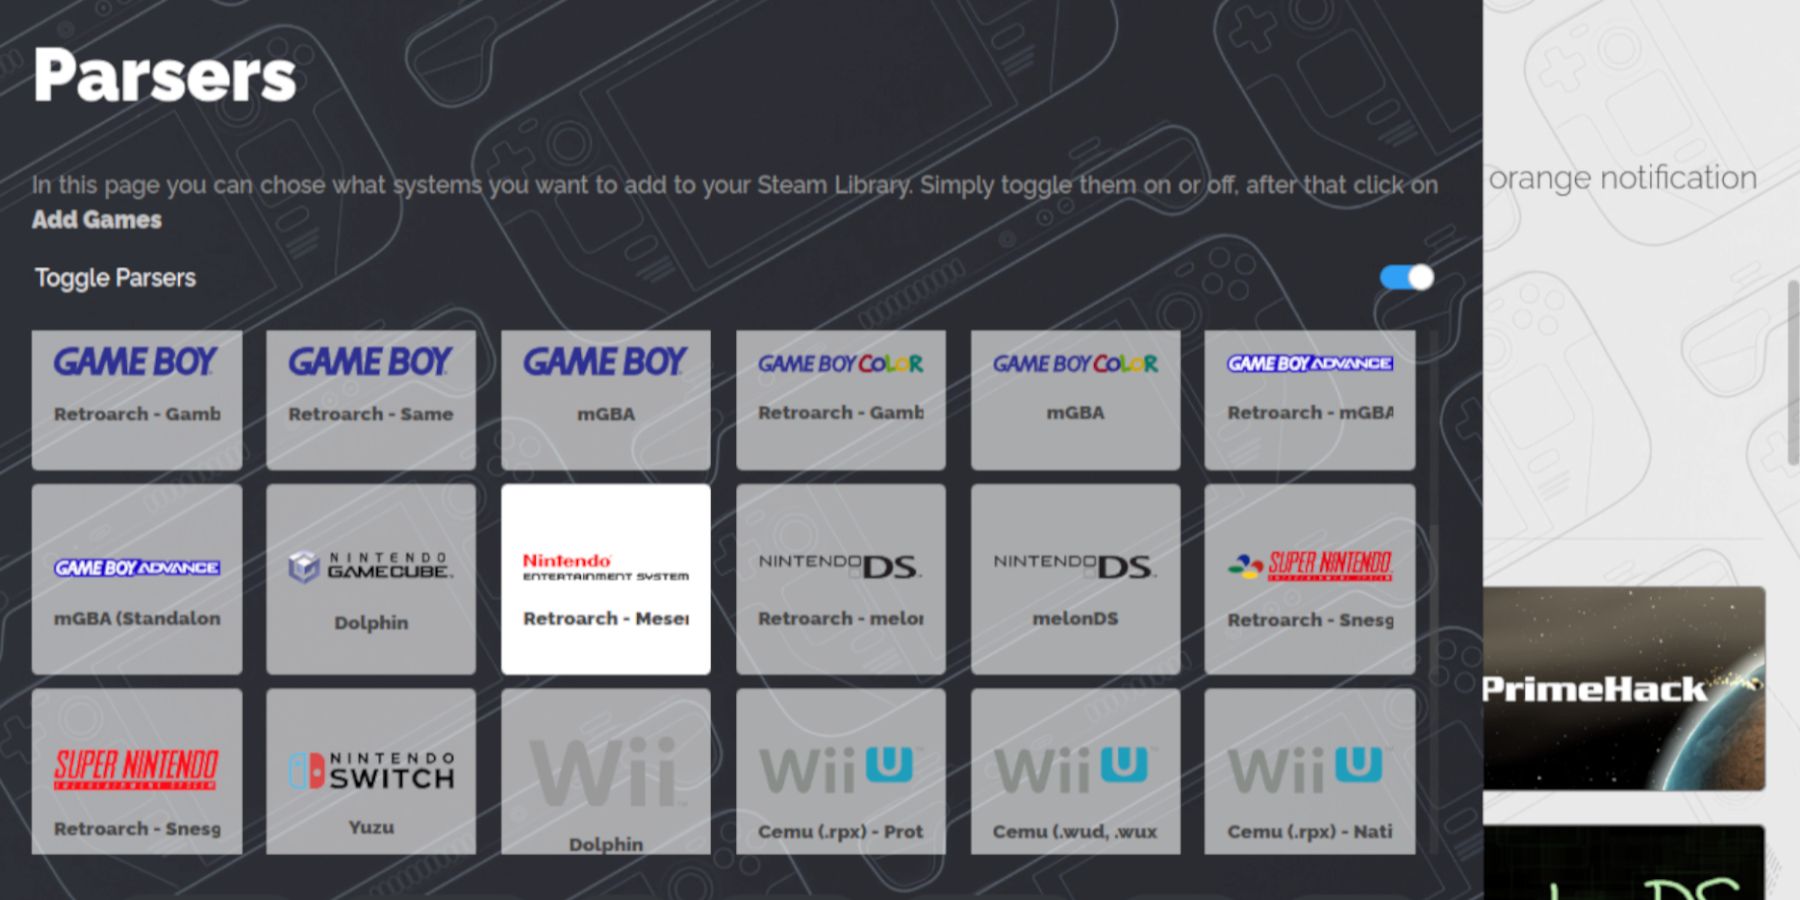
- Switch off Toggle Parsers.
- Select the Nintendo Entertainment System square and click on Add Games.
- Then, select Parse in the ‘Add your games to Steam’ screen.
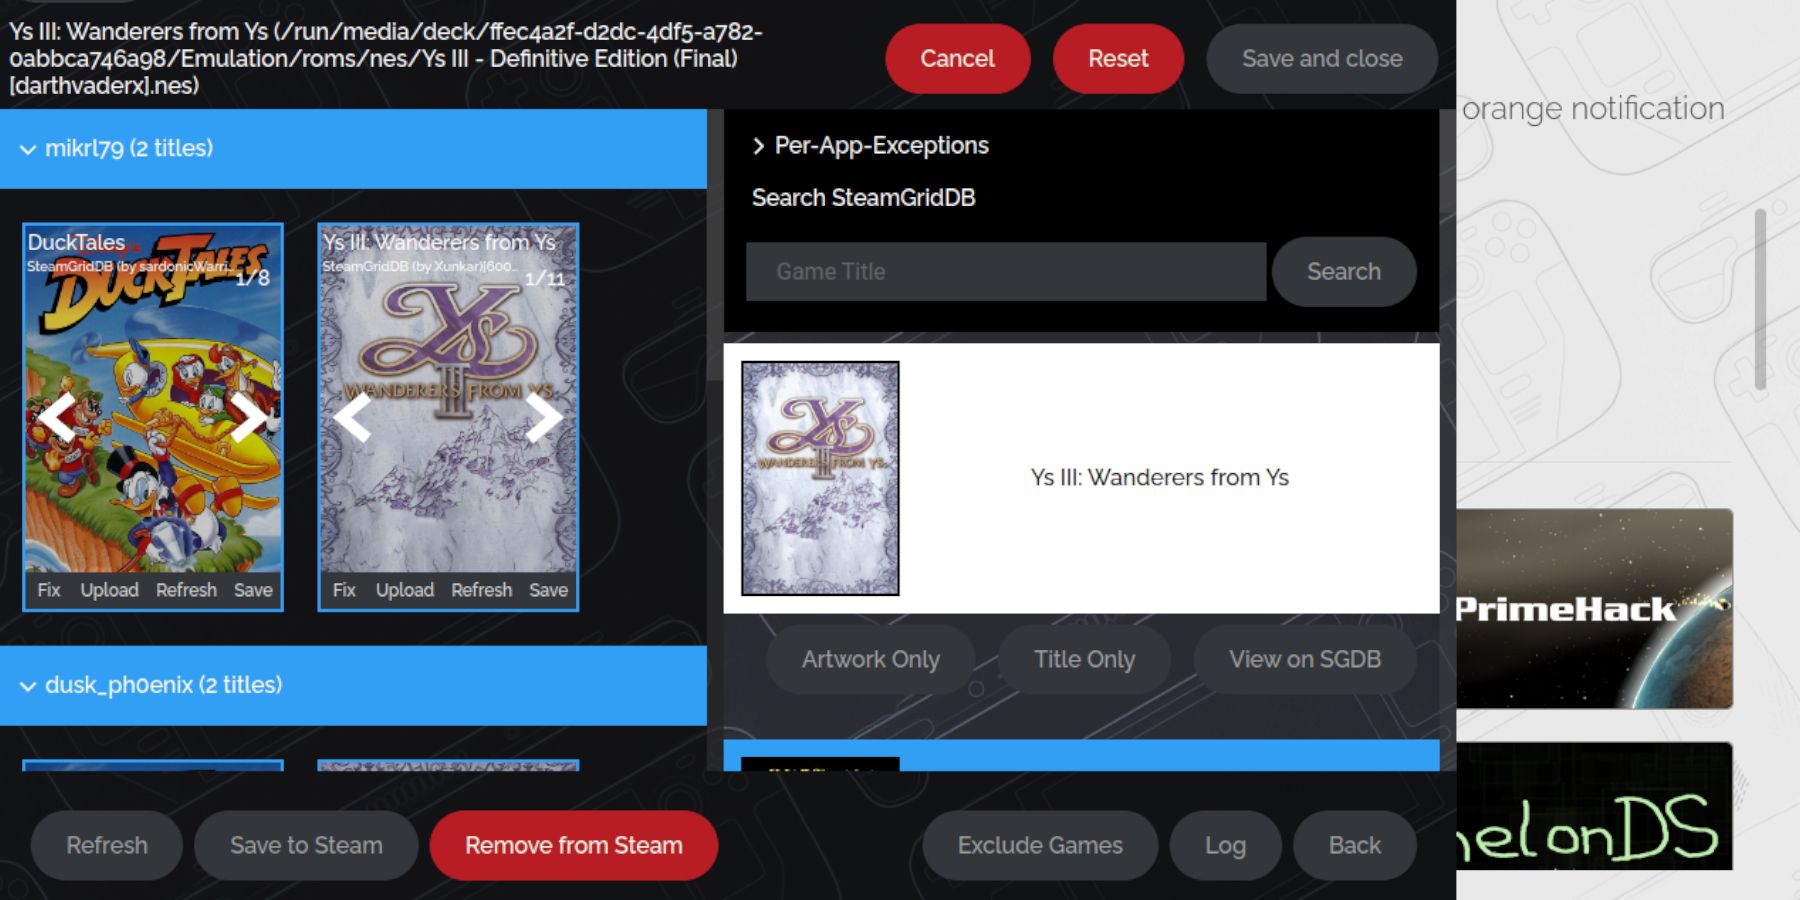
- Ensure the NES games have the correct cover art and select Save to Steam.
Fix Missing Artwork For NES Games
Some games may have missing or incorrect cover art attributed to them. To fix this issue, use the following steps:
- Select Fix.
- Click the down arrow next to ‘Per-App-Exceptions’ to pull up the menu.
- Type in the game’s title in the Game Title search bar.
- Select the desired cover art to turn the tab white.
- Click on Save and close.
- If you’re happy with the cover art, click on Save to Steam.
Upload Missing Cover Art
For some classic games, the artwork might not be available in the Steam ROM Manager’s database. If this occurs, you will need to upload the artwork manually.
- With the Steam Deck in Desktop mode, reopen a browser and search for the game’s name in the image search engine.
- Save your preferred image to the Pictures folder.
- Switch back to the Steam ROM Manager.
- Click Upload in the cover frame.
- The SRM will open your file manager, so navigate to the Pictures folder and select your image.
- With your new cover in place, select Save and Close.
- Select Save to Steam and wait for the batch files to finish.
- Close the Steam Rom Manager and switch back to Gaming Mode.
Find And Play Your NES Games On Steam Deck
Now that the Steam Rom Manager has allocated artwork and added the games to the Steam library, it’s time to locate and play your NES games.
- In the Steam Deck’s Gaming Mode, press the Steam button under the left trackpad.
- Select Library.
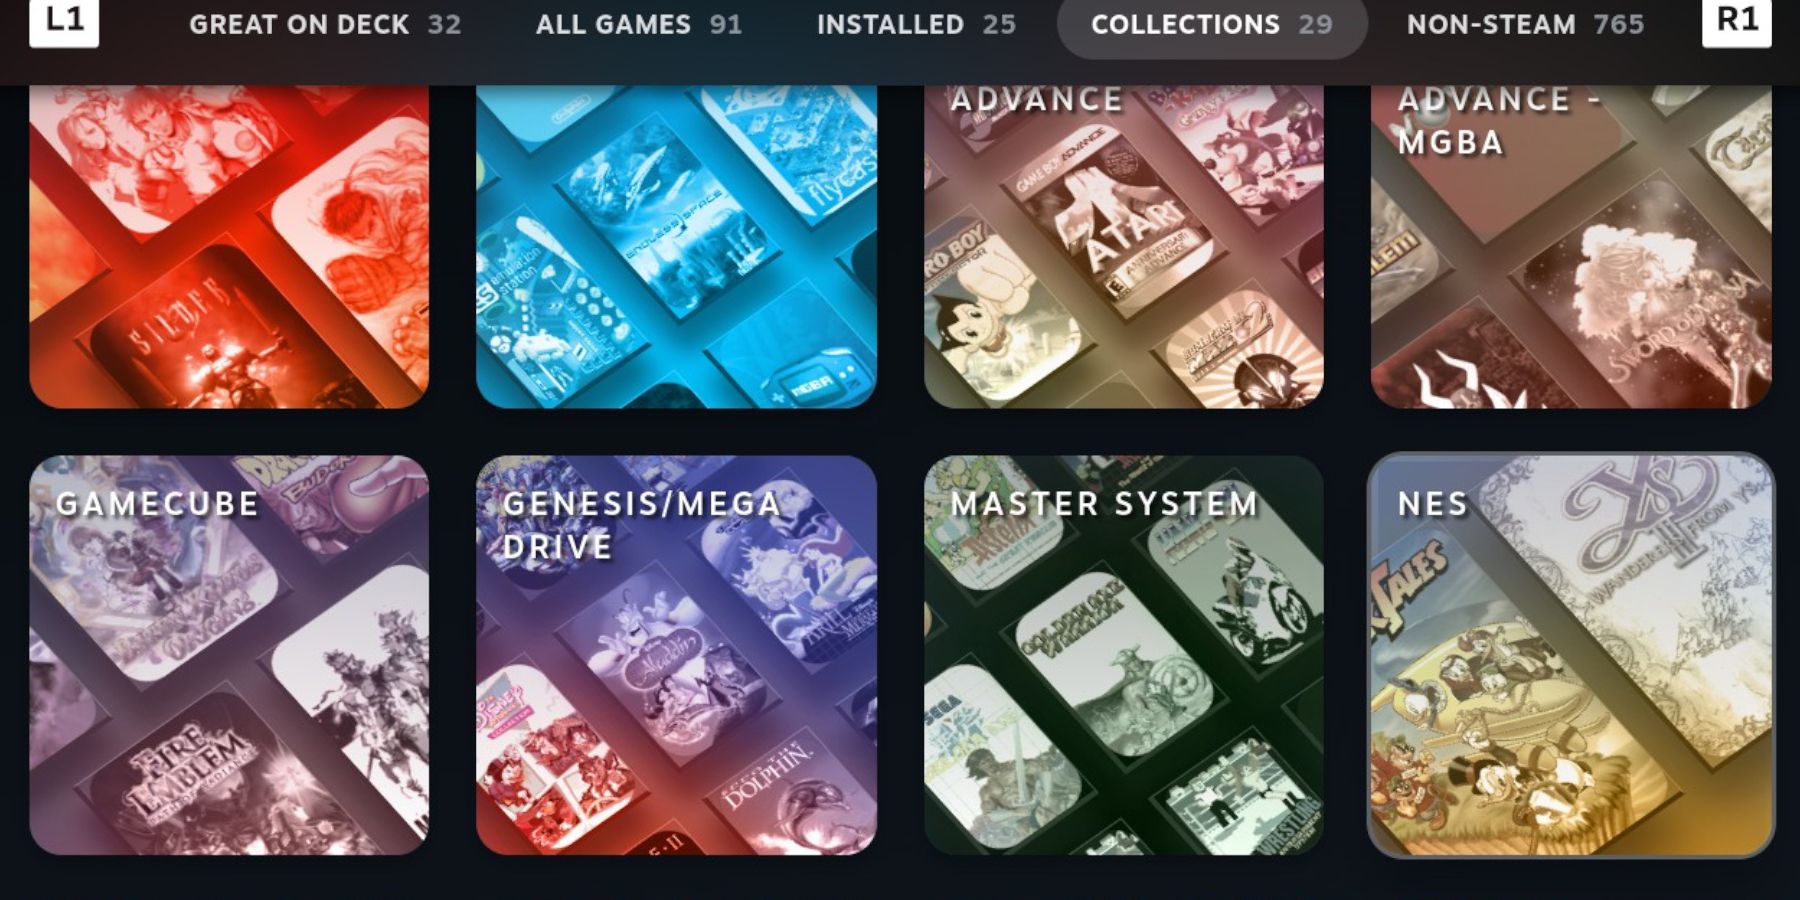
- Press the R1 button to navigate to the Collections tab.
- Open the new NES window, select the game, and Play.
Improve Performance
You can increase the frame rate to improve the performance of your favorite NES games. Use the following steps to set your performance for specific games:
- Press the QAM button underneath the right trackpad.
- In the Performance menu, switch on Use per-game profile.
- Increase the Frame Limit to 60 FPS.
Increasing the framerate should also fix audio and stuttering issues that may occur from playing retro titles on the Steam Deck.
Play NES Games With Emulation Station
Emulation Station is a program consolidating all your emulated games in one location. To play NES games from Emulation Station on the Steam Deck’s Gaming Mode, follow these steps:
- Access the Library by pressing the Steam button.
- Navigate to the Collections tab and select Emulation.
- Open the Emulation Station.
- Then select the NES controller icon to open a list of your NES games.
- Open a game from the list to play it.
Install Decky Loader For The Steam Deck
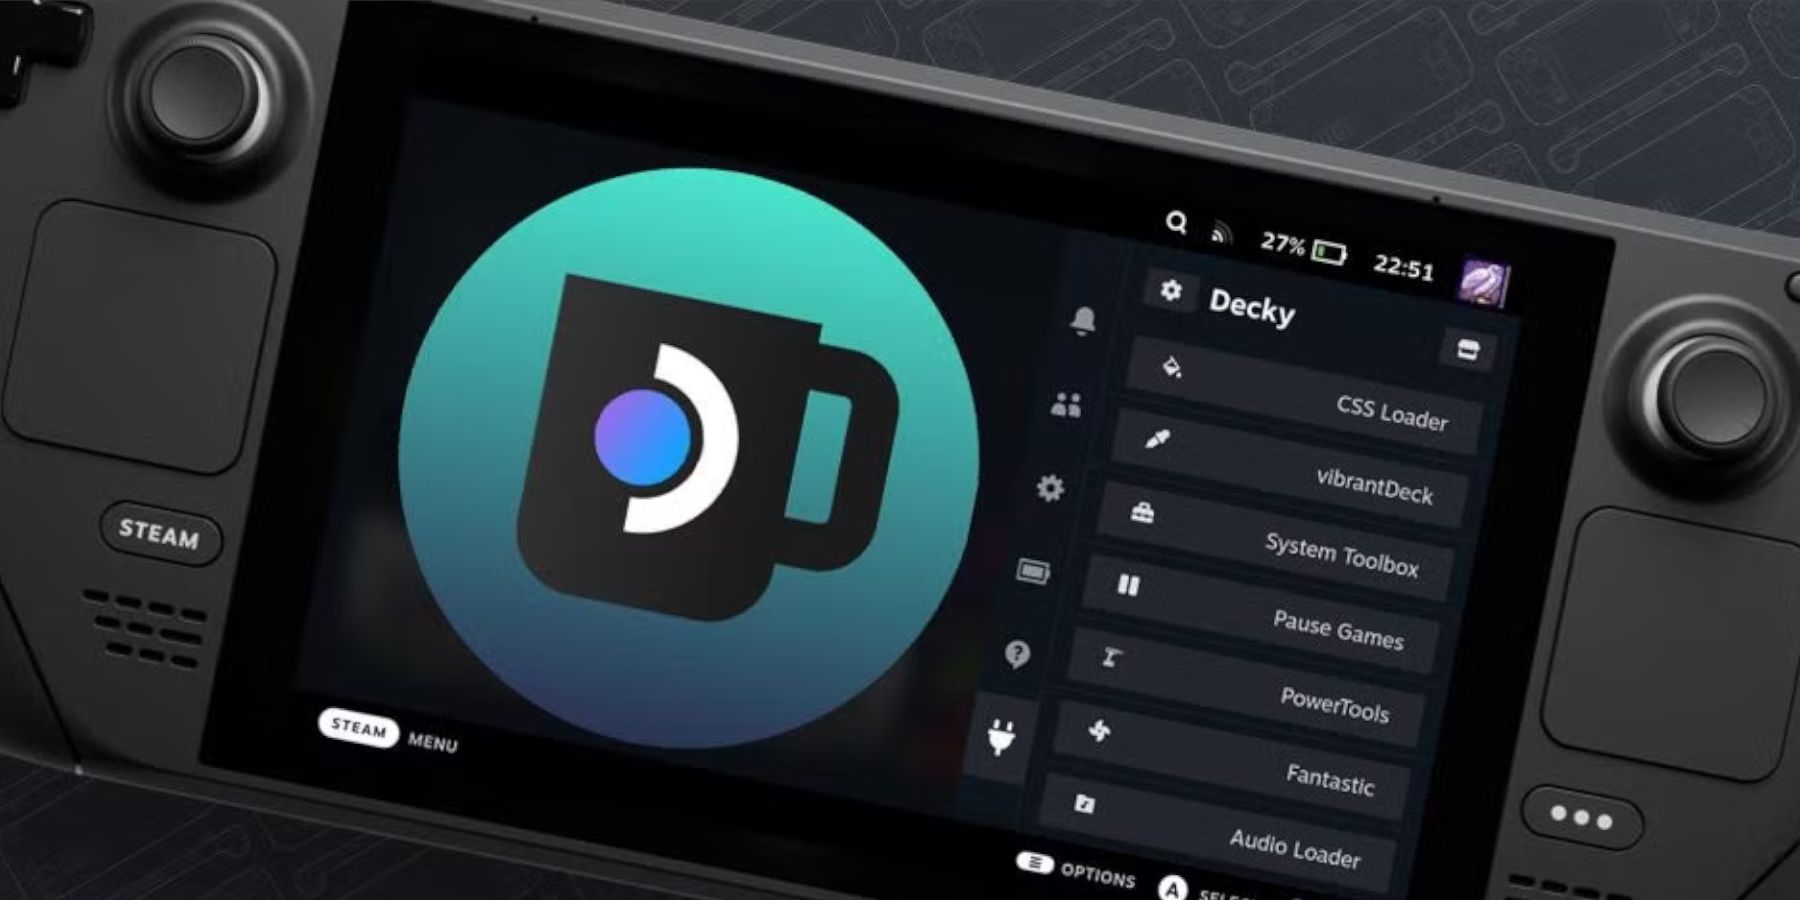
The EmuDeck developers recommend installing Decky Loader and one of its best plugins, Power Tools for optimal performance. Use the following steps install the Decky Loader program first.
- Optionally connect a keyboard and mouse for easier navigation.
- If you’re in Gaming Mode, press the Steam button, Power, and Switch to Desktop Mode.
- In Desktop Mode open a browser. Browsers can be downloaded from the Discovery Store.
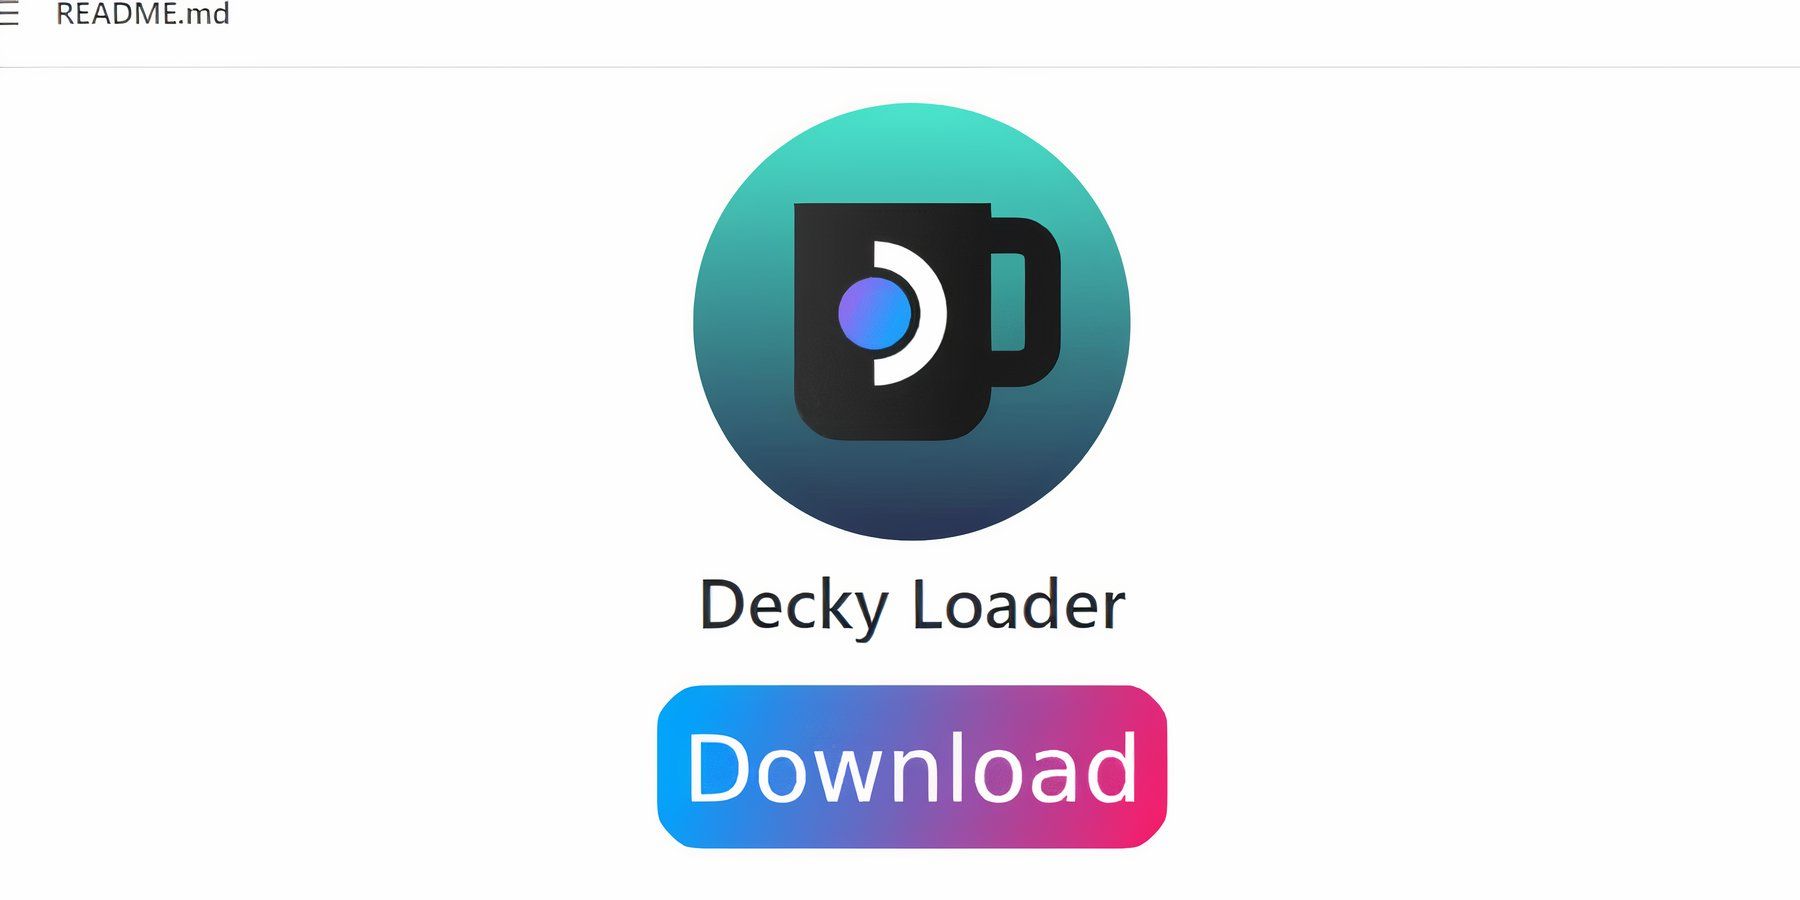
- In your preferred browser, navigate to the GitHub Decky Loader page.
- Locate the large Download icon and click it to start downloading.
- After the download has finished, double-click the launcher and select Recommended Install.
- With the installation complete, restart the Steam Deck in Gaming Mode.
The next step after installing Decky Loader is to install Power Tools. To finish the installation, follow the instructions below.
- Ensure the Steam Deck is in Gaming Mode.
- Press the Quick Access Menu (QAM) button beneath the right trackpad.
- Open the plugin icon at the bottom of the QAM.
- Select the store icon at the top of the Decky Loader menu.
- In the Decky Store, find the Power Tools plugin with the search bar and install it.
Power Tools Settings For Emulated Games
- Open a NES Game from your Library’s Collections tab.
- Press the QAM button, Decky Loader, and select the Power Tools menu.
- Turn off SMTs.
- Set Threads to 4.
- Now, Open the Performance menu by selecting the small battery icon.
- Enable Advanced View.
- Then switch the Manual GPU Clock Control On.
- Increase GPU Clock Frequency to 1200.
- Next, choose Per Game Profile to save these settings for individual games.
Fixing Decky Loader After A Steam Deck Update
The most significant Steam Deck updates can alter the settings in the Steam Deck menu inadvertently removing third-party apps like Decky Loader. Use the following steps to restore with your settings intact:
- If you’re still in Gaming Mode, press the Steam button to open Power, and switch to Desktop Mode.
- Open your favorite browser when the Steam Deck restarts in Desktop Mode.
- Head to the Decky Loader GitHub page and click the Download icon.
- You must select Execute and not Open.
- Enter your sudo password in the prompt box.
- If you haven’t already generated a sudo password, create one by following the onscreen instructions. Choose a memorable password and save it for future installations.
- After the installation, power off the Steam Deck and restart it in Gaming Mode.
- Press the QAM button, and your Decky Loader app, settings, and plugins should be as they were before the update.
This is all you need to play NES games on the Steam Deck and integrate them into your library as if they were official titles.
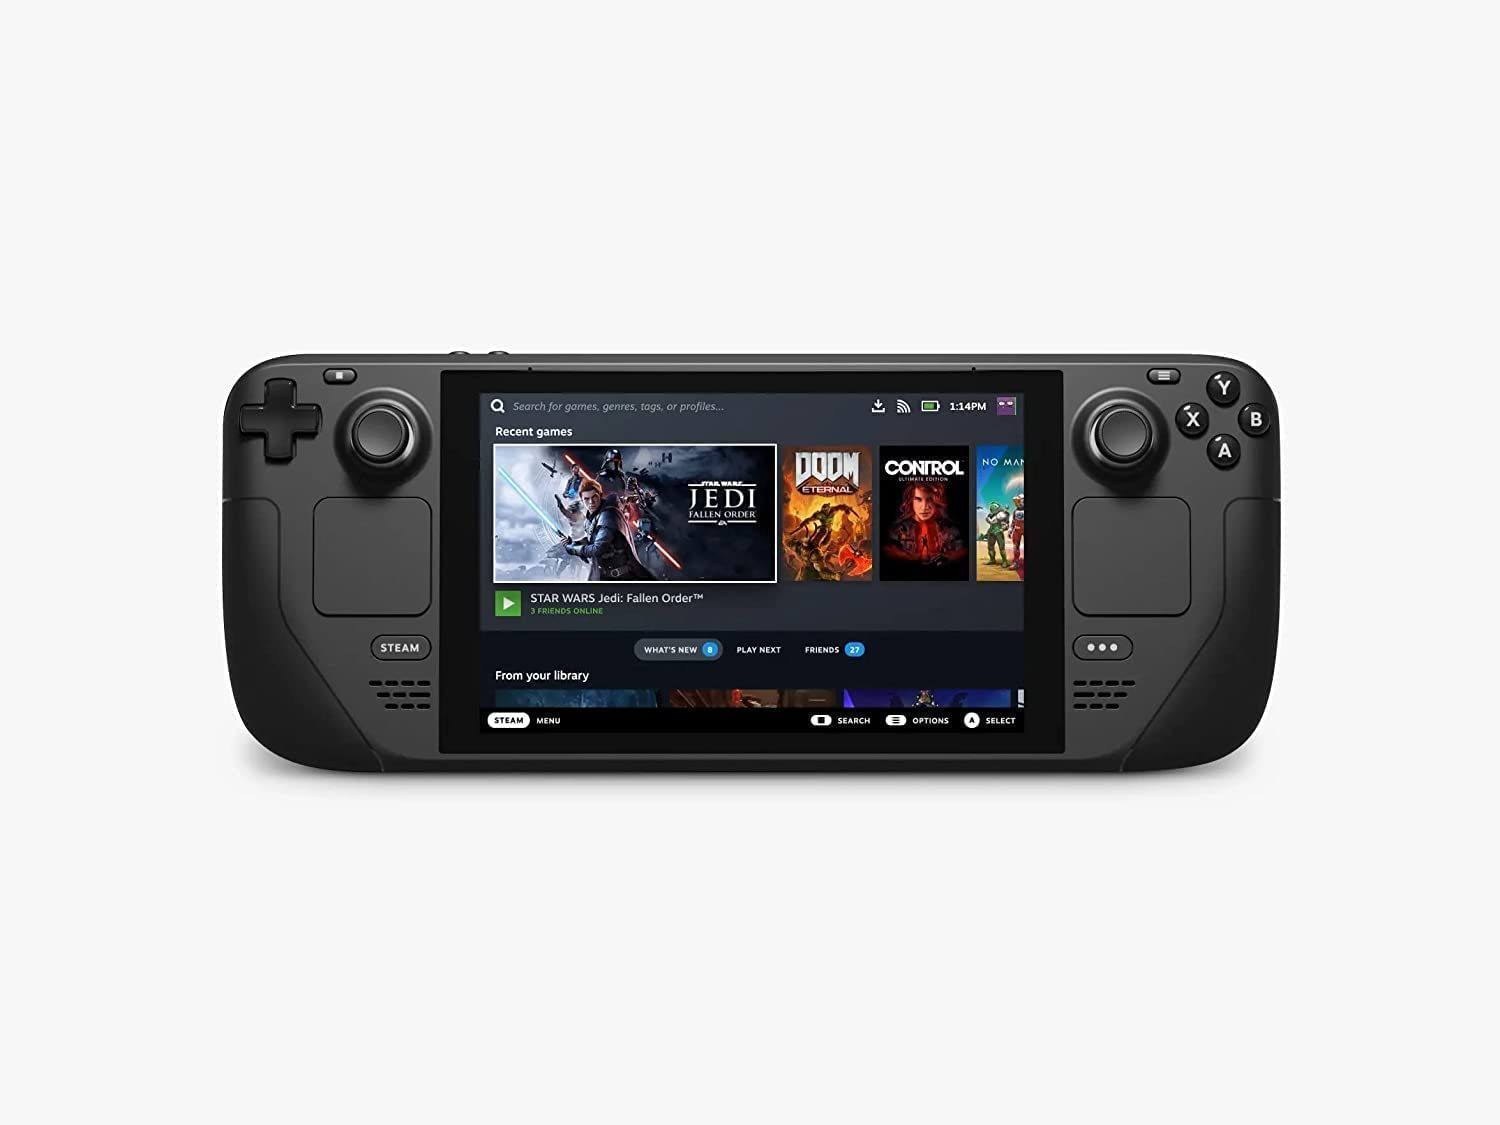
Steam Deck
- Screen
-
7″ diagonal 1280 x 800px (16:10 aspect ratio) 60Hz
- Storage
-
64 GB – 512 GB
- CPU
-
AMD APU Zen 2 4c/8t, 2.4-3.5GHz
- Dimensions
-
298mm x 117mm x 49mm







Leave a Reply