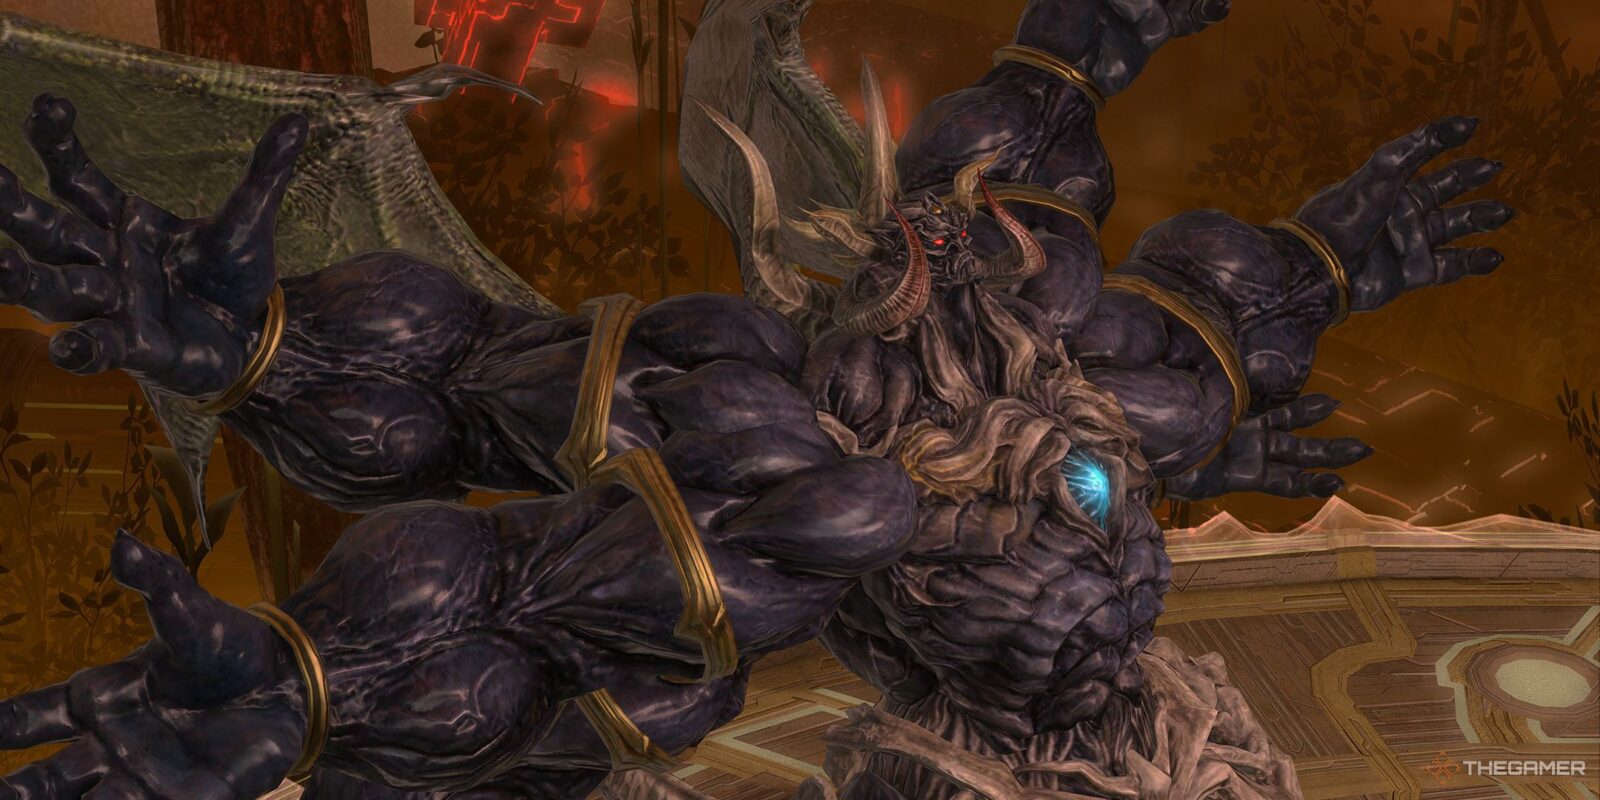
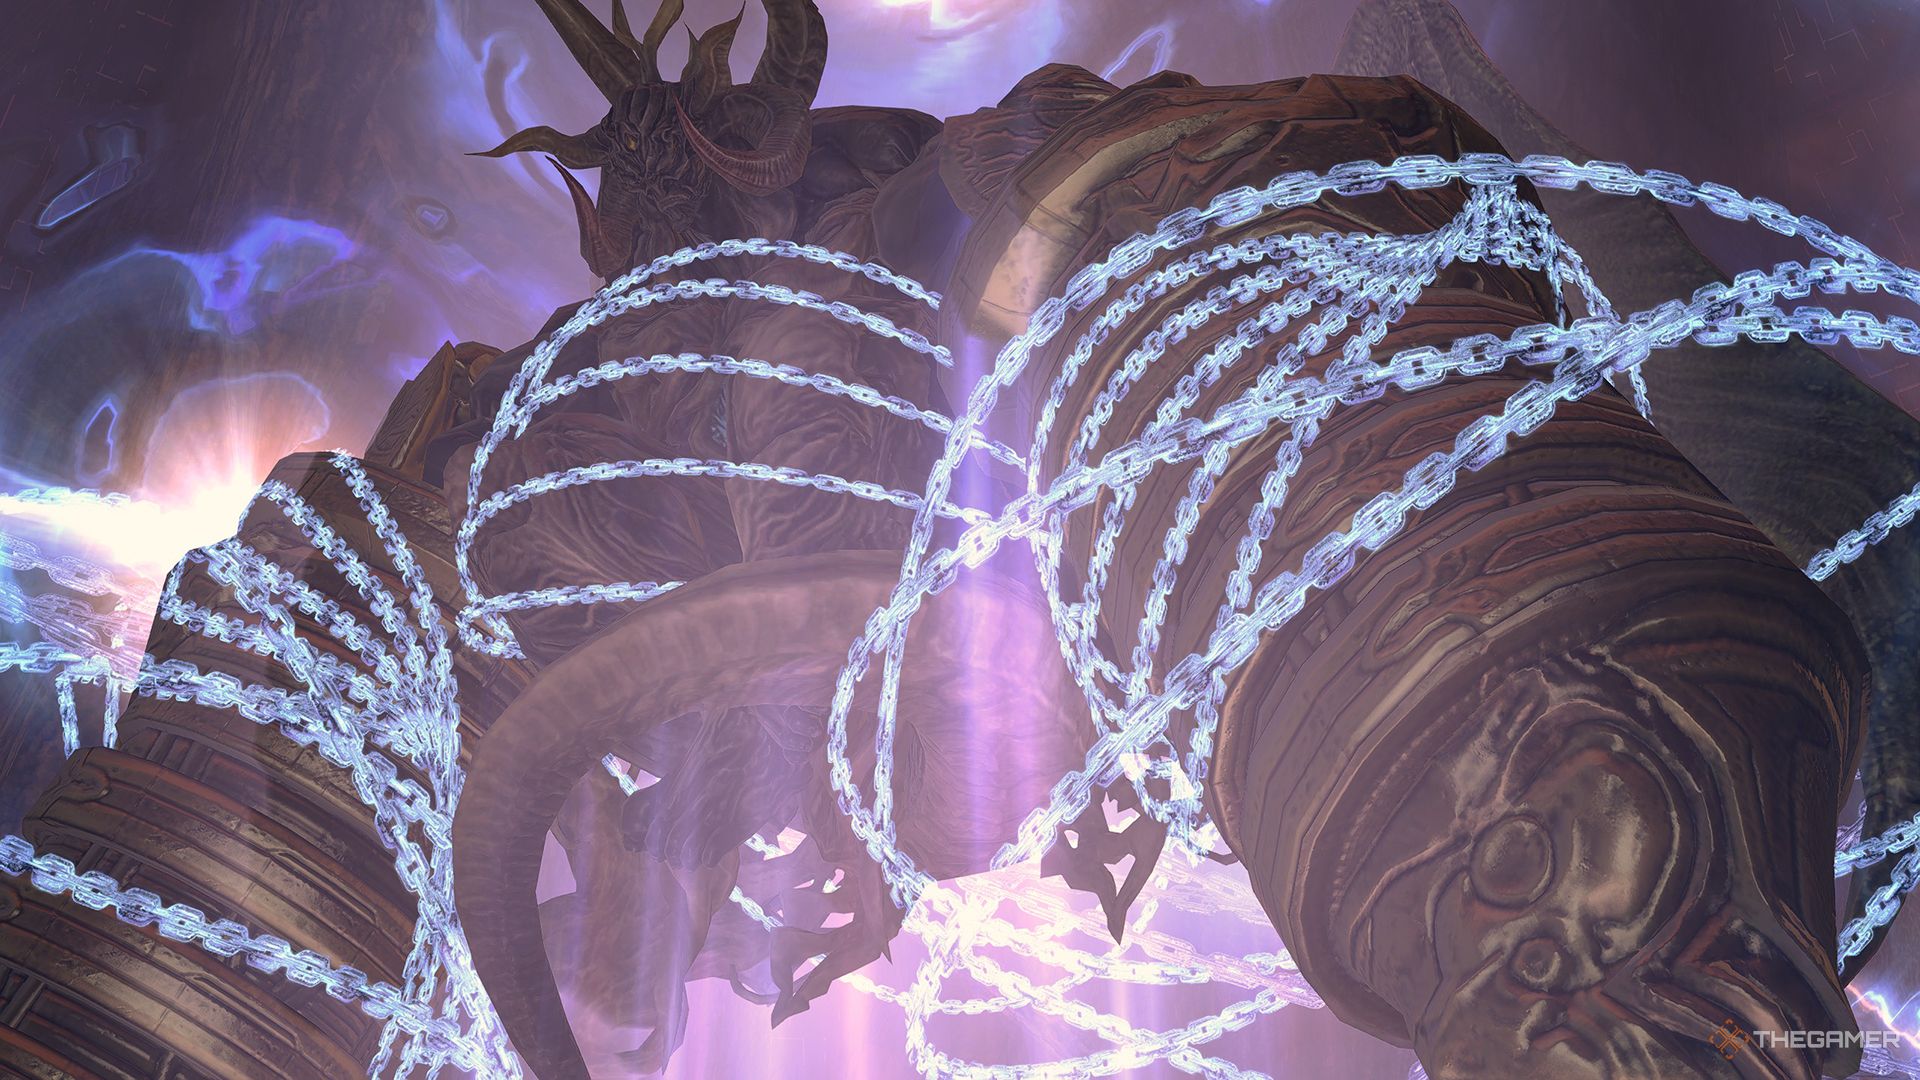
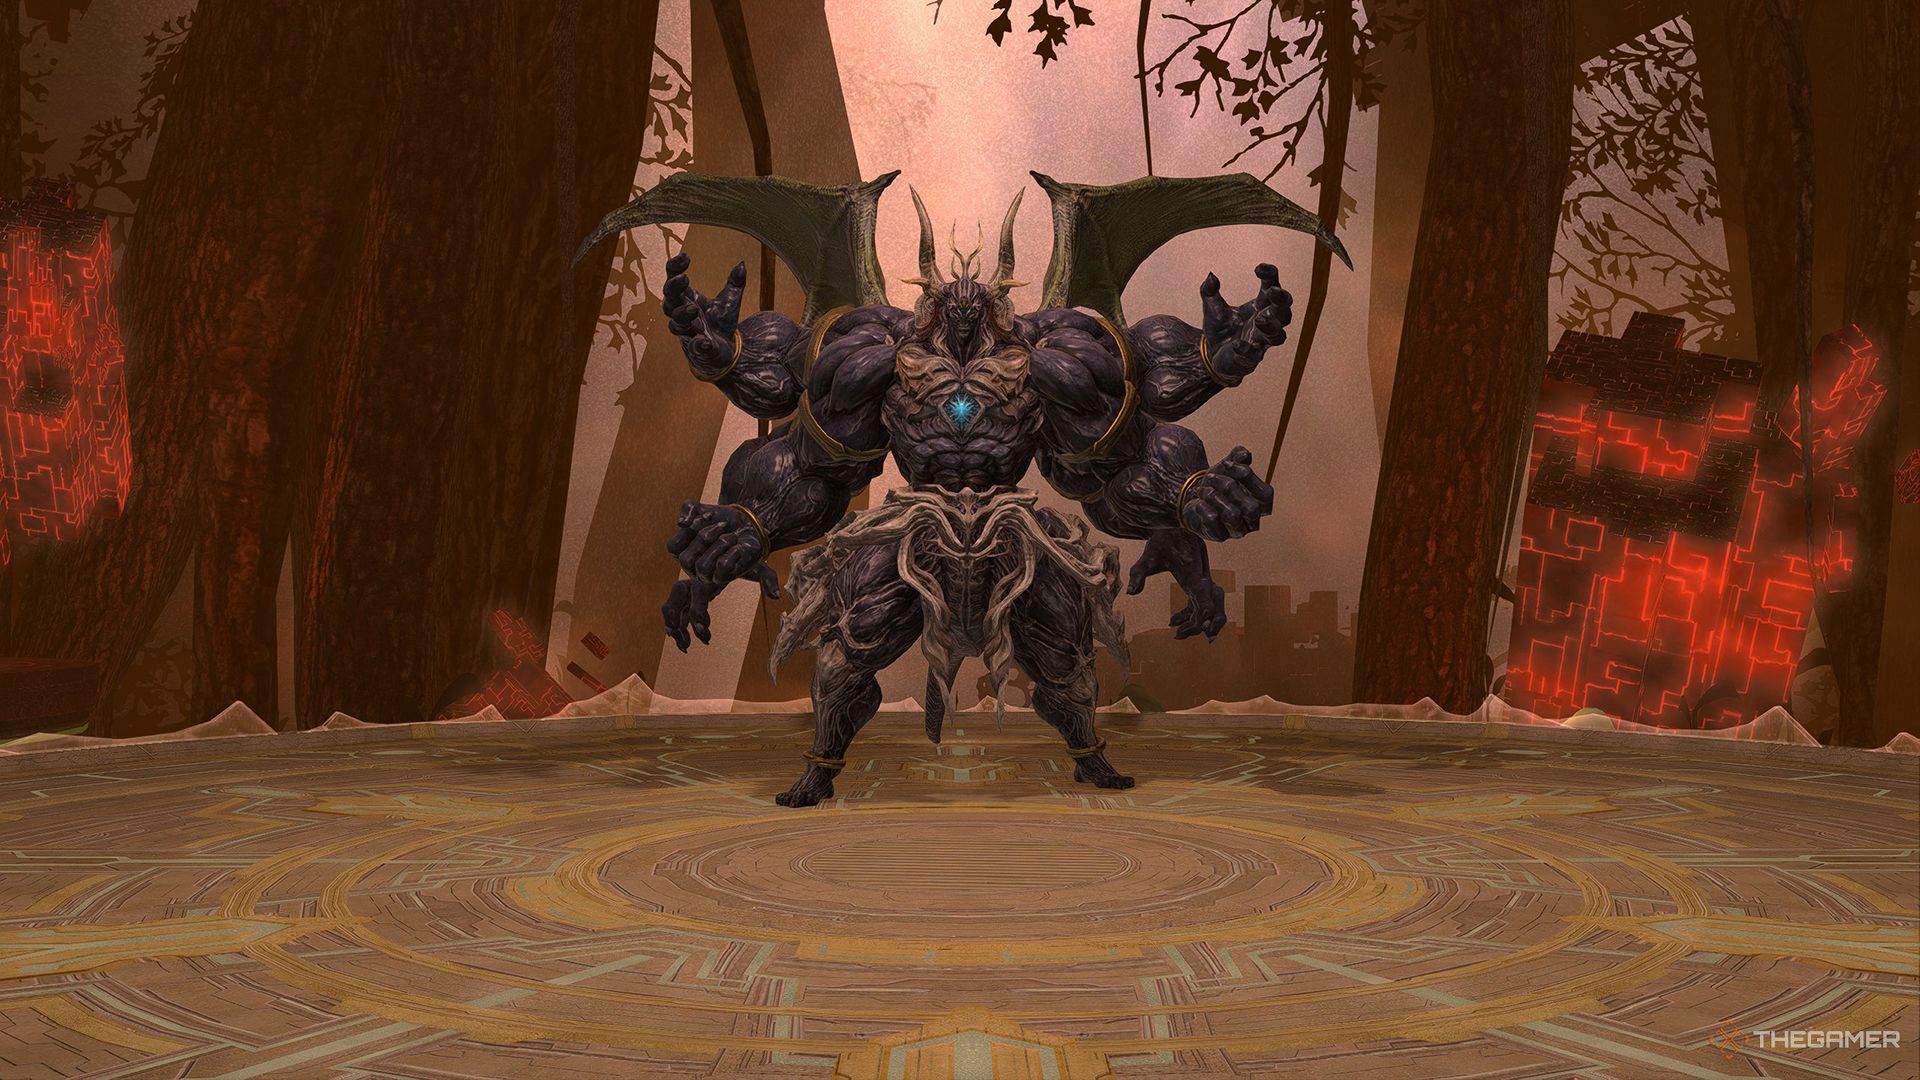
Containment Bay S1T7 is a level 60 Trial in Final Fantasy 14, and the first in the Warring Triad series of Trials. Originally a group of bosses in Final Fantasy 6, the Warring Triad have returned in Final Fantasy 14 as Primals that were imprisoned by the Allagan Empire in ancient history.
Related
Final Fantasy 14: Battle In The Big Keep Trial Guide
FF14’s Battle in the Big Keep will have you fighting Gilgamesh and his faithful companion. We have all the details for this exciting trial.
As the Warring Triad threaten to break free of their ancient imprisoning, it’s up to you to venture into their Containment Bays and stop them. The first of the Triad is Sephirot, The Fiend. Below, we’ll take a look at everything you need to know about this fight, including how to unlock it and how to beat Sephirot.
How To Unlock Containment Bay S1T7
Before you can unlock Containment Bay S1T7, you will need to complete the level 60 MSQ ‘Heavensward’, which will then let you start the introductory quest ‘Gods of Eld’ by speaking to Torsefers in The Pillars (X:11.7, Y:11.5). Before you can continue with this questline, however, you’ll need to clear the MSQ up to ‘As Goes Light, So Goes Darkness’.
At this point, you’ll be able to accept ‘When the Bough Wakes’ from Unukalhai in The Rising Stones (X:6.1, Y:5.2). Follow this quest until the Duty is unlocked. Containment Bay S1T7 has an item level requirement of 190.
Sephirot Fight Walkthrough
This fight is separated into two distinct phases, with another transitional phase in between. For the most part, Sephirot’s attacks are untelegraphed, meaning there will be no AoE indicator when an attack is incoming. You’ll need to learn the animations and tells of each attack so you can dodge them accordingly.
Phase 1
The first phase will start with a normal-sized Sephirot using the following attacks.
|
Attack Name |
Type |
Details |
|---|---|---|
|
Triple Trial |
Conal AoE |
Sephirot will pull back his arms before punching forward, dealing damage in a conal AoE to his front. The Tank should face Sephirot away from the rest of the party to avoid hitting them with this attack. |
|
Tiferet |
Roomwide AoE |
Deals damage to all party members. Recover with AoE healing. |
|
Fiendish Rage |
Stack Marker |
One player will be marked with a Stack Marker; group up on their position to spread out the damage of this attack. |
|
Chesed |
Tankbuster |
Sephirot will pull back his arms which will begin to glow, then he will punch forward, dealing high damage to his main target. This attack is channeled for longer than Triple Trial, so the Tank will need to learn the difference in these animations and use defensive cooldowns when Chesed is used to reduce the damage of this attack. |
|
Ratzon |
AoE Markers |
Sephirot will mark multiple players with an AoE Marker; spread out to avoid overlapping these. |
|
Ein |
AoE |
Sephirot will face toward a random player before pulling all of his arms back, then blast forward with a wave of damage that also inflicts Vulnerability Up. When Sephirot turns to face a player that isn’t the Tank, everyone should run behind the boss to avoid this attack. |
Sephirot will repeat these attacks until he has around 60 percent health remaining, at which point phase two will begin.
Phase 2
Sephirot will become untargetable and begin charging Ein Sof Ohr, then summon two waves of Binah and Cochma enemies. The faster you deal with these enemies, the lower the damage of Sephirot’s ultimate, so work quickly and take them all out.
After Sephirot casts Ein Sof Ohr, dealing damage to the entire party, the fight will transition to phase three.
Phase 3
In phase three, Sephirot will stay at the north side of the arena and use the following attacks.
During this phase, you can fall off the edge of the arena. Position yourself carefully to avoid this!
|
Attack Name |
Type |
Details |
|---|---|---|
|
Pillar of Mercy |
AoE/Knockback |
Sephirot will punch the arena, indicated by a blue AoE, dealing damage and knocking players back. Standing directly in the blue AoE will one-shot you, but standing outside of it will knock you back from the AoE. Position yourself so that you aren’t knocked off the edge of the arena. This attack will be repeated two more times in different locations. |
|
Earth Shaker |
AoE |
Sephirot will target two players with special AoE icons, then deal damage in large conal AoEs in their direction. The two targeted players should run to opposite sides of the arena, while the rest of the party should stay in the center, so that the conal AoEs hit only the targeted players. |
|
Malkuth |
Knockback |
Sephirot will crouch down, then deal damage to all players and knock them back from the north side of the arena. Move closer to Sephirot to avoid being knocked off the south edge of the arena. |
|
Storm of Words |
Summon/Special |
A Storm of Words enemy will appear along with two Binah. The Storm of Words will begin casting Revelation, which will knock players back from its position. Instead, you will need to destroy the Storm of Words to prevent it from casting Revelation, which will also leave behind a wind cloud that you will need to use later. |
|
Yesod |
AoE |
Players will be randomly targeted with AoEs that deal damage in the indicated area. Move out of the AoE to avoid taking damage. |
|
Impact of Hod |
AoE |
Sephirot will slam his arm down, then drag it across the arena, dealing 99,999 damage. To avoid this, group up in the Storm of Words wind cloud that has a Stack Marker. Just before Sephirot swipes his arm, the wind cloud will knock you up and over his arm, avoiding the damage. |
|
Da’at |
AoE |
Deals AoE damage to random players. Spread out to avoid overlapping these once Sephirot starts using this ability. |
|
Spirit |
Roomwide AoE |
Sephirot will channel two orbs of power, and then deal damage to all party members. Despite the flashy animation, there isn’t anything especially unique about this attack; use AoE healing to recover the party. |
|
Fiendish Wail |
Pillars |
Summons two pillars that the Tanks will need to stand in to absorb. If no one stands in the pillar, it will explode, dealing damage to the whole party and inflicting Vulnerability Up. |
Sephirot will repeat these mechanics until he is defeated. Be sure to destroy the Storm of Words as quickly as possible to create the wind cloud and avoid Impact of Hod, as this will wipe the party otherwise.
Due to the limited number of telegraphed attacks in this fight, getting hit by one or two is expected. Healers will be busy throughout this fight, especially when recovering from Da’at, Spirit, and Earth Shaker, which all deal unavoidable damage. For other attacks, do your best to avoid them to lessen the Healers’ burden.
If you aren’t able to defeat Sephirot before the third use of Impact of Hod, there won’t be a Storm of Words to help you, meaning Impact of Hod will deal unavoidable lethal damage to the party. You’ll need to manage your DPS accordingly to defeat Sephirot before this happens.
Next
Final Fantasy 14: Kugane Ohashi Trial Guide
Here’s how to beat The Kugane Ohashi Trial in Final Fantasy 14!




Leave a Reply