Summary
- Baldur’s Gate 3 has a few key quests in Act One that become locked if they are not progressed.
- Before moving into the next Act, players should try and complete as many of Act One’s quests as they can, so as to not miss out.
- One of the most important quests involves gathering all the party members available in Baldur’s Gate 3‘s Act One area.
The amount of things to see and do in Baldur’s Gate 3 can be overwhelming to new players, even in the opening act. With plenty of people to talk to, quests to begin, and fights to win, it can be hard to know where to start. Players may become so focused on the admittedly strong main quest drive that they forgo other storylines, and some really aren’t to be missed.
Related
Baldur’s Gate 3: 9 Best Hidden Treasures To Find
Finding hidden treasure can be a joy for Baldur’s Gate 3 players, especially when they can discover piles of loot and powerful gear.
While the thought of exploring new areas can draw players towards progressing the story, entering Act Two of Baldur’s Gate 3 can significantly change outcomes from Act One. It is important that players progress confident that they have gotten everything that they wanted out of the first act. Players who would like a little guidance can explore the following options to get the most out of Act One before continuing their journey.
Updated January 12, 2025, by Hamza Haq: Baldur’s Gate 3 is a gigantic game with tons of locations to explore, secrets to discover, and enemies to beat. The developers have tried their hardest to make exploring the world rewarding. Besides the main storyline, players are given very little direction on where to go and what to do. Naturally, this means that there are items to be found off the beaten path, and they often go overlooked, even over the course of multiple playthroughs. For completionists and those who want to see everything BG3 has to offer, finding these missable things to do is of the highest priority.
22
Meet Withers
An Appropriate Introduction To An Important Character
- Relevant Quests: Explore The Ruins
- Location: Overgrown Ruins
- Relevant Characters: Withers
-
Notable Loot:
 The Amulet Of Lost Voices
Withers, Baldur’s Gate 3’s peaceful, sentient undead, is perhaps one of the most mysterious characters in the game, thanks to his vast knowledge, complete invulnerability, and seldom-used extremely powerful abilities. Despite this air of mystery, Withers is a guaranteed camp companion for all players and is one of the earliest that players can meet.
Given Withers’s necessity for gameplay, all players are guaranteed to get Withers showing up to their camp rather unceremoniously. However, this great character deserves a worthy entrance, and players will get exactly that if they meet Withers in the Ruins near the Nautiloid Crash Site not long into the game.
21
Investigate Waukeen’s Rest
Gives Players Good Rewards At A Low Level
Waukeen’s Rest is an inn just off The Risen Road, although it’s certainly seen better times when the players first get there. In the wake of a drow and goblin raid, Waukeen’s Rest and the adjacent buildings have been left ablaze.
Players can help to stop the fire in any number of different ways, thanks to the versatility of Baldur’s Gate 3, and this is well worth doing. Primarily, saving Counsellor Florrick in the main building will kick off the Rescue the Grand Duke quest and reward players with their choice of The Sparky Points, The Joltshooter, or The Spellsparkler – all rare weapons.
20
Get The Spider Egg Sac
An Unusual And Helpful Consumable Item
- Relevant Quests: N/A
- Location: Harper Outpost
- Relevant Characters: N/A
- Notable Loot: Spider Egg Sac
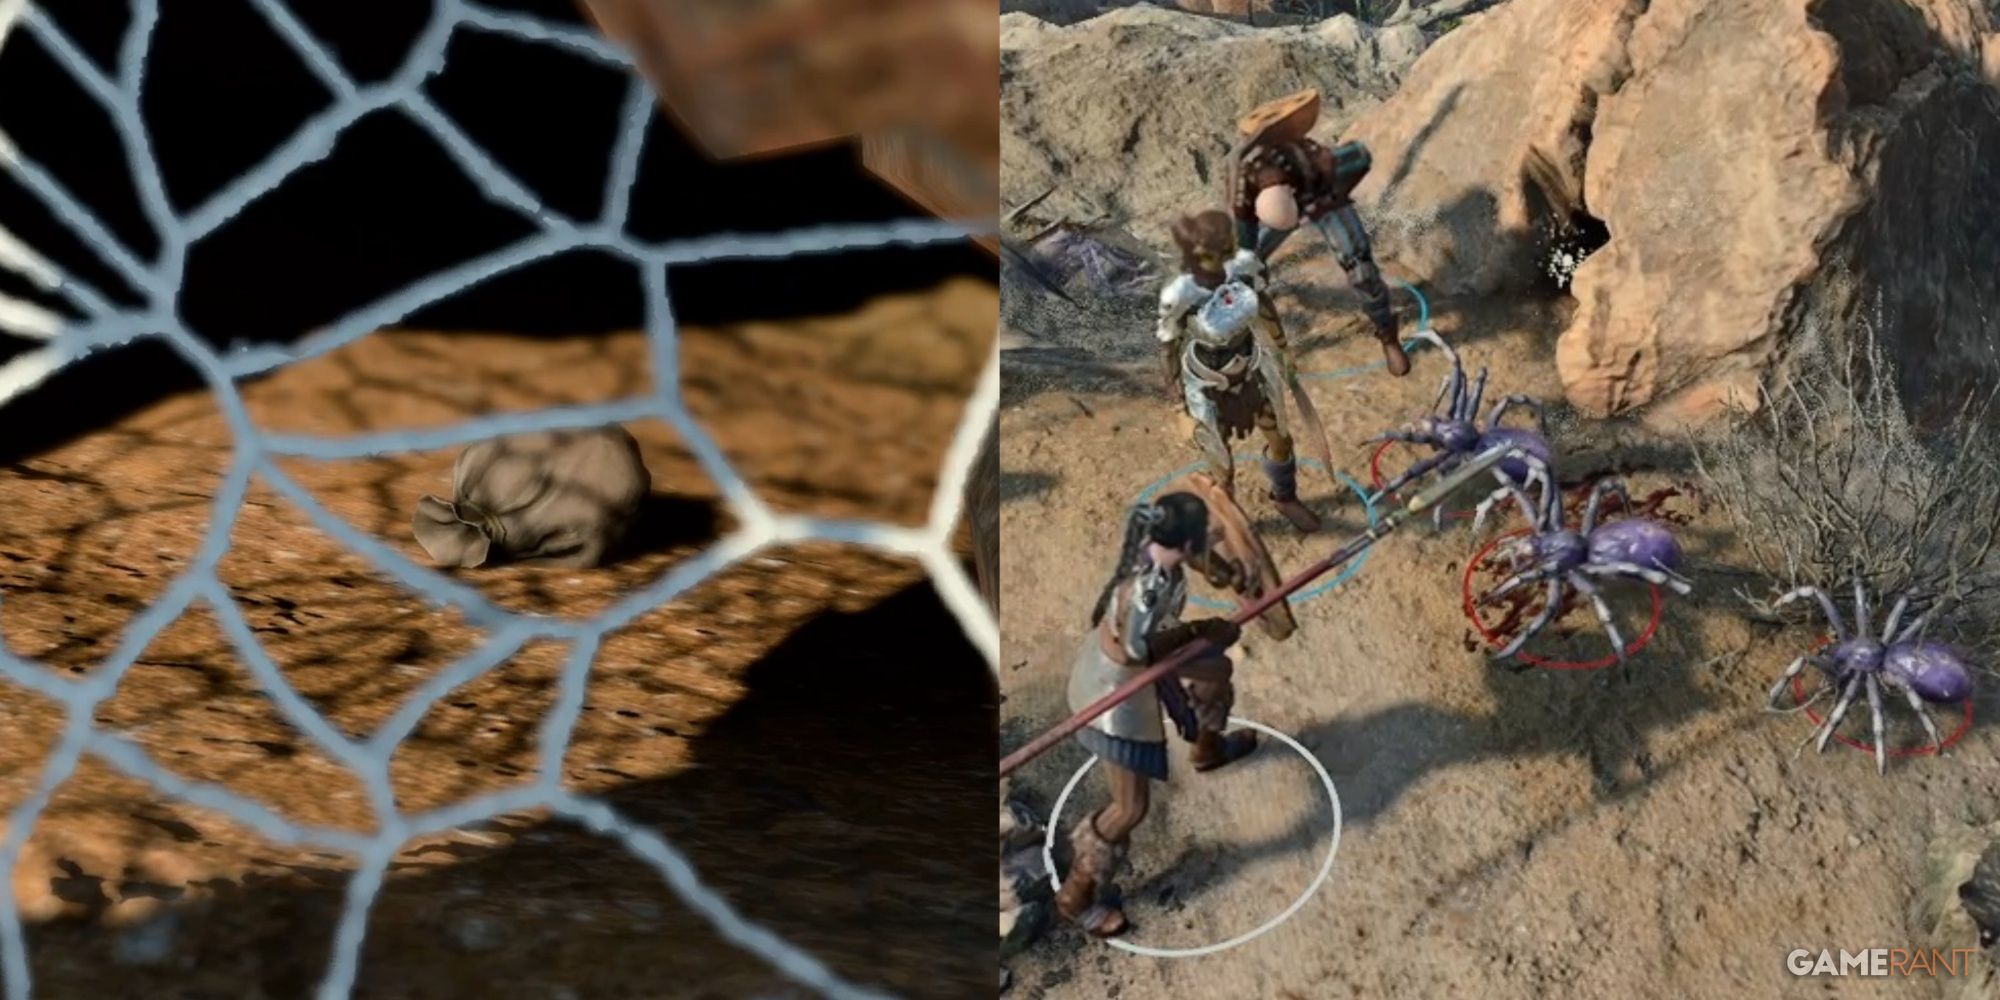
While this consumable item does have a disgusting name, it can be quite useful in Baldur’s Gate 3’s first act. On top of its utility, this item is also quite an unusual one to find and has some interesting interactions. To retrieve the egg sac, players will need to interact with a rocky crevice, passing a DC15 animal handling or sleight of hand check to avoid disturbing the spiders within (or singing them to sleep as a bard).
The reason this item can be quite tricky to find is that the rocky crevice is by a Harper Outpost on some cliffs that aren’t obviously scalable. Jumping up the cliffs opposite the entrance to the Druid’s Grove main entrance will allow players to find it. The Spider Egg Sac summons five friendly Crag Spiders.
19
Free Oskar Fevras
Opens Up A Questline In Act Three
- Relevant Quests: Free The Artist
- Location: Zhentarim Basement
- Relevant Characters: Oskar Fevras, Brem
- Notable Loot: N/A
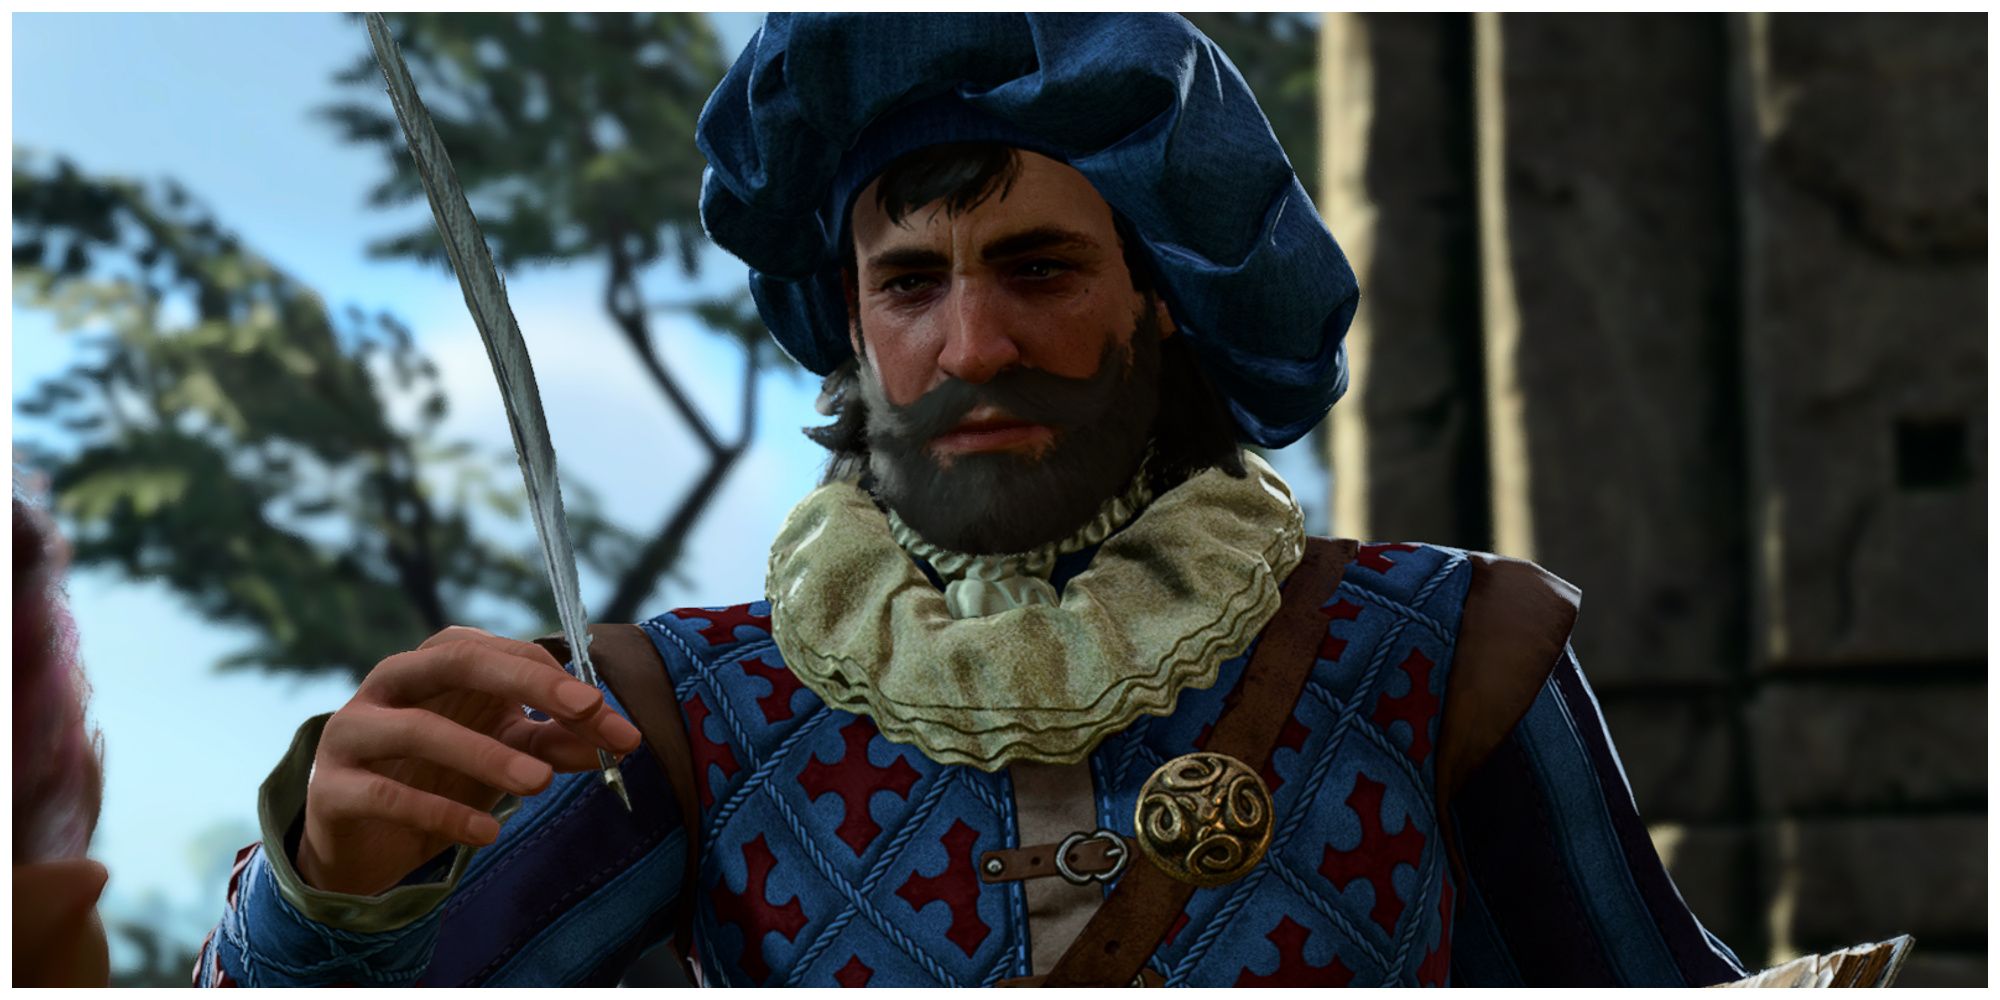
Oskar Fevras is a talented artist who has found himself captured by the shady Zhentarim network. Fortunately for him, compassionate players can choose to free him from the Zhentarim, either by passing some tough charisma checks, by giving in to the ransom that his captor is charging, or by successfully removing the Zhentarim from the picture.
The ‘Free The Artist’ quest can easily be missed, as the Zhentarim’s hideout at the back of Waukeen’s Rest is easily missed, especially if players haven’t previously spoken to Rugan and Olly at the gnoll camp. It is well worth doing, however, as it actually opens up a whole new convoluted and quite interesting questline once players reach Baldur’s Gate in Act Three.
18
Find The Iron Flask
Gives Players A Unique Item
- Relevant Quests: Find The Missing Shipment
- Location: The Risen Road
- Relevant Characters: Rugan, Olly
- Notable Loot: Iron Flask
Speaking of Rugan and Olly, players are going to be interacting with them a little more if they want to find the unique item, the Iron Flask. Rugan and Olly are the last remaining Zhentarim attempting to protect a mysterious shipment for a wealthy benefactor in Baldur’s Gate. Should loot-hungry players inspect the cargo for themselves (perhaps making an enemy of the Zhentarim in the process), they will find this interesting item.
The Iron Flask is a terrifying-looking flask that seems to contain a creature inside. Should players open it, it will release a powerful spectator, ready to fight. Players should take care when they use it, however, as the spectator is hostile to all creatures, not just the player’s enemies.
17
Finish The Masterwork Weapon
Gives Players A Powerful Weapon In The First Act
Players can find a master blacksmith’s blueprints long abandoned in the Blighted Village. This is also where players can find a forge, presumably belonging to said blacksmith. The blueprints allow players to finish the blacksmith’s work and craft a Masterwork Weapon.
In order to do so, players will need to take a little detour into the Underdark, which can handily be accessed via the well in the Blighted Village, assuming players have some way to negate fall damage. Players will be looking for the Sussur Tree in order to take some of its bark. Players can then craft either a Sussur dagger, sickle, or greatsword, powerful weapons that silence the target on a successful hit.
16
Kill (or Save) True Soul Nere
A Deciding Moment For The Playthrough
- Relevant Quests: Free True Soul Nere, Deliver Nere’s Head
- Location: Grymforge
- Relevant Characters: Nere, Philomeen, Brithivar, Spaw, Glut, Balthazar
-
Notable Loot:
 Nere’s Head
,
 Disintegrating Night Walkers
, Spider’s Lyre,
 Sword Of Screams
, Mind Flayer Parasite Specimen
The True Soul Nere encounter is not one that can be missed before players venture into the Shadow-Cursed Lands of Act 2. Nere can be found trapped under rubble in the Grymforge, and practically everyone in the area will inform the players of his predicament, including Nere himself. What many players may not realize, however, is that this encounter is timed in a way that’s not immediately obvious.
If players interact with the rubble the Drow is trapped in once and long-rest multiple times without doing anything about the problem, they might return to find he has died because they waited too long. This isn’t necessarily a bad thing, as it can save them from having to fight a hard battle, but for those hoping to see the other potential outcomes of the encounter, it’s a letdown.
15
Get Lump’s War Horn
A One-Time Summon Item To Turn The Tide Of A Battle In Act 1
- Relevant Quests: –
- Location: Blighted Village
- Relevant Characters: Lump The Enlightened
-
Notable Loot:
 Lump’s War Horn
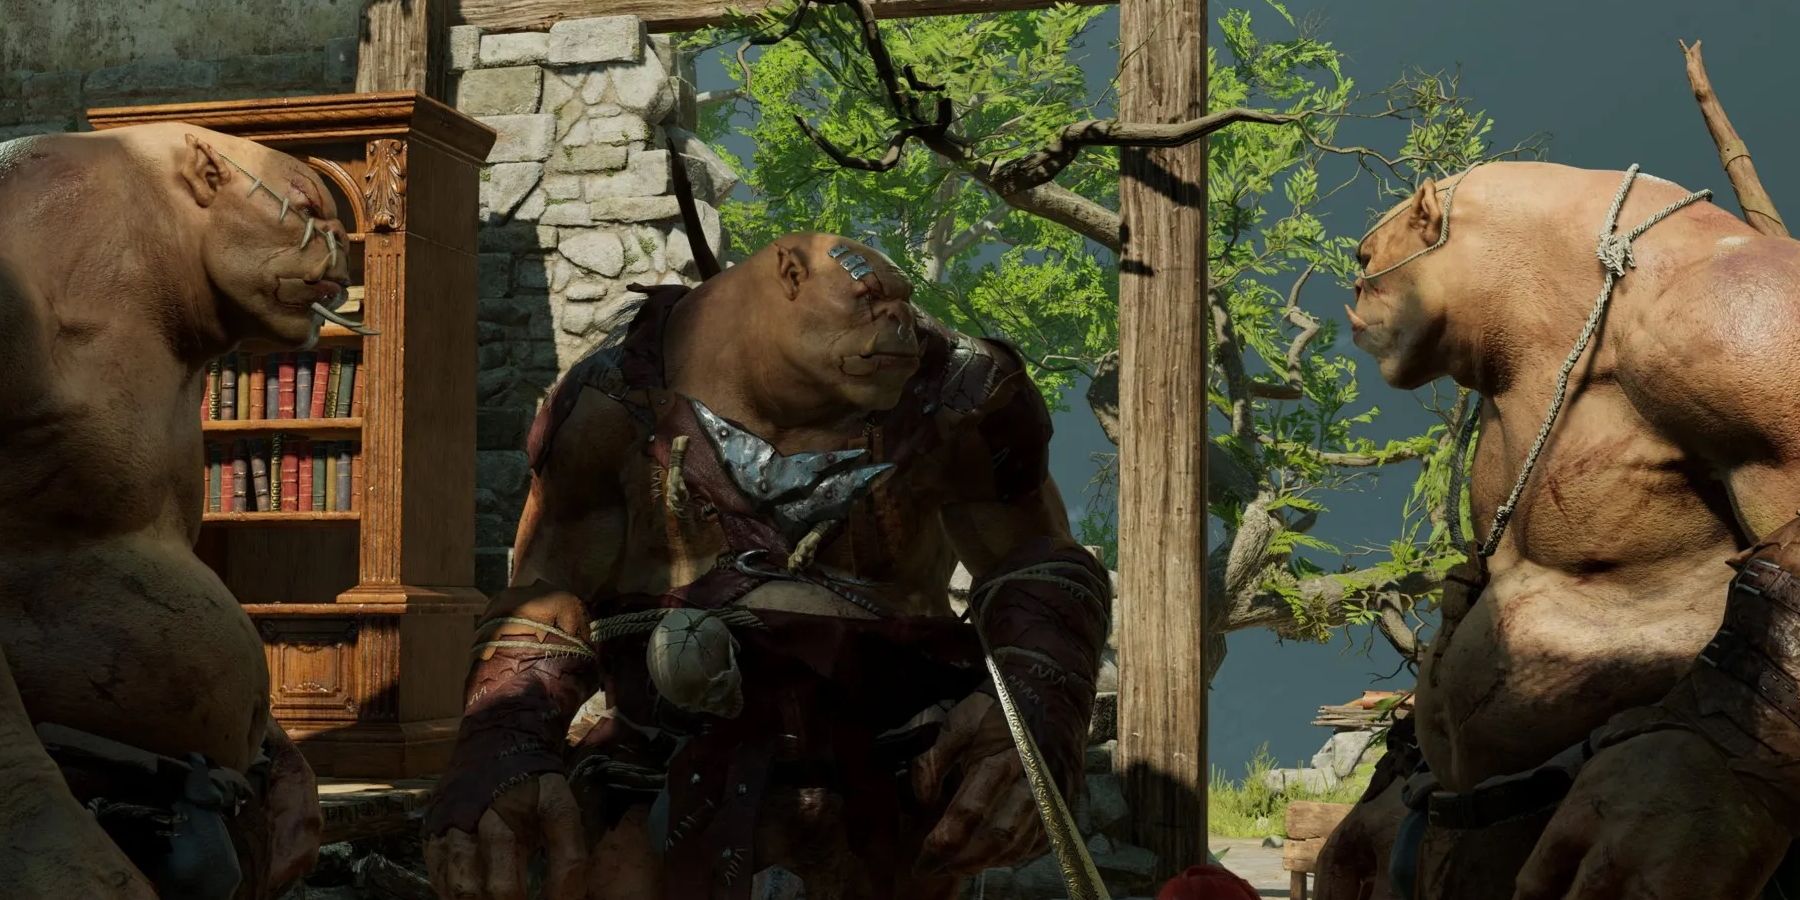
A missable item in Act 1 that’s potentially extremely useful is Lump’s War Horn, which players can obtain from the Blighted Village very early in the campaign. To get it, survive the goblin ambush at the town entrance to discover the Waypoint. A trio of Ogres can be found in the house just before the Windmill, and approaching them will trigger a cutscene with them.
Players can use their wit, charm, and the promise of money to convince the most intelligent of these Ogres, called Lump the Enlightened, to give them an item called Lump’s War Horn. This is a one-time-use summon item that will disappear upon use, but the Ogres are potent fighters that can turn the tide of a difficult battle quite handily. Just remember to call upon them before leaving for Act 2 as the summon contract only works in Act 1.
14
Resolve The Druid Grove Conflict
Outcomes Of This Quest Are Irreversible After Act One
- Relevant Quests: Save the Refugees, Save Arabella
- Location: Druid’s Grove
- Relevant Characters: Kagha, Zevlor, Arabella, Halsin
-
Notable Loot:
 Sorrow
, Wyvern Poison
It is hard to miss the conflict in the Druid’s Grove between the druids, the tiefling refugees that are sheltering there, and the goblins that threaten everyone’s safety. That is because players have to encounter a cutscene depicting the battle between the druid grove and some goblin raiders before they progress further into the environment.
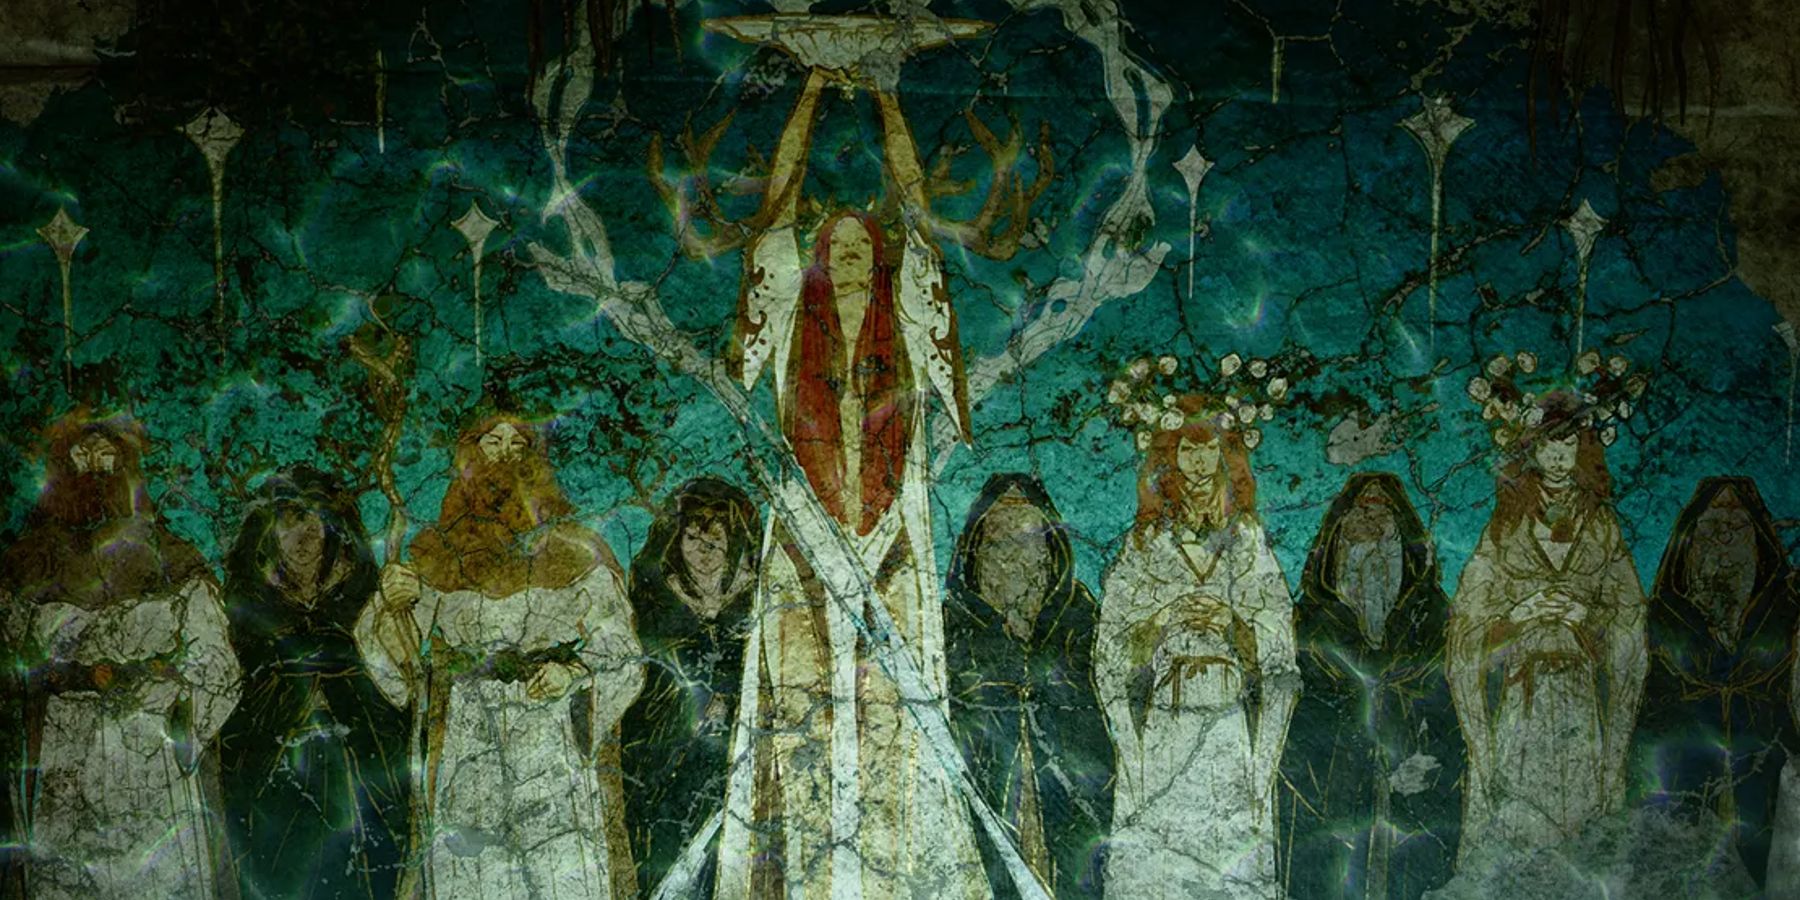
However, players don’t have to get involved immediately. It is worth mentioning that leaving Act One before resolving the situation in Druid Grove will result in terrible and irreversible outcomes. If players allow the Rite of Thorns to go ahead, the Druid Grove will be forever sealed off, and the tiefling refugees can all be found killed at the site of a goblin ambush.
13
Unlock The Ancient Tome
Ultimately Unlocks An Incredibly Powerful Summon
- Relevant Quests: Search the Cellar, Destroy the Ancient Tome, Unlock the Ancient Tome
- Location: Blighted Village, Whispering Depths
- Relevant Characters: Ornate Mirror
- Notable Loot: The Necromancy of Thay
Hidden within the Blighted Village, players can find a cellar that leads to an ornate mirror. Players will need to prove to this magical mirror that they are allies of its master or face a fiery threat. But, behind its enchantment, players can find a room containing a powerful book, The Necromancy of Thay. To unlock this book, players will need to place a Dark Amethyst in it, found in the Whispering Depths.
Players then have to succeed on three wisdom saving throws, increasing in difficulty each time, in order to unlock it. Fail, and the book will remain closed for the rest of that save. As evil as the book clearly is, it is worth doing, as act three allows players to fully unlock the book, gaining an incredibly powerful summon.
12
Find All The Party Members
Future Gameplay And Interactions Benefit From A Varied Party
- Relevant Quests: Daughter of Darkness, The Pale Elf, The Wizard of Waterdeep, The Blade of Frontiers, Free Lae’zel, The Githyanki Warrior, Our Fiery Friend
- Location: Nautiloid Crash Region, Druid’s Grove, The Risen Road
- Relevant Characters: Shadowheart, Astarion, Gale, Wyll, Lae’zel, Karlach
- Notable Loot: N/A
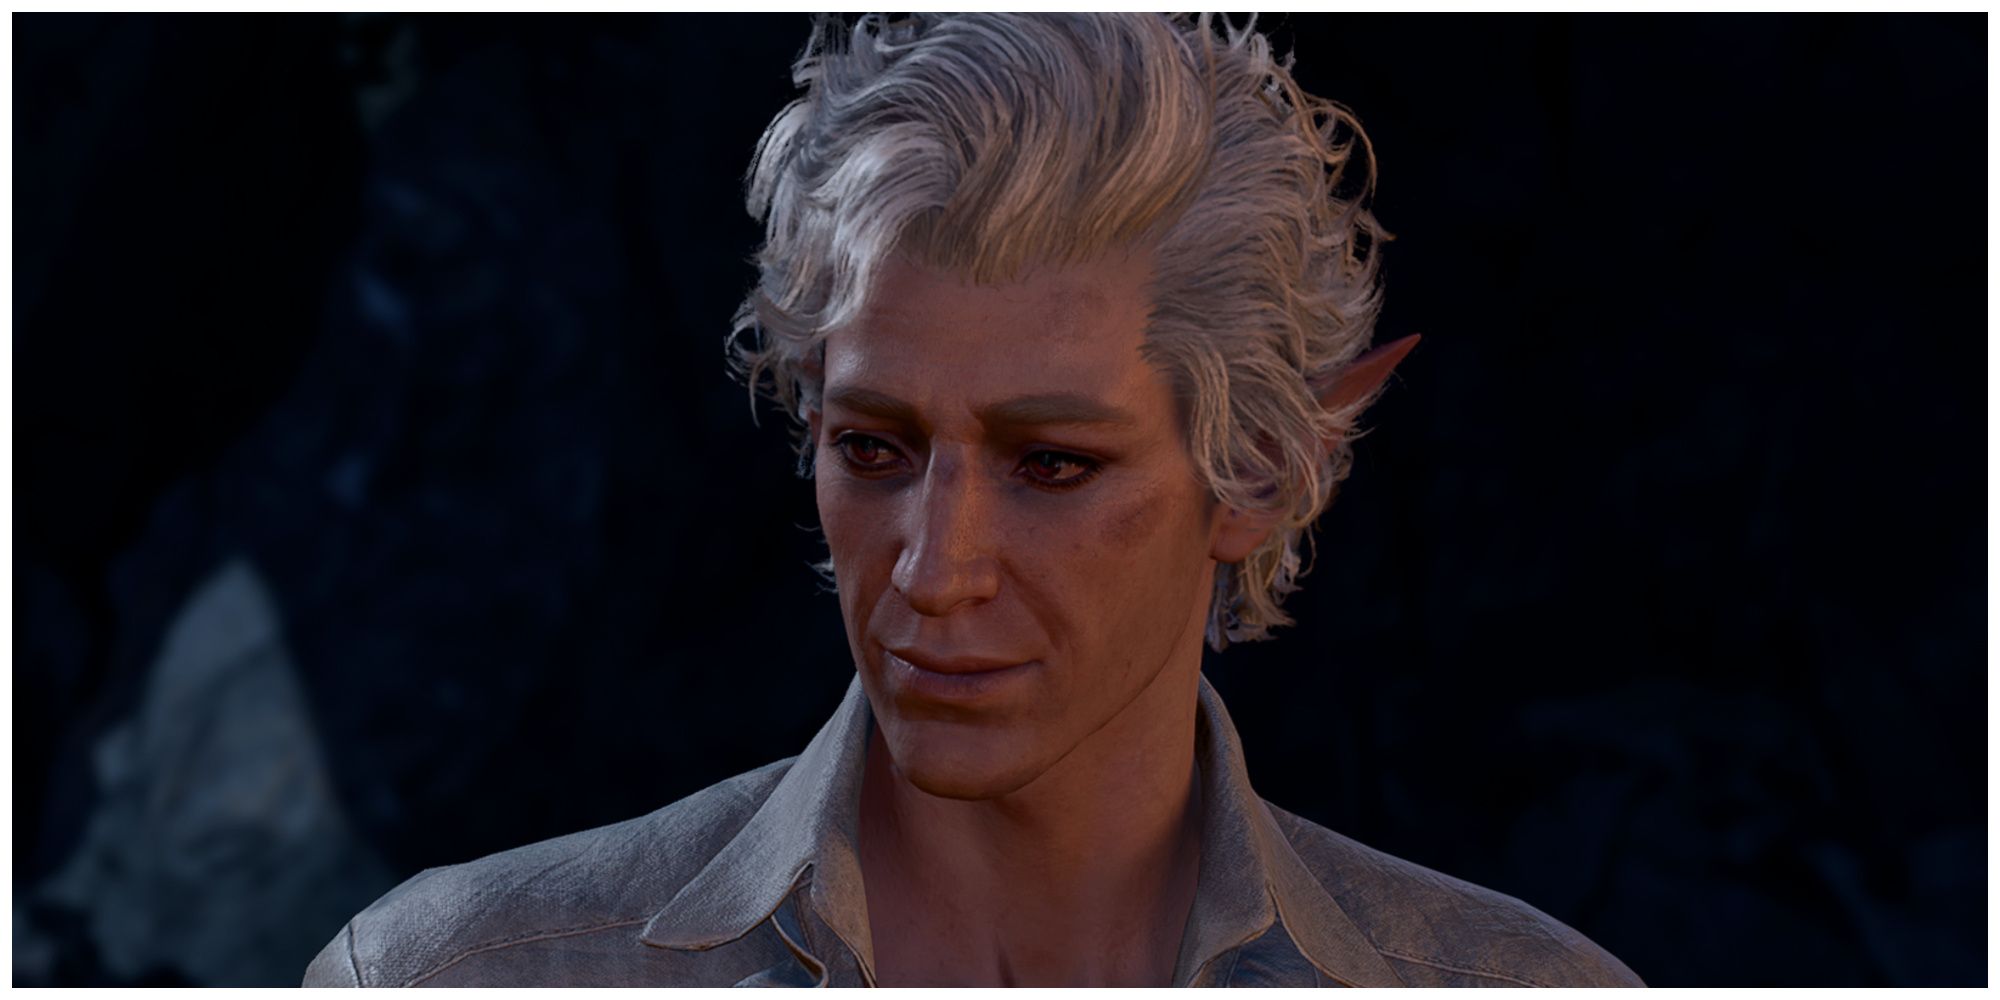
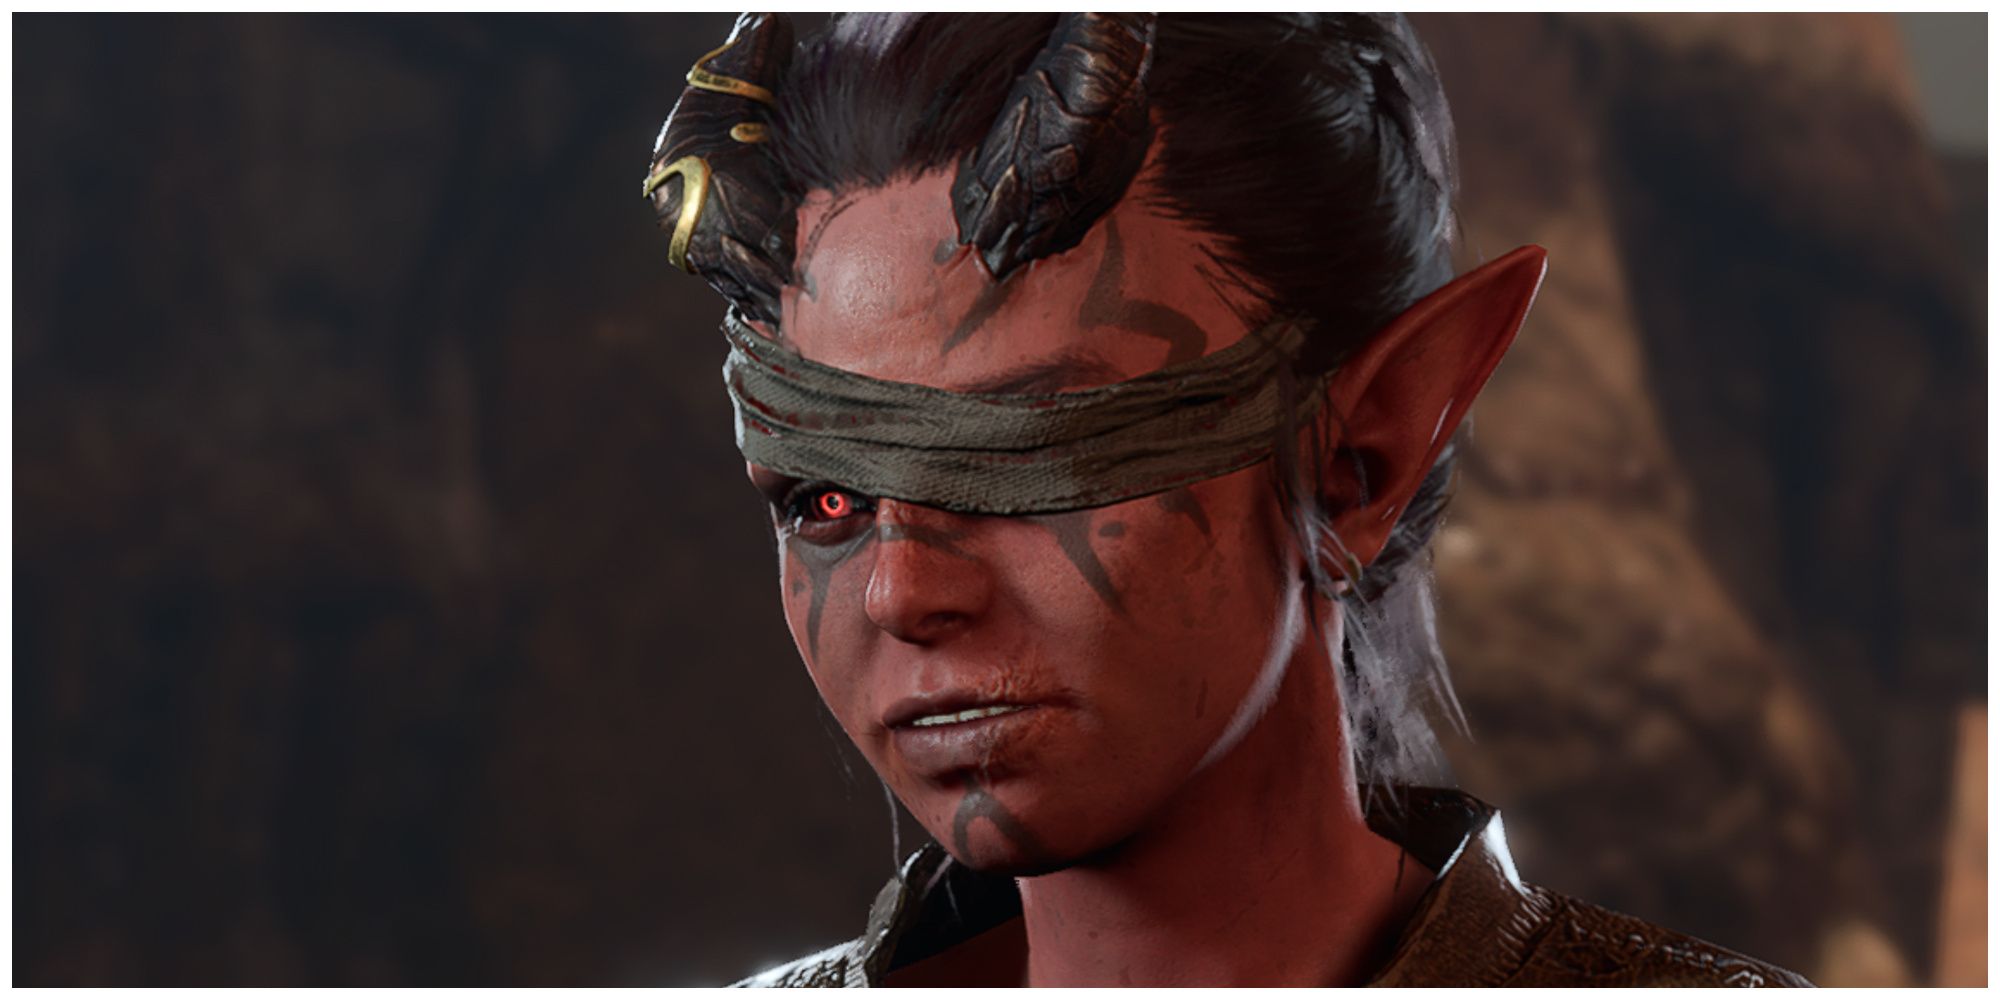
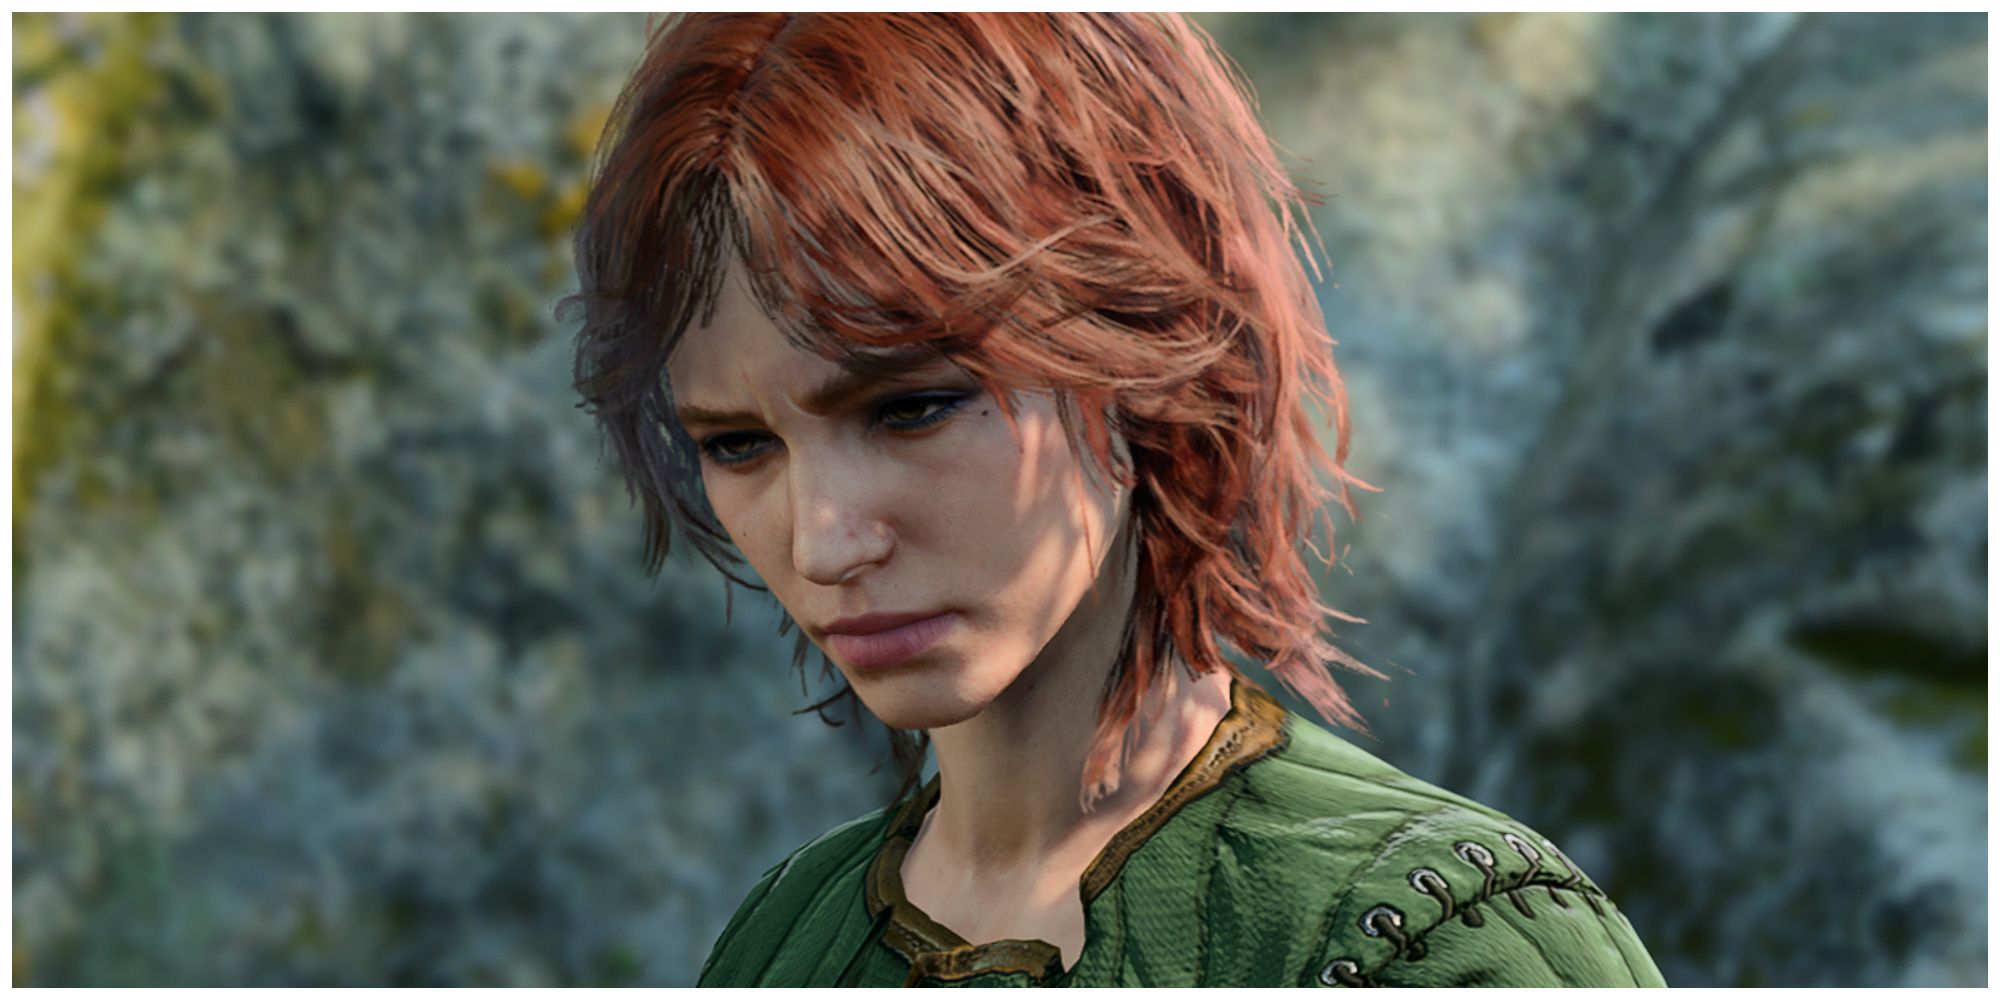
Recruiting as many party members as possible may seem like an obvious first step, but it can be surprising just how easy it is to miss potential companions. Astarion and Lae’zel can be found around the nautiloid crash site, as can Shadowheart if players rescue her on the ship. Gale can also be found here by interacting with a malfunctioning waypoint rune, making him quite easy to miss.
Related
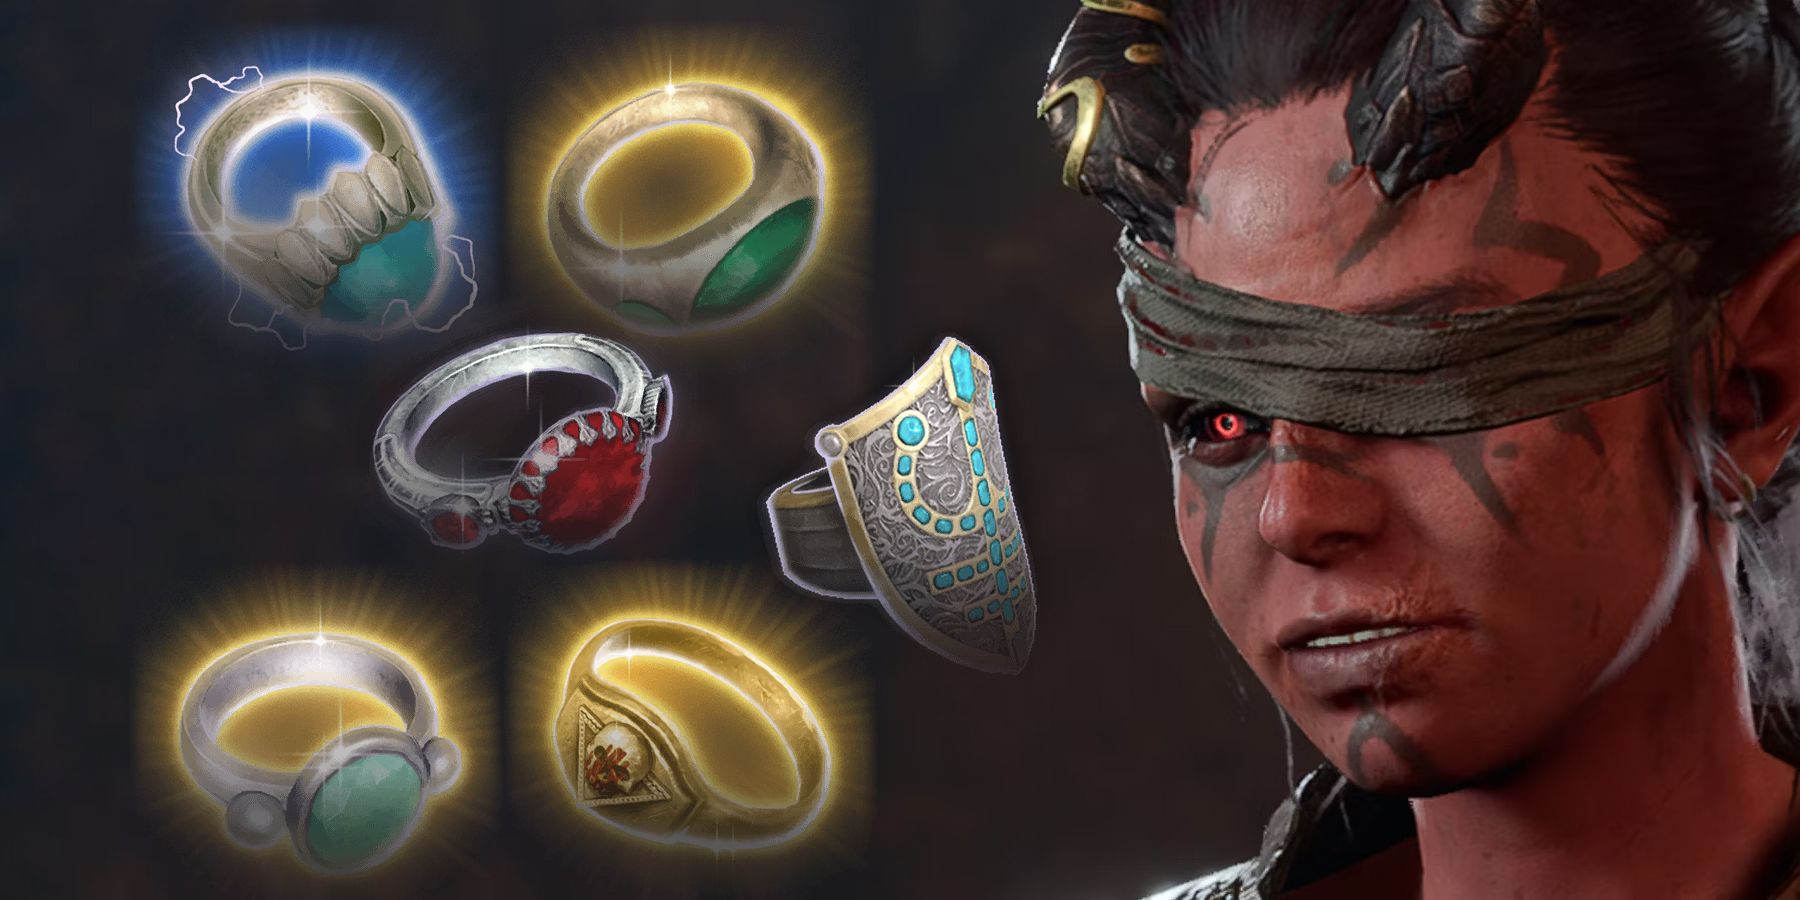
Baldur’s Gate 3: 13 Best Rings You Can Get In Act 1, Ranked
Enchanted rings in Baldur’s Gate 3 can provide players with handy perks, and there are plenty to pick up, even in Act 1.
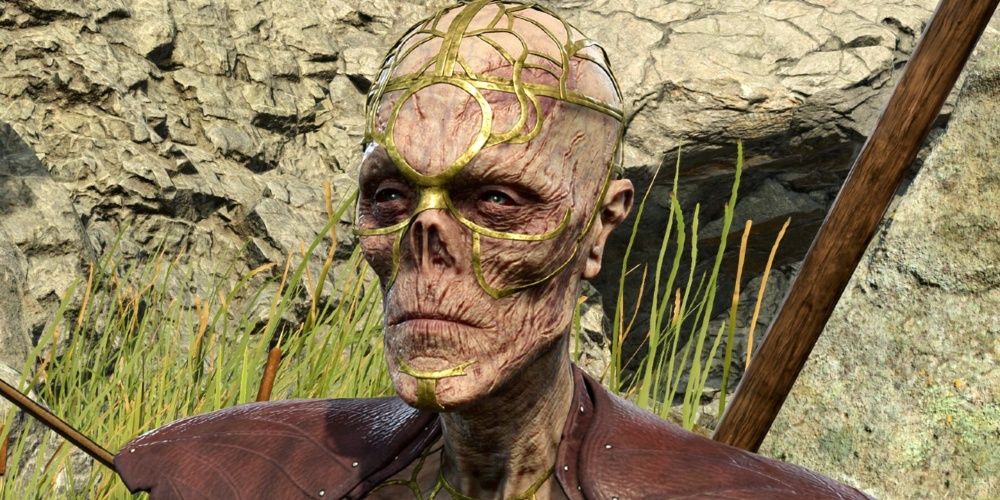
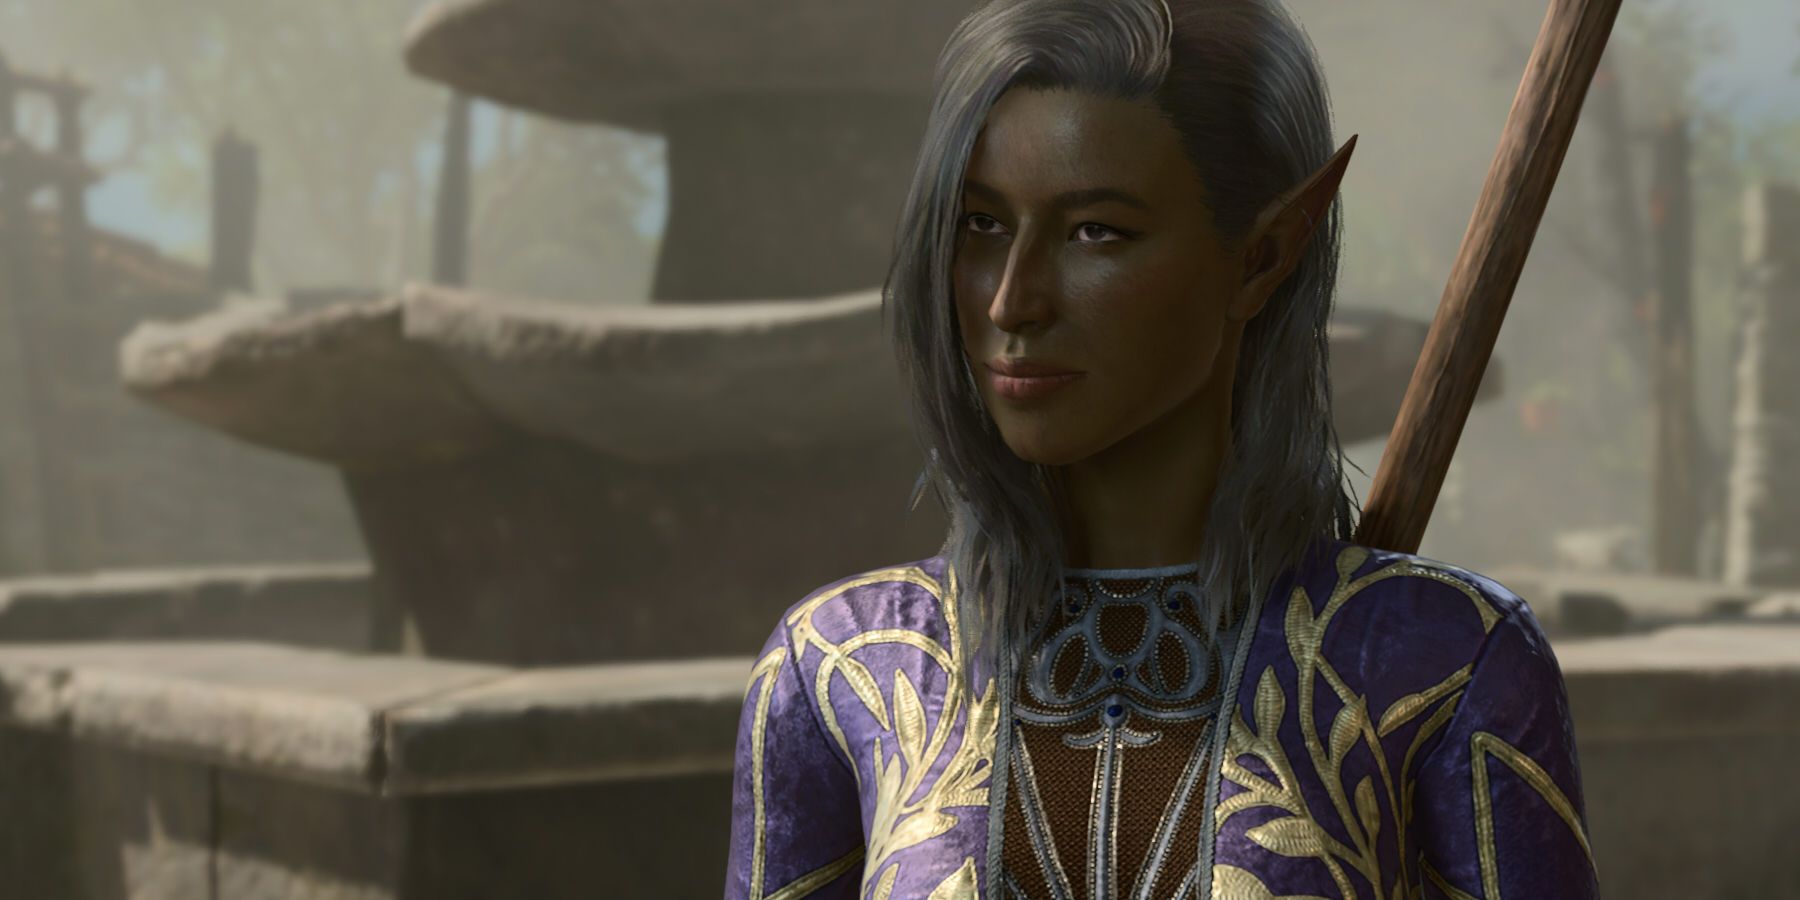
At the Druid Grove, players can recruit Wyll, as well as Shadowheart if she wasn’t rescued from the nautiloid. Karlach can be found by following the Risen Road to the right alongside the river. While they aren’t companions in Act One, players can also establish a potential companionship with the druid Halsin or drow Minthara, depending on who they side with in the druids and tieflings versus goblins conflict.
11
Adopt Scratch & The Owlbear Cub
Players Gain Two Loyal Companions And Potential Summons
- Relevant Quests: Gather Your Allies
- Location: Forest
- Relevant Characters: Scratch, Owlbear Cub, Owlbear, Krolla
- Notable Loot: N/A
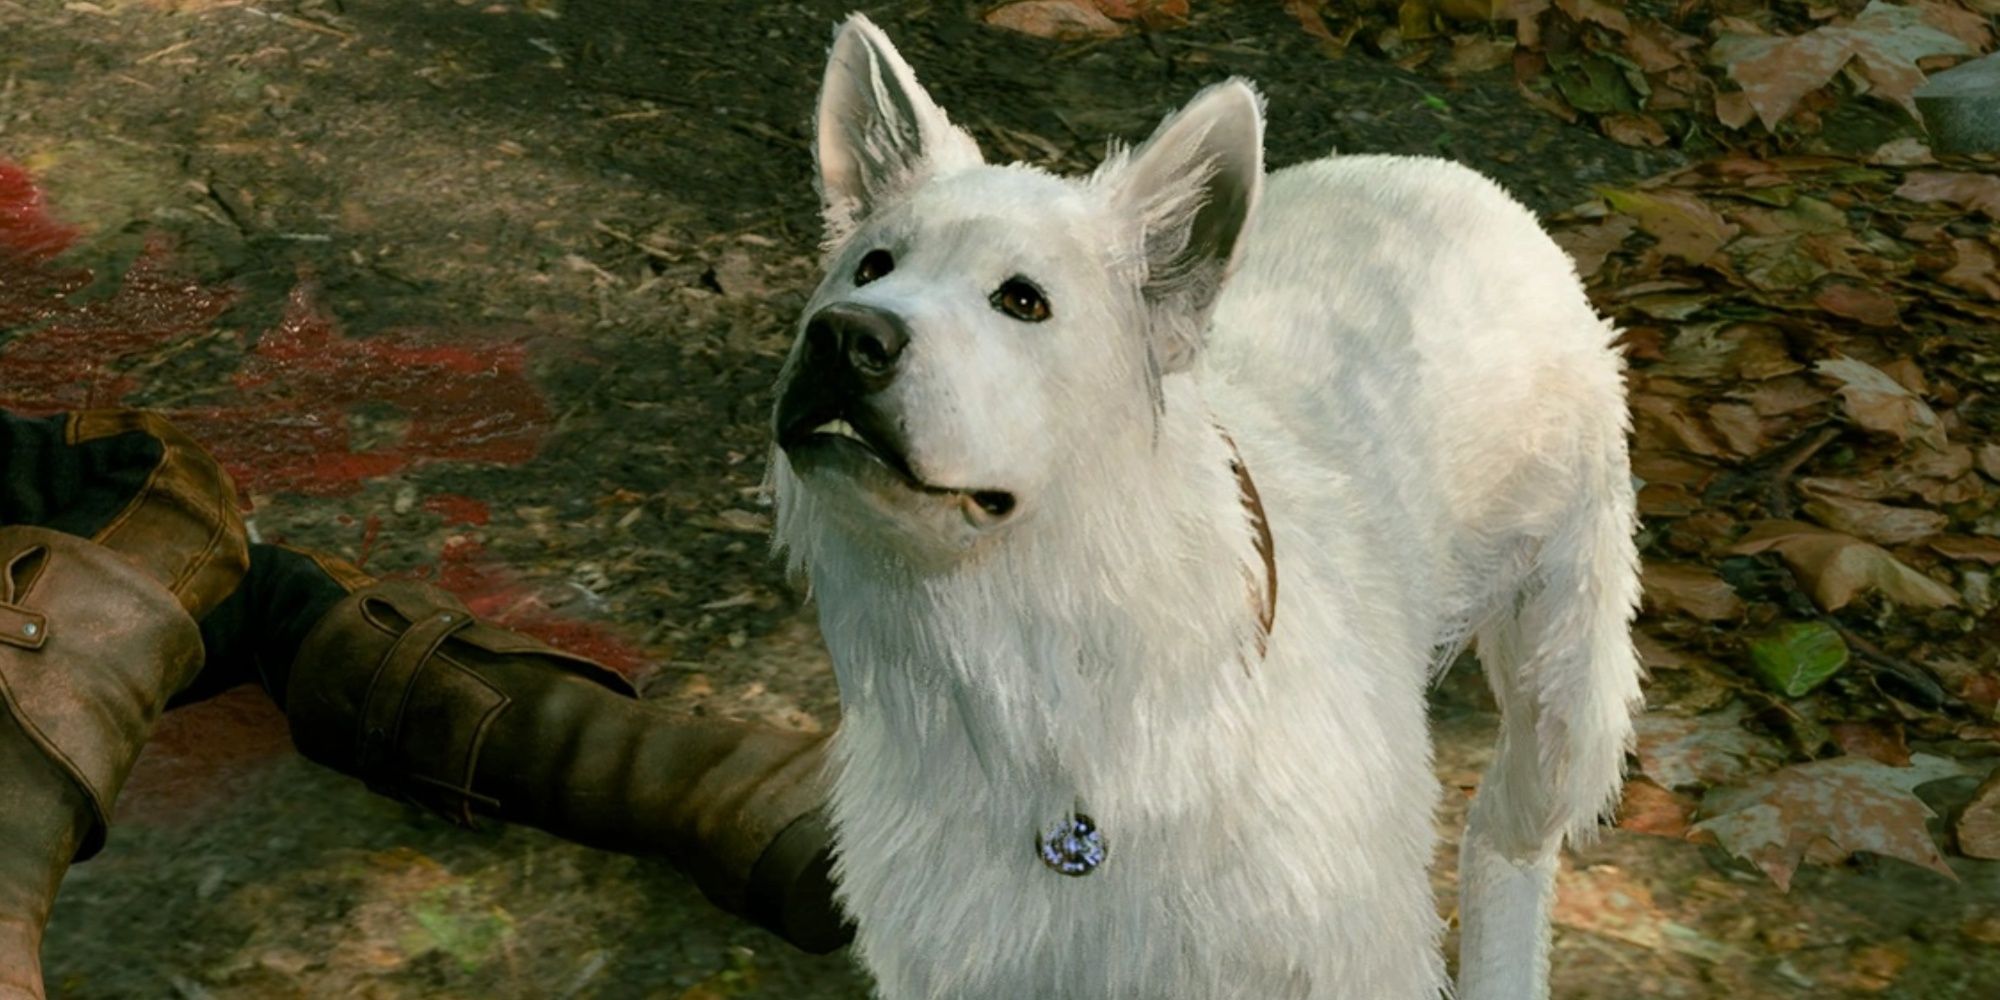
Scratch the Dog, as well as the Owlbear Cub, can both be an adventurer’s best friend if they choose to befriend them in Act One. Scratch can be found in the woods, guarding his recently deceased owner. Treat him with some tenderness, and players can give him their scent. While he is initially unwilling to leave his owner, he will join the camp in his own time. Scratch can bring gifts to the camp and be summoned as a familiar.
The Owlbear Cub is captured by goblins after her mother is killed, but players can buy her freedom, or remove her captors from the picture. Interact with her to offer the character’s scent so she can find her way to camp. While she will initially appear sporadically for food and comfort, she will join the camp permanently if shown some love and can even be summoned in the final battle.
10
Finish Alfira’s Song
An Early Touching Moment With A Prominent NPC
- Relevant Quests: Save The Refugees
- Location: Druid’s Grove
- Relevant Characters: Alfira, Corinna, Spar
- Notable Loot: N/A
Alfira is a tiefling bard who can be found in the Druid Grove, just up the path near Volo and on the right. She has a crowd of (slightly perturbed) squirrels, Corinna and Spar, and is attempting to write a song. Players can interact with her and help her to complete this song. Doing this will open a surprisingly moving cutscene and allow players to hear The Weeping Dawn in all its splendor.
Related
Baldur’s Gate 3: 19 Things To Do Before Going To Act 3
Act two of Baldur’s Gate 3 raises the stakes from the first act. These missable encounters are worth experiencing before the third and final act.
It is one of the particularly touching moments in Act One and is worth ticking off before progressing. While it may seem innocuous, Alfira can become a rather prominent NPC should players show her a little attention. Getting to know her in this early stage will prove fruitful.
9
Find Mol
Mol’s Storyline Deepens As The Narrative Progresses
- Relevant Quests: Find Doni, Find Your Belongings, Investigate the Beach, Save Arabella, Steal the Sacred Idol
- Location: Druid’s Grove
- Relevant Characters: Mol, Doni, Arabella, Mirkon, Mattis, Silfy
-
Notable Loot:
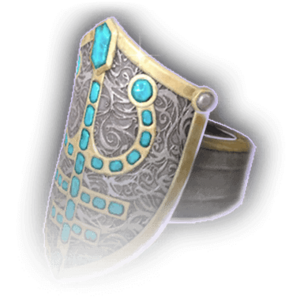 Ring of Protection
Mol is the young ringleader of a band of tiefling child rogues in the Druid Grove. Players can begin their search in a number of ways. Speak to Doni, the quiet tiefling kid, or the two tiefling children selling suspicious trinkets. Perhaps the easiest way to find Mol, however, is to rescue a tiefling boy called Mirkon from the clutches of some harpies.
Mirkon can be found at the cove down the opposite path to Alfira. If players help and comfort him, he will tell them the password to gain entry to Mol’s lair, stating that she will want to talk to the player. As with Alfira, Mol’s story deepens as the game progresses, so it is worth getting to know her from Act One. Be wary of encroaching on her territory before helping out the tiefling kids, however, as this can lock players out of interactions with her.
8
Meet The True Soul Siblings
Early Encounter With The Illithid Tadpoles
- Relevant Quests: N/A
- Location: Forest
- Relevant Characters: Edowin, Brynna, Andrick
- Notable Loot: Mind Flayer Parasite Specimen
Heading right after leaving the Druid Grove, players will run into a young man and woman helping their dying brother, who has been mauled by an owlbear. The man is a ‘True Soul,’ sharing the character’s illithid tadpole but lacking their free will.
While they may pose a threat to players acting against the will of the Absolute, the conversation with them can be resolved peacefully, with the siblings even showing up at the goblin camp. This interaction is mainly important for the encounter players have with the brother’s body, as it can be a fascinating early experience surrounding the tadpole.
7
Rescue Barcus Wroot (Twice)
Progressing To Act Two Without Helping This NPC Dooms Him
- Relevant Quests: Rescue the Gnome, Save the Grymforge Gnomes
- Location: Blighted Village, Grymforge
- Relevant Characters: Barcus Wroot, Wulbren Bongle
- Notable Loot: N/A
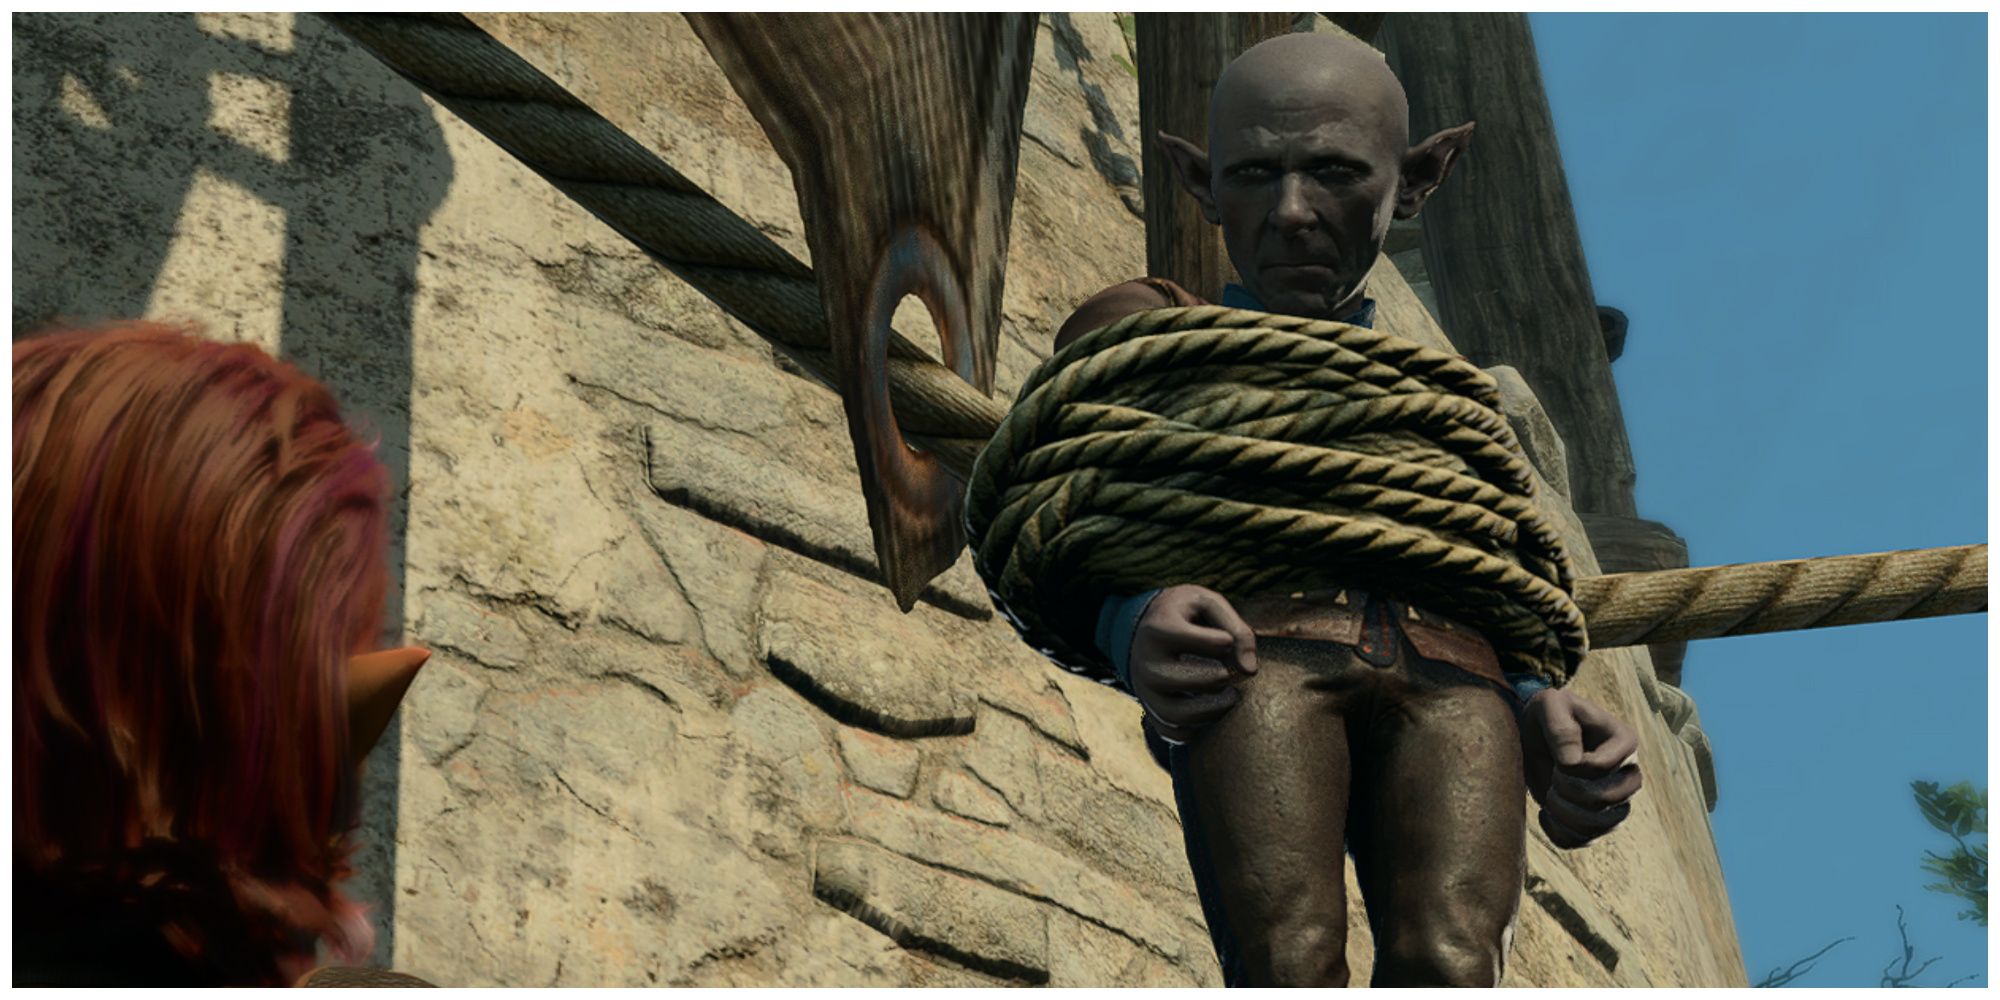
Barcus Wroot is a deep gnome whom players can first encounter in the Blighted Village. He has been captured by goblins and strapped to a turning windmill for their amusement. Rescue him, and he will inform players that he is looking for his friend, who may be in trouble.
He can later be found captured by duergar in a place called Grymforge and forced to work as a slave. Rescue him again, and he can temporarily join a player’s camp, entrusting the rescue of his friend to them. This opens up a long-running quest to save Wulbren, but progressing to act two before helping Barcus Wroot will seal his fate.
6
Get Volo To Join The Camp
Companionship Of Infamous D&D Character Enhances The Narrative
- Relevant Quests: Rescue Volo
- Location: Druid’s Grove, Goblin Camp
- Relevant Characters: Volo, Gribbo
- Notable Loot: N/A
Volo the Bard is an infamous character and one well-known to Dungeons and Dragons fans. He can join the player’s camp, assisting them on their quest for a cure and becoming a loyal ally.
Unfortunately, this entails rescuing him from the goblin camp, where he is being kept by one goblin for her amusement. This is well worth the hassle, though, as Volo’s companionship can enhance the overall narrative.
5
Investigate Auntie Ethel & Mayrina
Fascinating Side Quest Overarching Multiple Acts
- Relevant Quests: Save Mayrina, Find a Cure
- Location: Sunlit Wetlands/Putrid Bog
- Relevant Characters: Auntie Ethel, Mayrina, Johl, Demir, Connor
- Notable Loot: Bitter Divorce
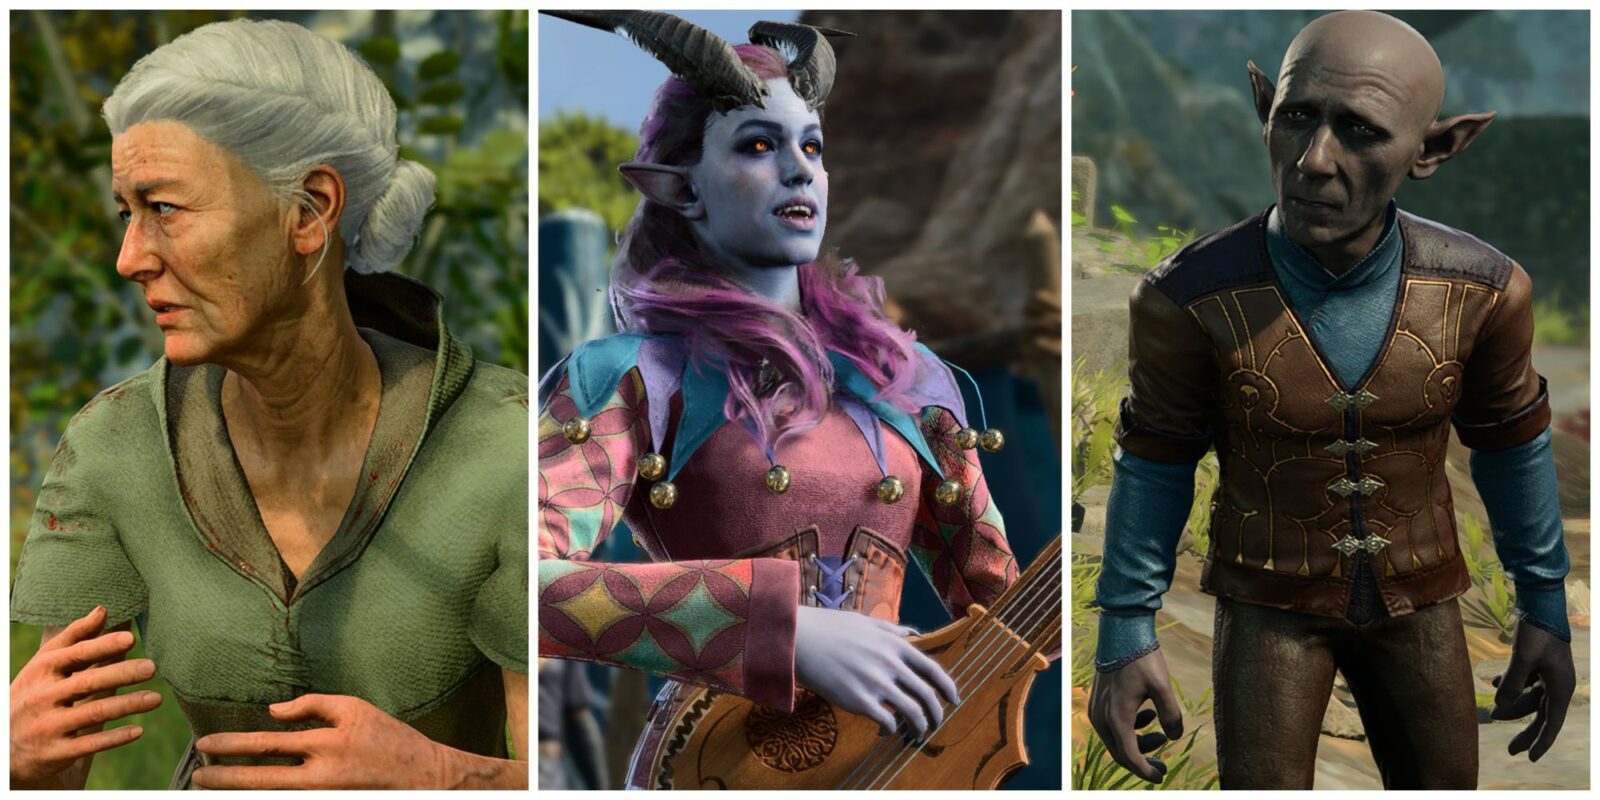
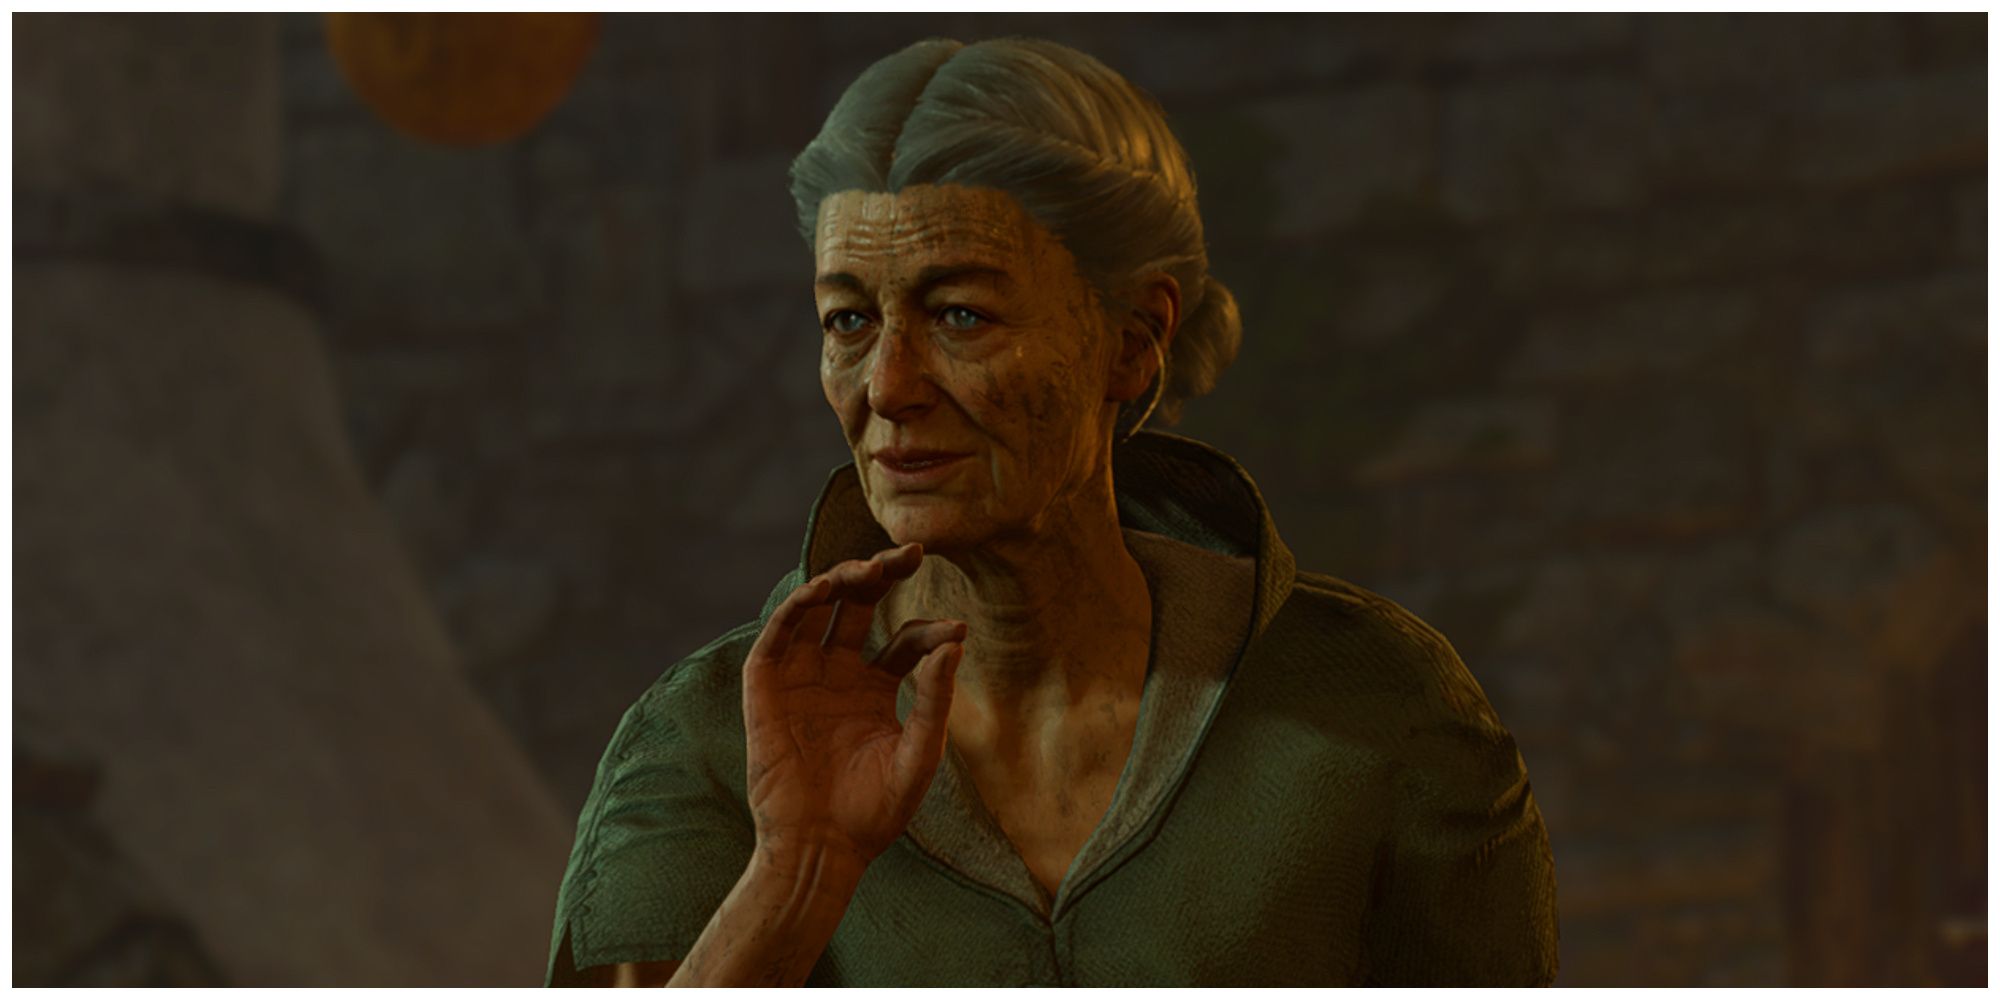
One of the most intriguing quests in Act One is hidden away and can easily be missed. Before progressing to Act Two, players should consider exploring the Sunlit Wetlands near the forest. Their first encounter in the wetlands will be with an old lady being threatened by two men. They insist she is a hag who has stolen their grieving sister, Mayrina.
Related
Baldur’s Gate 3: Should You Open The Caravan Strongbox?
Decisions matter in Baldur’s Gate 3, and even opening a locked chest can lead to some unsavory and potentially disastrous consequences.
There are plenty of interesting encounters and secrets to uncover in the wetlands on the hunt for Mayrina, and it only draws players in further the more they uncover. Full completion of the Act One questline can have ramifications for the overall story, too. As a side note, players can also find a monster hunter in this area, who hints at a whole other questline and is definitely worth talking to.
4
Discover The Society Of Brilliance
Interesting Interactions With A Prominent Society
- Relevant Quests: Find a Cure
- Location: Myconid Colony
- Relevant Characters: Blurg, Omeluum
-
Notable Loot:
 Ring of Mind-Shielding
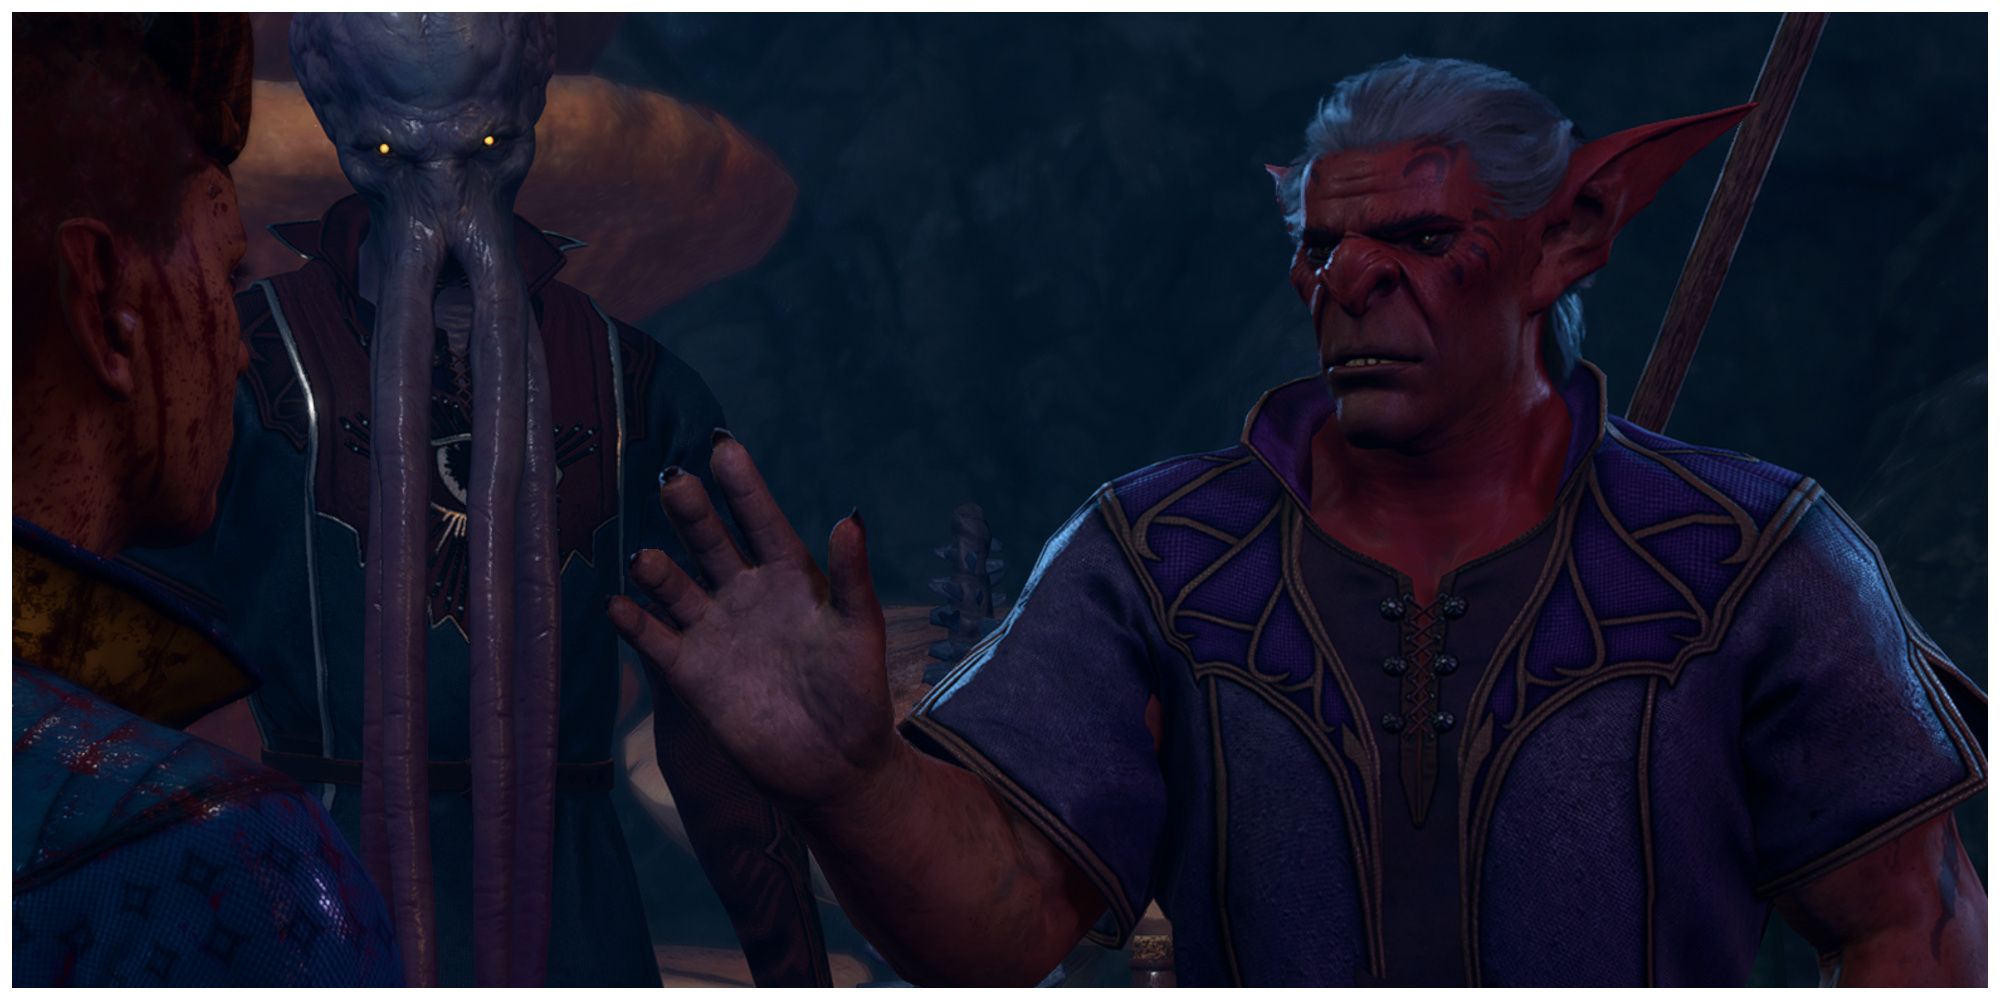
Ebonlake Grotto in the Underdark has an interesting cast of characters for players to interact with. A particularly prominent pair are Blurg and Omeluum of the Society of Brilliance.
Players will first encounter Blurg, an amicable hobgoblin. Talking to him about their illithid predicament will prompt him to introduce the player to Omeluum. This opens up an interesting quest involving delving into an Arcane Tower but also introduces players to a society that they are sure to encounter more of as the story progresses.
3
Find the Noblestalk
Unlocks Unique Dialogue With Shadowheart
- Relevant Quests: Find the Mushroom Picker
- Location: Underdark
- Relevant Characters: Derryth, Baelen, Shadowheart, Thulla
-
Notable Loot:
 Noblestalk
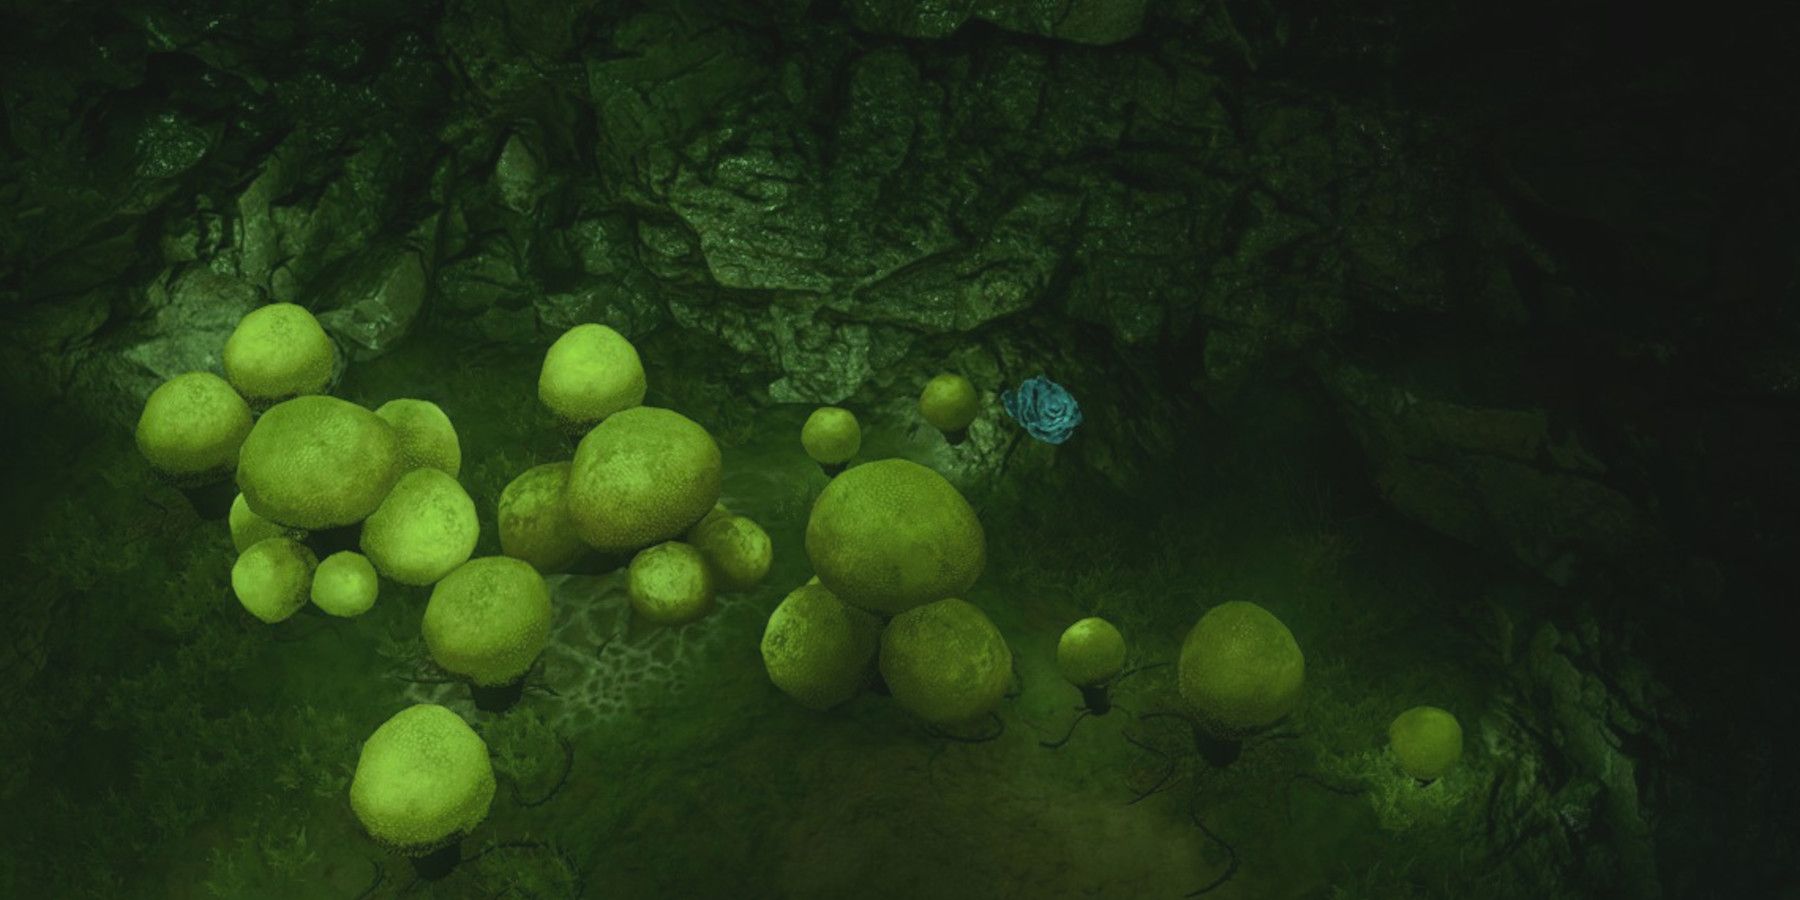
Find the Mushroom Picker seems like an innocuous little quest in the Underdark when a dwarf woman asks the party to find her husband, who hasn’t gotten back after setting out to pick some mushrooms, but it is anything but. In fact, completing this quest the proper way and obtaining the Noblestalk, a story item, is the only way to unlock part of Shadowheart’s memory and some dialogue with her that won’t be available anywhere else.
While players can later obtain another Noblestalk during Act 3, only the version found during Act 1 has this interaction with Shadowheart. Be careful when completing the quest, though, as it is very possible for the Noblestalk to be permanently destroyed during the rescue attempt if players aren’t careful.

 Robe Of Summer










Leave a Reply