Summary
- Initiating mini quests in Red Dead Redemption 2 is crucial for rewards, but requires finding the right characters and items.
- Rewards range from honor increases to valuable items like weapons and clothing, offering a mix of benefits for completing quests.
- Some quests have specific time windows, limited availability items, and unique rewards, making them challenging yet rewarding experiences.
Outside the main story, there is plenty to do in Red Dead Redemption 2‘s single-player mode. One of the most wholesome activities is helping out fellow gang members. Many of these characters want items that can be sourced from various locations across the map. Initiating all these mini-quests can be a tricky business, though, because players must engage with these minor characters at specific times during gameplay in order to hear them make their request.
Related
6 Most Infamous Gangsters In Games
With a variety of video games to choose from, players most likely have bumped into their fair share of gangsters, and these are the most iconic ones
These tasks are also made trickier because the game does not provide a marker for finding the desired item; players must work to source items themselves. This guide explains how to initiate each of these little quests and where to find the items in the world of Red Dead Redemption 2. Most can only be triggered between 8 A.M. and 8 P.M. — this guide will state otherwise.
Updated on January 12th, 2025, by Stephanie Harris: These item requests are the toughest quests to complete in the entire game, as many have specific expirations and cannot be redone. If players want to complete these tasks during a playthrough, using a guide is just about mandatory, unless they wish to follow around every single companion for weeks and scour the entire map from top to bottom. This guide provides both the rewards for completing these tasks and some specific map locations for finding the items. Some can be found in multiple spots, but this list attempts to give players directions to the easiest and/or closest spots where the rewards can be found, making these quests as easy as possible.
22
Abigail
Five Dollars
One of the easiest of these little quests is found in Chapter 2. Abigail can be found in her tent, talking to Jack about his clothes. If players witness the discussion, they can give her five dollars to buy the kid a new outfit.
Abigail is the only character in the game who doesn’t give players anything in return. However, the game itself rewards the nice gesture with an honor increase. It’s also particularly easy because players shouldn’t need to go anywhere to look for the item.
21
Jack
Penny Dreadful Comic Book
|
Chapter |
2 |
|---|---|
|
Reward |
Chocolate Bar |
When going fishing with young Jack during the “A Fisher Of Men” mission, the kid laments that he left a book at their camp near Blackwater.
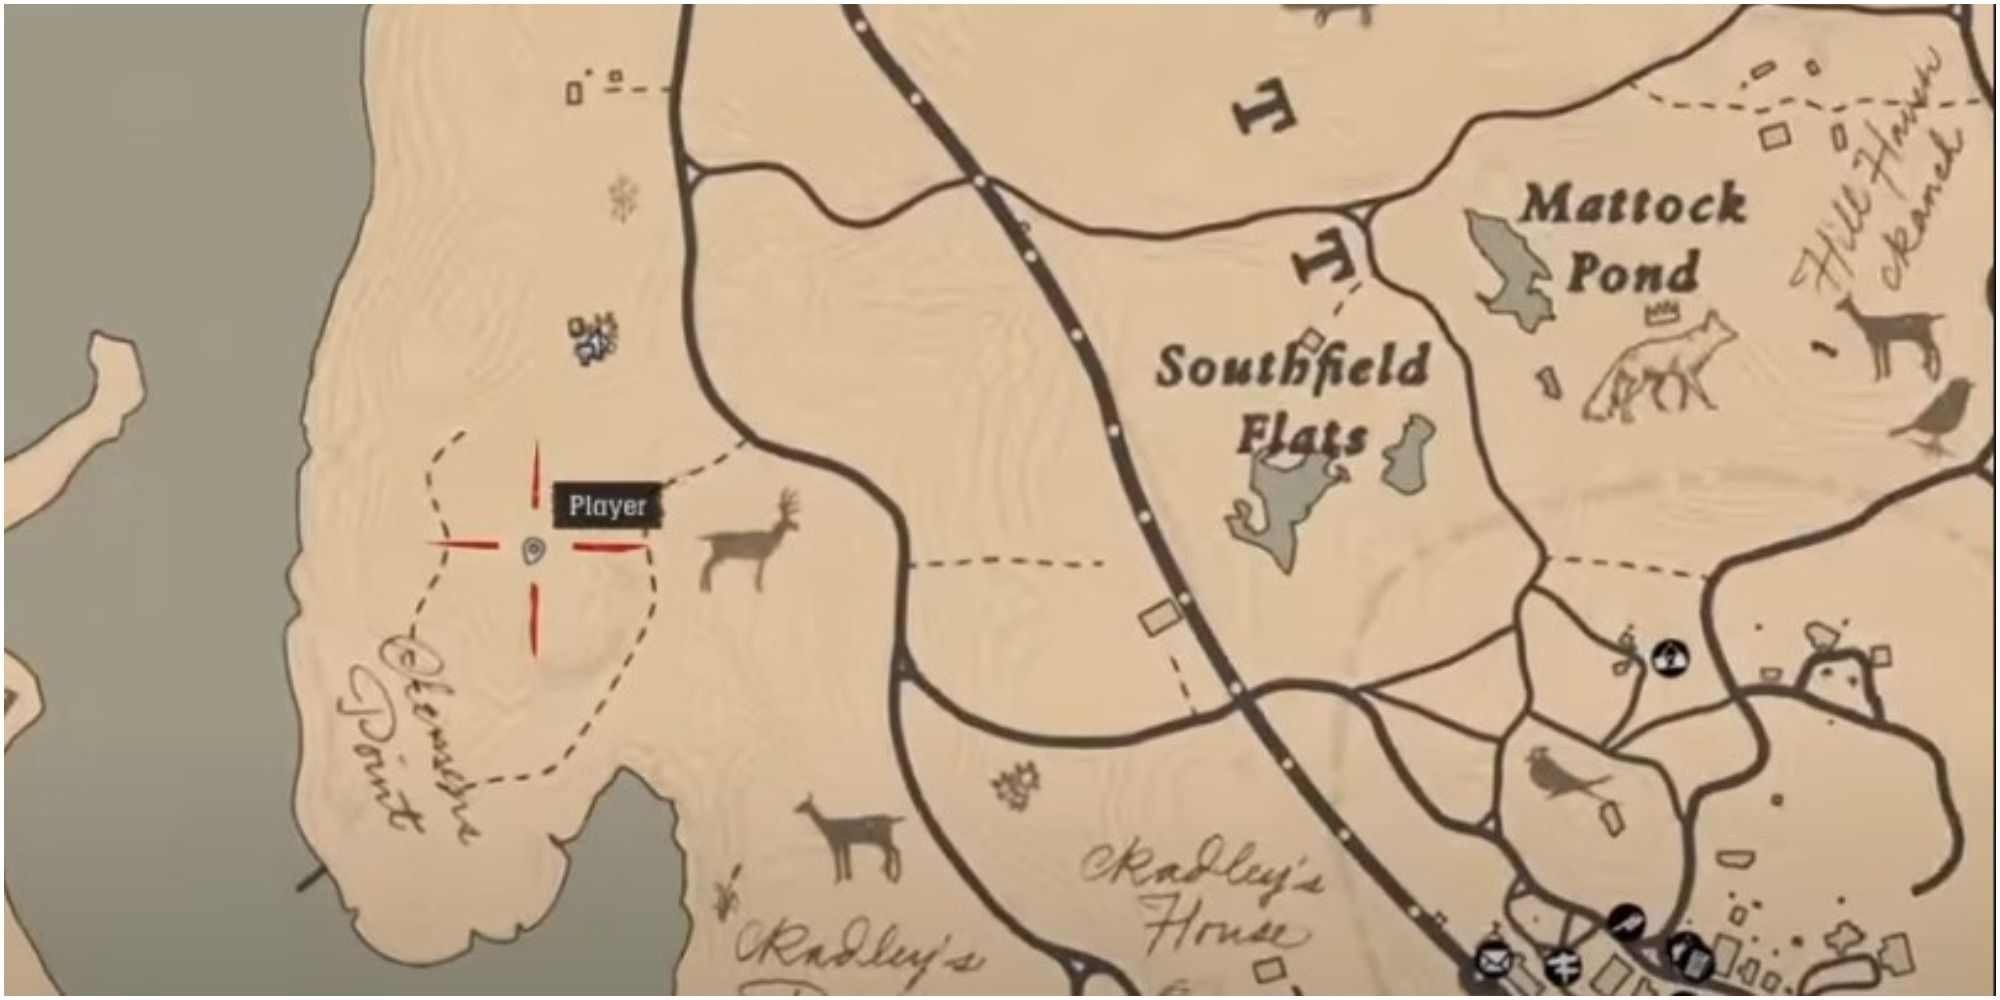
Players can find a replacement book at various locations. There’s one in the School House situated in the abandoned settlement of Pleasance, just north of the ‘O’ in Lemoyne. When Arthur brings him the book, little Jack is so pleased that he gives the gunslinger a chocolate bar. Even if players just take on this task for the overwhelmingly wholesome result, this sidequest that shouldn’t be overlooked.
20
Jack
Thimble
|
Chapter |
2 |
|---|---|
|
Reward |
A Picture |
Jack also requests a second item, with the request triggered in Chapter 2. He comes up to Arthur at camp, worried that he’s going to get in trouble for losing his mother’s thimble. After the conversation, the player can find a new one by looting random bodies.
The likely blood-soaked thimble can be given to Jack in exchange for a piece of beautiful art — a picture the kid drew. Like Jack’s other request, these are some of the sweetest item quests in the whole of Red Dead Redemption 2.
19
Mary-Beth
Fountain Pen
|
Chapter |
2 |
|---|---|
|
Reward |
Gold Wedding Ring |
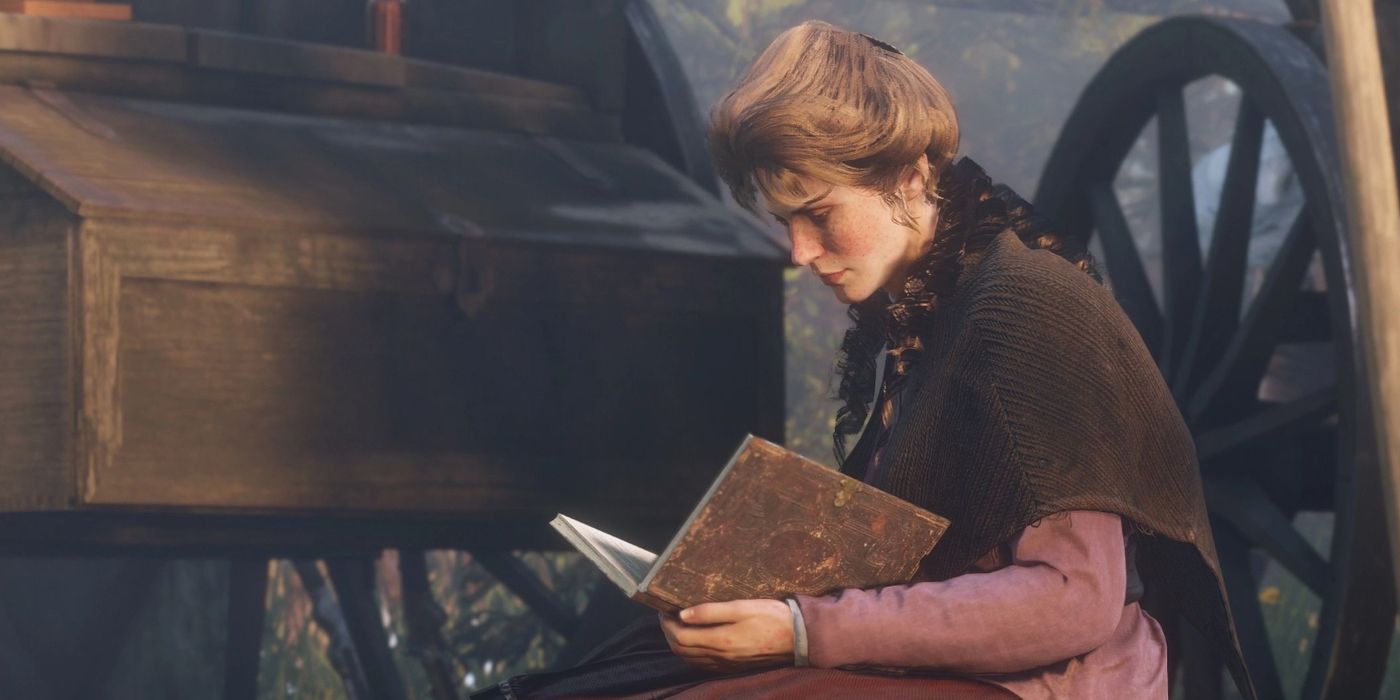
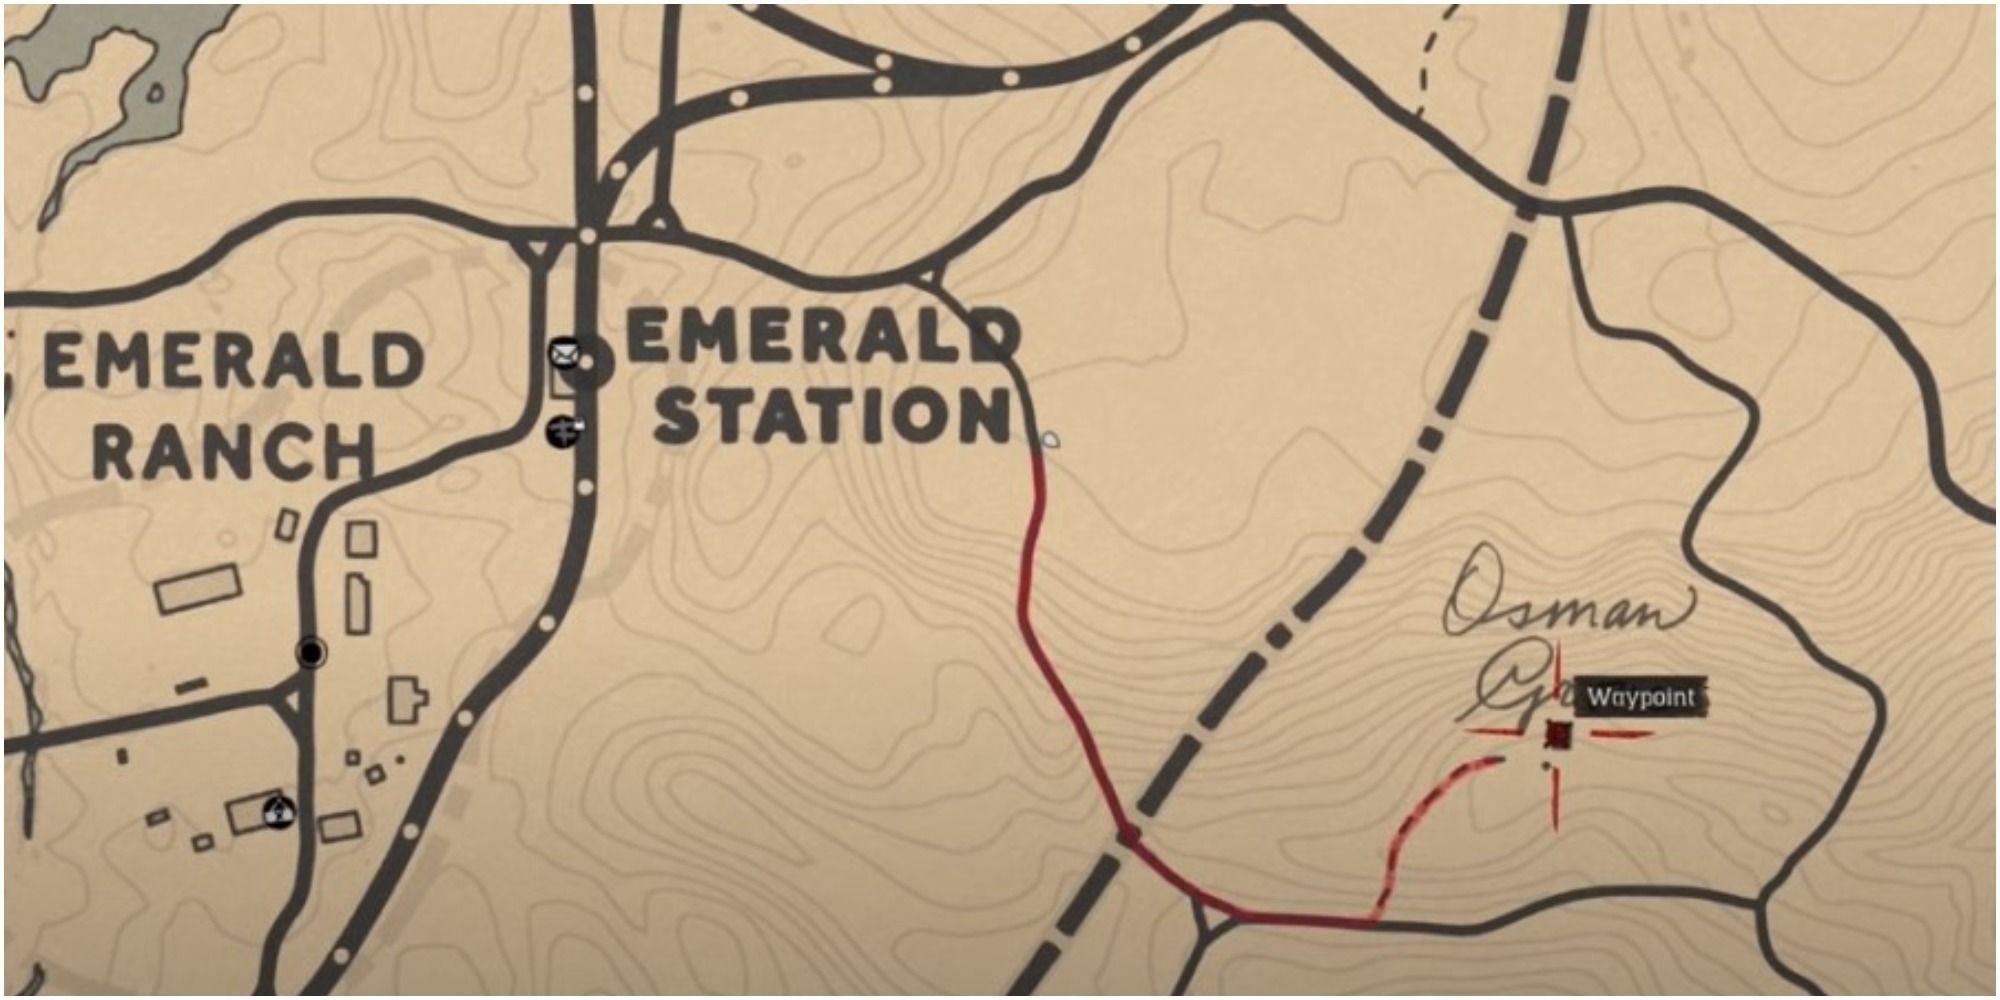
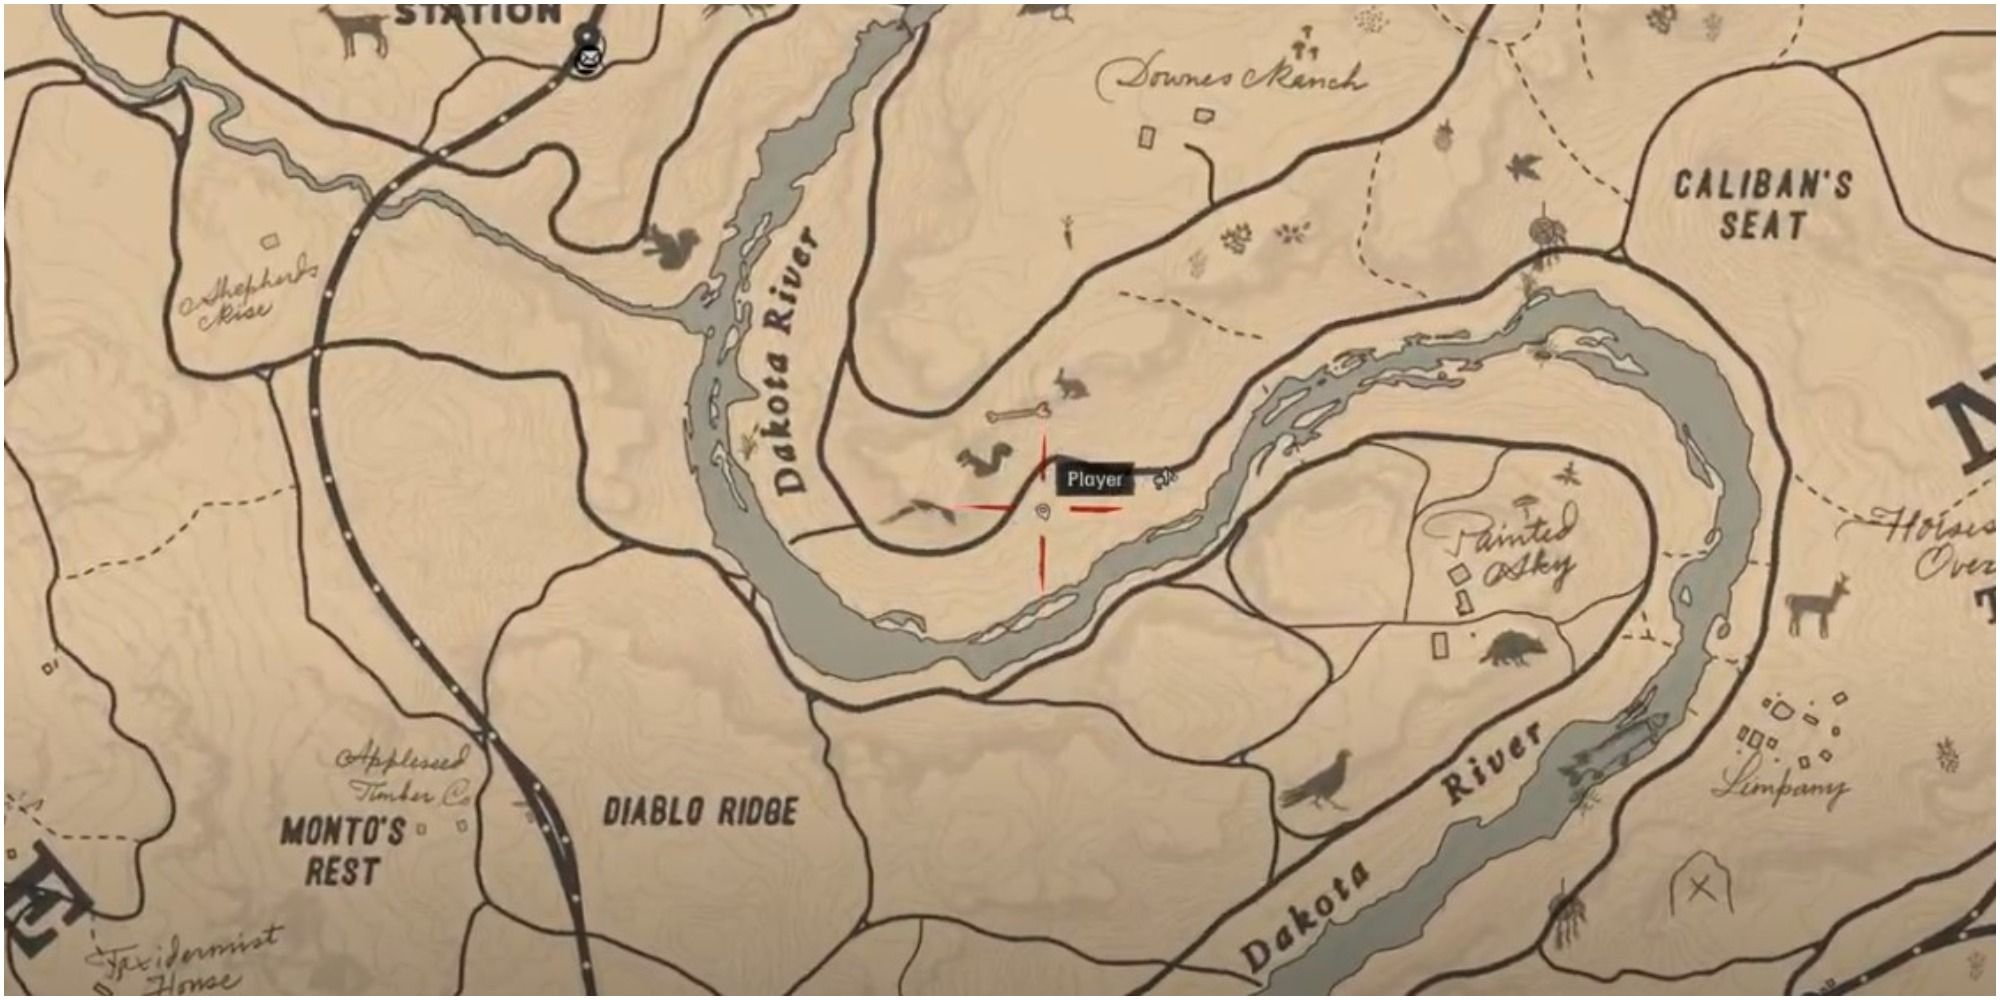
Avid players will know Mary-Beth regularly writes in her journal while in camp. In Chapter 2, if the player interrupts her, she talks about her wish to use a fountain pen. The player can then get one by visiting Osman Grove in Roanoke Ridge, just southeast of Emerald Station.
To reward Arthur for getting a pen, Mary hands him a gold wedding ring, which sells at a decent amount. Tender moments like this, juxtaposed of course with bouts of intense violence, make the game the best Rockstar has ever released.
18
Javier
Oleander
|
Chapter |
2 |
|---|---|
|
Reward |
Poisoned Knives |
Occasionally, Javier sits at the rectangular table in the Horseshoe Overlook camp, poisoning his knives. If Arthur then initiates a conversation, Javier will ask for some more oleander sage.
Players can pick up the plant from many areas, including the Riverbanks of Bayou Nwa. Javier uses the oleander to make more poisoned knives, some of which he gives to Arthur. The pair are certainly iconic cowboys in gaming when standing side by side.
17
Pearson
Naval Compass
|
Chapter |
2 |
|---|---|
|
Reward |
Guarma Rum |
In the second chapter, between 8 A.M. and 2 P.M., Arthur can initiate a round of poker with his fellow gang members. During the game, Pearson might reveal that he’s lost a compass he had in the Navy. Getting it back might sound complex, but it can be non-violent, so leave those extra-lethal melee weapons sheathed.
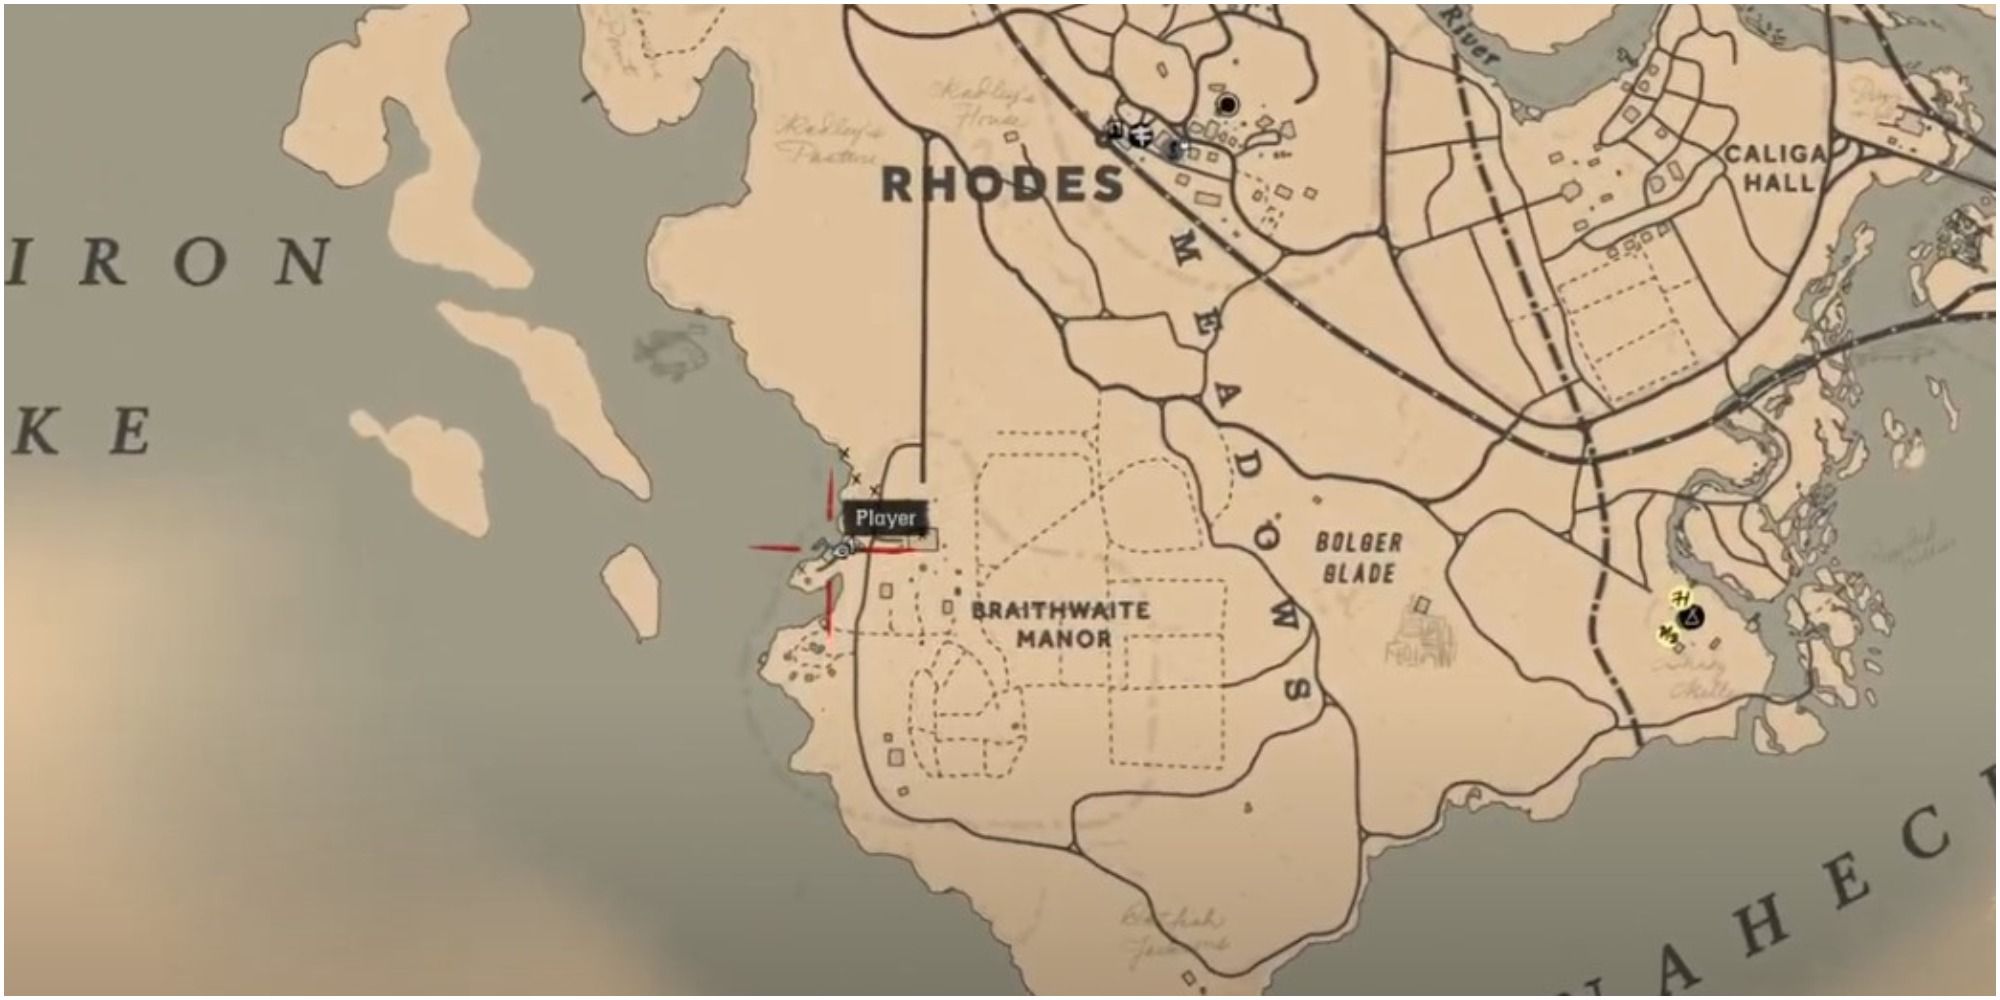
To get Pearson a replacement compass, players must go to the boathouse of the Braithwaite Manor. The new compass pleases Pearson so much that he gives Arthur some of his Guarma rum.
16
Sean
Kentucky Bourbon
|
Chapter |
2 or 3 |
|---|---|
|
Reward |
Firebombs |
Between noon and 6 P.M. in either the second or third chapter, players can see Sean preparing firebombs in camp. After talking with the young man, he offers to make Arthur some, on the condition he brings him a bottle of bourbon.
Related
11 Iconic Video Game Monologues
These famous monologues from various video game characters left a lasting impression on players.
It’s one of the easiest item requests, as Kentucky bourbon is available in general stores, requiring just a little money and no violence. Head inside and use the game’s astounding photo mode to see the inventory up close before buying a bottle. Sean keeps his word by crafting a few firebombs for the protagonist as a reward for the item.
15
Pearson
Rabbit
|
Chapter |
2, 3, Or 4 |
|---|---|
|
Reward |
Scout Jacket |
For some reason, players have found Pearson’s second item request really difficult to trigger. At some point, the cook is in camp preparing food while taking sips of his beer, between the hours of 8 A.M. and 12 P.M. Engage him in conversation, and he’ll ask for a dead rabbit to cook.
Thankfully, fulfilling the item request is way easier than triggering it, as the woodland creatures can be hunted virtually anywhere on the map. Plus, the hunt is worth it as not only does it allow the cook to make a delicious stew, but he also gives Arthur a new scout jacket. Just keep it away from those glorious fire effects.
14
Bill
Hair Pomade
|
Chapter |
2, 3, Or 4 |
|---|---|
|
Reward |
High-velocity repeater/revolver rounds |
This is another simple request that players can easily complete without any fuss. At some point in the second, third, or fourth chapter, Bill asks a surprised Arthur to get him some hair pomade. Players likely already have it, as it can be looted from almost anywhere. But if not, it can be bought from general stores.
There’s some confusion surrounding the reward for this one, as some claim Arthur receives high-velocity repeater rounds for his trouble, whereas others get revolver ones. Either way, players end up with strong ammunition, powerful enough to open up one of gaming’s best evil morality paths.
13
Charles
Moonshine
|
Chapter |
2, 3, Or 4 |
|---|---|
|
Reward |
Flaming Arrows |
If players question Charles while he’s crafting fire arrows in chapters 2-4, he’ll promise to make a few for Arthur, provided he gets some more moonshine. Flaming arrows are a fun weapon to use in the heat of battle, if not a little messy, creating some of the best gang warfare in the gaming world.
Thankfully, moonshine is easy to procure, seeing as it’s purchaseable from fence shops. Upon returning with the item, Charles delivers on his promise by crafting a set of flaming arrows for his friend.
12
Charles
Oleander
|
Chapter |
2, 3, Or 4 |
|---|---|
|
Reward |
Poisonous Arrows |
After completing the moonshine request, Arthur comes across Charles constructing poison arrows. And if players want some, they have to grab some oleander.
Players will know all about this one, presuming they’ve already helped Javier with his Oleander request. The riverbanks of Bayou Nwa are a good place to search for the poisonous plant. Once again, the good deed leads to Charles making some special arrows for Arthur, but this time there’s a key difference: they’re poisonous. These arrows are perfect for living the bandit fantasy in a video game and experimenting with new ways of killing enemies.
11
Hosea
The Case Of The Shrew In The Fog
|
Chapter |
2, 3, Or 4 |
|---|---|
|
Reward |
Predator Bait |
Players initiate this item request by picking up a book titled “The Tale of The Deceitful German” near Hosea; it’s found in camp. If Hosea sees you reading between the hours of 8A.M. and 8P.M., he’ll ask for another book: The Case of the Shrew In The Fog. Arthur can then search for another book to give to his old friend.
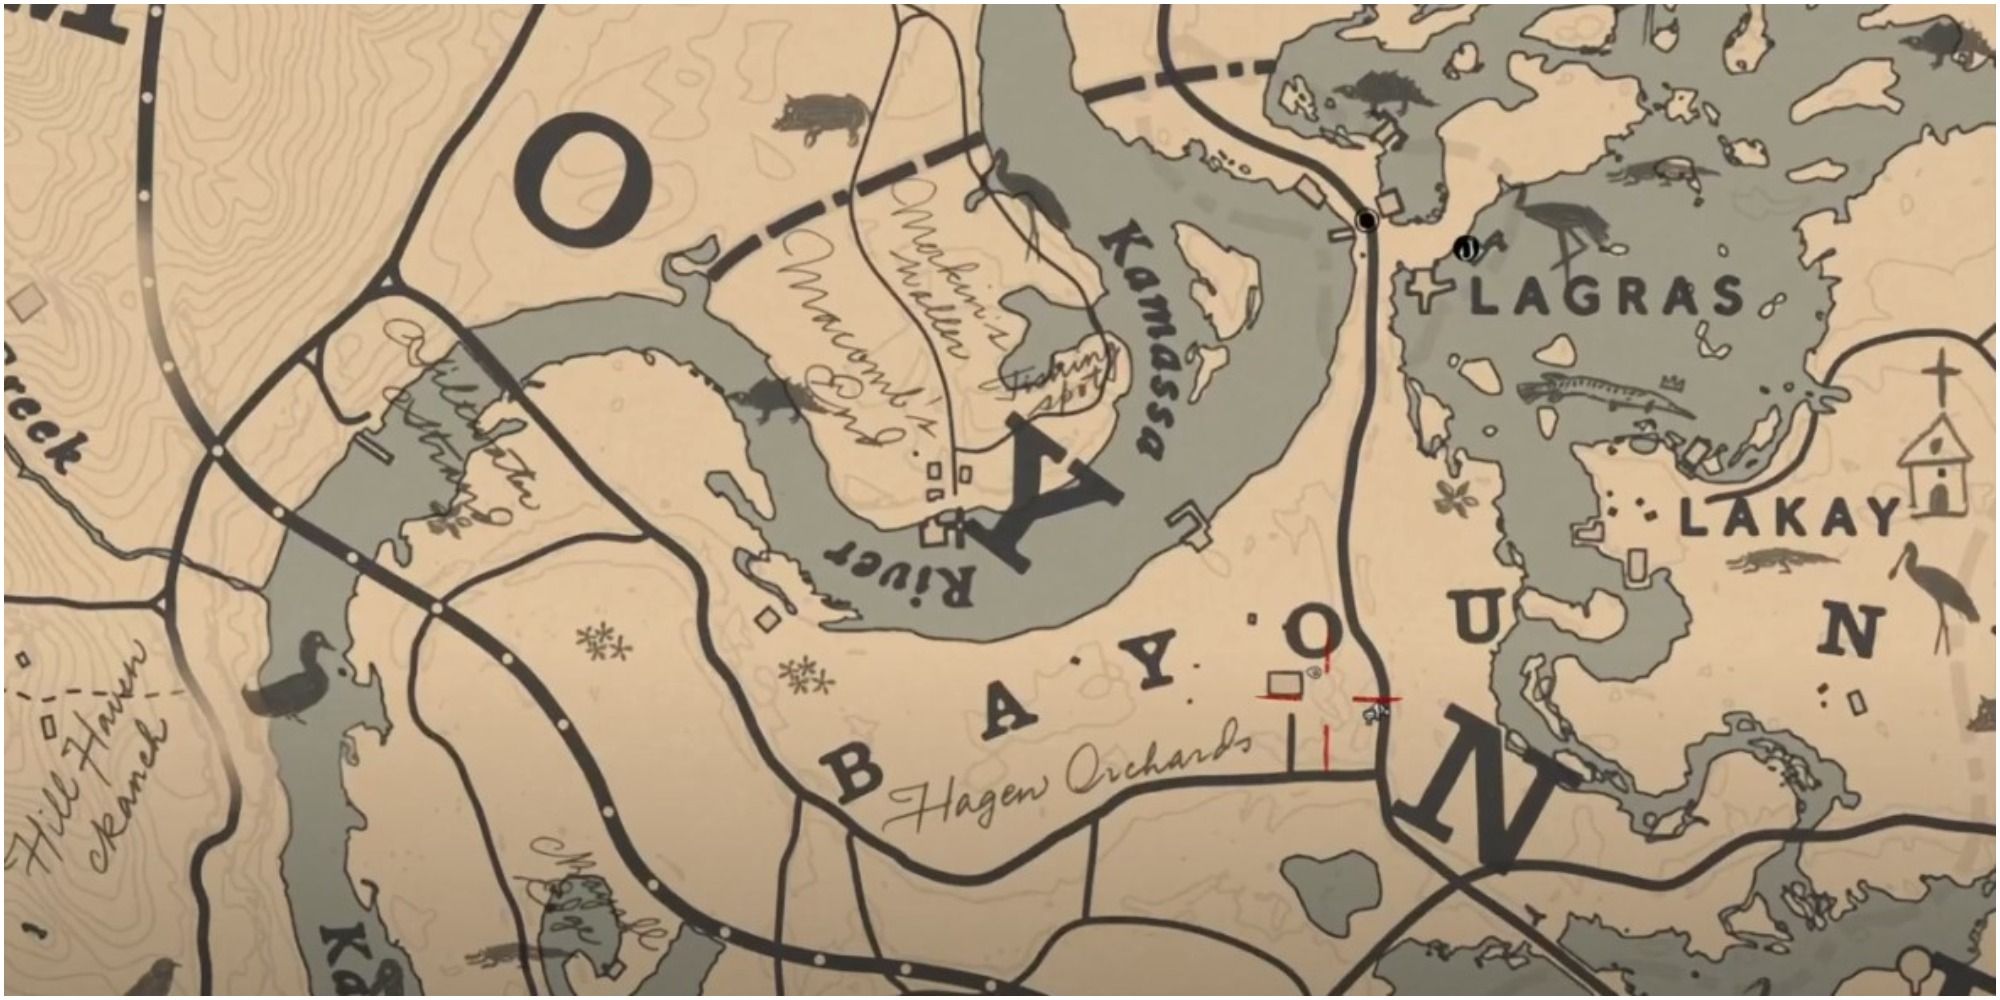
It’s located at a house in Hagen Orchards, right under the ‘O’ in Bayou Nwa, where players can find it on a coffee table. Clearly touched by the gesture, Hosea gives Arthur predator bait in return. Take it out hunting and enjoy some of the cinematic open-world experience while searching for prey.
10
Dutch
Pipe
|
Chapter |
2, 3, Or 4 |
|---|---|
|
Reward |
Set of Spurs |
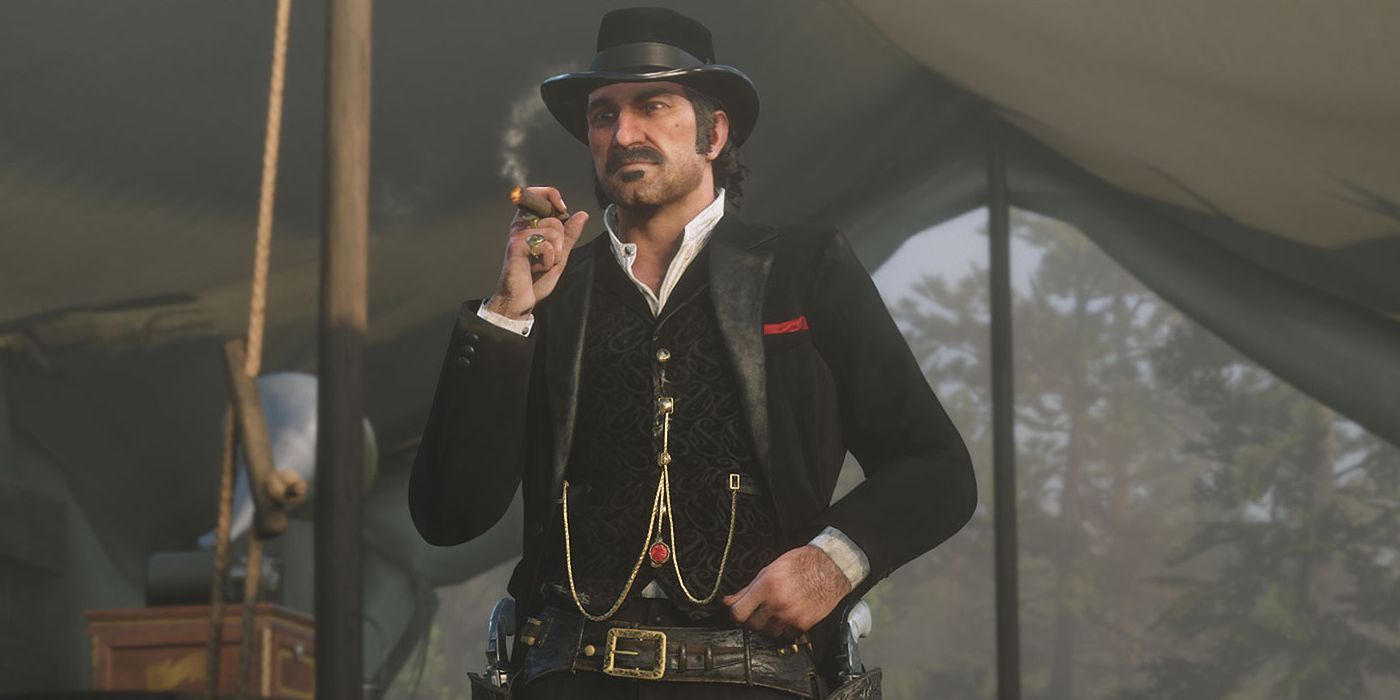
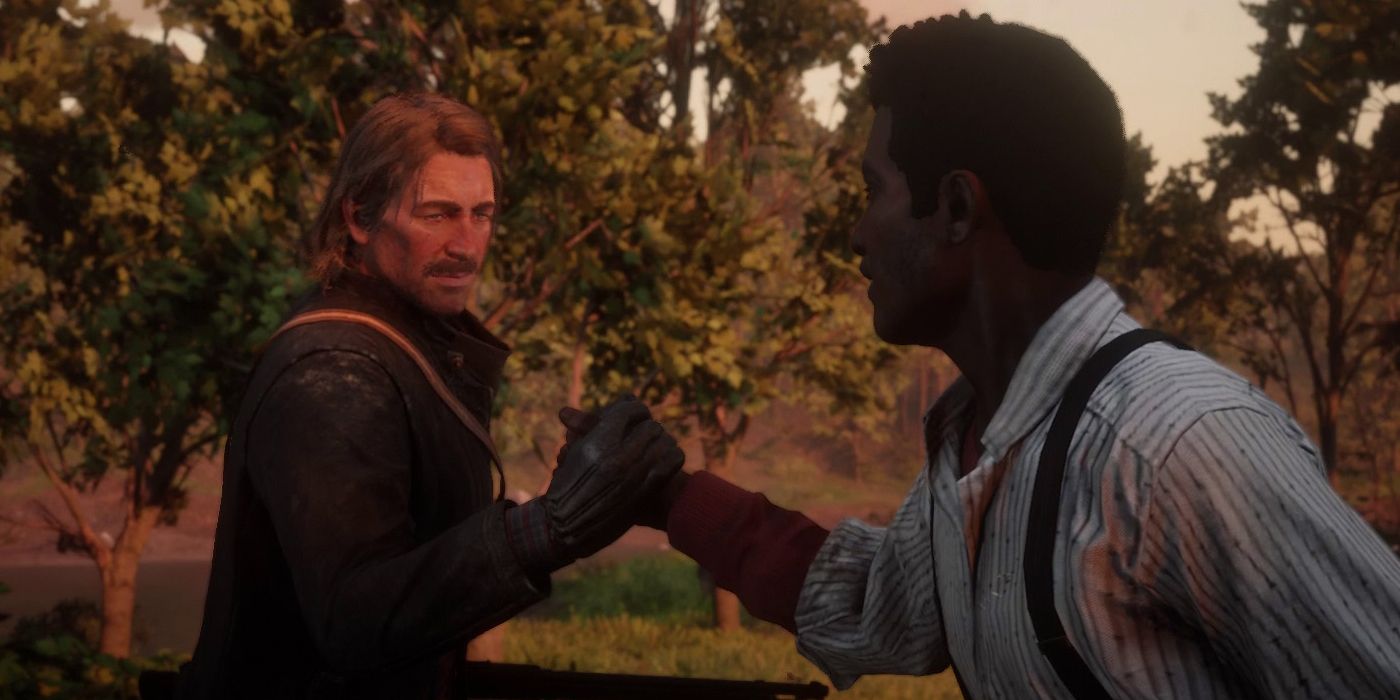
When Dutch is smoking a cigar outside of his tent, players can ask about it. In the proceding conversation, the charismatic leader says he prefers to smoke from pipes, so Arthur promises to get him one.
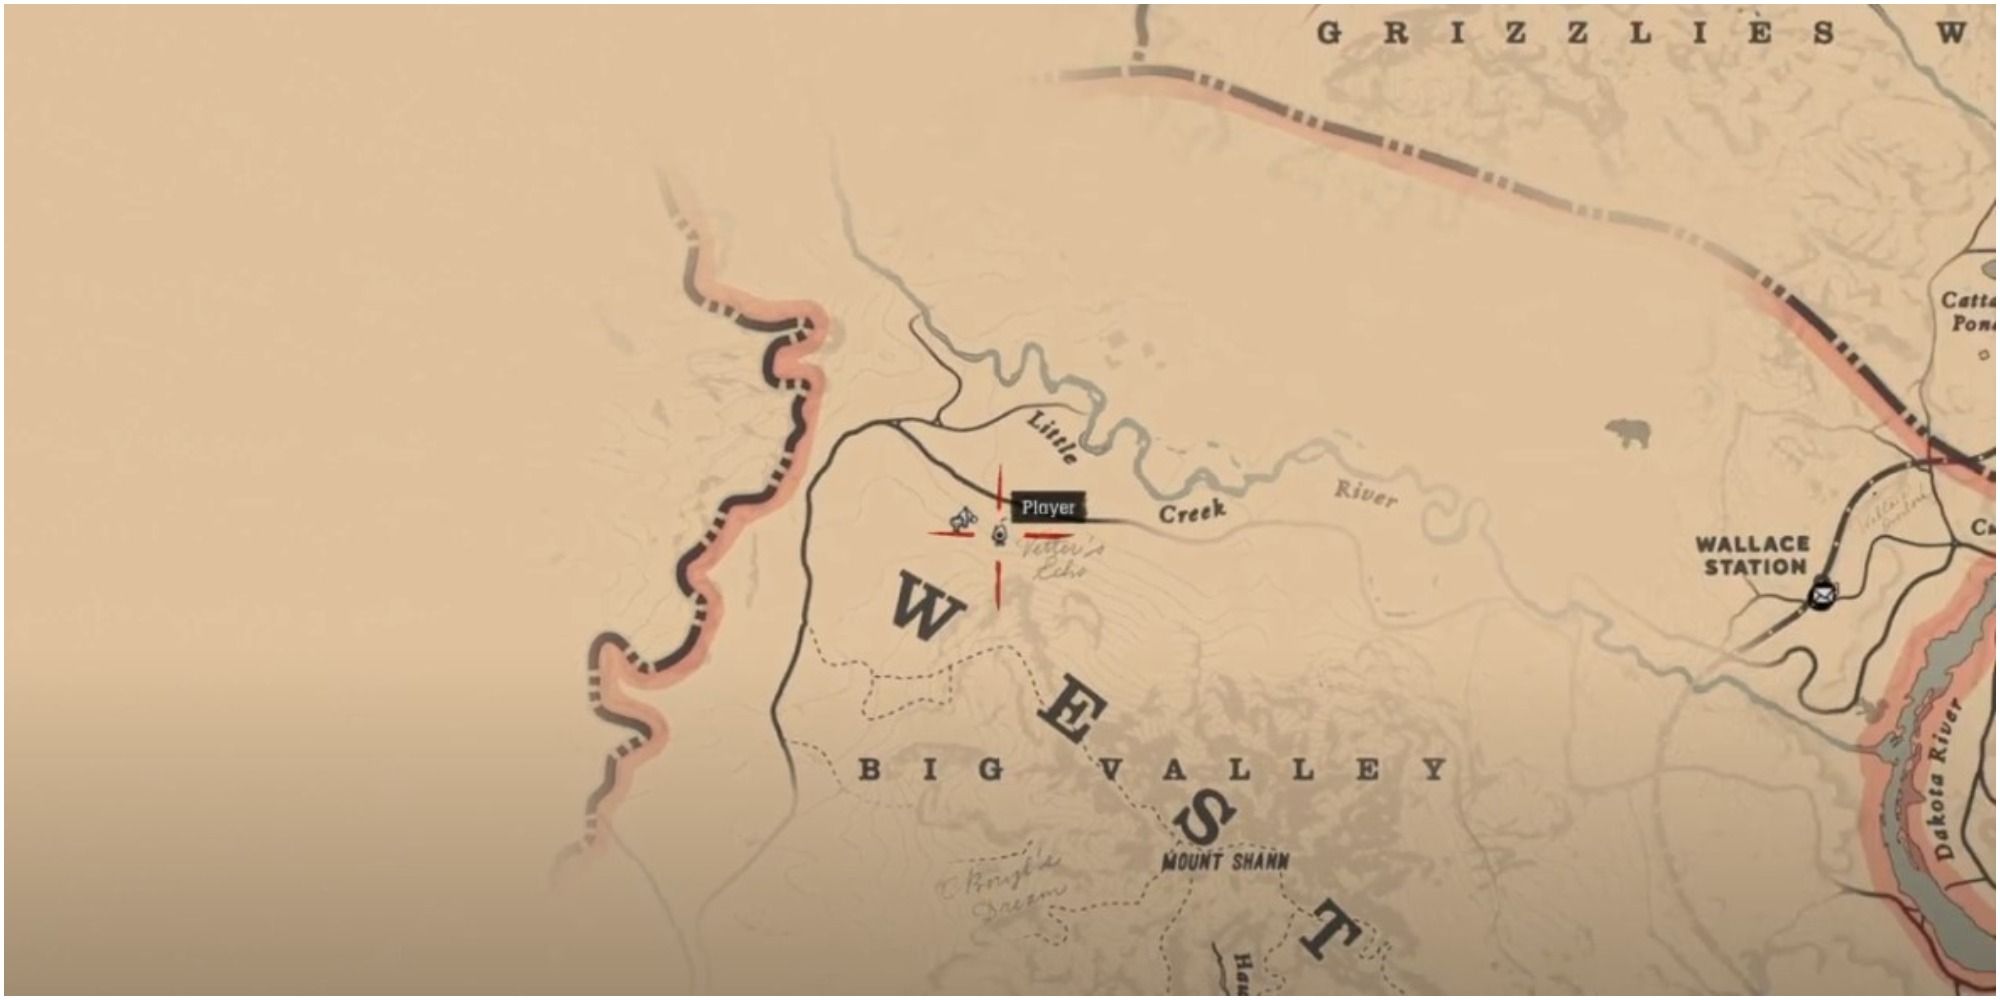
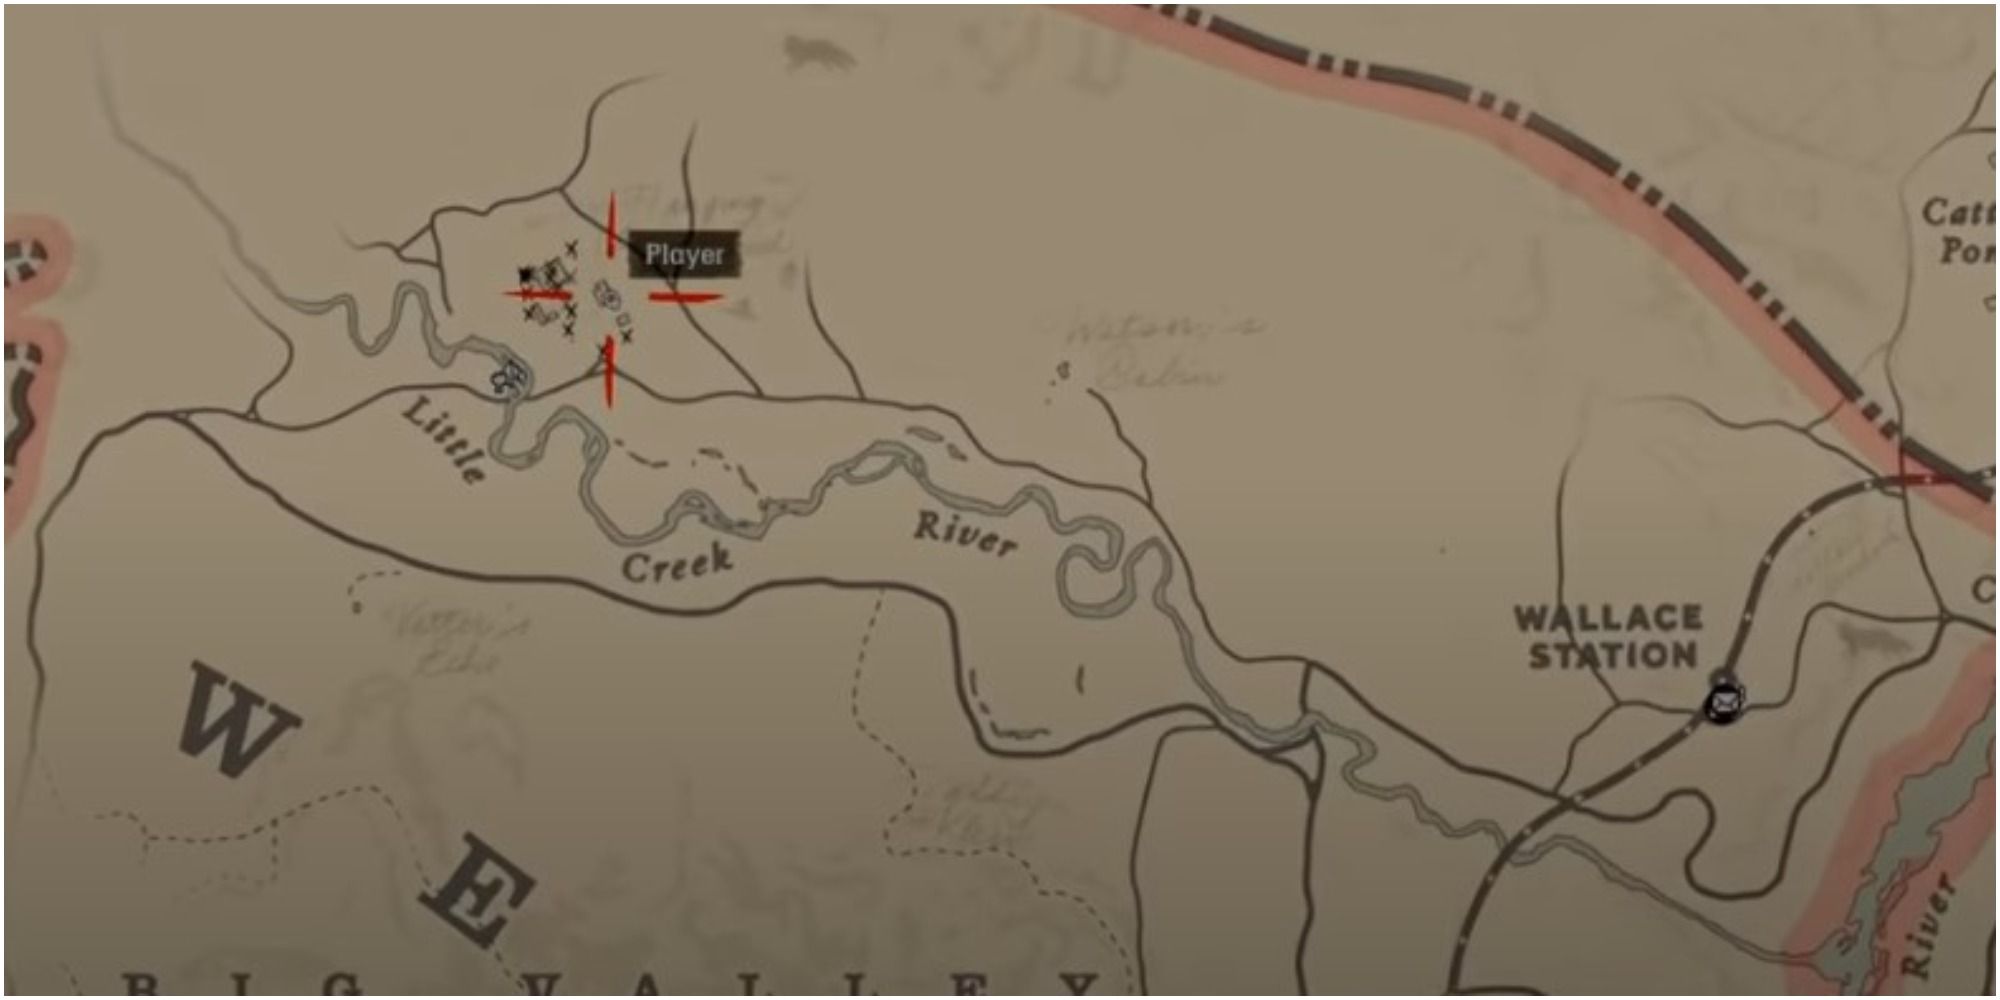
The pipe is found slightly Northeast of the ‘W’ in West Elizabeth, in a shack named Vetter’s Echo — just watch out for the bear that lives there! After Arthur hands over the pipe, Dutch gives him a set of spurs. Although the open-world game has multiple endings, this particular interaction doesn’t change Dutch’s actions.
9
Susan
Herbs
|
Chapter |
2, 3, Or 4 |
|---|---|
|
Reward |
Miraculous Tonic |
Susan will come to Arthur and request some seasoning herbs for Pearson’s stew sometime between the second and fourth chapters. She’ll accept two of either creeping thyme, oregano, or wild mint.
Some creeping thyme is outside of Valentine, around Citadel Rock. Picking herbs is one of the relaxing activities that lets Arthur reflect on life and the world around him, serving as a great reminder as to why the game has such incredible character development. The reward for fetching the herbs is a potent miracle tonic.
8
Lenny
Pocket Watch
|
Chapter |
2, 3, Or 4 |
|---|---|
|
Reward |
Dynamite |
In a random campfire chat between 8 P.M. and 3 A.M., Lenny tells a heartbreaking story about his father’s missing pocket watch.
Related
Red Dead Redemption 2: 28 Powerful Quotes By Arthur Morgan
As the protagonist of Red Dead Redemption 2, Arthur has made some powerful statements that resonate with players.
Luckily, Arthur can easily find a new one to give to the boy from any number of locations, including shacks, homesteads, and dead bodies. Odds are, a good round of third-person open-world shooting will yield at least one if the fight is substantial. It’s an extremely personal and thoughtful gift to get for the young man. In return, Lenny offers Arthur some dynamite.
7
Tilly
Necklace
|
Chapter |
3 |
|---|---|
|
Reward |
Two Health Cures |
A companion activity in Clemens Point involves playing Dominos with Tilly. During the game, she mentions how she’s lost a necklace. As always, it’s up to Arthur and the player to find her a new one. Places like gang hideouts, homesteads, and shacks tend to have jewelry to steal or loot.
Since Tilly is one of the more honorable gang members, it’s no surprise that she thanks Arthur by giving him two health cures. If players notice screen tearing during this fetch quest, try improving the PC performance settings.
6
Hosea
American Ginseng
|
Chapter |
3 |
|---|---|
|
Reward |
Health Cure |
From time to time in chapter 3, Hosea sits at the table in the middle of the camp and makes medicine. If players ask him about it, Hosea says he needs some more American ginseng, promising to brew Arthur some too.
One location where the plant grows is a little south of Cumberland Forest, overlooking the train tracks. With the right ingredients, he’s able to manufacture a potent health cure for players. Missing out on this reward is one way the game punishes players for not doing the side content.
5
Molly
Pocket Mirror
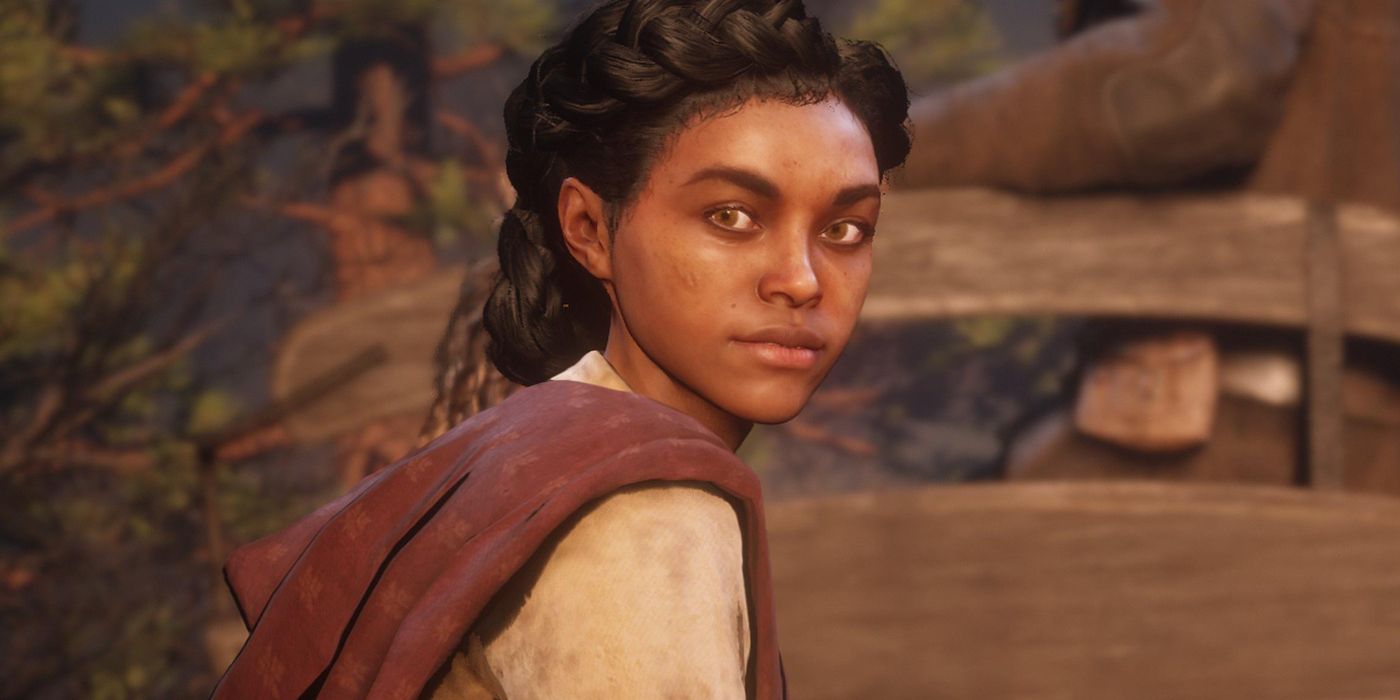
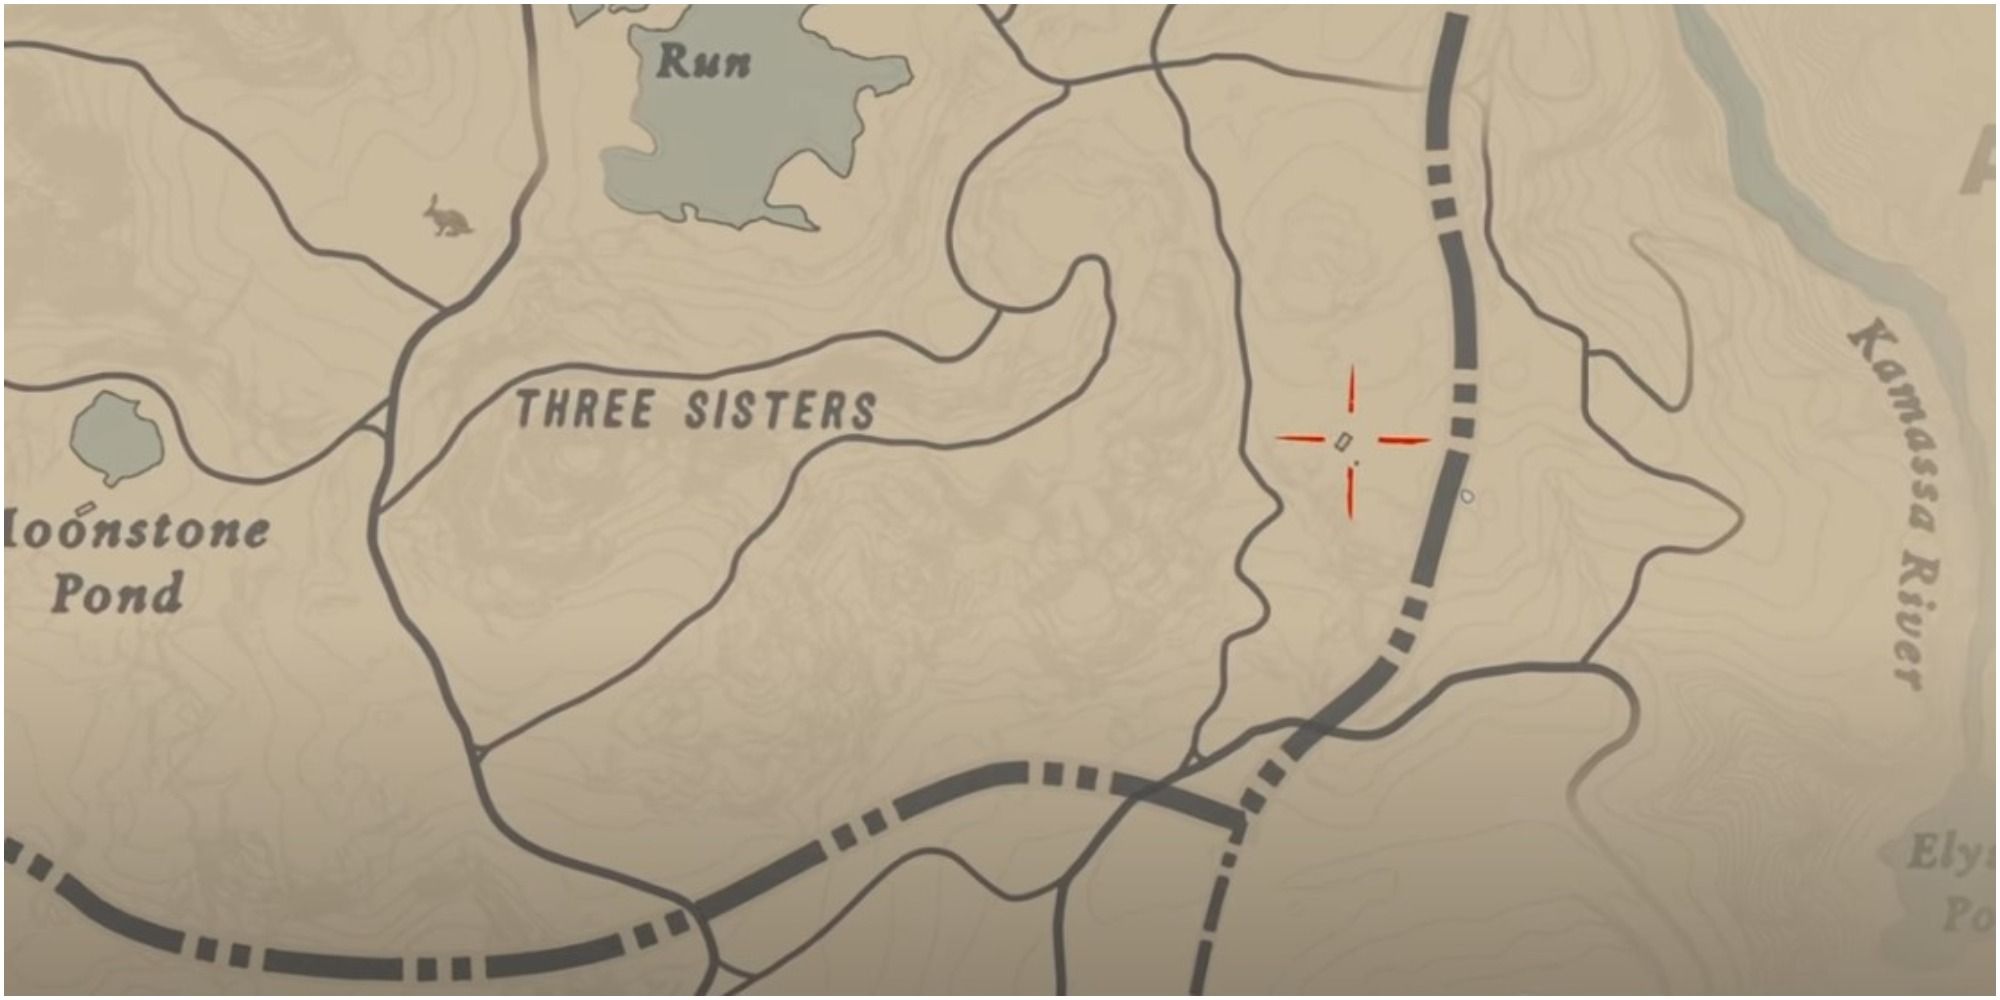
The often ignored Molly will approach Arthur in chapter 3 and talk about her broken mirror. Players can fetch a replacement for her at the homestead known as Martha’s Swain. It’s located directly east of Three Sisters in Ambarino, next to the train tracks.
As it’s virtually the only time anyone is nice to the poor girl throughout the entire campaign, she’s naturally pleased. So, she hands Arthur a cigar to show her appreciation. This scene might be short, yet it adds to a masterclass in cutscene direction.
4
Kieran
Burdock Root
|
Chapter |
3 |
|---|---|
|
Reward |
Horse Stimulant/Recipe for nutritious animal food |
From noon to 6 P.M. at Clemens Point, Arthur can find Kieran grooming a horse. After greeting him, players discover that the horses need a bit of burdock root. It’s a plant that can be found on the western side of the great plains, particularly near riverbeds – two of them are needed for this quest. Arthur can easily forage around this area to find it.
Kieran further proves his love of horses with his reward, as it’s not really a gift for players but one for their steeds. It’s a horse stimulant and a pamphlet explaining how to make a nutritious meal for the animal. Admire the impressive graphics in the game while feeding the horse along a scenic path.
3
Sadie
Harmonica
|
Chapter |
3 Or 4 |
|---|---|
|
Reward |
Gun Oil |
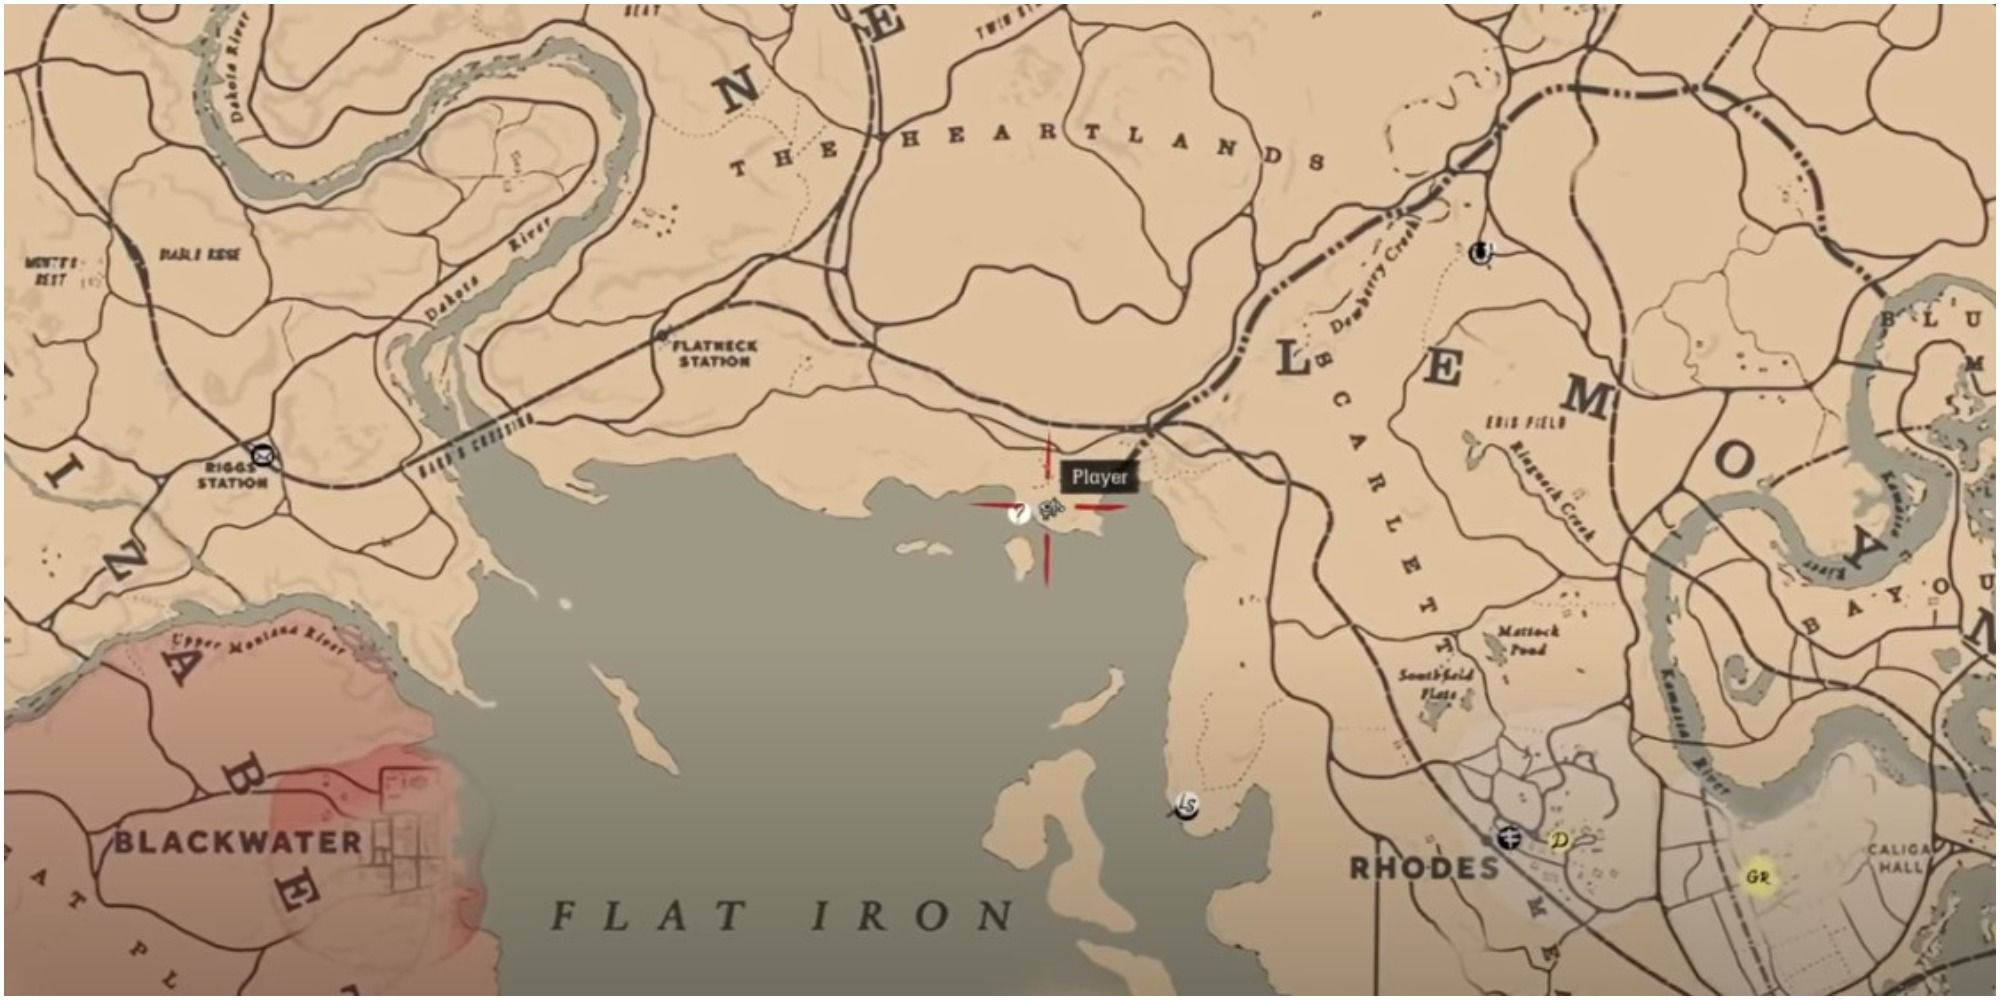
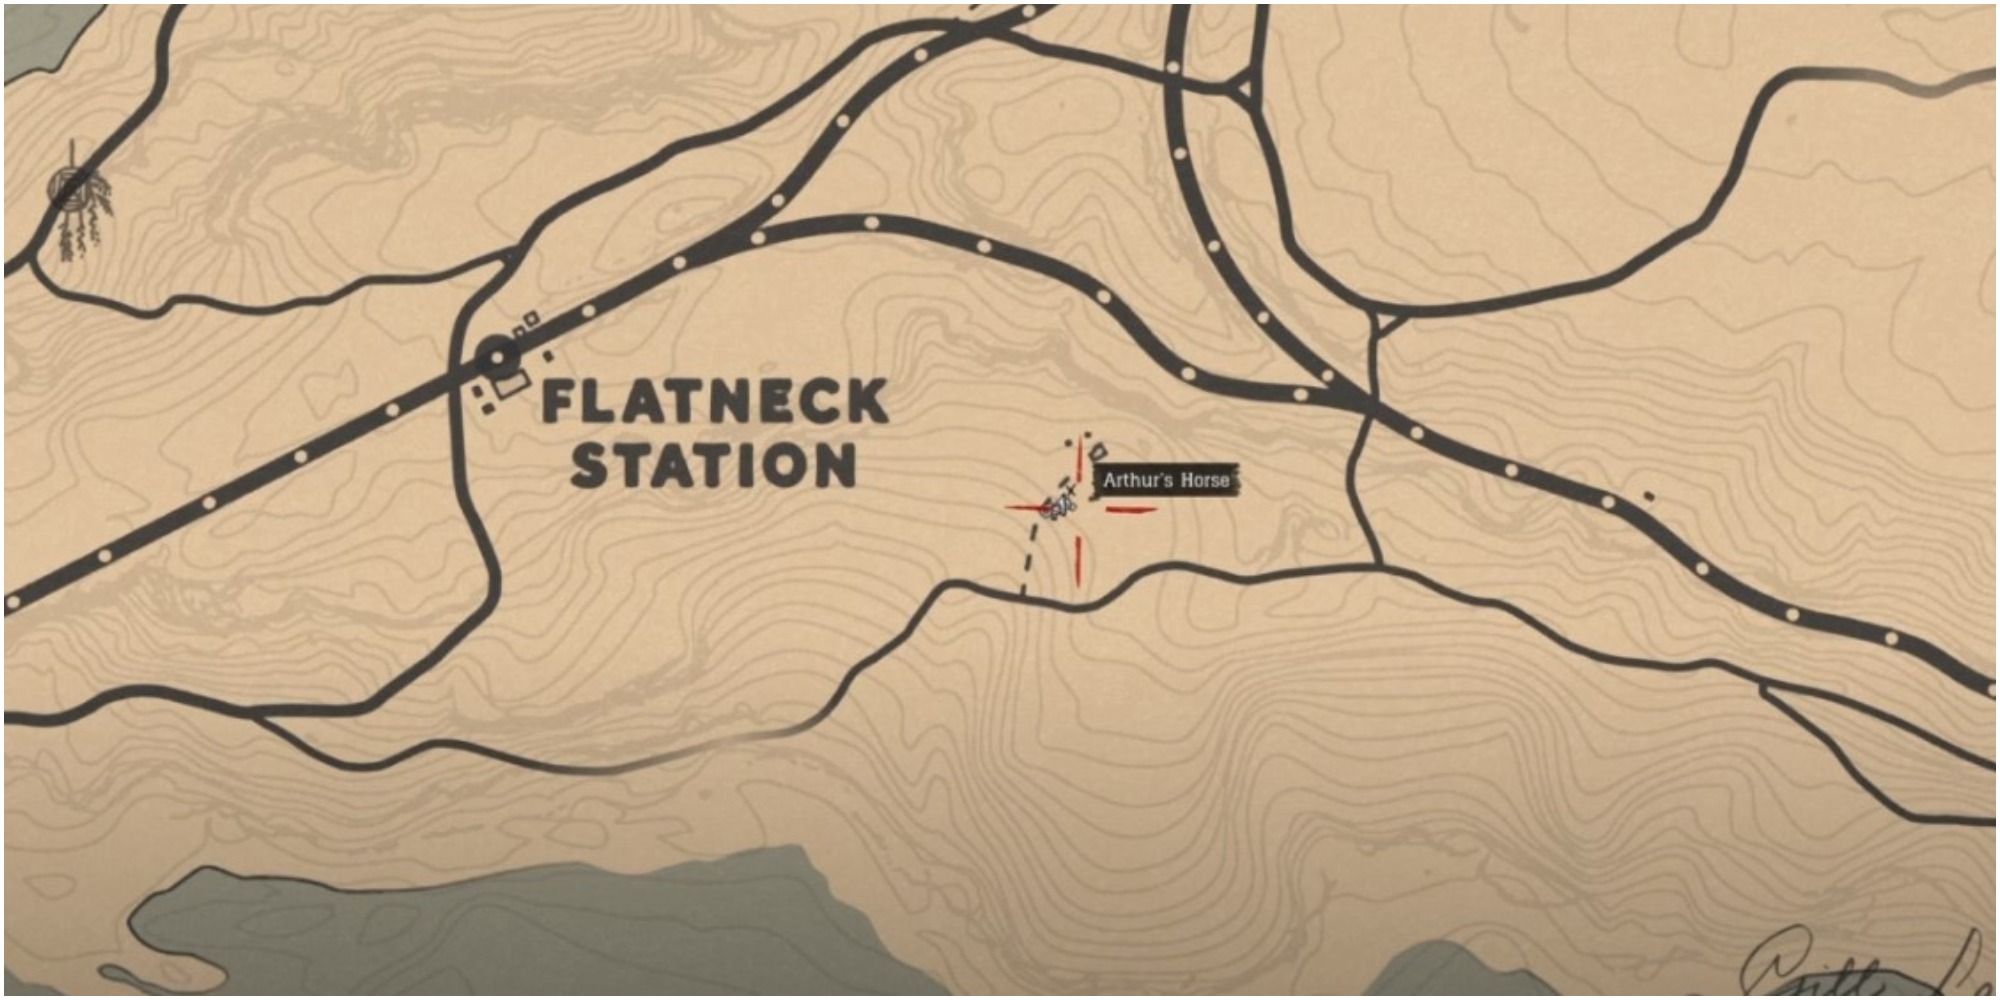
During the “Further Questions of Female Suffrage” mission, Sadie will mention how she used to play the harmonica. She lost the instrument, but players can fetch her a new one at Granger’s Hoggery.
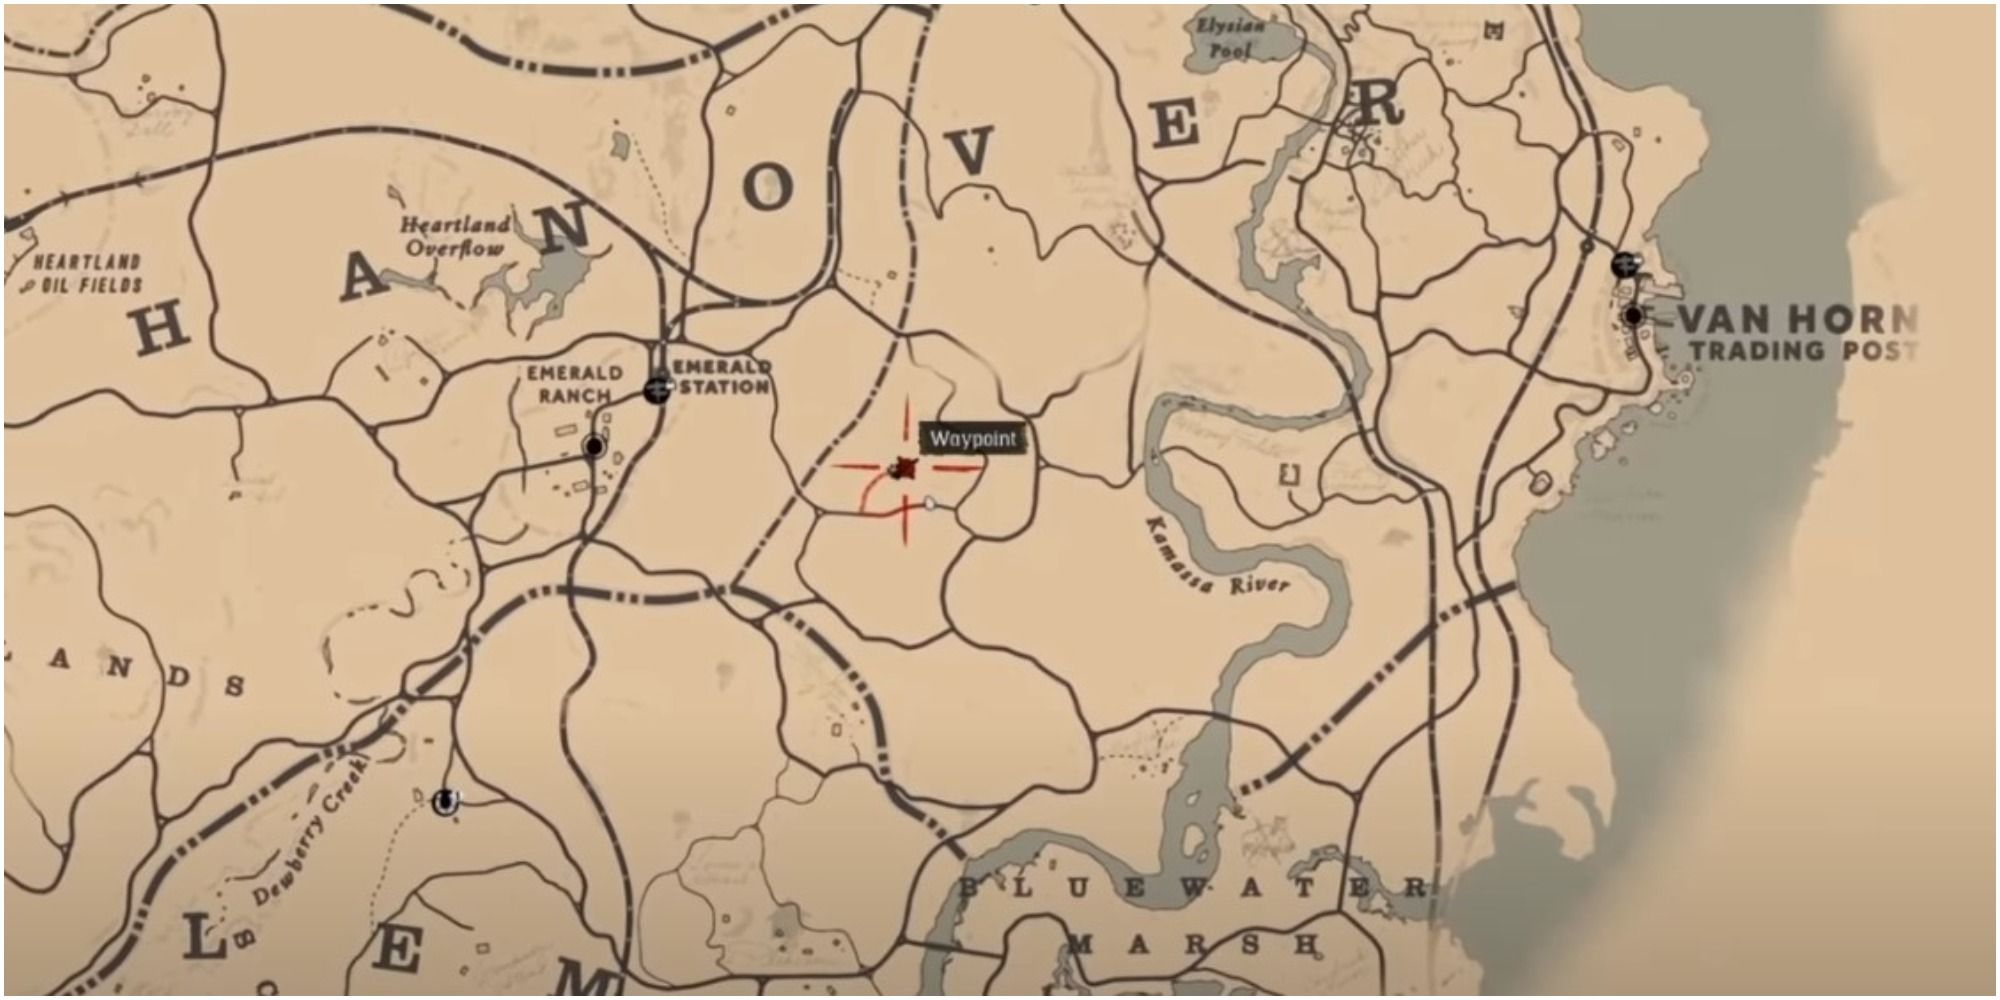
The location is just east of Flatneck Station and a little north of Flat Iron Lake. Arthur’s retrieval efforts are rewarded with some gun oil, which is very appropriate for Sadie. It’s good to take care of this quest as soon as possible, because the reward provdes useful throughout the rest of the game, preserving and protecting all Arthur’s guns.







Leave a Reply