Quick Links
Final Fantasy 14‘s Main Scenario is long, but there are tons of side and optional content to unlock throughout your journey. Reaching level 50 for the first time and completing the base A Realm Reborn story unlocks plenty of new Duties and quests to work on.
Related
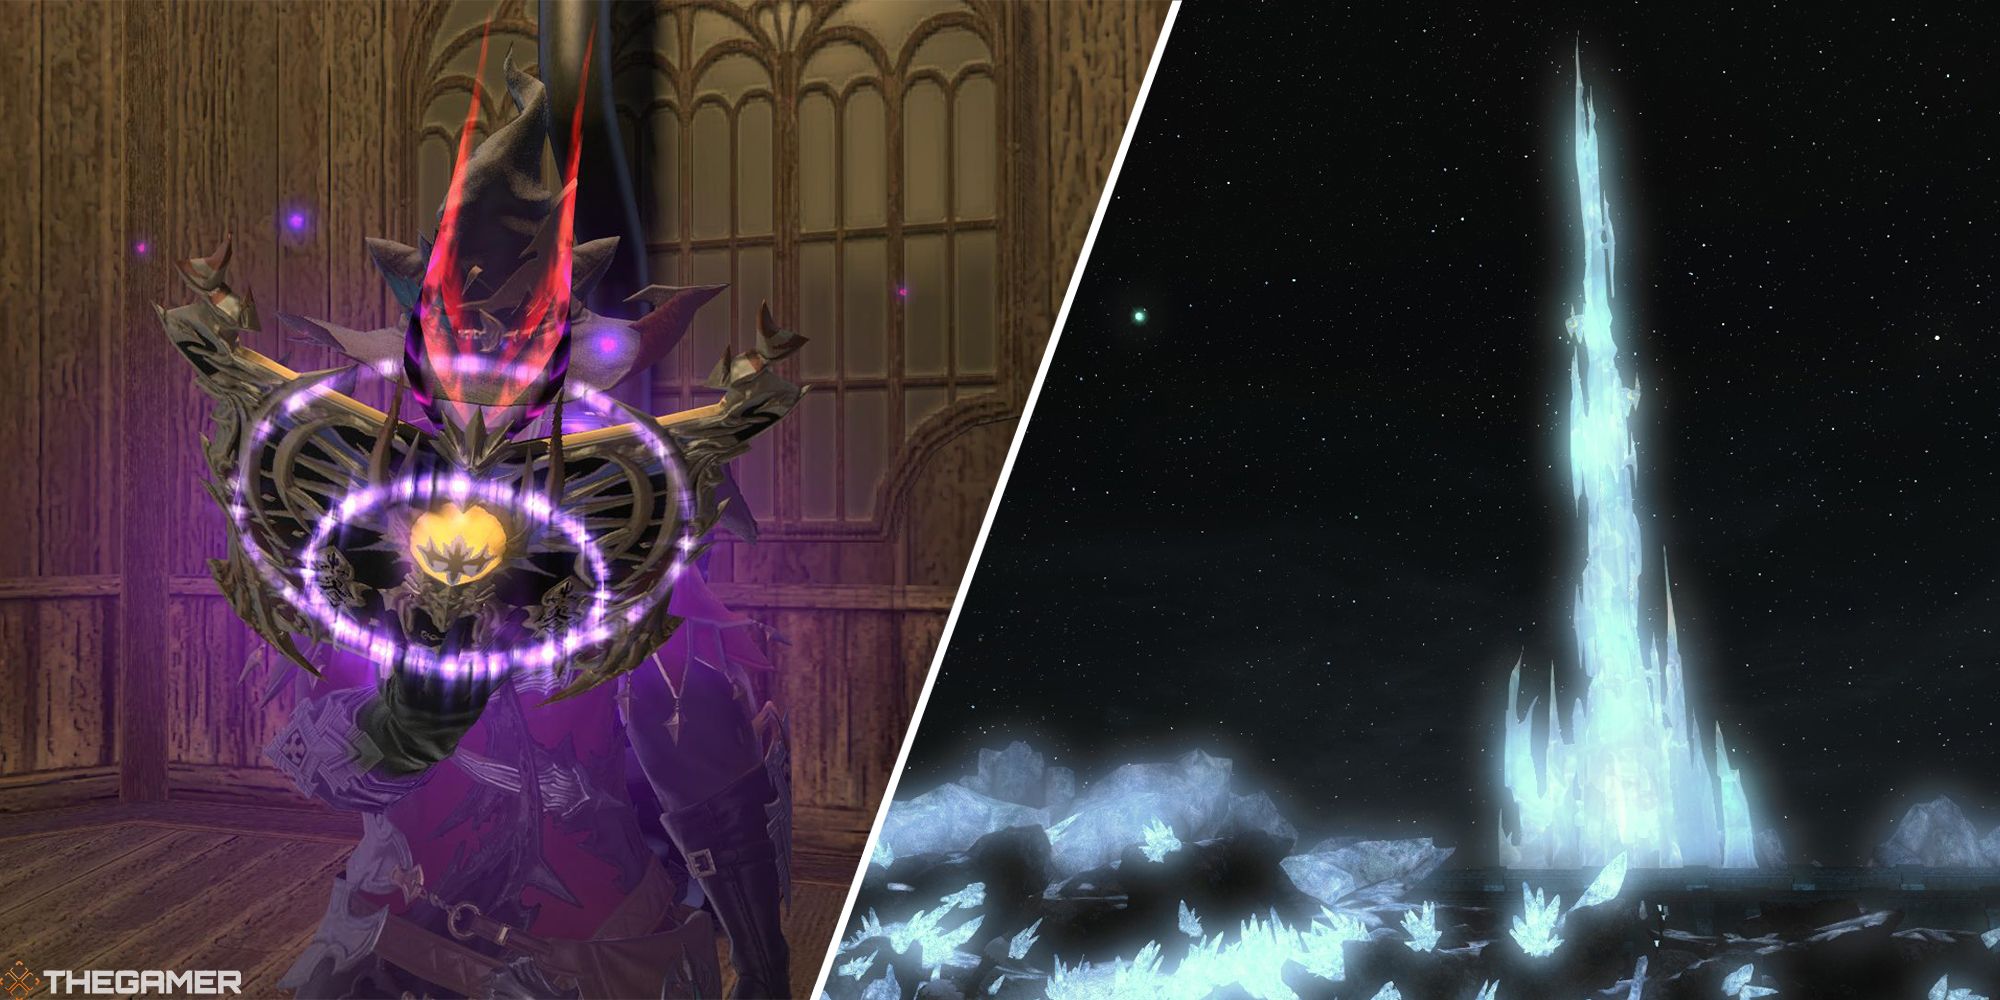
Final Fantasy 14: Complete Guide To Zodiac Weapons
Obtaining your Zodiac Weapon in Final Fantasy XIV is a long and arduous task but is well worth it for bragging rights. Here’s what you need to do.
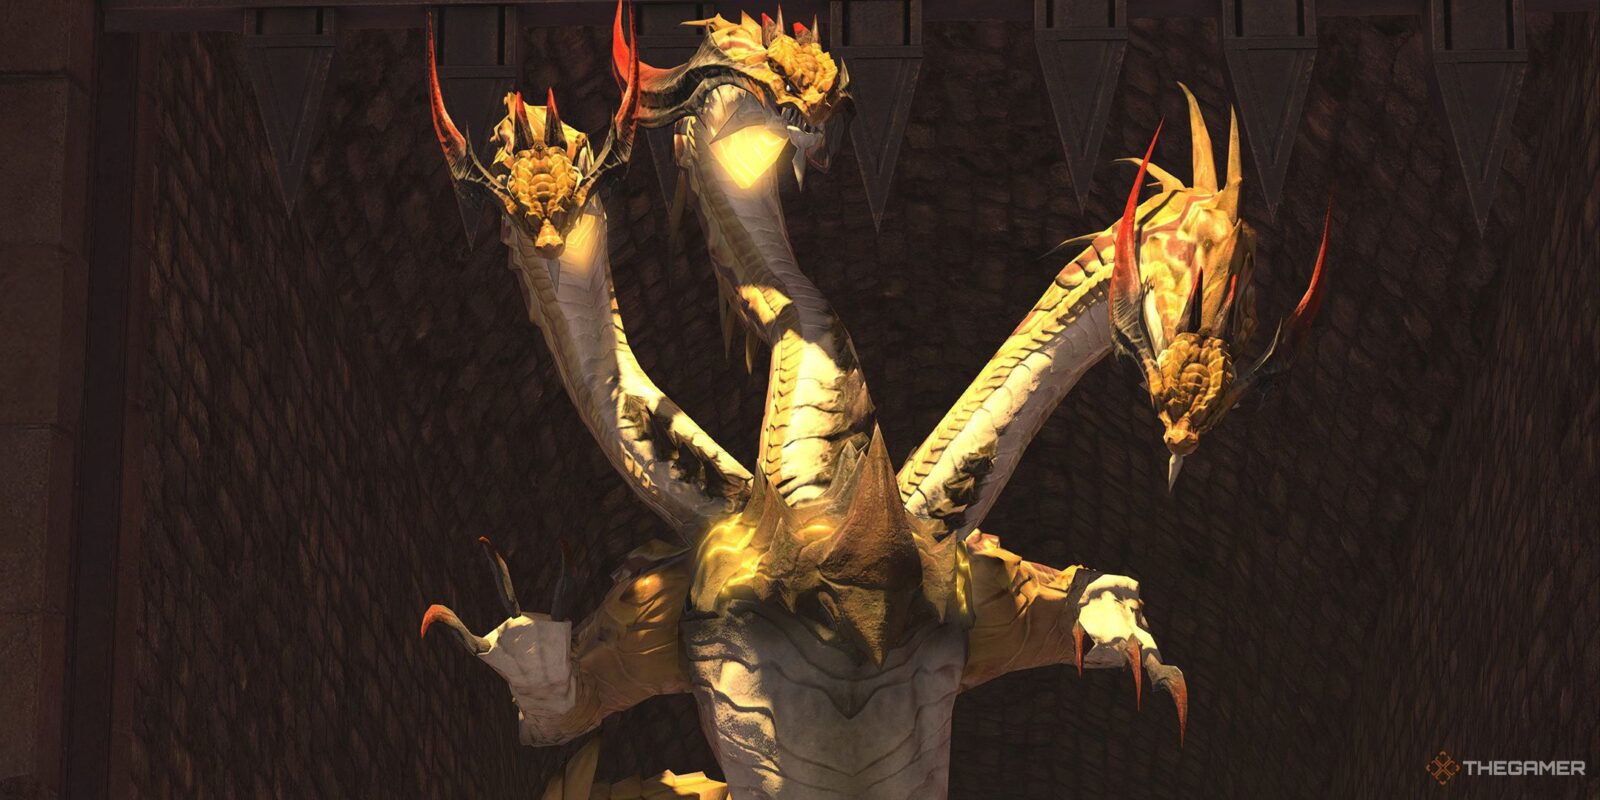
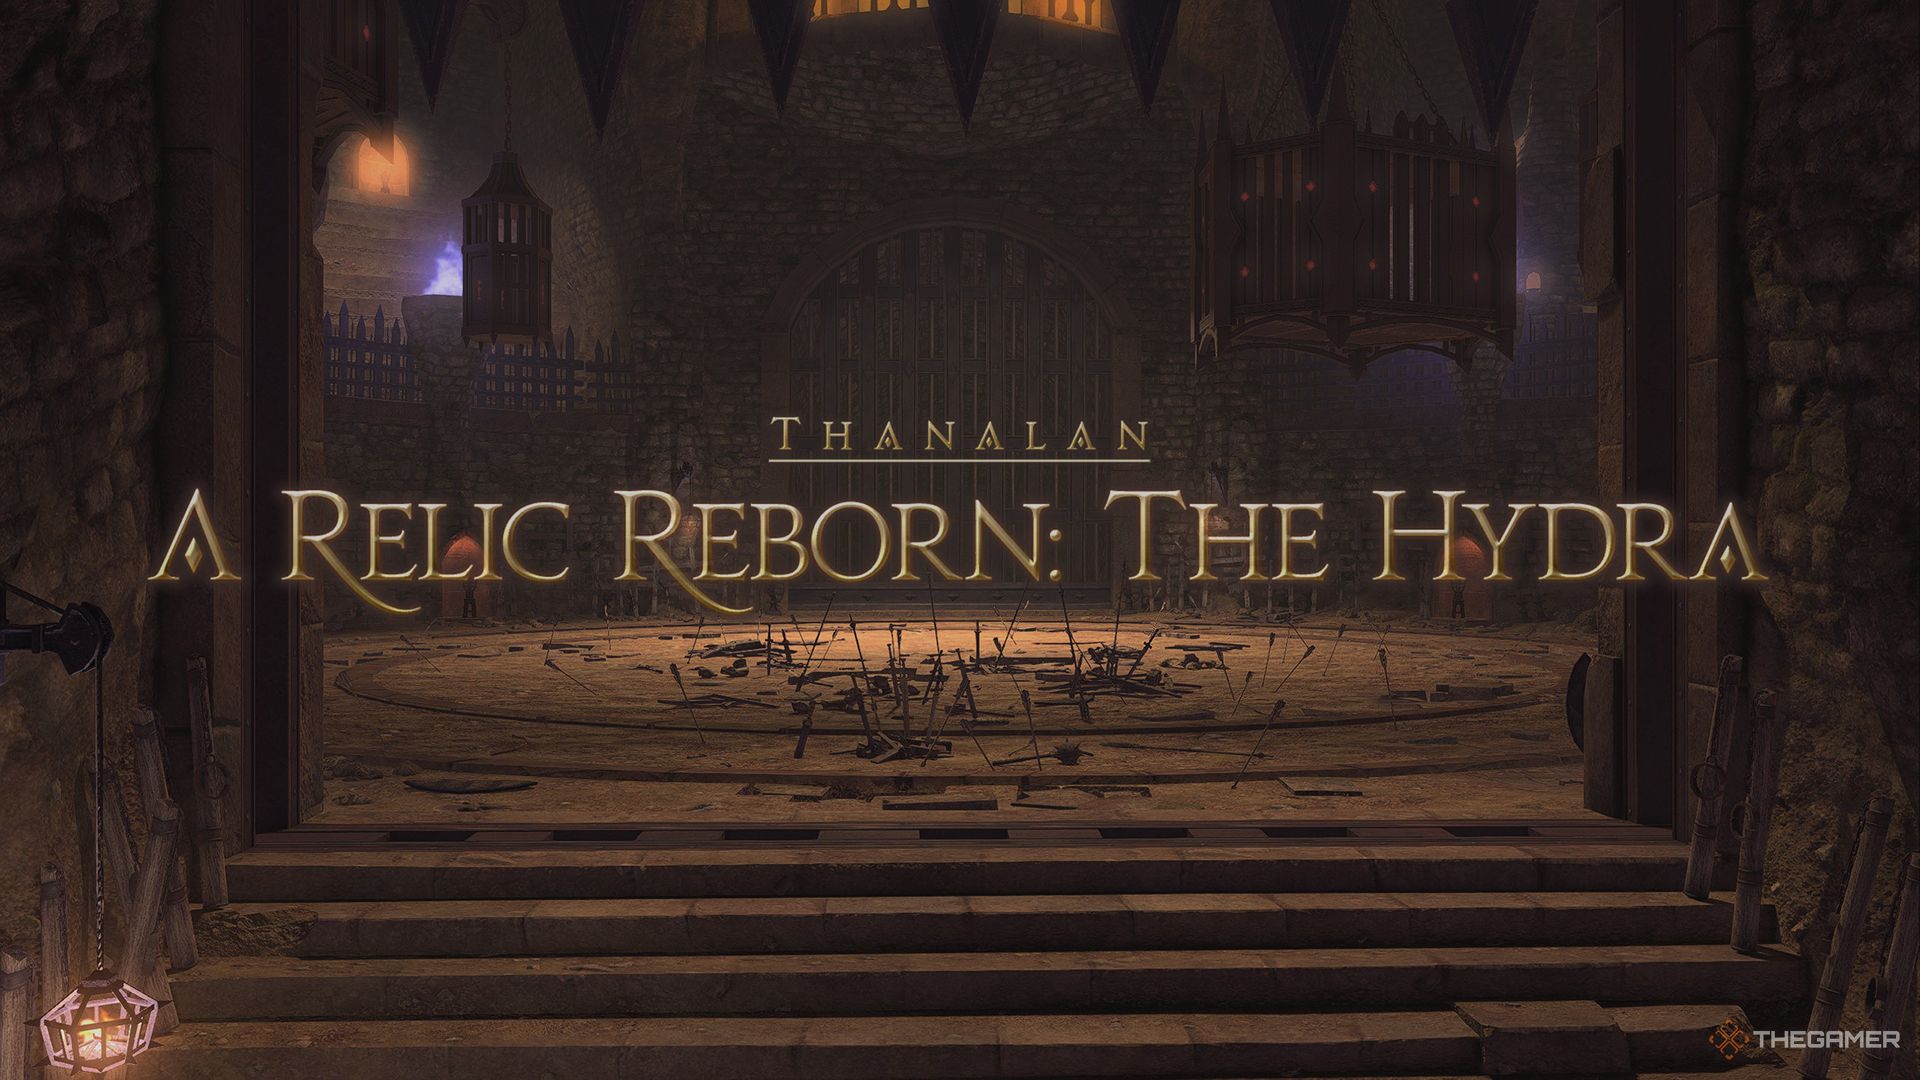
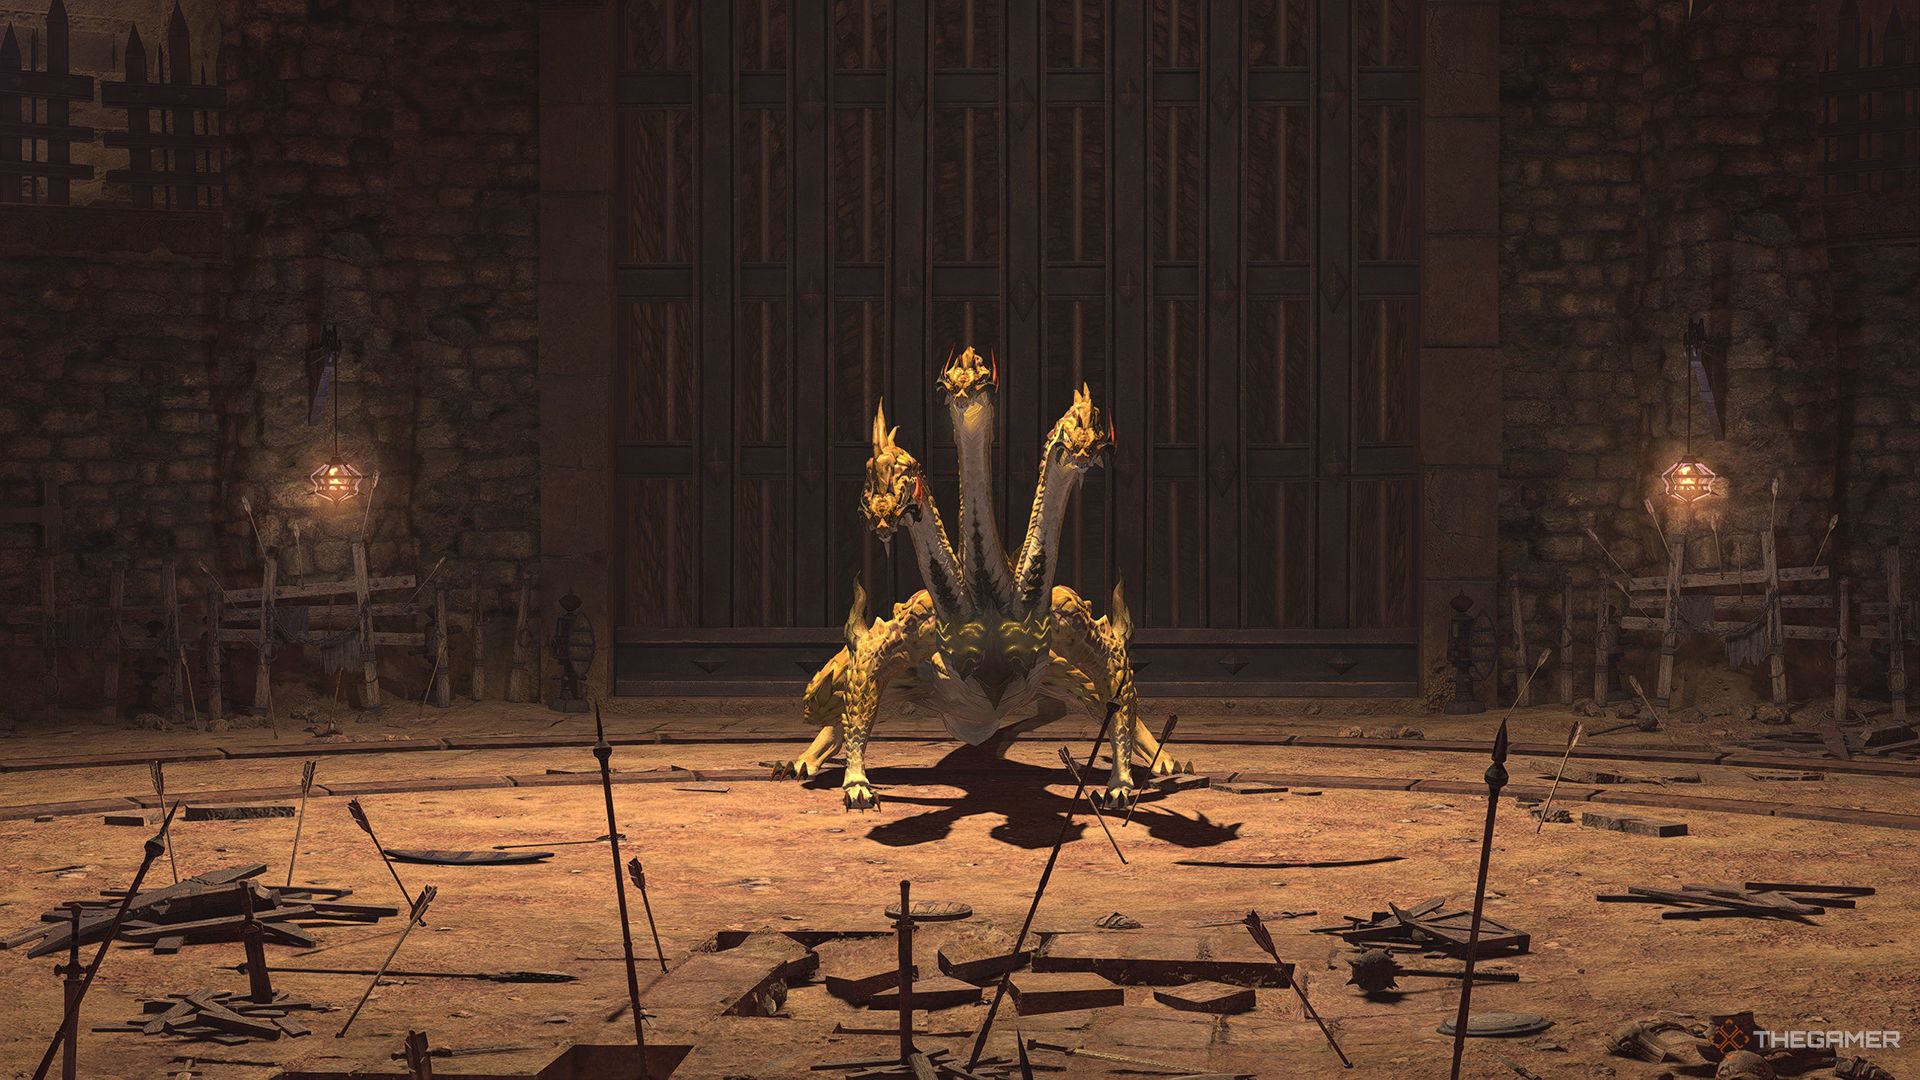
As part of the Zodiac Weapon questline, you will eventually have to enter the eight-player Duty A Relic Reborn: The Hydra, in which you must defeat the titular Hydra. Below, we’ll take a look at everything you need to know about this fight.
This content is heavily outdated, and many of the mechanics detailed below may not appear during a normal run of this Trial. If you’re just looking to complete the Duty for the Zodiac quest, you can easily complete it unsynced at level 70 or higher.
How To Unlock A Relic Reborn: The Hydra
Before you can unlock this Trial, you will need to complete the level 50 MSQ ‘The Ultimate Weapon’, then begin your Zodiac Weapon quest by accepting ‘The Weaponsmith of Legend’ from Nedrick Ironheart in Western Thanalan (X:12.0, Y:14.3).
With that done, you will be able to start the quest ‘A Relic Reborn’ for your chosen weapon, which will eventually lead to the unlocking of A Relic Reborn: The Hydra. Follow this quest until the Duty unlocks, and you will be able to use the Party Finder to attempt the Trial.
Hydra Fight Walkthrough
The attacks and mechanics that the Hydra uses are detailed below.
|
Attack Name |
Type |
Details |
|---|---|---|
|
Triumvirate |
Conal AoE |
Deals untelegraphed damage to the front of the boss. This damage is split between up to three players that are standing in the AoE. The Tank should move the boss away from the rest of the party to prevent Triumvirate from hitting more players than necessary. The off-Tank can stand near the main Tank to split the damage of this attack. |
|
Mean Thrash |
Conal AoE |
Deals telegraphed damage to the back of the boss, triggered by players standing behind the boss. Melee players should be prepared to dodge this attack throughout the fight. |
|
White Breath |
Conal AoE |
Deals telegraphed damage to the front of the boss that inflicts Infirmity, reducing the healing received. Unlike the other debuffs applied throughout this fight, Infirmity is not cleansable using Esuna, so the Healers will need to be prepared to recover a bit more health for each player hit by Infirmity. |
|
Radiant Breath |
Roomwide AoE |
Deals damage to all party members that inflicts Infirmity. Recover with AoE healing. |
|
Ball of Ice |
AoE/Puddle |
Deals damage in a circular AoE that leaves behind a puddle of ice that inflicts Heavy. This puddle persists for a long time, so avoid stepping into it as you avoid other mechanics. |
|
Ball of Fire |
AoE/Puddle |
Deals damage in a circular AoE that leaves behind a fire puddle that inflicts Burns, dealing damage over time. Similar to Ball of Ice, this puddle will persist for some time. |
|
Fear Itself |
AoE/Debuff |
The Hydra will move to the center of the arena, then deal damage to all party members, with a safe spot in the area directly underneath the boss. Players hit by this AoE will be inflicted with Hysteria, which will force them to run around the arena at random. To avoid this attack, stand just inside of the Hydra’s hitbox. If you are inflicted with Hysteria, there is a very good chance you will run into one of the ice or fire puddles that still linger around the arena, making this attack one of the Hydra’s deadliest. While Hysteria is not cleansable with Esuna, the Healers should do their best to keep affected party members healthy until the debuff expires. |
|
Wyvern |
Add |
Wyvern adds will appear at certain intervals throughout the fight. This enemy will inflict Poison with its normal attack, and occasionally give the Hydra a damage-up buff. Focus on killing the Wyverns as soon as they appear to prevent these effects. |
This fight is fairly straightforward, but you will definitely need to watch out for Fear Itself. For the best odds of avoiding this attack, it’s best if the main Tank pulls the Hydra to the top of the arena so that it’s more obvious when the boss moves back to the center. Use this as your queue to get near the boss to avoid the AoE of Fear Itself.
Also, be sure to take out the Wyverns as quickly as possible, as the damage buff it provides to the boss will make its large AoE attacks even stronger.
Next
Final Fantasy 14: Every Orchestrion Roll From Trials
Here’s where to get every Trial Orchestrion Roll in Final Fantasy XIV.




Leave a Reply