How To Upgrade Your Village In Lego Fortnite Odyssey

How To Upgrade Your Village In Lego Fortnite Odyssey


Exploring the wilds of Lego Fortnite to forage, fight monsters, and find chests is all well and good, but without an established village as your home base, surviving will be difficult. One of your first tasks, in the beginning, is to build your village square so you can start building shelters and a bed.
Related


Lego Fortnite Odyssey: How To Get A Glider

Here’s everything you need to know about how to unlock and use Gliders in Lego Fortnite Odyssey.

But don’t stop there. Soon, you’ll be able to start upgrading your village, which will bring more rewards and ways of surviving in this beautiful yet dangerous world. Here, we’ll tell you everything you need to know about what you need for each upgrade and what rewards you can expect.

Updated January 10, 2025 by Connie Watson: The Lost Isles and Storm Chasers update have brought with them new kinds of villages to build and upgrade. We’ve also updated the upgrade requirements for villages in the three main biomes to reflect what is now in the game.

How To Build Your Village Square

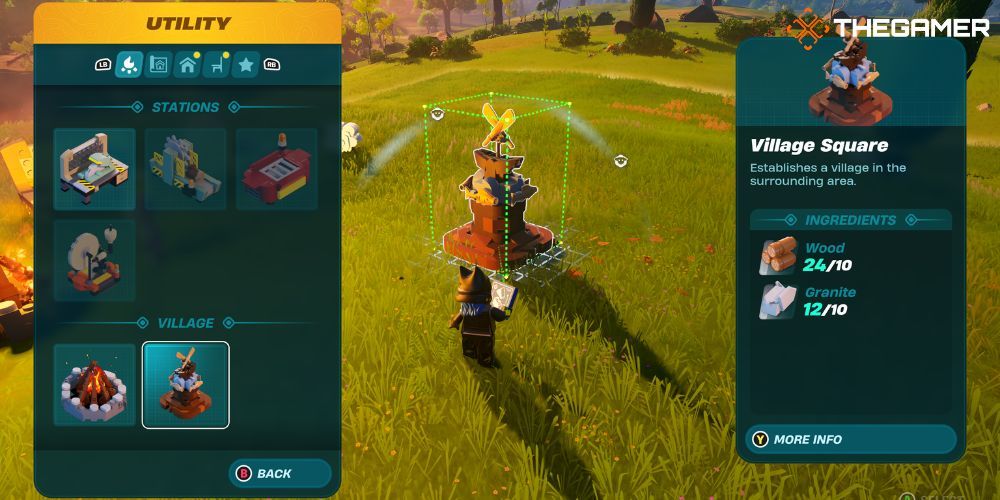
Lego Fortnite: Placing the village square

To upgrade your village, you must first build the village square. You’ll interact with this device whenever it’s time to upgrade.

If this is your first time starting a world, you have to first do three things to get the blueprint for the village square:

  1. Build a campfire
  2. Build your crafting bench
  3. Build your first shack

Then, open your build menu, and the recipe is under Utilities → Village. This will cost you 12 wood to build.

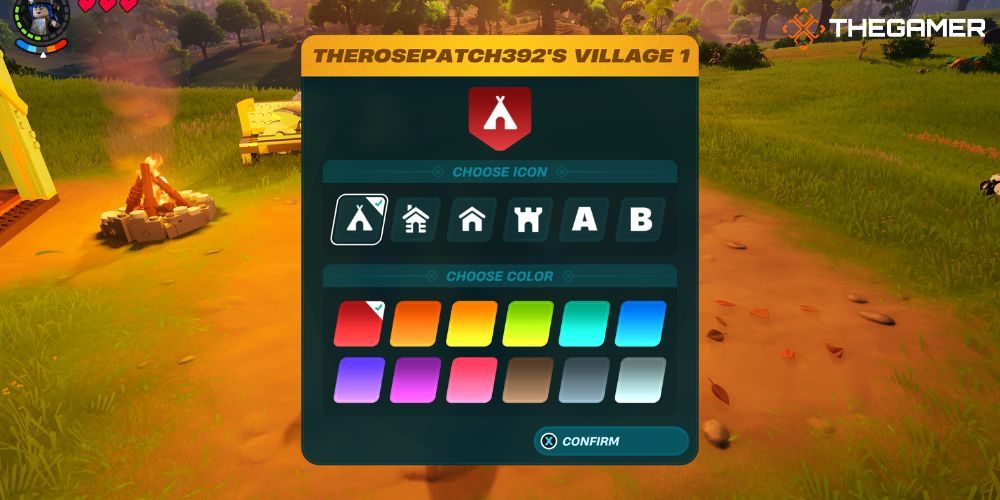
Lego Fortnite: Menu after placing Village Square where you chose the icon and color

Once you place the village square, it will prompt you to choose your village’s icon, color, and name. Don’t worry about making the wrong choice, because you can always go back and change it in your village menu.

Building structures on slopes and valleys can be difficult, so we recommend placing your village square in a level area.

How To Upgrade Your Village

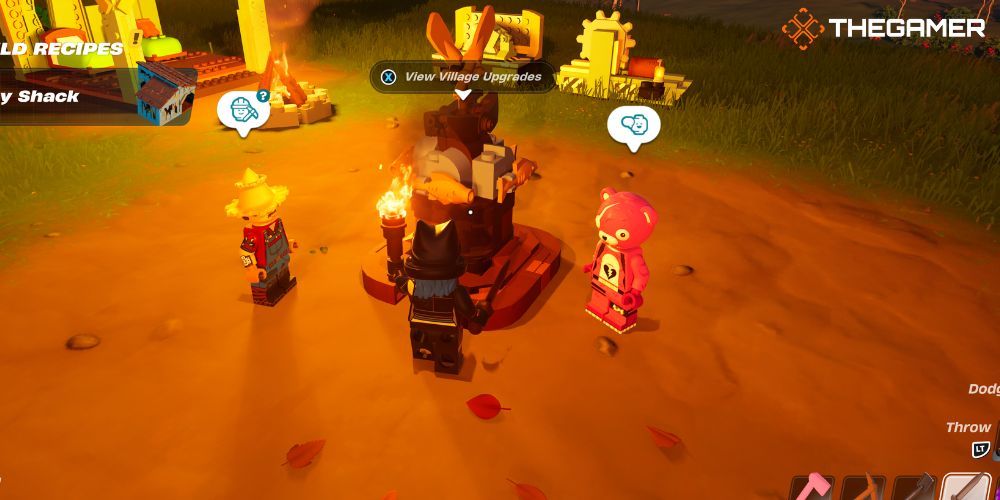
Lego Fortnite: Standing at village square about to open it to upgrade

No matter which biome you’re building in, your village will start at level one once you place the village square. As you continue building and adding decorations to your village, you’ll increase your village’s comfort level, which is one of the requirements for upgrading.

Each level comes with its own requirements and rewards. Rewards such as new recipes, villager slots, animal slots, and perks.

When it’s time to upgrade your village, simply interact with the village square.

There are three tabs in the Village Menu for you to manage your village from:

  • Hub Tab
  • Residents Tab
  • Rewards Tab

Hub Tab

Village Menu showing the Hub tab with village name, level, biome, and upgrade requirements in Lego Fortnite.

The Hub Tab is what you’ll see first when you open the Village Menu. The top banner will show you your village name, biome, and current level. The left column shows you who is visiting, the number of residents you have and can have (including animals), and currently assigned jobs.

The main section of the Hub tab shows you the requirements for the next level upgrade and if you have the requirements met.

On the bottom of the Hub Tab you have a few options as well:

  • Remove Village
  • Edit Village Details (name and badge)
  • Upgrade Village (which is grayed out till requirements are met)
  • Close tab

Residents Tab

Village Menu Residents Tab showing current villagers and animals, as well as their jobs in Lego Fortnite.

The Residents Tab shows you all of your current residents, including any animals you have.

It also gives you a brief description of each villager, as well as what their current job is. You can also use this section to ask a villager to leave.

Rewards Tab

Village menu showing the Rewards tab which displays all available rewards for village upgrades in Lego Fortnite.

On this tab you can see what rewards you received for levels already completed, as well as future levels.

Before you start inviting villagers, you’ll need to build a bed for them, or they won’t be able to move in.

Let’s go over the requirements for each level in the different biomes, the different types of villages you can build, and what rewards you will unlock each time you upgrade.

Storm Survivor Camp: Upgrade Requirements And Rewards

Storm Survivor Camp Starter Village In Lego Fortnite Odyssey.

With the arrival of the Storm King, a new starter village has arrived: Storm Survivor Camp. When you create a new Survival or Creative World, you’ll spawn in this camp.

As with other themed villages, the camp will begin at level one as soon as you arrive. As you upgrade this starter village, you’ll learn how to do things like gather wood, track recipes, craft tools, and more. By the time you complete the village, you’ll be ready to go out on your own!

Level

Requirements

Rewards

Level 1

  • Add a new villager to your village.
  • Welcome a mystery villager.

Level 2

  • Gather Wood: Gather six pieces of wood.
  • Build a Crafting Bench: Use the Build Menu to place a Crafting Bench in the Village.
  • Craft a Common Axe: Craft a Common Axe at the Crafting Bench.
  • Recipe Tracker: Use the Codex to track the torch recipe.
  • Craft a Torch: Craft a Torch at the Crafting Bench.
  • Village Comfort Level 2.

Level 3

  • Eat a Raspberry: Find Raspberries around the village, eat one to restore some health and hunger.
  • Build a Lumber Mill: Place a Lumber Mill in the Village.
  • Dodge: Dodge 3 times.
  • Collect Wolf Claws: Collect 1 Wolf Claw.
  • Craft a Pickaxe: Craft a Pickaxe at the Craft Bench.
  • Village Comfort Level 3.

Level 4

  • Gather Granite: Use the Pickaxe to harvest 35 pieces of Granite.
  • Stone Breaker: Place a Stone Breaker in the Village.
  • Craft an Uncommon Sword: Craft an Uncommon Sword at the Crafting Bench.
  • Village Comfort Level 4.

Once you’ve fully upgraded the Storm Survivor Camp, you can either move on to the Storm Chaser Base Camp, or set out on your own and start a new Village!
Related


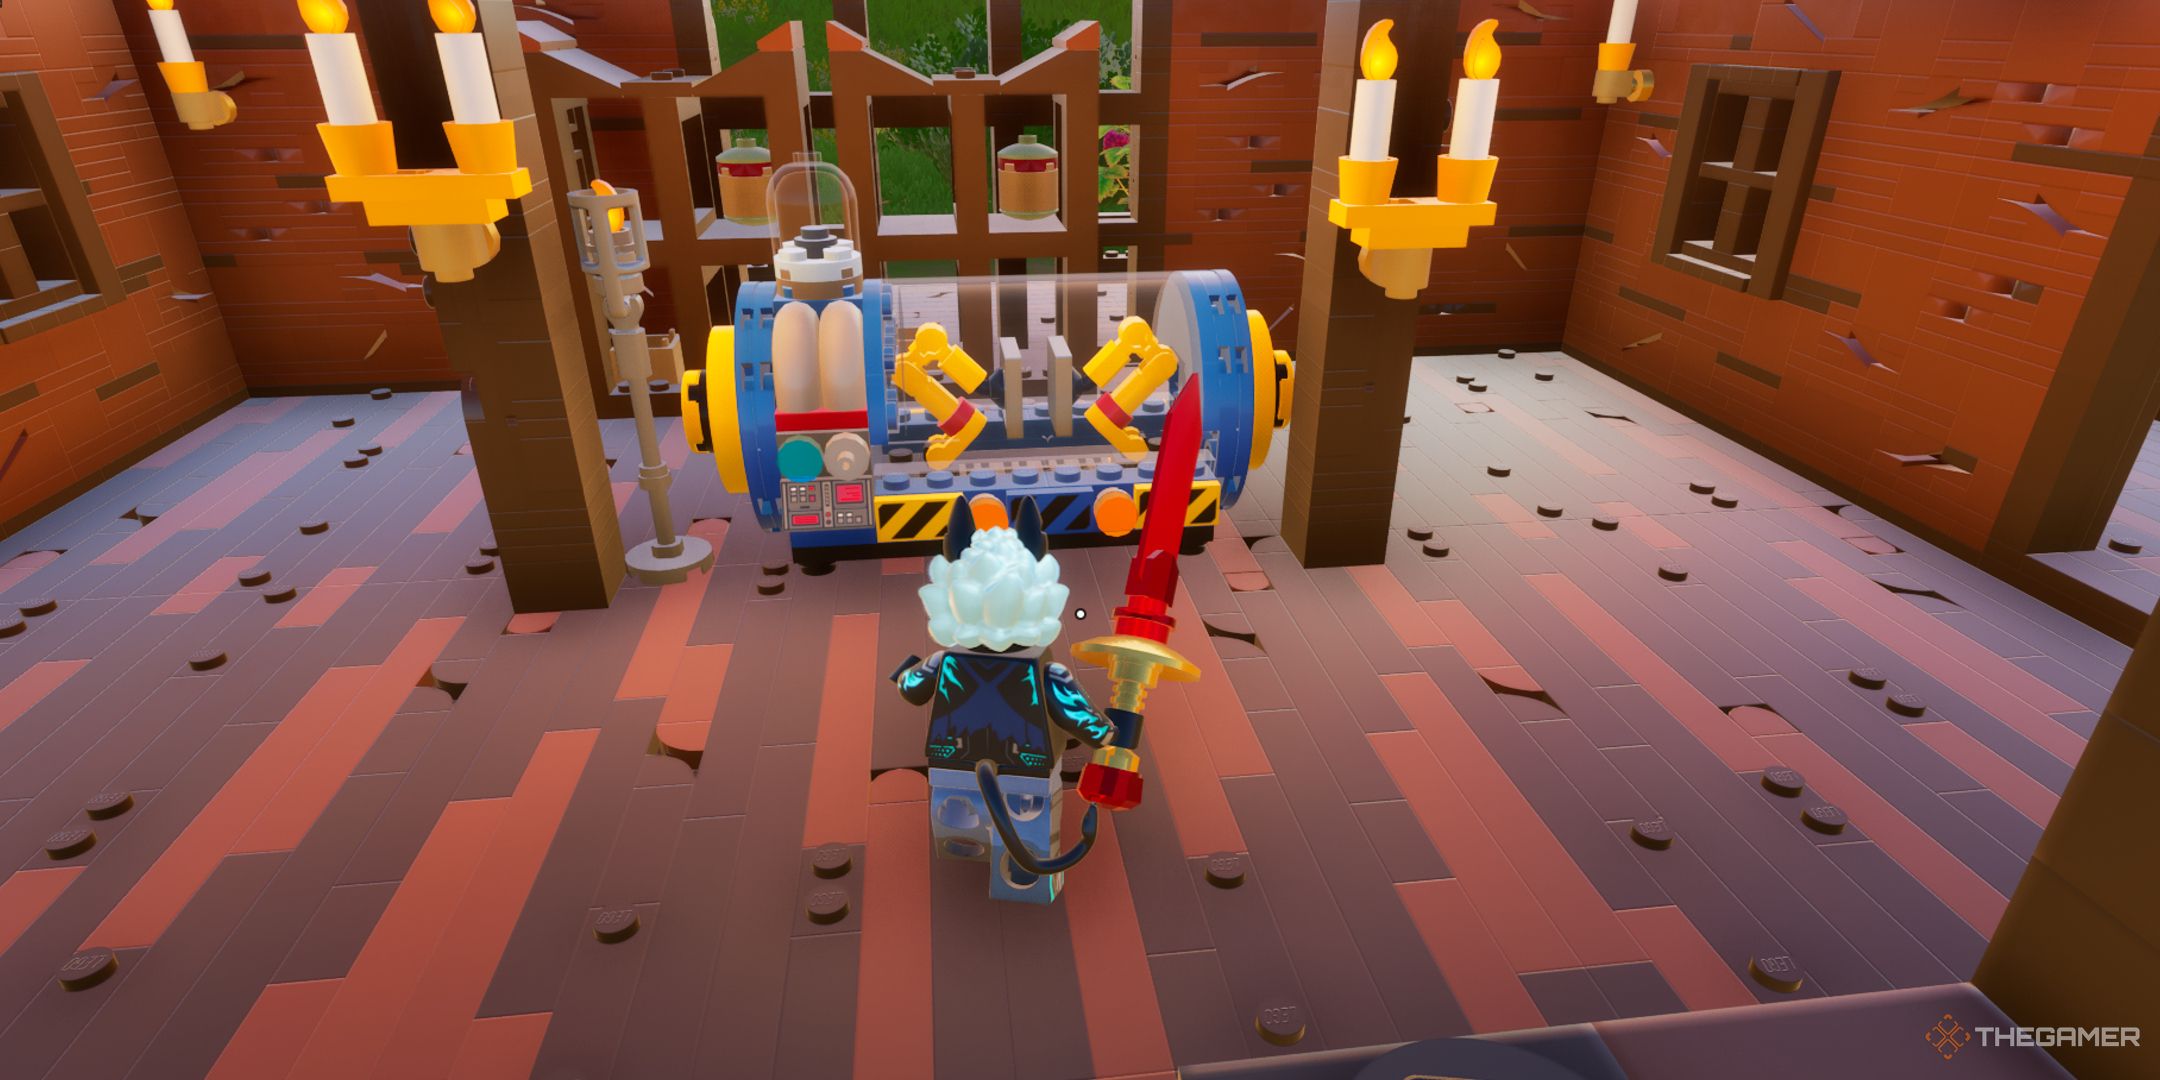
Lego Fortnite Odyssey: How To Craft And Use The Legendary Forge

For when your plain old tools just don’t cut it.

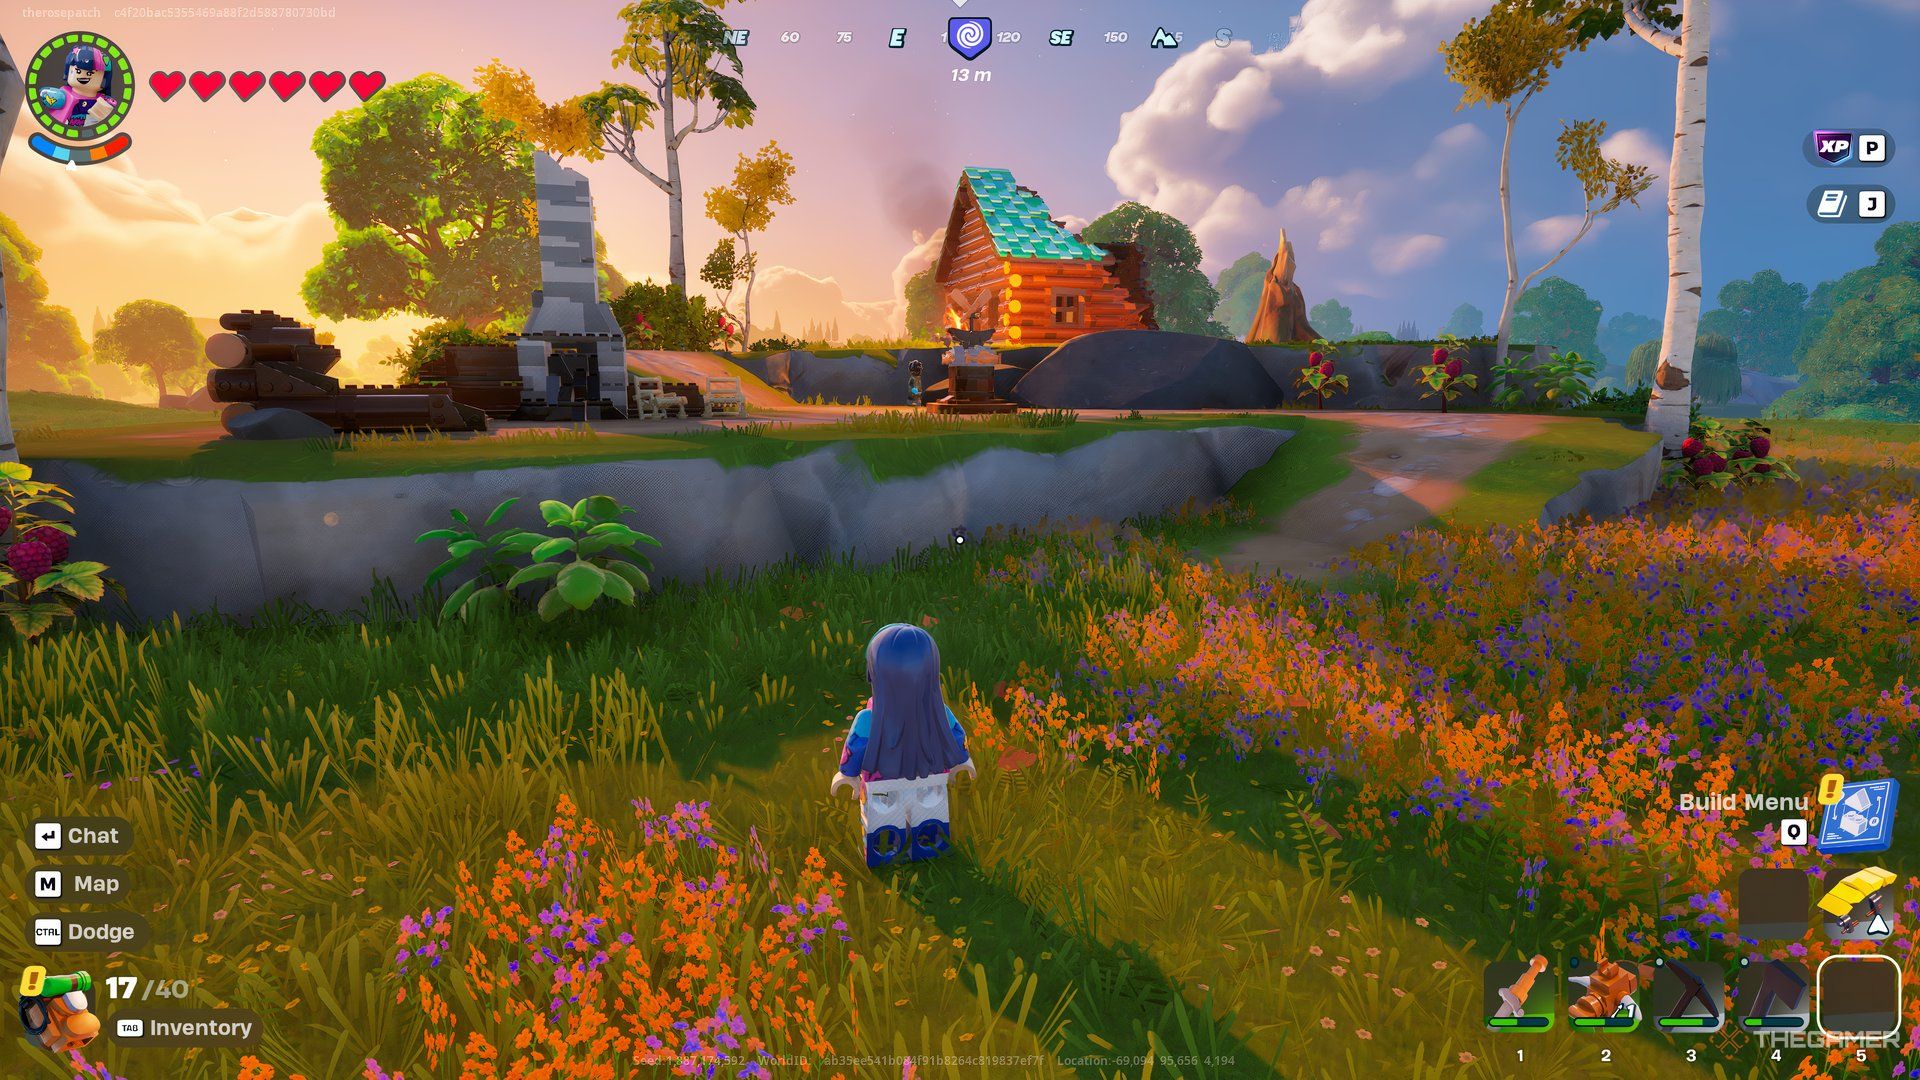
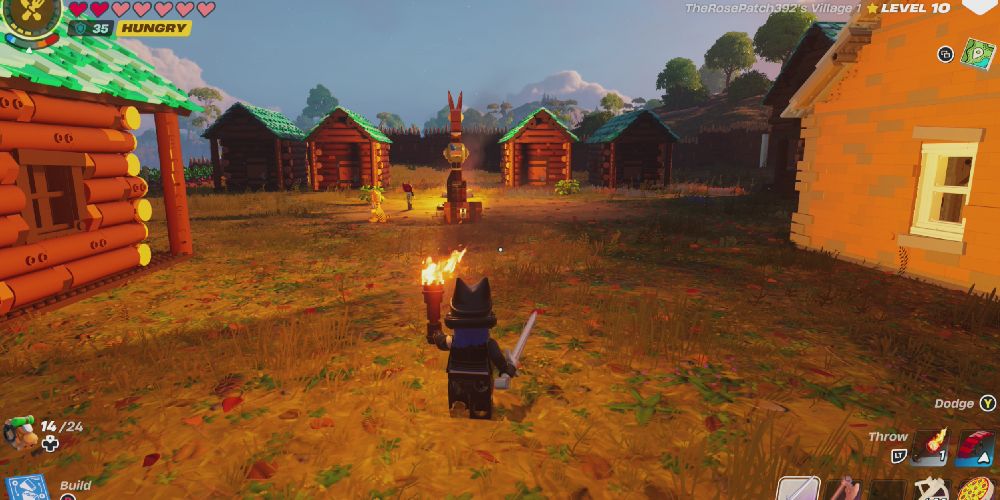
The Grasslands: Upgrade Requirements And Rewards

Lego Fortnite: Standing inside Grasslands village

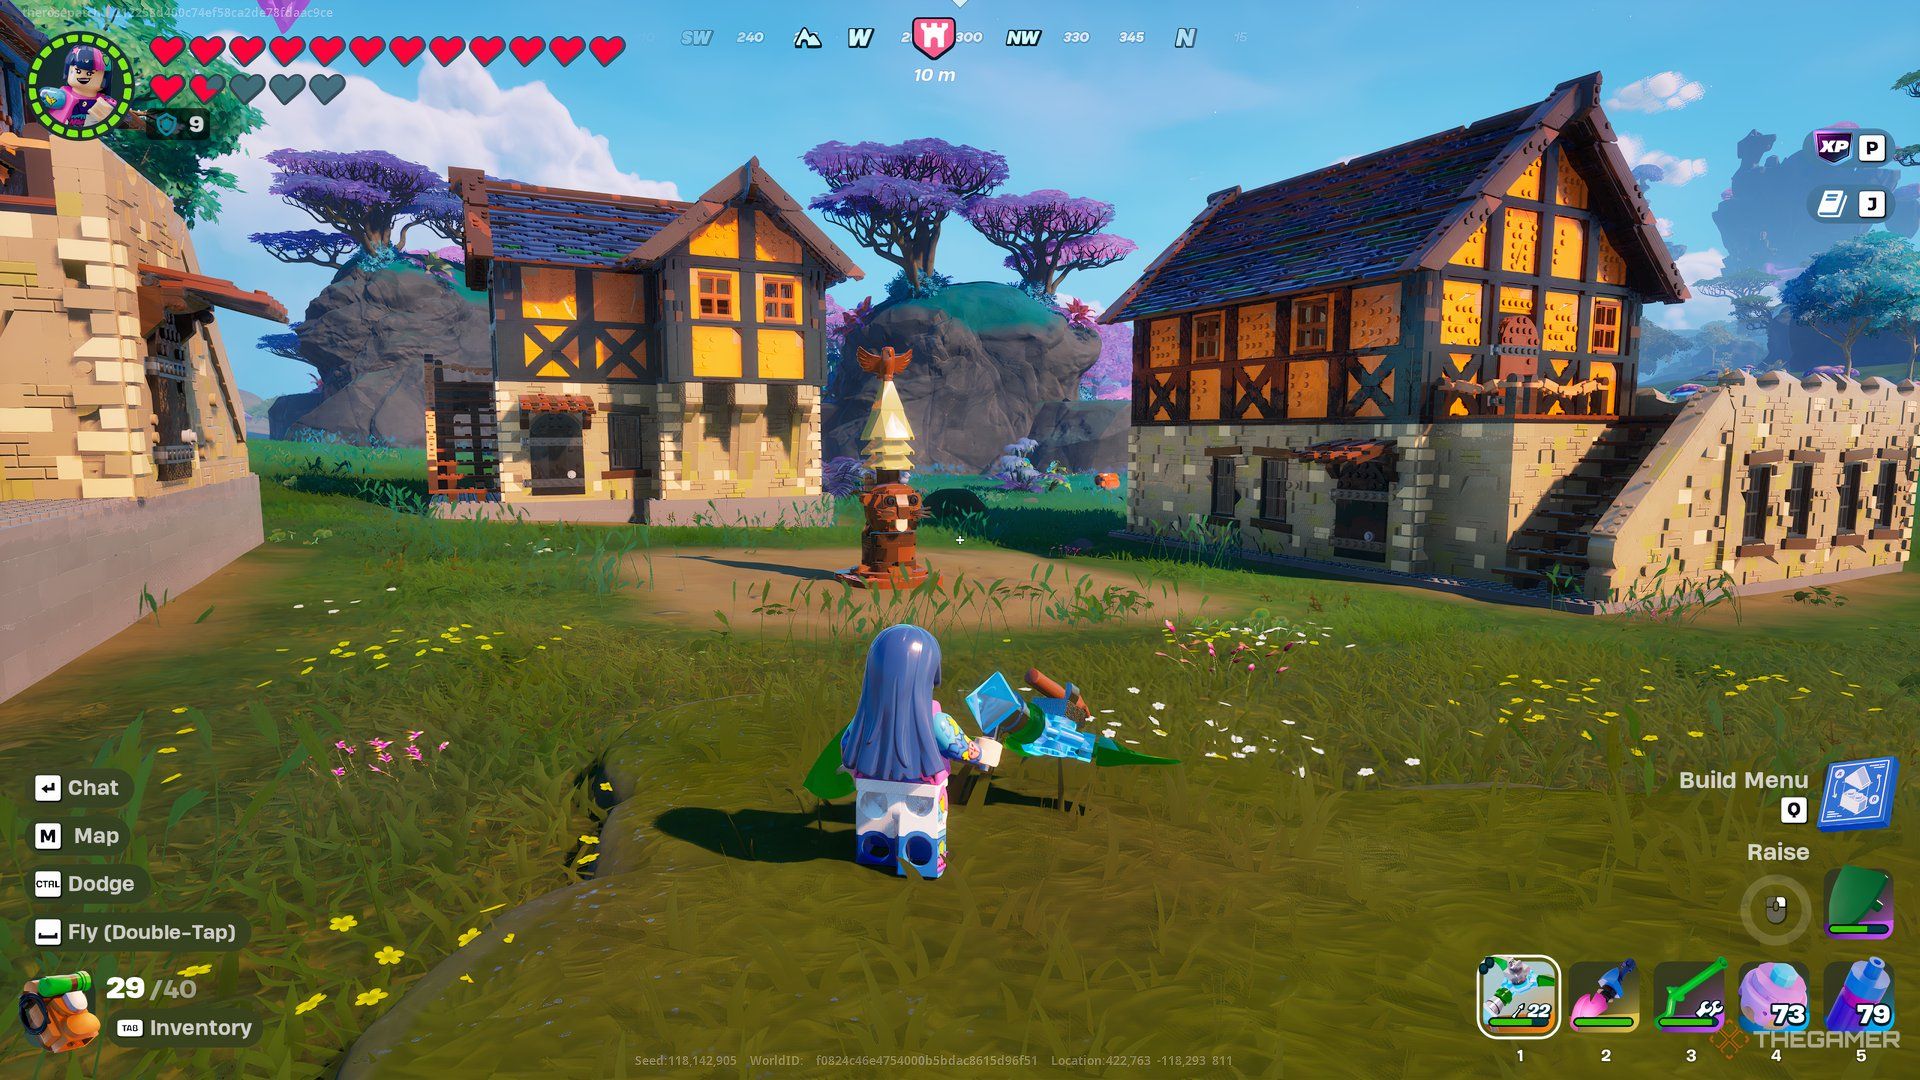
The Grasslands may be filled with bears, wolves, and other monsters, but it is still considered the beginner biome. While you will face some dangers, they will be few compared to the other biomes, and starting your first village here is easy. Additionally, you won’t have any trouble finding food and resources here.

Level

Requirements

Rewards

Level 1

  • Friendly explorers will begin visiting, and you can invite one of them to live in your village.
  • Placing the village square also unlocks the Map Marker recipe.

Level 2

  • Village Comfort Level 2
  • 15 Wood
  • 15 Planks
  • This unlocks the ability to hire villagers to forage nearby resources, refine wood, or refine stone.
  • Add an animal to your village.
  • New build recipes:
    • Barn
    • Roomy Shack
    • Porch Shack
    • Log Shed
    • It’s Wick Table Lamp

Level 3

  • Village Comfort Level 3
  • 10 Knotroot
  • 15 Planks
  • Villagers can start giving you random gifts.
  • A new villager slot is unlocked.
  • Fishin’ Docks Build Set:
  • Palisade Gate Build
  • New Furniture and Decor Builds

Level 4

  • Village Comfort Level 4
  • 15 Knotroot
  • 20 Planks
  • 25 Granite
  • You can hire villagers to cook, extract seeds, or tend garden plots.
  • You can assign a villager to cut wood, which can provide you with more types of wood.
  • Add an animal to your village.
  • Double Dock House
  • Log Cabin Build

Level 5

  • Village Comfort Level 5
  • 20 Knotroot
  • 15 Granite
  • 10 Marble
  • A new villager or animal slot opens up.
  • Your villagers are well rested and gain bonus health and defense.
  • Rarer explorers can visit.
  • Log Home Build

Level 6

  • Village Comfort Level 6
  • 20 Granite Slab
  • 15 Marble
  • A new villager slot opens up.
  • Villagers can now be hired to collect gems, make cloth from wool, and smelt metal ore into bars.
  • Any villagers assigned to cutting stone will also begin producing more types of stone.
  • Detached Garage Build

Level 7

  • Village Comfort Level 7
  • 25 Granite Slab
  • 20 Marble Slab
  • A new animal slot opens up.
  • Villagers can gift unique recipes.
  • Jumbo Lodge Build

Level 8

  • Village Comfort Level 8
  • 30 Marble Slab
  • 15 Copper Bar
  • New villager or animal slot is unlocked.
  • Roomy Home Build

Level 9

  • Village Comfort Level 9
  • 20 Copper Bar
  • 10 Rough Amber
  • New villager or animal slot is unlocked.
  • Villagers can now be sent out to gather resources from other biomes.
  • Woodcutters and stonecutters will begin to produce more types of wood and stone.
  • Grand Lodge Build

Level 10

  • Village Comfort Level 10
  • 25 Copper Bar
  • 15 Cut Amber
  • New villager or animal slot is unlocked.
  • Spacious House Build

The village upgrade requirements for each biome are the same no matter if you’re playing Cozy, Survival, Sandbox, or Expert mode.

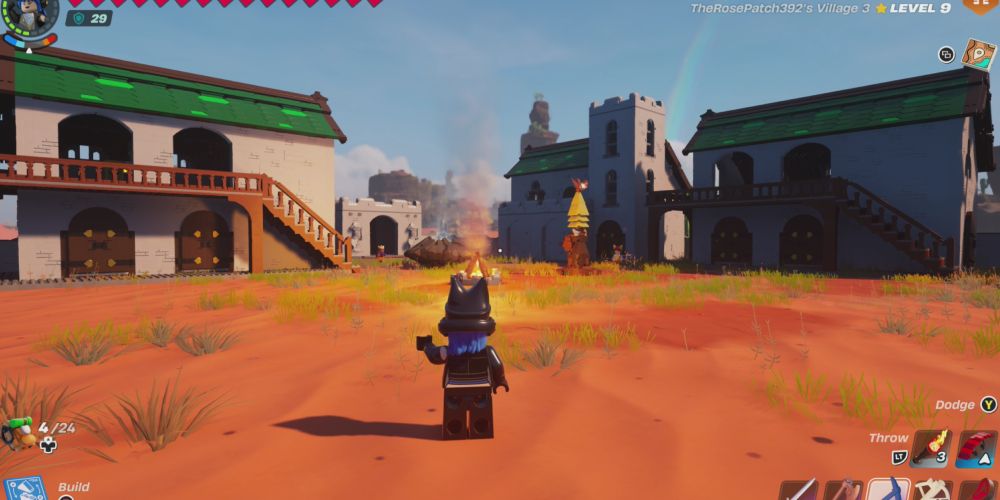
Dry Valley: Upgrade Requirements And Rewards

Lego Fortnite: Standing inside Dry Valley village.

The Dry Valley biome is the desert region in Lego Fortnite. It offers resources such as Flexwood, Amber, Peppers, and much more.

Before heading out here to build a new village, you will need to know how to best survive the heat. Once you have heat control under way, here’s how to upgrade your village.

Level

Requirements

Rewards

Level 1

  • Friendly explorers will begin visiting, and you can invite one of them to live in your village.
  • All villagers will come equipped with a cooling charm, allowing them to withstand the heat.

Level 2

  • Village Comfort Level 2
  • 15 Wood
  • 10 Planks
  • This unlocks the ability to hire villagers to forage nearby resources, refine wood, or refine stone.
  • Unlock new build recipes including Manor Stables, Good Knight Bed, and Medieval Furniture.
  • Add an animal to your village.

Level 3

  • Village Comfort Level 3
  • 10 Flexwood
  • 15 Planks
  • Villagers can start giving you random gifts.
  • A new villager slot is unlocked.
  • Manor Gates build.
  • Majestic Manors Bathroom Furniture builds.

Level 4

  • Village Comfort Level 4
  • 15 Flexwood
  • 20 Planks
  • 25 Granite
  • You can hire villagers to cook, extract seeds, or tend garden plots.
  • You can assign a villager to cut wood, which can provide you with more types of wood.
  • Add an animal to your village.
  • Majestic Manors Kitchen Furniture builds.

Level 5

  • Village Comfort Level 5
  • 20 Flexwood
  • 15 Granite
  • 10 Obsidian
  • A new villager or animal slot opens up.
  • Your villagers are well rested and gain bonus health and defense.
  • Rarer explorers can visit.
  • Humble Manor build.
  • Majestic Manors Dining Furniture builds.

Level 6

  • Village Comfort Level 6
  • 20 Granite Slab
  • 15 Obsidian
  • A new villager slot opens up.
  • Villagers can now be hired to collect gems, make cloth from wool, and smelt metal ore into bars.
  • Any villagers assigned to cutting stone will also begin producing more types of stone.
  • Noble Manor build.
  • Majestic Manors Bedroom Furniture builds.

Level 7

  • Village Comfort Level 7
  • 25 Granite Slab
  • 20 Obsidian Slab
  • A new animal slot opens up.
  • Villagers can gift unique recipes.
  • Majestic Manors Kitchen Extras Furniture builds.

Level 8

  • Village Comfort Level 8
  • 30 Obsidian Slab
  • 15 Copper Bar
  • New villager or animal slot is unlocked.
  • Tower Manor build.
  • Majestic Manors Living Furniture builds.

Level 9

  • Village Comfort Level 9
  • 20 Copper Bar
  • 15 Rough Ruby
  • New villager or animal slot is unlocked.
  • Villagers can now be sent out to gather resources from other biomes.
  • Woodcutters and stonecutters will begin to produce more types of wood and stone.
  • Majestic Manors Recreation Furniture builds.

Level 10

  • Village Comfort Level 10
  • 25 Copper Bar
  • 15 Cut Ruby
  • New villager or animal slot is unlocked.
  • Grand Manor build.
  • Majestic Manors Statues Furniture builds.

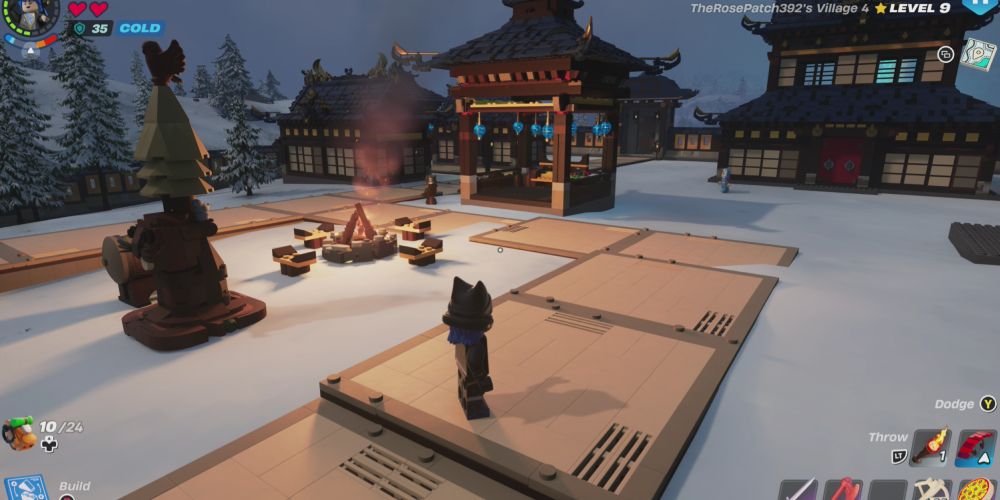
The Frostlands: Upgrade Requirements And Rewards

Lego Fortnite: Standing inside Frostlands village

Before venturing into the snowy realm of the Frostlands, you will need some precautions in place. Not only do you need to be able to survive the cold, but the monsters and beasts of the Frostlands are a lot tougher than in the other biomes.

Make sure you have at least a Rare quality sword and shield, as well as charms to increase your health and armor. Otherwise, going out here is going to be a very short trip.

Level

Requirements

Rewards

Level 1

  • Friendly explorers will begin visiting, and you can invite one of them to live in your village.
  • All villagers will come equipped with a heating charm, allowing them to withstand the cold.

Level 2

  • Village Comfort Level 2
  • 15 Wood
  • 10 Planks
  • This unlocks the ability to hire villagers to forage nearby resources, refine wood, or refine stone.
  • Add an animal to your village.
  • Starter Palace build.
  • Shogun Palace Starter Furniture builds.

Level 3

  • Village Comfort Level 3
  • 10 Frostpine
  • 15 Planks
  • Villagers can start giving you random gifts.
  • New villager slot is unlocked.
  • Palace Pavilion build.
  • Shogun Palace Kitchen Furniture builds.

Level 4

  • Village Comfort Level 4
  • 15 Frostpine
  • 20 Plank
  • 25 Granite
  • You can hire villagers to cook, extract seeds, or tend garden plots.
  • You can assign a villager to cut wood, which can provide you with more types of wood.
  • Add an animal to your village.
  • Palace Gates build.
  • Shogun Palace Interior Furniture builds.

Level 5

  • Village Comfort Level 5
  • 20 Frostpine
  • 15 Granite
  • 10 Malachite
  • New villager or animal slot is unlocked.
  • Your villagers are well rested and gain bonus health and defense.
  • Rarer explorers can visit.
  • Shogun Palace Courtyard Furniture builds.

Level 6

  • Village Comfort Level 6
  • 20 Granite Slab
  • 15 Malachite
  • Villagers can now be hired to collect gems, make cloth from wool, and smelt metal ore into bars.
  • Any villagers assigned to cutting stone will also begin producing more types of stone.
  • New villager slot is unlocked.
  • Tiered Palace build.
  • Shogun Palace Courtyard Furniture builds.

Level 7

  • Village Comfort Level 7
  • 25 Granite Slab
  • 20 Malachite Slab
  • Villagers can gift unique recipes.
  • Add an animal to your village.
  • Shogun Palace Kitchen Furniture builds.

Level 8

  • Village Comfort Level 8
  • 30 Malachite Slab
  • 15 Iron Bar
  • New villager or animal slot is unlocked.
  • Palace Tower build.
  • Shogun Palace Interior Furniture builds.

Level 9

  • New villager or animal slot is unlocked.
  • Villagers can now be sent out to gather resources from other biomes.
  • Woodcutters and stonecutters will begin to produce more types of wood and stone.
  • Shogun Palace Grounds Furniture builds.

Level 10

  • Village Comfort Level 10
  • 25 Iron Bar
  • 15 Cut Sapphire
  • New villager or animal slot is unlocked.
  • Grand Palace Build
  • Shogun Palace Statues Furniture builds.

Related


Lego Fortnite Odyssey: How To Find And Use Treasure Maps

Here’s where to get Treasure Maps and how to use them in Lego Fortnite Odyssey.

Rebel Outpost: Upgrade Requirements And Rewards

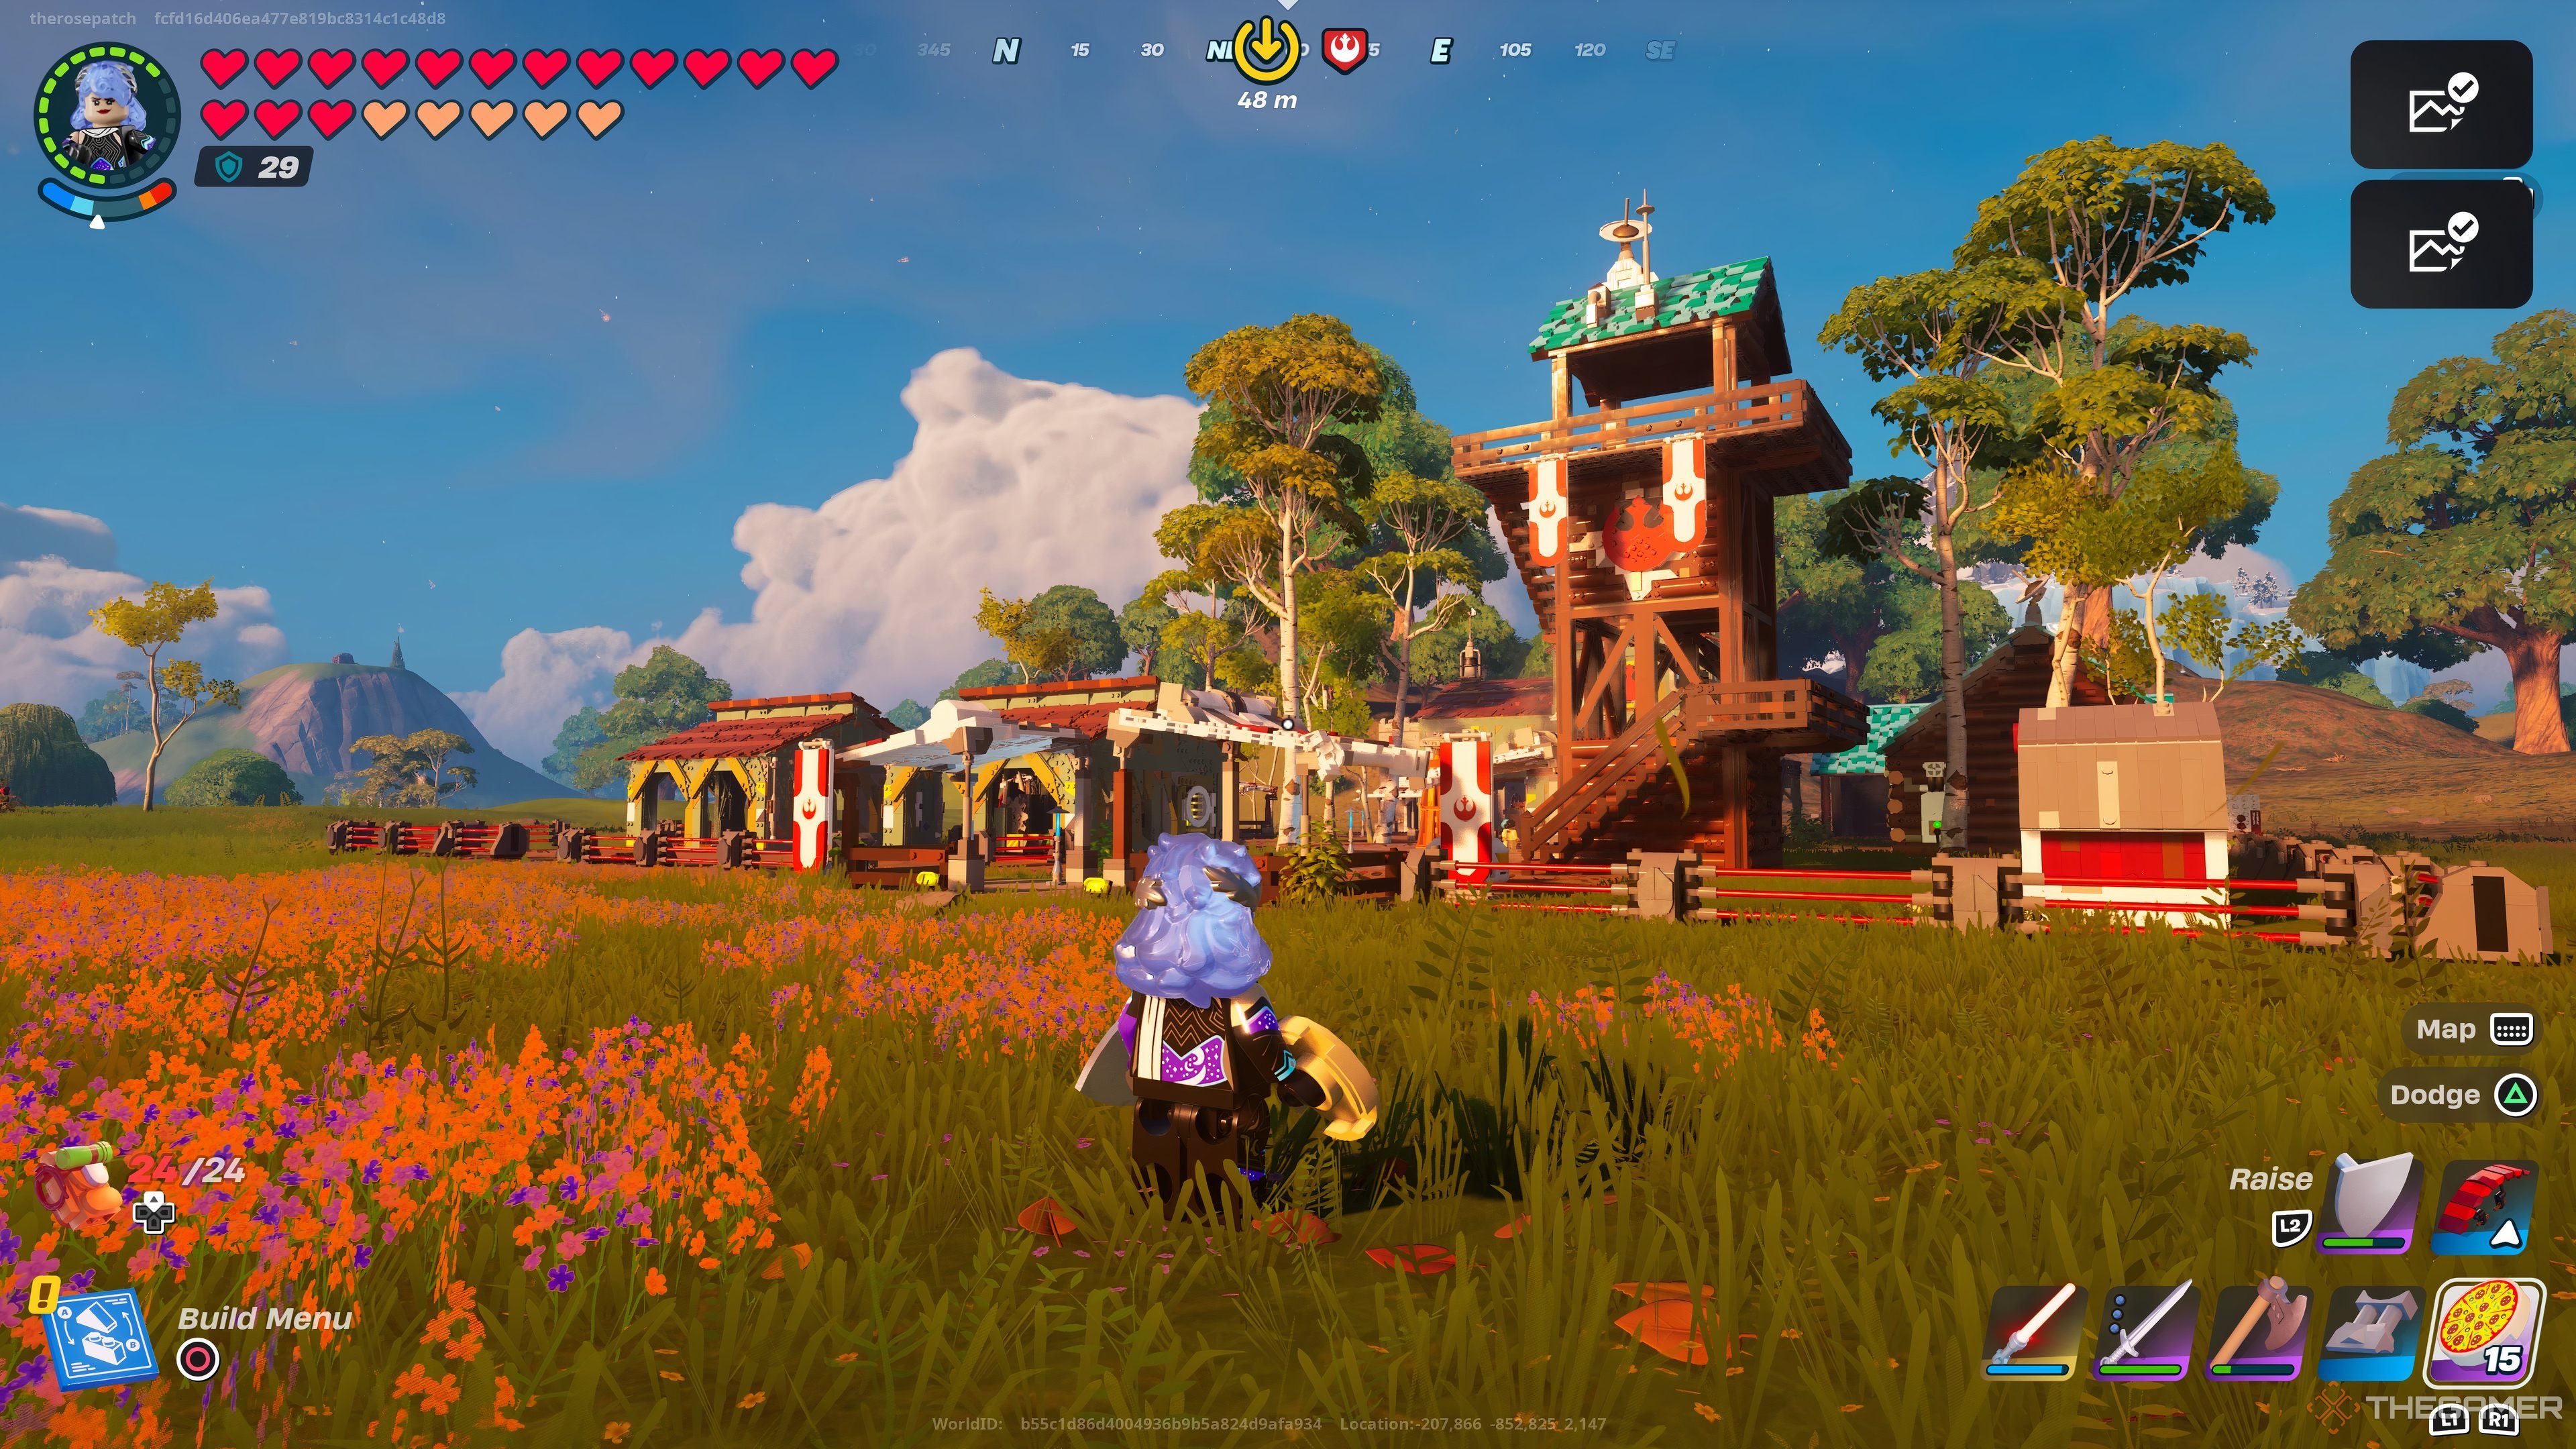
Standing in front of the Rebel Outpost in Lego Fortnite.

Building a Rebel Outpost came with the Star Wars update. To start this endeavor, you need to speak with Captain Bavara, who should spawn near you shortly after the ship crash event in your world.

Currently, you’ll only be able to build and upgrade one Rebel Outpost. Residents are added for you as you meet certain upgrade requirements, but you are able to add any three animals you want.

The first few level upgrades should be easy if you haven’t advanced that far in the game, but levels seven and up will become increasingly difficult until you are able to improve your health and armor.

Level

Requirements

Rewards

Level 1

Speak to Captain Bravara and she will set up the outpost and ask you to come help.

  • Captain Bavara becomes your first resident.

Level 2

  • The Essentials
    • Stage 1 of 3: Help the rebels clear a site for shelter by destroying debris within the hologram
    • Stage 2 of 3: Help Captain Bavara complete the Rebel Farm build.
    • Stage 3 of 3: Craft three beds in the outpost to prepare for the arrival of new rebels!
  • Village Comfort Level 2.
  • 5 Pumpkins
  • Rebel Farm Build Set.
  • Two new residents will be added to the outpost: M-6JR and C-43S.

Level 3

  • So This Is How Democracy Crafts: Place a crafting bench in the Rebel Outpost.
  • Village Comfort Level 3.
  • 3 Shortswords
  • Imperial Outpost Build Set.

Level 4

  • Missing Wookie:
    • Stage 1 of 3: Clear a site for the stable by destroying debris within the hologram.
    • Stage 2 of 3: Attract Grrraaalf to the outpost by completing the Rebel Stables build.
    • Stage 3 of 3: Craft a bed for Grrraaalf to sleep in when they arrive.
  • Feathered Friends: Craft a barn so Grrraaalf can care for animals.
  • Village Comfort Level 4.
  • Rebel Stables Build Set.
  • You can add an animal to the outpost.
  • Grrraaalf is added as a resident.

Level 5

  • Nosy Bucketheads: Defend the Rebel Outpost by defeating ten stormtroopers.
  • Village Comfort Level 5.
  • 20 Plastoid
  • Galactic Lodge Build Set.

Level 6

  • Now THIS is Engineering!
    • Stage 1 of 3: Clear a site for the workshop* by destroying debris within the hologram
    • Stage 2 of 3: Create a new workshop for Myrna Rondo by completing the Rebel Workshop build.
    • Stage 3 of 3: Craft a place for Myrna to sleep.
  • Hive of Innovation and Discovery: Craft a Rebel Workbench for Myrna to tinker at.
  • Village Comfort Level 6.
  • Rebel Workshop Build Set
  • You can add an animal to the outpost.
  • Myrna joins your outpost as a resident.

Level 7

  • In a Bunker Far Far Away…: Explore your first empire bunker
  • Village Comfort Level 7.
  • 3 DL-44 Blasters.

Level 8

  • Surveillance Protocol:
    • Stage 1 of 3: Clear a site for the Rebel Lookout by destroying debris within the hologram.
    • Stage 2 of 3: Help Captain Bravara improve defenses by completing the Rebel Lookout build.
    • Stage 3 of 3: Craft a bed in case another rebel is located!
  • The Empire! Strike, fast!: Defend the Rebel Outpost by defeating three Imperial Officers.
  • Village Comfort Level 8.
  • Rebel Lookout Build Set.
  • You can add an animal to the outpost.
  • Ackzat joins your outpost as a resident.

Level 9

  • Scoundrel Behavior: Search Empire containers for useful loot.
  • Village Comfort Level 9.
  • 5 Durasteel.
  • Imperial Castle Build Set.

Level 10

  • A Home For All:
    • Stage 1 of 3: Clear a site for the Rebel Command Center by destroying debris within the hologram.
    • Stage 2 of 3: Captain Bravara wants to stay indefinitely. Help her finish the Rebel Command Center build.
    • Stage 3 of 3: Craft a bed.
  • One Bith Band: Build the Cantina Stage in the rebel outpost so a certain someone can perform his shows…
  • Village Comfort Level 10.
  • Rebel Command Center Build
  • Kaa’lim P’uhn joins the outpost as a resident.

*In the game for level six it says to clear a site for the stable, but that’s a typo. We already did the stable when upgrading to level four. This time you’re clearing the site to build the Rebel Workshop for Myrna.

Lost Isles: Upgrade Requirements And Rewards

Village Built In Lost Isles Biome In Lego Fortnite Odyssey.

Lost Isles is a biome that you can travel to using the Battle Bus Stops. Take the bus and choose one of the Lost Isles special bus stop icons on the map. You’ll arrive in a world of Klombos, beautiful fauna, and more!

Here there are no pre-built villages for you to upgrade, but you can build your own Village in the Lost Isles. Village upgrades here are a little different than in other biomes, so be sure to pay attention to what is needed for each level.

Level

Requirements

Rewards

Level 1

  • Friendly explorers will begin visiting, and you can invite one of them to live in your village.
  • Add a new villager to your village.

Level 2

  • Village Comfort Level 2
  • 15 Wood
  • 10 Planks
  • This unlocks the ability to hire villagers to forage nearby resources, refine wood, or refine stone.
  • Add an animal to your village.
  • Tudor House build.

Level 3

  • Village Comfort Level 3
  • 10 Mahogany
  • 15 Planks
  • Villagers can start giving you random gifts.
  • New villager slot is unlocked.
  • Pirate Beds.

Level 4

  • Village Comfort Level 4
  • 15 Mahogany
  • 20 Plank
  • 25 Granite
  • You can hire villagers to cook, extract seeds, or tend garden plots.
  • You can assign a villager to cut wood, which can provide you with more types of wood.
  • Add an animal to your village.
  • Pirate Counters builds.

Level 5

  • Village Comfort Level 5
  • 20 Mahogany
  • 15 Granite
  • 10 Red Rock
  • New villager or animal slot is unlocked.
  • Your villagers are well rested and gain bonus health and defense.
  • Rarer explorers can visit.
  • Tudor Mansion build.

Level 6

  • Village Comfort Level 6
  • 20 Granite Slab
  • 15 Red Rock
  • Villagers can now be hired to collect gems, make cloth from wool, and smelt metal ore into bars.
  • Any villagers assigned to cutting stone will also begin producing more types of stone.
  • New villager slot is unlocked.
  • Tiered Palace build.
  • Pirate Decor builds.

Level 7

  • Village Comfort Level 7
  • 25 Granite Slab
  • 20 Red Rock Slab
  • Villagers can gift unique recipes.
  • Add an animal to your village.
  • Tudor Tavern build.

Level 8

  • Village Comfort Level 8
  • 30 Red Rock Slab
  • 15 Gold Bar
  • New villager or animal slot is unlocked.
  • PIrate Tavern Furniture builds.

Level 9

  • Village Comfort Level 9
  • 20 Gold Bar
  • 10 Rough Emerald
  • New villager or animal slot is unlocked.
  • Villagers can now be sent out to gather resources from other biomes.
  • Woodcutters and stonecutters will begin to produce more types of wood and stone.
  • Pirate Skull Set.

Level 10

  • Village Comfort Level 10
  • 25 Gold Bar
  • 15 Cut Emerald
  • New villager or animal slot is unlocked.
  • Tudor Workshop build.

Storm Chaser Base Camp: Upgrade Requirements And Rewards

Standing In Front Of Storm Chaser Base Camp In Lego Fortnite Odyssey.

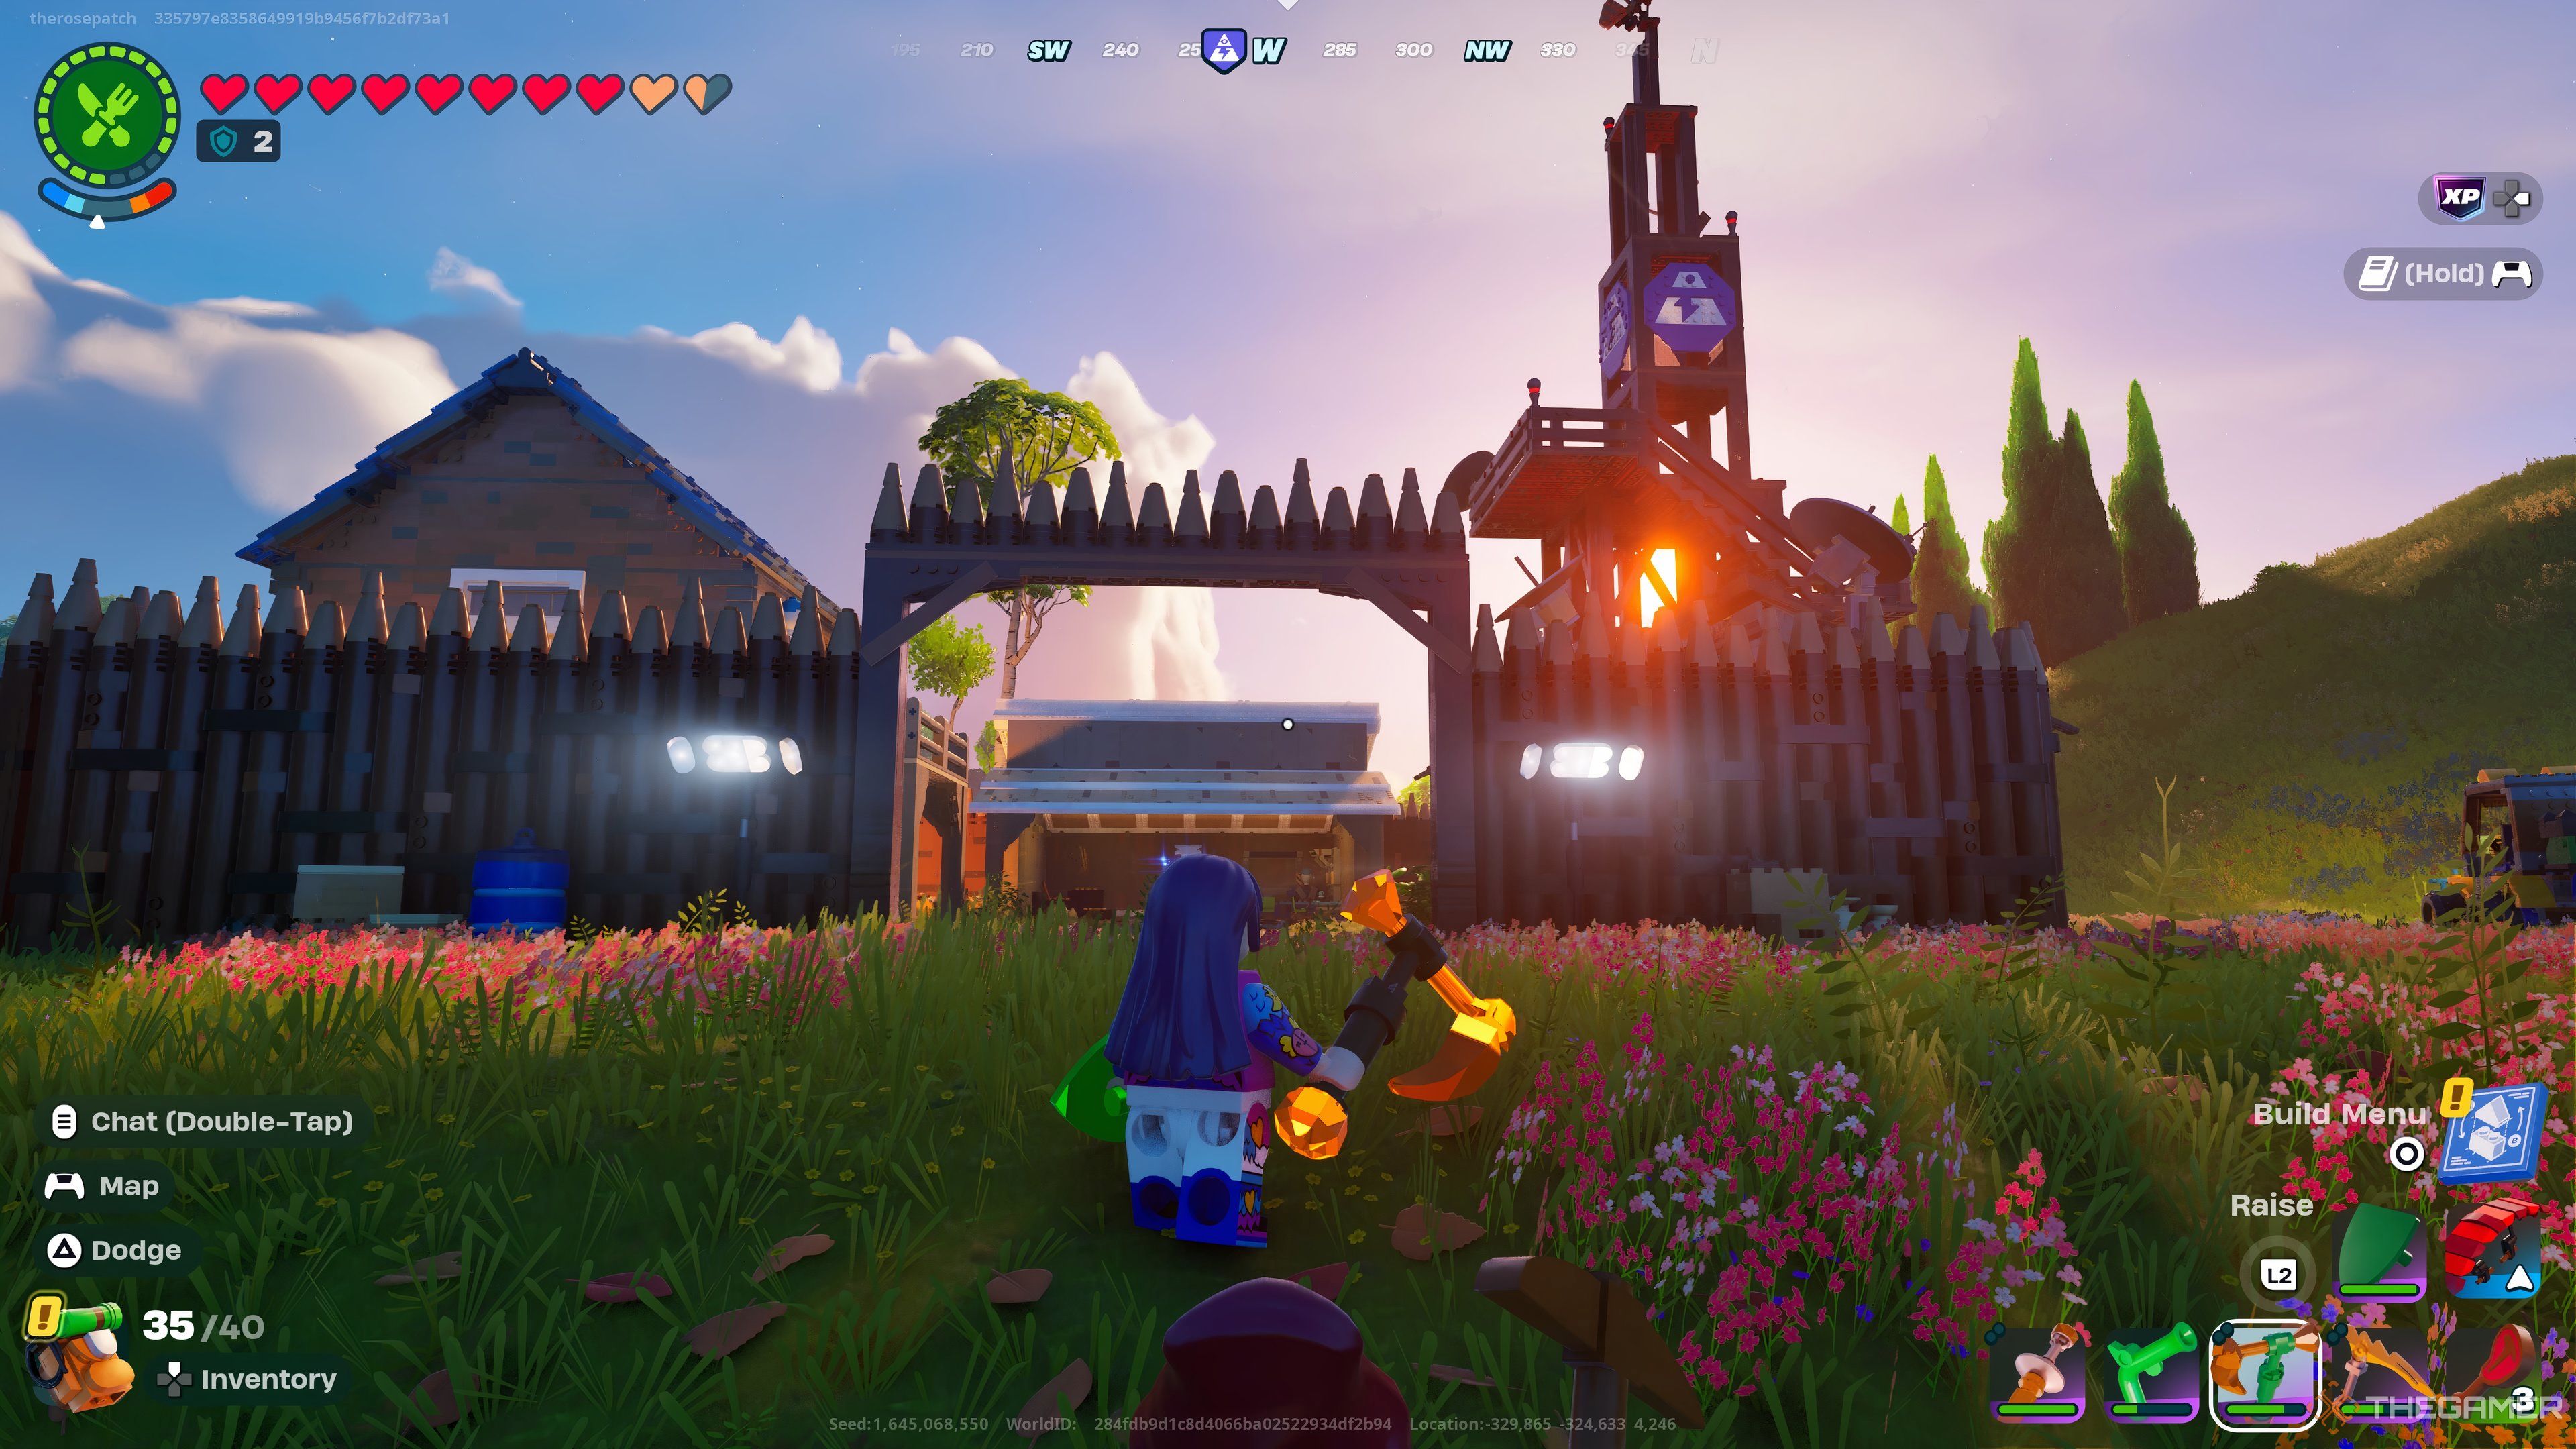
If you want to continue with the Storm Chasers storyline, after completing the Storm Survivor Camp, head over to the Storm Chaser Base Camp. The icon, which looks like a blue triangle with a lightning bolt, is on your map and isn’t too far from where you spawned in the game.

Once there, speak to Carl Ruckus. He’ll tell you they need your help to build up the base and defeat the Storm King.

If this is your first time in Lego Fortnite Odyssey, or you just started a new Survival World, the Storm Chaser Base Camp will likely be a little advanced for you. We recommend building your first full Village in The Grasslands before trying the Storm Chaser Base Camp.

Level

Requirements

Rewards

Level 1

  • The base will already be level one when you arrive.
  • Add a new villager to your village.
  • Welcome a mystery villager.
  • Friendly explorers will visit the village.

Level 2

  • Collect 3 Blast Core: In order to rebuild the camp’s Metal Smelter, Carl Ruckus needs you to collect Blast Core from Blasters in the Dry Valley and Caves.
  • Build a Metal Smelter: Carl Ruckus needs you to build a Metal Smelter. You will need metal or a Blast Core from a Boomer to get started.
  • Build a Cannon: Build a Cannon to defend the Base Camp. To build the Cannon, you can find Copper ore in nearby Grassland and Lava Caves. Don’t forget the Cannonballs!
  • Recipe Tracker: Use the Codex to track the torch recipe.
  • Village Comfort Level 2.
  • This unlocks the ability to hire villagers to forage nearby resources, refine wood, or refine stone.
  • Welcome a mystery villager.

Level 3

  • Stage 1: Craft a Rare Crossbow: At the Crafting Bench, craft a Rare Metal Crossbow.
  • Stage 2: Build a Rune Forge: From the Build Menu, build a Rune Forge.
  • Stage 3: Apply a Rune to your weapon: Using the Runeforge, apply a Rune to your weapon.
  • Defeat 3 Storm Acolytes: Defeat 3 Storm Acolytes.
  • Village Comfort Level 3.
  • Storm Chaser Vehicle Build
  • Villagers will occasionally gift items.

Level 4

  • Complete a Vehicle Build: Complete a Vehicle build or finish the Storm Chaser Vehicle in the garage.
  • Collect 20 Metal: Collect 20 metal from nearby caves or throughout the world.
  • Build an Oven: Build an Oven to feed the Camp.
  • Village Comfort Level 4.
  • You can hire villagers to cook, extract seeds, or tend garden plots.
  • You can assign a villager to cut wood, which can provide you with more types of wood.
  • Add a new villager to your village.

Level 5

  • Enter a Storm: Enter a Storm to investigate its affects.
  • Pop 5 Storm Bud plants: Using a ranged weapon or your face, pop five storm bud plants inside of a storm.
  • Collect 10 Storm Fruit: Collect 10 Storm Fruit from inside of a storm.
  • Village Comfort Level 5.
  • Rarer explorers can visit.
  • Your villagers are well rested and gain bonus health and defense.
  • Add an animal to your village.

Level 6

  • Stage 1: Talk to Carl Ruckus: Carl has a weird orb for you! Better see what he wants.
  • Stage 2: Collect 5 Durasteel: Take the Bus to visit a Rebel or Imperial Camp to collect 5 Durasteel.
  • Stage 3: Retrieve your compass upgrade: Speak to Dr. Borrasca to upgrade your Compass.
  • Craft 3 Meat Pies: Cook 3 Meat Pies at the Oven.
  • Village Comfort Level 6.
  • Villagers can now be hired to collect gems, make cloth from wool, and smelt metal ore into bars.
  • Any villagers assigned to cutting stone will also begin producing more types of stone.

Level 7

  • Craft an Epic Sword: Use the Crafting Bench to craft an Epic Gem Sword.
  • Obtain 10 Greater Storm Cores: Collect 10 Greater Storm Cores from Storm Caves.
  • Enter a Storm Cave: Find and enter a Storm Cave deep within a Storm. Rumor has it that greater foes and treasure lurk within.
  • Village Comfort Level 7.
  • A new animal slot opens up.
  • Villagers can gift unique recipes.

Level 8

  • Use 3 Storm Geysers: Use 3 Storm Geysers in a Storm. Don’t forget your glider.
  • Defeat 5 Storm Rollers: Defeat Storm Rollers found within the Storms.
  • Investigate the dormant Tempest Gateway: Investigate the dormant Tempest Gateway inside of the Great Storm.
  • Village Comfort Level 8.
  • A new animal slot opens up.
  • Villagers can gift unique recipes.

Level 9

  • Stage 1: Find Raven’s Hideout: Find Raven’s hideout in the Grasslands.
  • Stage 2: Defeat Raven: Defeat Raven to break the seal on the Tempest Gateway.
  • Stage 3: Collect a Rift Crystal: Collect a Rift Crystal from Storm Caves.
  • Collect 10 Eyes of the Storm: Collect Eyes of the Storm from Storm enemies.
  • Village Comfort Level 9.

Level 10

  • Stage 1: Power up the Tempest Gateway: Power the Tempest Gateway with Eyes of the Storm.
  • Stage 2: Enter The Storm King’s Domain: Use the Tempest Gateway to find the Storm King. Come battle ready with your favorite ranged weapon!
  • Stage 3: Obtain a Storm King Mythic Weapon: Obtain a Mythic weapon brought to this reality by the Storm King.
  • Defeat the Storm King!: Defend the world and defeat the Storm King.
  • Village Comfort Level 10.
  • Lil’ Barge Vehicle Build.
  • A new animal slot opens up.

Next


Lego Fortnite Odyssey: Complete Guide To Storm Dungeons

Menacing Storm Dungeons now lurk under large storm clouds, but do you have the courage to step inside?
Source link