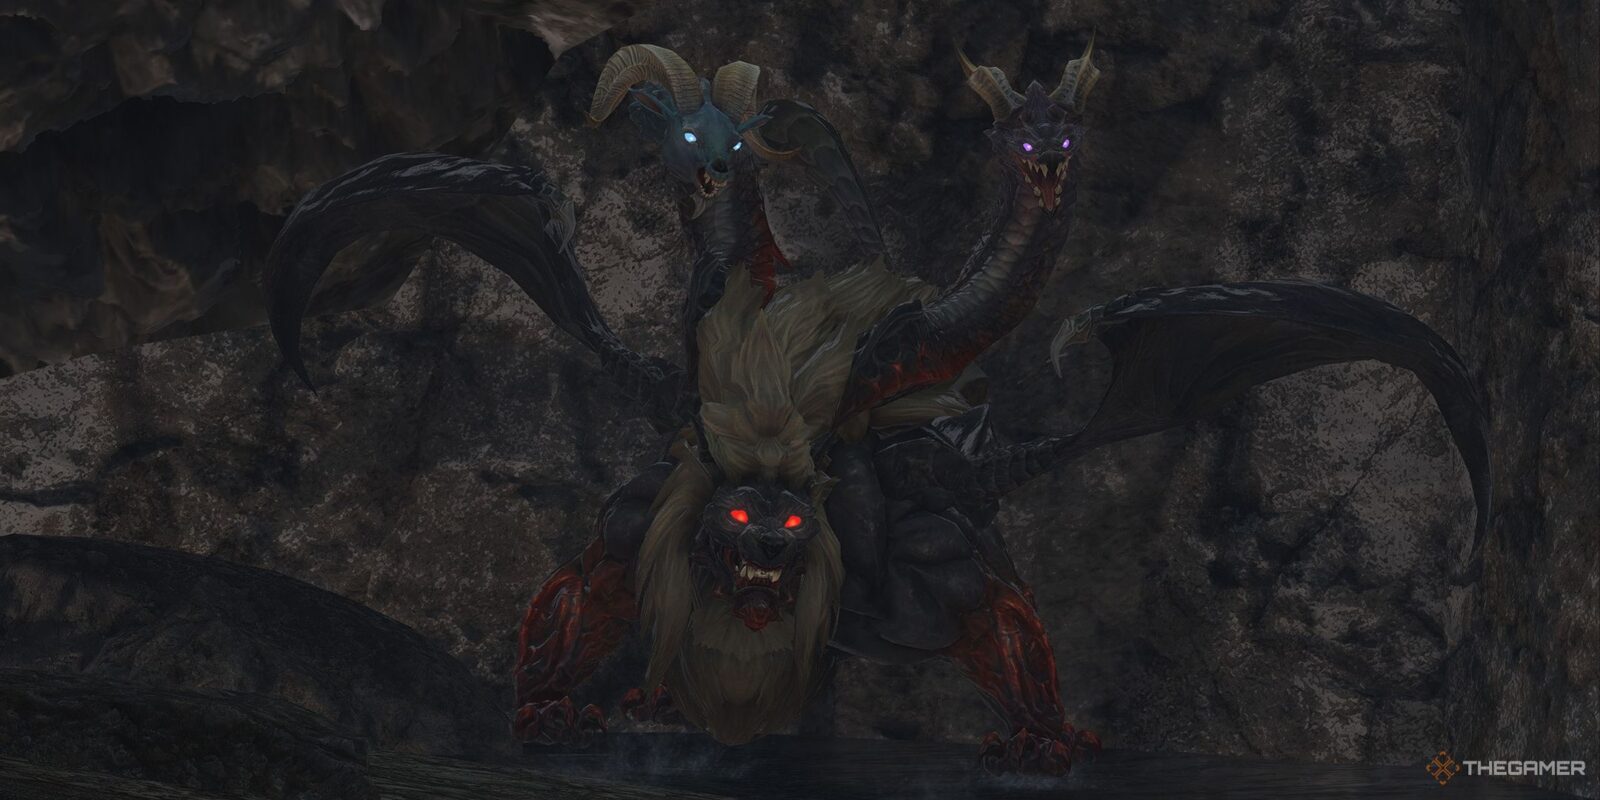
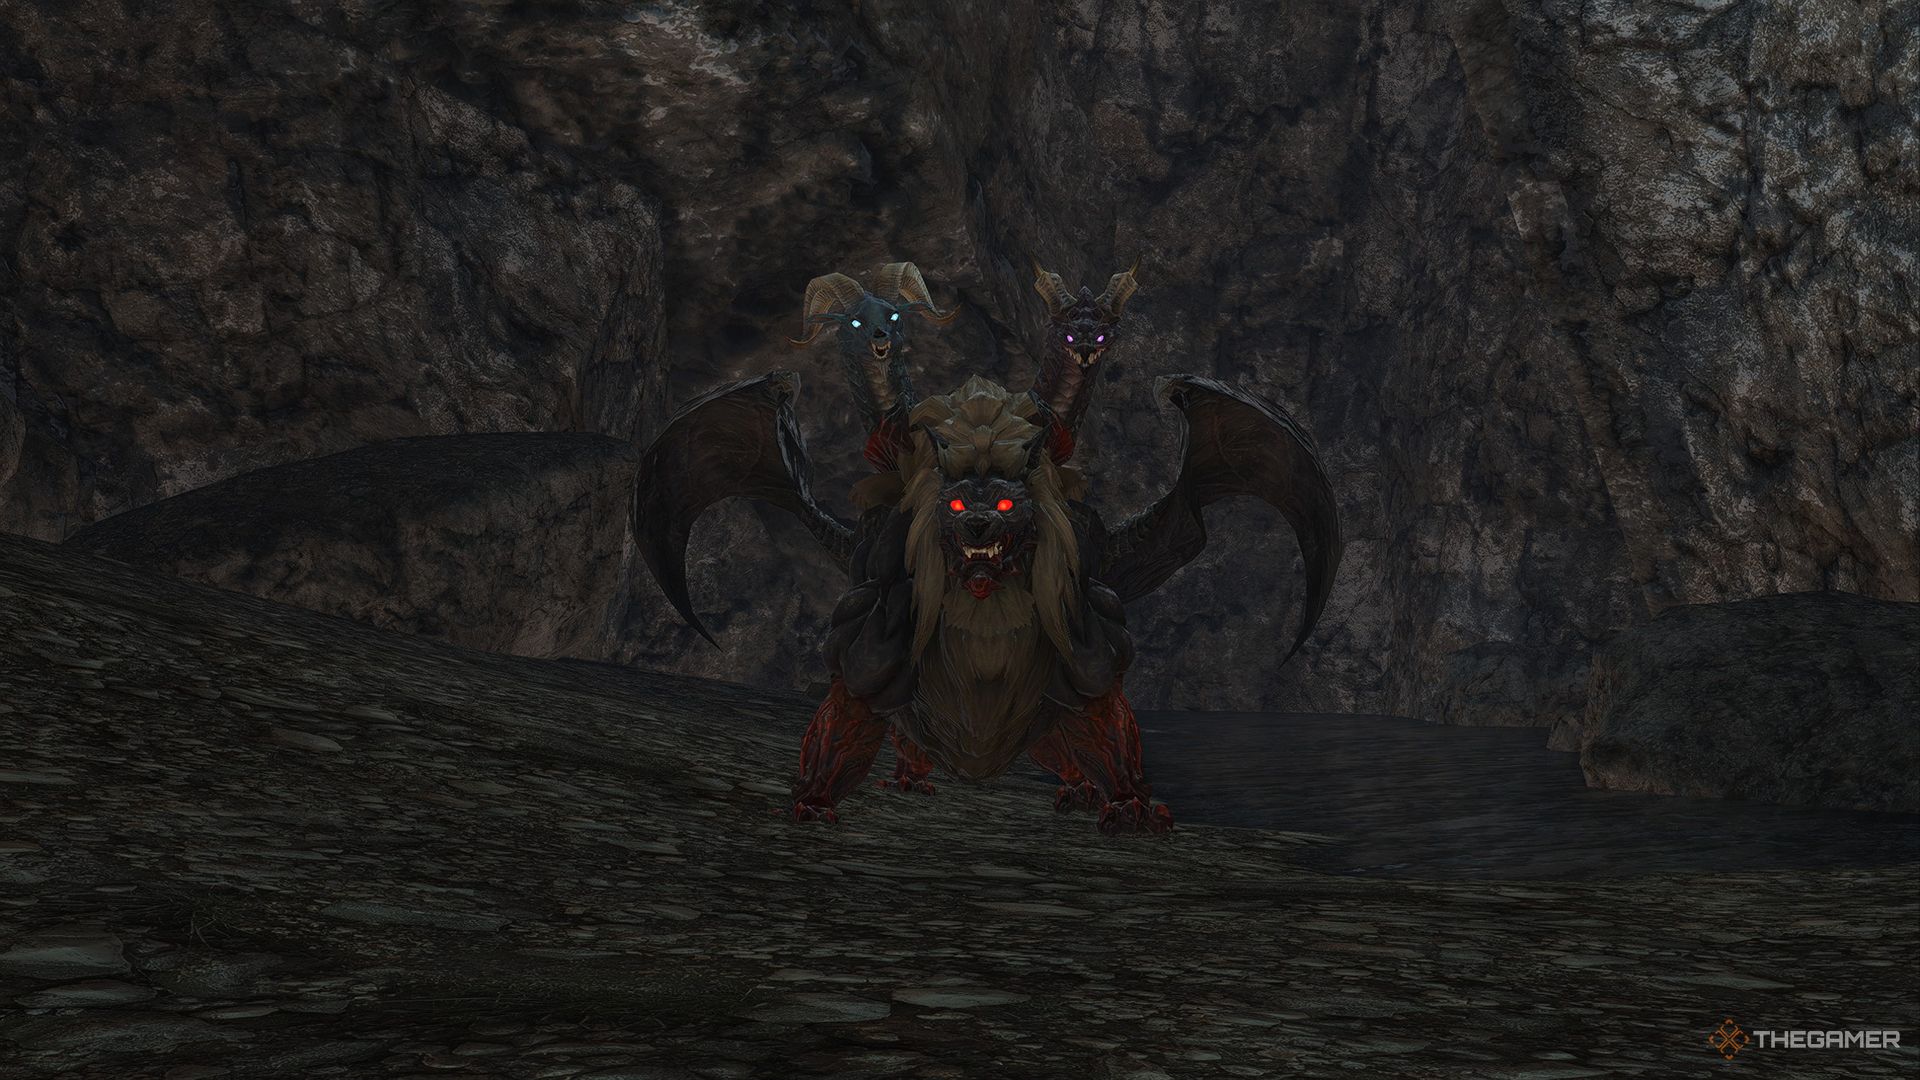
A Relic Reborn: The Chimera is a level 50 Trial in Final Fantasy 14 that pits eight players against the Dhorme Chimera. This Trial is one of the first steps in crafting your Zodiac Relic Weapon, which requires you to defeat the Chimera and claim its Alumina Salts.
Related
Final Fantasy 14: Complete Guide To Zodiac Weapons
Obtaining your Zodiac Weapon in Final Fantasy XIV is a long and arduous task but is well worth it for bragging rights. Here’s what you need to do.
The Dhorme Chimera is mechanically and visually very similar to the Chimera boss at the end of Cutter’s Cry, so if you’re comfortable with that fight then this one should be no problem. Below, we’ll take a look at everything you need to know about the Chimera Trial.
This fight is outdated content and as such many of the mechanics detailed below may not appear during a typical run. If you’re just wanting to complete this Trial for the Zodiac Weapon, you can easily do it unsynced at level 70 or higher.
How To Unlock A Relic Reborn: The Chimera
A Relic Reborn: The Chimera unlocks through the Zodiac Weapon quest, which begins with ‘The Weaponsmith of Legend’, accessible after completing the level 50 MSQ ‘The Ultimate Weapon’. ‘The Weaponsmith of Legend’ quest starts after talking to Nedrick Ironheart in Western Thanalan (X:12.0, Y:14.3).
After ‘The Weaponsmith of Legend’, you will be able to undertake the quest ‘A Relic Reborn’ for your chosen Zodiac Weapon by speaking to Gerolt in North Shroud (X:30.2, Y:20.2). After finding the Timeworn Weapon and slotting it with the necessary Materia, you will unlock the A Relic Reborn: The Chimera Trial.
Dhorme Chimera Fight Walkthrough
The Dhorme Chimera fight is a level 50 Trial consisting of a Full Party of two Tanks, two Healers, and four DPS. Below are each of the attacks and mechanics you may see in this fight, as well as how to deal with them.
Many of the Dhorme Chimera’s attacks inflict a status effect of some kind. Both Healers should be ready to use Esuna to clear these statuses as they come up.
|
Attack Name |
Type |
Details |
|---|---|---|
|
The Scorpion’s Sting |
Conal AoE |
Deals telegraphed damage to the back of the boss that inflicts Poison. |
|
The Lion’s Breath |
Conal AoE |
Deals untelegraphed damage to the front of the boss. The main Tank should face the boss away from the rest of the party. |
|
The Dragon’s Breath |
Conal AoE |
Deals telegraphed damage to the front left side of the boss that inflicts Paralysis. |
|
The Ram’s Breath |
Conal AoE |
Deals telegraphed damage to the front right side of the boss that inflicts Heavy. |
|
The Dragon’s Voice |
Ring AoE |
Deals untelegraphed damage in a large ring AoE around the boss that inflicts Paralysis. This attack can be interrupted by stunning the boss during its cast. When you see the boss casting The Dragon’s Voice, move near it to avoid this attack. |
|
The Ram’s Voice |
Circle AoE |
Deals untelegraphed damage in the area surrounding the boss that inflicts Frostbite. This attack can be interrupted. When you see the Chimera casting The Ram’s Voice, move a step away to avoid taking damage. |
|
Cacophony |
AoE Marker |
Targets one player before sending a slow-moving lightning orb toward them. When it reaches the targeted player, it will stop and repeatedly cast point-blank AoEs around itself that inflict Paralysis. The targeted player should move away from the rest of the group until the orb stops moving, then return to the group to avoid the point-blank AoEs. |
|
The Ram’s Keeper |
Circle AoE/Puddle |
Deals telegraphed damage in a circle centered on one player, then leaves behind a pool of ice that inflicts Frostbite. The Tank should pull the boss away from these ice puddles to make it easier to maneuver around the boss. |
|
Ice Charge |
Buff |
The Chimera will buff its Ice-aspected attacks – The Ram’s Breath and The Ram’s Voice. This buff will make The Ram’s Breath an instant-cast, and The Ram’s Voice will deal more damage and cover the entire arena. The Chimera will gain Lighting Charge after casting The Ram’s Voice. While Ice Charge is active, stay to the left side of the boss to avoid its instant-cast The Ram’s Breath. |
|
Lightning Charge |
Buff |
The Chimera will buff its Lightning-aspected attacks – The Dragon’s Breath and The Dragon’s Voice. The Dragon’s Breath will be cast instantly, while The Dragon’s Voice will deal more damage. The Chimera will gain Ice Charge after casting The Dragon’s Voice. While Lightning Charge is active, stay to the right side of the boss to avoid the instant-cast The Dragon’s Breath. |
For the most part, this fight is very similar to Cutter’s Cry’s Chimera, just with a few more status effects and the addition of Ice and Lightning Charges. Overall, even with a random team, you should have no problem learning and completing this fight.
Next
Final Fantasy 14: Every Orchestrion Roll From Trials
Here’s where to get every Trial Orchestrion Roll in Final Fantasy XIV.







Leave a Reply