Quick Links
Your Panopticon will serve as the main hub you can explore between operations in Freedom Wars Remastered. As you progress your CODE level, you’ll get access to new floors, and there will be a lot to see in each floor along with story missions that force you to travel between them.
Along with the restrictions around how long you can run for, traveling from one place to another can take longer than it should, while sometimes racking up more years on your sentence. Luckily, you can unlock quick-traveling while in the Panopticon; here’s how it works.
Related
Freedom Wars Remastered: Where is Enzo?
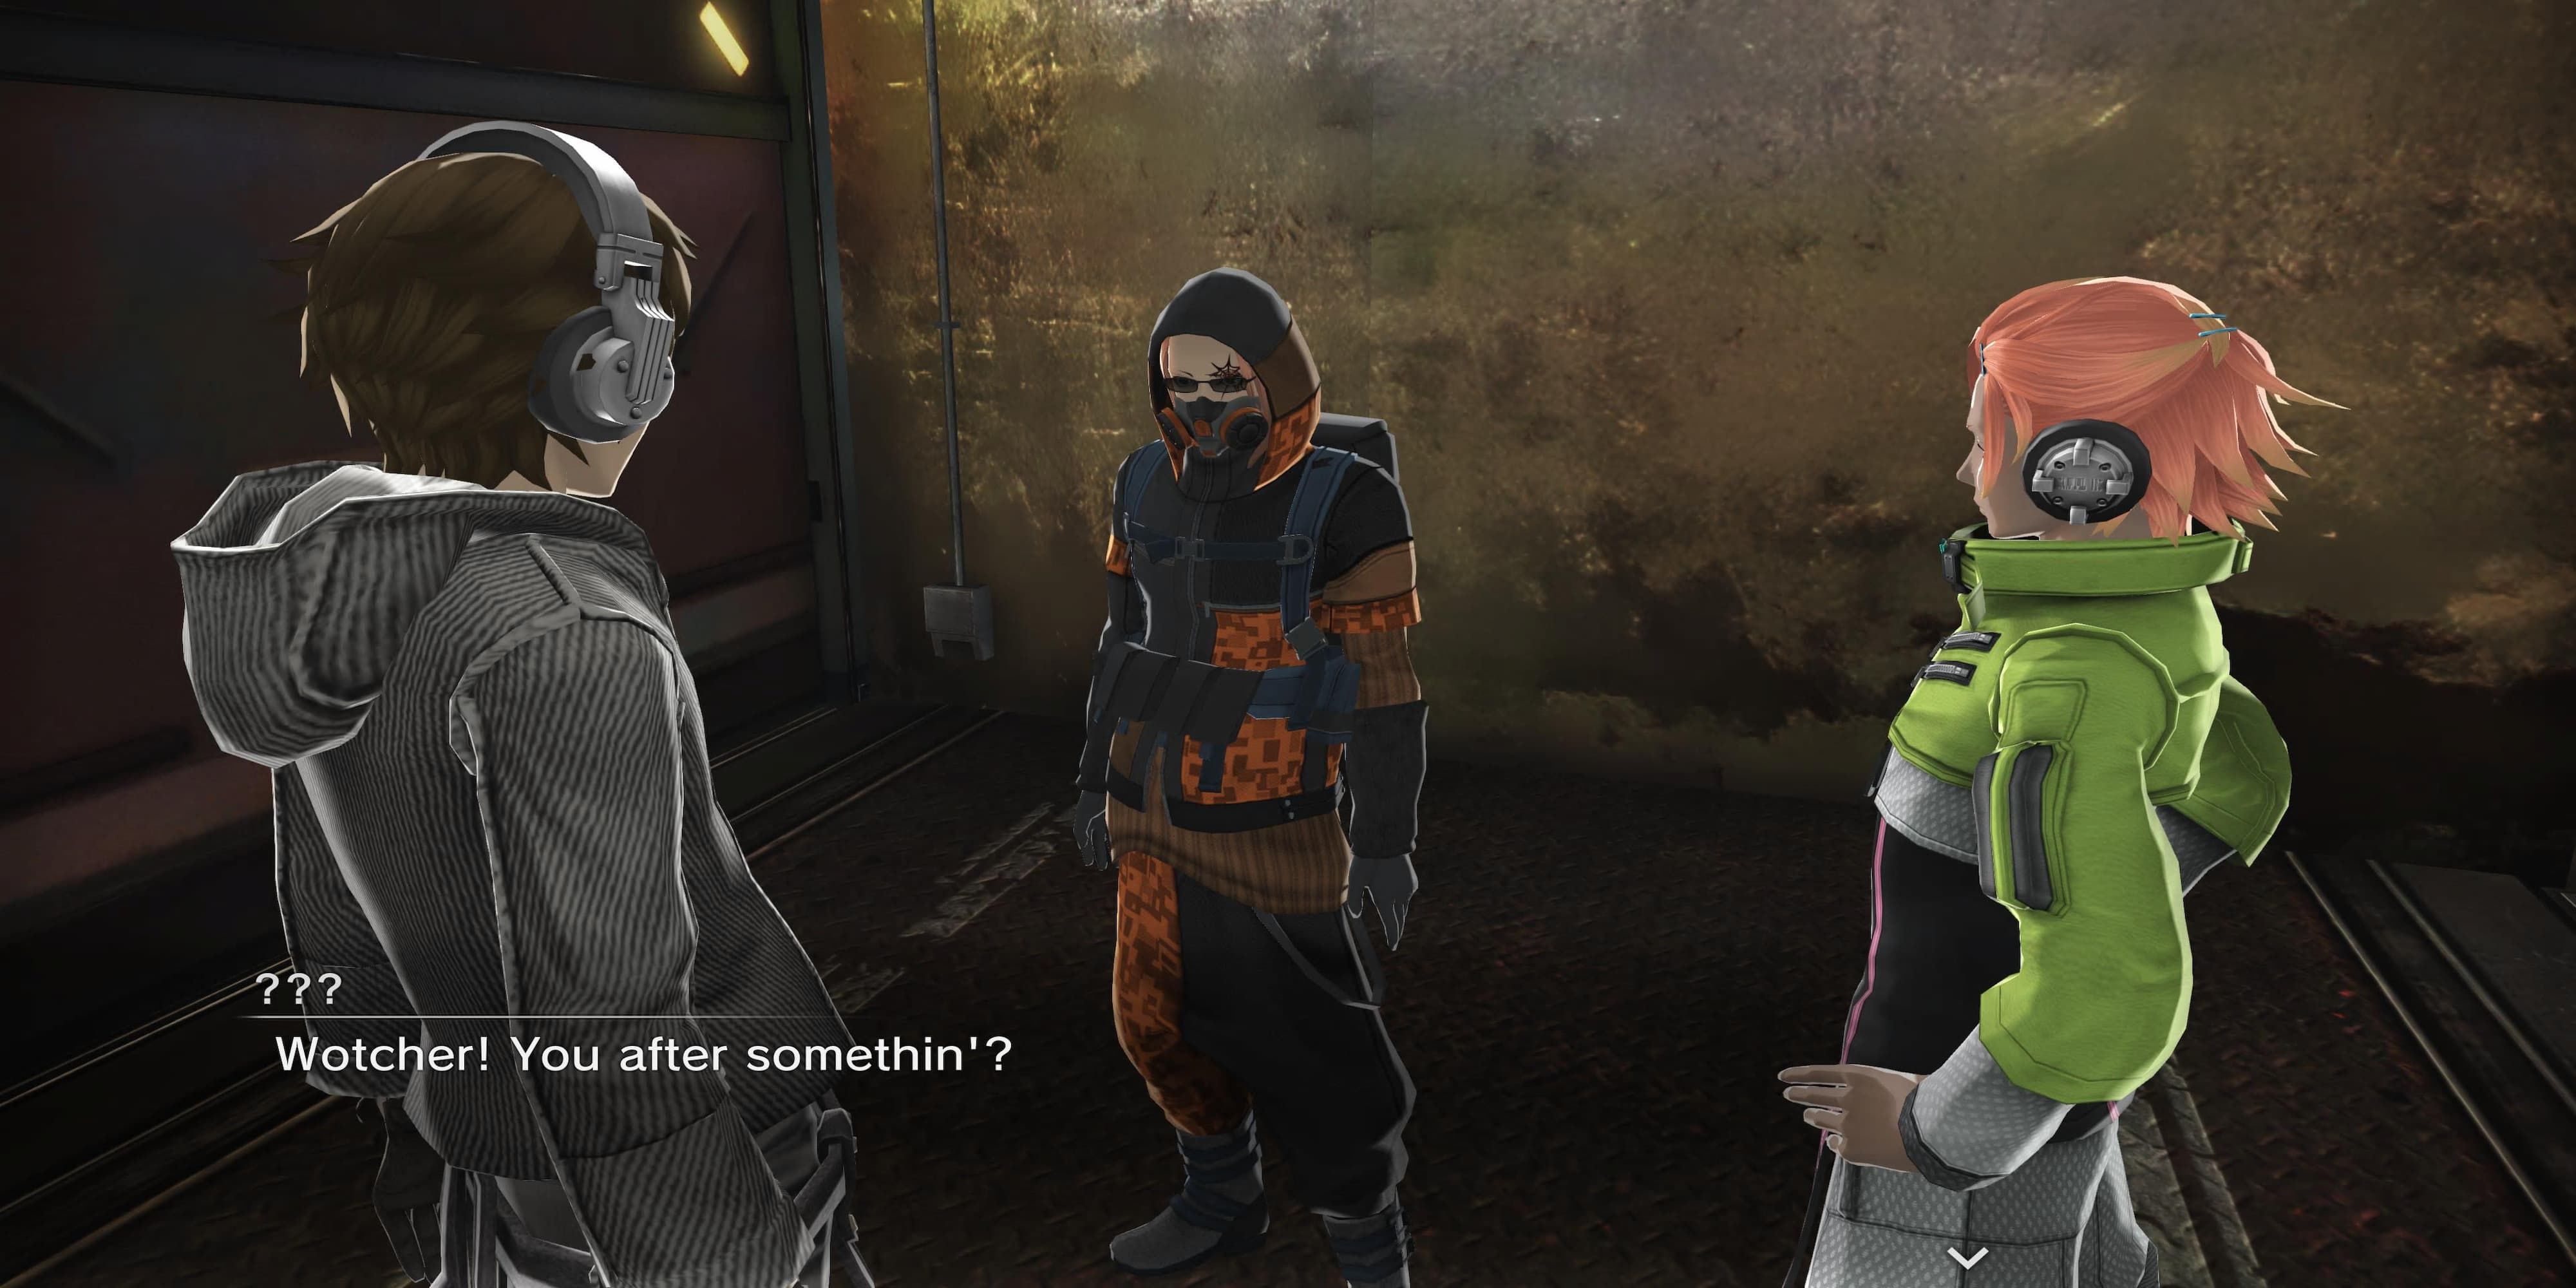
During one of your first missions in CODE level 2 of Freedom Wars Remastered you’ll be tasked with finding Enzo; here’s where to find him.
How To Unlock Quick-Travel In Freedom Wars Remastered
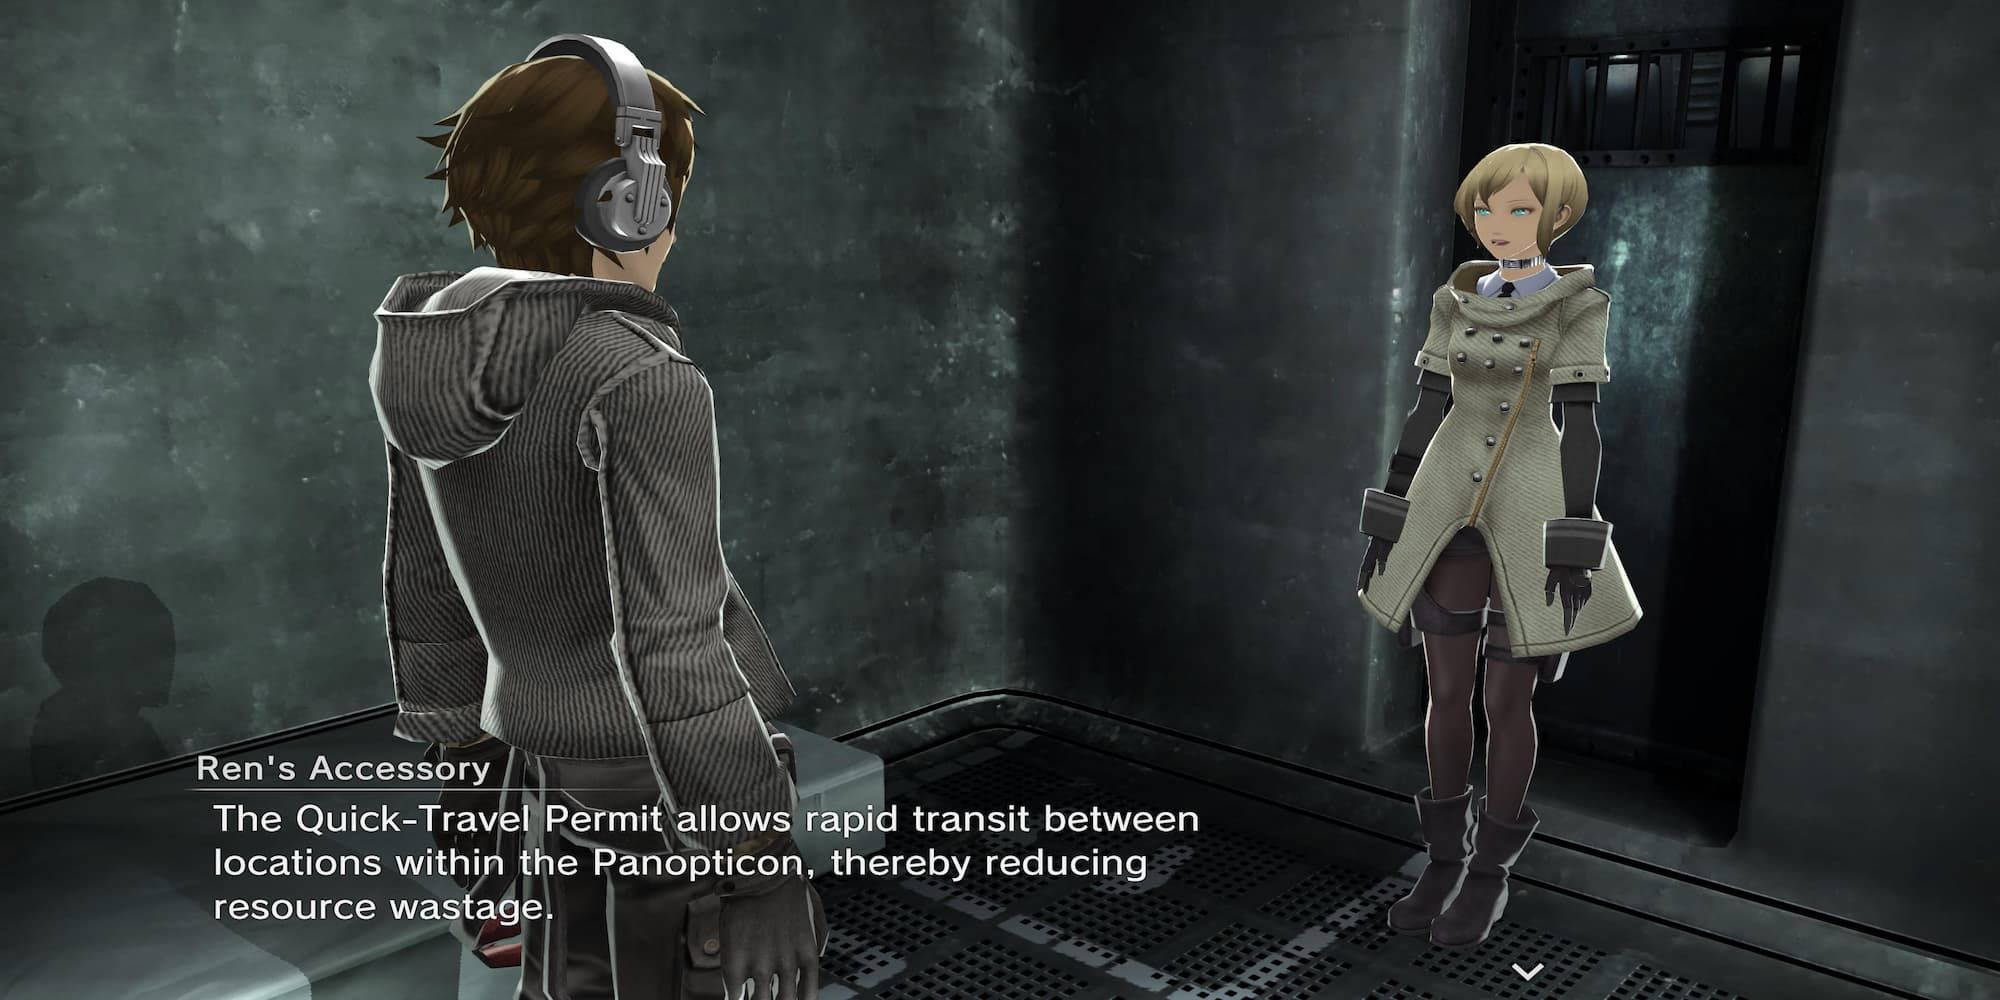
The fast travel mechanic will be introduced towards the later end of CODE level 2; though you won’t be able to use it just yet. Progress the main story until you reach CODE level 3 and interact with the Window of Liberty in your cell. From there, go to the Interface Entitlements menu then tab over to the, “Misc.” section. The first option will be the Quick-Travel Permit which costs 250 Entitlement Points to unlock.
Entitlement Points are easily earned by completing operations, or by donating resources when in a bind.
Related
Freedom Wars Remastered: How To Unlock Other Thorns
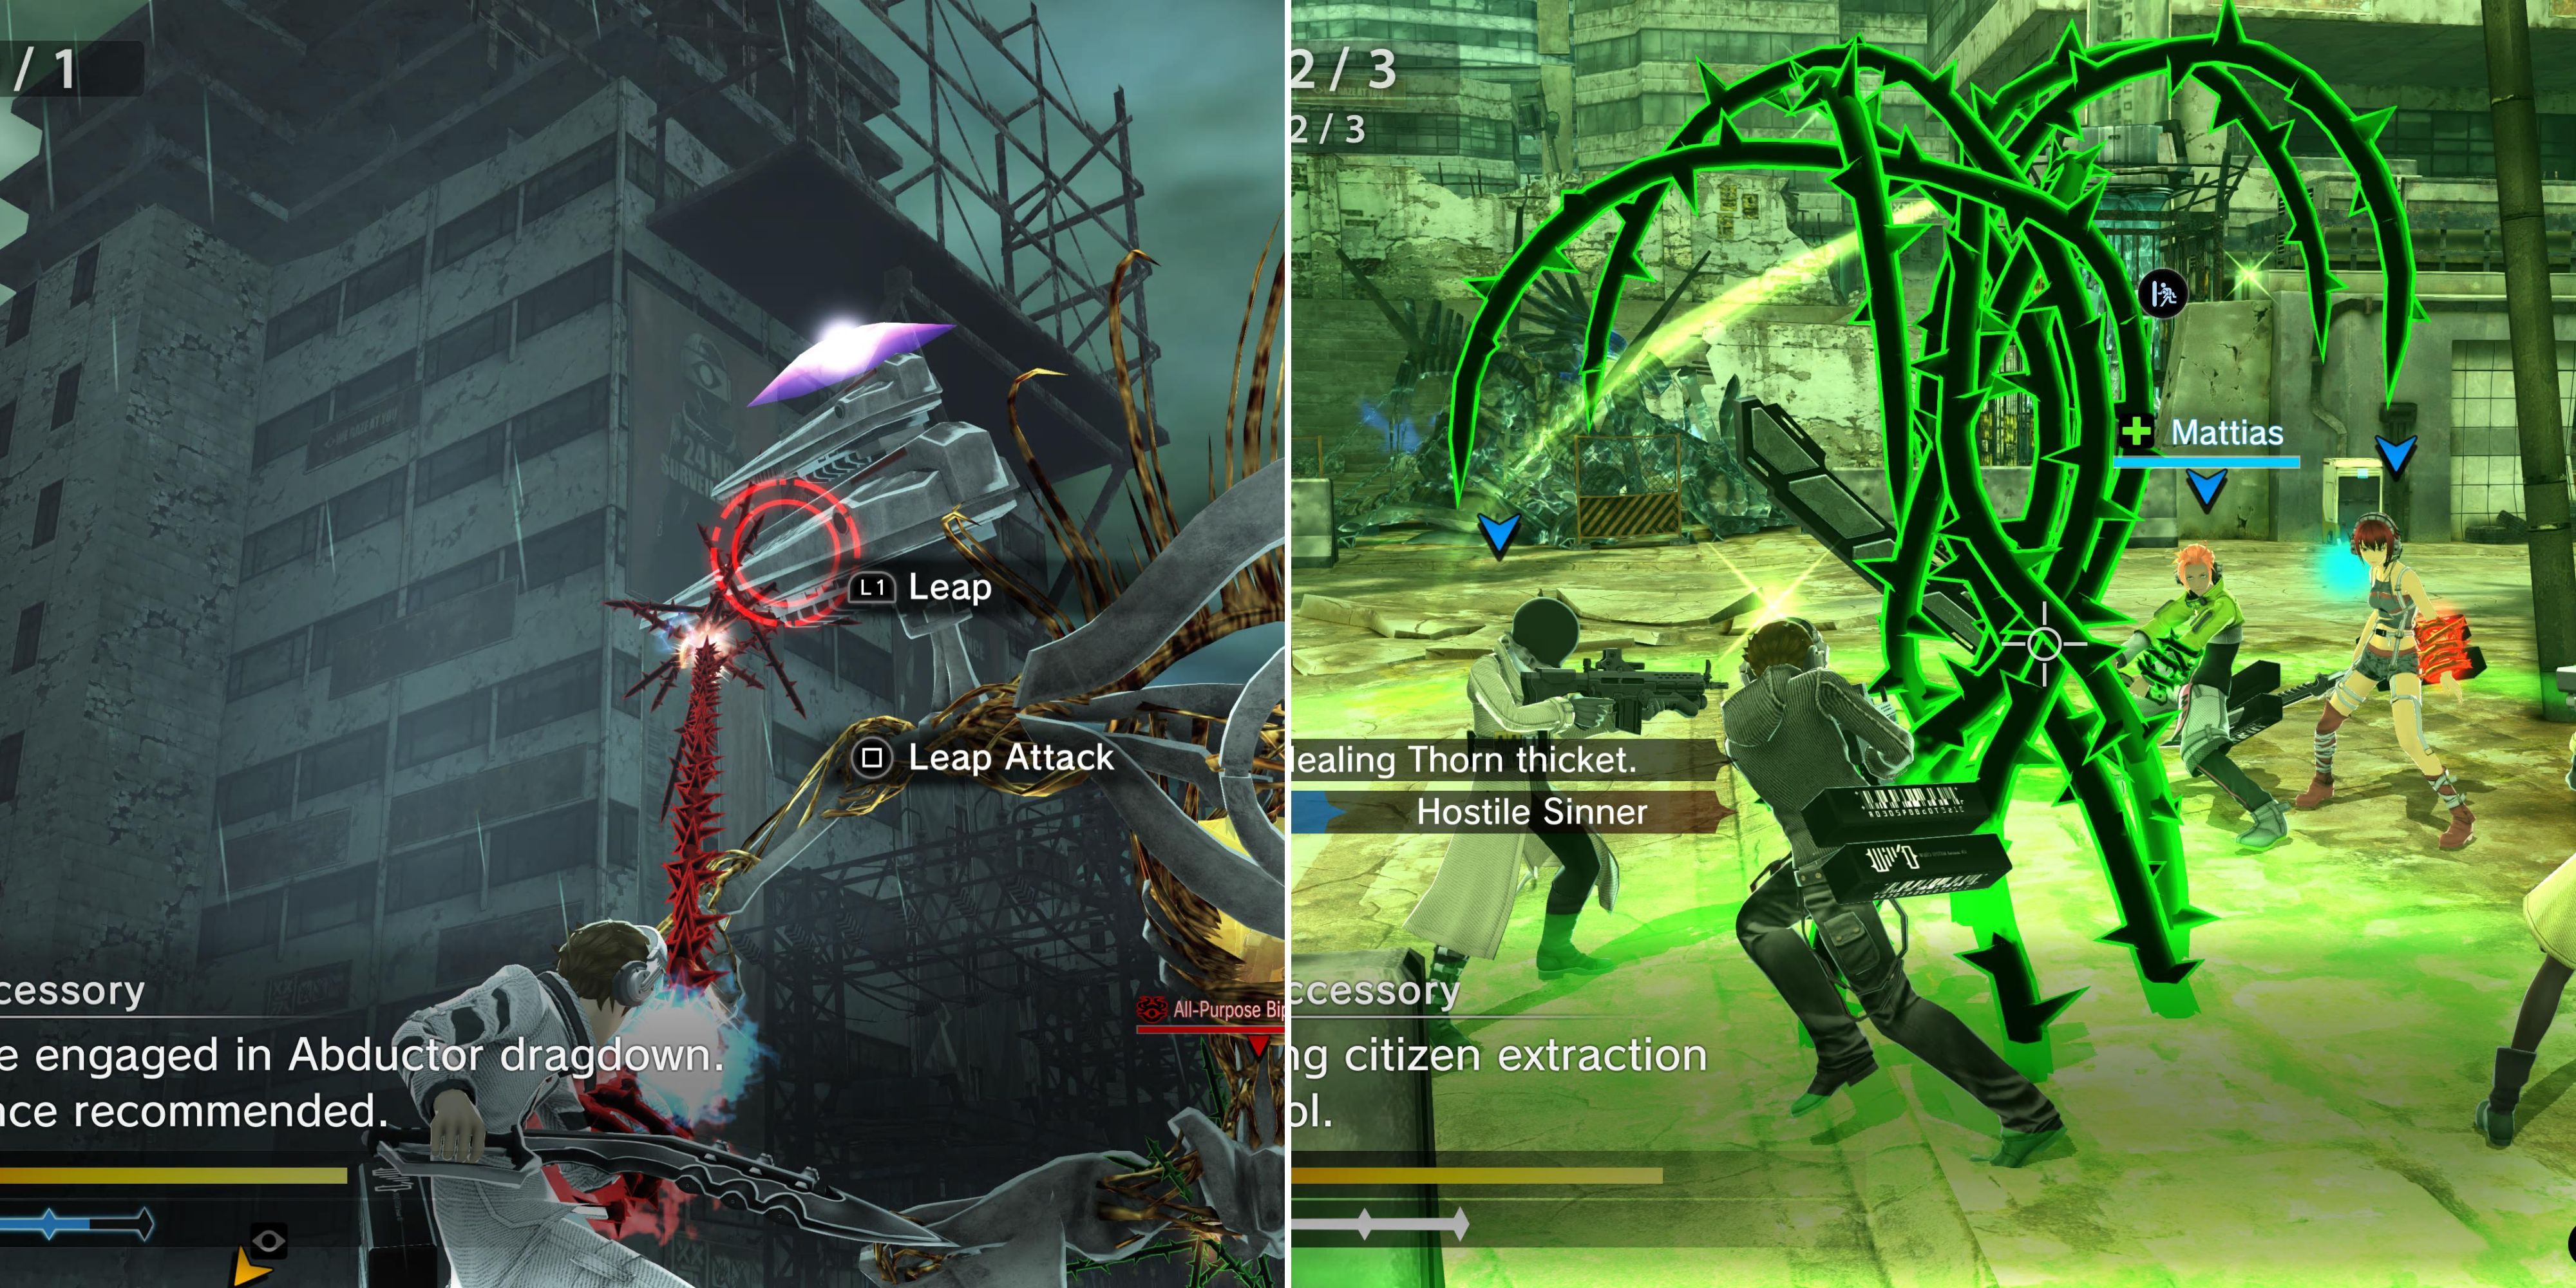
There are three Thorns to choose from in Freedom Wars Remastered; here’s how to unlock and equip new ones.
How To Use Quick-Travel In Freedom Wars Remastered
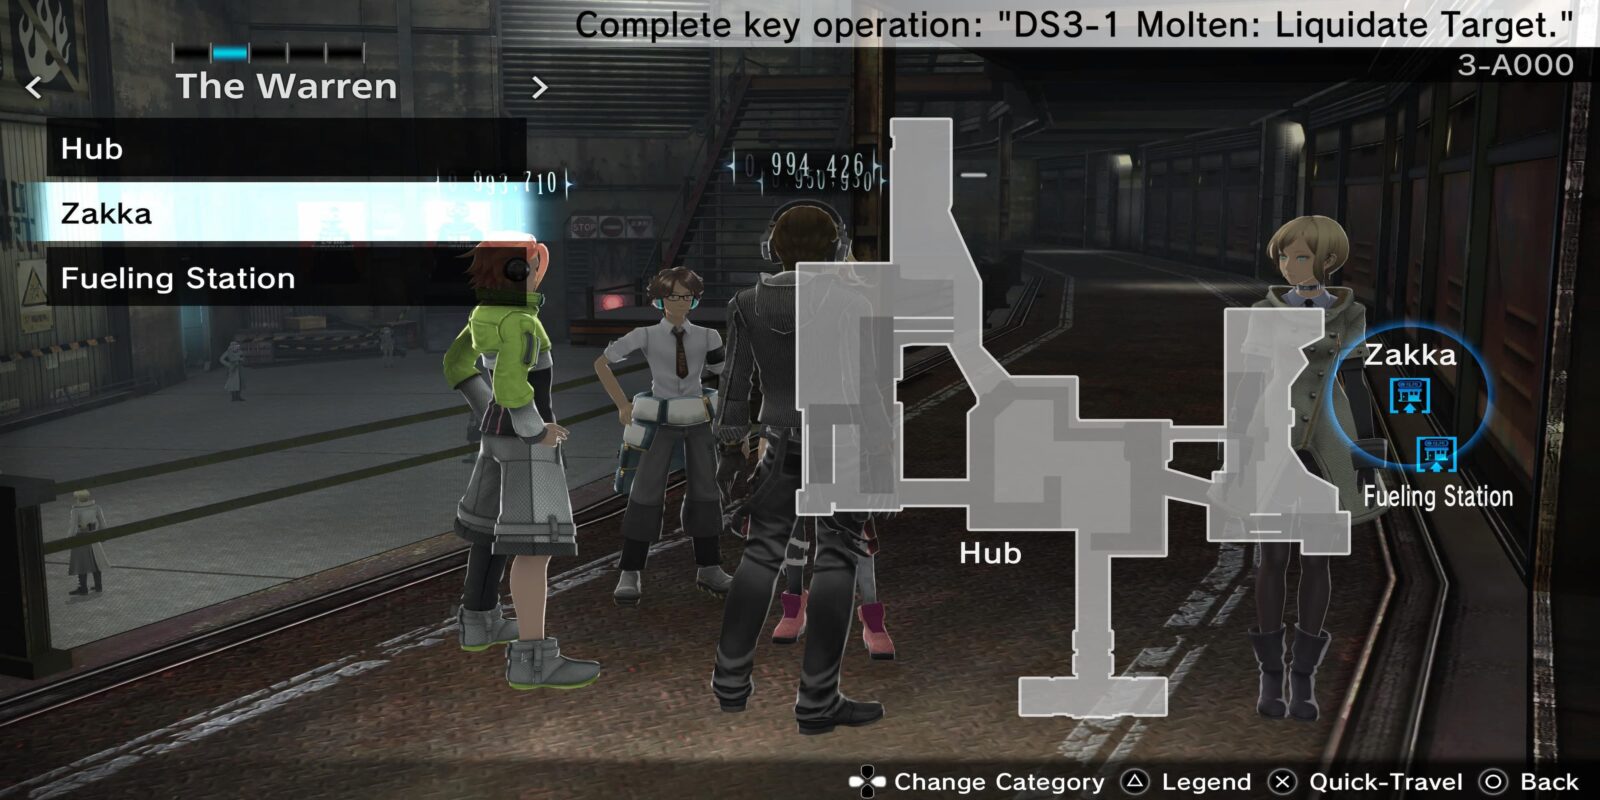
Once you purchase the Entitlement it will immediately go into effect and will always be active. To use it you’ll first need to ask to leave your cell, as it can only be used while in the main section of the Panopticon. Open up the map once outside to choose between the different areas, tabbing along the top left of the screen to change floors and scrolling along the menu along the left side to decide which location on that floor.
Simply selecting a location will immediately take you there after a short loading screen, without any cost or potential penalty. When looking on the map, the location of a main quest objective will appear as a yellow exclamation mark next to that location along the left side of the screen. This can help you always travel where you need to go on your first attempt.
While fast traveling can get you where you need to go fast, random resources will spawn on the main floor of every cell block in your Panopticon and will respawn every time you enter an area. These resources usually aren’t very high-end, but just running from location to location can also help you get more resources long-term.
Source link






Leave a Reply