After the long journey through the various quests and dungeons in Dragon Quest 3 Remake, the game culminates with a trip through Zoma’s Citadel. This final dungeon puts players through a serious test of skill, requiring the party to use everything they’ve learned up to that point. It truly is the toughest challenge in DQ3 Remake’s main story. In this guide, we’ll provide you with a complete walkthrough of Zoma’s Citadel, including the location of all treasure.
4:41
Related
Dragon Quest 3 Remake: How to Unlock the Temple of Trials
How to find Dragon Quest 3 Remake’s secret post-game dungeon, the Temple of Trials.
How to Reach Zoma’s Citadel in Dragon Quest 3 Remake
After defeating the Archfiend Baramos in DQIII Remake, you’ll enter the permanently dark world of Alefgard. Zoma’s Citadel is the ultimate goal and final destination on this new map, and reaching it will require players to complete DQ3 Remake‘s Rainbow Drop item.
The Rainbow Drop consists of the following items:
- Sunstone – Found in Tantegel Castle
- Staff of Rain – Found in the Shrine of the Spirit
- Sacred Amulet – Given by Rubiss after freeing her at the top of the Tower of Rubiss (must have Faerie Flute)
Once you have all three items, you can form the Rainbow Drop. This will allow you to create the Rainbow Bridge that leads to Zoma’s Citadel.
Zoma’s Citadel 1F Walkthrough – Dragon Quest 3 Remake
1F Main Path:
Your goal on the first floor of Zoma’s Citadel is to reach the throne near the center of the northern wall, which will move to reveal a hidden passage. To do that, you’ll need to head up and around on either the east or west side of the chamber, then come all the way back down to the door to the central chamber. See the above map for the exact path. There are treasures in some of the side chambers, the contents of which will be listed below.
When you cross into the center chamber, you will be faced with an onslaught of Living Statue variants. These foes have no real weaknesses, and can be incredibly punishing. Make sure to treat them like any other boss encounter, and you should be OK.
All Treasure on Zoma’s Citadel 1F:
- Treasure 1 (Buried): Mini Medal – behind throne.
- Treasure 2 (Buried): Seed of Magic – check electrified panel.
Zoma’s Citadel B1 Walkthrough – Dragon Quest 3 Remake
B1 Main Path and B1 Treasure:
If you take the main path under the throne, B1 will simply be a set of stairs that leads to B2. But if you take any of the four stair sets in the small chambers on 1F, you’ll end up in the isolated B1 chamber. There is only one reason to come down to this level, and that is to grab the single treasure chest along the northern wall:
- Treasure 1 (Chest): Hapless Helm
Zoma’s Citadel B2 Walkthrough – Dragon Quest 3 Remake
B2 Main Path:
After coming down the B1 stairs, you’ll come out on B2. On this floor, you’ll need to cross the directional tiles in the center section. Essentially, the goal is to reach the path directly across from the entrance, then head down the stairs. However, because these tiles can be incredibly tricky to navigate, we created a separate section to explain them.
How to Use the Directional Tiles in Dragon Quest 3 Remake:
The directional tiles are an extremely tricky mechanic that you’ll face on level B2. On the surface, they seem to uttterly defy logic. However, there is a method to their madness.
If you are struggling with the directional tiles in Zoma’s Citadel, you may consider returning to the Tower of Rubiss to practice. This is a good option for those that have not yet entered the citadel as well. In the northwest corner of the third floor of the Tower of Rubiss, you’ll find directional tiles that appear to be made simply for practicing.
The tiles will always have a diamond shape pointing east and west. However, the orange and blue halves will frequently change. You must pay attention to the colors to know which input to use.
When you need to go North or South, think of the two halves of the diamond as the left and right buttons on the D-Pad.
- Blue = North – when you need to go north, look at the location of the blue half of the diamond. If it is on the left, press left on the D-Pad and you’ll move north. If it is on the right, press right and you’ll move north.
- Orange = South – the same logic applies here. When orange is on the left, press left to move south. When it’s on the right, press right to move south.
When you need to go East or West, think of the diamond as a set of arrows pointing in each direction. The easiest way to use the tiles along this axis is to only pay attention to the orange arrow. Simply put, if the orange arrow is pointing in the direction you want to go, press UP on the D-Pad. If the orange arrow is pointing away from the direction you need to go, press down on the D-Pad. See the accompanying video above if you are struggling.
All Treasure on Zoma’s Citadel B2:
- Treasure 1 (Chest): Scourge Whip
- Treasure 2 (Chest): 4, 989 Gold Coins
Zoma’s Citadel B3 Walkthrough – Dragon Quest 3 Remake
B3 Main Path:
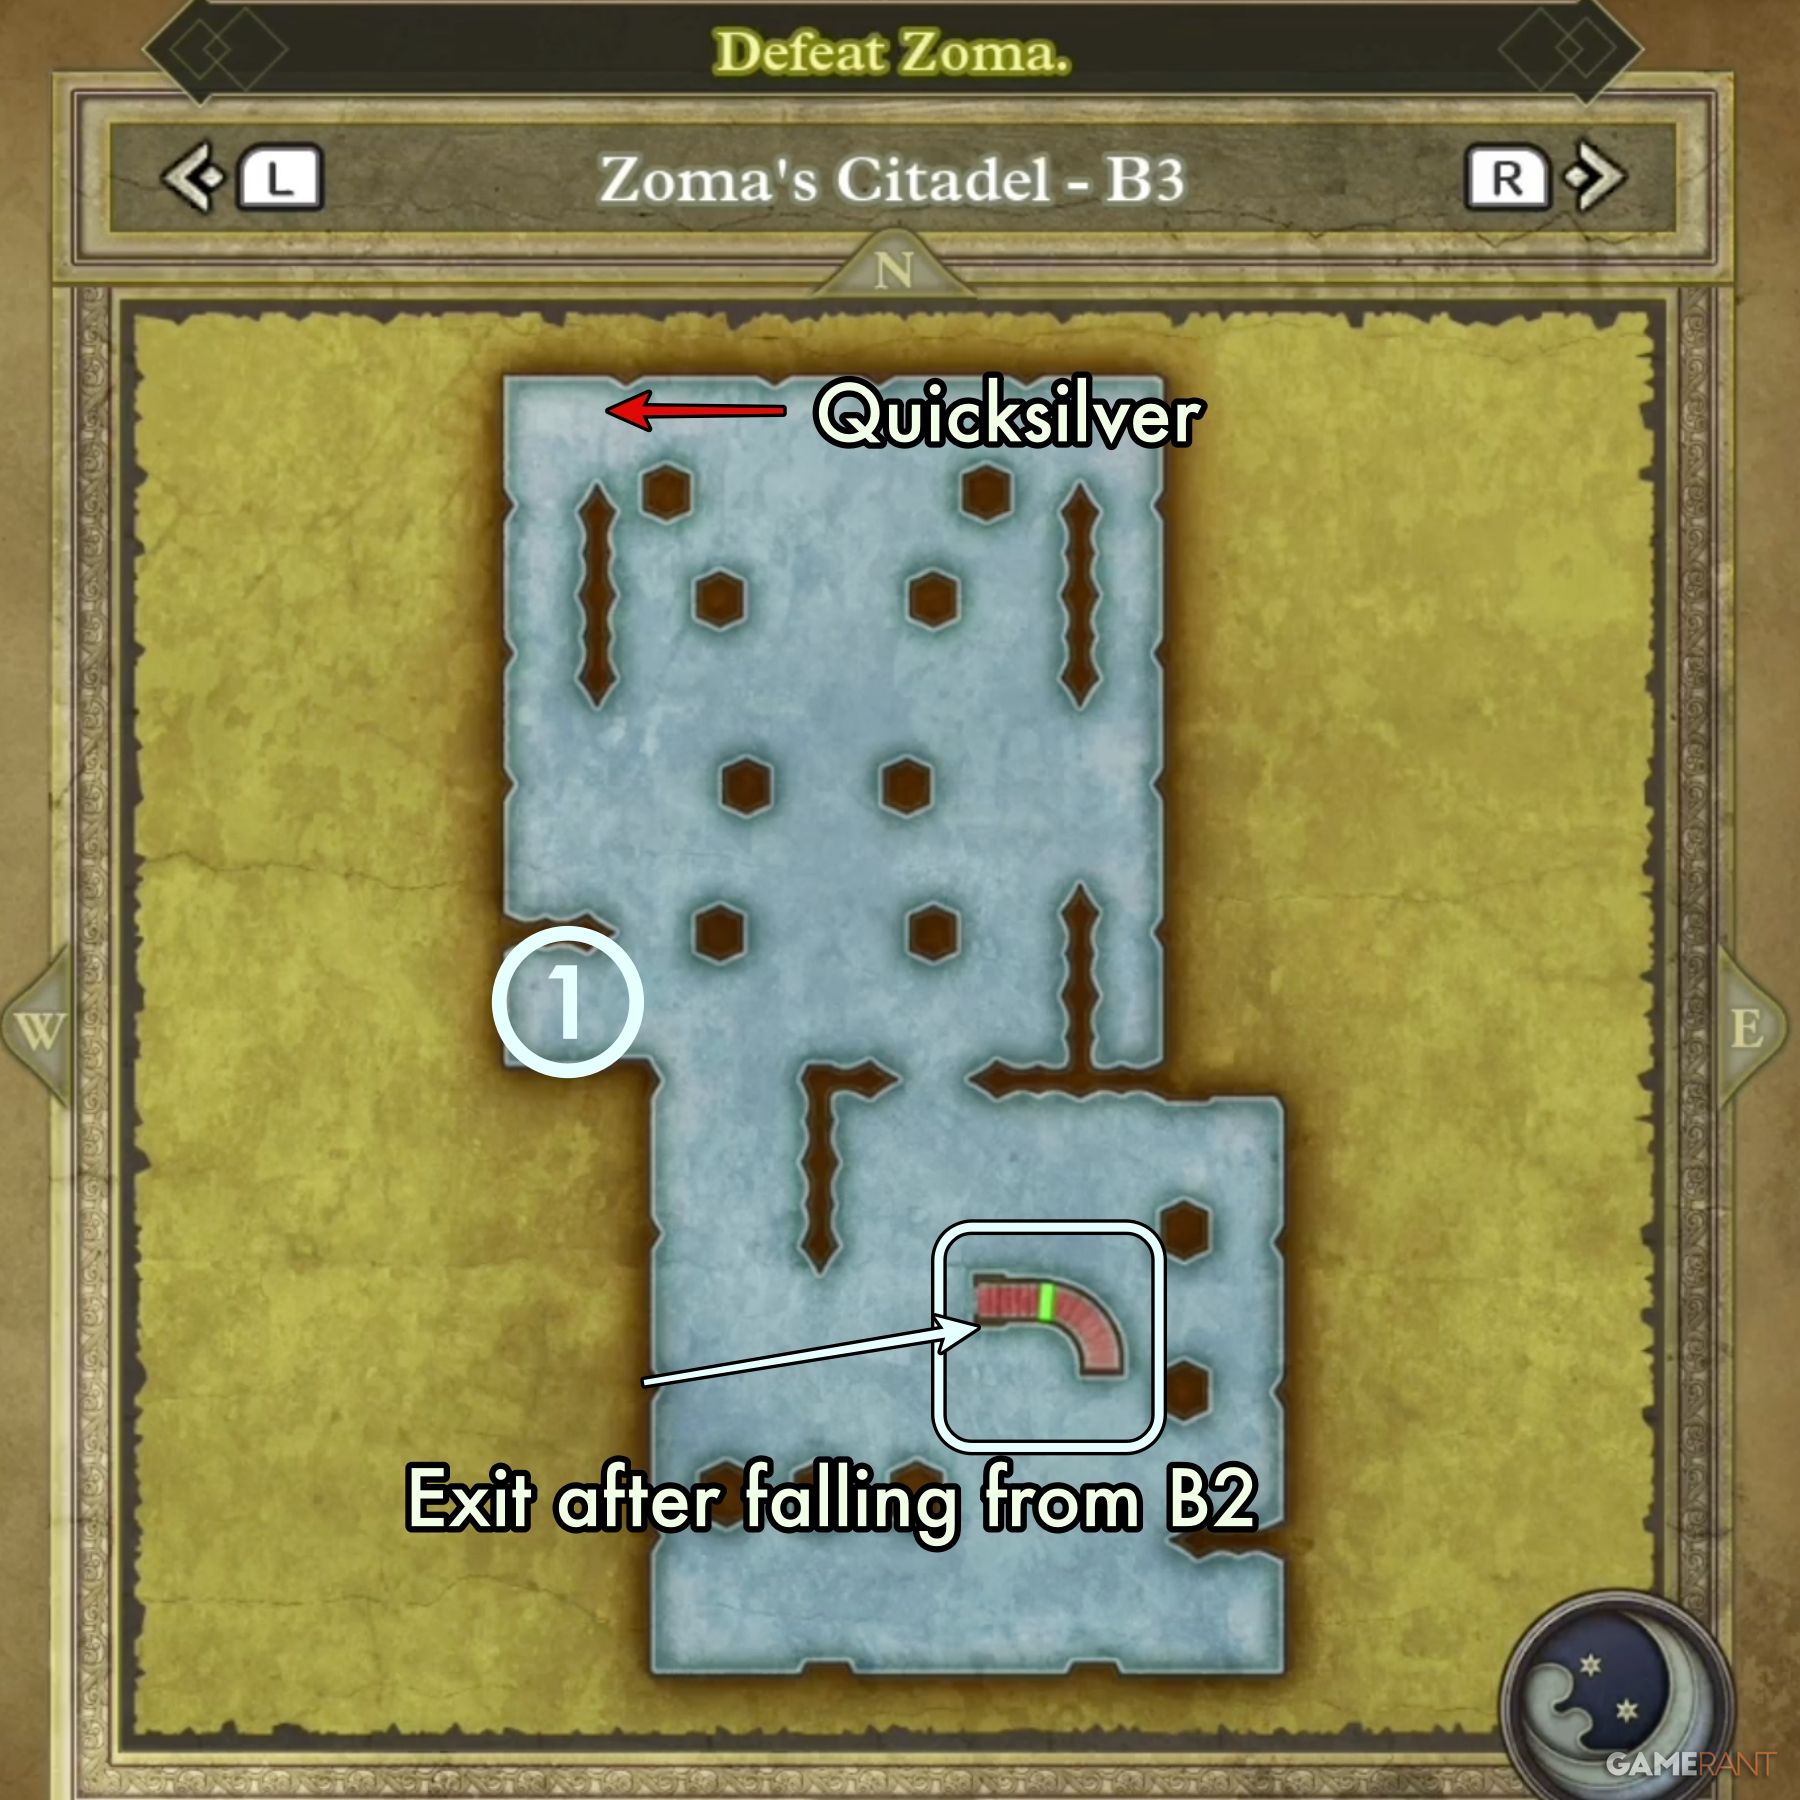
The main route through the third basement level is relatively simple, as it takes you around the outer edge of the square-shaped chamber. If you take a slight detour to the southwest corner, you can find Sky, a Soaring Scourger, and one of DQIII Remake’s Friendly Monsters.
B3 Isolated Chamber:
There is a second section of B3 that is isolated from the main section. When you are trying to cross the directional tiles on B2, you’ll end up here if you fall into one of the holes. You’ll find a friendly Liquid Metal Slime in the NW corner of the chamber. Exit through the only stairs on the eastern side of the room.
All Treasure on Zoma’s Citadel B3:
Main Chamber:
- Treasure 1 (Chest): Dragon Dojo Duds
- Treasure 2 (Chest): Double-Edged Sword
Isolated Chamber:
- Treasure 1 (Chest): Bastard Sword
3:16
Related
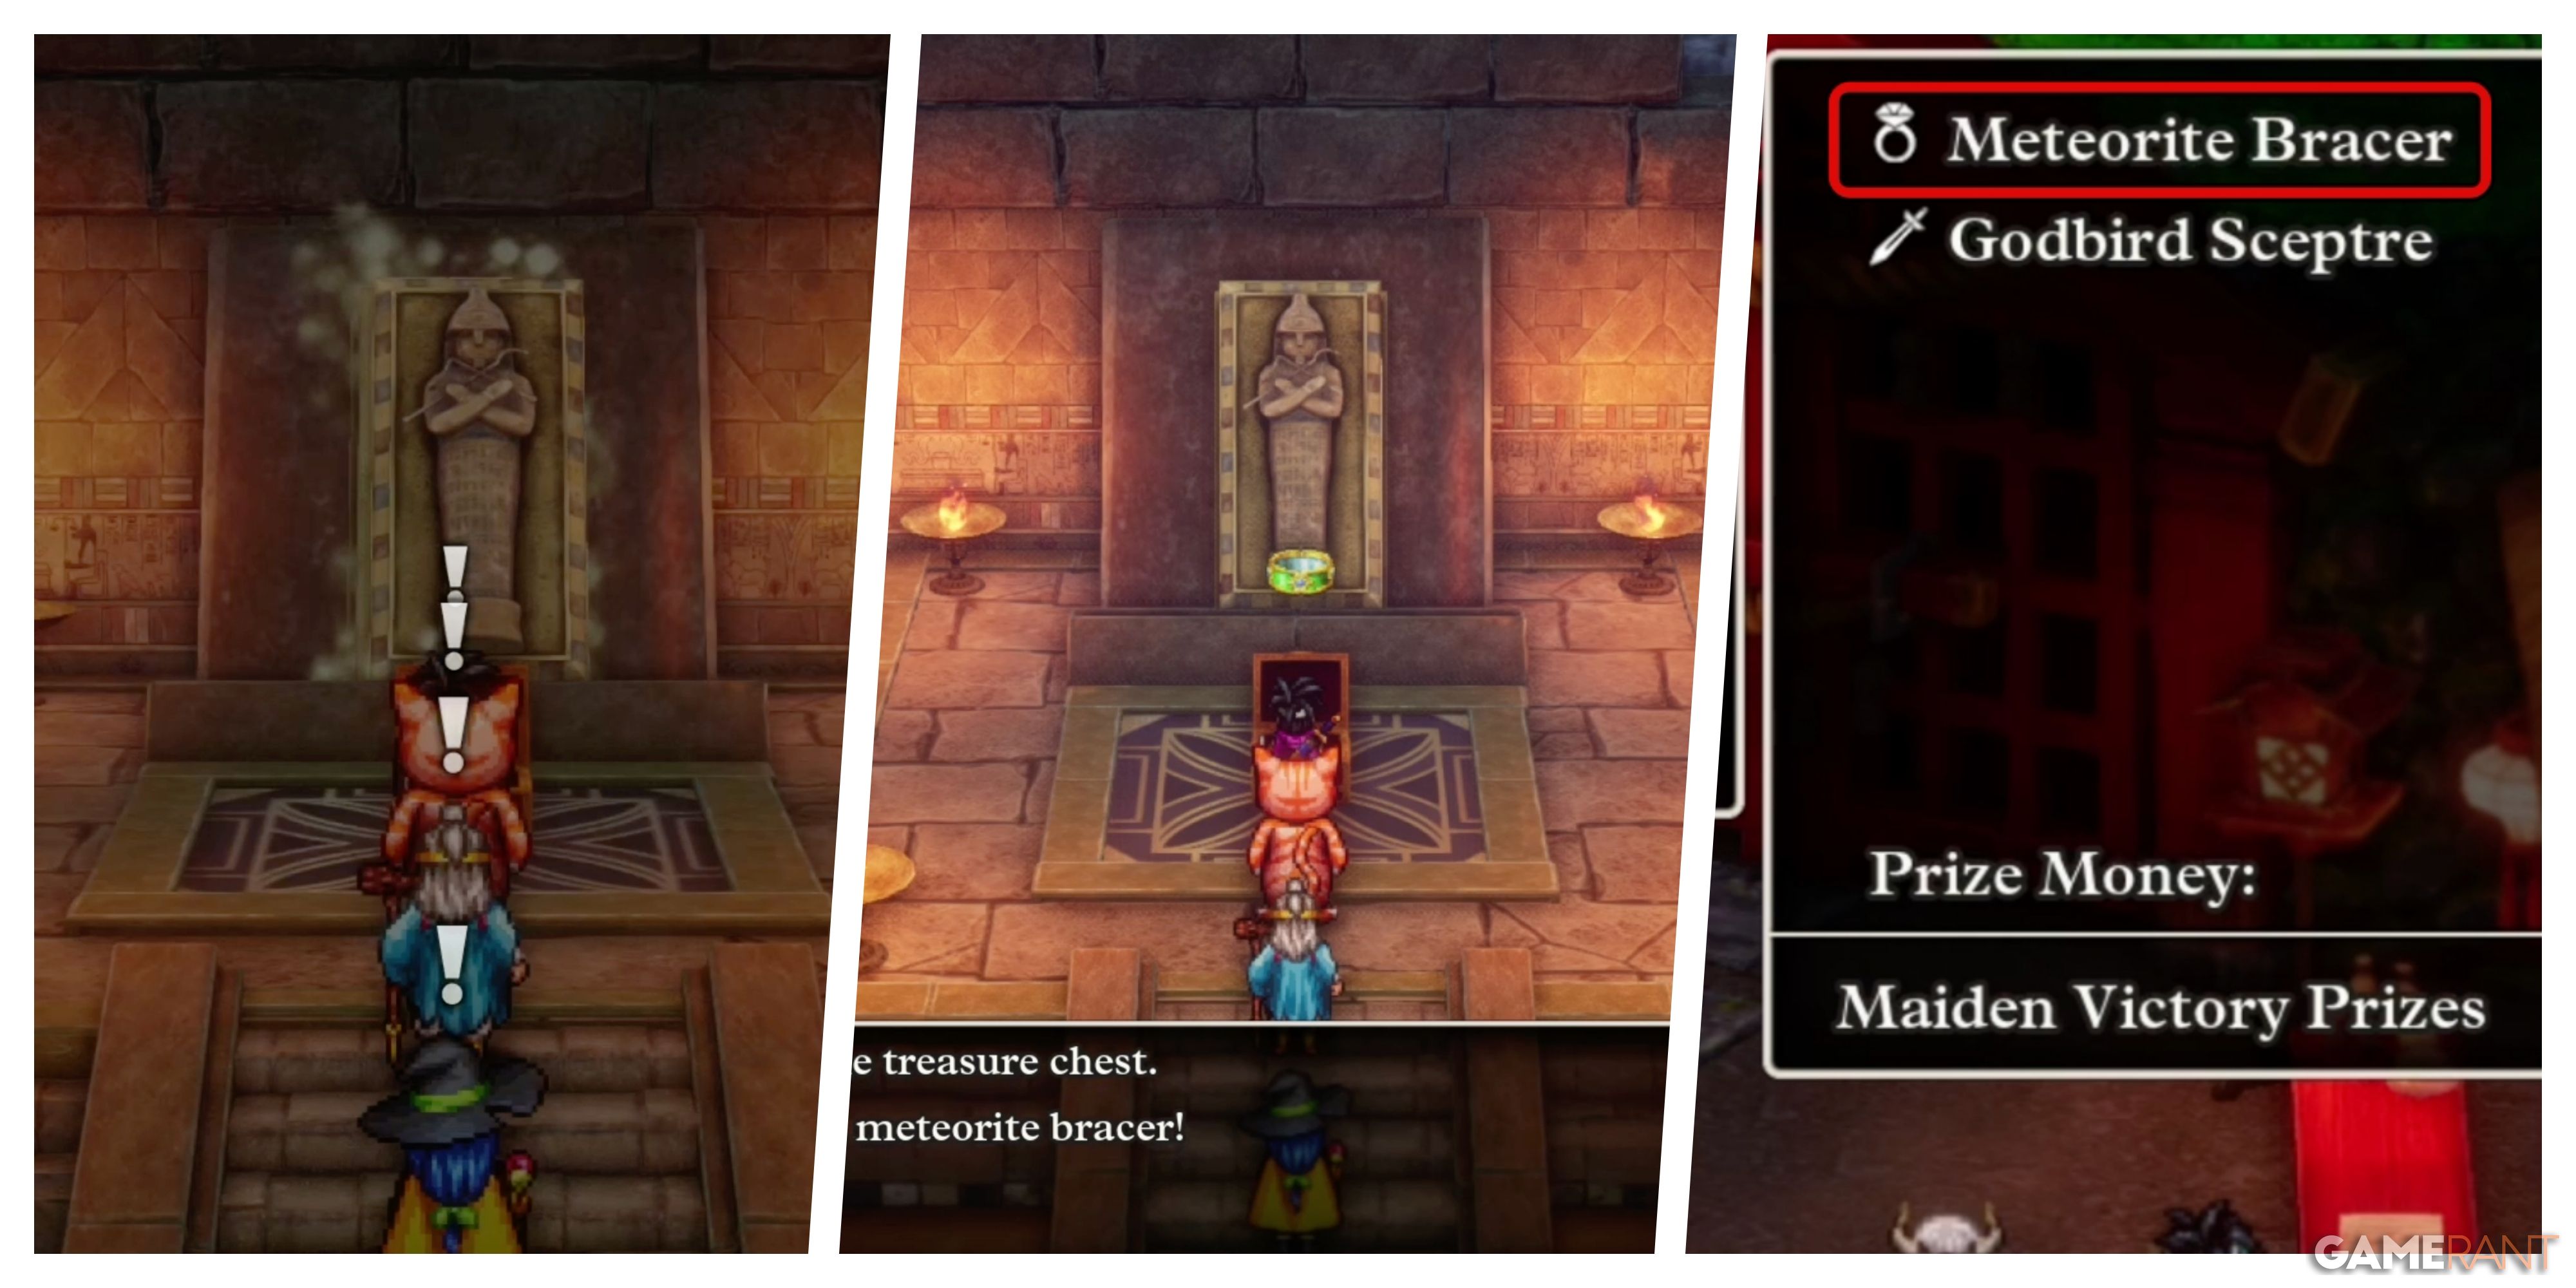
Dragon Quest 3 Remake: How to get the Meteorite Bracer
The Meteorite Bracer can massively increase your Agility in Dragon Quest 3 Remake.
Zoma’s Citadel B4 Walkthrough – Dragon Quest 3 Remake
B4 Main Path:
The fourth basement level is the last floor before you reach Zoma. You’ll need to start from the right in the center of the southern area, make your way up and around, then head back down to the southeastern corner to reach the exit.
There is a very special cutscene you’ll encounter when you first enter B4. Make sure you take the time to watch it all the way through.
All Treasure on Zoma’s CItadel B4:
There are six chests in one chamber. This list goes from right to left.
- Treasure 1 (Chest): Shimmering Dress
- Treasure 2 (Chest): Prayer Ring
- Treasure 3 (Chest): Sage’s Stone
- Treasure 4 (Chest): Yggdrasil Leaf
- Treasure 5 (Chest): Dieamend
- Treasure 6 (Chest): Mini Medal
How to Defeat Zoma in Dragon Quest 3 Remake
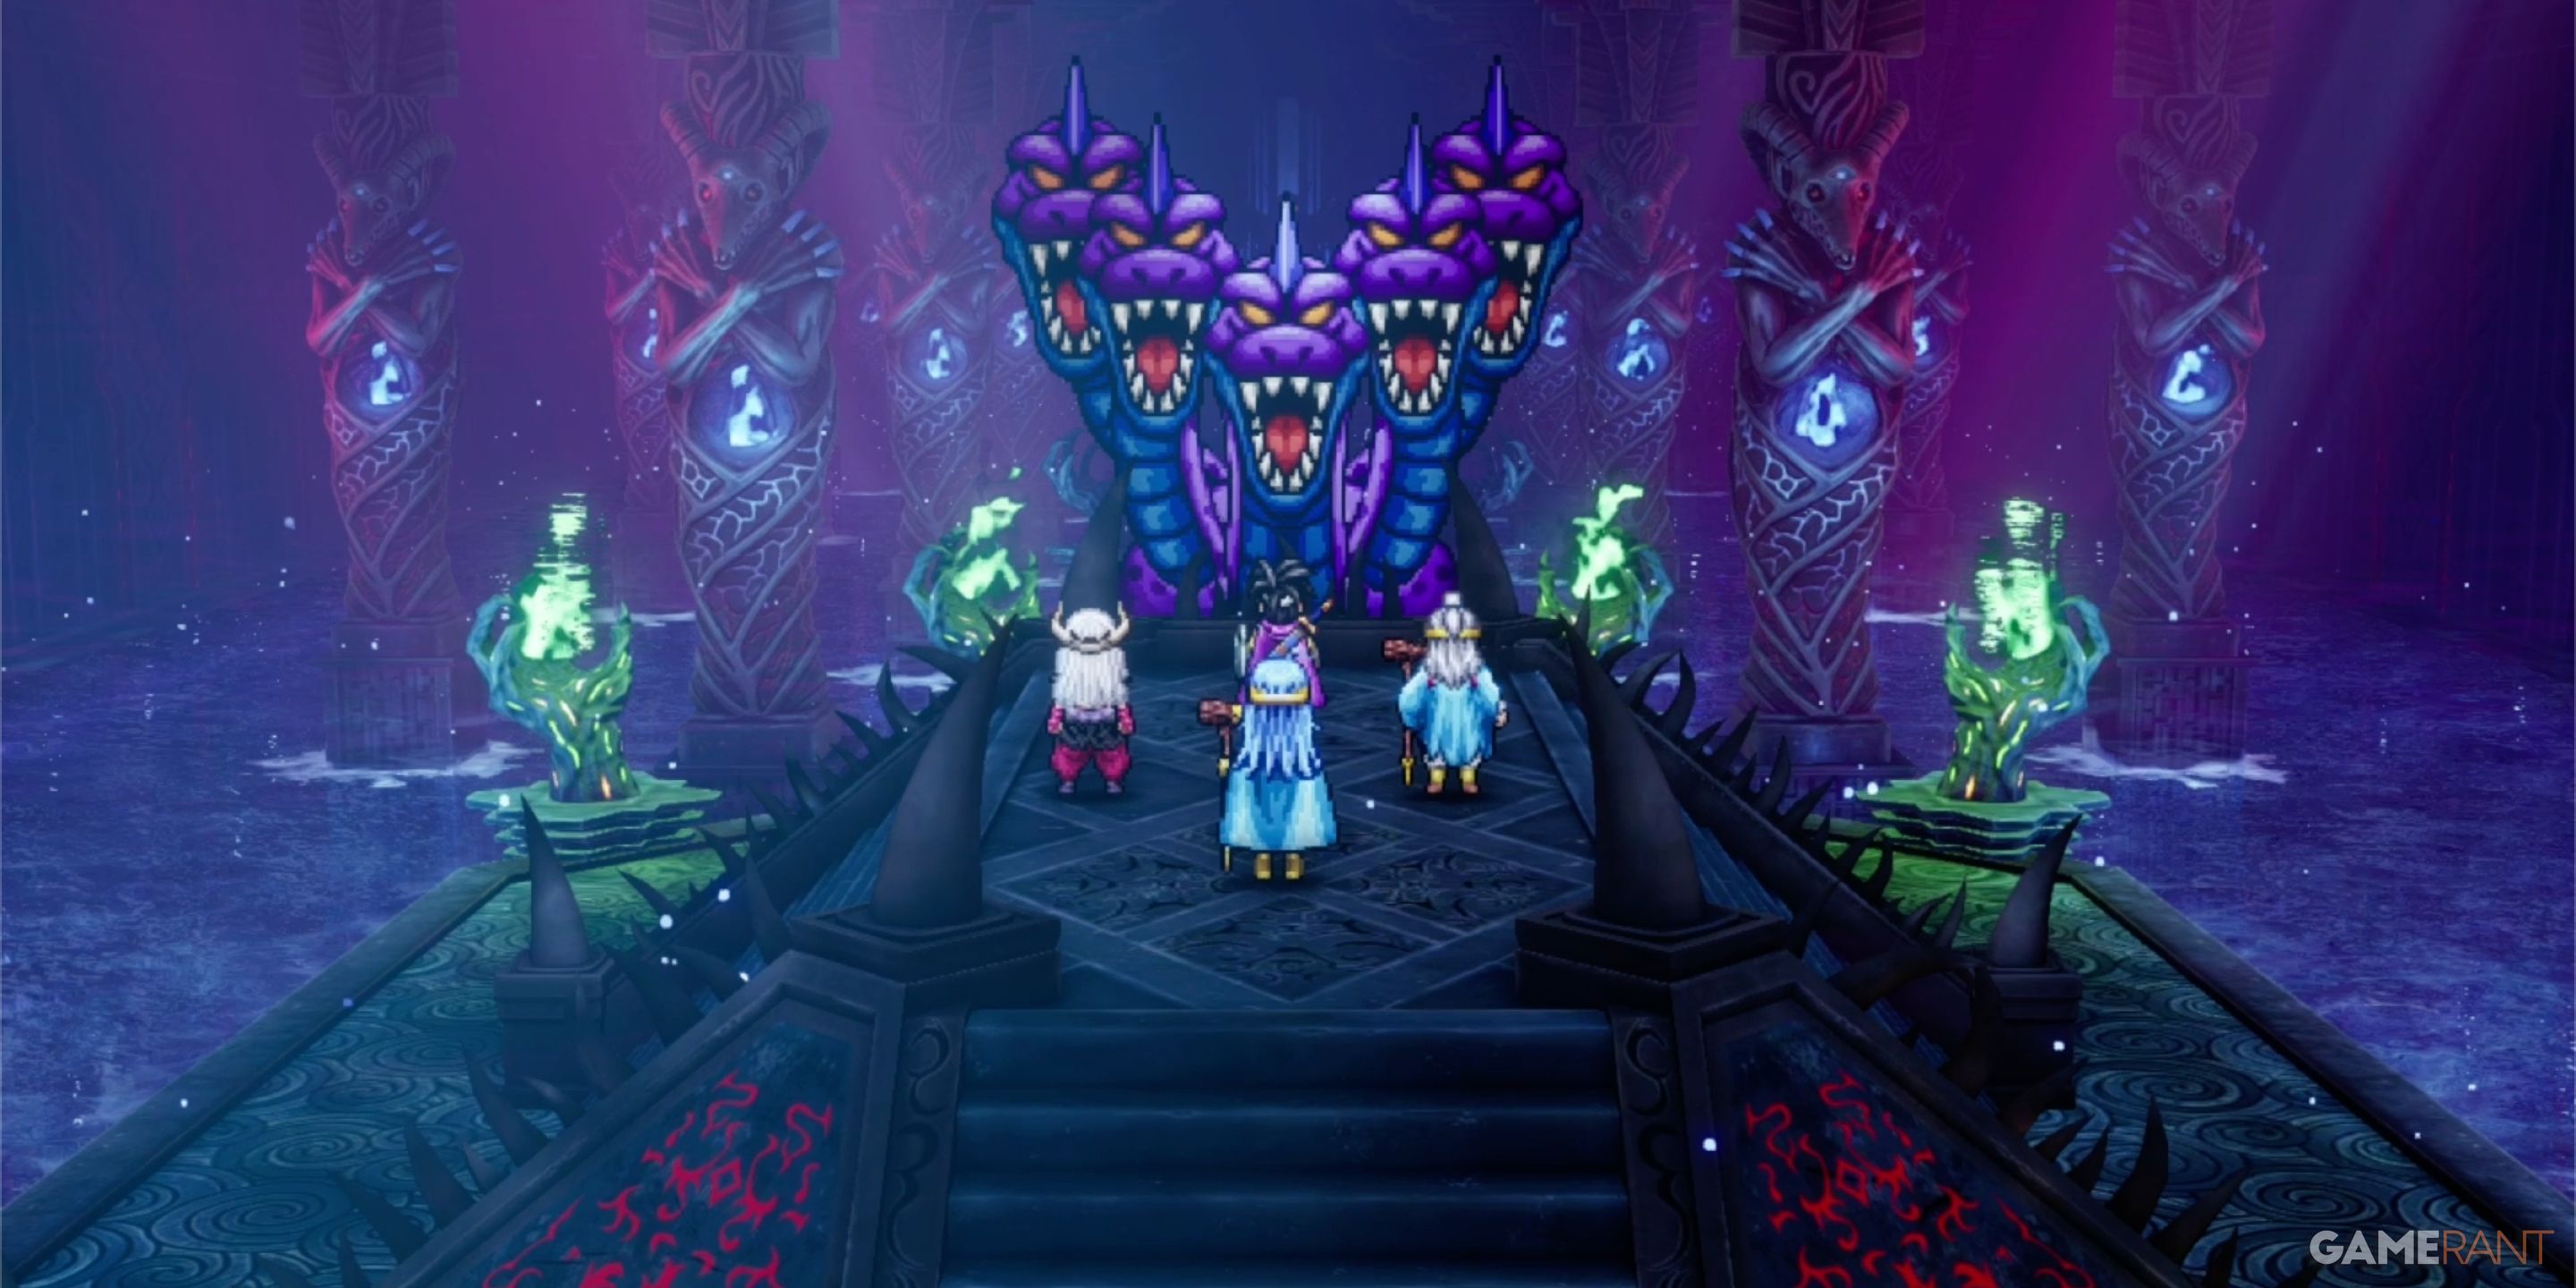
The final section of Zoma’s Citadel is a long boss gauntlet. You must defeat the King Hydra, the Soul of Baramos, and the Bones of Baramos before you reach Zoma. Luckily, you will have time to use items from your bag between each fight, so you won’t have to take them on with just the items in your personal inventory.
How to Defeat the King Hydra:
The King Hydra is about as tough as a low-level main boss. We did not discover any red-damage weaknesses during our fight, but the Kazap spell did over 400 points of damage each turn, making it extremely effective. This is a fight where it benefits you to be aggressive, as the King Hydra will heal for a little over 100 HP after each round of fighting.
Sticking with a basic boss strategy allowed us to defeat the King Hydra in one try without losing any of our party. We used one of two Sages as a partially dedicated healer. At this point, however, any strategy you’ve used for other tough bosses should work here.
How to Defeat the Soul of Baramos:
You’ve had to defeat the Soul of Baramos once already in the Tower of Rubiss, so you should already have a good idea of the strategy. The Soul is very weak to Zap damage, so make sure to dedicate the Hero to Kazap.
How to Defeat the Bones of Baramos:
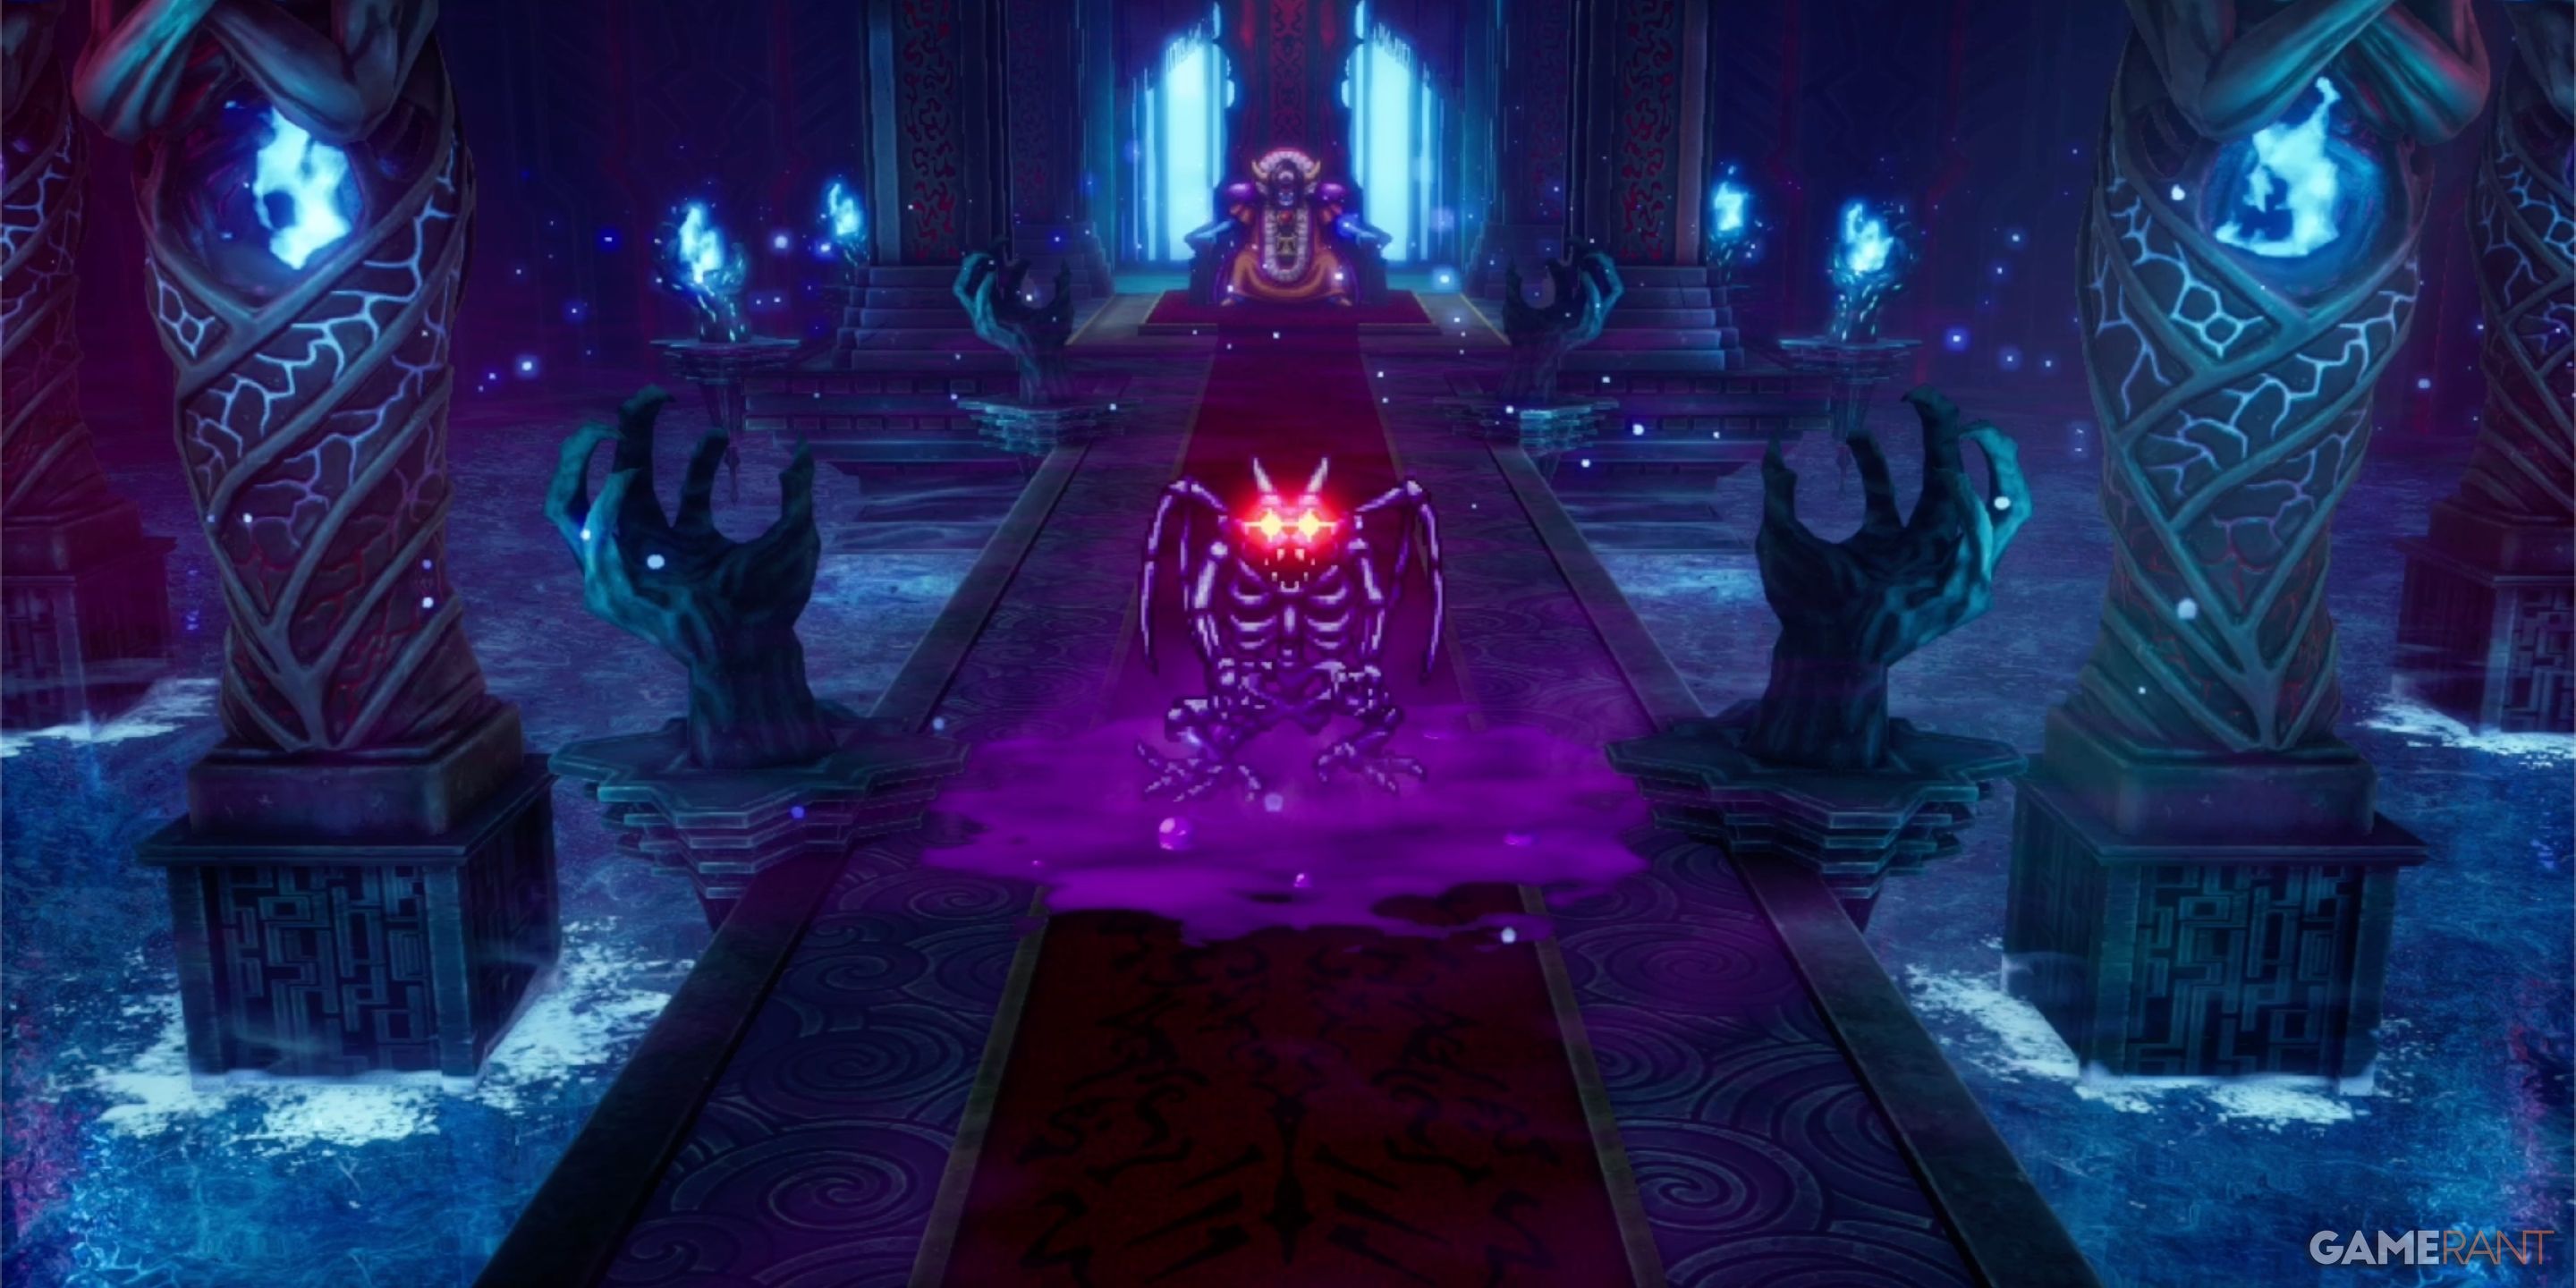
The Bones of Baramos seems to have the same weaknesses as its fleshy predecessor. We were able to take it out extremely fast using the Kazap spell, as well as the Monster Wrangler’s Wild Side/ Monster Pile-On combo. The bones hit much harder than the Soul of Baramos, so you’ll want to make sure you keep an eye on your health. In the end, however, this feels like a slightly tougher extension to the Soul of Baramos fight.
How to Defeat Zoma in Dragon Quest 3 Remake:
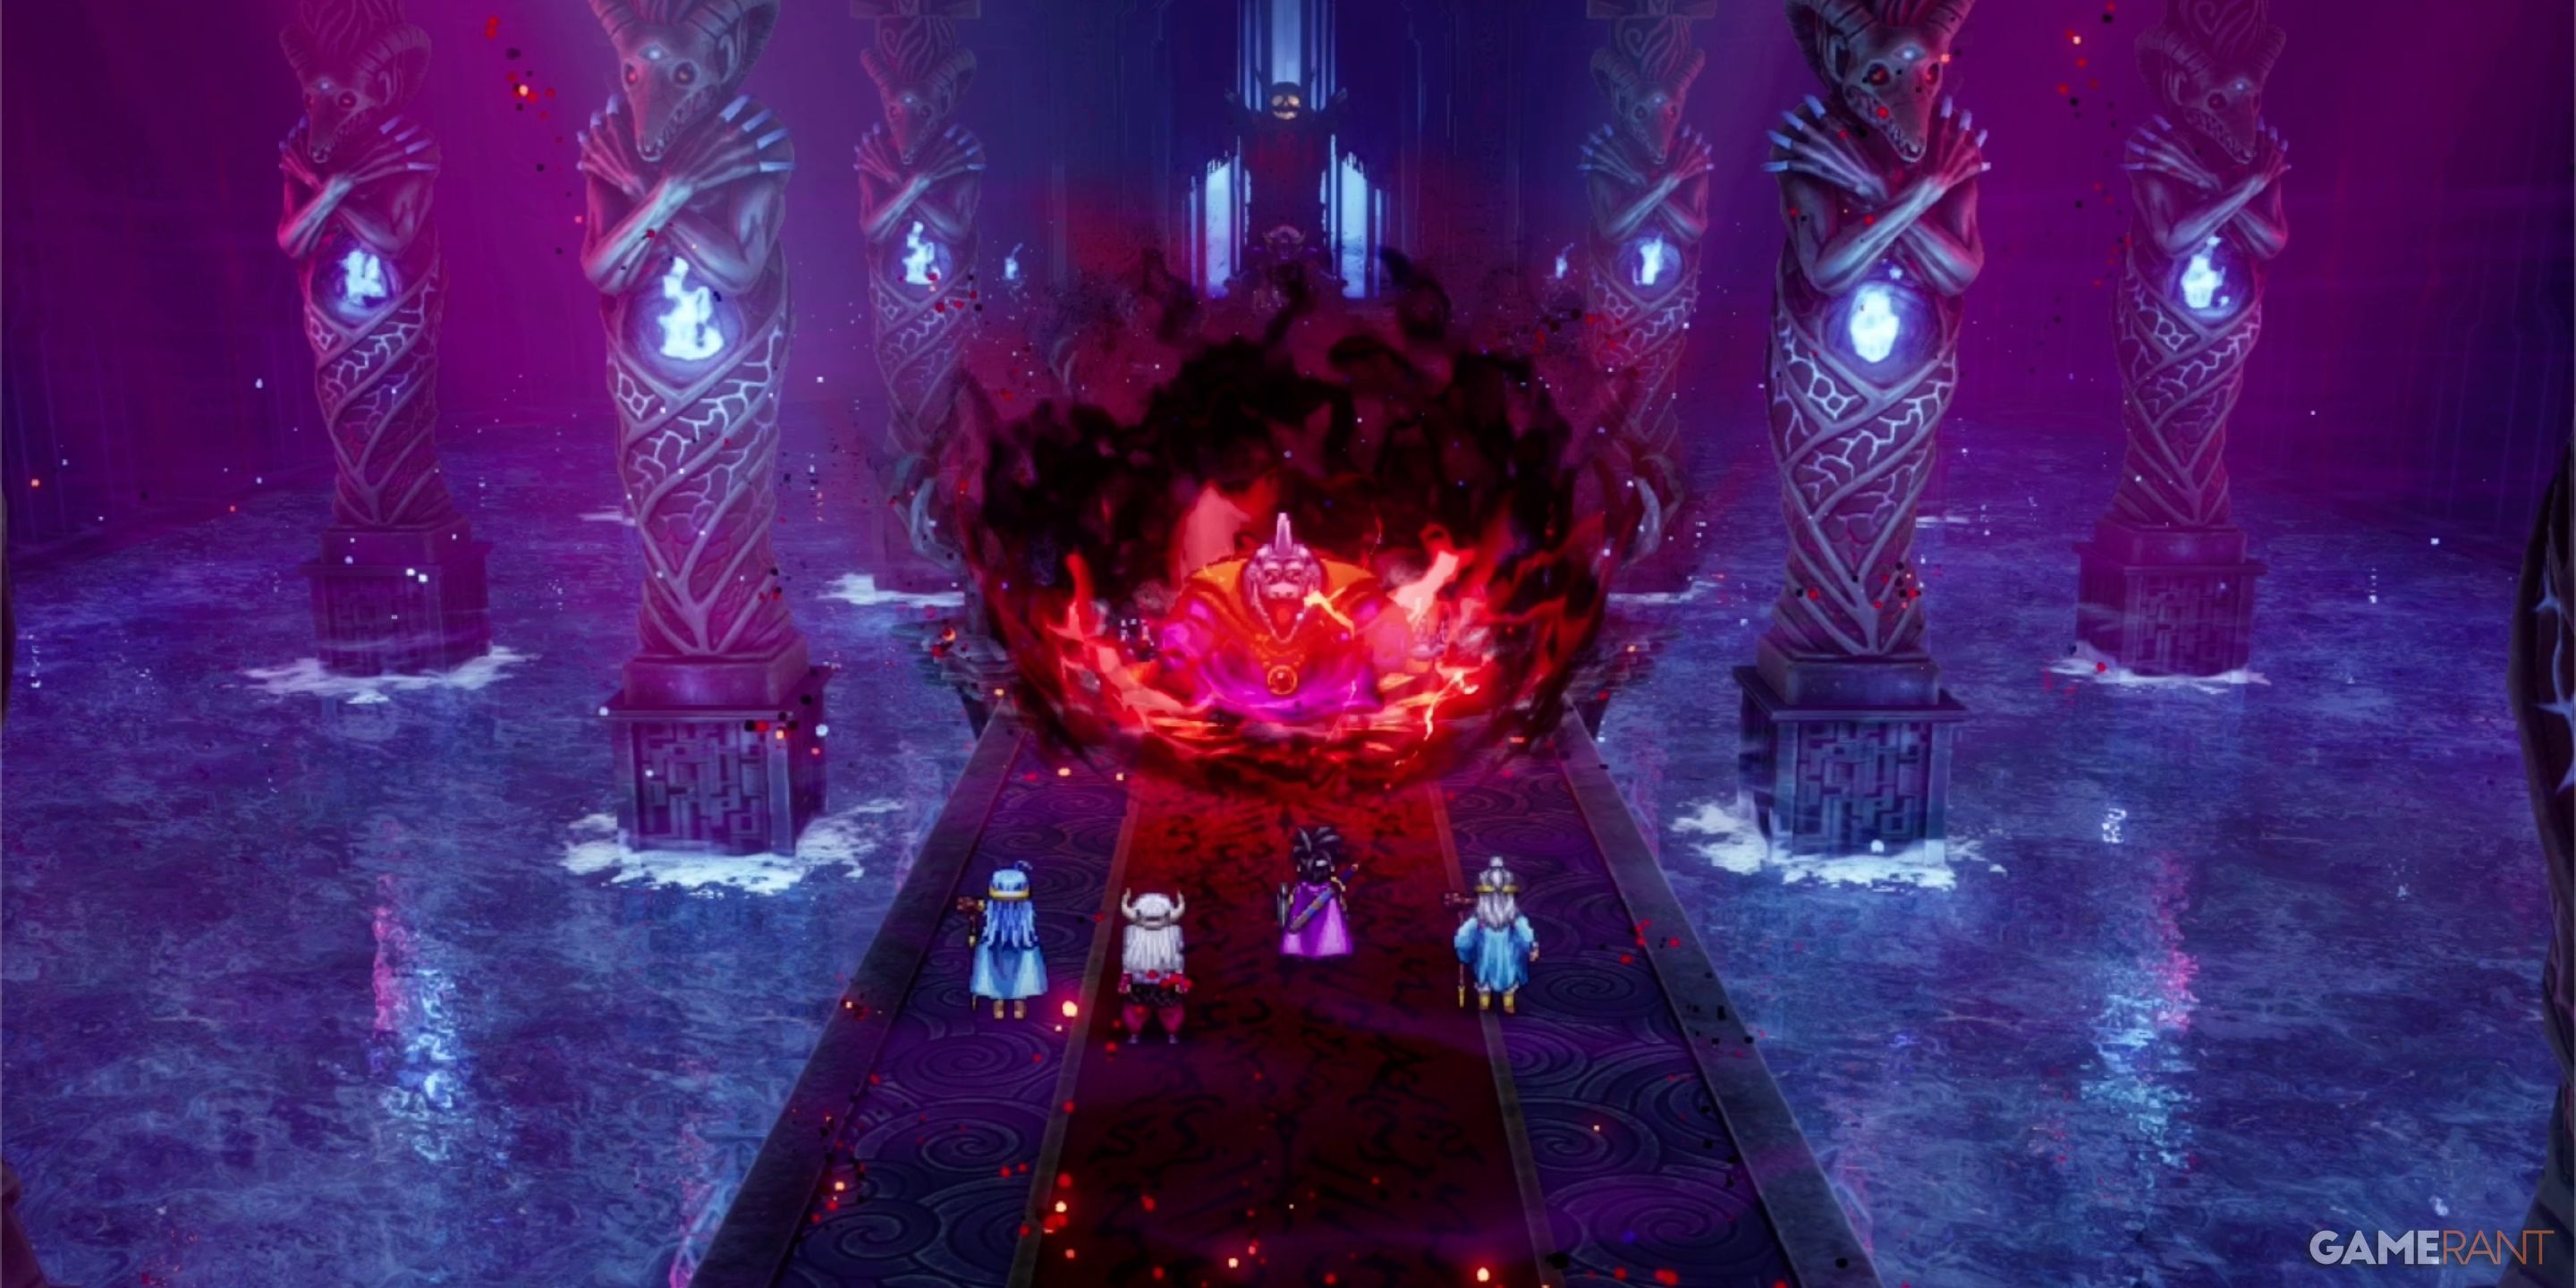
Zoma is the last fight of the main story, and it is as tough as you’d expect. The key mistake many players make here is becoming over-aggressive. Zoma is meant to be a strategic fight, and you’ll have to work to ensure all four party members survive.
At the beginning of the fight, we suggest you conserve your MP. Zoma begins with a magic barrier that reduces the effects of all magic attacks. Eventually, you’ll get a prompt that tells you that the Sphere of Light is ready to be used. Say Yes when you have the option. This will remove the barrier from Zoma, making them vulnerable to magic attacks.
With the barrier down, Zoma is weak to Zap attack. Our Kazp was doing over 650 damage each attack. The Kazap and Monster Wrangler combo works really well here, allowing two other members to focus on healing and reviving. We had to revive multiple members of the party more than once. If you feel comfortable with buffs and debuffs, this is the fight to use them. Any spells and equipment that reflect damage can be very helpful as well.
Ultimately, the best strategy is to take it slow, focusing on your HP, and not becoming overly aggressive. You will eventually prevail if you follow these guidelines.
Related
Dragon Quest 3 Remake: Personality Quiz Complete Guide
A complete guide to Dragon Quest 3 HD-2D Remake’s personality quiz, including how to get each starting vocation.
Every Monster in Zoma’s Citadel – Dragon Quest 3 Remake
|
Monster Name |
Weakness |
|---|---|
|
Dragon Zombie |
None |
|
Franticore |
None |
|
Great Troll |
Zap |
|
Green Dragon |
None |
|
Hocus-Poker |
None |
|
Hydra |
None |
|
Infernal Serpent |
None |
|
One-Man Army |
Zap |
|
Soaring Scourger |
Zap |
|
Troobloovoodoo |
Zap |












Leave a Reply