Quick Links
The Wanderer’s Palace (Hard) is a level 50 Dungeon in Final Fantasy 14 that has you retread the Wanderer’s Palace, fighting against new bosses with new mechanics. Despite being freed from the tyrant Tonberry King, the Tonberries are once again faced with peril as a band of Mamool Ja have overtaken the Palace.
Related
Final Fantasy 14: The Wanderer’s Palace Dungeon Guide
From Goobbue to Tonberry, here is our complete guide to the FFXIV Dungeon, The Wanderer’s Palace.
Head back into the Wanderer’s Palace and put a stop to the Mamool Ja mercenaries so that the Tonberries may finally know peace. Below, we’ll take a look at everything you need to know about this Dungeon, including how to unlock it and how to beat all three of its bosses.
How To Unlock The Wanderer’s Palace (Hard)
The Wanderer’s Palace (Hard) is unlocked after completing the Main Scenario Quest ‘The Ultimate Weapon’, as well as the level 50 side quest ‘Trauma Queen’, which unlocks the normal version of the Wanderer’s Palace.
Once you’ve done these two quests, you can accept the quest ‘Not Easy Being Green’ from Bloezoeng in Mor Dhona (X:22.1, Y:8.7), which will unlock the Dungeon.
Frumious Koheel Ja
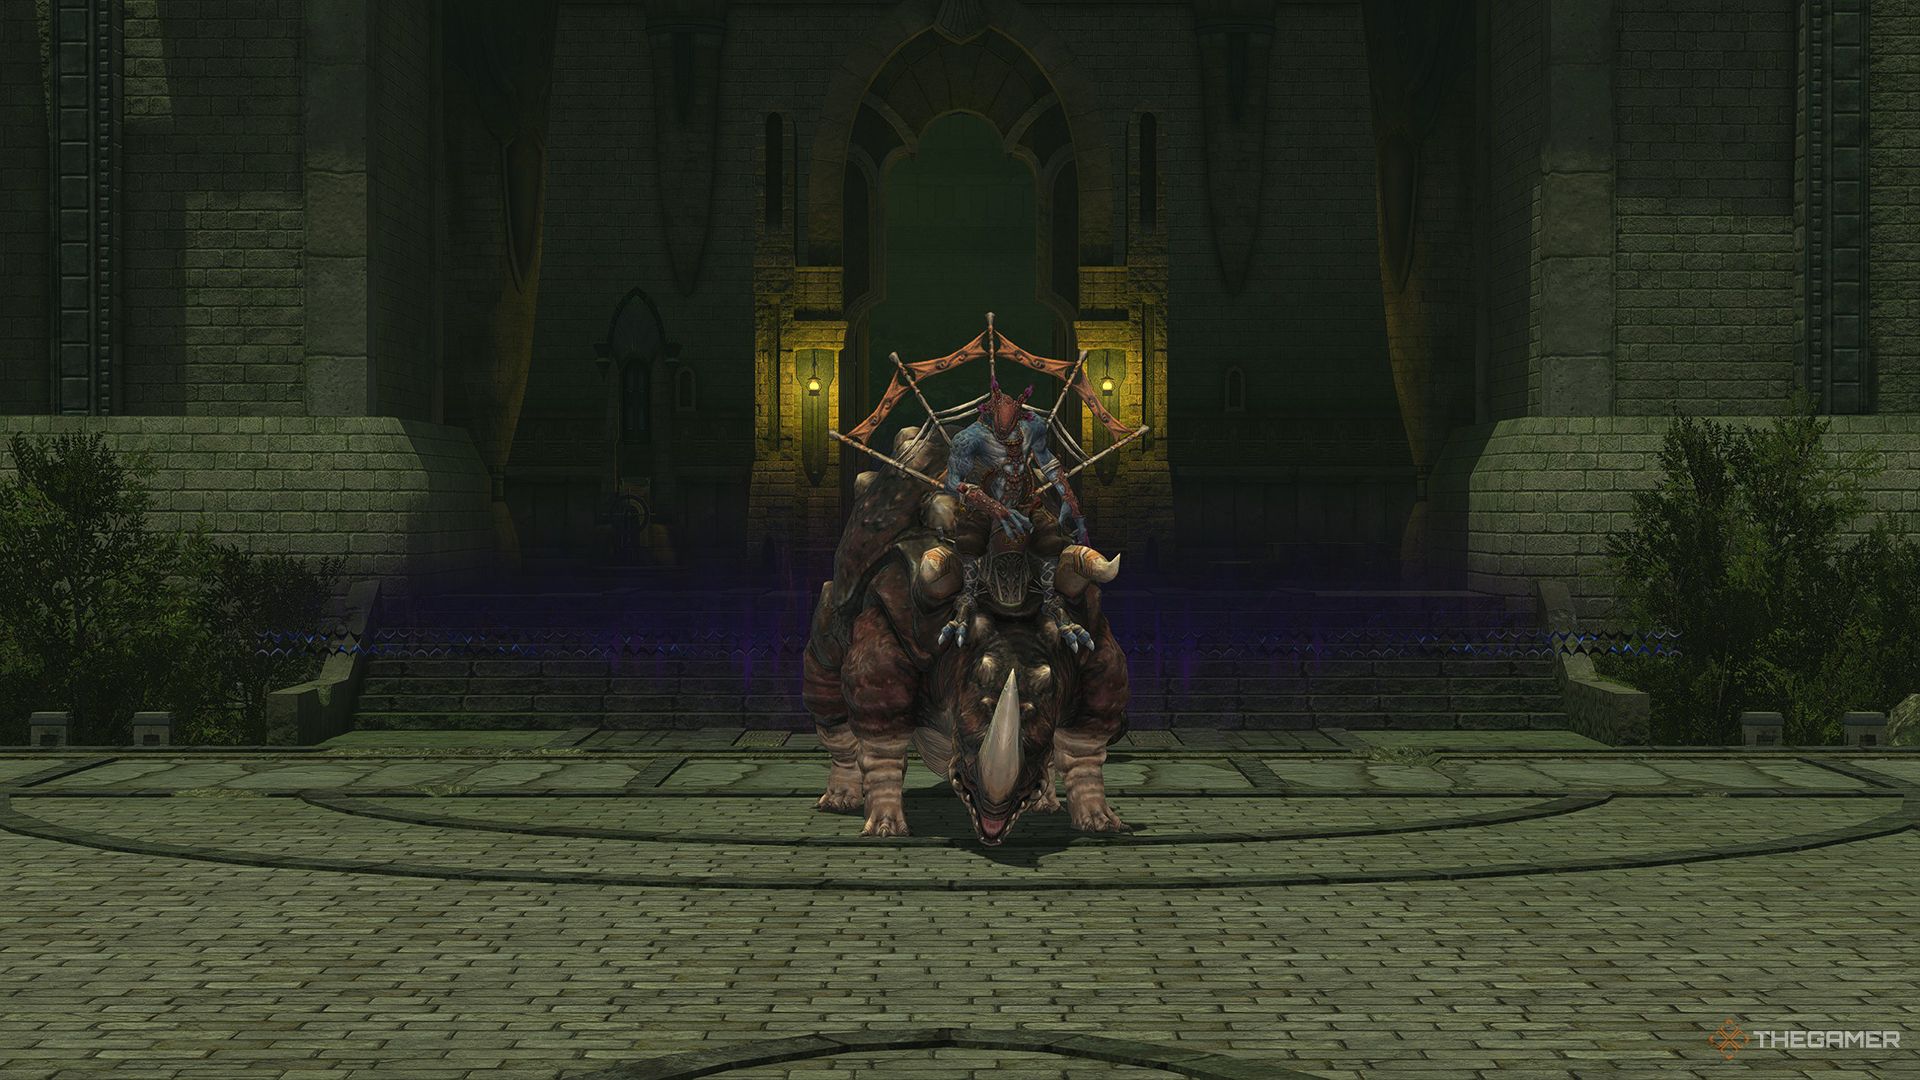
The first boss of the Wanderer’s Palace (Hard) is the Frumious Koheel Ja.
This boss has a fairly simple set of moves it will use, but its attacks can easily overwhelm you if you aren’t careful. Koheel Ja’s main mechanic is to throw Sacred Spears onto the ground, which will repeatedly deal damage to the whole arena and inflict Burns, which deals damage over time.
Every time you are inflicted with Burns, the debuff timer will reset, so repeatedly getting hit by this attack will have you constantly taking damage from Burns. To avoid this, simply destroy the Sacred Spears whenever they appear.
Meanwhile, Koheel Ja will use Fire Angon on its main target to deal damage, and will periodically use Clobber, charging towards a player and knocking them back.
The Healer will need to keep an eye on the whole party’s health throughout this fight, as you will all be hit with the Sacred Spears’ attacks.
The key to this fight is to destroy the Sacred Spears as quickly as possible. Do this, and Koheel Ja will go down without too much trouble.
Slithy Zolool Ja
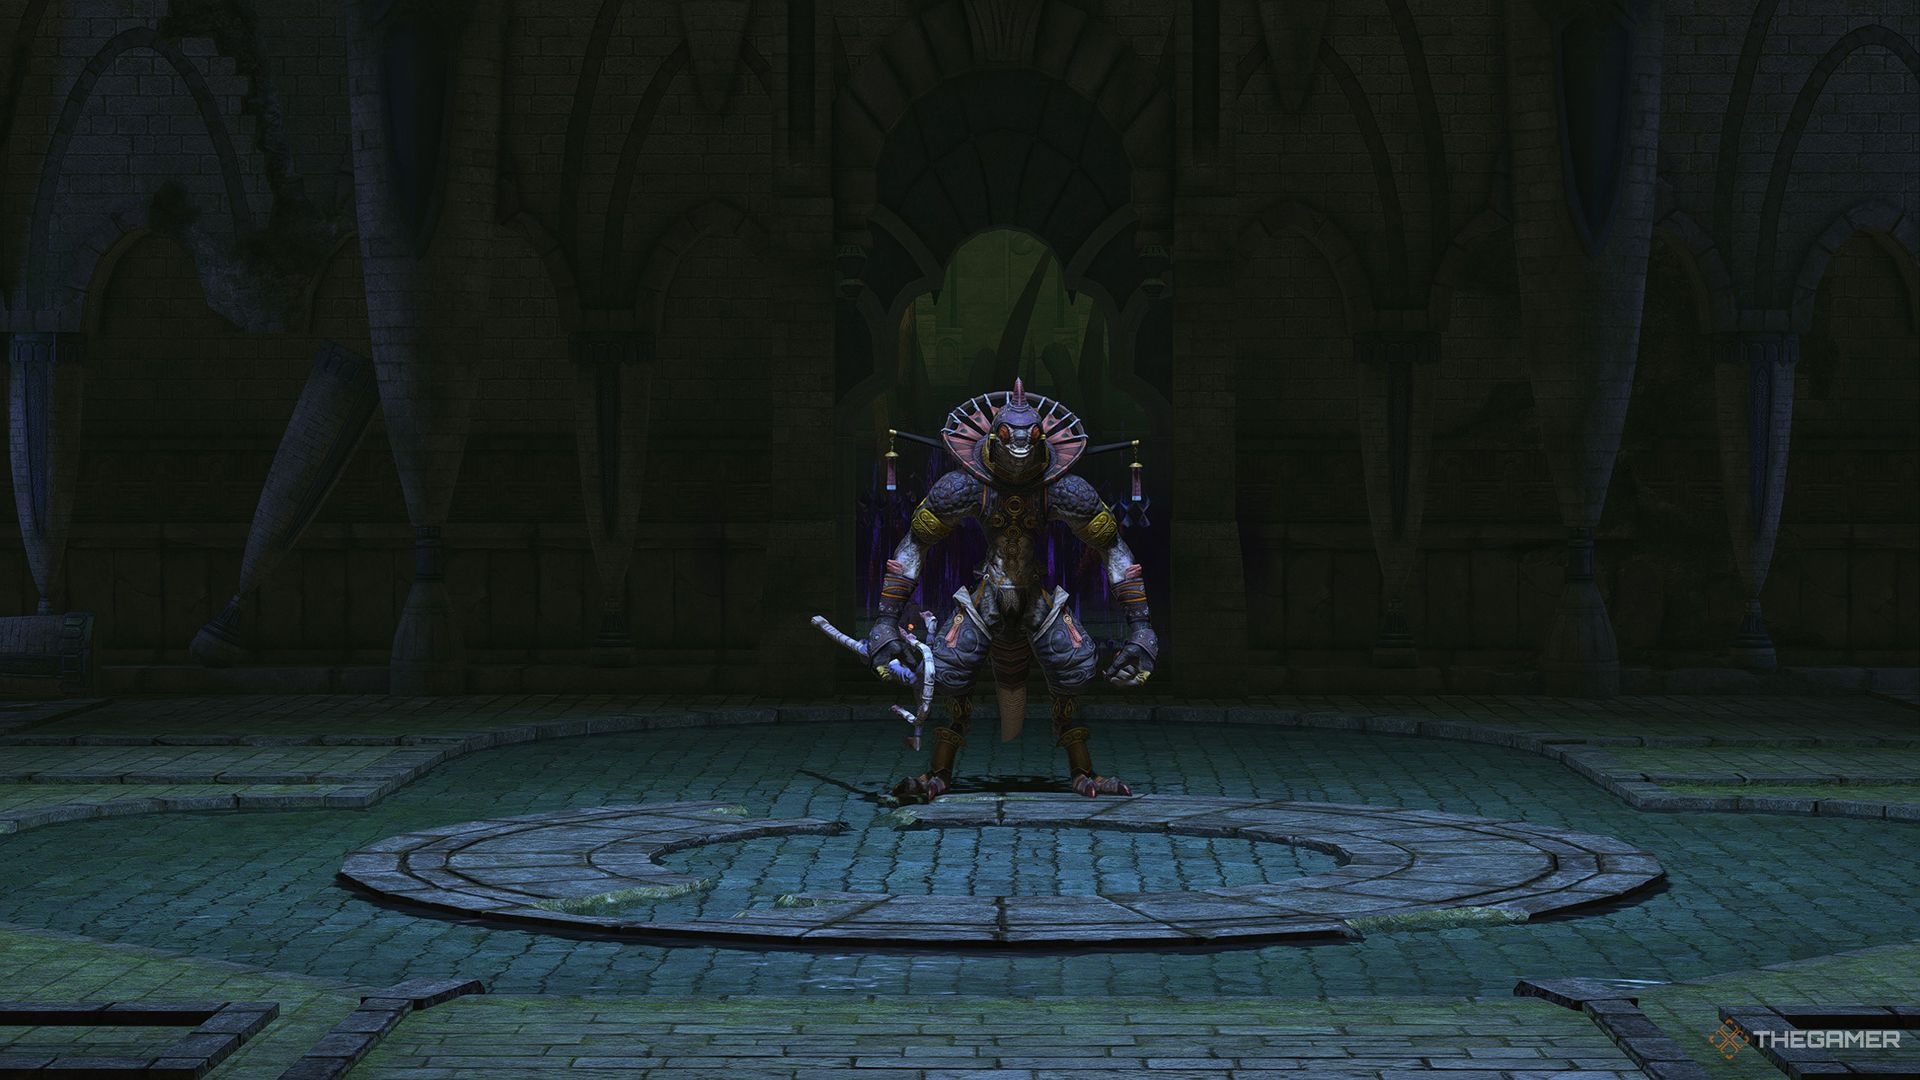
The Slithy Zalool Ja is the second boss of the Wanderer’s Palace (Hard).
At first, this fight will feel complicated, but it’s actually pretty simple. Zolool Ja will use Sacred Standard, summoning a number of colored Standards around the arena. Walking near any of these will produce a different effect depending on its color.
- Red Standard: Inflicts Fire Resistance Down debuff
- Blue Standard: Provides Damage Up buff
- Green Standard: Transforms you into a Toad or cleanses the Toad debuff if you are already a Toad
- Purple Standard: Inflicts the Heavy debuff
Essentially, avoid all the Standards except for the Blue one, which you should let the DPS players run into to gain the damage buff.
After a while, Zolool Ja will use Standard Retrieval, clearing all active Standards from the field. If the Blue Standard is still standing, he will gain the damage buff, so it is in your best interest to take the buff before he does.
Zolool Ja will also sometimes cast Toad, transforming a random player into a Toad. The transformed player can use the Green Standard to instantly clear the debuff and return to normal.
Throughout the fight, Fire, Firespit, and Groundburst, dealing damage to his main target. The Healer should keep an eye on the Tank while the whole party avoids stepping into detrimental Standards.
Manxome Molaa Ja Ja
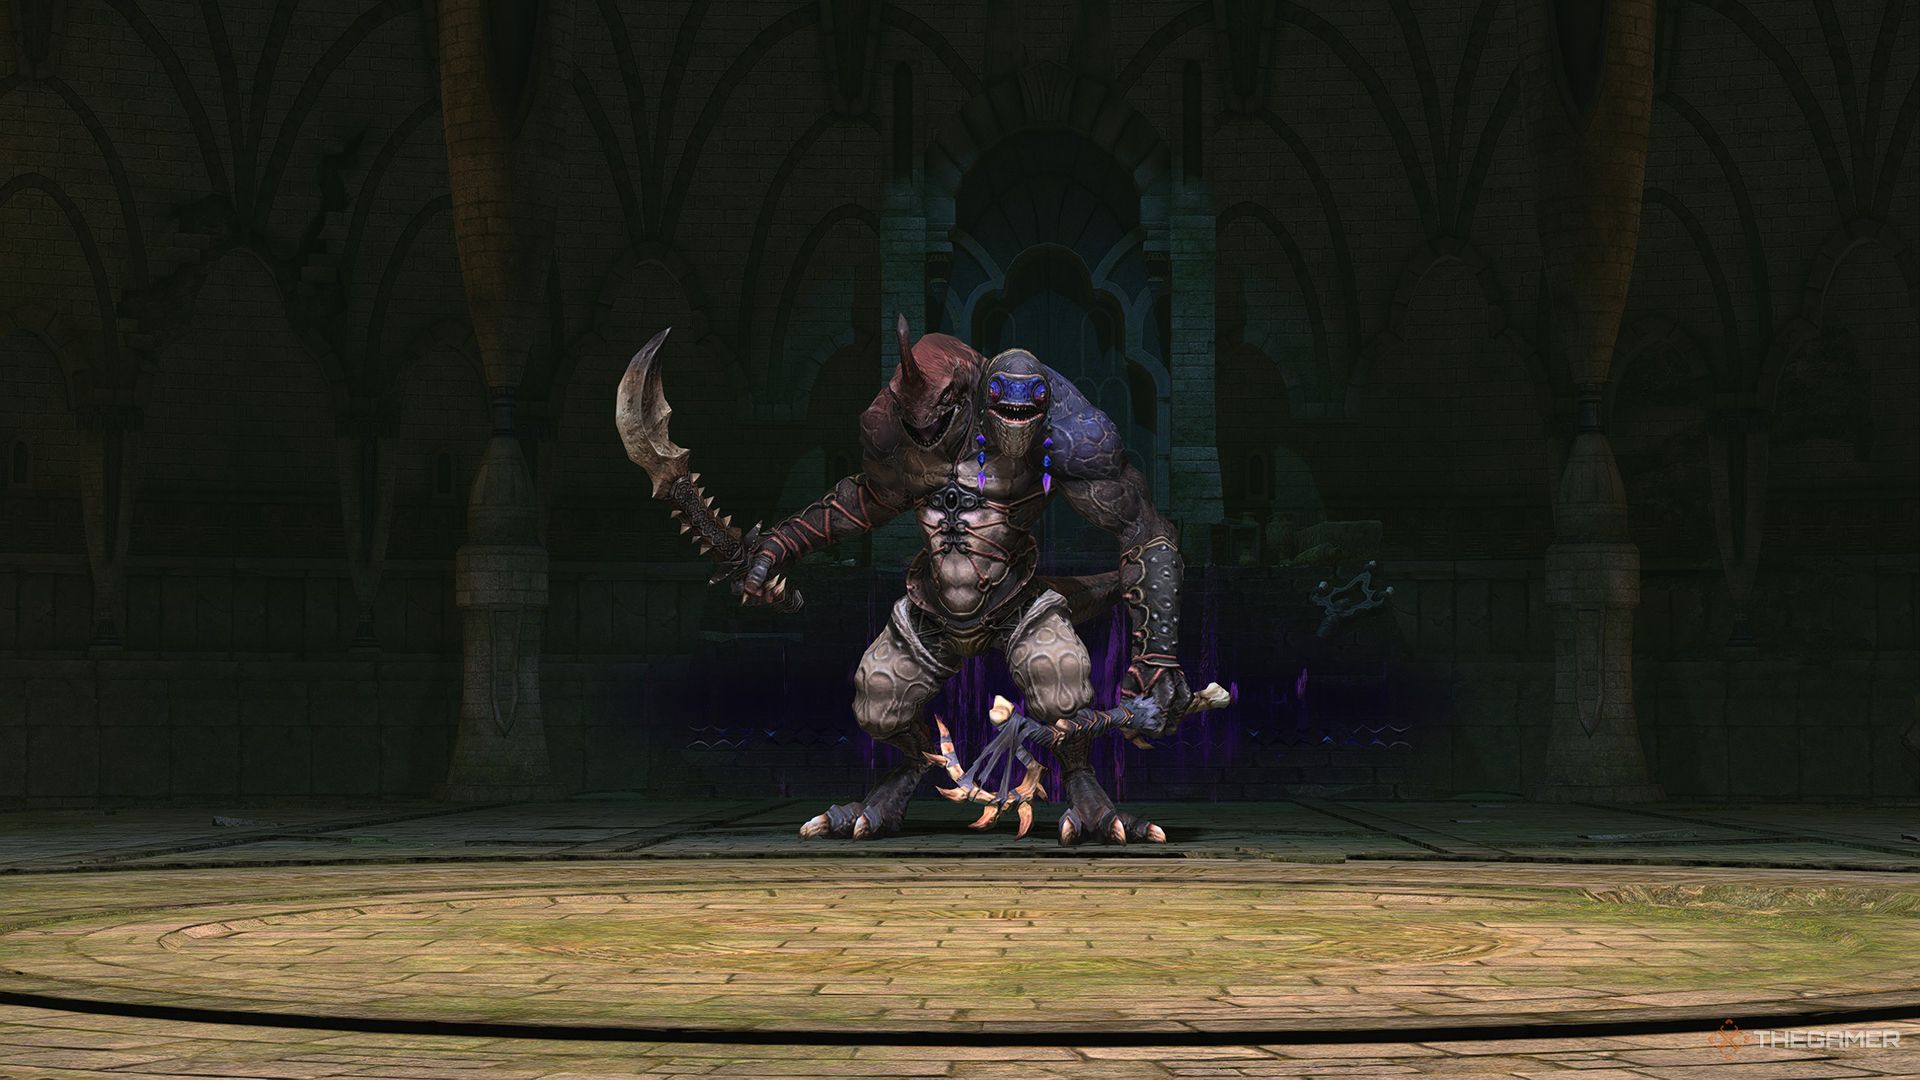
The final boss of the Wanderer’s Palace (Hard) is the Manxome Molaa Ja Ja
|
Attack Name |
Type |
Details |
|---|---|---|
|
Tyrannic Blare |
Conal AoE |
Molaa Ja Ja will deal damage in a large conal AoE to his front, inflicting Stun and Magic Vulnerability Up. Stay close to the boss throughout the fight to avoid this attack. |
|
Rot Gas |
AoE/Summon |
The boss will deal damage around himself, inflicting Poison and Disease, while also summoning a Sacred Standard that buffs him with Damage Up and Vulnerability Down while he stands in their area of effect. The Tank should pull Molaa Ja Ja away from the Sacred Standards whenever they appear to remove these buffs. |
|
Soul Douse |
Doom |
One player will be targeted with Doom, which will instantly kill them after a 20-second countdown. To remove Doom, the affected player will need to be restored to full health within the time limit. Whenever Molaa Ja Ja uses Soul Douse, the Healer should immediately work to cleanse Doom. |
|
Vorpal Wheel |
Debuff |
Molaa Ja Ja will randomly target one player, dealing damage to them and inflicting the Rotting Lungs debuff. This debuff will cause you to explode with damage if you are hit by Rot Gas. |
|
Sacred Idol/Silverscales Zenist |
Summon |
A Sacred Idol will appear, tethering to the boss and granting him the effects of a Sacred Standard even when he is not standing in the area of one. At the same time, two Silverscales Zenists will appear. These adds have relatively low health, so burn them down before returning your attention to the boss. |
Molaa Ja Ja will repeat these mechanics until he is defeated. Don’t worry about destroying the Sacred Standards that appear after Rot Gas, as they have relatively high health. Instead, pulling the boss outside of their area has the same effect, preventing him from gaining their buffs.
As long as you cleanse Doom and move the boss out of the Standards, you will be able to take down Molaa Ja Ja and complete the Wanderer’s Palace (Hard).
Next
Final Fantasy 14: The Sunken Temple of Qarn (Hard) Dungeon Guide
Here’s a complete walkthrough to the Sunken Temple of Qarn (Hard), a level 50 Dungeon in Final Fantasy 14.



Leave a Reply