Building a new gaming PC involves a lot of crucial steps which are delicate and intimidating. From firmly slotting the RAM sticks to plugging the correct wires, it can quickly become daunting. This simple guide aims to tackle the nerves while installing the processor into the motherboard socket.

Related
AMD Ryzen 7 9700X Buyer’s Guide: The Best CPU Alternatives To Also Consider
AMD’s Zen 5-based Octa-core wunderkid is out now. Here are all the CPUs one needs to consider before grabbing one!
Installing a processor is one of the most challenging steps in building a PC. One small error can lead to the motherboard or the processor being obsolete, so it’s crucial to follow guides and tutorials before jumping right in. Until recently, processors had vertically standing pins on them which were prone to being damaged while installing, but recently, CPUs have moved to a pin-less design. It’s still wiser not to touch underneath the processor or inside the CPU socket on the motherboard. Our step-by-step guide will prepare you for the process and make it seem like a cakewalk.
Step 1: Preparing The Workstation
To kick things off, you must place the motherboard on a stable surface, like a table, to avoid movement. It is also advised to wear an anti-static wrist strap which helps eliminate any static current passing into the components and potentially damaging them. Try not to stand directly over a floor mat as moving over it will accumulate static energy in your body. In case you don not have an anti-static wrist strap, just keep touching any bare metal surface from time to time to neutralize the static buildup.
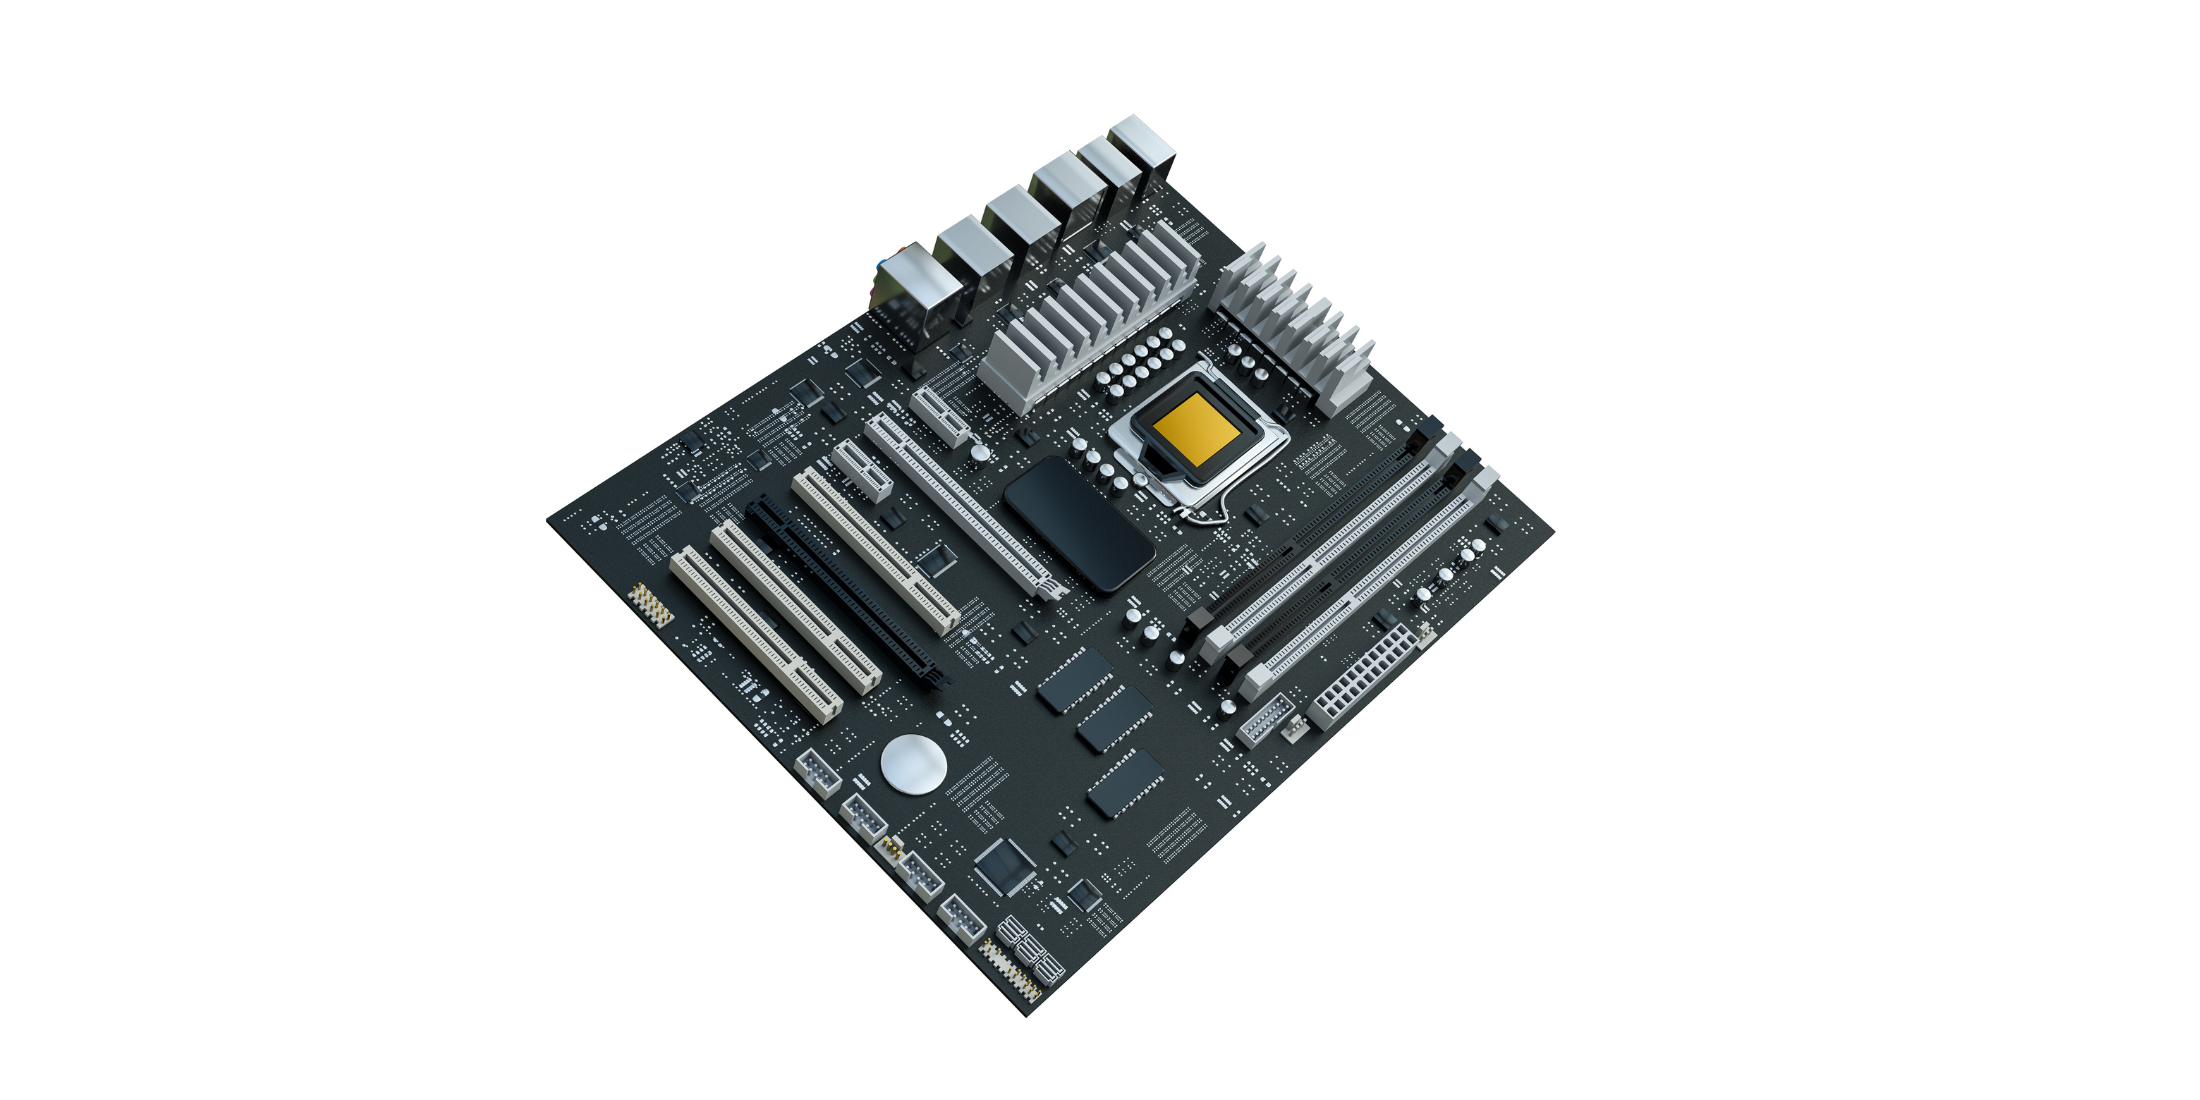
You will also need a magnetic screwdriver with interchangeable bits or even a Phillips head screwdriver for the different types of screws. Now place the motherboard box beneath the motherboard to secure the base and gently lift the CPU socket lever to completely expose the socket. Ensure not to touch the pins on the CPU socket as they are prone to bending and can be a pain to fix.
Step 2: Placing The Processor
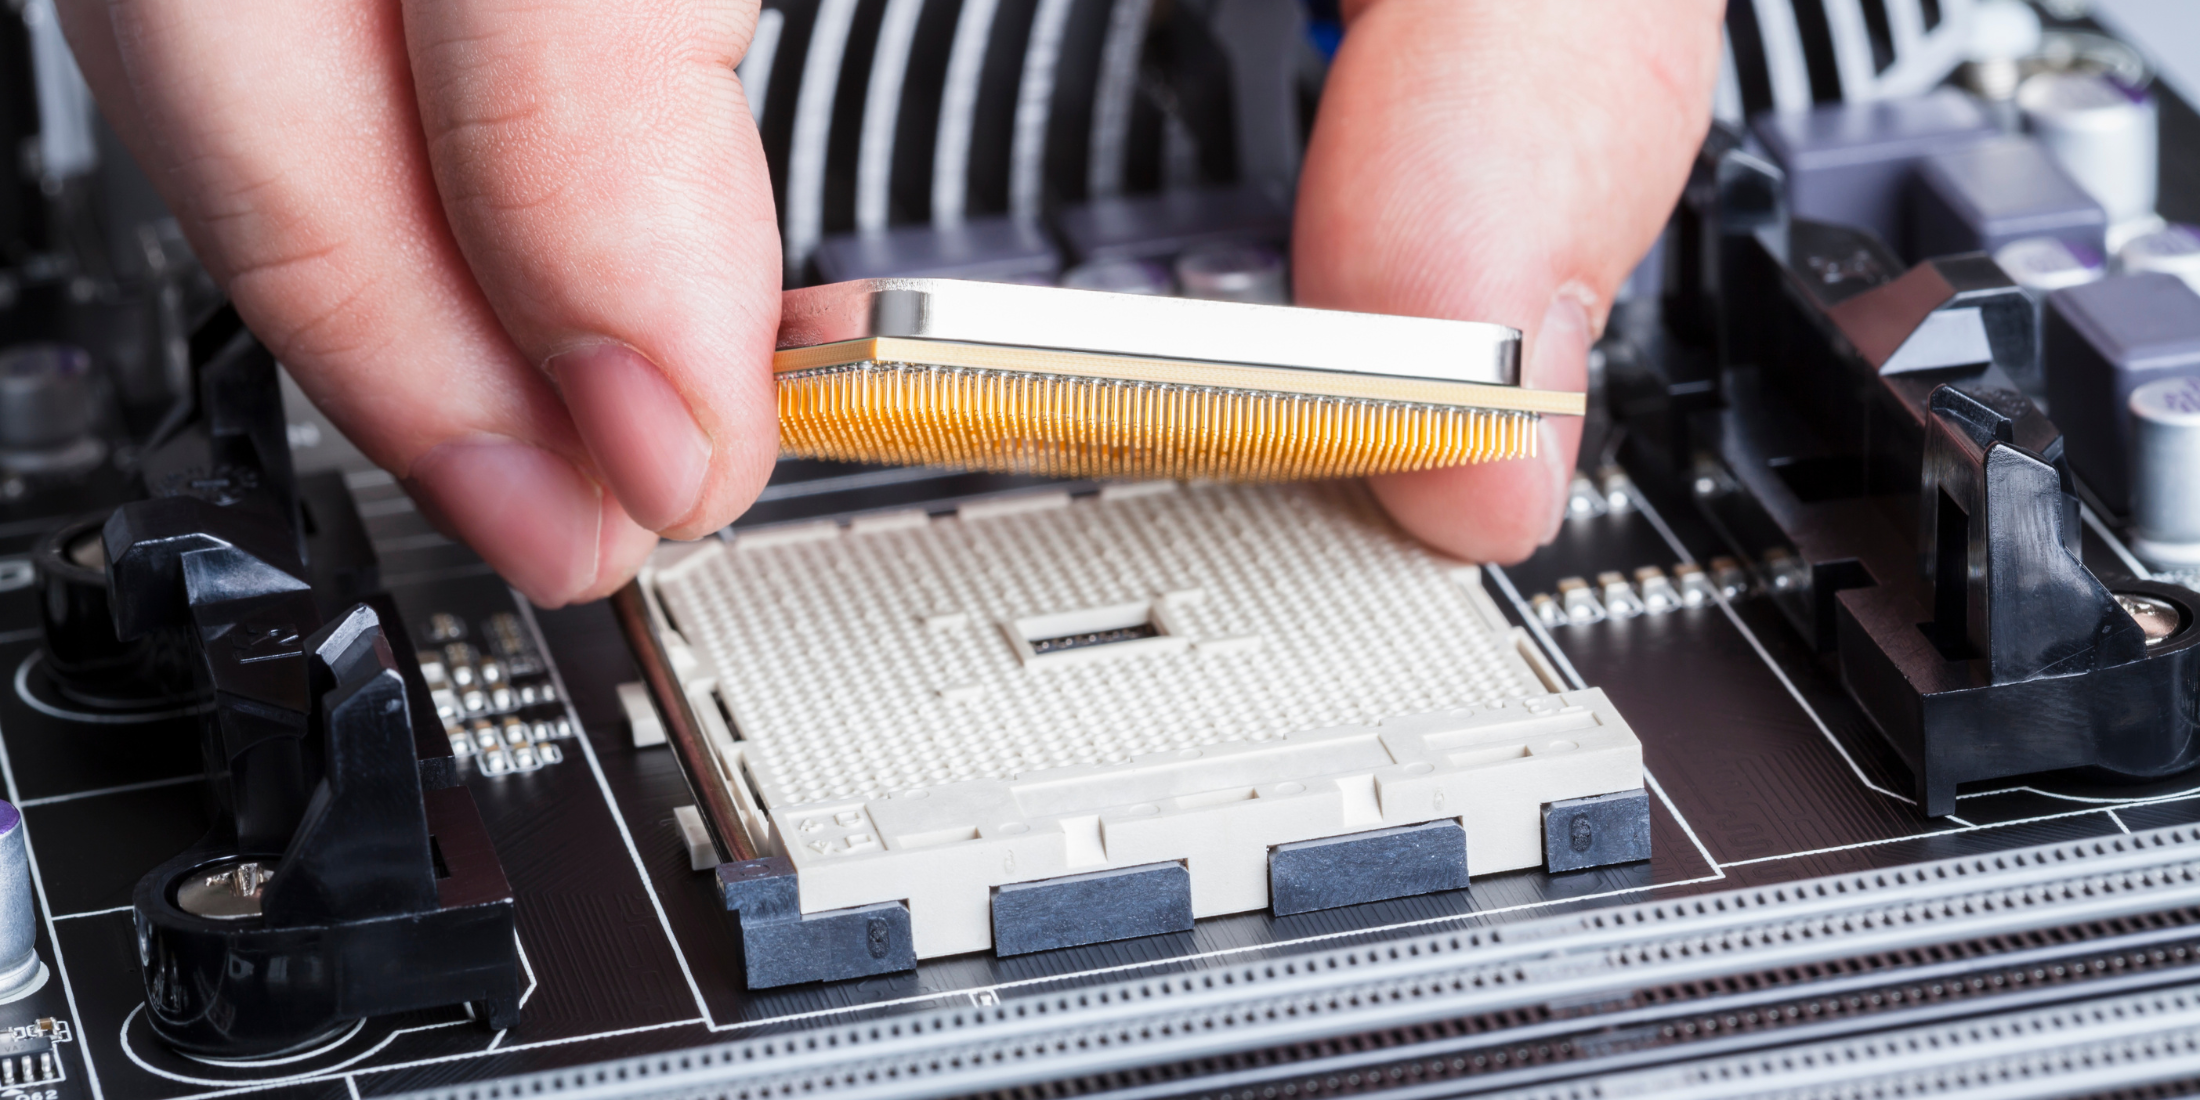
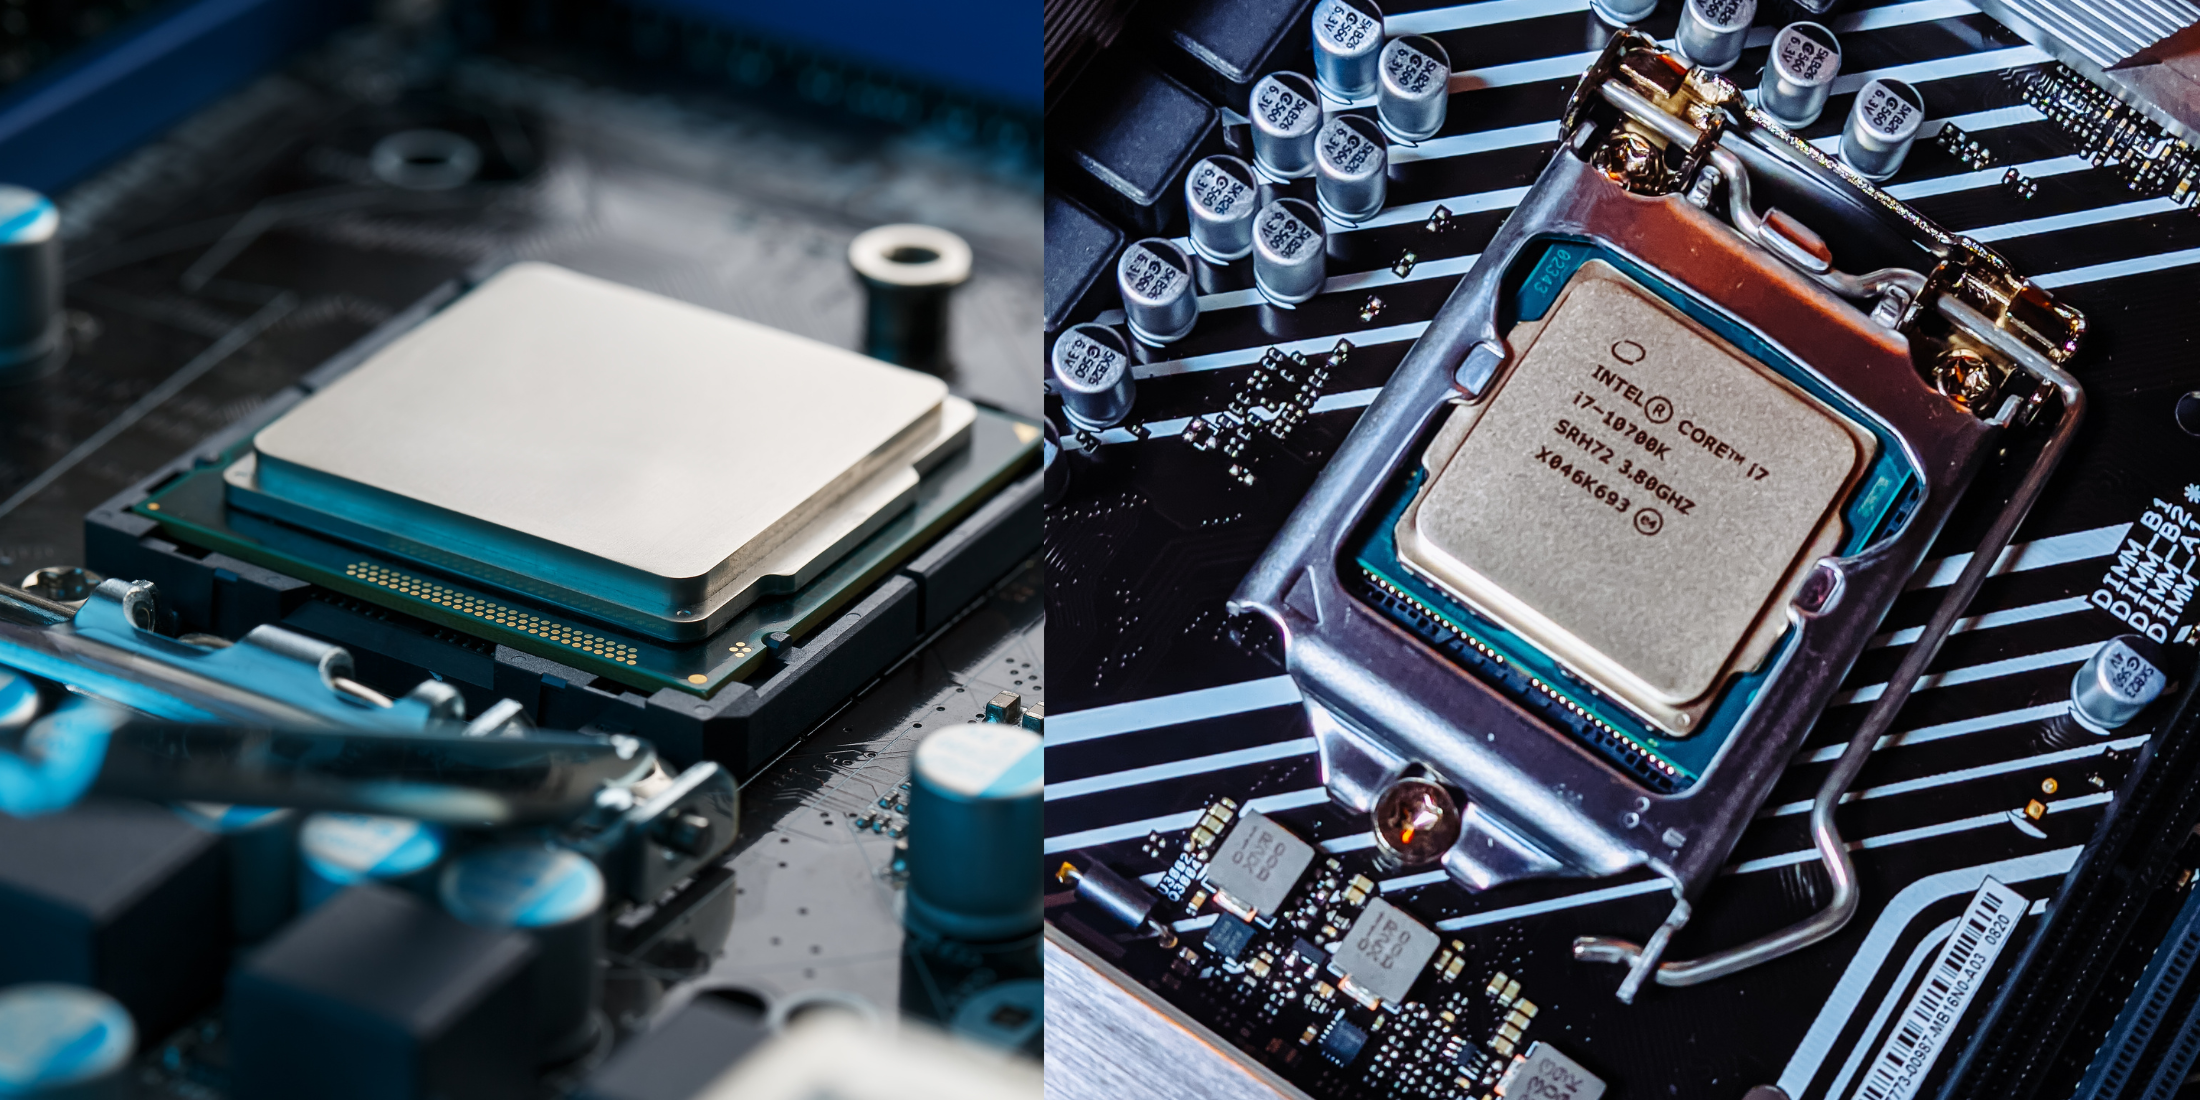
Now comes the fun part. Take out the processor from its box without touching its back, which may contain pins depending on the generation. Hold it from the sides, align the arrow on the processor to the same on the CPU socket, and gently place it there without exerting any extra force. It should fit in snugly, and you can wiggle it gently for peace of mind. If the processor doesn’t look perfectly aligned, do not exert extra force. Doing so can damage the pins of the socket and the processor.

Related
The Best Gaming PC Builds For $1000
Building a gaming PC individually just became easier as Game Rant showcases three of the best and most balanced PC builds.
Step 3: Closing The Lid
Make sure the processor is correctly seated, otherwise closing the lid will lead to the pins bending. Lower the lever and push it under the latch like it was initially. You will feel a bit of resistance, which is perfectly normal, and you just need to trust the process. The plastic cover should pop off or might need a slight tug. It is wise to store the plastic top cover in case you decide to sell the motherboard. At this point, you have successfully installed the processor.
Step 4: Applying Thermal Paste
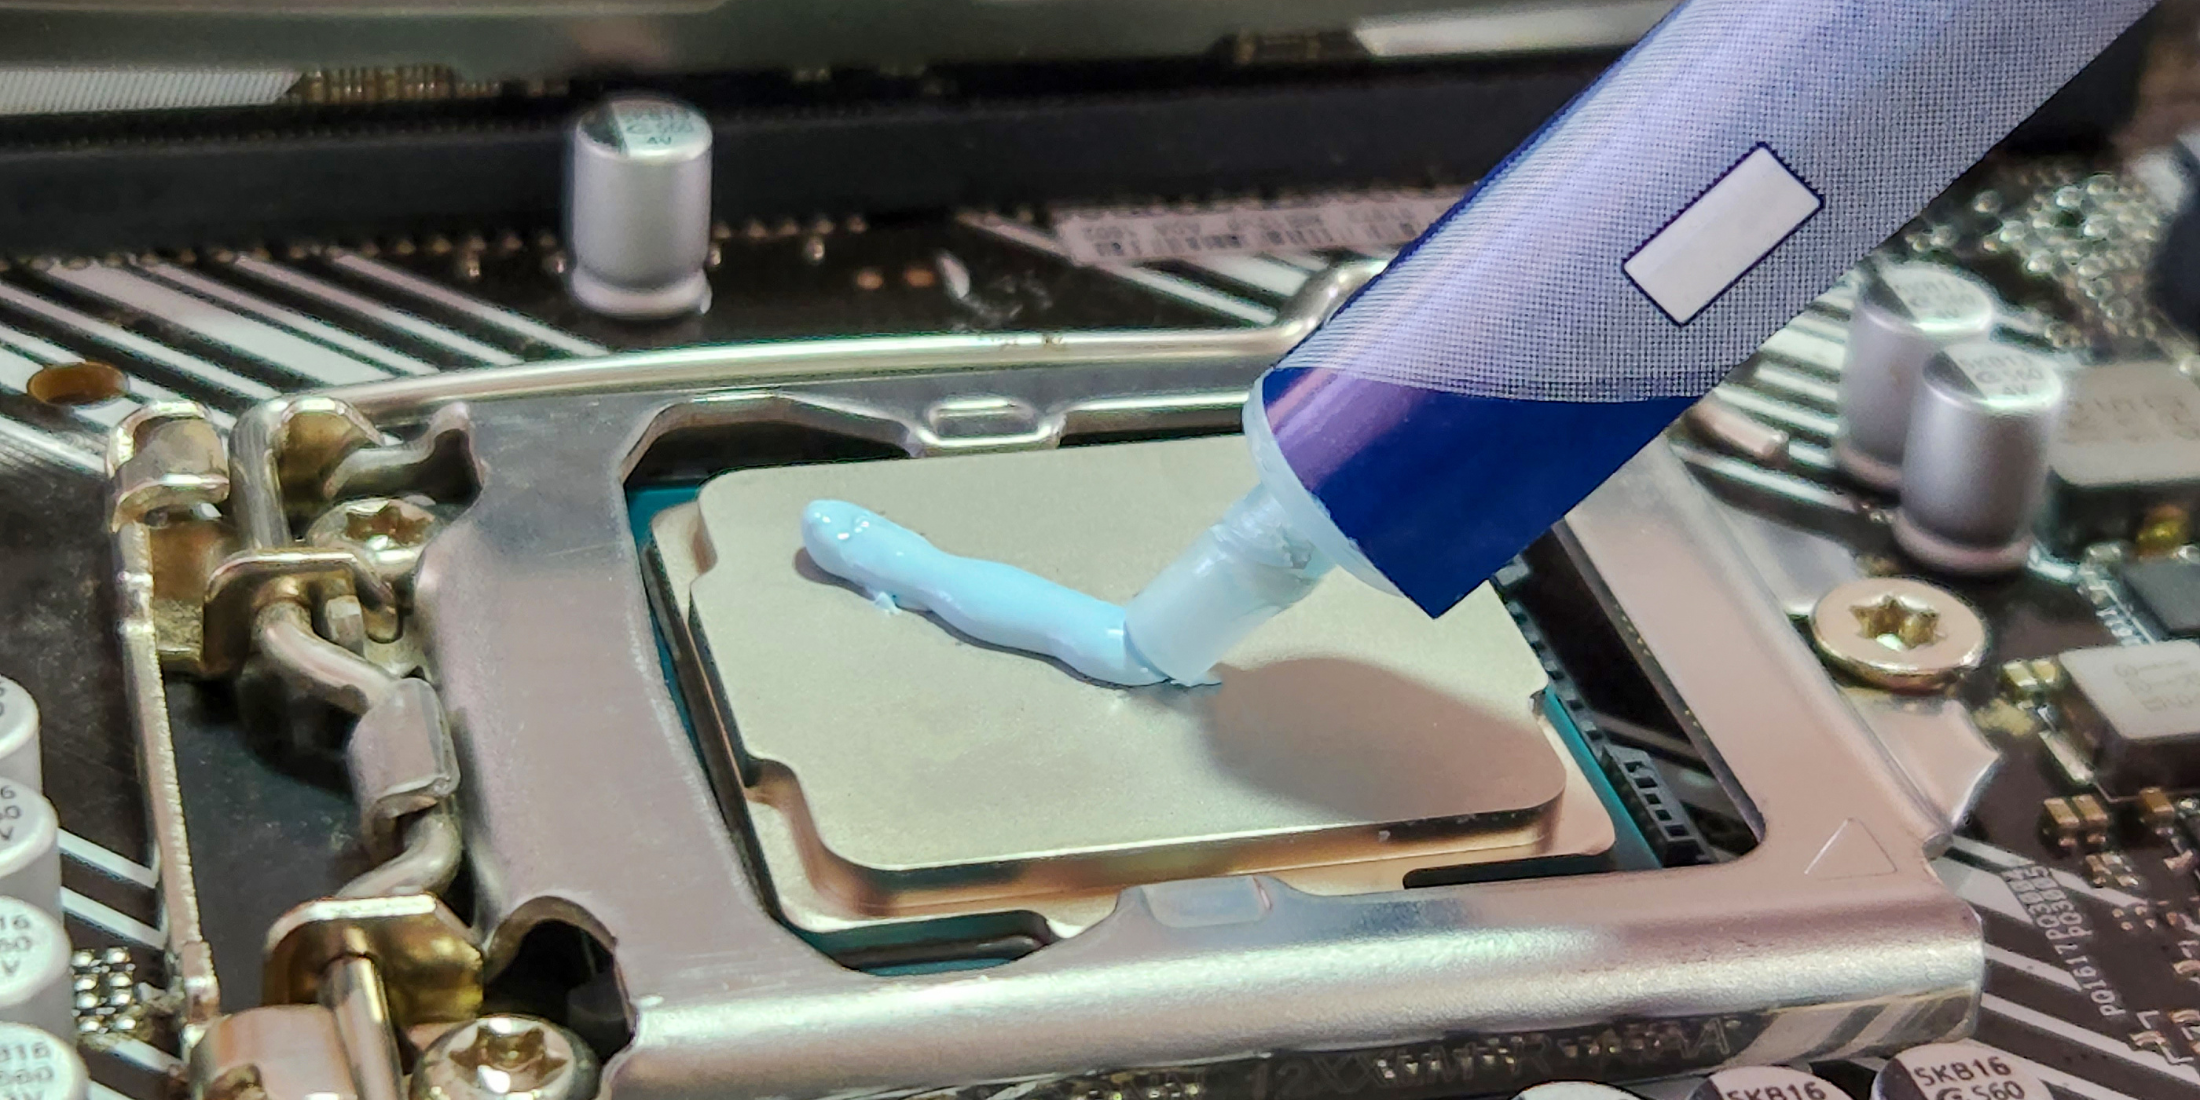
This is where people have their own theories and beliefs about how to effectively apply thermal paste for improved thermal conductivity. As a general rule of thumb, placing a pea-sized dab of the conductive compound right in the center of the processor is a wise option. Alternatively, you can spread it out evenly using a small spatula, which sometimes is included with third-party thermal paste packages. For large-sized processors, the pea-sized dab method might not be super effective, in which case it’s best to spread the thermal compound evenly on the surface.
As much as it sounds right to put some extra thermal compound for better heat dissipation, in reality it can be detrimental to your system. The thermal compound can seep beyond the processor’s surface and cover the motherboard components or drip into the CPU socket, leading to more issues.
Make sure to check if the CPU cooler comes pre-applied with the thermal compound, eliminating the need to buy it separately.
Step 5: Installing The Cooler
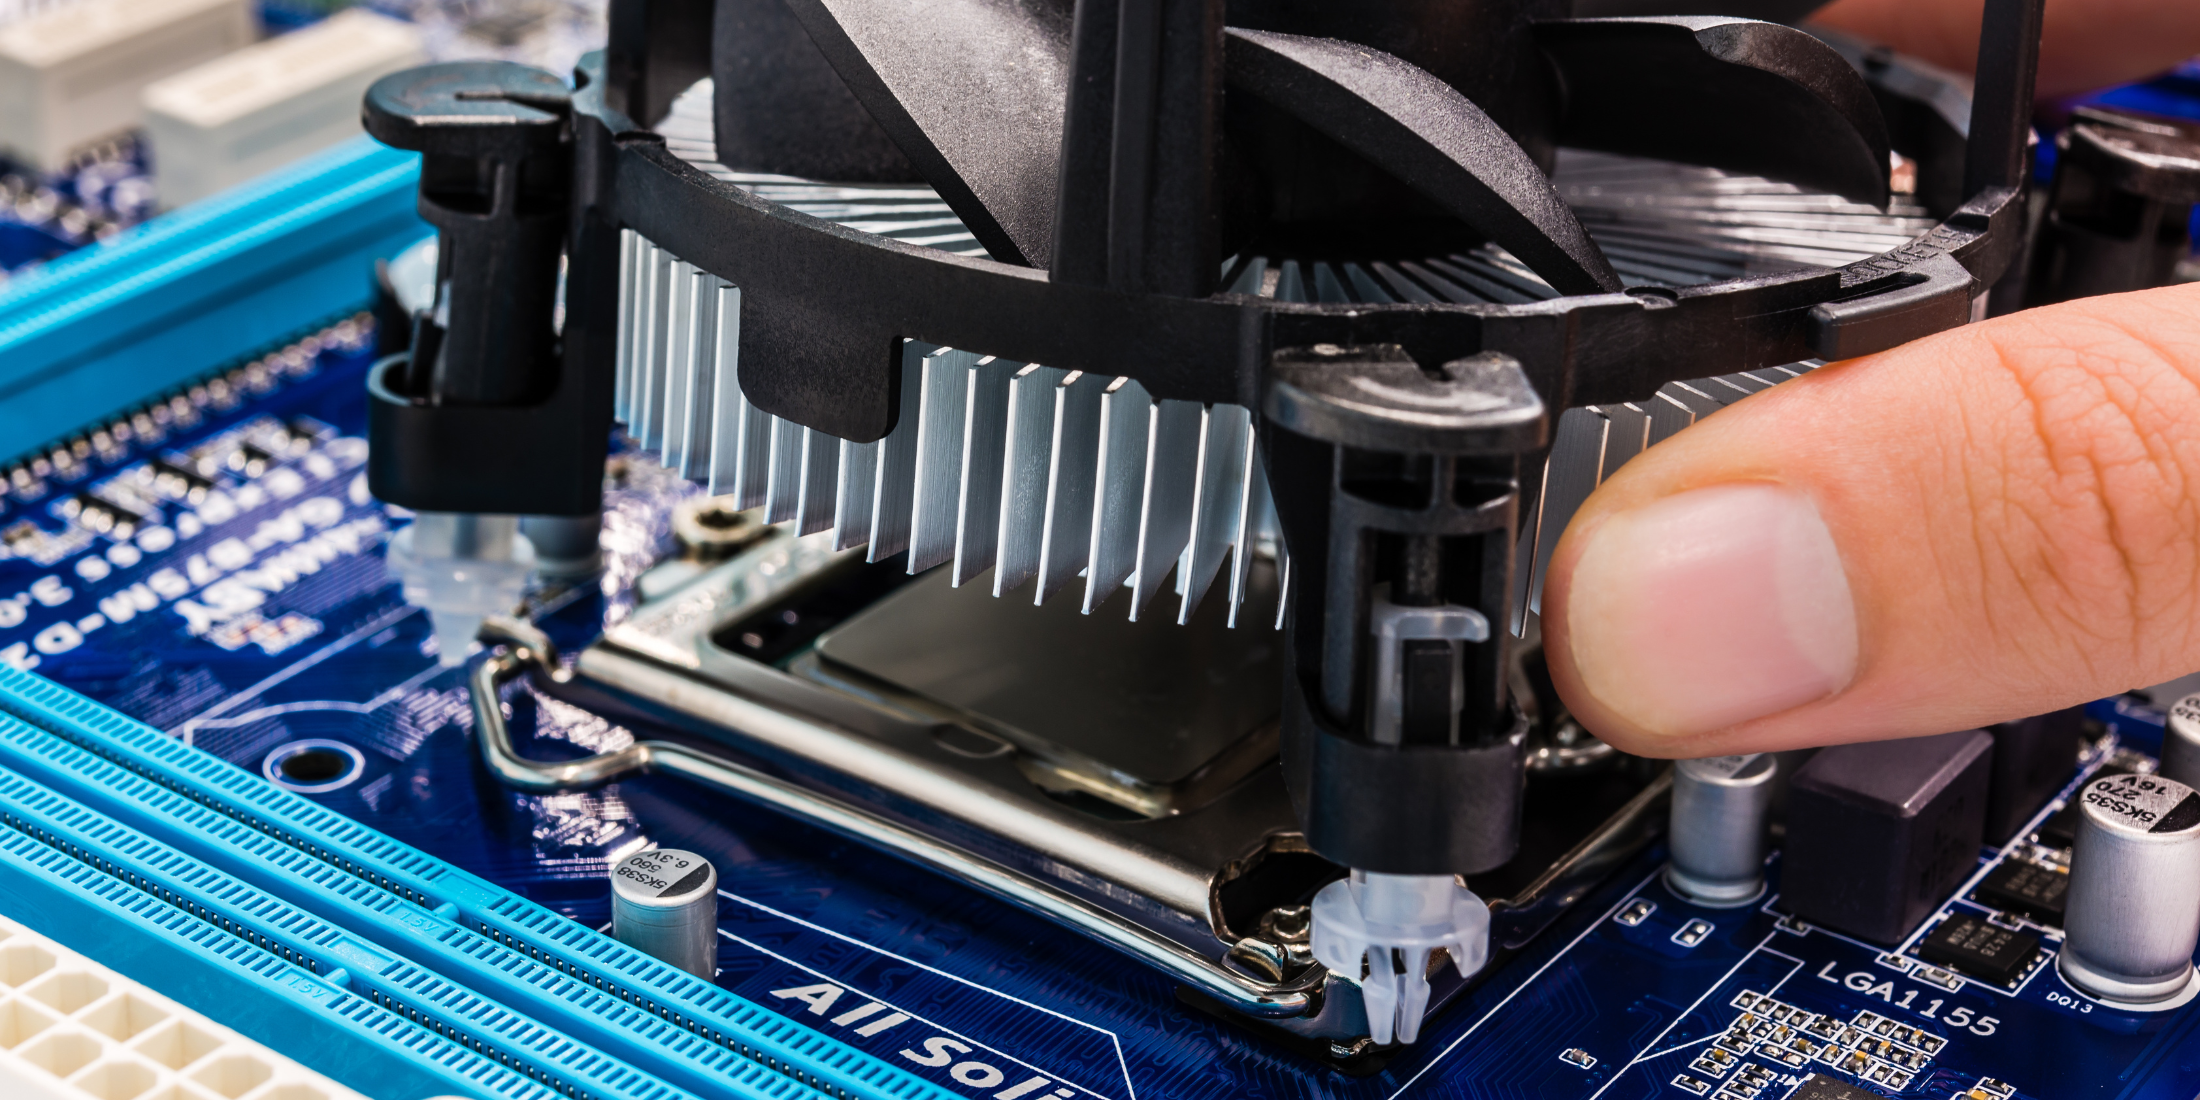
This step largely depends on the CPU cooler you opted for. Unless you decide to use the included air cooler, you will need to take off the CPU fan mounting bracket, secure the CPU cooler standoffs, and then fix the cooler in its place. Third-party CPU coolers come with different mounting brackets according to the motherboard, like AM4, AM5, LGA 1700, LGA 1200, etc. Make sure you check the CPU cooler manual for which bracket will be compatible with the motherboard before screwing it on. An incorrect bracket will not allow you to mount the cooler properly, leading to CPU overheating and failure.
Related
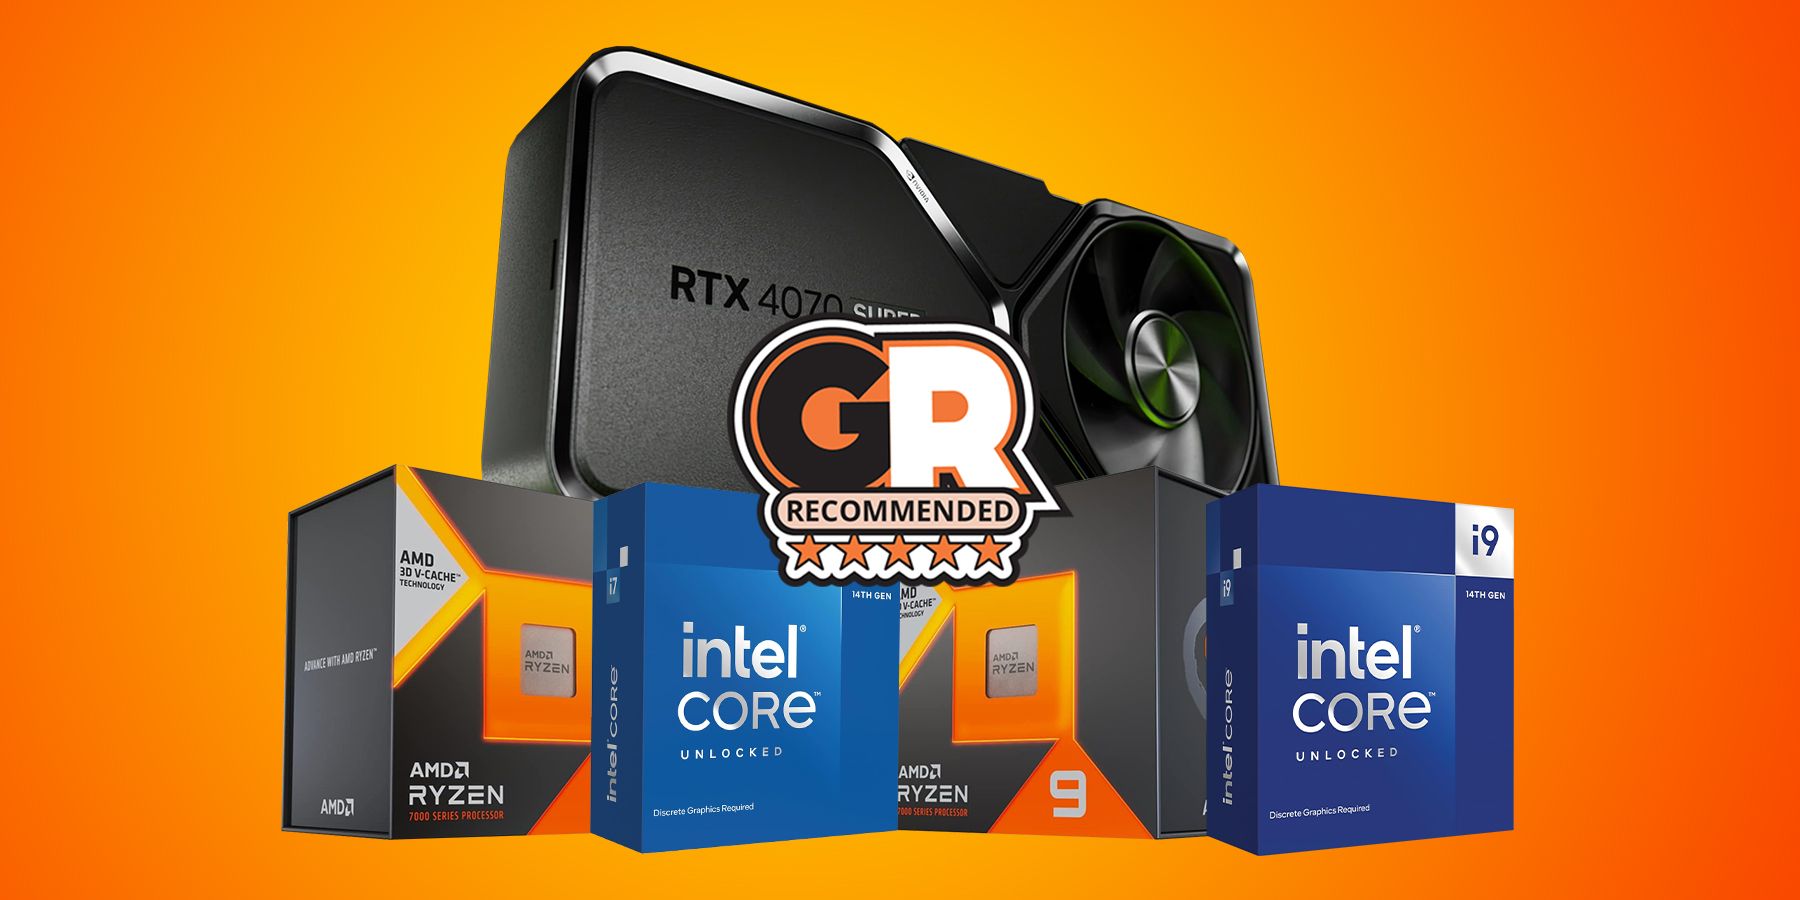
The Best CPUs To Pair With The RTX 4070 SUPER
The RTX 4070 SUPER is shaping up to be a meaningful upgrade to its namesake. Here are the best CPUs you can pair it with to maximize its performance.
The steps are a bit different for users who opt for a third-party contact frame for an even thermal paste spread. You need to unscrew the four screws holding the metal CPU socket cover as it will be replaced by the contact frame. You will also need to take off the fan mounting bracket from around the CPU socket. The contact frame is supposed to fit snugly around the processor and held in place with four screws. After this, you can move on to installing your CPU cooler.

More
Whether you need to make short video clips or render long videos with advanced special effects, these CPUs will make your editing process very smooth.
FAQ
Q: What type of cooler should I use for my CPU?
The type of cooler suitable for a CPU depends on how much heat it produces under load and how much power it draws. Reading posts on public forums like Reddit and product reviews will give you an idea of which type of CPU cooler is adequate for your system. Processors producing less heat will suffice from an air-cooler whereas more demanding and power-hungry processors require a robust AIO(all-in-one) liquid cooler.
Q: How to clean excess thermal paste from the processor?
Grab some isopropyl alcohol and a piece of cloth or paper towel. Scrape off most of the thermal paste, dab some isopropyl alcohol on the cloth, and rub the processor’s surface until clean. This is the same method to use when re-pasting an old processor as you will need to clean off the dried thermal paste.
Q: How do I align the processor with the CPU socket?
The processor has a triangle usually marked in the bottom left corner. That corner must be aligned with the corresponding triangle marked on the motherboard’s CPU socket, which is also generally in its bottom left corner. In case the processor was not placed properly, do not try to force your way into closing the lid as it will bend the pins. Pick up the processor and try to align it again until it sits flush in the socket and then close the lid.



Leave a Reply