Quick Links
Kell’s Fall is the latest Exotic mission in Destiny 2, bringing players back to the Tangled Shore in search of Fikrul. Some of the Scorn’s toughest forces reside in the abandoned watchtower at the edge of the shore, but if you can best them all and defeat Fikrul, you’ll be rewarded with a new Exotic Shotgun and some seasonal gear.

Related
Destiny 2: Every Way To Obtain High-Stat Armor
Use these tips to obtain high-stat armor with excellent stat distributions.
Completing this mission will award Slayer’s Fang, an Exotic Shotgun that fires ricocheting projectiles and grants truesight on kill. This weapon is an absolute powerhouse in the right hands, but you’ll need to unlock it first. Here is a complete walkthrough of the Kell’s Fall Exotic mission, covering everything from encounters to difficulty modifiers.
Kell’s Fall Difficulty Variants
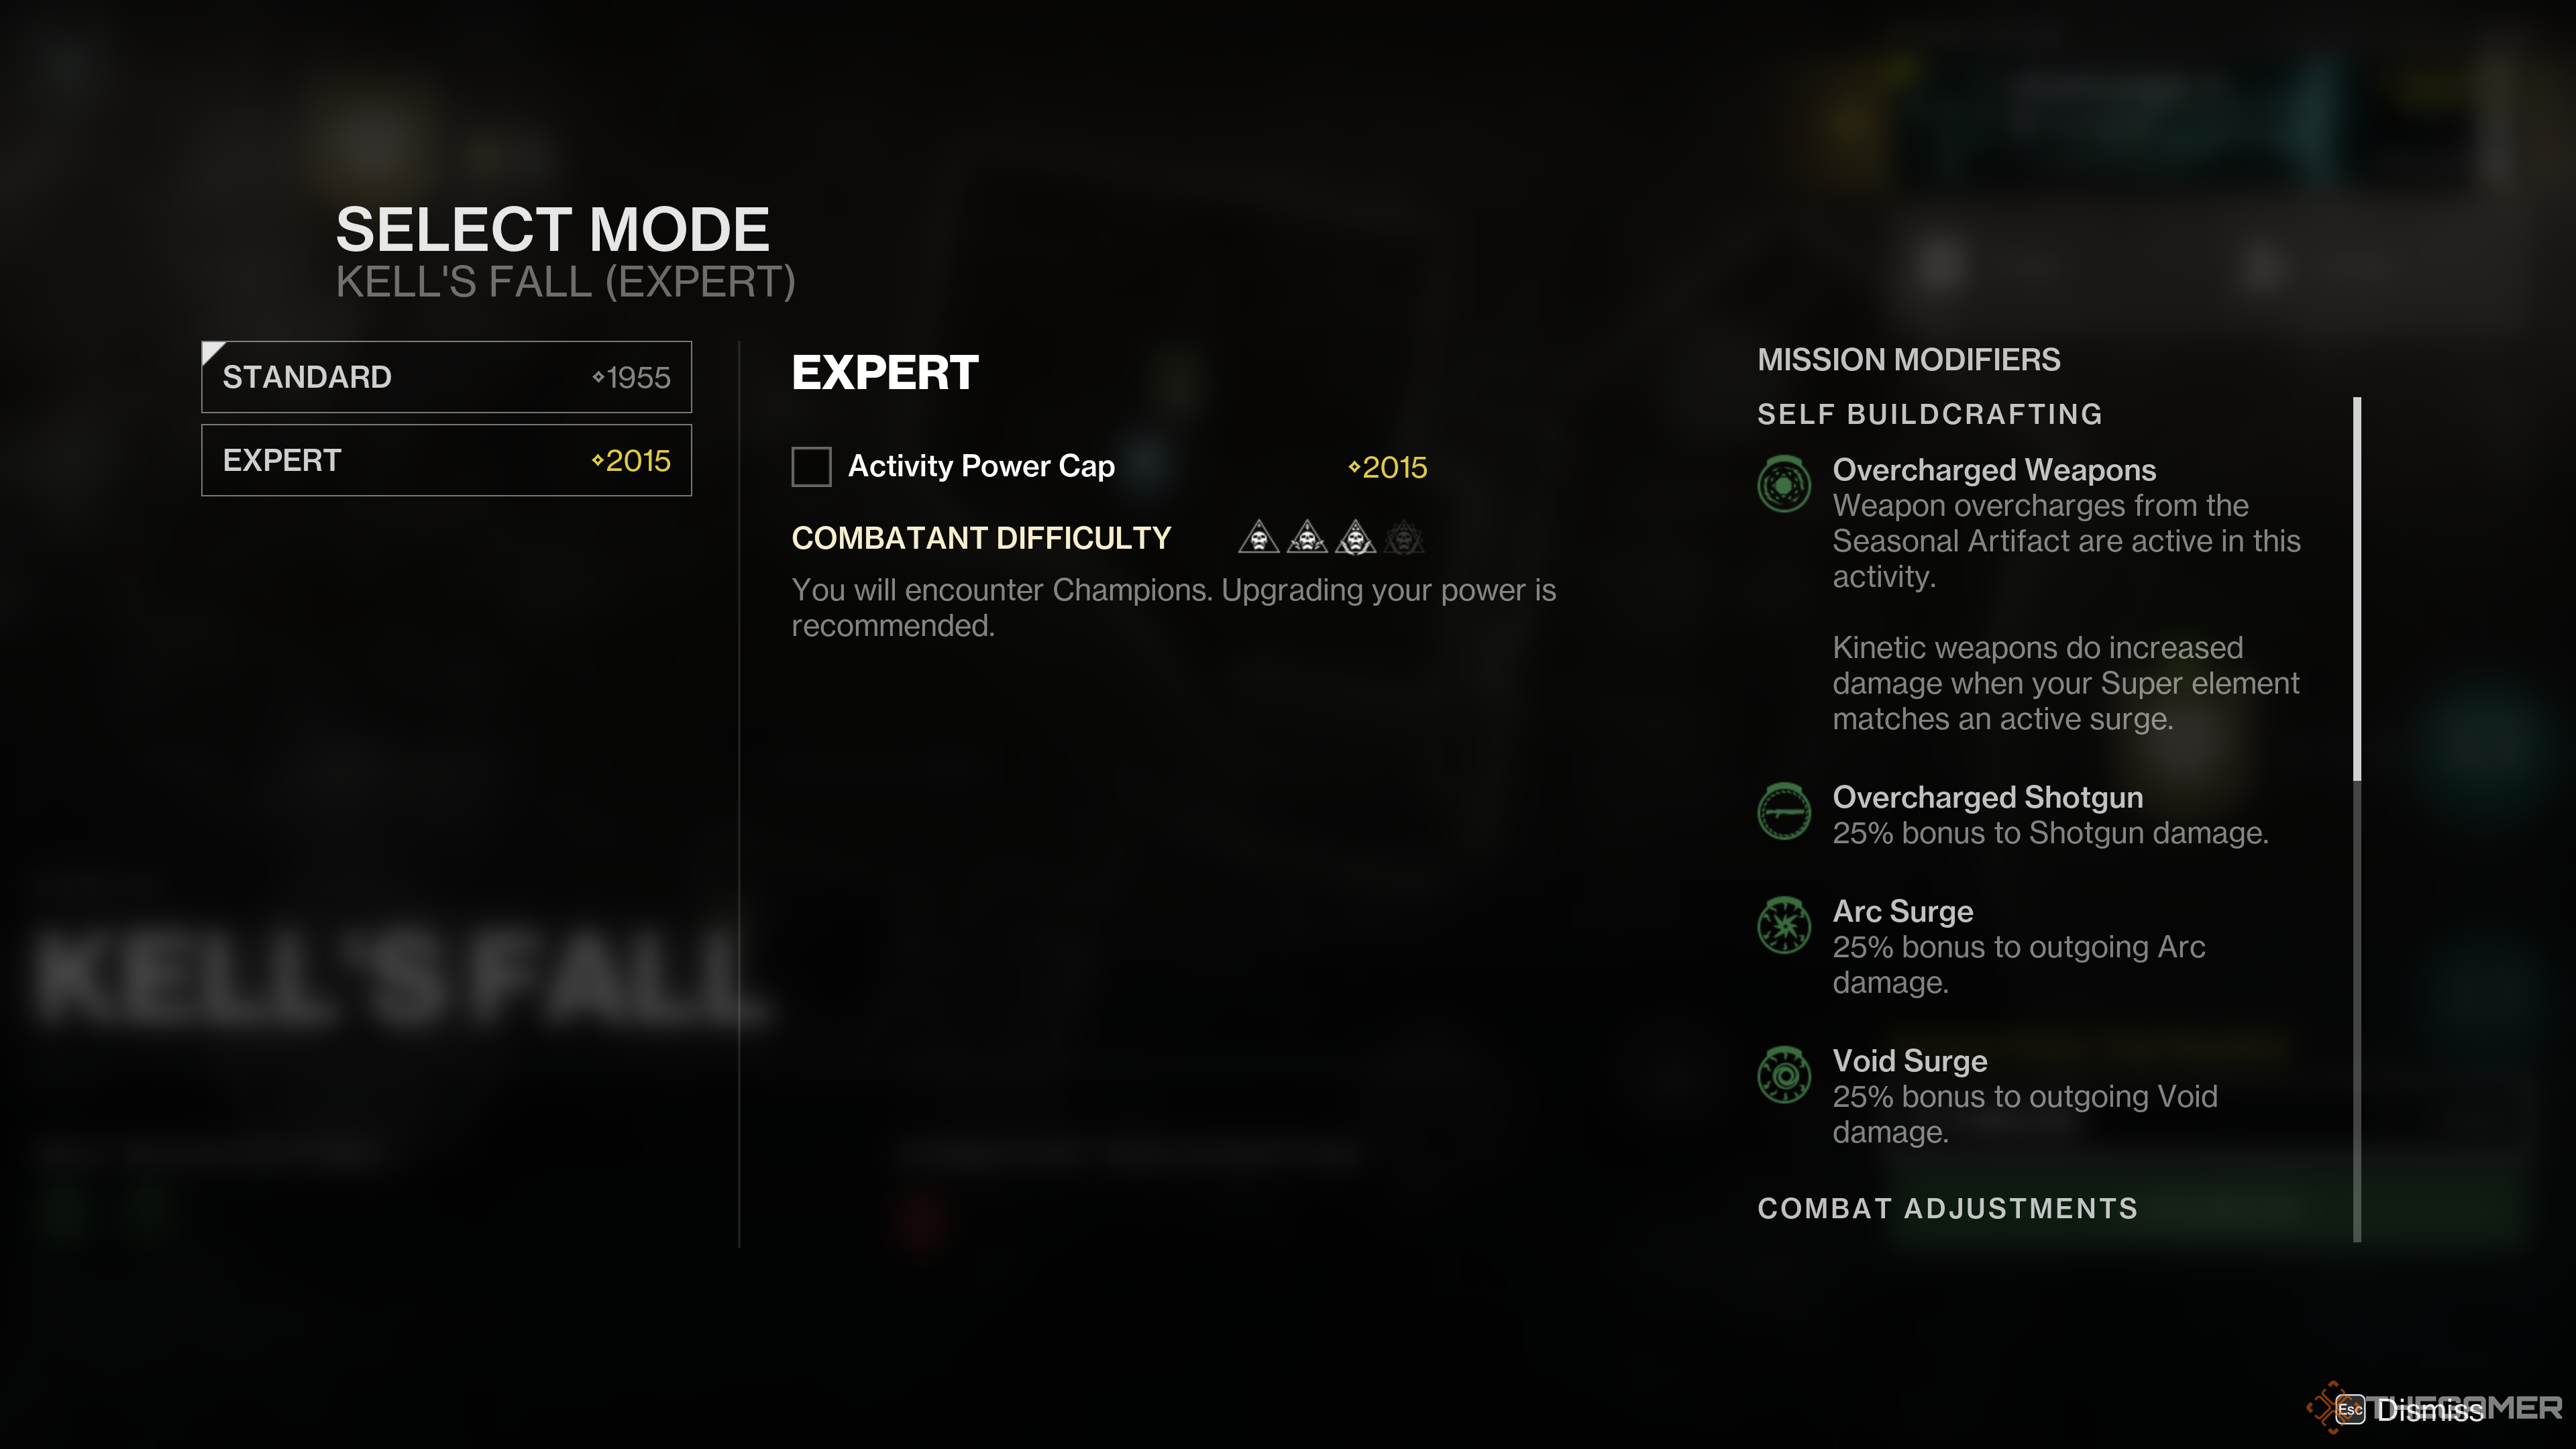
As with most Exotic missions, Kell’s Fall has two difficulty variants: Normal and Expert. Normal is set to 1,995 Power and only has elemental surges and threats active; no other modifiers are present. The Expert variant spawns Champions, enables Overcharge, and is set to 2,015 Power with a forced -15 Power delta. Expect enemies to hit significantly harder in this mode.
Activity objectives and puzzles are the same between both variants.
|
Kell’s Fall Modifiers |
|
|---|---|
|
Power Cap |
1,955 |
|
Surges |
Void and Strand |
|
Threat |
Void |
|
Expert Difficulty |
|
|
Power Cap |
2,015 |
|
Champions |
Overload and Unstoppable |
|
Surges |
Void and Arc |
|
Threat |
Void |
|
Overcharge |
Shotguns & Artifact Weapons |
|
Shielded Foes |
Solar and Void |
|
Scorched Earth |
Enemies throw grenades significantly more often. |

Related
Destiny 2: The Best Hunter Builds For PvP And PvE
Wield the Light and Dark with equal mastery with these devastating Hunter builds.
Fight The Trickster
You’ll start Kell’s Fall at the outskirts of the Dreaming City watchtower within the Tangled Shore, a location we haven’t seen since Forsaken. When you spawn in, follow the ledges to your right to reach the watchtower. If you keep finding Scorn along the path, you’re going the right way.
Once you’re at the watchtower courtyard, the Trickster baron and a small army of Scorn will ambush you. You’ll need to remove roughly a third of the Trickster’s HP to escape. The only notable mechanic here is that the Trickster will become immune shortly after it stops moving, repositioning elsewhere. Whenever it stops, burn it down with as much Heavy ammo as possible. Once the Trickster retreats, make your way inside the tower.
Explore The Fortress
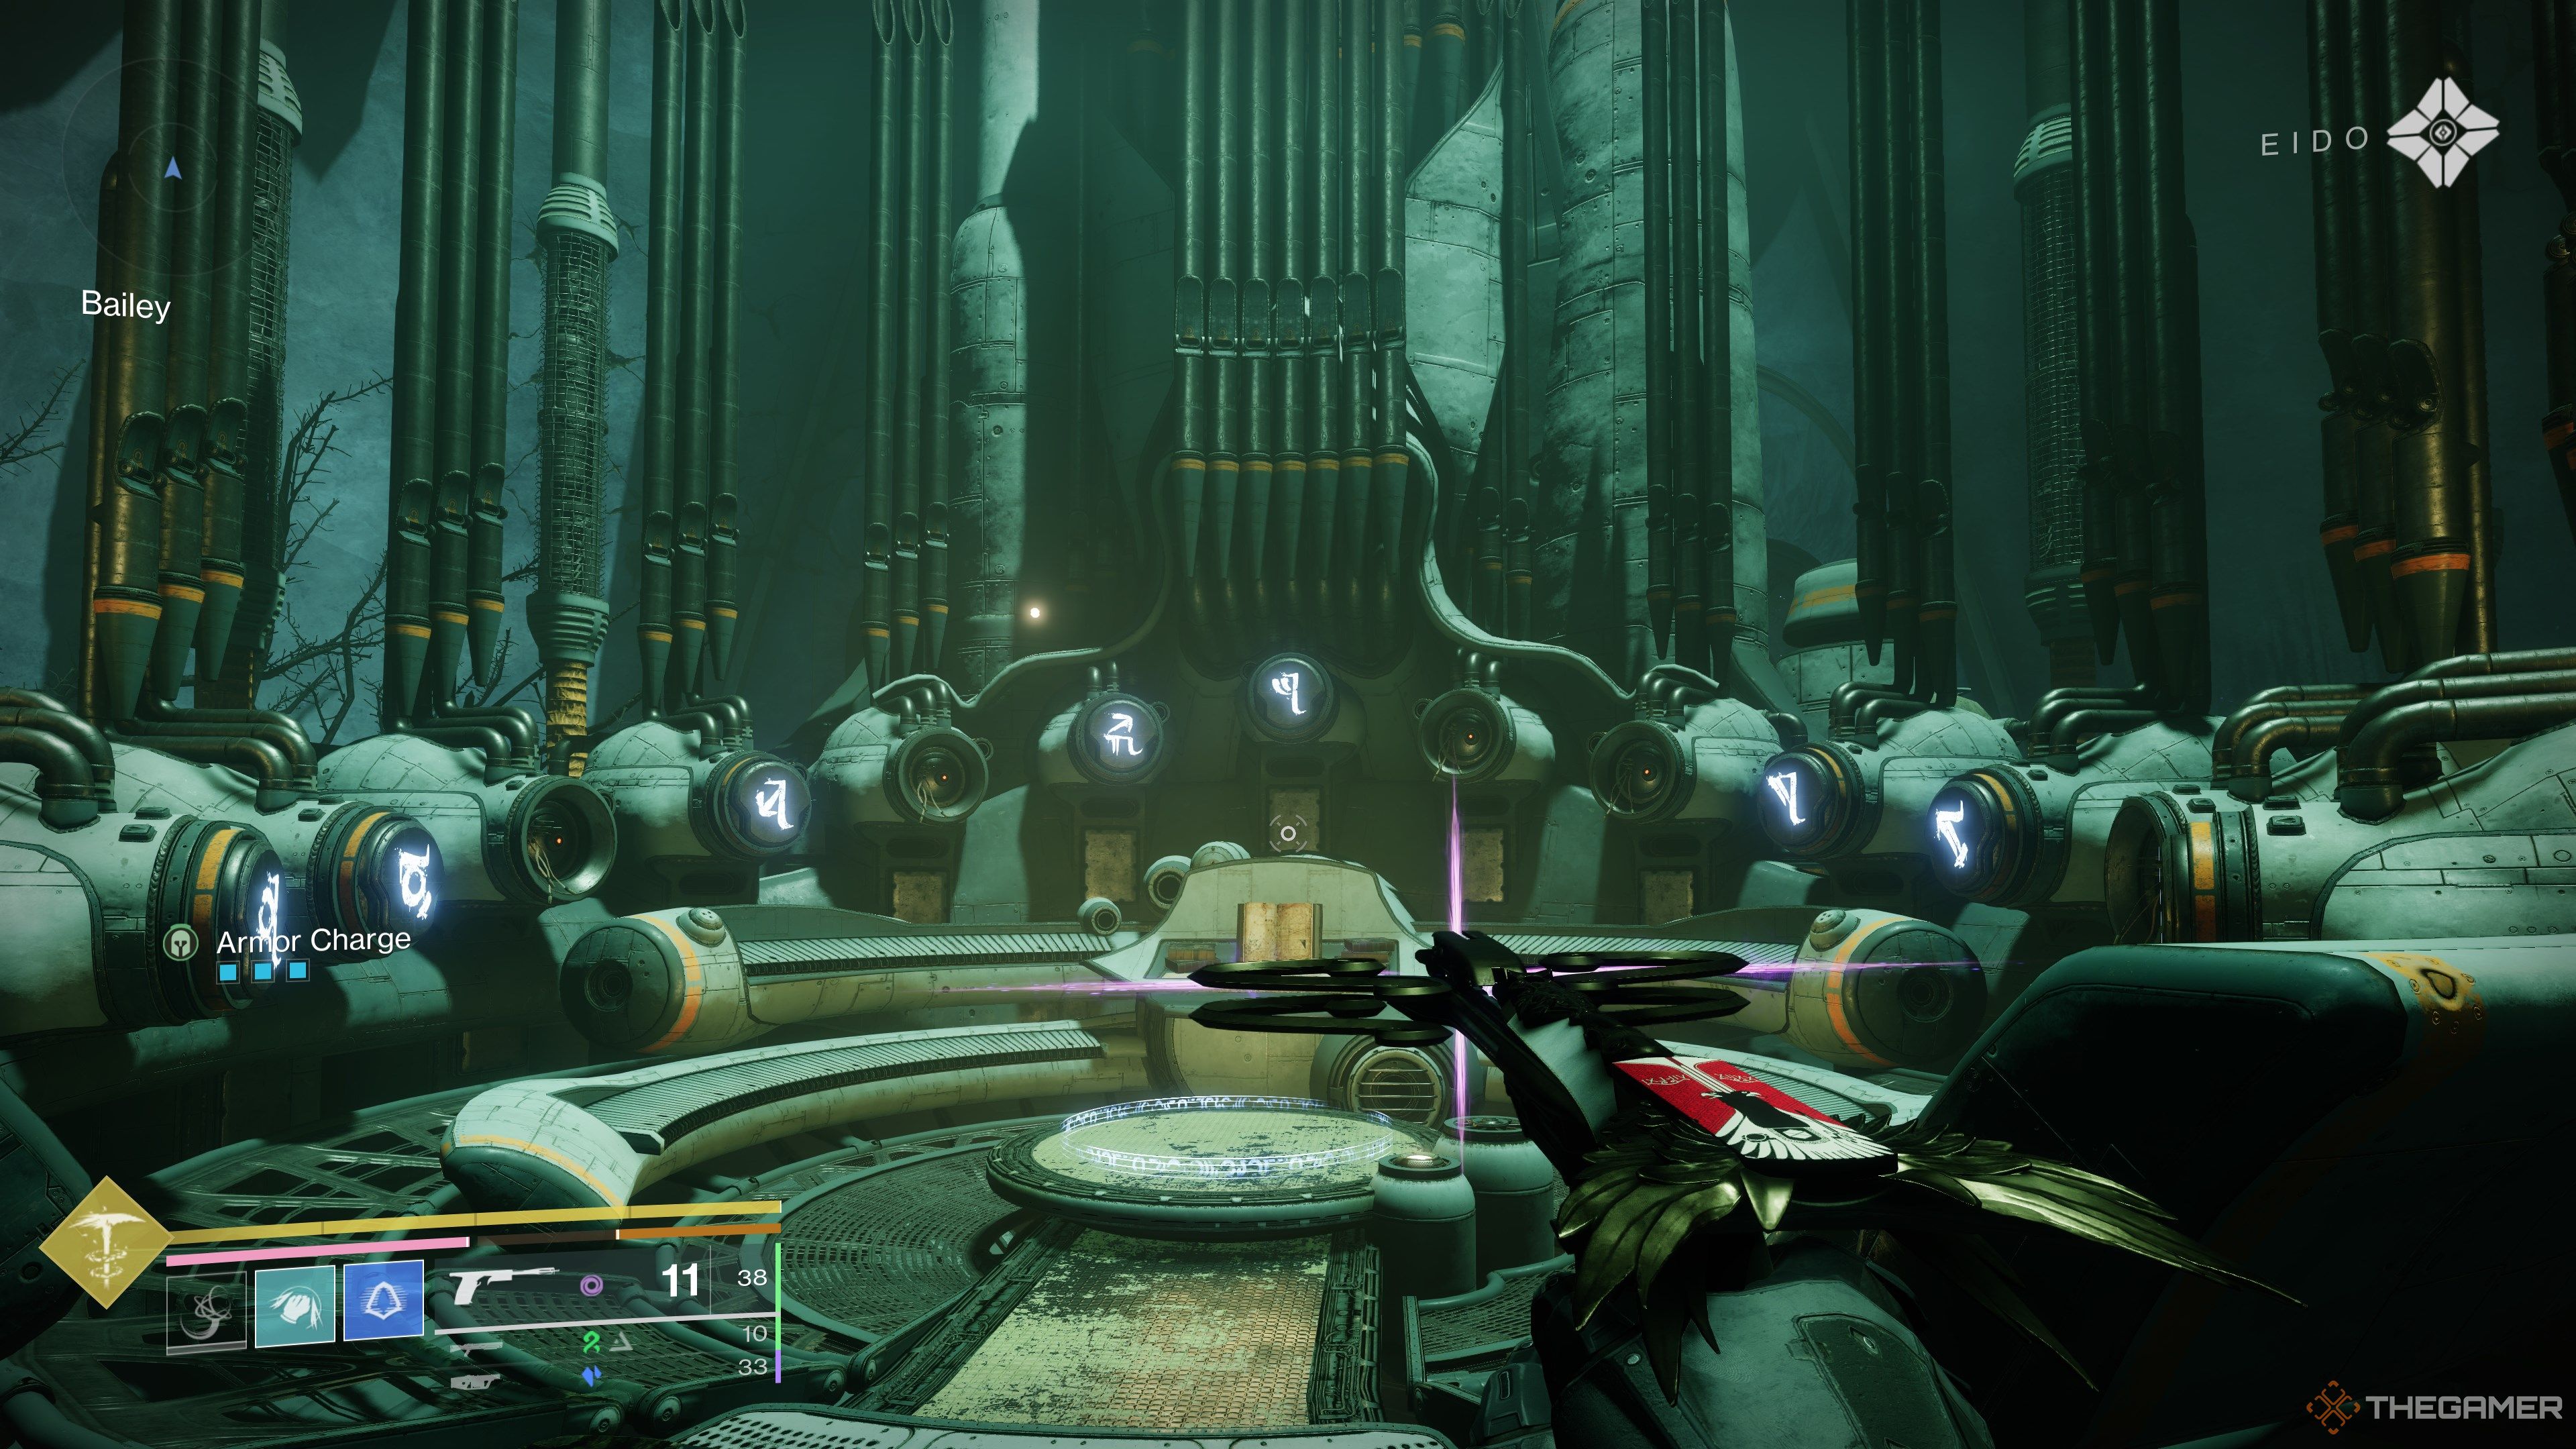
The first thing you’ll notice in the fortress is a massive pipe organ. It’s not relevant for completing this mission, but you can enter codes found through Kell’s Fall to spawn bonus loot. You won’t know any musical compositions when starting out, so you can mostly ignore the instrument for now. Head up the stairs to your left and light the brazier to continue.
Unlit braziers will appear in certain encounters, usually puzzles. You’ll need to light three of them to unlock a nearby door. There’s no timer involved with this mechanic.
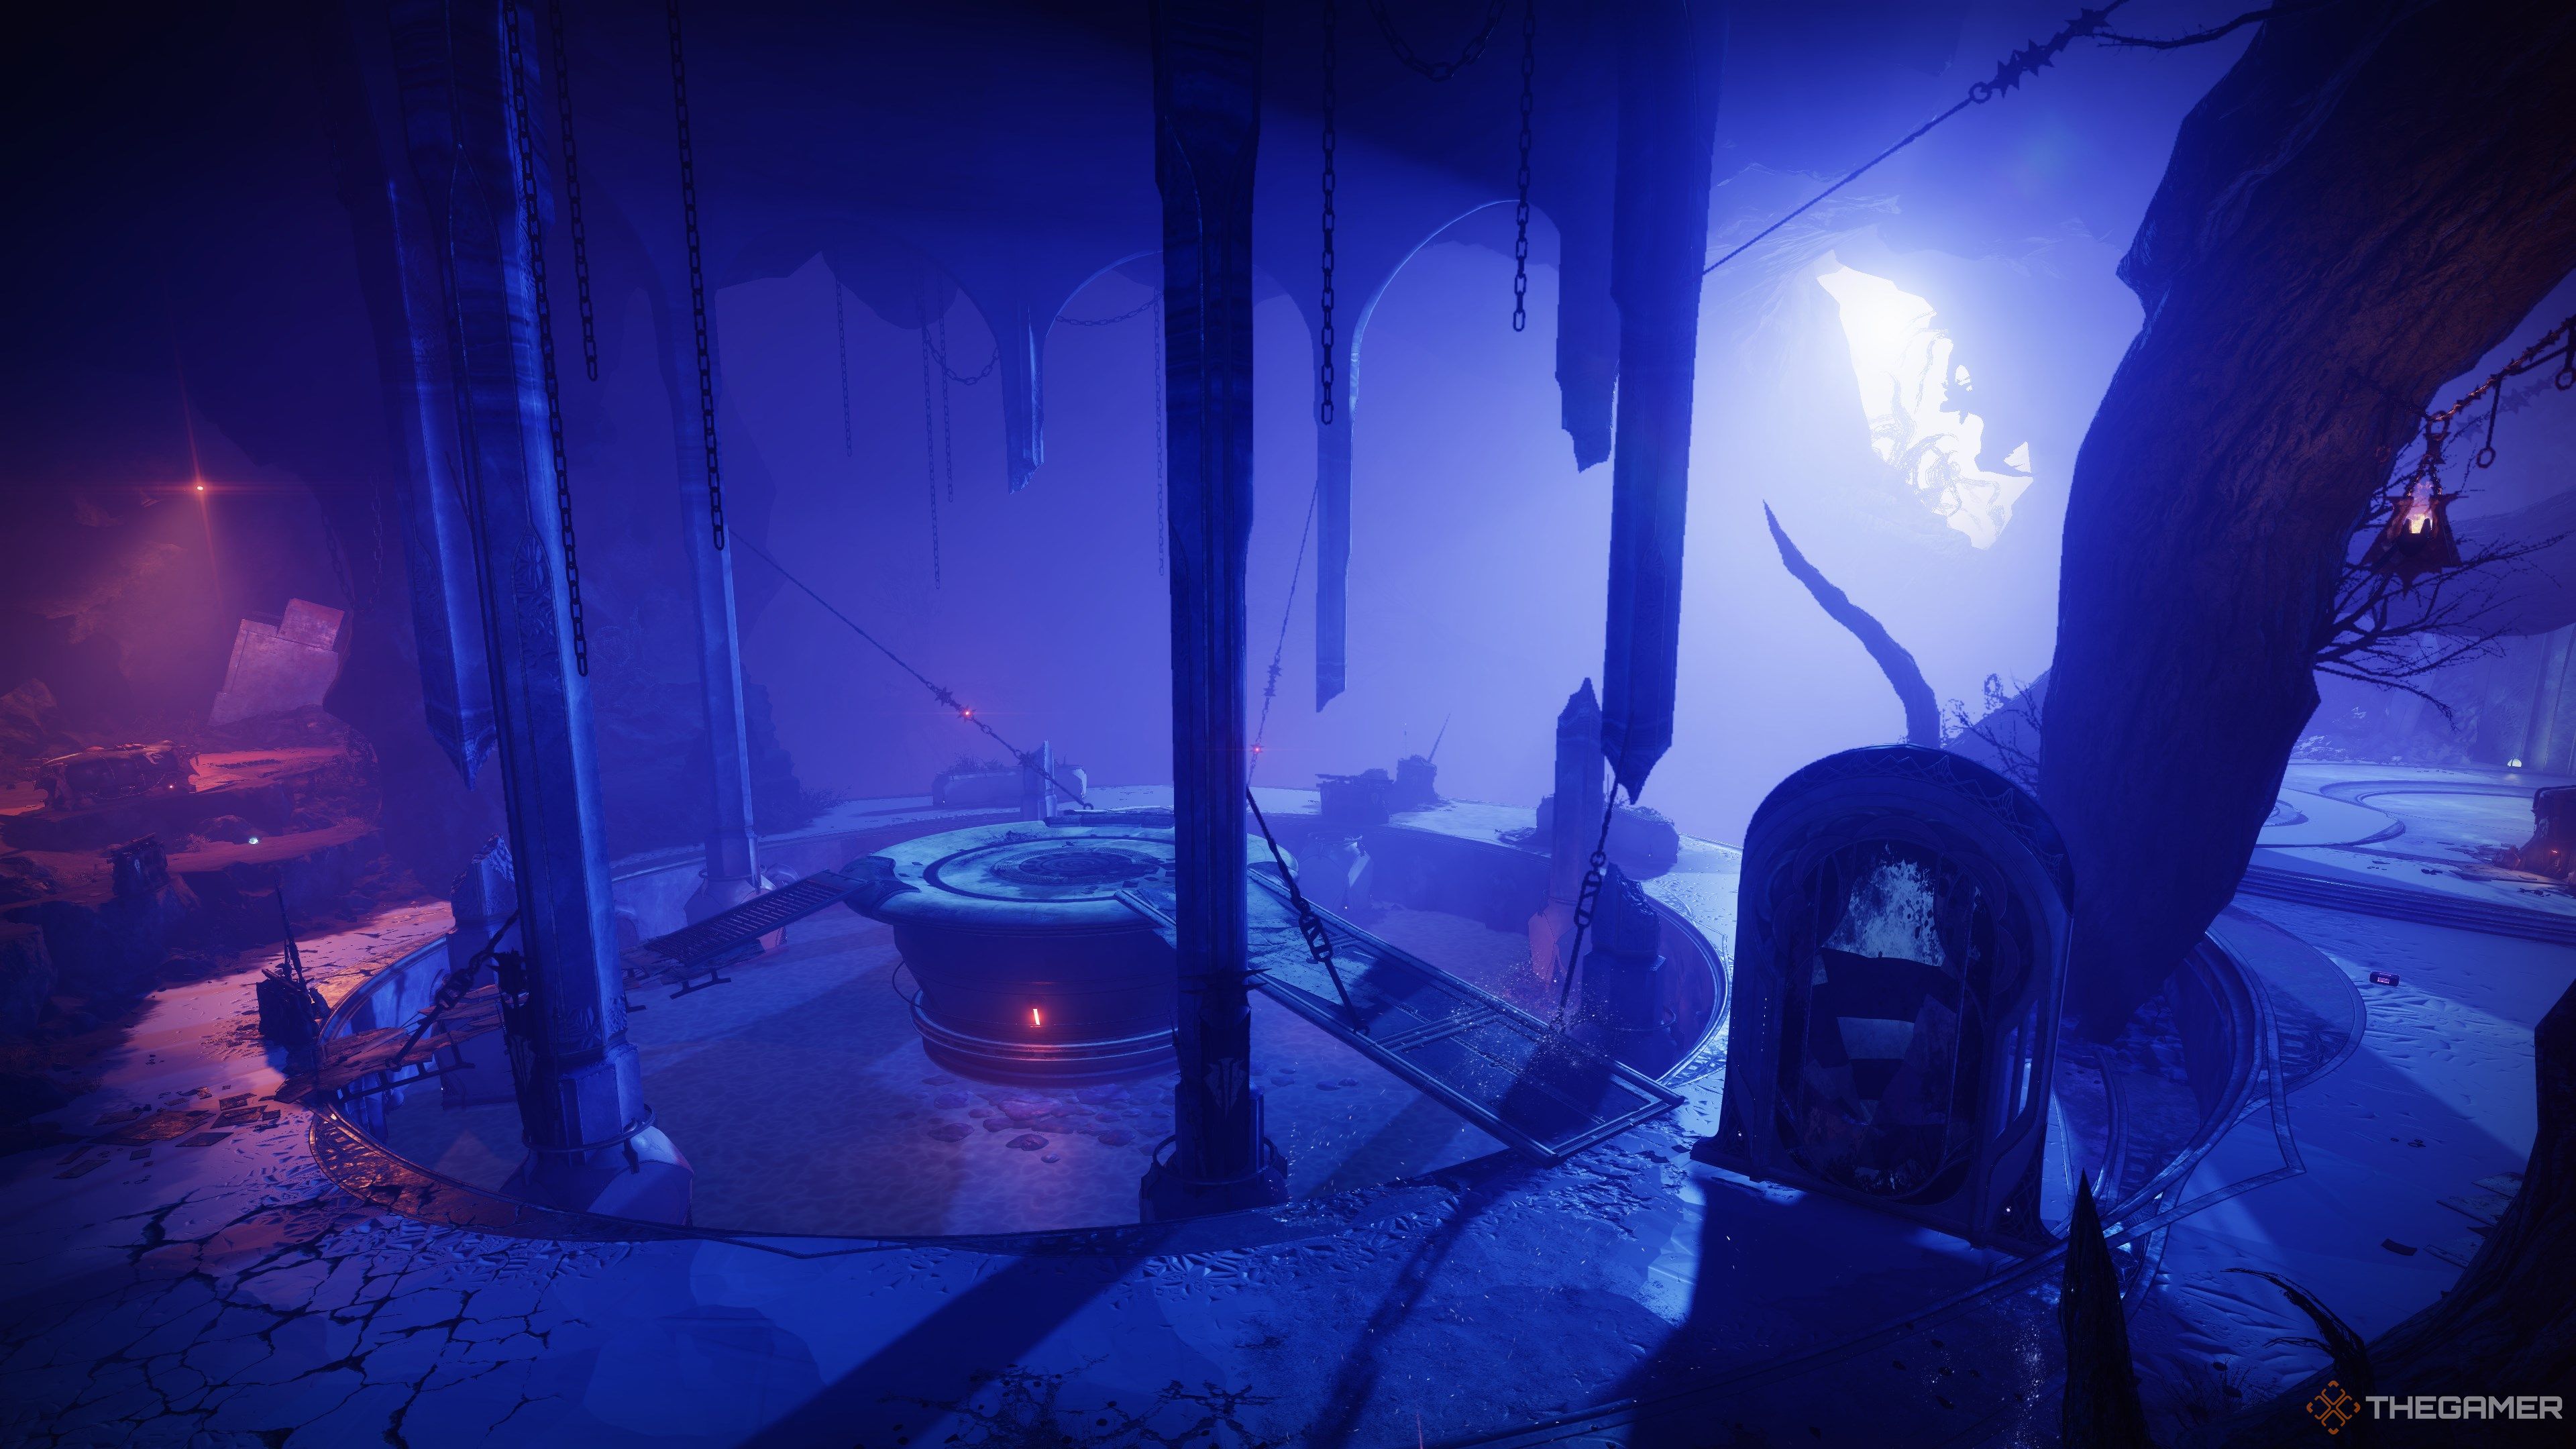
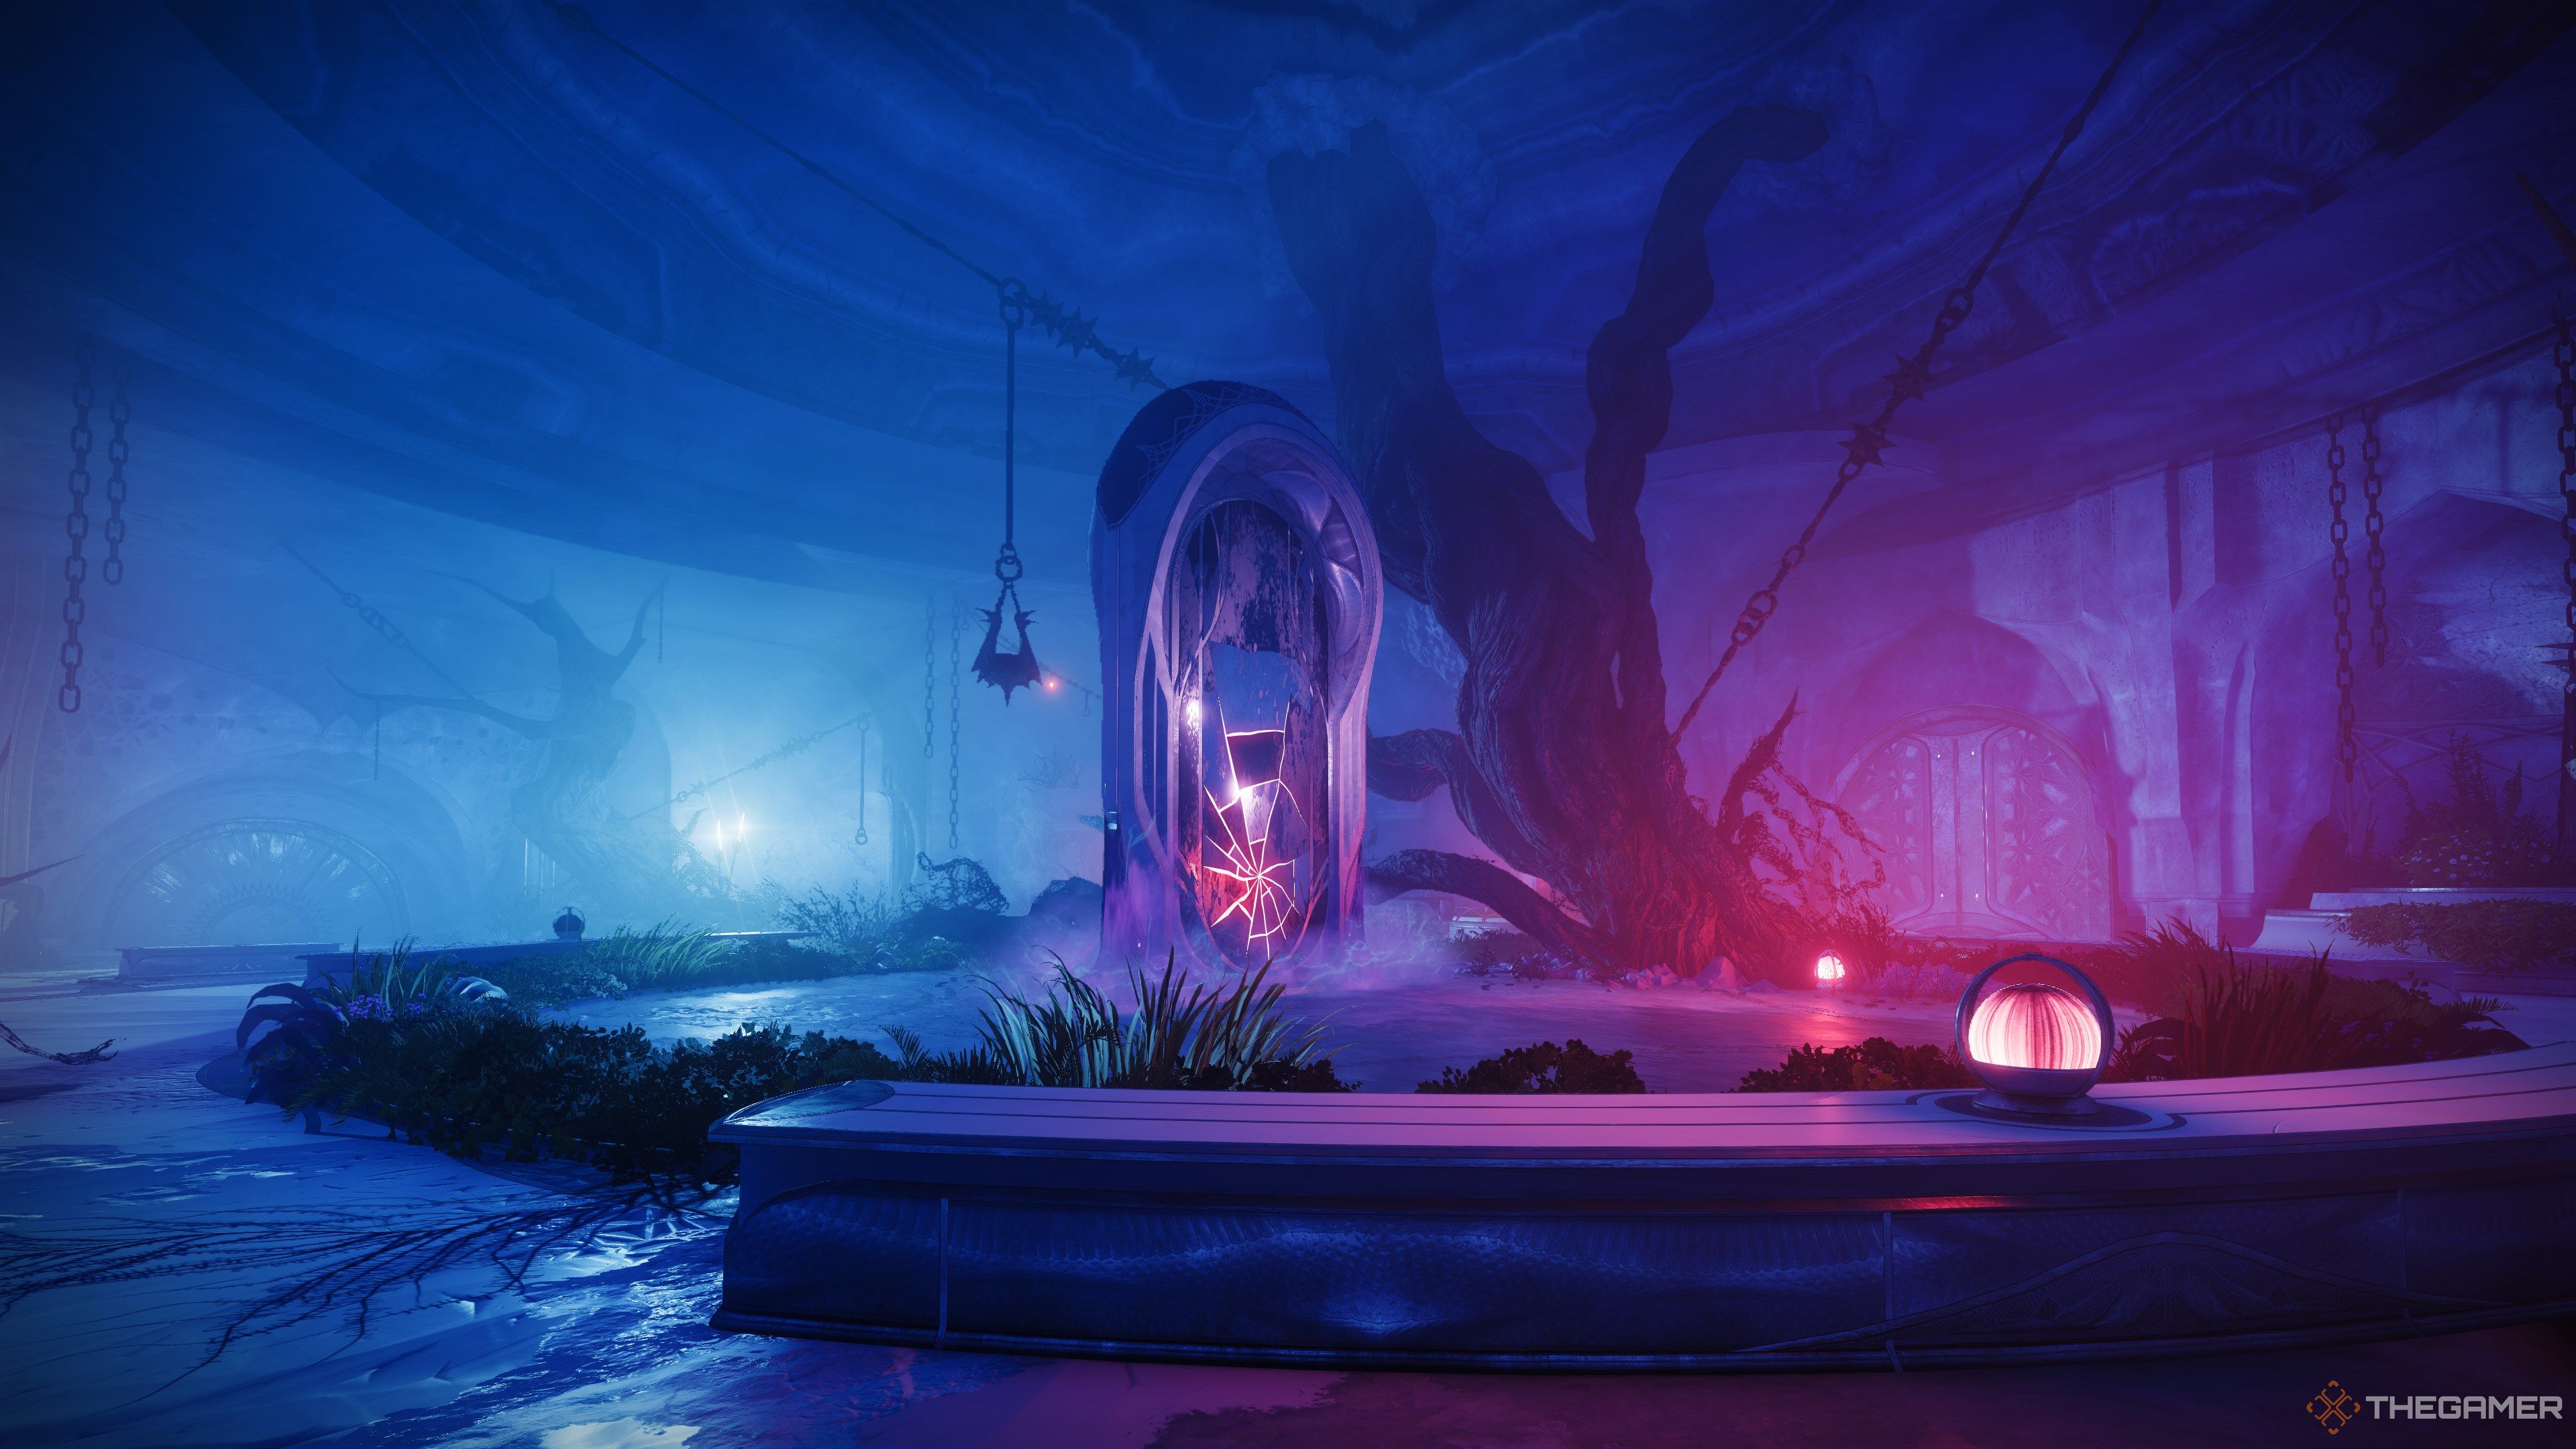
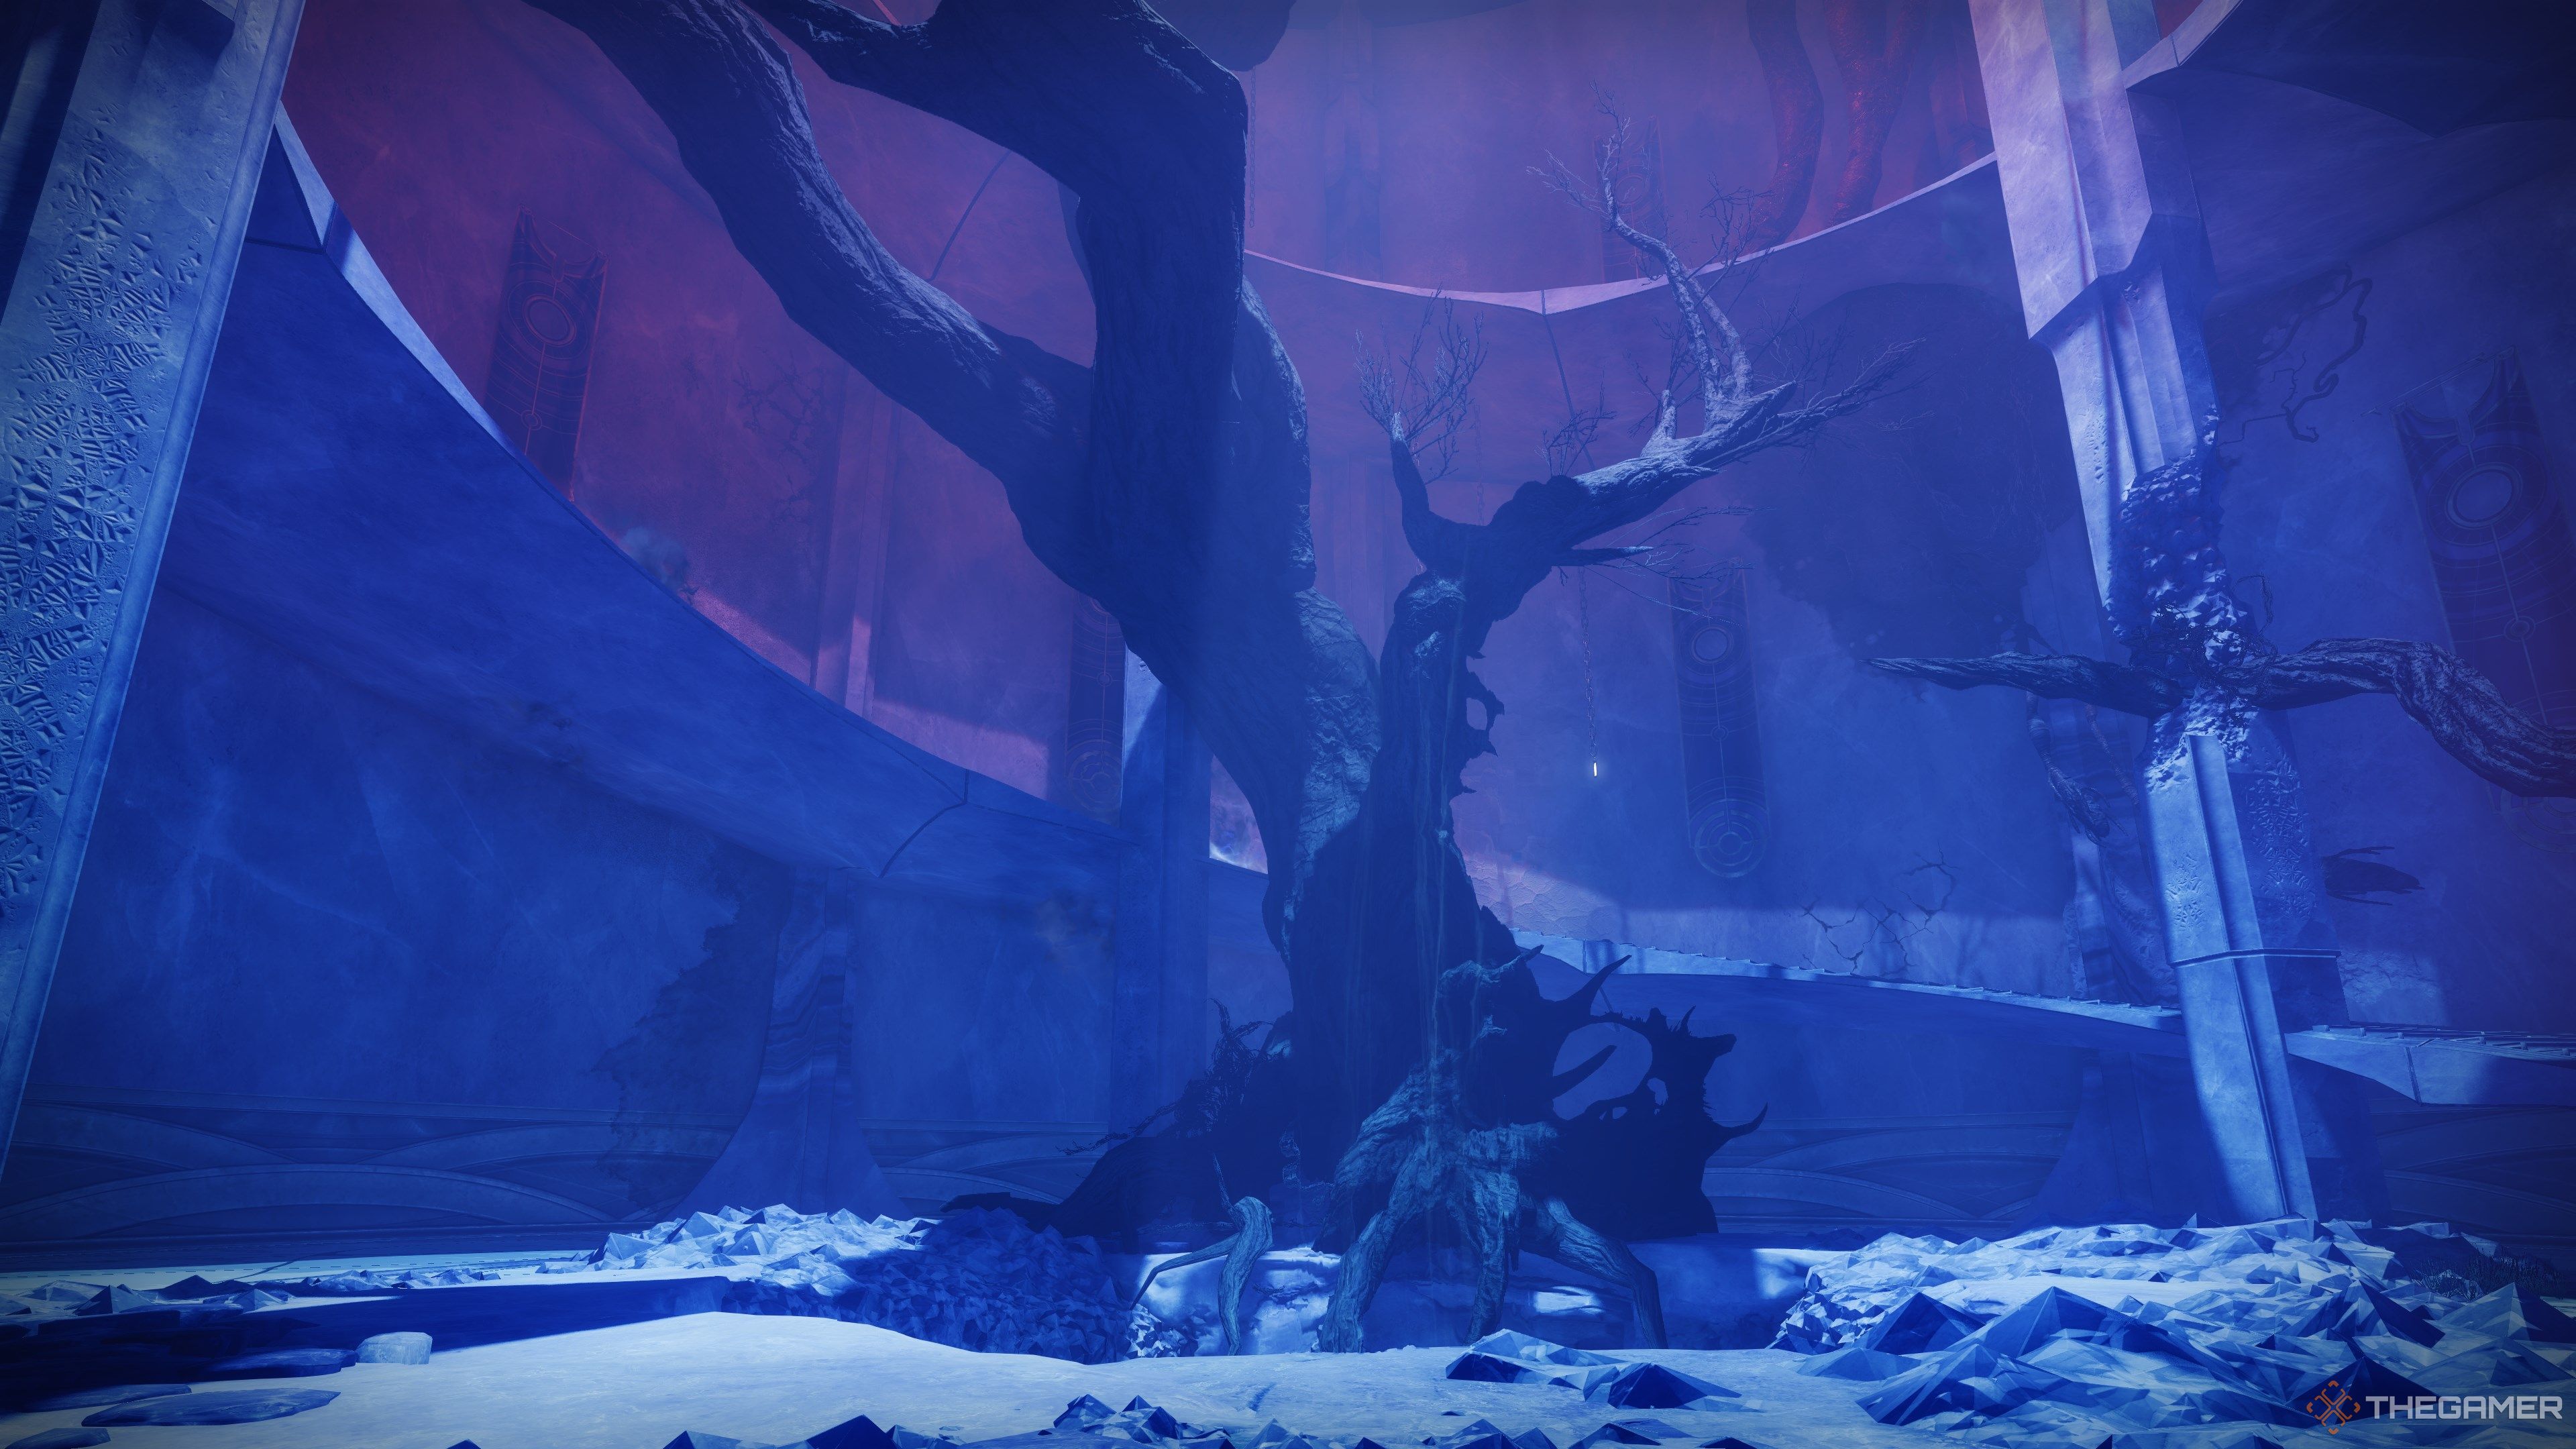
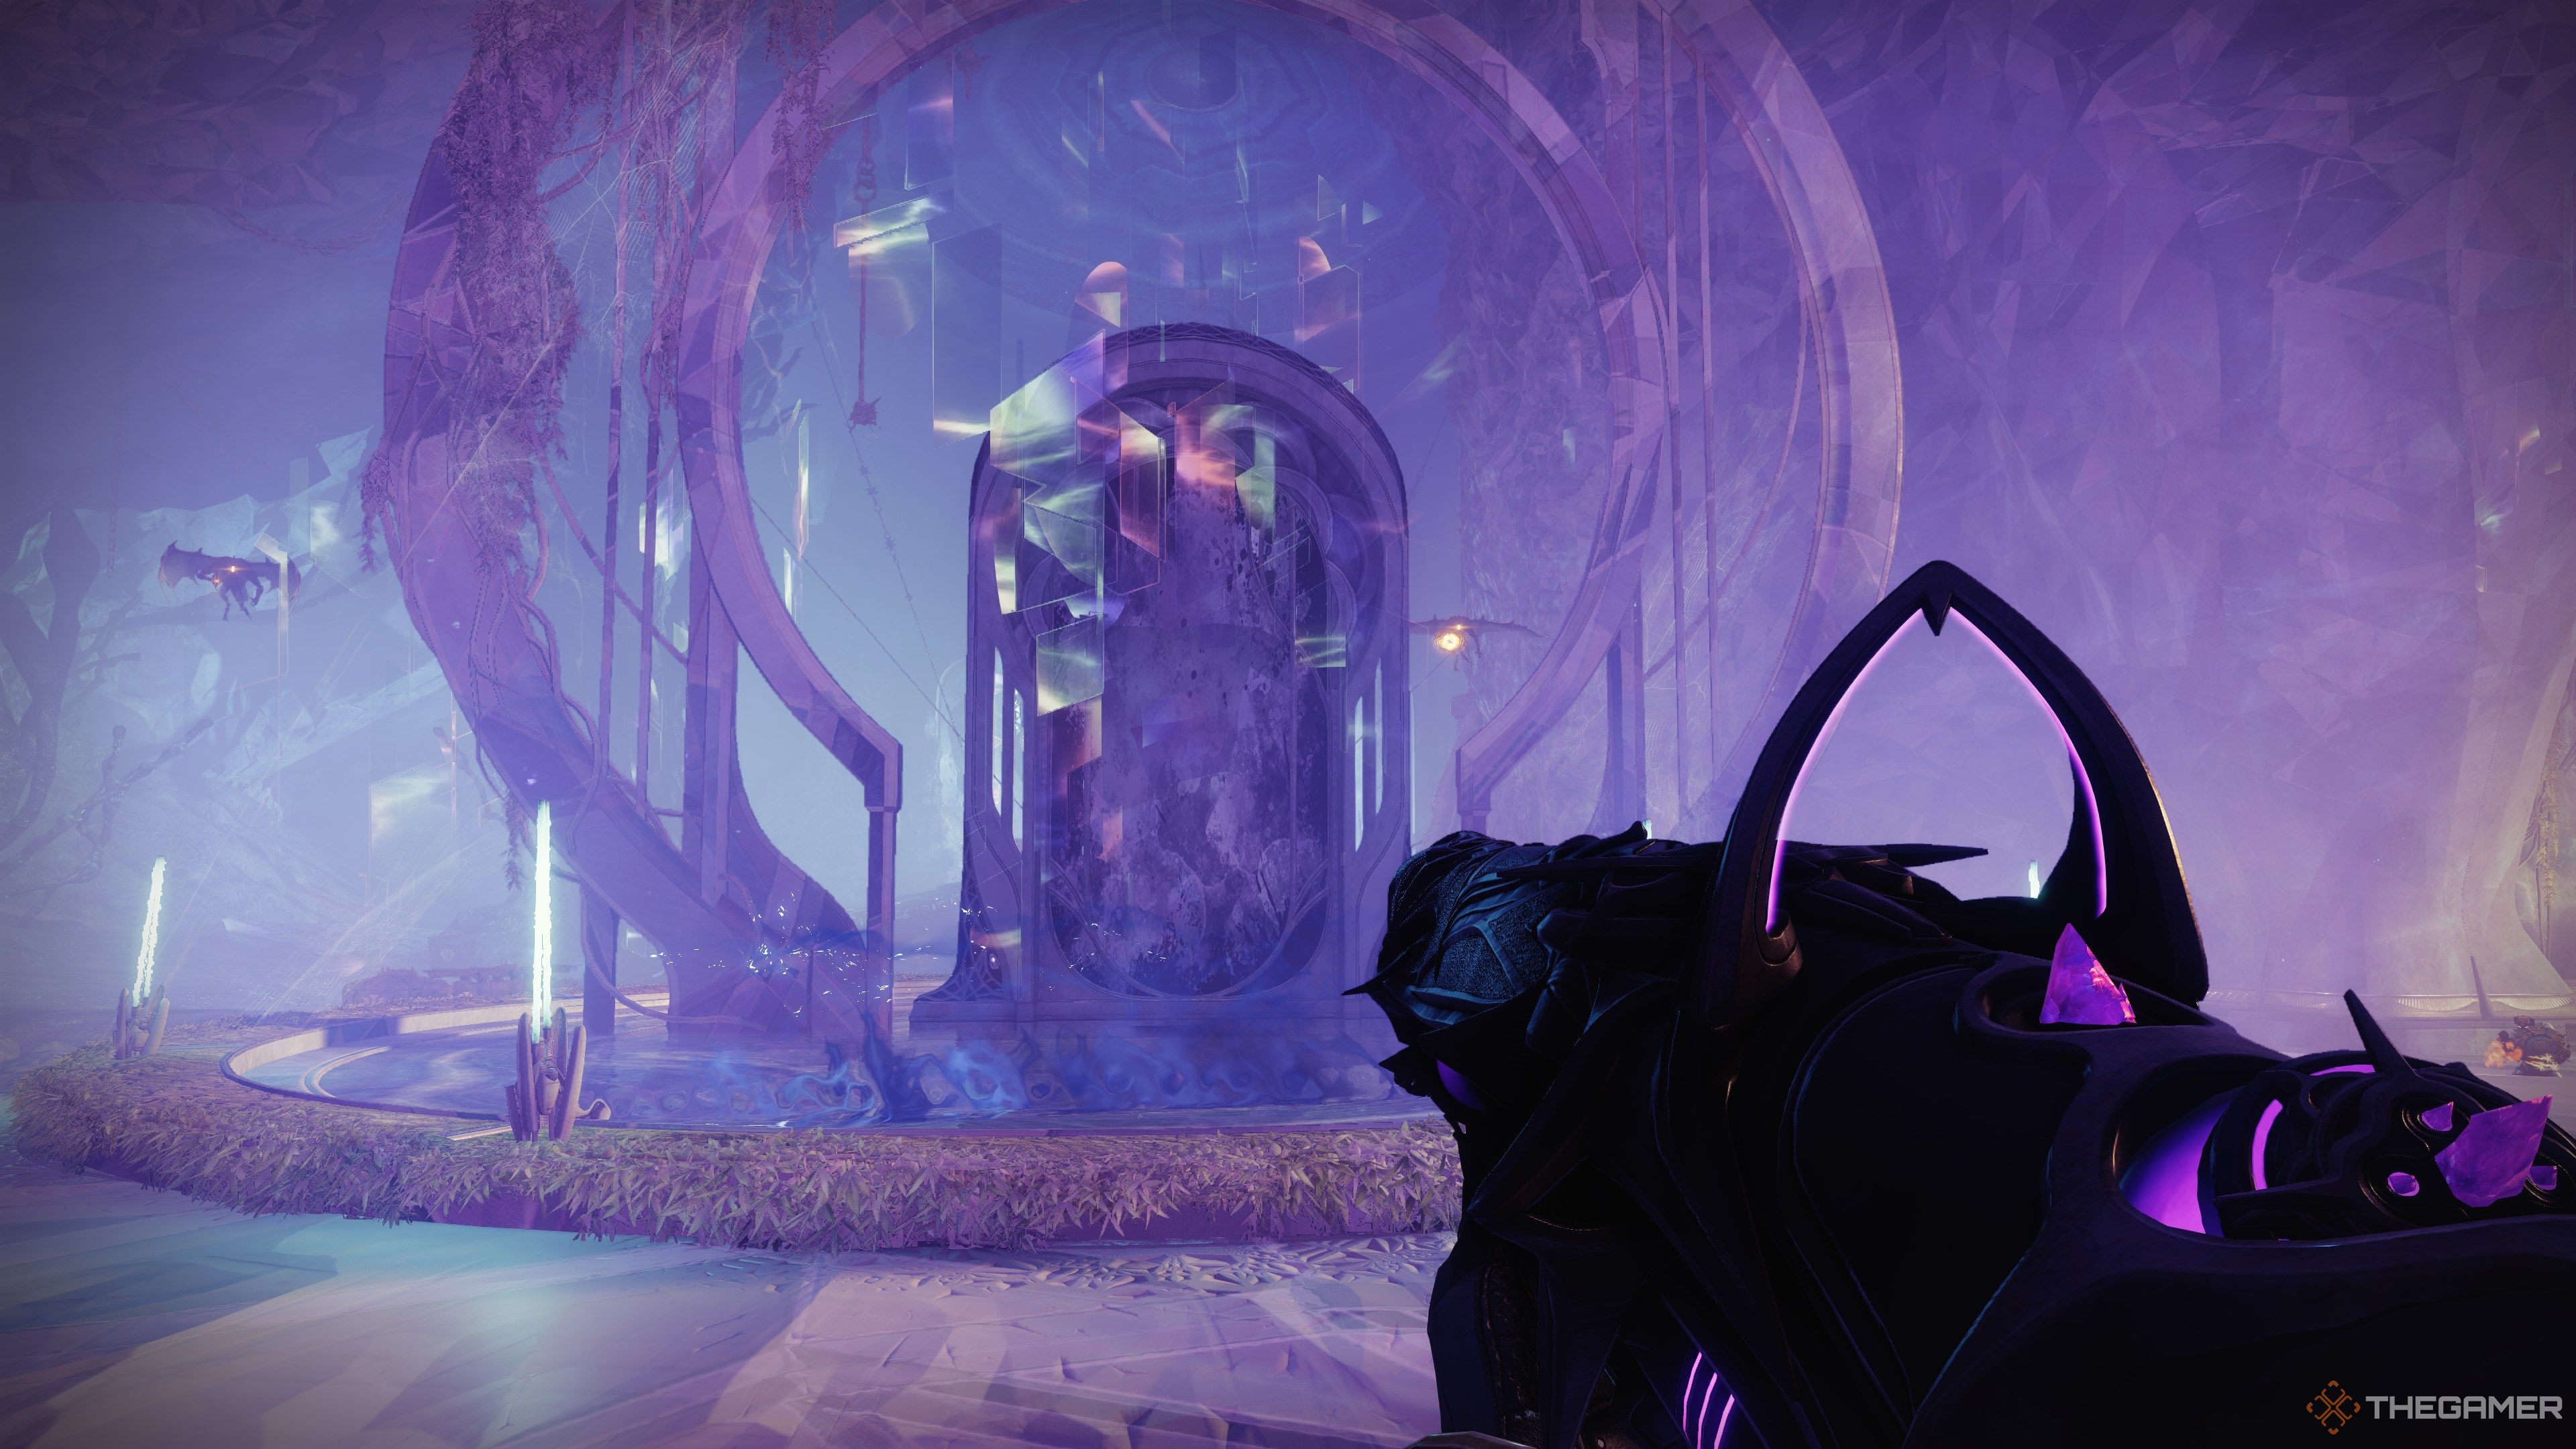
Past the door is a narrow hallway with a massive branch growing out of one end. Look past the branch closest to you, and you’ll find a wall of debris you can destroy with your weapon. Slide through the newly-created opening to find a strange mirror. Shoot it to break the glass, revealing a path forward.
Walking through a mirror will bring you to another dimension that’s a reflection of reality. You’ll be greeted by a handful of Dread and Scorn enemies, nothing a decent build can’t handle. Push through the linear coordinators until you reach another mirror. Break it and escape.
Back in the base dimension, look for two nearby braziers you can activate. One will typically spawn near the portal, while the other is up the stairs nearby. Lighting both will open the path to the first encounter. Break the rubble on the wall to your right, slide through, and follow the path until you reach the fighting pit.
Defeat The Mad Bomber
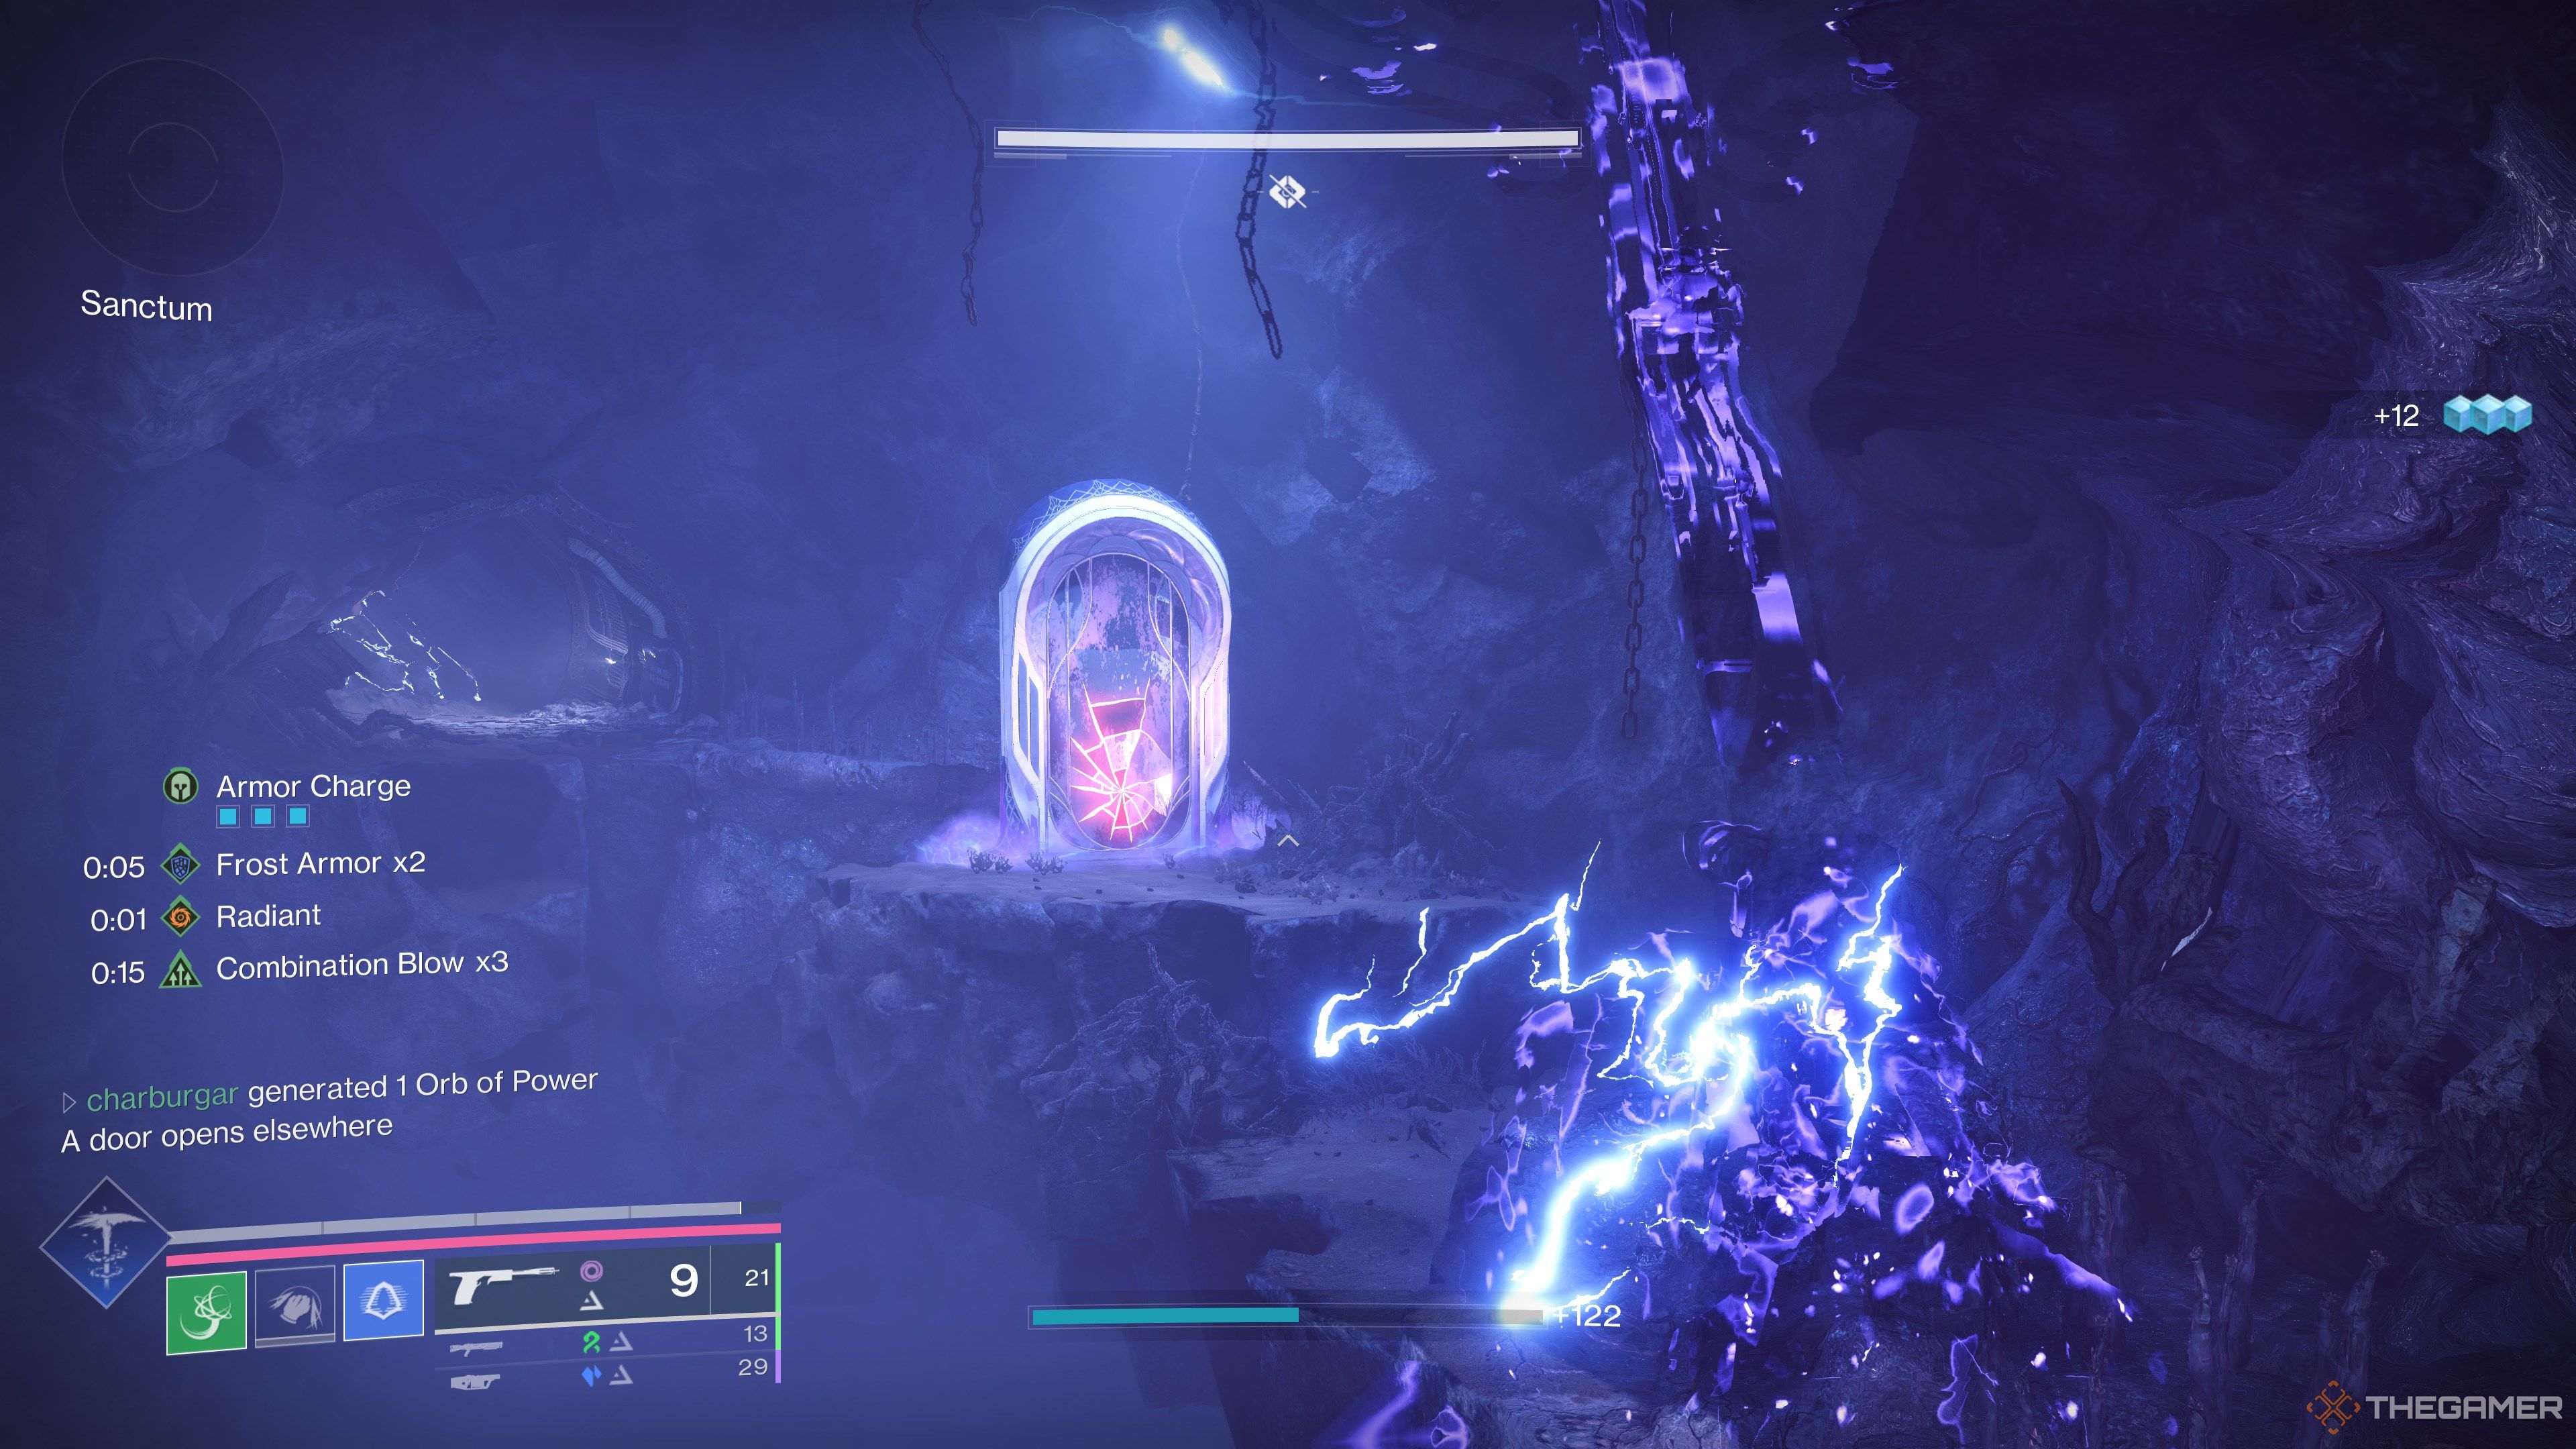
For this encounter, your main goal is to enter the mirror realm, gain Revenant Empowerment, kill two Abominations, then kill the Mad Bomber. Adds will spawn around the fighting ring when the encounter begins. You can choose to clear them out now or start the mechanic. A mirror will start to crack near the middle of the room. Shoot the glass and walk inside.
Inside the mirror realm will be a handful of Dread enemies, notably Revenant Essentia, a variant of the Dread Weaver. Killing them will drop three motes that grant Revenant Essence. You’ll need ten stacks of Revenant Essence to damage the immune enemies in the other realm. Once you get ten stacks, make your way back to the material realm by using the mirror at the edge of the fighting ring.
Revenant Essence lasts 45 seconds. Grabbing ten stacks will remove the timer.
Now that you’re armed with Revenant Empowerment, you can now damage the immune Abomination enemies in the room. There are two in total, one on each side. There’s no timer here; take your time. Killing both Abominations will spawn the Mad Bomber and additional adds, so make sure you’re prepared before you kill the second one.
The Mad Bomber works the same as its Forsaken variant. This enemy will throw explosives your way and is quite aggressive. There are no immunity or buff mechanics to juggle here. Grab your strongest Heavy weapon and melt the boss’ health bar. Killing the Mad Bomber will end the encounter.
Related
Destiny 2: Revenant – Slayer Baron Apothecary Satchel Artifact Guide
Breach and Clear, Hail the Storm, and global Kinetic Tremors for all GLs are just a few perks available in this season’s Artifact.
Locate The Sanctum
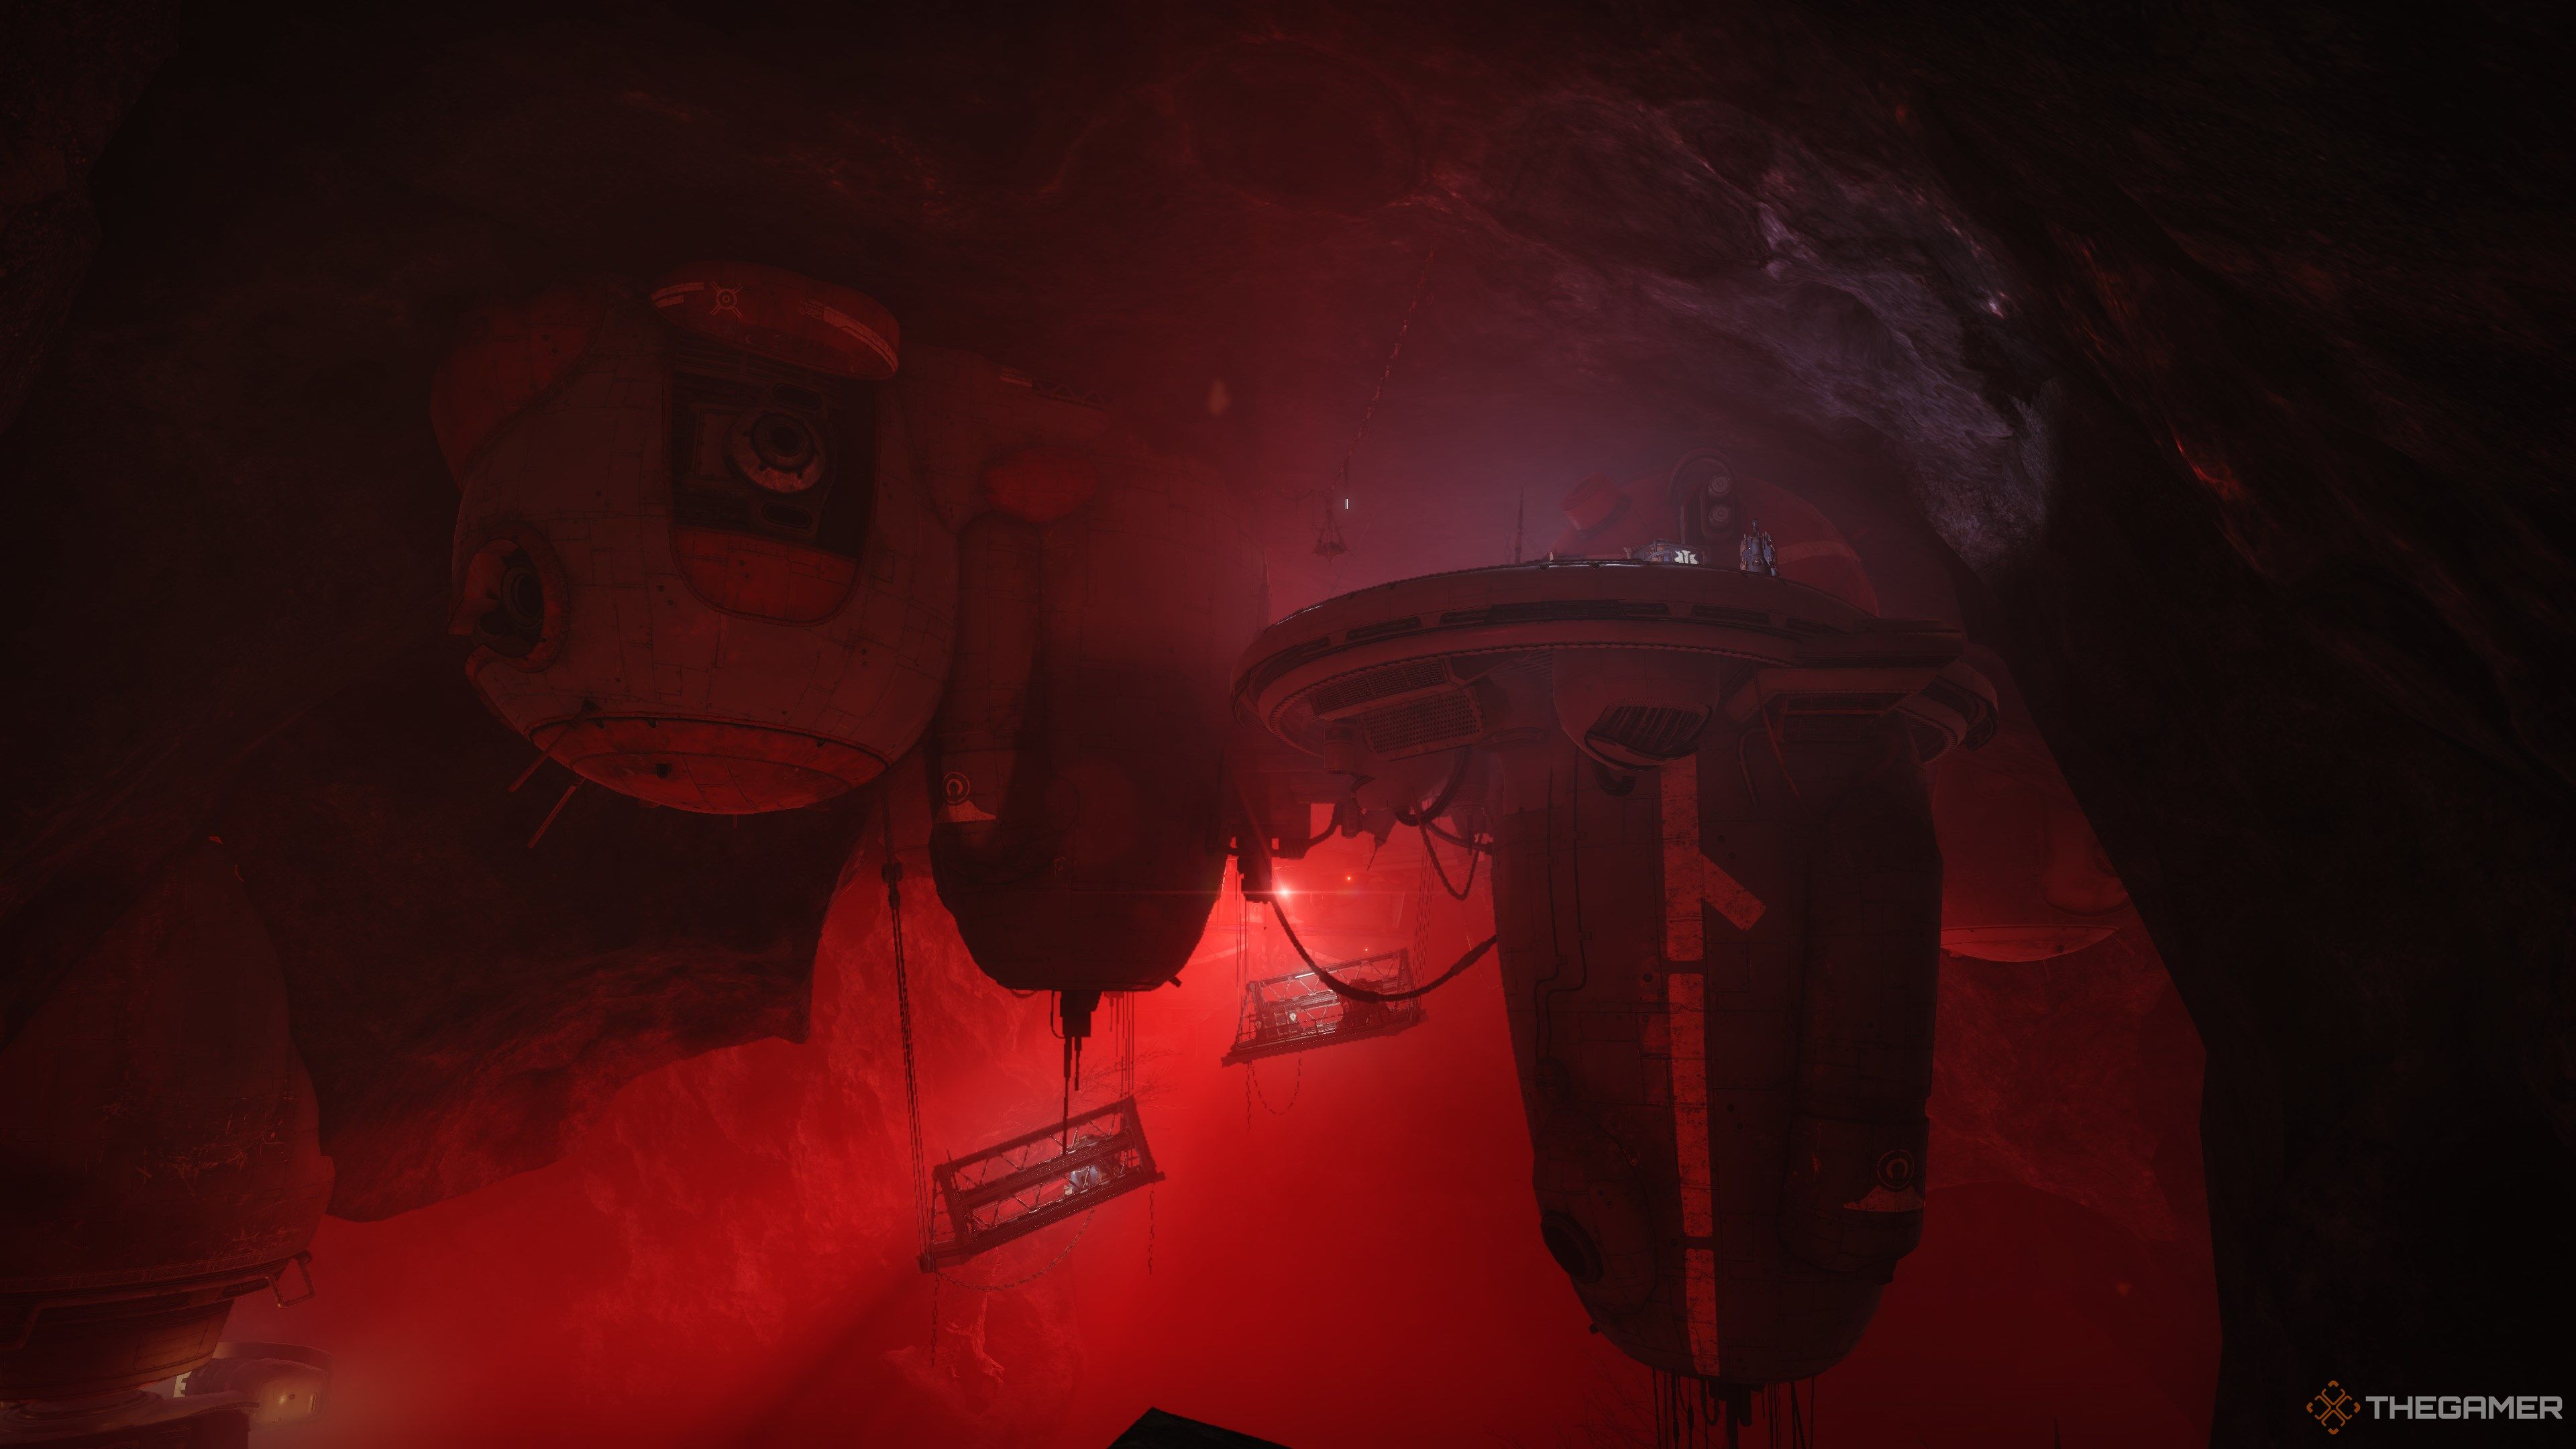
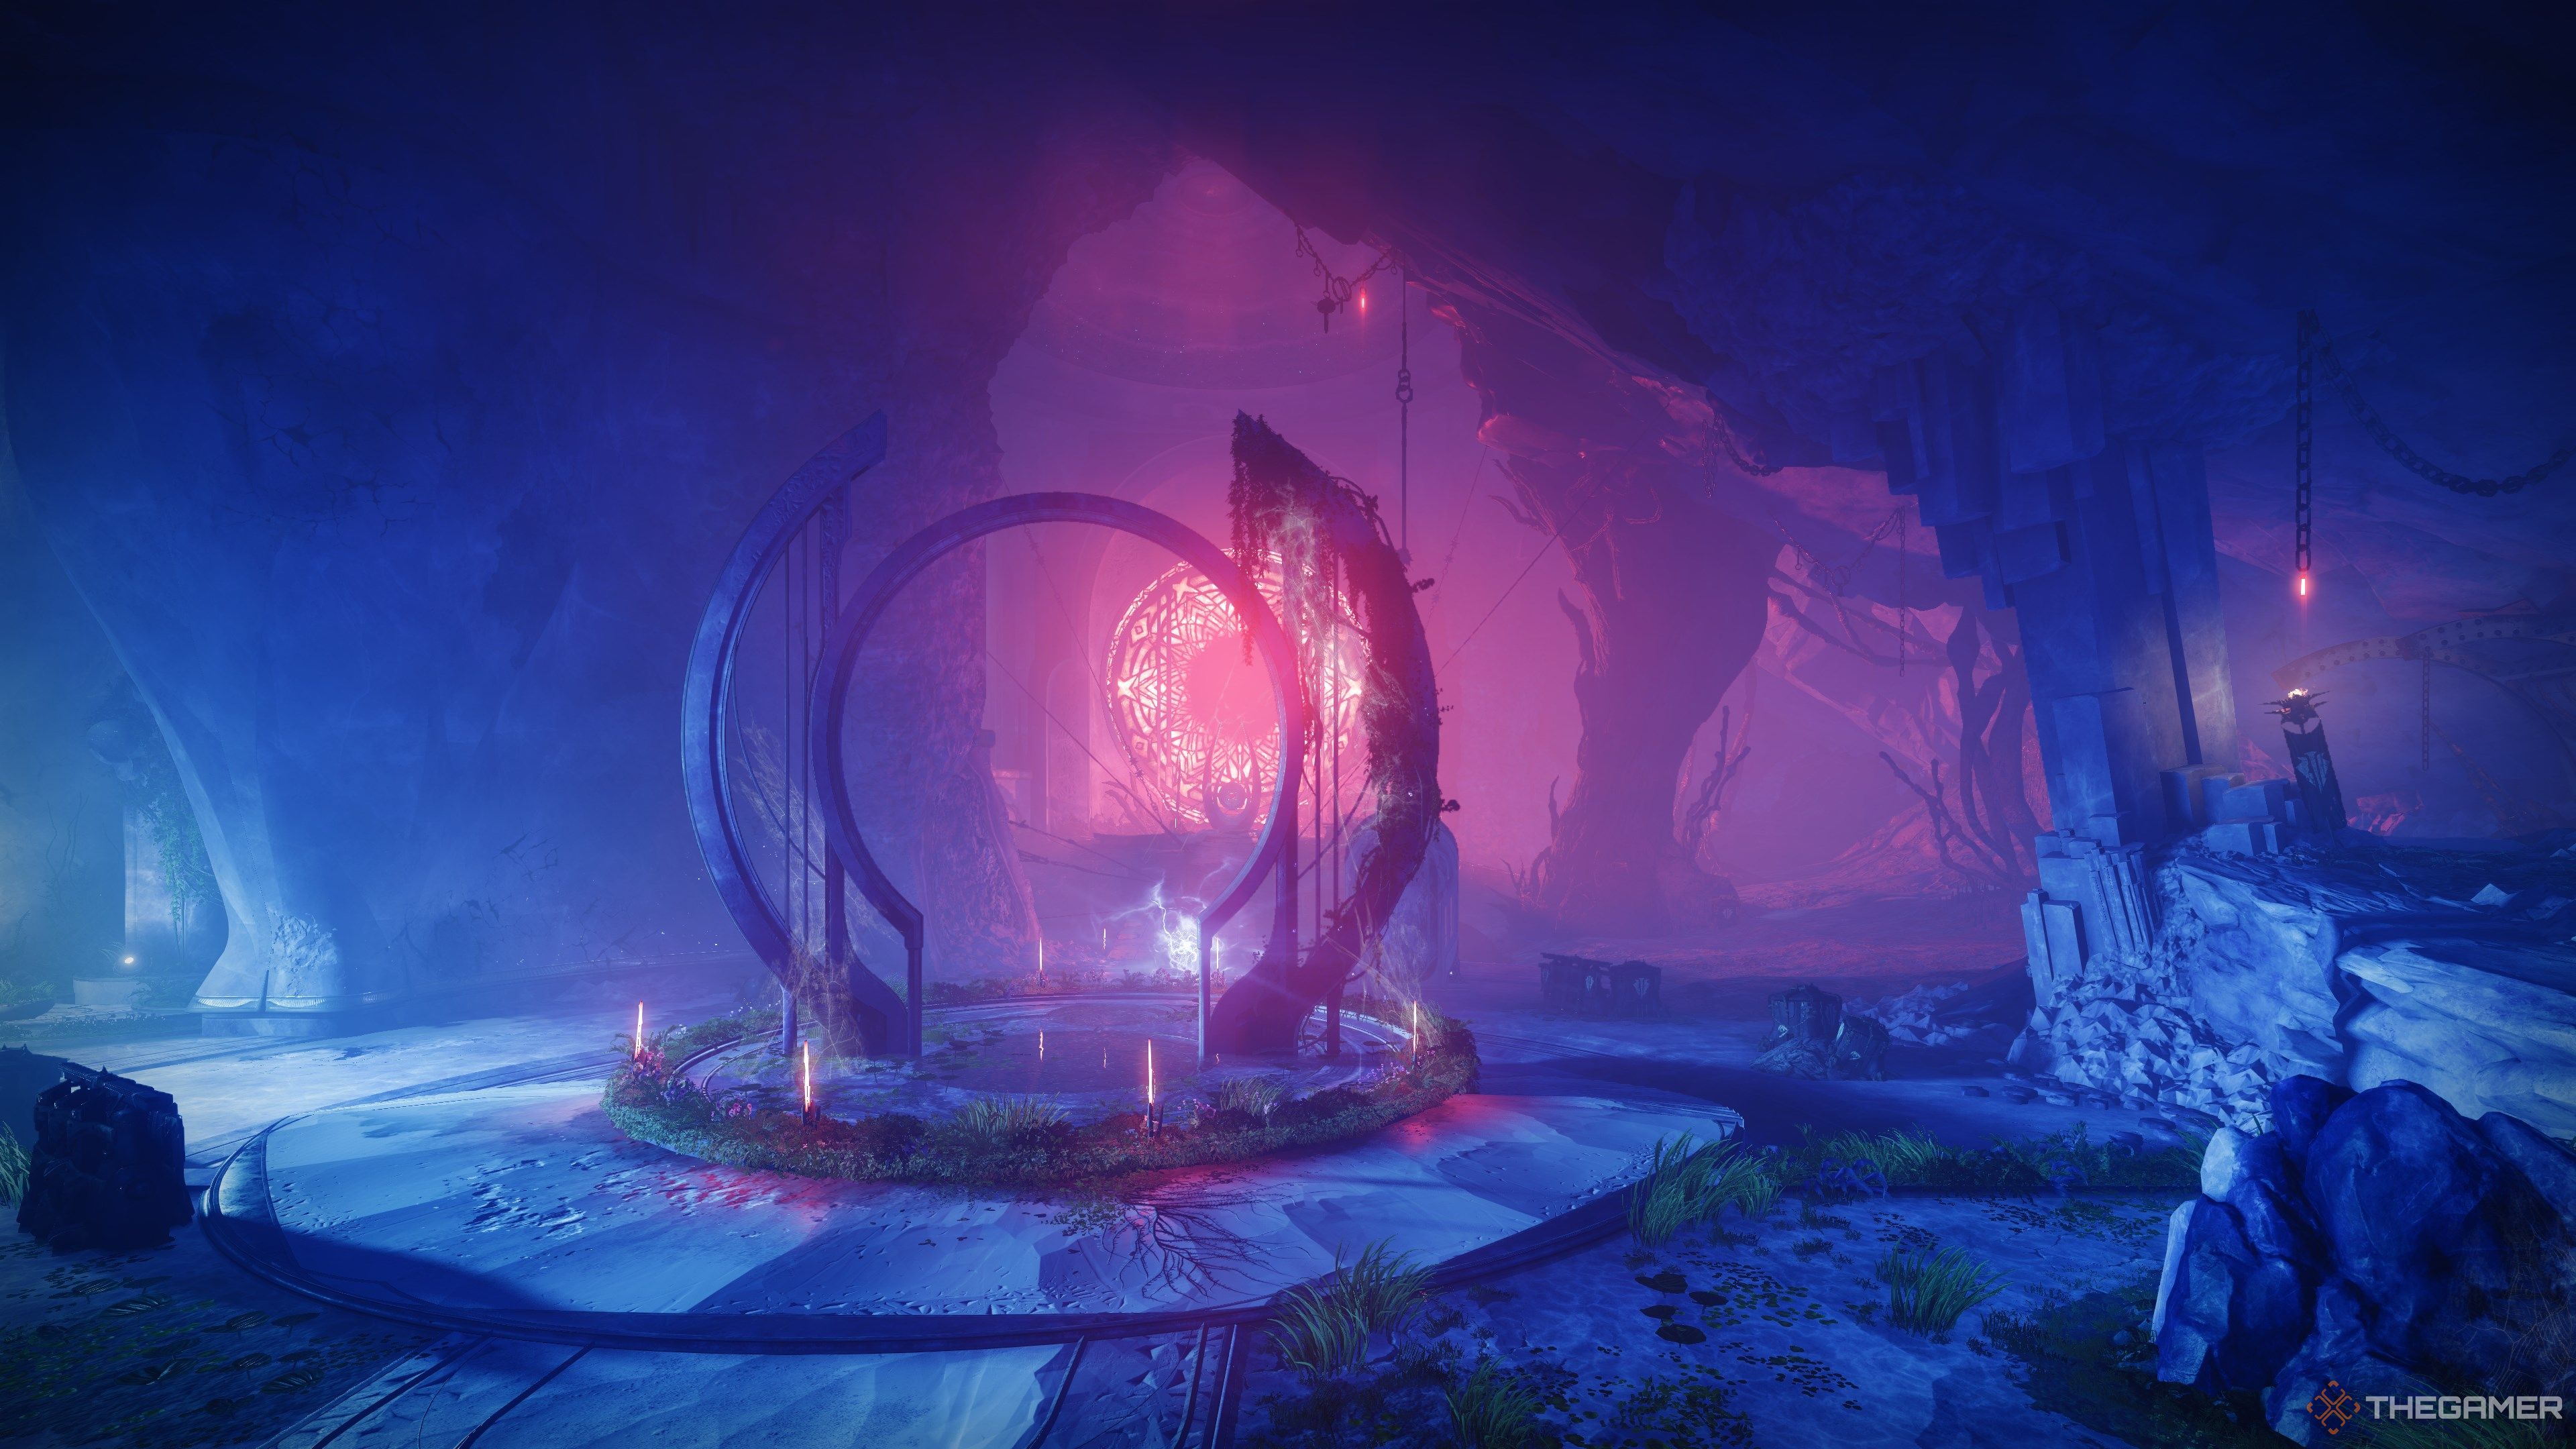
More reanimated barons await you further in the fortress. Your next stop is the sanctum, which you can access from the exit door that’s on the top-right corner of the fighting ring. Follow the path a short distance, and you should end up in a spacious cavern bathed in red light. Follow the ledges and structures on the left path. Climb up as high as you can, then look across the chasm for a cave exit.
Defeat The Mindbender
Before you start the encounter, you’ll want to light three braziers in the material realm. You’ll find one behind the Rally Flag and two next to the mirror in the adjacent room. Make sure you bring a good burst DPS Heavy weapon for this encounter—the DPS phases are timed here.
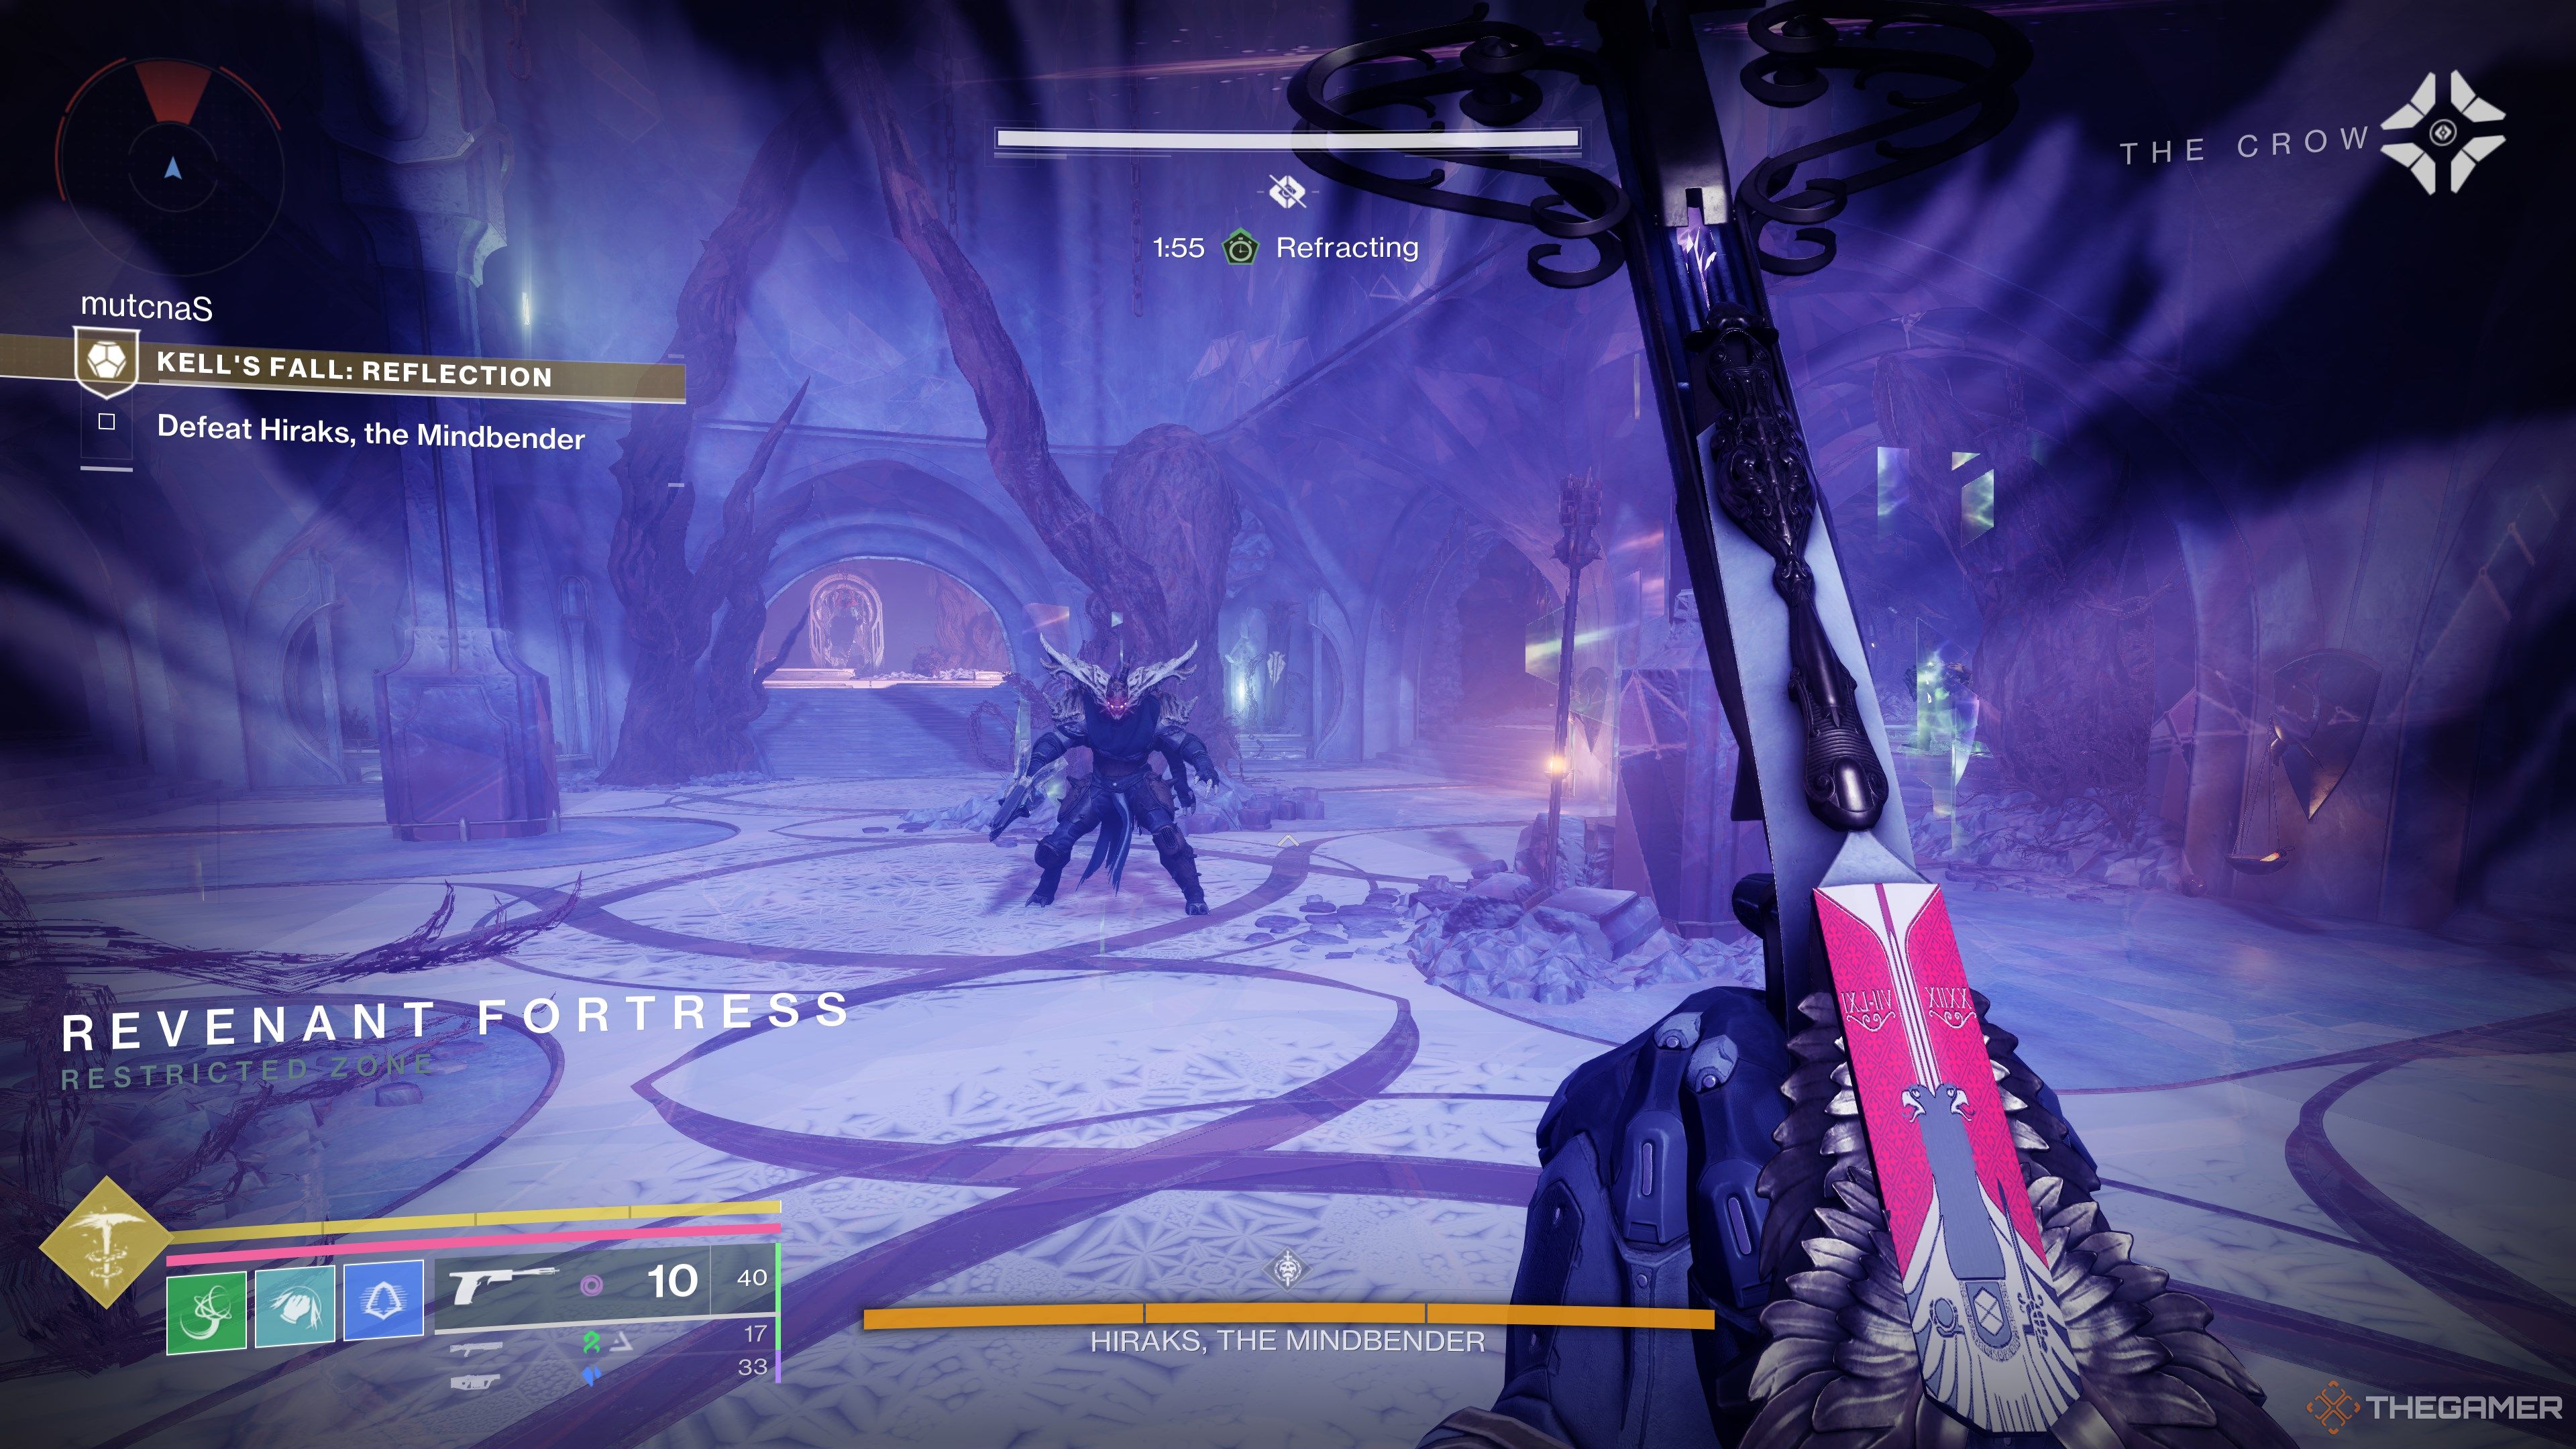
Entering the portal will bring you to the sanctum, a spacious room within the watchtower that’s protected by the Mindbender. As with the Trickster from earlier, you’ll need to remove a third of the boss’ HP for them to retreat. However, there’s a catch: there’s a two-minute timer while you’re in the mirror realm. You’ll need to damage the boss and escape before the timer hits zero.
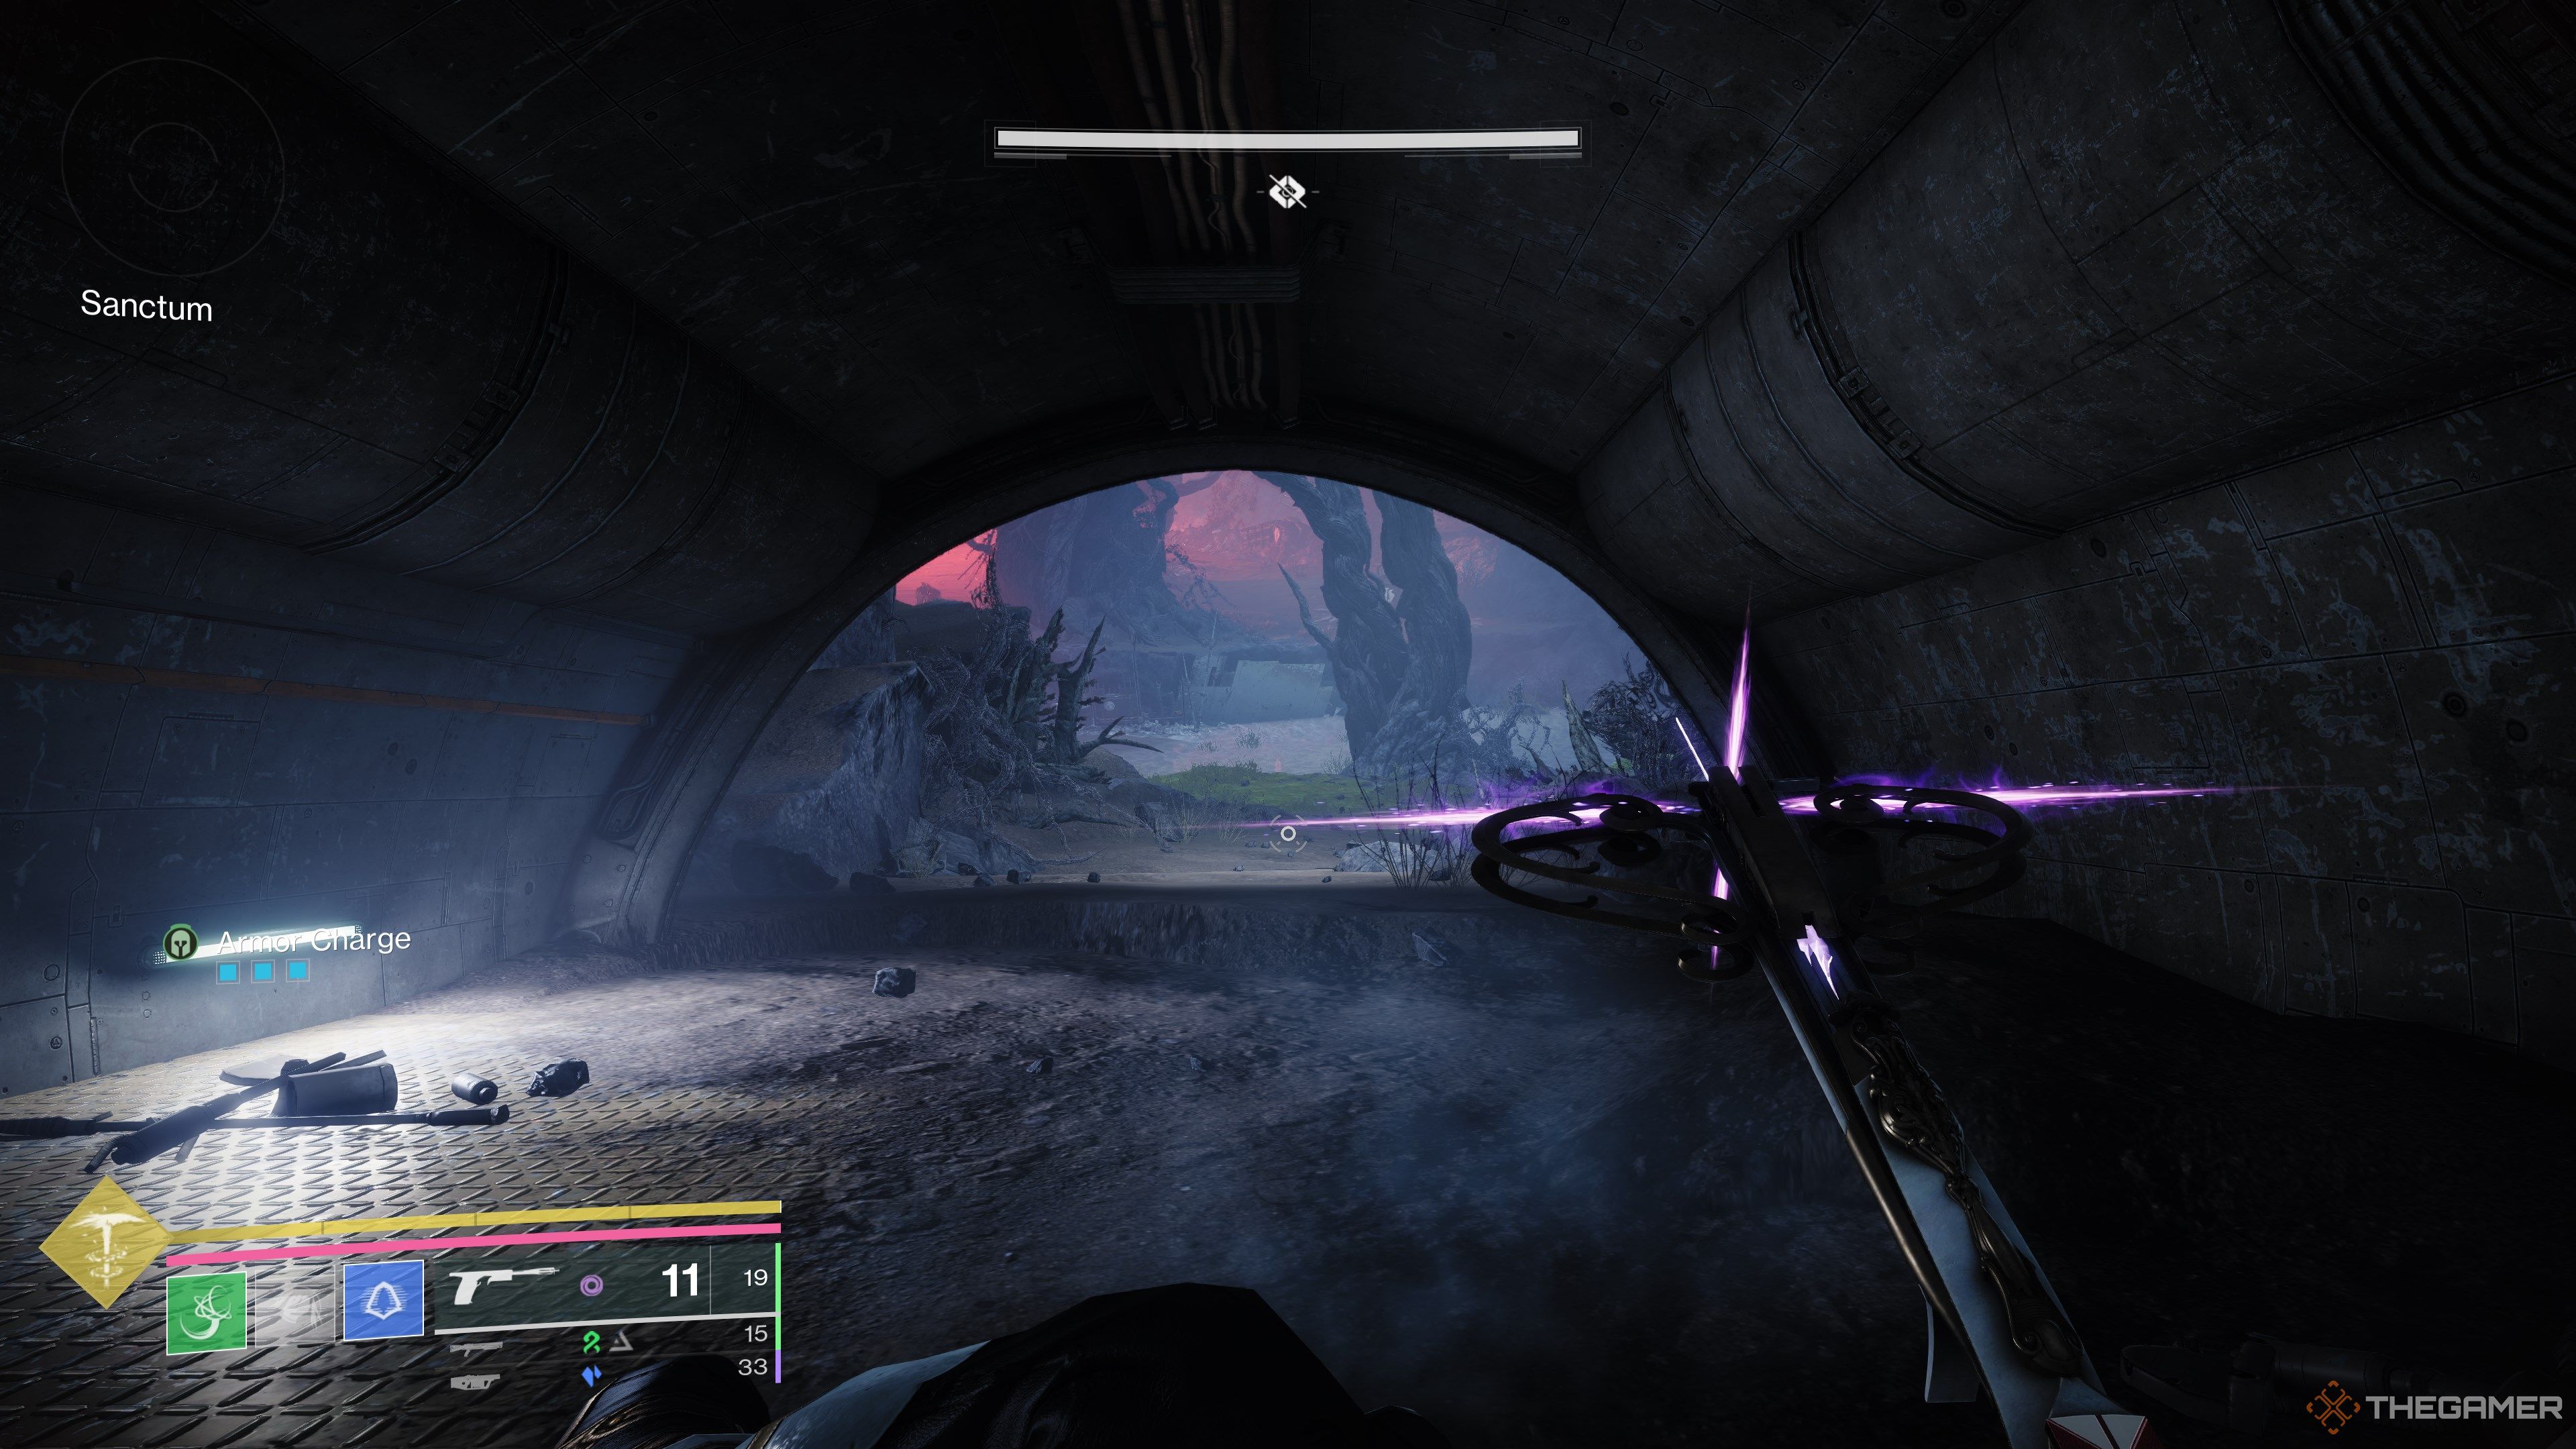
Fortunately, the exit is fairly easy to reach. Once you’ve phased the boss, run towards the hole in the wall on the left-hand side of the sanctum. A handful of Thrall will spawn once you slide through. Clear out the Thrall and run to the opposite end of the corridor to check for a Brazier in a small gap. If it’s present, light it.
You’ll then backtrack halfway down the hall and take a left, entering a small cavern that’s protected by a couple of Hive Wizards. Eliminate them, clear out the Acolytes, then use the mirror at the end of the room to escape.
In the material plane, you’ll need to light two nearby braziers to open a door. Both braziers should spawn in the room based on our runs. Once active, head back to the mirror but don’t enter it. Look above for a ledge behind the mirror you can hop up to. Head inside to start the second damage phase.
The second phase is the same as the first. Damage the boss until it’s phased, then run through the exit door to reach another mirror. You’ll end up back in the initial sanctum room with yet another timer. Kill the boss before time runs out to finish the encounter. If you need more time, enter a mirror to reset your time and jump back in.
Defeat The Trickster
While not a proper encounter, this is the penultimate section of Kell’s Fall. You’ll need to ascend a spiral staircase and defeat the Trickster baron from earlier. It’s the same as the start of the mission—wait for the Trickster to stop moving, then light it up with your abilities and Heavy weapon. You can’t wipe here, so take your time. The doors at the top of the staircase will open once the boss is slain.
Defeat The Revenants
Fikrul has made the throne room his own personal fortress, and it’s your job to put an end to his schemes. Before you start, make sure you bring a good mid-range DPS weapon and a build with high survivability. Grenade Launchers and Swords work well here.
The encounter begins with a simple add clear section. Packs of Scorn will spawn around the arena that you’ll need to kill. Pay attention to the mirror just past Fikrul’s spawn location. Once you’ve slain enough enemies, Fikrul will begin a wipe mechanic. When you see Fikrul charge up his staff, enter the mirror before the wipe occurs.
Inside the mirror realm is a mix of Dread and Scorn enemies, including Overload and Unstoppable Champions on Expert. As with the Mad Bomber, you’ll need to defeat Revenant Essentia in the arena to gain Revenant Empowerment. At x10, you can leave the arena to face one of Fikrul’s machinactions directly. If you’ve completed the Act 3 quest, you’ll fight Fikrul in the mirror realm instead.
If you’re fighting Fikrul in your version of Kell’s Fall, you’ll need to damage the mirror to start the DPS phase. You only have a few seconds to damage him before you need to escape; make it count.
The buffs you collected earlier will allow you to damage the boss. Break its shield, then use everything you have to kill them. There’s no DPS window here (excluding the Fikrul variant), so take your time. Play it safe, remember to use your Super, and make frequent use of your Heavy weapon to down the boss. Finishing this encounter will complete Kell’s Fall, awarding you with the Slayer’s Fang Exotic Shotgun.
Next
Destiny 2 – Captive Memories Mission Walkthrough
Learn how to solve the door puzzle and beat the returning Skolas in the mission Captive Memories in Destiny 2.




Leave a Reply