The Game Gear was Sega’s brief entry into the handheld market in the early 90s to challenge Nintendo’s Game Boy. It was ahead of its time with the full-color display and capabilities. It had extra features, such as a cartridge expansion to play Master System games, a TV tuner that turned it into a mini TV, and much more.
It featured a library of games developed for the Game Gear and direct ports of Sega Master System games, such as Sonic the Hedgehog. Even though the Game Gear didn’t have the staying power of Nintendo’s device, its games can be played on the Steam Deck thanks to the EmuDeck. This guide will show you how to install and use the EmuDeck and play Game Gear games.

Related
Game Gear boasts some of the greatest retro gaming hits. Here are the best ones, ranked.
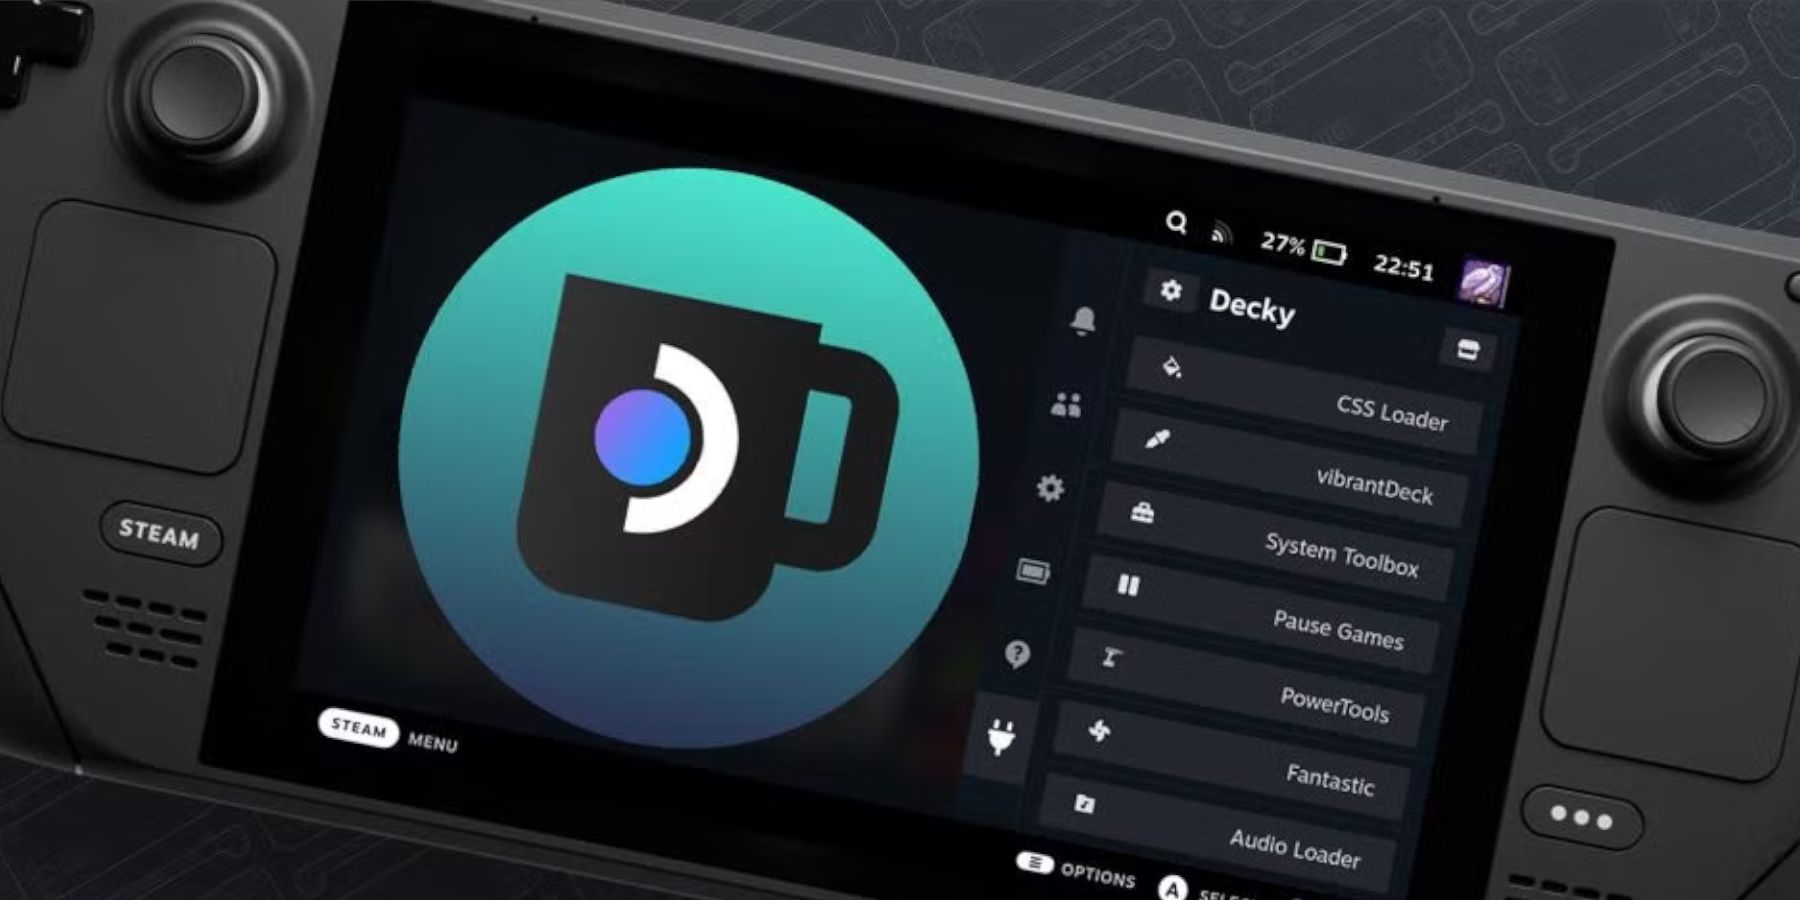
Updated January 8th, 2025, by Michael Llewellyn: The Sega Game Gear was a handheld console that resembles a Steam Deck in many ways. So it seems fitting to get the system’s games running on Valve’s handheld PC. However, the EmuDeck developers recommend installing Power Tools via the Decky Loader program to achieve perfect performance. This guide includes the steps for installing the Decky Loader, the Power Tools plugin, and a fix to maintain compatibility with the Steam Deck.
Before Installing The EmuDeck
Before attempting to install EmuDeck for retro games, you must take precautions and obtain some tools in preparation.
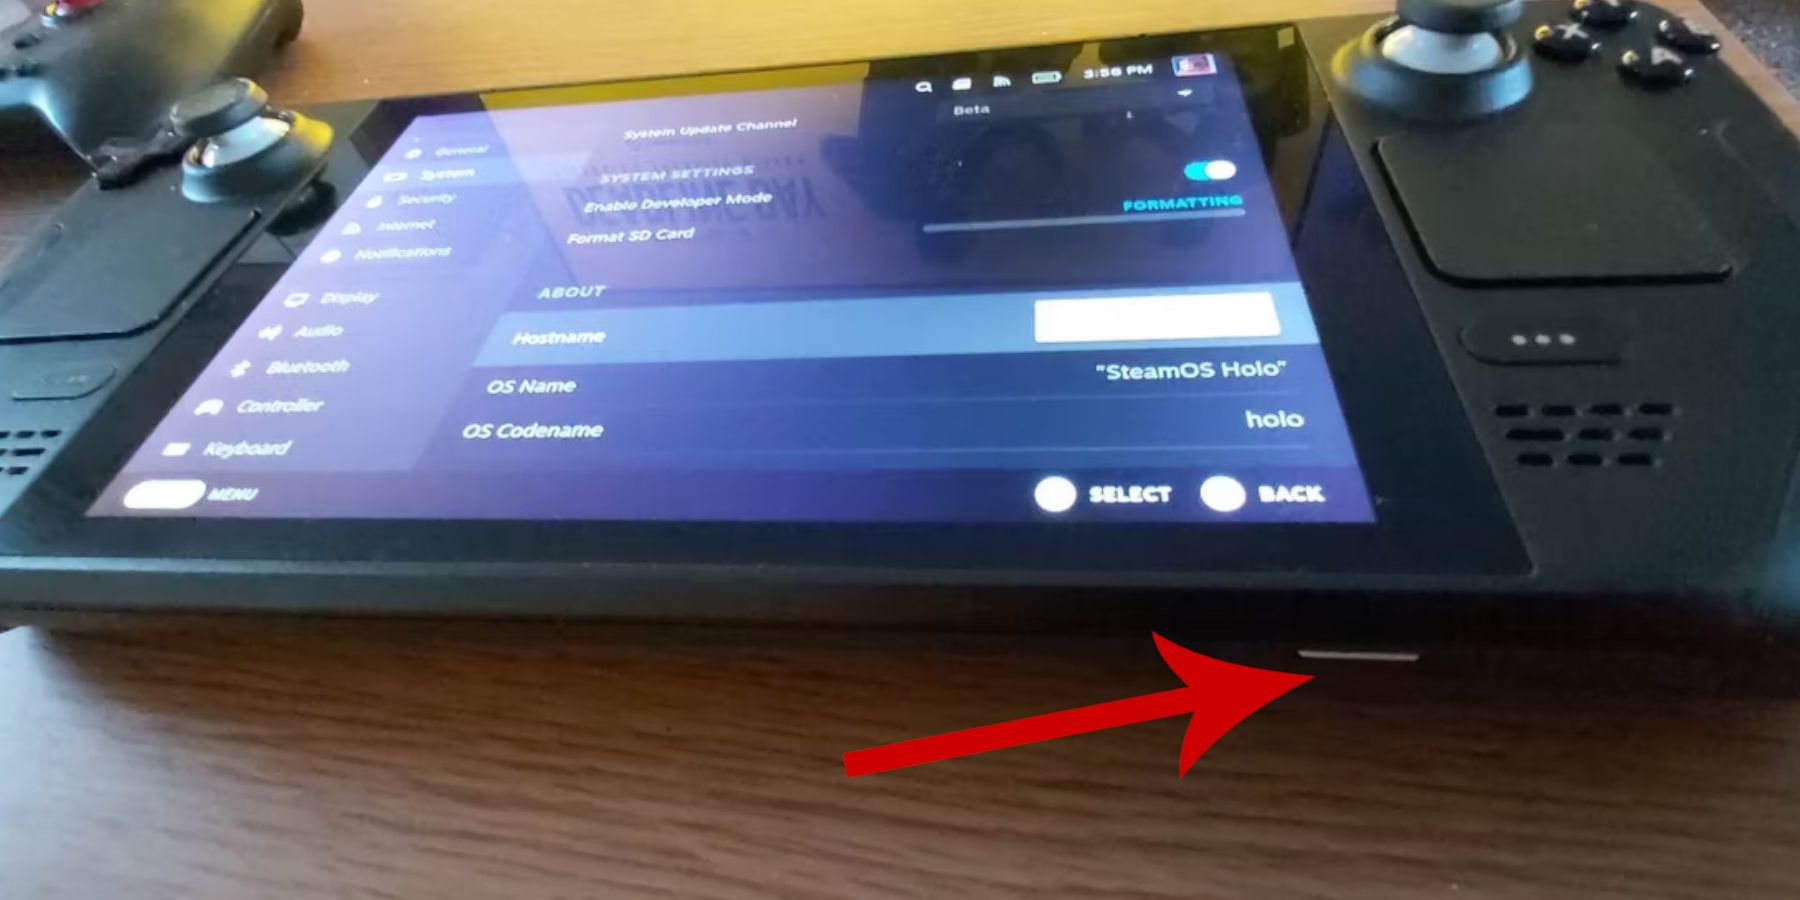
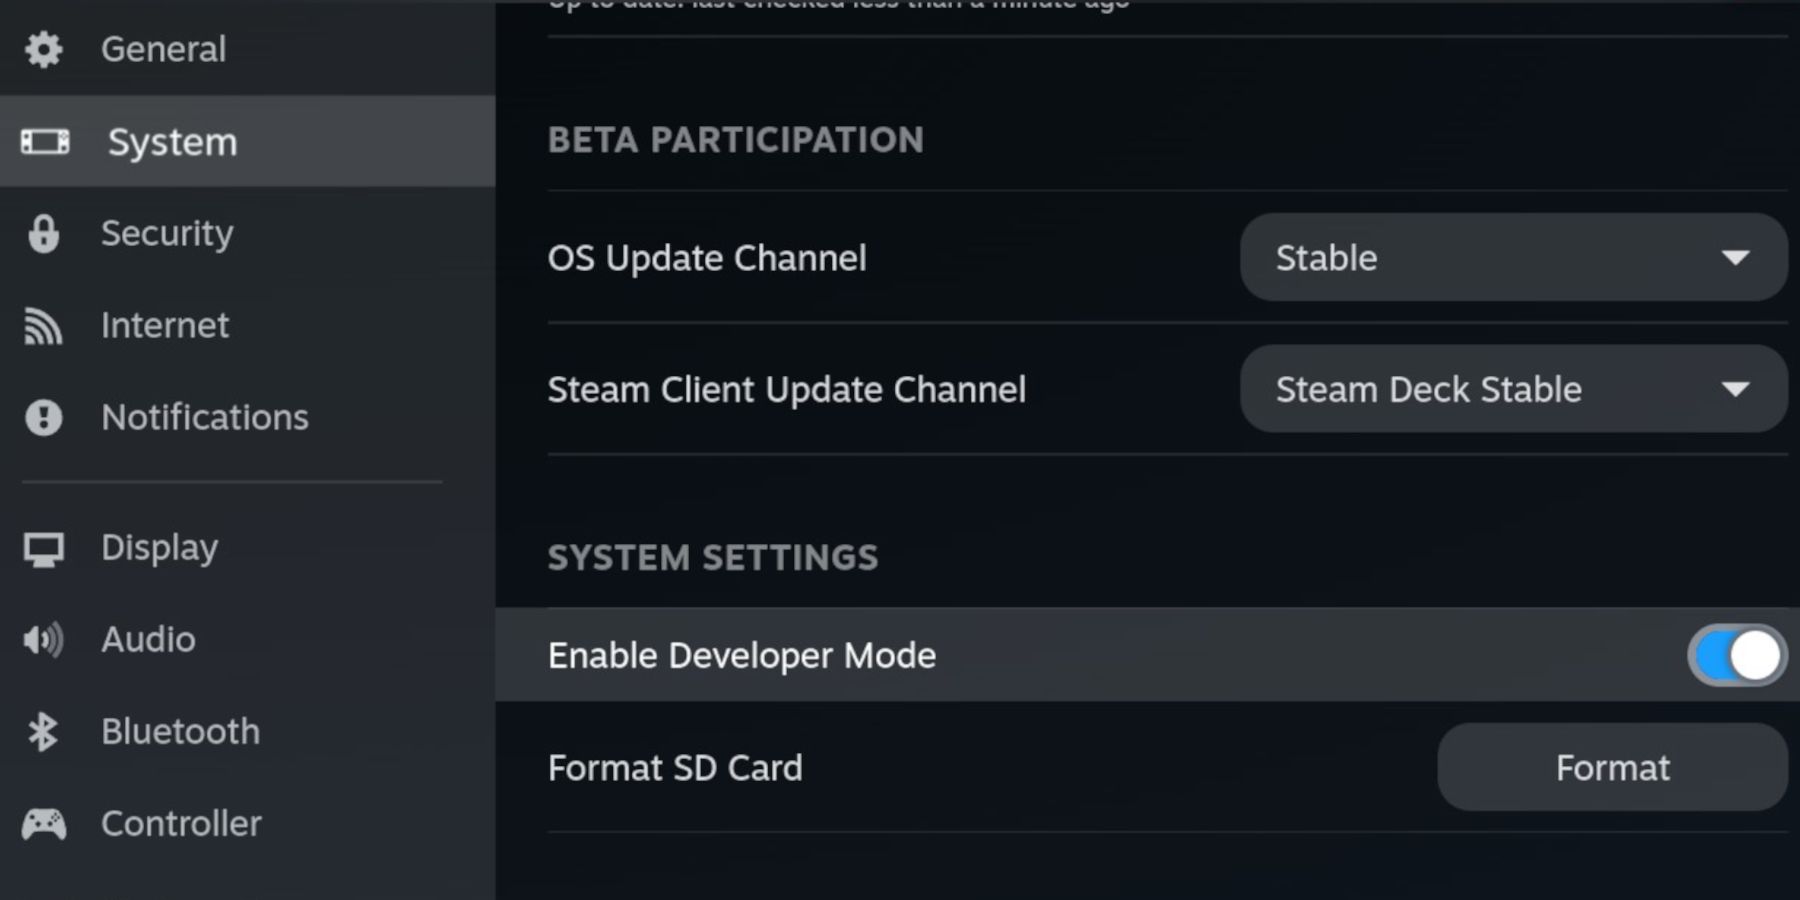
Activate Developer Mode
- Press the Steam button.
- Open the System menu.
- Under System Settings, switch Enable Developer Mode on.
- Look for the new Developer menu.
- In the Developer menu, look for Miscellaneous.
- Switch on CEF Remote Debugging
- Press the Steam Button again.
- Open the Power menu and Restart the Steam Deck.
Recommended Items
- An external storage method is required to install the emulator and ROMs. Therefore, an A2 MicroSD card is essential to store the games and emulators outside the internal SSD and keep them free for official Steam games and apps.
- Or an external HDD as an alternative to an SD card, but you’ll need to keep the Steam Deck connected to a Steam Deck Dock.
- A keyboard and mouse make transferring files and searching for cover art and games much easier.
- Legally own Game Gear ROMS. You can make copies of games you own.
Install EmuDeck On The Steam Deck
With the Steam Deck set up for emulators and retro games, it’s time to download and install the EmuDeck program.
- Press the Steam Button.
- Open the Power menu and select Switch to Desktop.
- Install and open a browser of your choice.
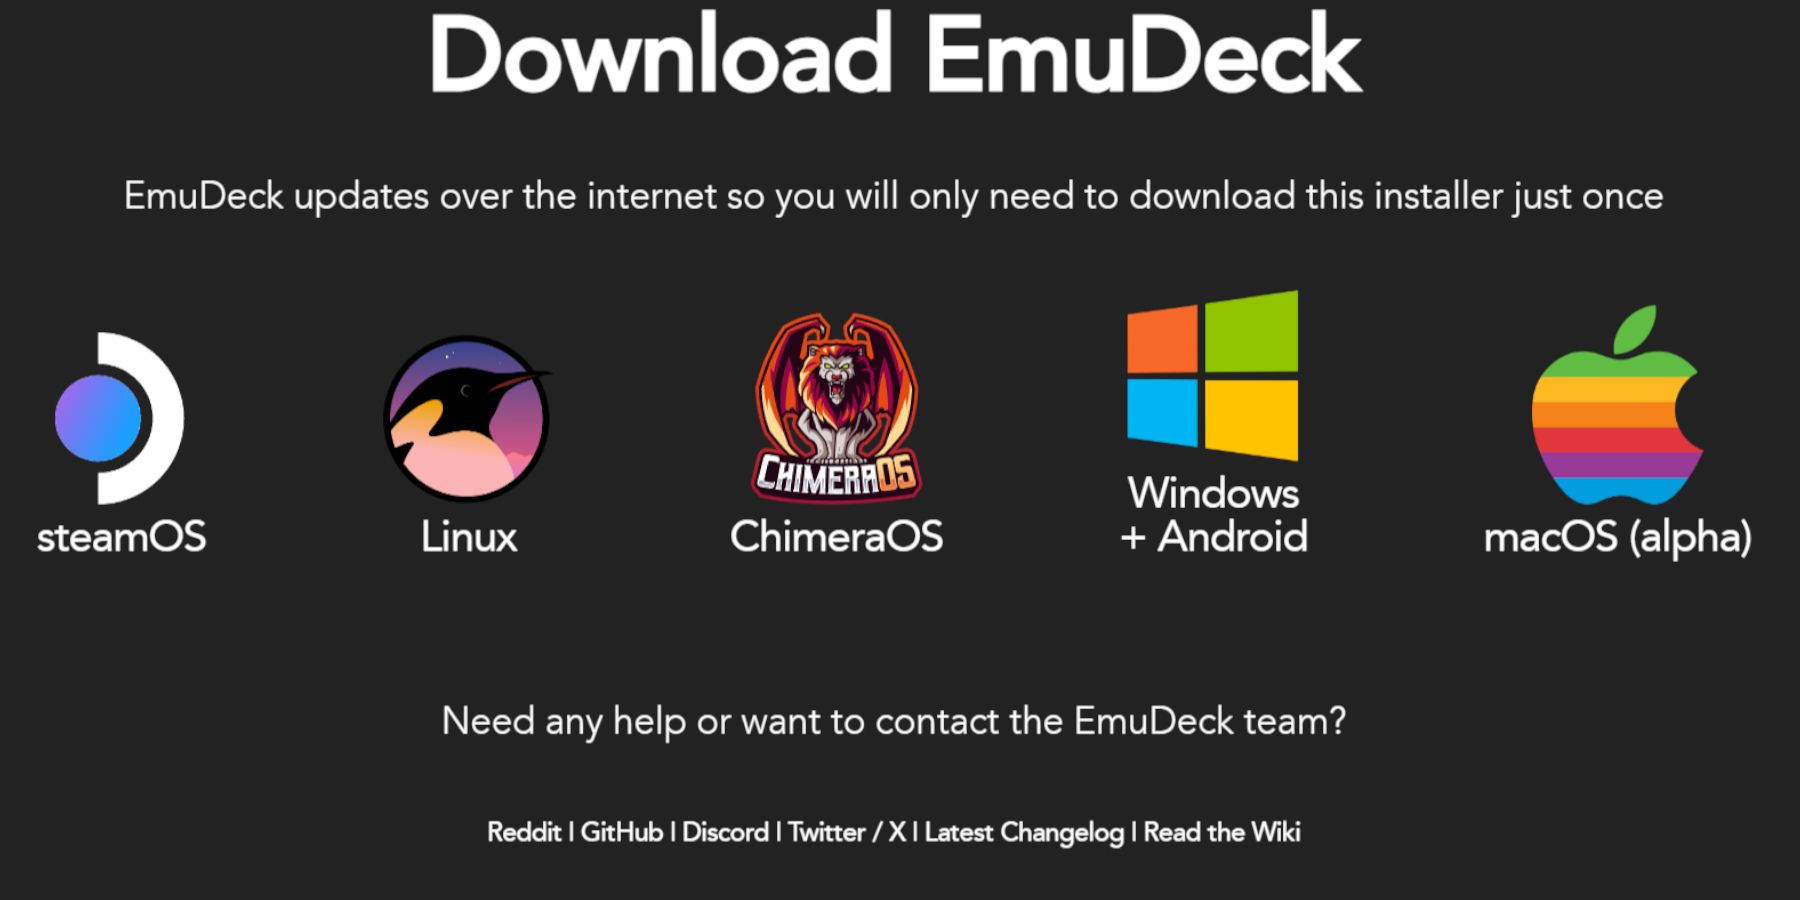
- Open the EmuDeck website and click on Download to access the EmuDeck program.
- Select the Steam OS version, and choose Custom Install.
- In the EmuDeck installation screen select the SD Card image named Primary.
- You can install all the emulators or select RetroArch, Emulation Station, and Steam Rom Manager and click Continue.
- Switch on Auto Save.
- Skip the next few screens and select Finish to finalize the installation.
Quick Settings
- Open the EmuDeck program and access Quick Settings in the left menu panel.
- Ensure the AutoSave feature is on.
- Enable Controller Layout Match.
- Change Sega Classic AR to 4:3.
- LCD Handhelds On.
Transferring Game Gear ROMS And Steam ROM Manager
Now it’s time to transfer your Game Gear Roms into their correct folder and add them to the Steam Deck’s library so you can play them in Gaming Mode.
Transfer ROMS
- In Desktop Mode, open the Dolphin File Manager.
- Open Primary underneath Removable Devices.
- Open the Emulation folder.
- Select ROMs and open the gamegear folder.
- Transfer your ROMS into the folder.
Steam ROM Manager
- Reopen the EmuDeck program
- Open the Steam ROM Manager from the left menu panel.
- Click Yes to close the Steam Client.
- Click Next on the Welcome to SRM! page.
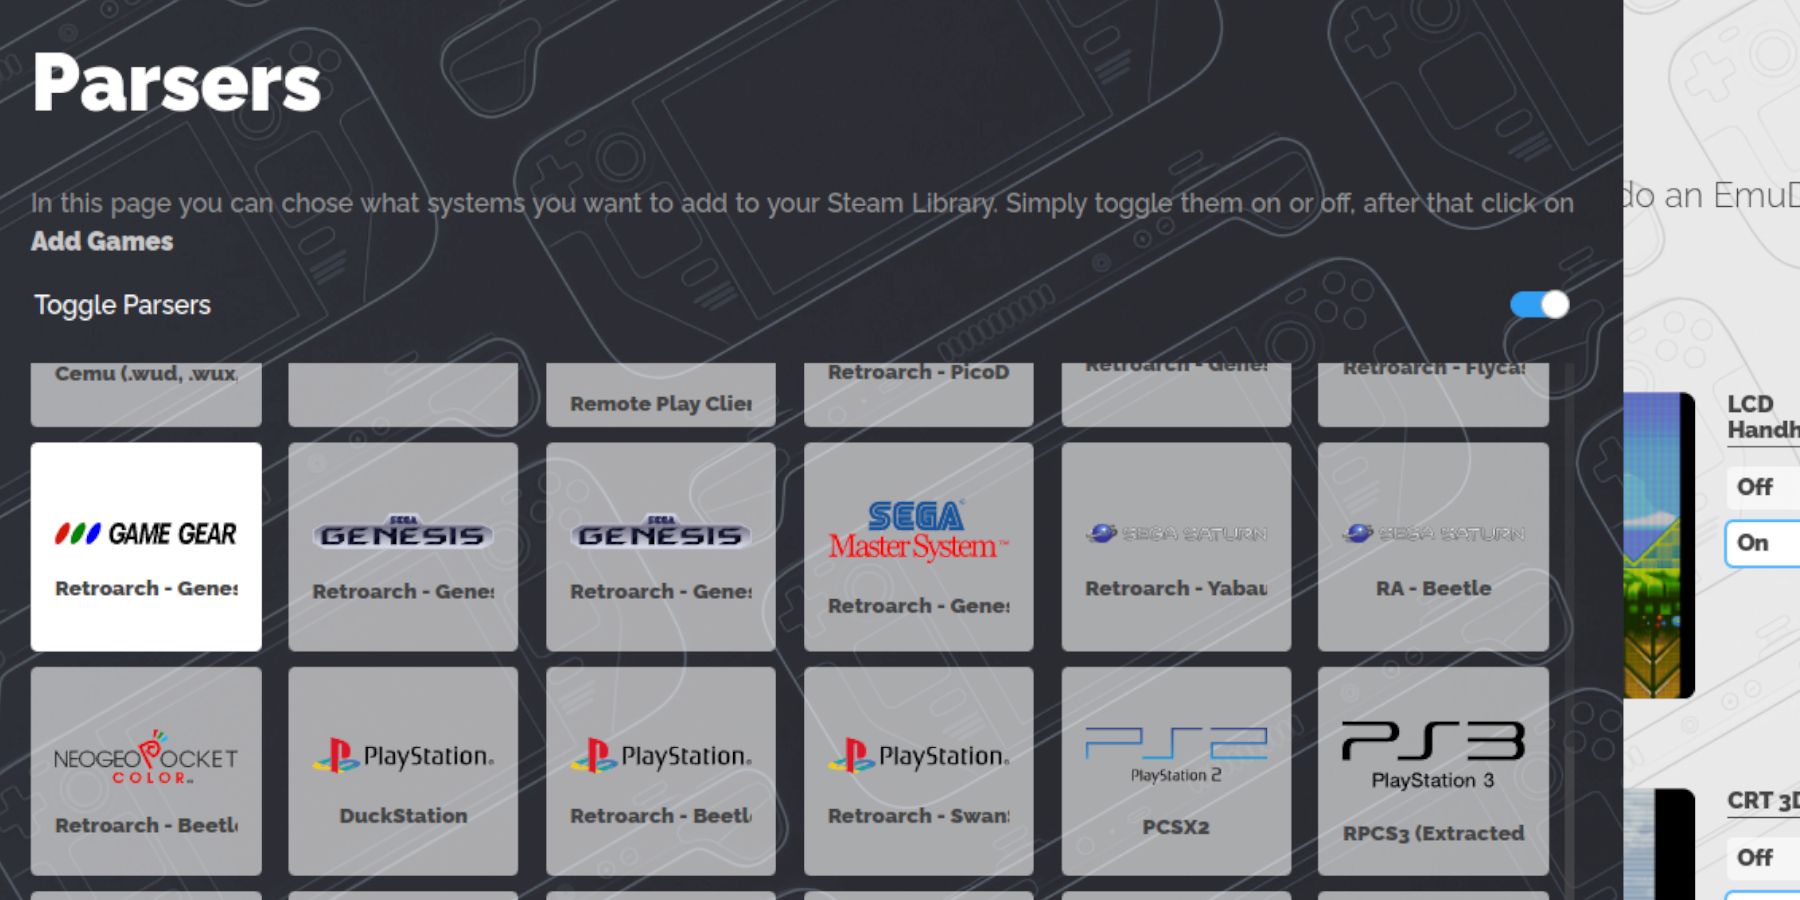
- On the Parsers screen select the Game Gear icon.
- Select Add Games.
- Then Parse on the Add your games to Steam page.
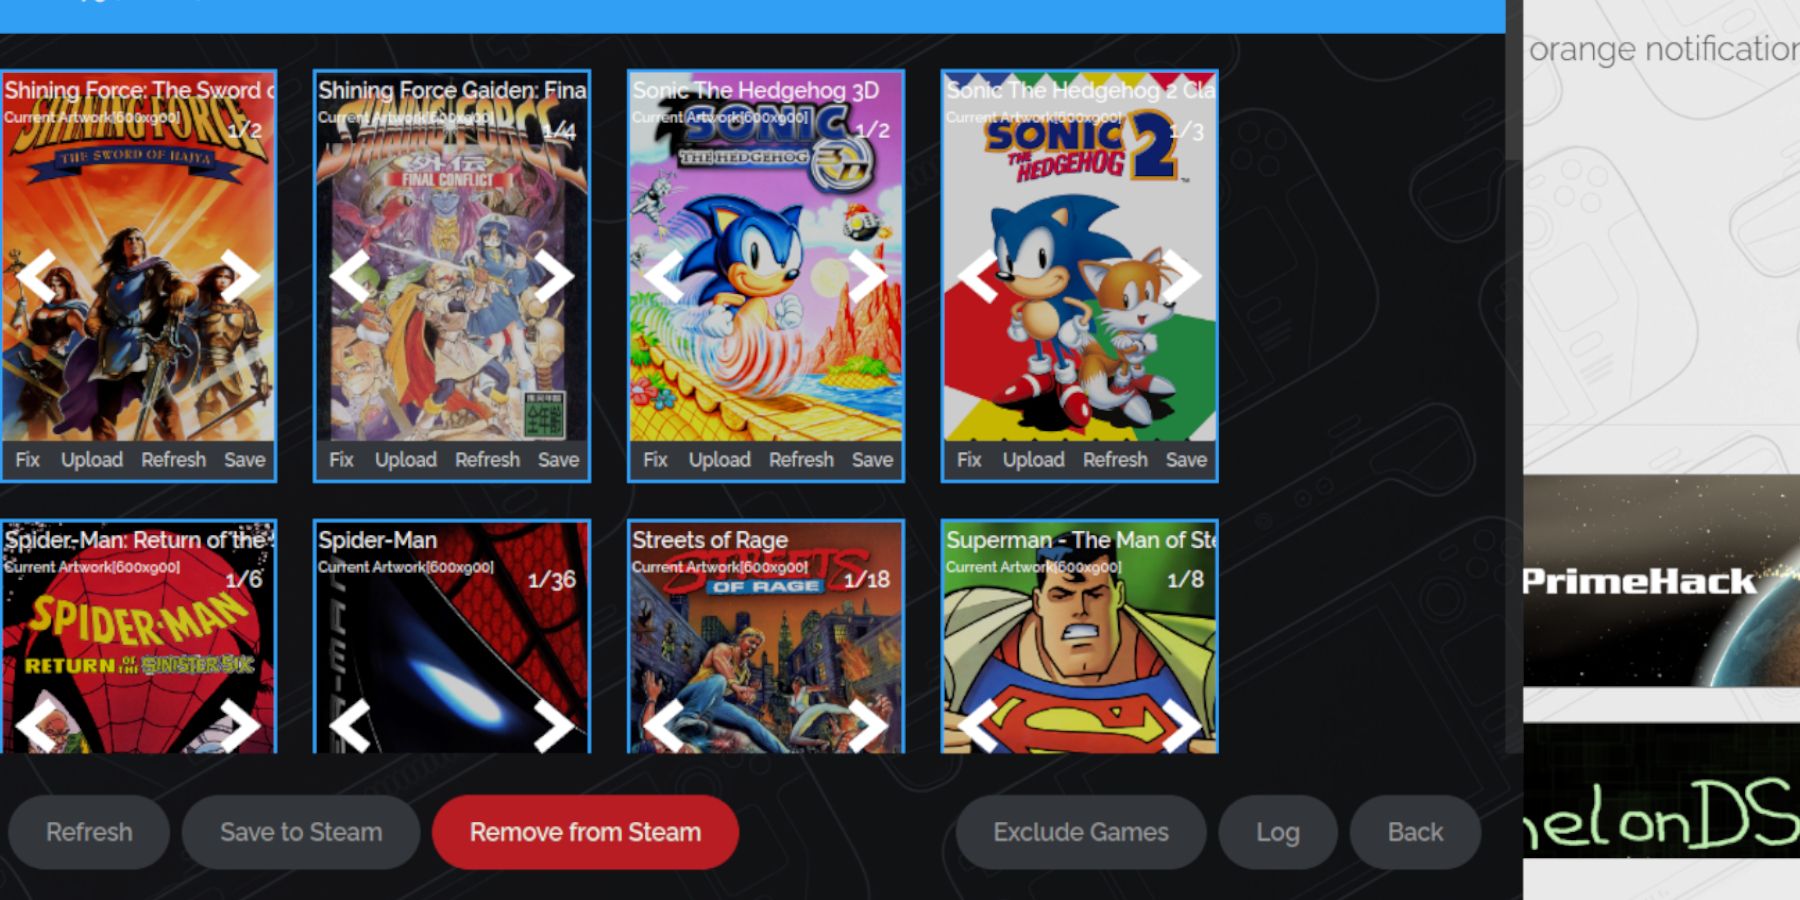
- Check the artwork and covers are in place then select Save to Steam.
Fix Missing Artwork On EmuDeck
With some retro games, the Steam ROM Manager may have trouble locating your favorite Game Gear games and their cover art. Use the following steps to fix missing covers on the Steam Deck.
- If the artwork is incorrect or missing, click Fix.
- Type the game’s title in the fix Artwork and Title search bar.
- The engine should give you a choice of game covers.
- Click on the image, select Save and Close, and Save to Steam.
Check if the ROM has any numbers before the title of the game. The Steam ROM Manager will read the numbers before the title and fail to detect the correct artwork. Right-click the ROM, select Rename, and delete the numbers.
Upload Missing Artwork
- Open Desktop Mode.
- Use a browser and search for the missing game cover.
- Click image search, and save the cover to the Pictures folder on the Steam Deck.
- Reopen the EmuDeck program.
- Run the Steam Rom Manager.
- Click on Upload on the game’s frame.
- Open the Pictures folder and select the new cover image.
- Select Save and Close.
- Then click on Save to Steam.
Related
How To Get PlayStation Plus On The Steam Deck
This guide will show you how to install Decky Loader and run PS Plus from the Steam Deck’s library.
Playing Game Gear Games On The Steam Deck
It’s time to locate and access your Game Gear games from the Steam Deck’s Gaming Mode and adjust the settings so they play without issue.
- Return to Gaming Mode from the Steam Deck’s desktop background.
- Press the Steam button.
- Access the Library menu.
- Press the R1 button to access the new Collections tab.
- Open the Game Gear window.
- Select your game and select Play.
Performance Settings
The Steam Deck will often default to the 30 FPS and cause significant slowdown and sound issues for Game Gear games. Use the following steps to fix the framerate:
- Press the QAS button, the button with the three dots underneath the right trackpad.
- Select Performance.
- Underneath Performance Settings switch Use per-game profile on.
- Then increase the Frame Limit to 60 FPS.
Install Decky Loader For The Steam Deck
The settings above will enhance the performance of Sega games on the Steam Deck. However, installing Power Tools via the Decky Loader will provide more control over SMT and additional features. Follow these steps and install them on your Steam Deck.
- You can connect a keyboard and mouse for easier navigation. Alternatively, press the Steam button and X to open the onscreen keyboard and use the trackpads as a mouse..
- Ensure the Steam Deck is in Desktop Mode by pressing the Steam button, opening the Power menu, and Switch to Desktop Mode.
- In Desktop Mode open a browser and navigate to the GitHub Decky Loader page.
- Click the large Download icon further down the page to start downloading.
- After the download has finished, double-click the launcher and select Recommended Install.
- With the installation complete, restart the Steam Deck in Gaming Mode.
With Decky Loader installed it’s time to install the Power Tools plugin using the following steps:
- With the Steam Deck in Gaming Mode, press the Quick Access Menu (QAM) button, below the right trackpad.
- Click on the new plugin icon at the bottom of the right-side menu.
- Open the store icon at the top of the Decky Loader menu.
- In the Decky Store, find the Power Tools plugin and install it.
Settings For Power Tools In Emulated Games
- Press the Steam button.
- Select Library and open the Collections tab to locate and play a Sega Game Gear game.
- Press the QAM button, Decky Loader, and select the Power Tools menu.
- Turn off SMTs.
- Adjust the number of Threads to 4.
- First, press the QAM button, then open the Performance menu by selecting the small battery icon.
- Enable Advance View.
- Then switch the Manual GPU Clock Control On.
- Increase GPU Clock Frequency to 1200.
- Finally, switch Per Game Profile on to save these settings for individual games.
Fixing Decky Loader After A Steam Deck Update
Major Steam Deck updates may remove the Decky Loader application from your QAM making it inaccessible. Thankfully, it can be restored with your settings intact by following these steps:
- Switch to Desktop Mode from the Power menu.
- Then open a browser after the Steam Deck restarts in Desktop Mode.
- Open the Decky Loader GitHub page and click the Download icon.
- Select Execute and do not select Open. Open will reset your install and remove your settings.
- Enter your sudo password on the prompt. If you have not yet created a sudo password, follow the on-screen instructions to set up a new one. Choose a memorable password and make a note of it for future installations.
- When the installation completes, power off the Steam Deck and restart it in Gaming Mode.
- Press the QAM button, and open the Decky Loader app to find your Decky Loader app back to its previous state.
That’s everything required to add and play Game Gear games on the Steam Deck and improve their performance.





Leave a Reply