The Elderm Mountains in Ys Memoire: The Oath in Felghana have been taunting you ever since Adol first set foot in this new land. It is where Dogi’s master resides, where Dogi himself frequently visits, and has always been reachable, but for the fact that you just couldn’t jump high enough. A problem no longer!
6:38
Related
All Ys Games Listed In Chronological Order
The Ys series remains a popular, but well-kept secret in the JRPG game world. Here’s how every game fits into the series’ timeline.
With double-jump now in Adol’s pool of abilities, he can join Dogi with his master, Berhardt and discover the relevance of the mysterious statues you have been collecting. Of course, ascending the Elderm Mountains isn’t exactly simply. Here’s everything you need to know about this sprawling mountain range.
Navigating Elderm Mountain – Exterior
Critical Path
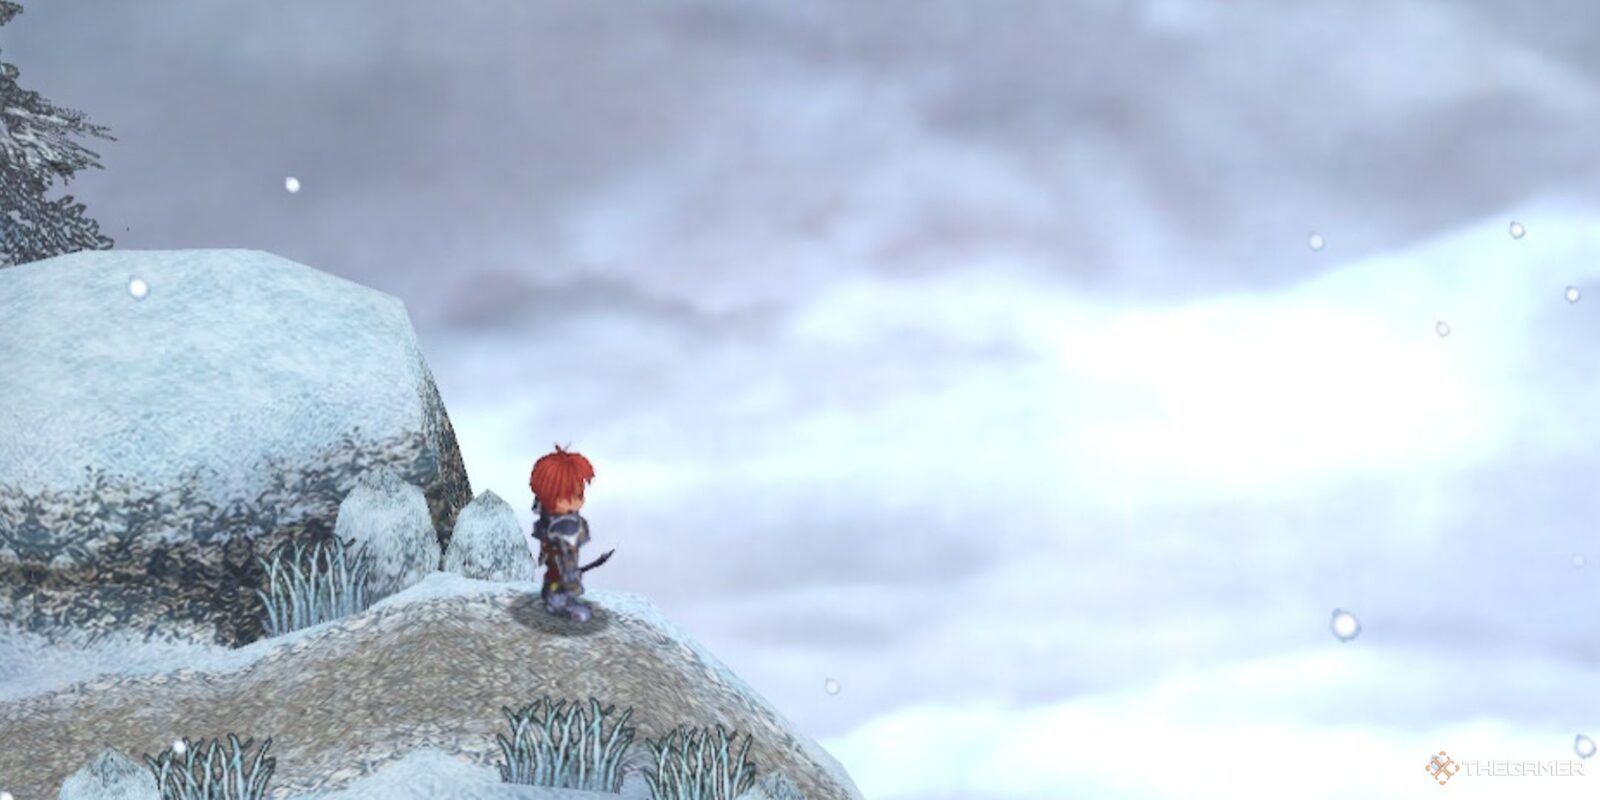
When you first step foot into the Elderm Mountains, the enemies will be a big difficulty jump, though nothing too unusual in terms of pure combat capabilities. Proceed up the mountain, using double-jump and the Ventus Bracelet to make any jumps that seem a little to far for a regular hop.
With double-jump, Adol’s descending slash is much more powerful and more likely to stun enemies.
After a brief bit of hiking, you’ll enter an internal cave. This is relatively short, though has a few different turns so it’s important not to get yourself turned around. Seeing as the goal is to ascend the mountain, follow every path upwards where possible. This will lead to a second interior area. Follow the path upwards again until you find an exit on the right.
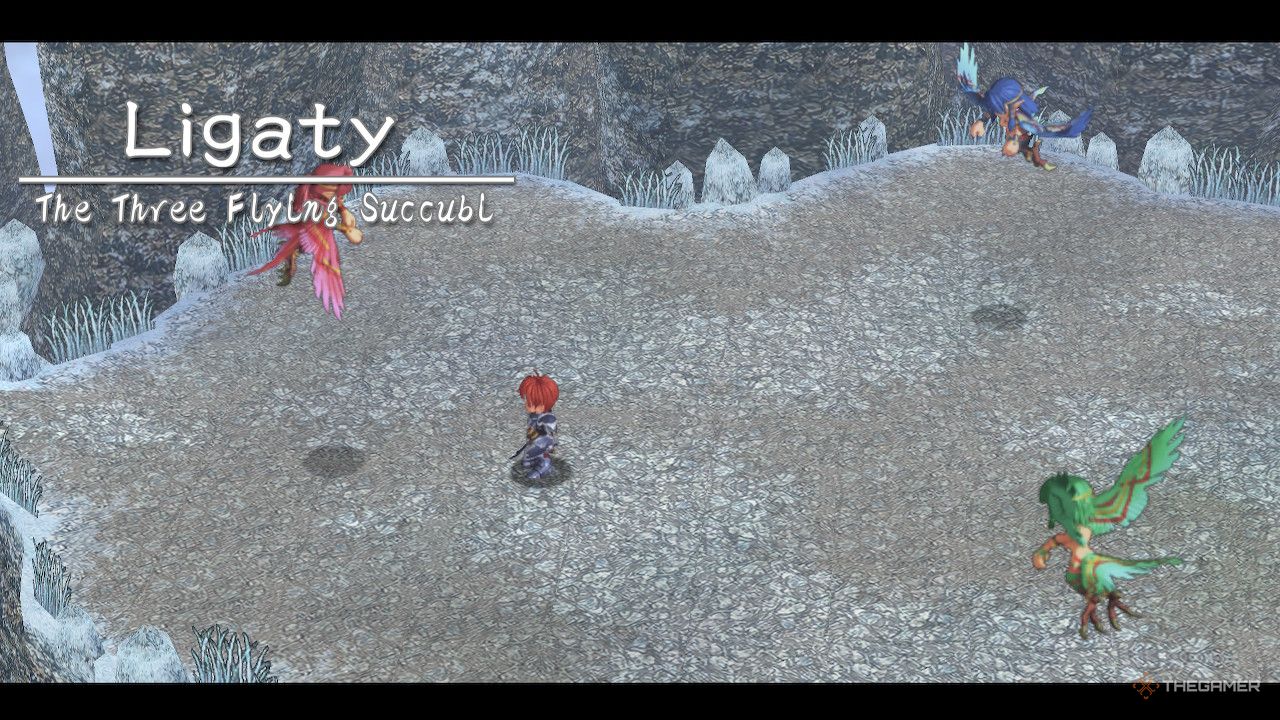
Back outside, follow the same philosophy as before, climbing upwards at every occasion, only deviating to gather optional items. Reach the top of this area, and you will finally be brought to a save point. Before you can reach Berhardt’s cabin though, you’ll have to face a new boss summoned by Dularn – Ligaty.
With that trio defeated, head on past to a small sidescrolling before finally arriving at Berhardt’s cabin. Get sat for some introductions and lore revelations.
After your chats, head to the right to continue your journey. A new enemy will be introduced here that looks a bit like a spinning top. The only way to damage them is with the descending slash, so start practicing your double jump. Continue traveling to the right and ascending your mountain and you will finally find the entrance to the interior of the mountain.
Every Optional Item
There are a few handy items around the exterior of the Elderm Mountains, so here’s where to find them all:
|
Item |
Location |
|---|---|
|
Berm Leaves |
Hidden in a pile of grass in the second area of Eldern Mountain. |
|
Raval Ore x 90 |
Drop off a cliff near the entrance to the third area. |
|
Berm Leaves |
In the first ice cave, located on a cliff beside an icicle in the left. |
|
Raval Ore x 50 |
In the first ice cave, to the rightmost room with icy flooring. |
|
Berm Leaves |
Hidden behind some icicles just before the exit of the first ice cave. |
|
Raval Ore x 70 |
In the final area of the first ice cave, reached with the Ventus Bracelet or double-jumping on the upper left. |
|
Raval Ore x 40 |
In the second area past the Ice Cave, climb all the way to the top of the cliff and keep moving rightwards until you can descend again to find this chest. |
|
Berm Leaves |
Two areas past Berhardt’s cabin, this item is found in a snowy patch by some grass before ascending the mountain again. |
|
Katol Elixir |
Just before entering the interior of Elderm Mountain, travel left and drop down, then use double jump and the Ventus Bracelet to reach an area with the chest. |
You can never go wrong with more Raval Ore, though the Berm Leaves are what you really want to keep your eyes open for. These are used in a sidequest back in Redmont, so grab them now to save yourself backtracking in future.
Ligaty Boss
The Ligaty boss is actually a trio, each member with its own weaknesses. As each member is defeated, the remaining ones get more powerful and unlock new moves. Try to tactically whittle them down so they’re in their powered-up state for a shorter period.
The sisters each have individual HP that you cannot see, though attacking one drains from the main HP bar for all three of them.
Each sister has a specific weakness as well. The red is weak to fire, the green to wind, and the blue to physical attacks. On the inverse, the other sisters are immune to the weaknesses of their siblings. Remember this as you battle them and you should have them defeated in no time. now you can finally head over to Berhardt’s cabin.
Navigating Elderm Mountain – Interior
Critical Path
The interior of the Elderm Mountain is much more confusing in its layout than the exterior, making it much easier to lose your way. To get started, drop down as far as you can and then go to the right. This will bring you to a large chasm and Dogi. Charge up the Ventus Bracelet and then Double-jump, activating the Ventus Bracelet at the end of your jump.
This will carry you safely across. Afterwards, a brief cutscene will play and Dogi will give you the Terra Bracelet. Continue east after this to enter into a new room with a save point. Save the game, and then pick up the Topaz from the chest to let you charge up the Terra Bracelet.
Head back to the main hall now, and then go up the stone steps to the north. After reaching the thin icy steps, make sure to fall off (not that you’ll get much choice in the matter). This will drop you into an incredibly slippery area lower down. With a combination of the Ventus and Terra Bracelets and plenty of jumping, bring yourself to the west.
Follow it this path all the way down until you enter a new room. Here will be the Stone Shoes in a chest, letting you navigate this area with ease. Work your way back up through ther sidescrolling area until you reach a small outcropping in a new area. Jump down from here to find yourself back in the thin slippery area. Carefully, walk along these paths until you reach the next area which is graciously solid ground.
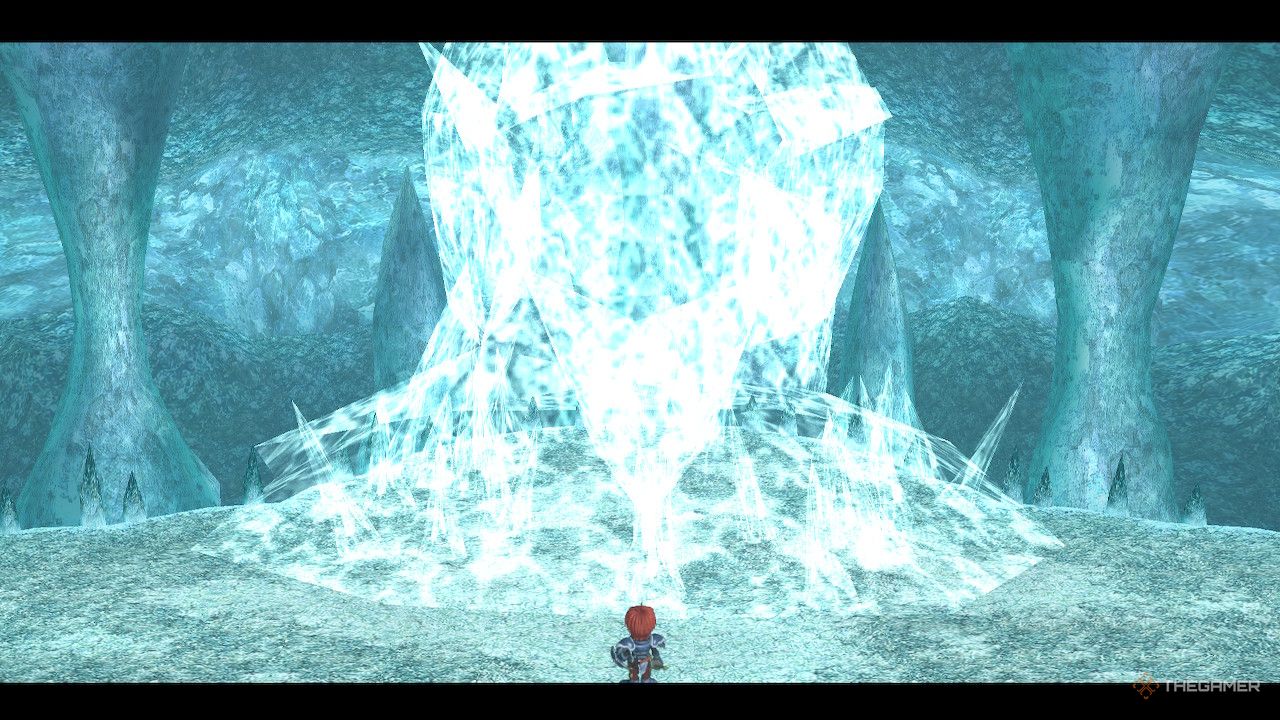
Make your way down to the bottom until you reach a new, more open area. Here, follow the path upwards and to the left until you encounter icy floor again. From there, weave your way around until you can exit the area south. This will lead to another sidescrolling section. Follow this all the way to the bottom, and then left once you can go no lower. Weave your way up again once you can go no further left until you reach the Icebound Cave.
The final boss of this area, Gildias, is just ahead, so make sure to save up before going any further.
Every Optional Item
The items in the interior of the Elderm Mountains are fewer, but each of them is essential. Here’s where to find them all:
|
Item |
Location |
|---|---|
|
Topaz |
In a chest right beside the save point. |
|
Stone Shoes |
Past the save point, head north and then drop down to the icy area below. From here, travel west and downwards until you reach another icy room. The item will be in the chest here. |
|
Raval Ore x 140 |
After getting the Stone Shoes, travel upwards and then to the left. Break through or jump over the icicles on this thin path to reach the chest. |
|
Raval Ore x 140 |
Weave your way all the large open area of the cave until you enter a small icy room. This leads back to a higher section of the main room with the chest. |
|
Katol Elixir |
Just before entering the Icebound Cave, there is a section blocked with icicles in the side-scrolling segment. The item is past here. |
You really shouldn’t miss any of these items, but the Stone Soes are easily the most essential. Without them, you’d be struggling to navigate most of this area and even the boss fight.
Gildias Boss
Gildias is the grand finale of the Elderm Mountains, and they’re a bit of a challenge, too. First and foremost, you need to make great use of your newly-acquired Terra bracelet to knock them down. This will expose their head, the only part of them that can be properly damaged. Batter them while they’re down, as this is the only way to deal damage in this fight.
Gildias, as they get lower on HP, will start to use some new moves, summoning icicles and even swooping in to drop you from the top of the cave to the bottom. This can deal some devastating damage, so have the Terra Bracelet ready to go to break the sharp edges of the cave during your descent.
The Terra Bracelet gives you total immunity during its activation period, so use this during the fight to avoid Gildias’ attacks.
Continue with this loop, using your Boost and Bracelets as much as you can to whittle away Gildias’ HP as fast as possible. With them defeated, you’ll get the Light Statue.

Next
23 Best Turn-Based JRPGs Of All Time, Ranked
A lot of great turn-based RPGs came from Japan. Here is a look at just a few of the best, ranked!








Leave a Reply