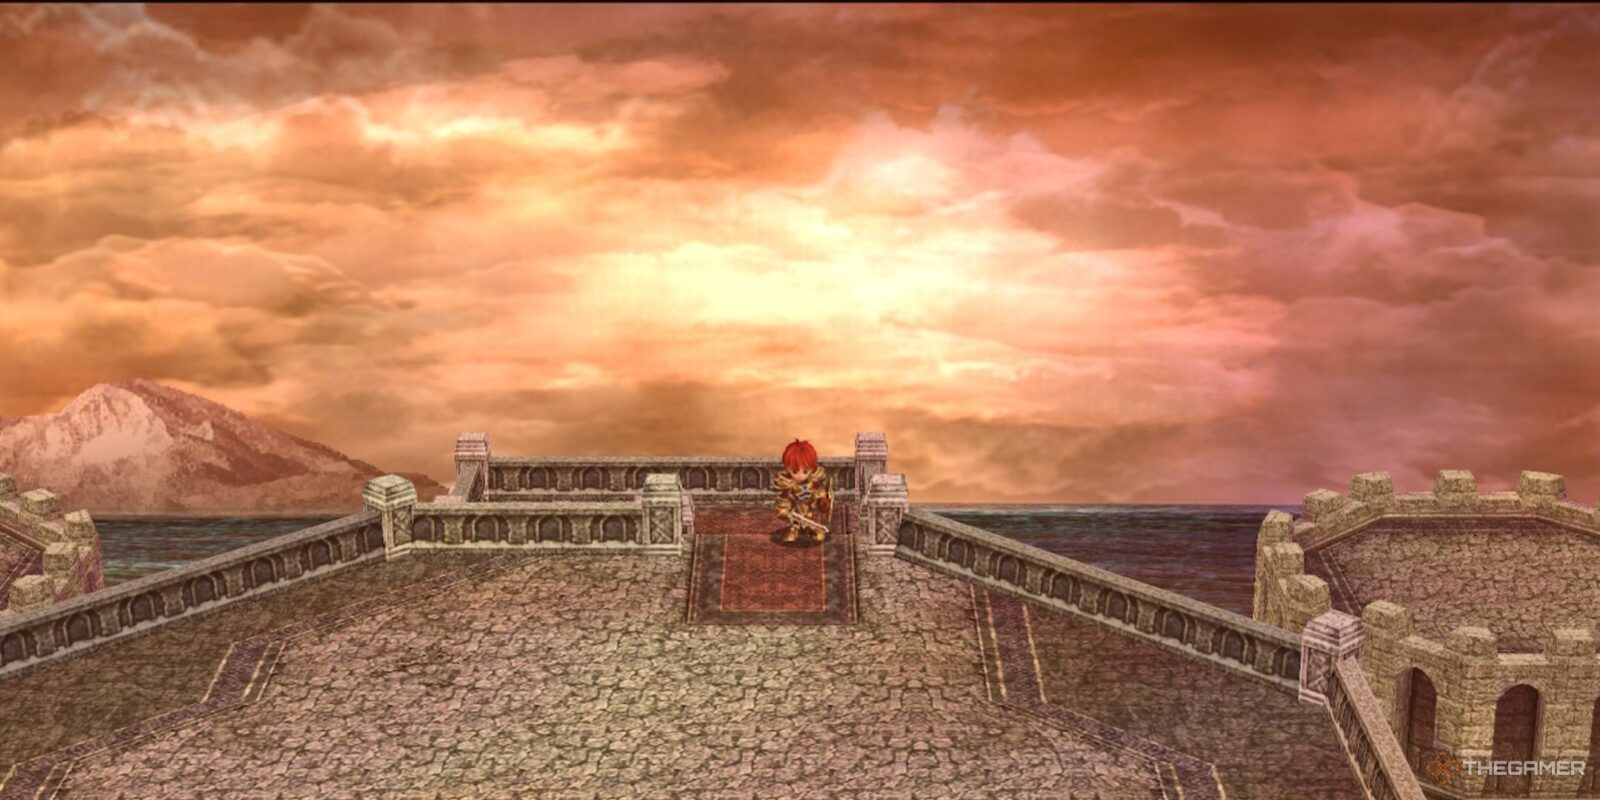
The Clock Tower is the penultimate dungeon of Ys Memoire: The Oath In Felghana. It’s a short and sweet experience, mostly setting up the final revelations that lead into the end game. It does have some fun quirks of its own though.
6:38
Related
All Ys Games Listed In Chronological Order
The Ys series remains a popular, but well-kept secret in the JRPG game world. Here’s how every game fits into the series’ timeline.
For one, the Clock Tower has a massive focus on platforming, which the camera angle can at times make a bit difficult to actually perceive. It also comes with a host of bosses that make up some of the most difficult in the game. So let’s find those statues and climb this Clock Tower.
Gathering Each Of The Statues In The Clock Tower
After gaining the key to the Clock Tower from Zirduros in Valestein Dungeon, you can enter the Clock Tower and begin your ascent. It is a linear journey, and doesn’t let you progress to the next room until you’ve found all the statues in the current room. As such, you won’t miss any of them. Let’s get started.
Moonstar Statue
First off, equip the Stone Shoes. The slime enemies make the ground slippery, making it extremely easy to slip off the edge and have to begin your journey all over again. Head to the left and jump onto the moving lift, then jump onto the moving cogs. These cogs move quite fight and will fling you into spikes if you’re not careful, so walk in the opposite direction to slow your movement.
After passing the cogs, use your fire spell to light the unlit torch, which will cause a platform to start moving. Jump up, and then follow the path until you take another platform at the very end up again. Run past the locked door to find four rising platforms. This is a balancing puzzle, with the goal being to get the second and fourth platforms into the highest positions they can reach.
To do so, simply alternate between jumping between and solid ground on the left and the first platform, and then do the same one to the third and fourth. If you’re confident in your platforming, you can fully charge the Ventus Bracelet and reach the statue from the second platform at its highest with a double jump. Pick up the Moonstar Statue and proceed into the second area.
Sunset Statue
Same as the last area, take up the rising platform on the left and avoid being driven into spikes on the moving cogs. Jump to another rising platform and follow this path upwards past a few more moving cogs until you can take the path up towards a moving platform, and left. Take the path upwards, jumping from the moving cogs to a rising platform, which will bring you to the Sunset Statue.
Take the left path now, and take the moving platform upwards. This jump is a bit hard to make, so use the Ventus Bracelet to help you. If you can’t quite make it, you will be dropped down to an area with a few enemies, but you can just grab ther same platform back up. After you’ve made it to the top, just move into the next room.
Darkness Statue
As always, head to the left, this time lighting a torch with your fire spell to activate a moving platform. Take this up, making sure to activate the torch at the end of this walkway before continuing your ascent.
The next set of jumps are simple, with it just being jumps between moving platforms. However, the platforms don’t move at the same speed, so only make your jump when you’re confident you can actually make it.
You’ll now be at a set of rapidly moving platforms, speeding to the left and right. Jump up the first set, and then move to the left on the platforms moving right. This will bring you to the Darkness Statue. With this in hand, you can now proceed to the next area on the opposite end of the moving platforms.
Light Statue
In this room, light a torch on the right to activate a series of platforms that move to the left. Jump onto this to reach a new platform, activate the torch here, then jump up again. Continue up the horizontally moving platforms until you reach a vertically moving one. Take it up and to the left to another vertical platform.
Continue up these platforms until you reach solid ground again. Continue left and drop into the hole ahead to find the final statue, the Light Statue. Drop down from here and retrace your steps until you come across another balancing puzzle.
This one is a bit simpler than the previous. Jump onto the lowest one from the moving platform, quickly jump to the leftmost one, then to the higher one directly to the right of it. From here, quickly jump to the exit. It’s all about jumping before the platforms have a chance to adjust their height. If you are too slow, just jump off and wait for them to reset. Continue onward.
Every Optional Item In The Clock Tower
There are only two optional items in the Clock Tower, owing to its short length. These are the final Ruby for the Ignis Bracelet, and 350 Raval Ore. Here’s where to find them both.
The Ruby is found in the very first area. Near the very top of the area, you will come across a rising platform that brings you to the next area. Instead of going up, drop beneath it to find a chest. Inside is the final Ruby, making your Ignis Bracelet even more powerful.
The 350 Raval Ore is found in the second area. Before jumping up to the rising platform past the first set of cogs, jump onto the lower one on the right instead. This leads to a small ledge, which you can reach with a double jump. Inside is the 350 Raval Ore.
Beating Chester Stoddart and Nikolas Garland
After acquiring all four statues, it’s a straight run towards Chester at the very top of the tower. Make sure to save outside the room before you go in, or you’ll have to redo the entire Clock Tower if you want to exit the battle. Head into the main hall now.
Chester fights similarly to his first encounter, though is much more vicious this time around. He gives you much less free time to actually hit him as well, so the majority of this battle will be spent baiting his attacks and getting a hit or two in when you get the chance.
To make matters worse, he is almost entirely invulnerable to magic, making your bracelets fundamentally useless. The Terra Bracelet does still grant immunity to attacks, however.
The real strategy here is to fill your Double Boost gauge and unleash an onslaught against Chester. You’ll still lose plenty of HP like this, but it should give you enough recovery to survive if you’ve been avoiding his moves well otherwise. Don’t be afraid to take your time with this battle.
After Chester is beaten, we’re introduced to some fresh betrayals and you’re put into a battle against Nikolas Garland. Try as much as you want, this isn’t a battle you can win. With your defeat, you are returned to the town of Redmont. The Clock Tower is completed, and Genos Island is your final destination.
4:29
Next
8 RPGs With The Best Dungeons
There’s nothing quite like a well-designed dungeon in an RPG. Here’s some of our absolute favorites!
Source link







Leave a Reply