After collecting a duo of statues and wondering as to their meaning, you are sent to the Abandoned Mine in Ys Memoire: The Oath in Felghana. Found behind a locked door in the Tigray Quarry, the Abandoned Mine is teeming with powerful enemies, as well as the next statue you’ll need.
6:38
Related
All Ys Games Listed In Chronological Order
The Ys series remains a popular, but well-kept secret in the JRPG game world. Here’s how every game fits into the series’ timeline.
There’s a bit of prep we need to do before you can really explore the mine, though the rewards within are well worth it. It’s in the Abandoned Mine you’ll finally learn what these statues are all about, so let’s get started.
Navigating The Abandoned Mine
Reaching The Mission Tablet
Your first goal in the Abandoned Mine is finding the Missions Tablet left behind by Genos. To start, drop to the bottom of the main shaft in Tigray Quarry and head to the left, or warp right to the Storehouse save point with the Wing Talisman. Head in through the previously closed door to start your journey through the Abandoned Mine.
Help Aida by finding Bob’s Pendant first in the Tigray Quarry for her to give you the Nightfire Gem. This will give you much more light in the Abandoned Mine.
The path is quite linear for the next while, so keep on traveling to the left until you finally reach a fork in the road. You can go downwards or to the left for another room. Take the left and watch a rather lengthy expository cutscene, which grants you the Mission Tablet and a newfound purpose to defeat Galbalan.
With this, you also acquire two new abilities – Double Jump, and Double Boost. The former is self-explanatory, letting you perform a second jump for extra height and distance. The latter lets your Boost Gauge gain a second level, this one in red, which fills up automatically. This Double Boost restores your HP, lengthens your combo even more, and has a massive blast that deals damage upon activation.
With our new abilities, we can now continue down through the mine.
Reaching The Boss
After acquiring the Mission Tablet, return back to the last area and drop all the way down to the bottom. Once you’ve hit rock bottom, head to the next area on the left. You’ll need your double jump to clear the ledge.
This area is quite linear, so follow it along to the next area. The Minotaur enemies here, Duradel, are quite powerful so avoid them if you need. Head down the stairs to the next area.
The Double Boost is great against them though, if you want to test it out.
Here, work your way around the small lake, and take the stairs down once again on the left. In this area you will hit a fork, with a set of stairs leading downwards and a broken bridge. Take the stairs down here. Dropping down the broken bridge will bring you to the same area, though will drop you in the middle of a group of Duradels.
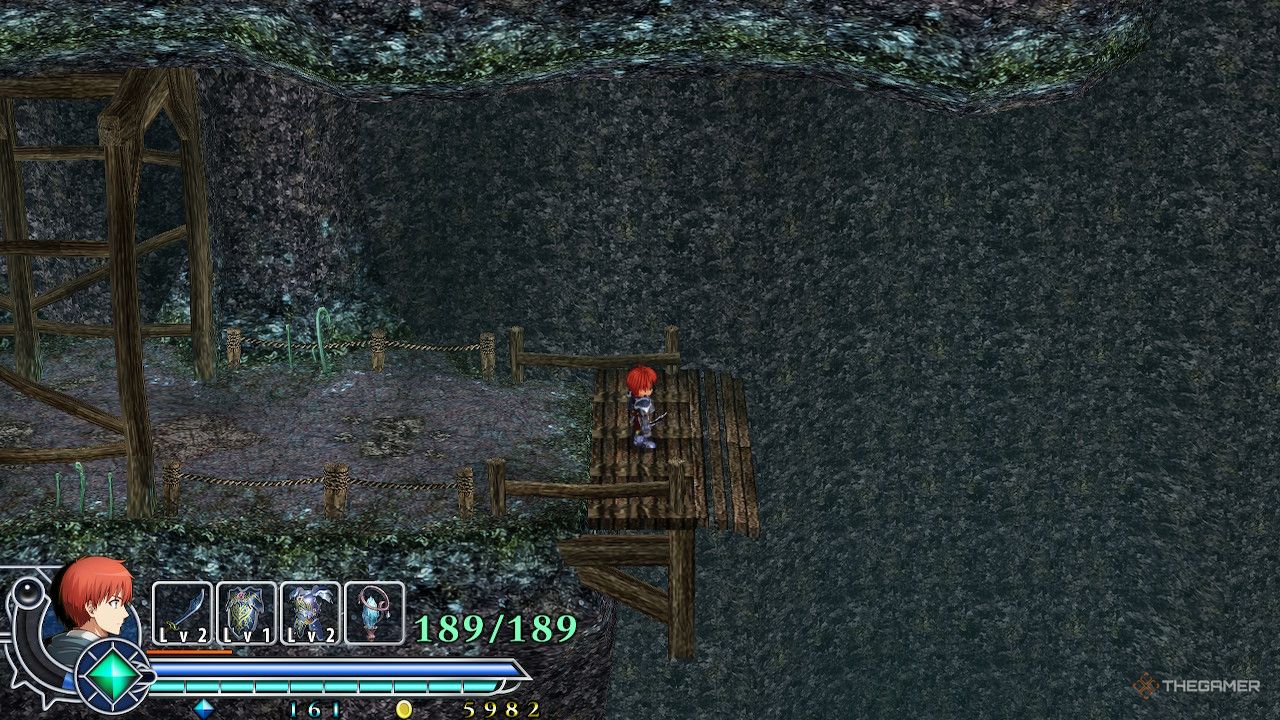
There’s nothing else to see on this floor, so take the stairs in the centre of the room down once again. We’re back at another large mineshaft, though we’re not dropping to the bottom this time. Instead, travel down about four sets of stairs until you reach a piece of the platform with no railing. Fully charge the Ventus Bracelet and perform a double jump, allowing the Ventus Bracelet to carry you the rest of the way. Proceed onwards.
Almost at the end now. This is a side-scrolling section with a renewed focus on platforming. With the help of your double jump, try to stay on the elevated sections at all times, as powerful enemies await you below. There’s not much to see here, so keep up high until you reach the stairs downwards.
Keep in mind that you can change the direction of your jump with double jump, letting you reach platforms that are directly above you.
At the bottom of these stairs will finally be a save point, and the boss room just ahead. Take the time to heal up before heading further in.
Every Optional Item
The Abandoned Mine has a decent few treasures for you to plunder, so here’s a quick look at them all:
|
Item |
Location |
|---|---|
|
Raval Ore x50 |
A room on the left in the first mineshaft in a chest. |
|
Raval Ore x25 |
In the area with the small lake, at the southern edge. |
|
Raval Ore x40 |
In the second mineshaft, underneath the stairs at the very bottom. |
|
Katol Elixir |
In the second mineshaft. Drop down from the area that leads deeper into the mine to land on this platform. |
|
Raval Ore x65 |
In the sidescrolling section with platforming. When you encoutner a wider platform with a Duradel, jump up higher to reach this. |
|
Emerald |
In the area with a broken bridge, cross with a fully charged Ventus Bracelet and Double Jump to reach this chest. |
|
Raval Ore x200 |
Found just before proceeding down the stairs to the boss arena, but requires the Terra Bracelet to reach. |
The Raval Ore is always useful, especially as the difficulty takes a jump so you can have your armour and weapons in tip-top shape, though you don’t want to miss the increased power for the Ventus Bracelet either.
Defeating Istersiva
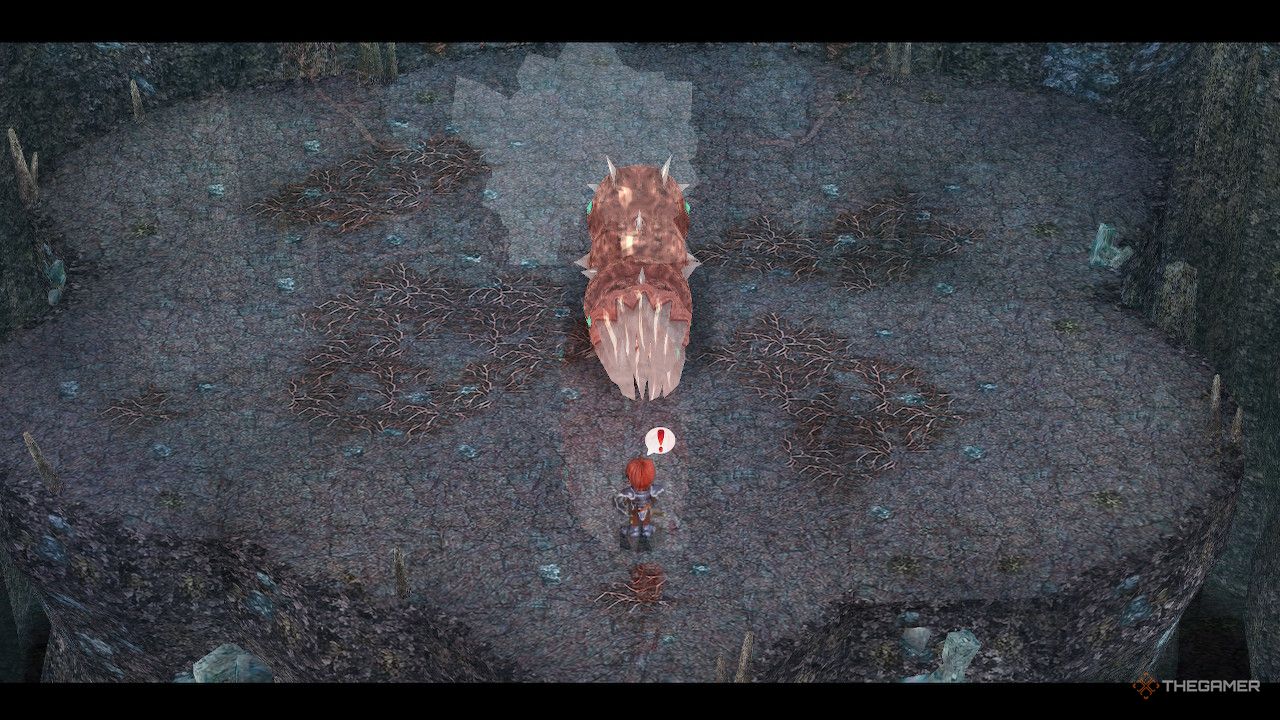
Istersiva is the final boss of the Abandoned Mine, and are a bit odd. They start as a giant worm, before becoming something more akin to a butterfly. Very quick chrysalis. The first stage of the fight is quite simple, with Istersiva being quite slow.
Wallop them with a few hits then move away to avoid their sweeping attacks. The biggest threat they pose in this stage are the smaller enemies they summon. A laser will fire from the crystal in the back of the room, and it can chain between every enemy to create a very difficult to navigate arena. Therefore, destroy these smaller enemies the second they spawn.
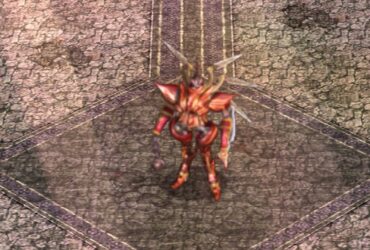
Once Istersiva drops to exactly half their HP, they will return to the crystal and start the second phase. This is much harder, with them dropping bombs and firing off countless bullets that can quickly fill the screen. When a large shield expands around them, run in and attack them to deal damage. It might take a bit, but you’ll get there eventually.
They also create a smaller shield while moving. This one deals massive damage, so avoid it at all costs.
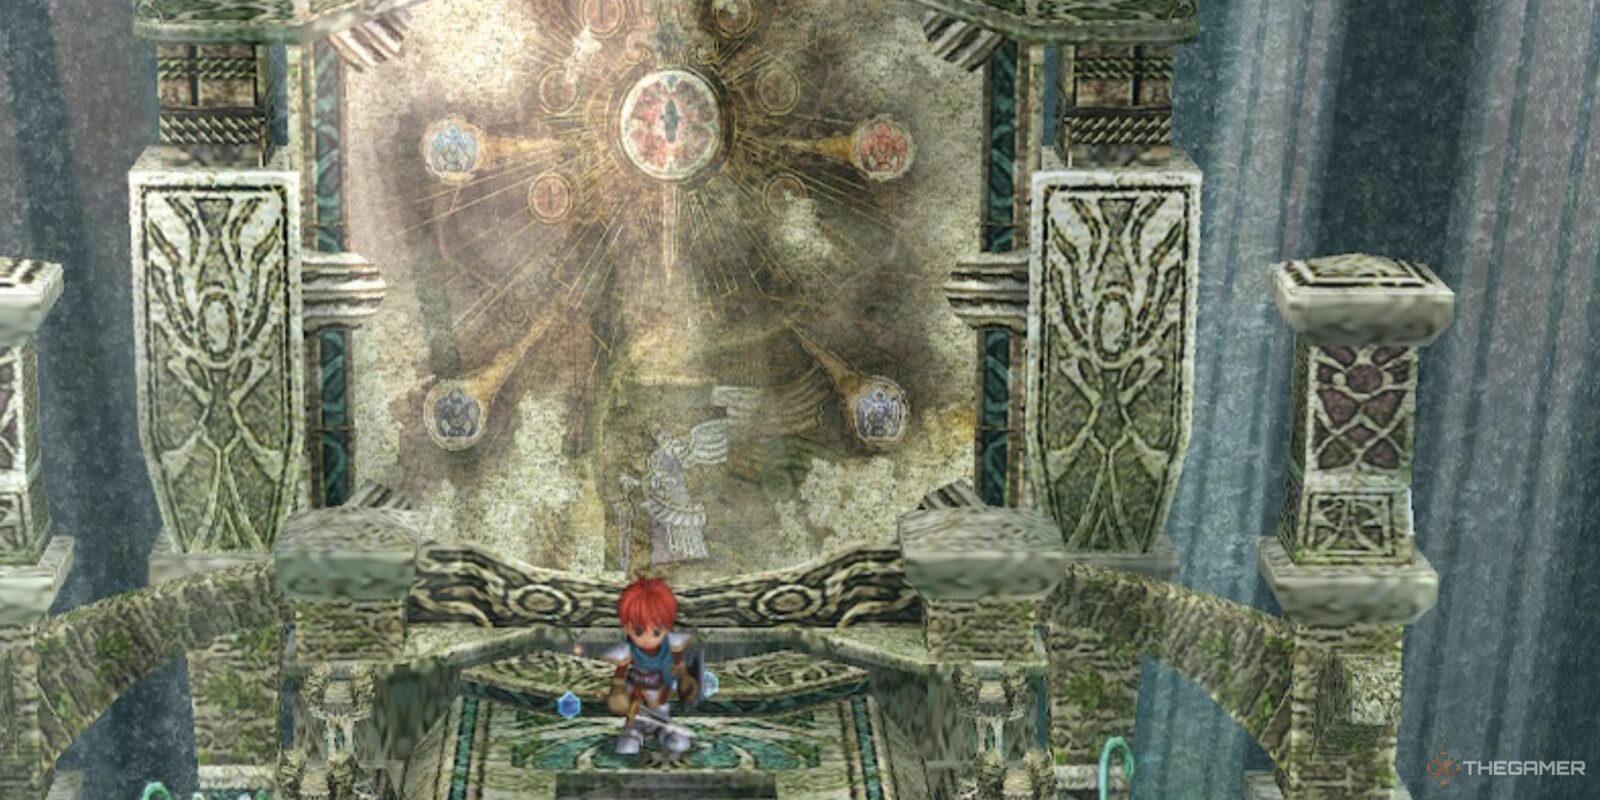
With Istersiva defeated, you will be given the Darkness Statue and can return back to Redmont to continue your adventure.
Related
The 16 Best JRPGs Of The PS2 Era
JRPGs are alive and well. but there were just so many of ’em for PS2.




Leave a Reply