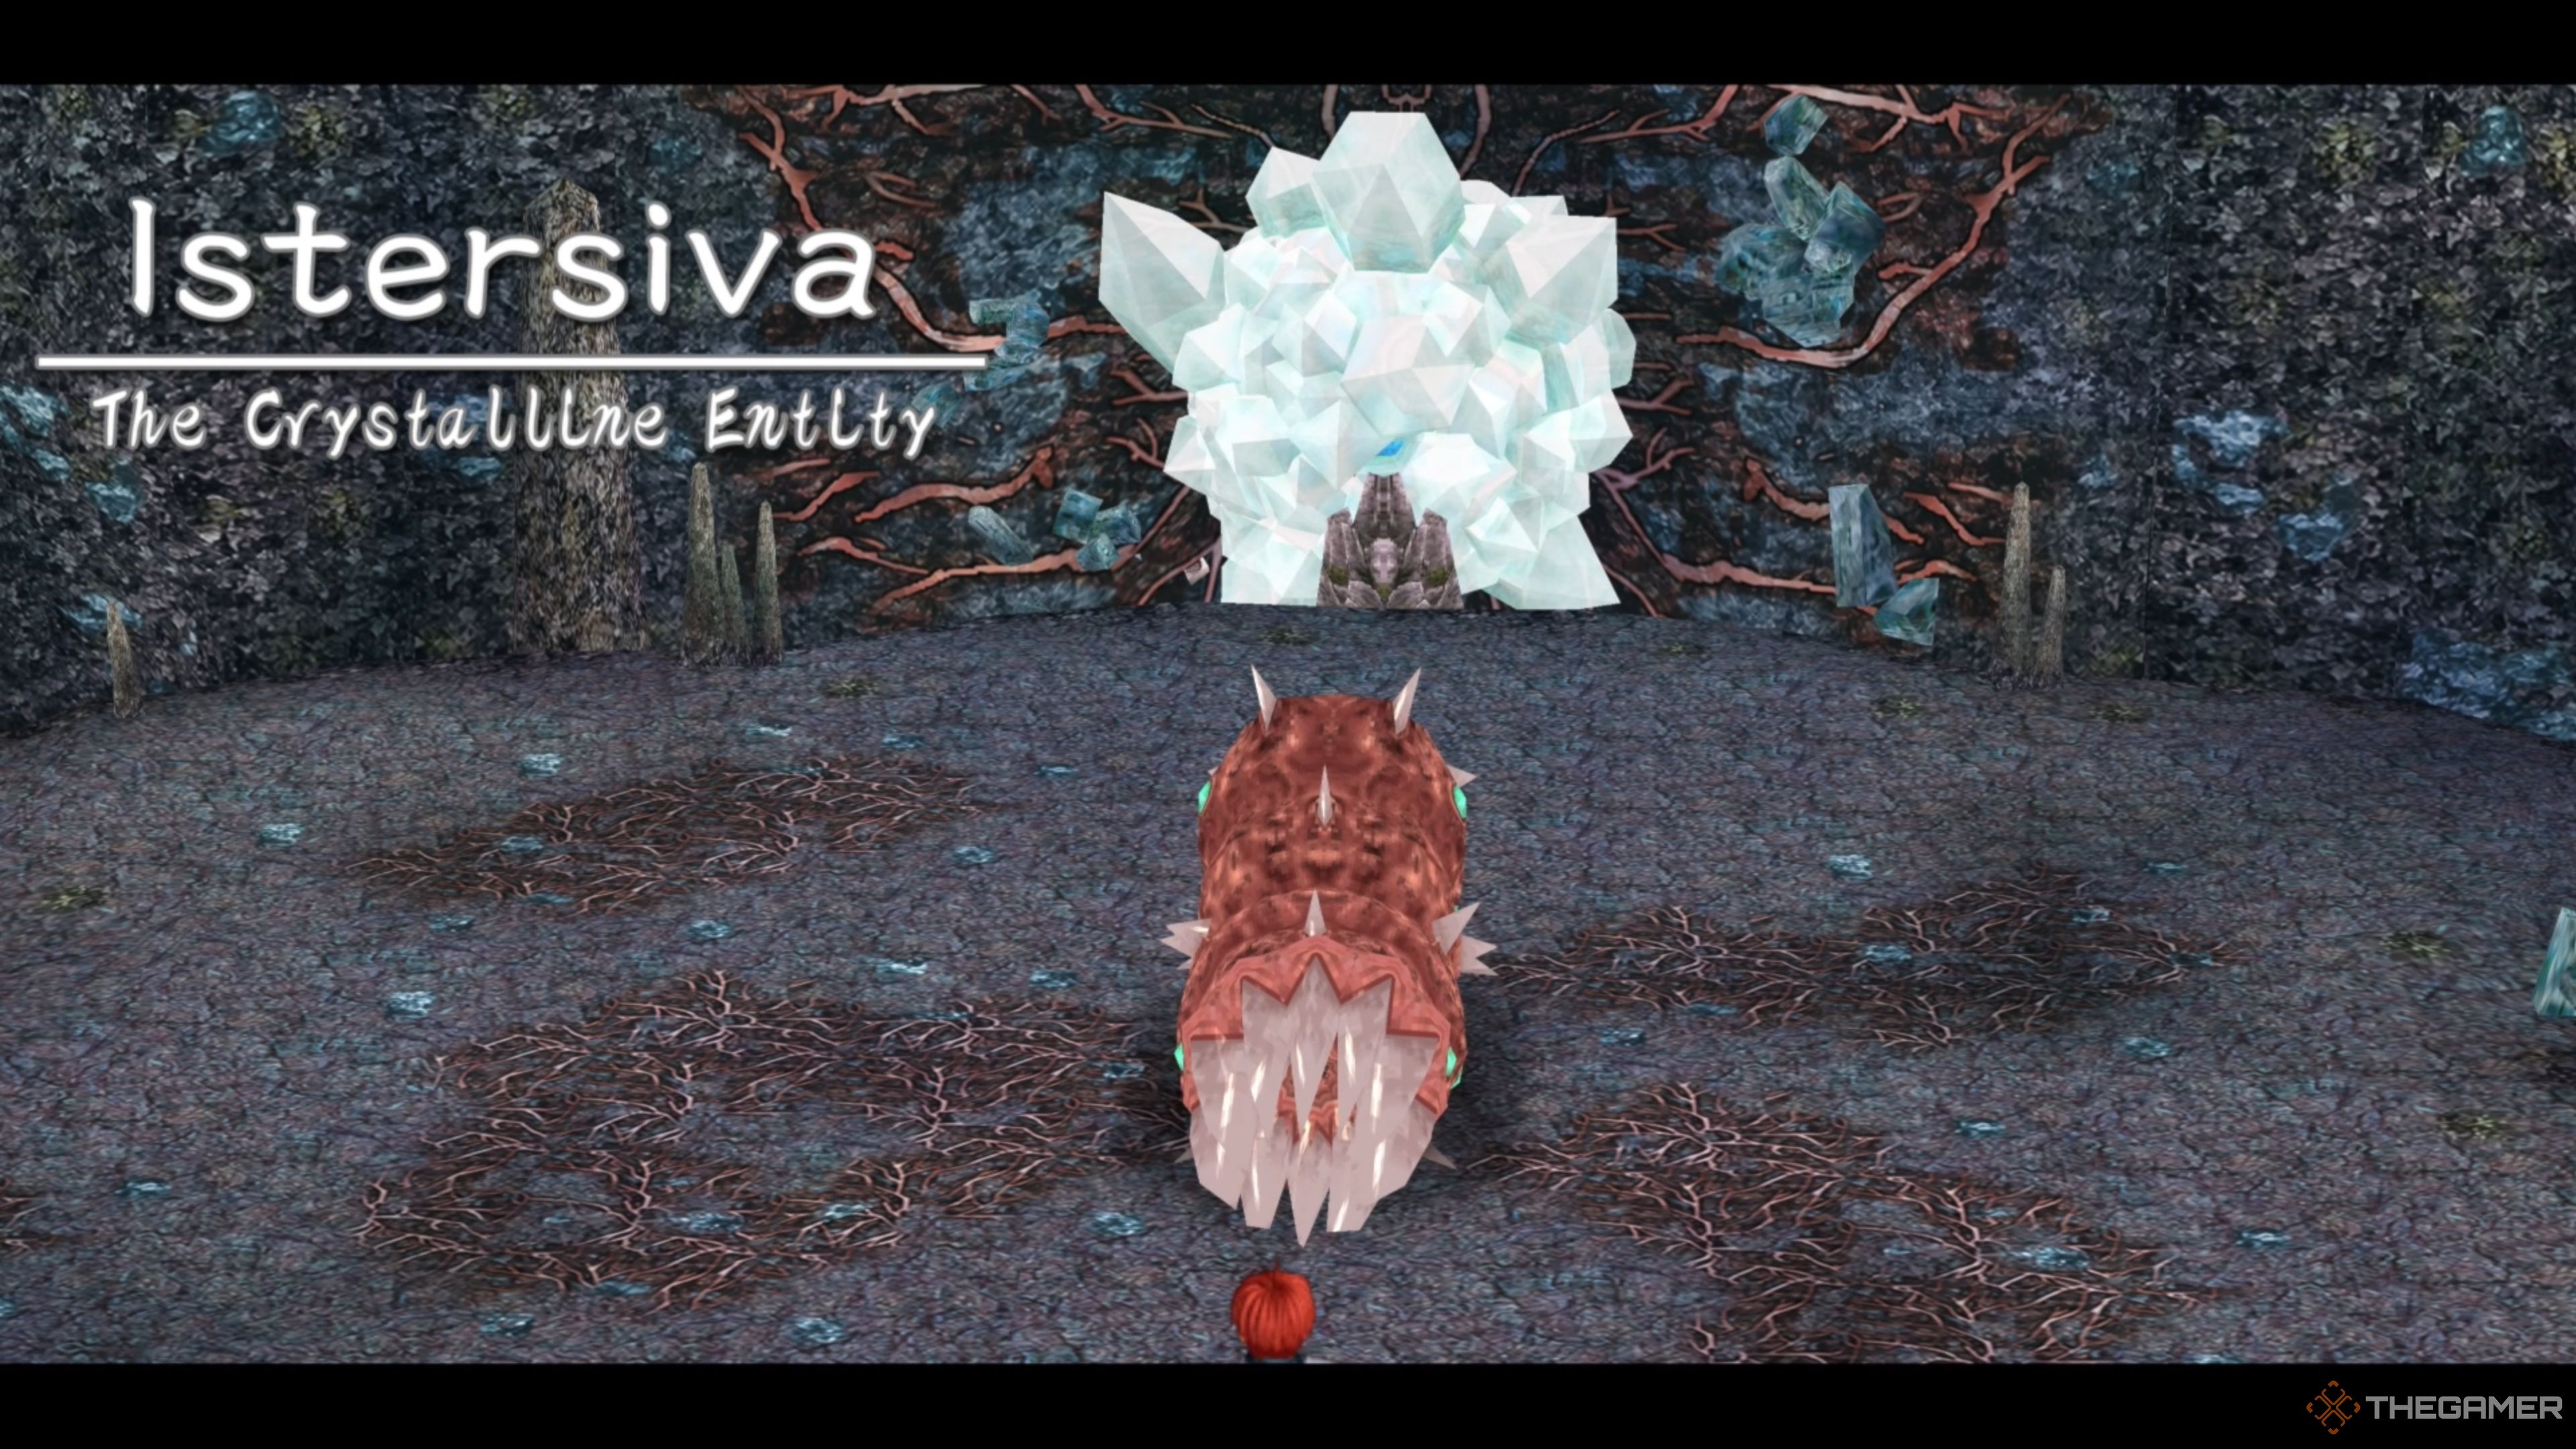
With new abilities acquired and access to more power, Adol can finally travel deeper into the Abandoned Mines in Ys Memoire: The Oath in Felghana, looking for an answer to the strange and ominous problems surrounding Felghana, ultimately leading to his encounter with Istersiva, the Crystalline Entity.
Related
Ys Memoire: The Oath In Felghana – 8 Combat Tips
Here’s how to best all who oppose you in Ys Memoire: The Oath In Felghana!
This is the fifth boss encounter in the game and is part of the second dungeon, making it a doozy of an encounter. Fortunately, with his new Double Boost and ability to Double Jump, Adol is more than ready to get his hands on another Statue and get to the bottom of what’s going on!
Istersiva, The Crystalline Entity Overview In Ys Memoire: The Oath In Felghana
Istersiva, the Crystalline Entity, is the fifth boss in Ys Memoire: The Oath in Felghana and is the only boss in the game’s second dungeon, the Abandoned Mine, making it another skill test that will force you to prove yourself before continuing forward with the story.
Fortunately, you now have access to Fast Travel, can Double Jump, and can use Double Boost, putting Adol in a prime position to come out of this encounter alive. We strongly recommend having a Maxed Out Broadsword, Plate Mail, and Small Shield for this encounter, which should be more than doable if you’ve been exploring each area!
The Plate Mail armor can be purchased from Cynthia in Redmont Town for 3,500 gold. We strongly recommend grabbing it and fully upgrading it, as it will be extremely useful for this encounter!
Istersiva, The Crystalline Entity Information
|
Dularn, The Creeping Shadow |
|
|---|---|
|
HP |
2,000 HP |
|
Recommended Level |
Level 23 |
Being Level 23 for this encounter is strongly recommended, as that seems to be where you will deal enough damage to actually take Istersiva down and can withstand some attacks without dying almost instantly. If you are only Level 21 or even lower, we do not suggest trying to fight Istersiva. Farm a few more levels and then attempt it.
It would also be helpful to have the items outlined above fully upgraded, as that will only further increase your Strength and Defense. As always, if none of this seems to be helping, you can always lower the difficulty upon death against a boss to move the story forward if need be!
How To Defeat Istersiva, The Crystalline Entity In Ys Memoire: The Oath In Felghana
Undoubtedly, Istersiva, the Crystalline Entity, can be a challenging encounter in Ys Memoire: The Oath in Felghana, as that’s what you’d expect from the game’s fifth boss. With its two phases and many attacks, you will always be kept on your toes, especially if you don’t know how to deal with its incoming onslaught.
Luckily, with some patience and knowledge of its actions, you can overcome this challenging hurdle quickly. While it won’t be a cakewalk, it will be substantially more manageable, which is all you could really ask for at this stage of the game!
Istersiva: Phase One – Poison Splatter
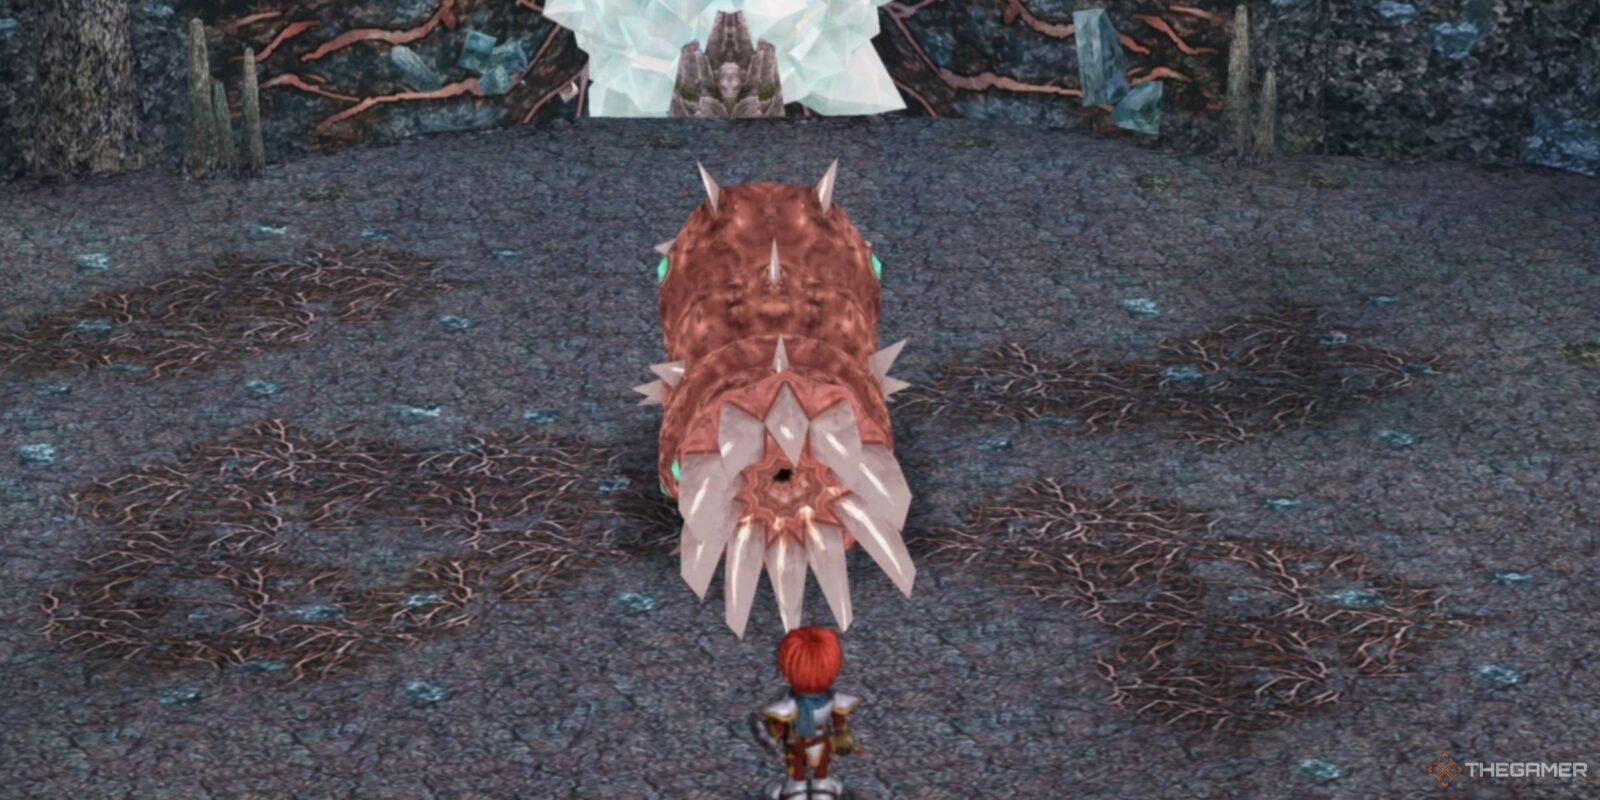
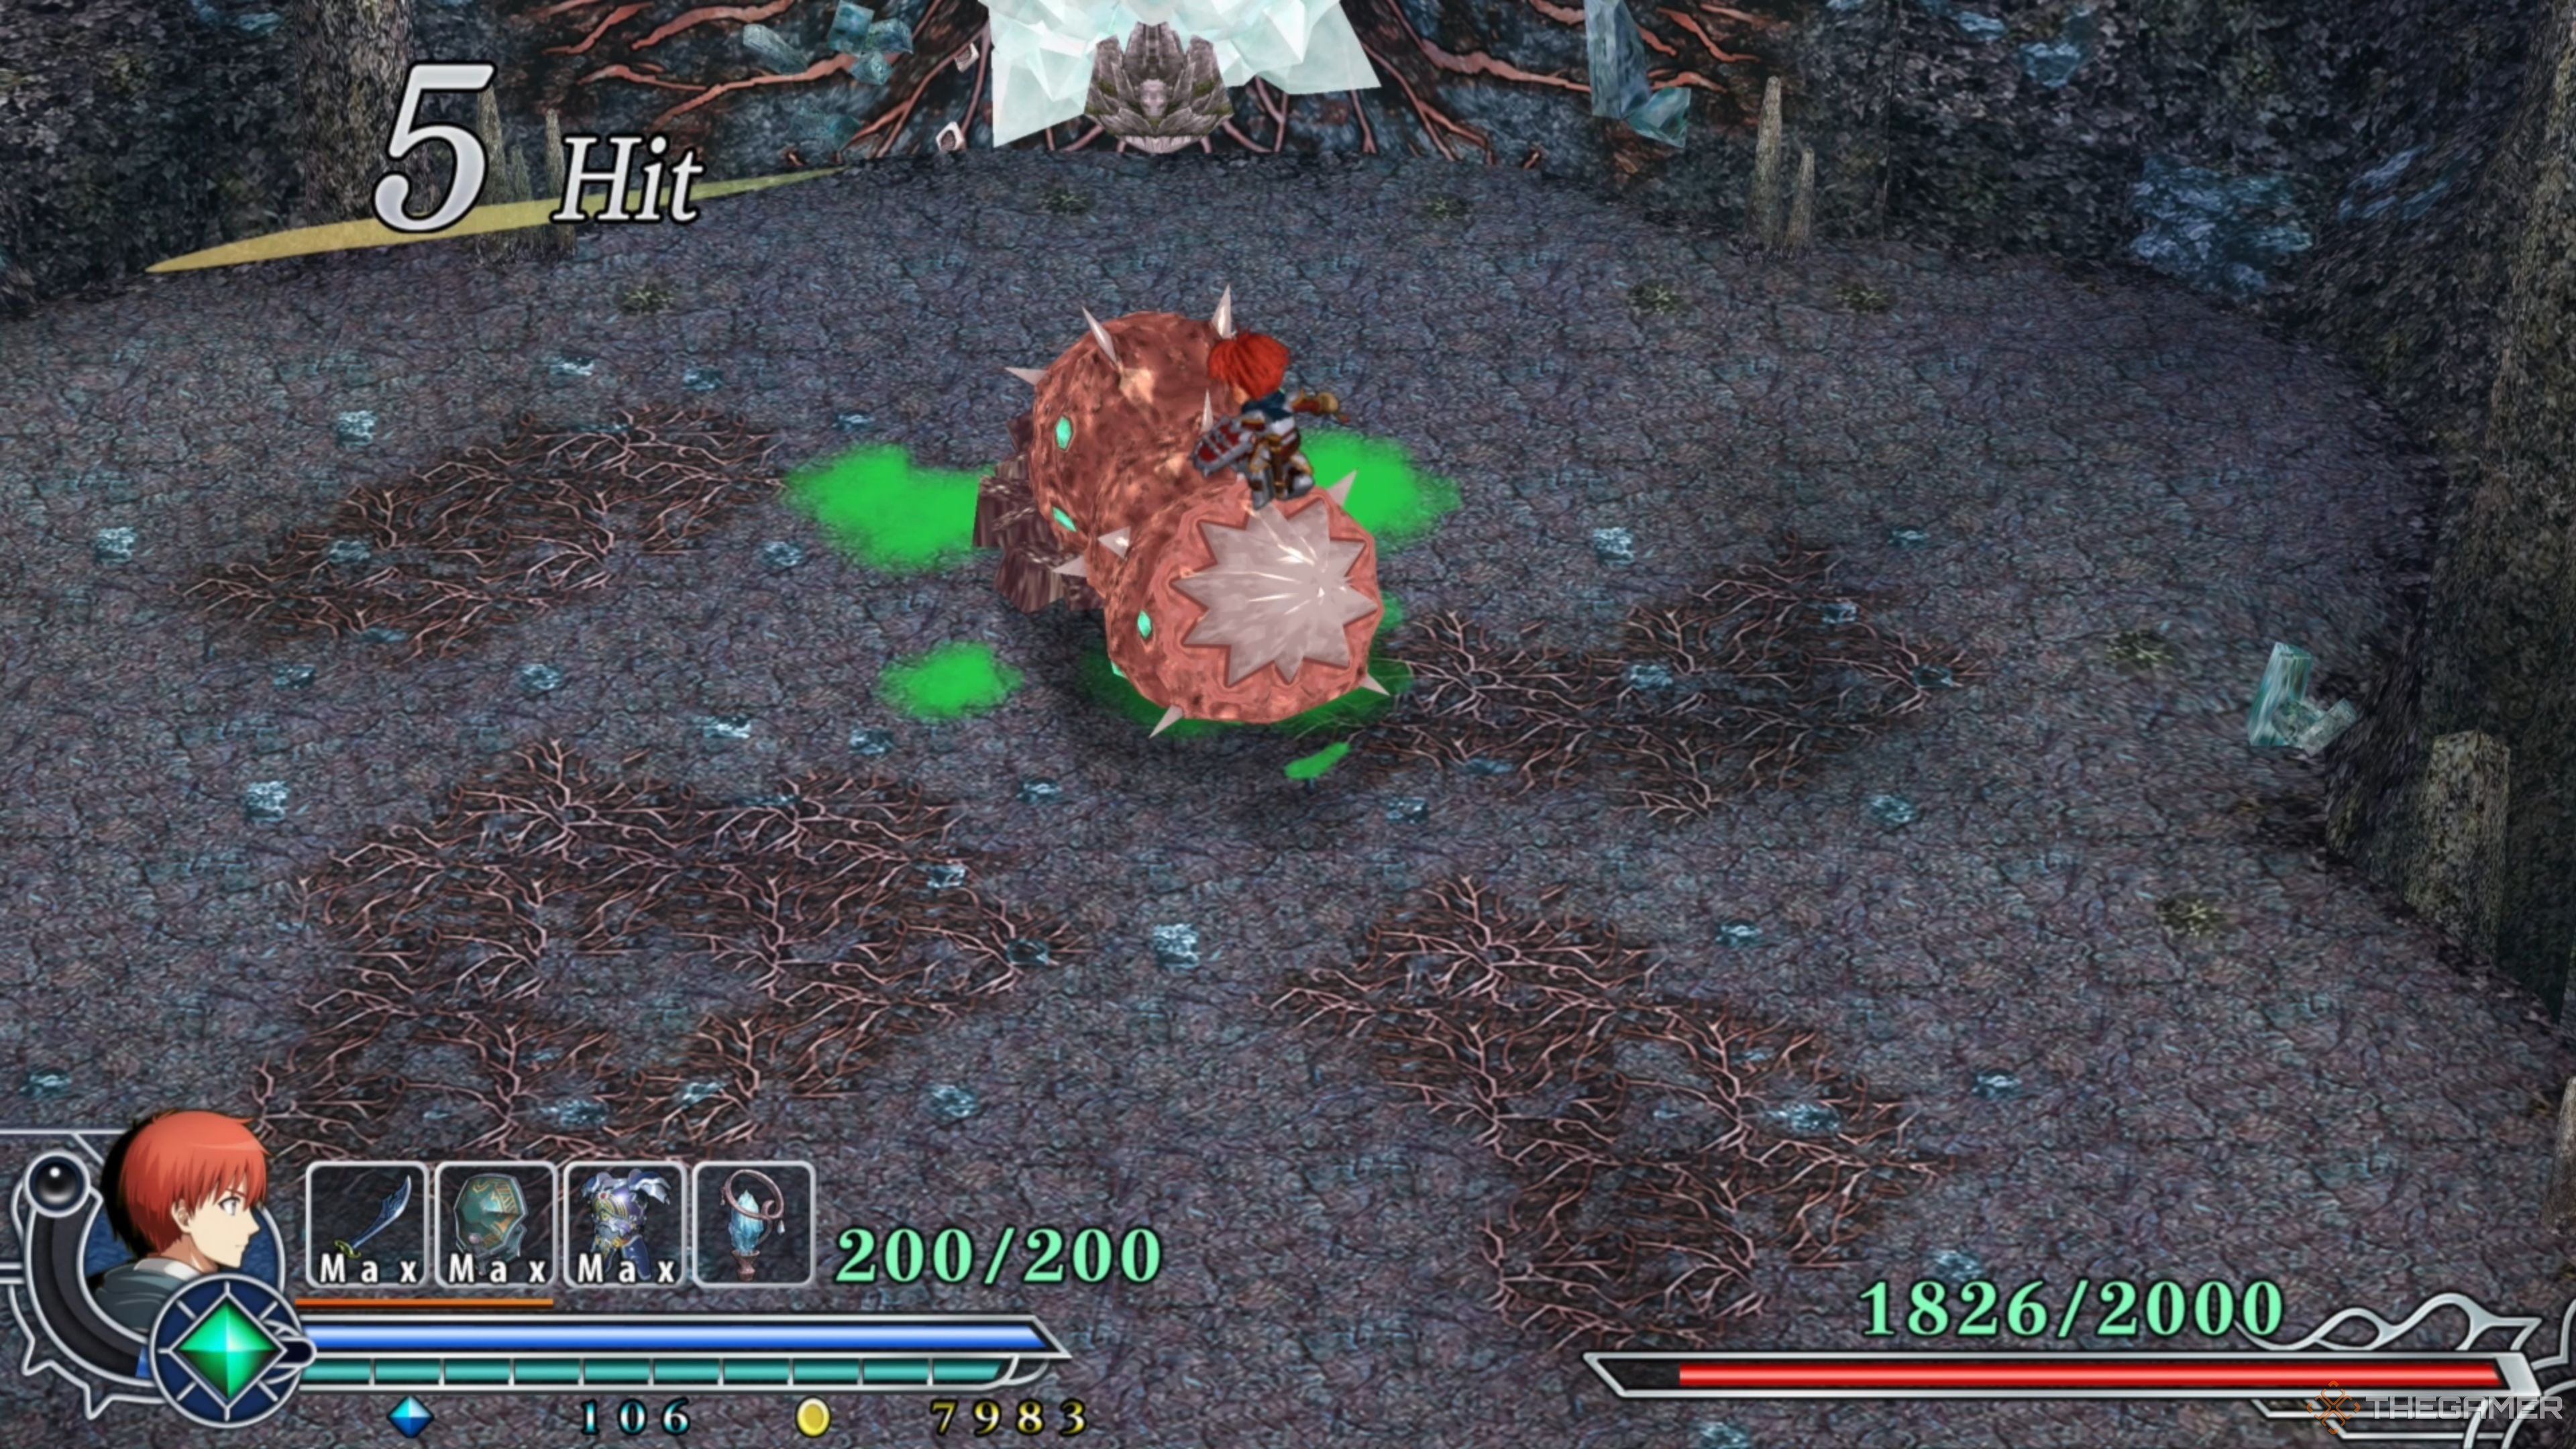
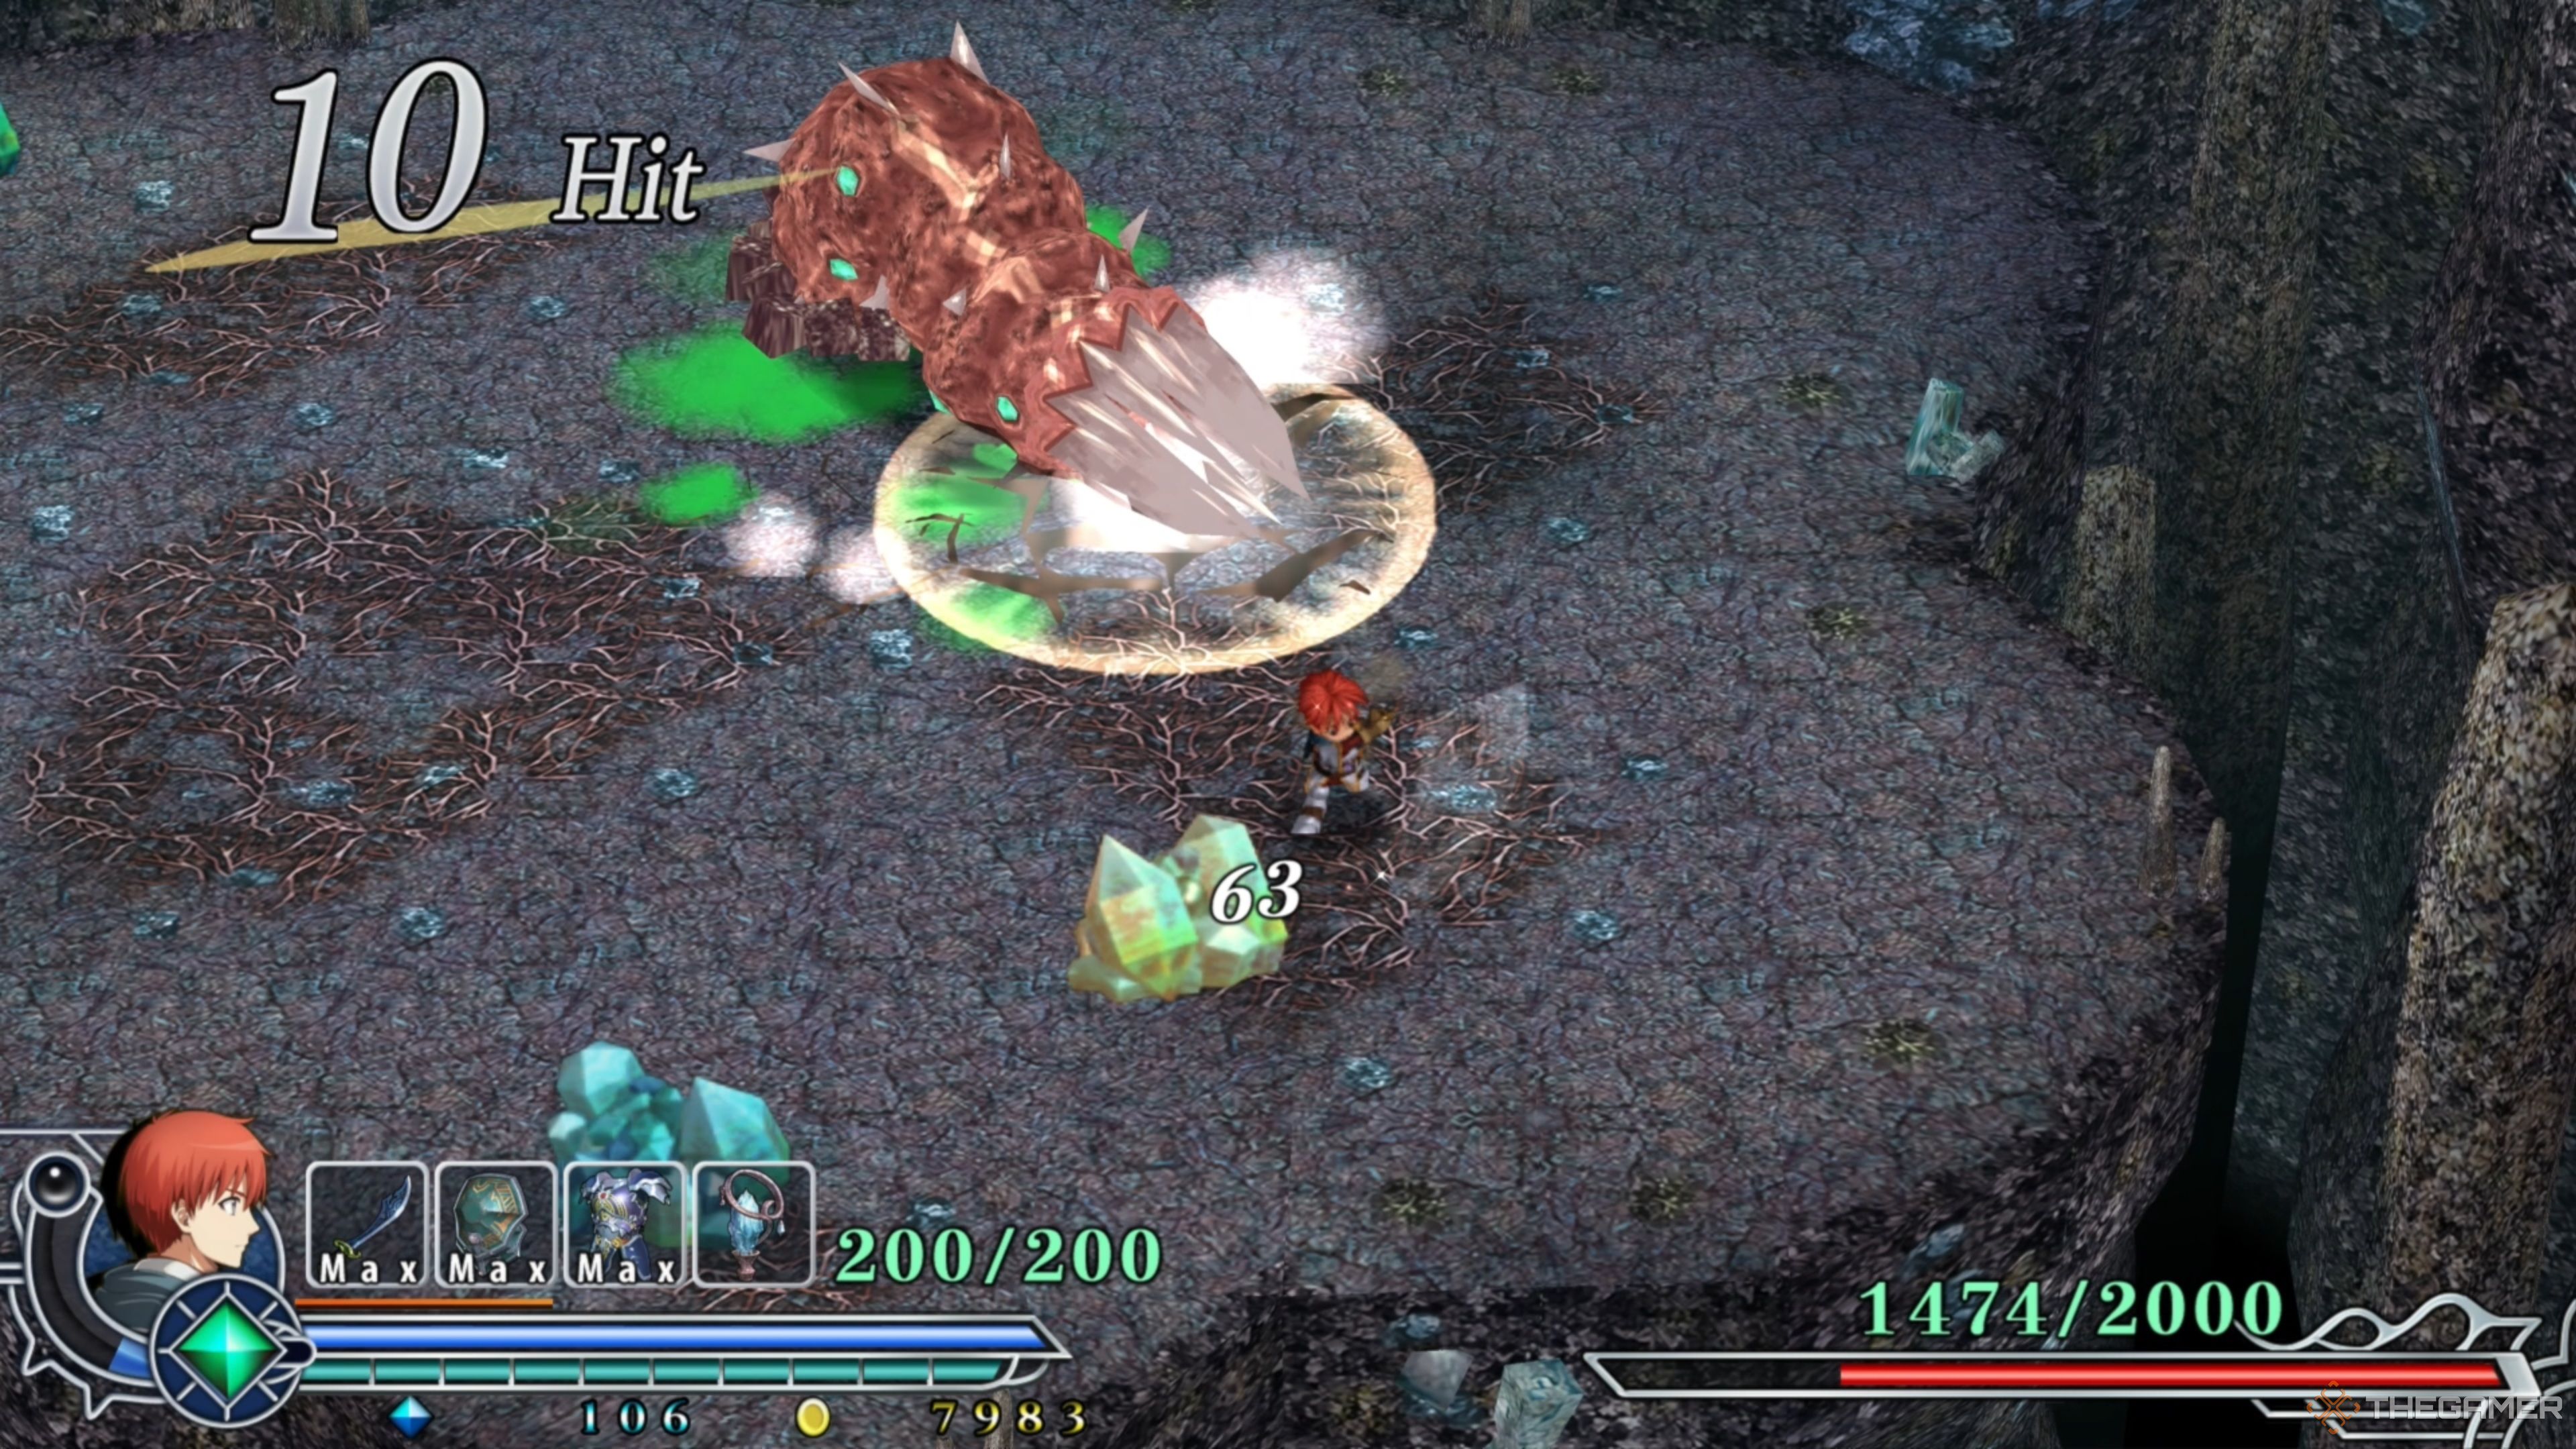
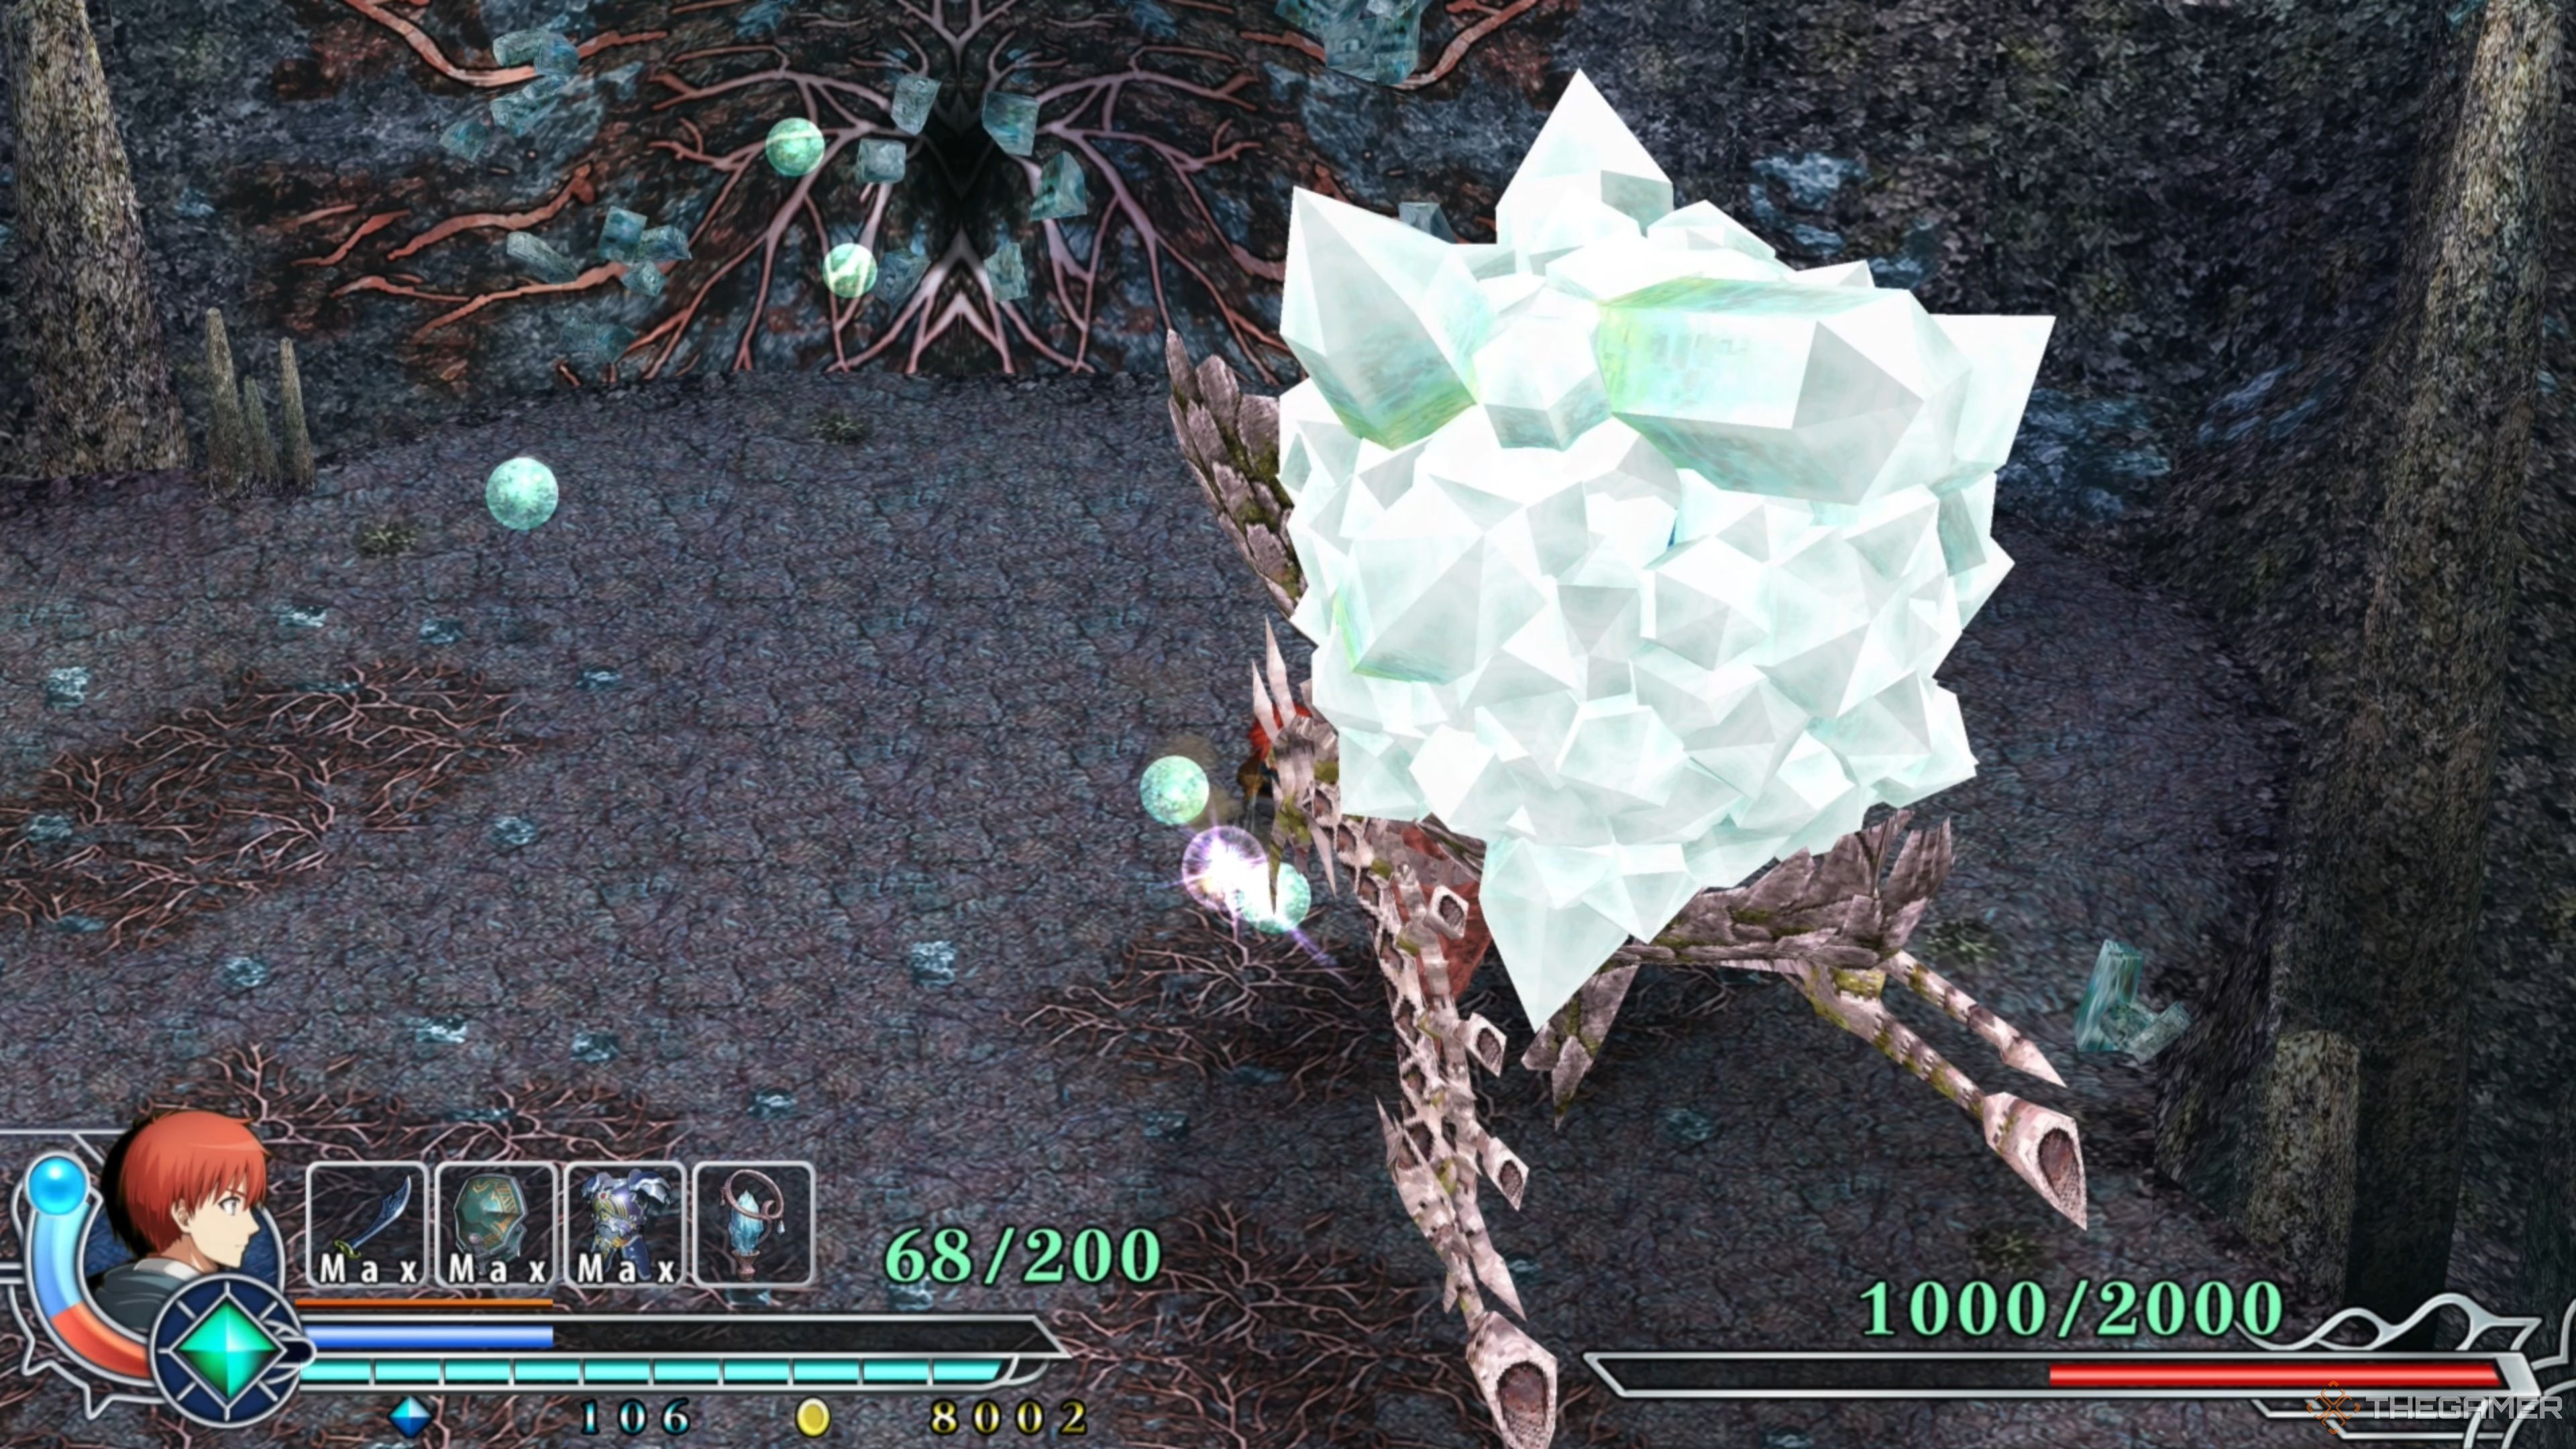
When the encounter begins, Istersiva will emerge from the ground and will splatter the arena around itself with Poison, dealing damage to Adol whenever he comes in contact with it. Stand where there is currently no Poison, and land a few attacks on Istersiva until its next attack begins!
Istersiva: Phase One – Crystal Minions
One of Istersiva’s more common attacks is its ability to release many Crystal Minions into the arena, having them move around and begin firing at Adol with Energy Beams. While one or two won’t be too bad, you don’t really want them to be in play, as they can deal some severe damage if you aren’t paying attention!
Adol: Phase One – Focus Crystal Minions
We recommend focusing on these Crystal Minions as soon as possible, as Istersiva won’t let up on spawning them anytime soon. The more of them there are in the arena, the higher your odds of dying, as they will annihilate you in seconds if they hit you all at once.
The good news here is they don’t take much to defeat, so you only need to hit them a few times to get them out of the way, allowing you to turn your attention back to Istersiva. Furthermore, keeping them around will have them persist into the second phase of the encounter, and you do not want that!
Istersiva: Phase One – Slam Attack
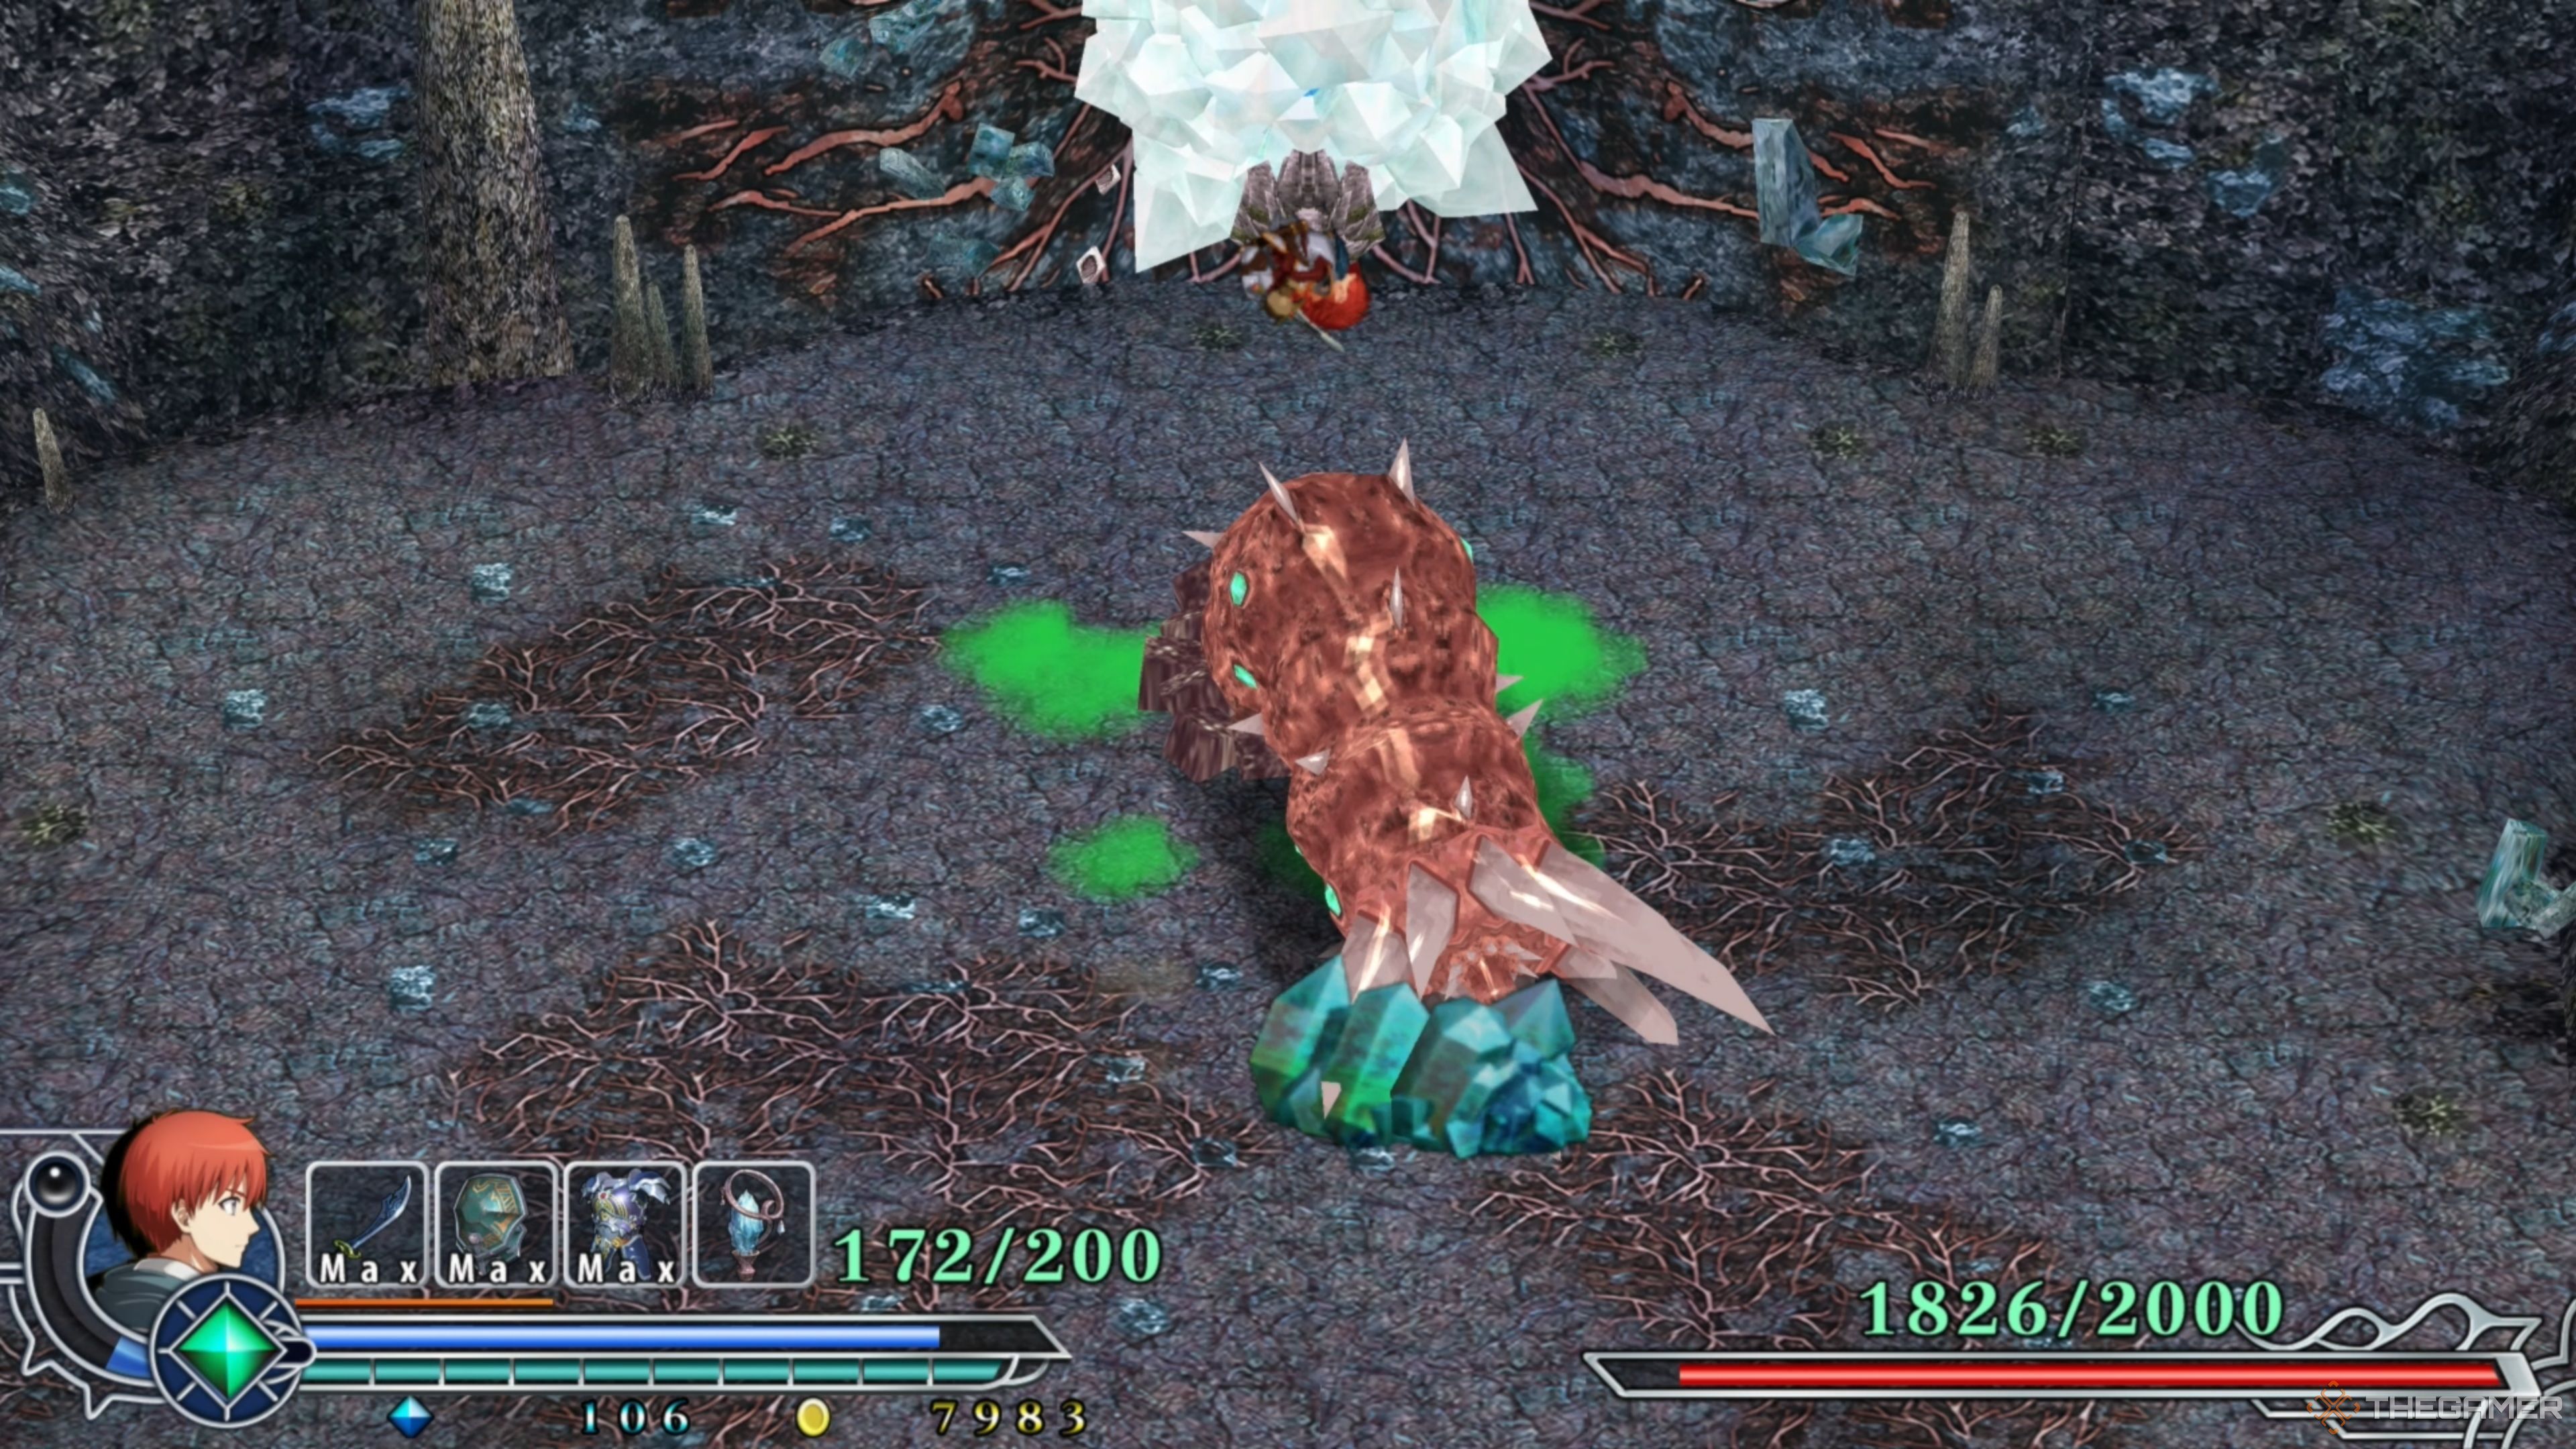
Occasionally, Istersiva will reel itself back before slamming itself forcefully into the ground, creating a small shockwave that can deal tons of damage if you’re caught within it. The moment you see it begin to stand straight up, create some distance, and you should avoid this move entirely!
Adol: Phase One – Attack On Reappearance
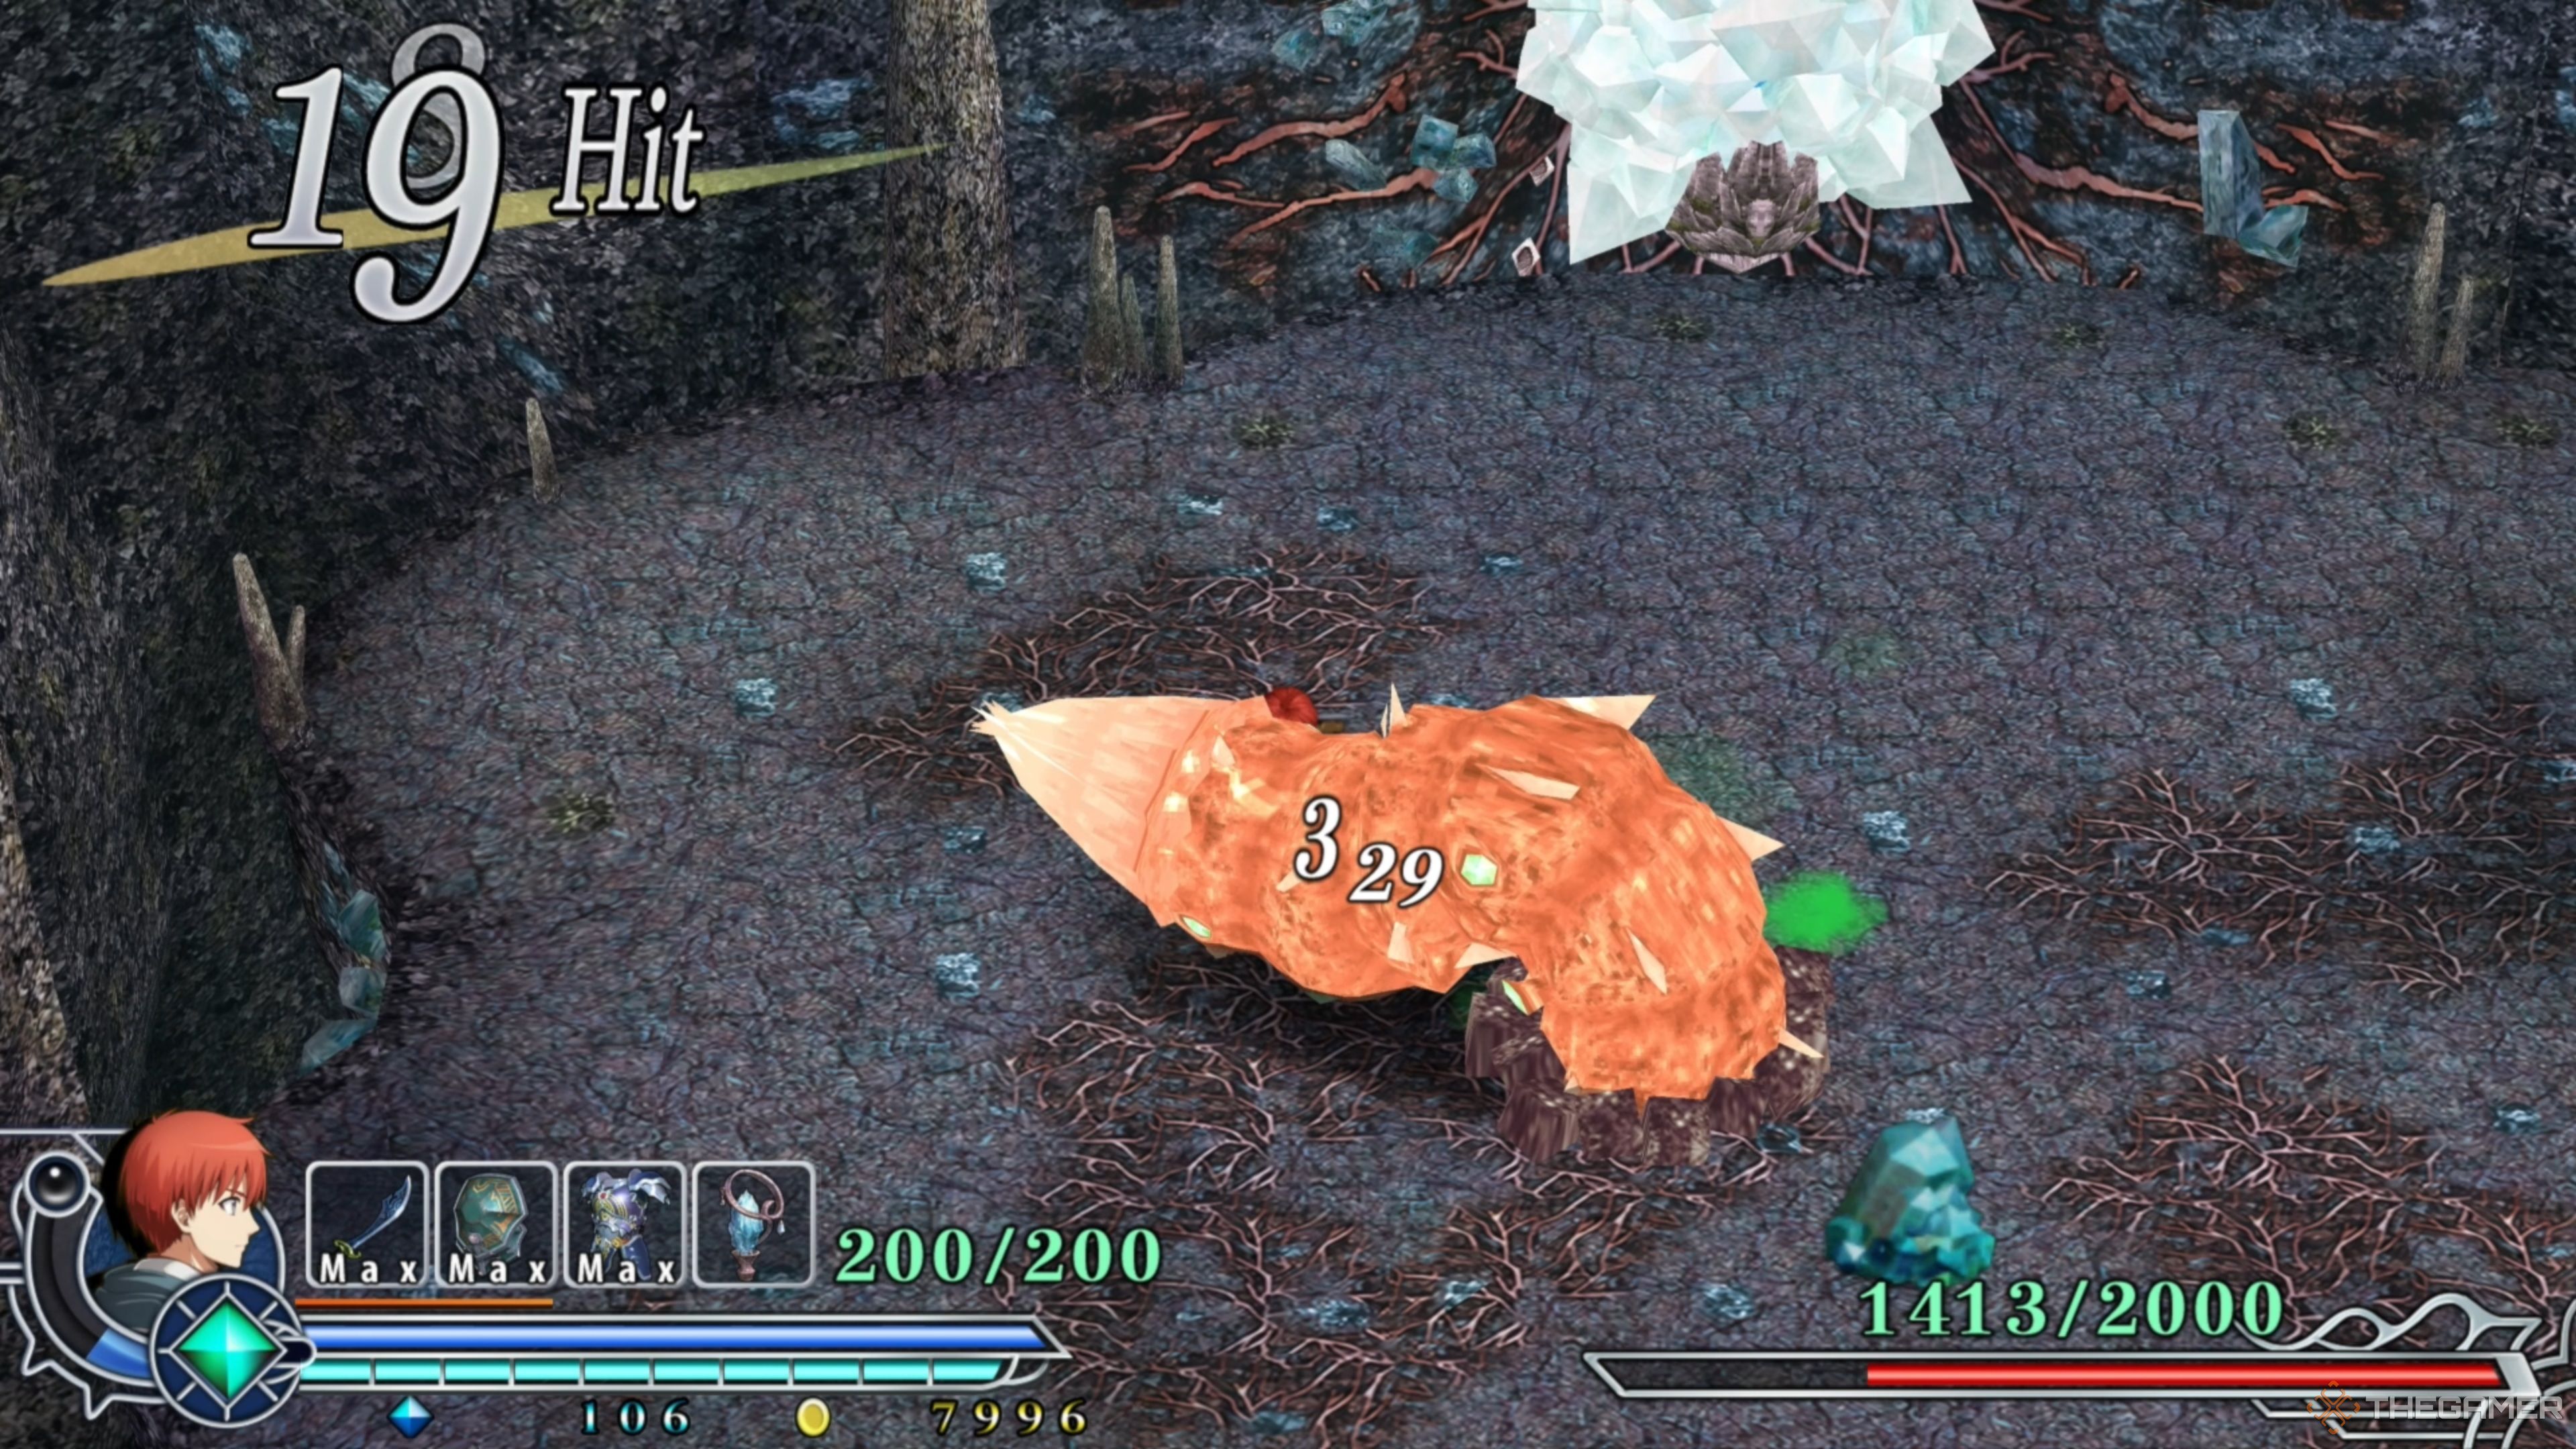
Throughout the encounter, Istersiva will burrow itself underground before suddenly reappearing, spreading its globs of Poison around itself again. Whenever it does this, you are essentially given the green light to attack it, as it won’t move or attack for a brief period after it reemerges.
It does this action A LOT, so this is how you will deal most of your damage in the first phase so keep a sharp eye out for it and act accordingly whenever you see it go into the ground!
Istersiva: Phase One – Poison Mist
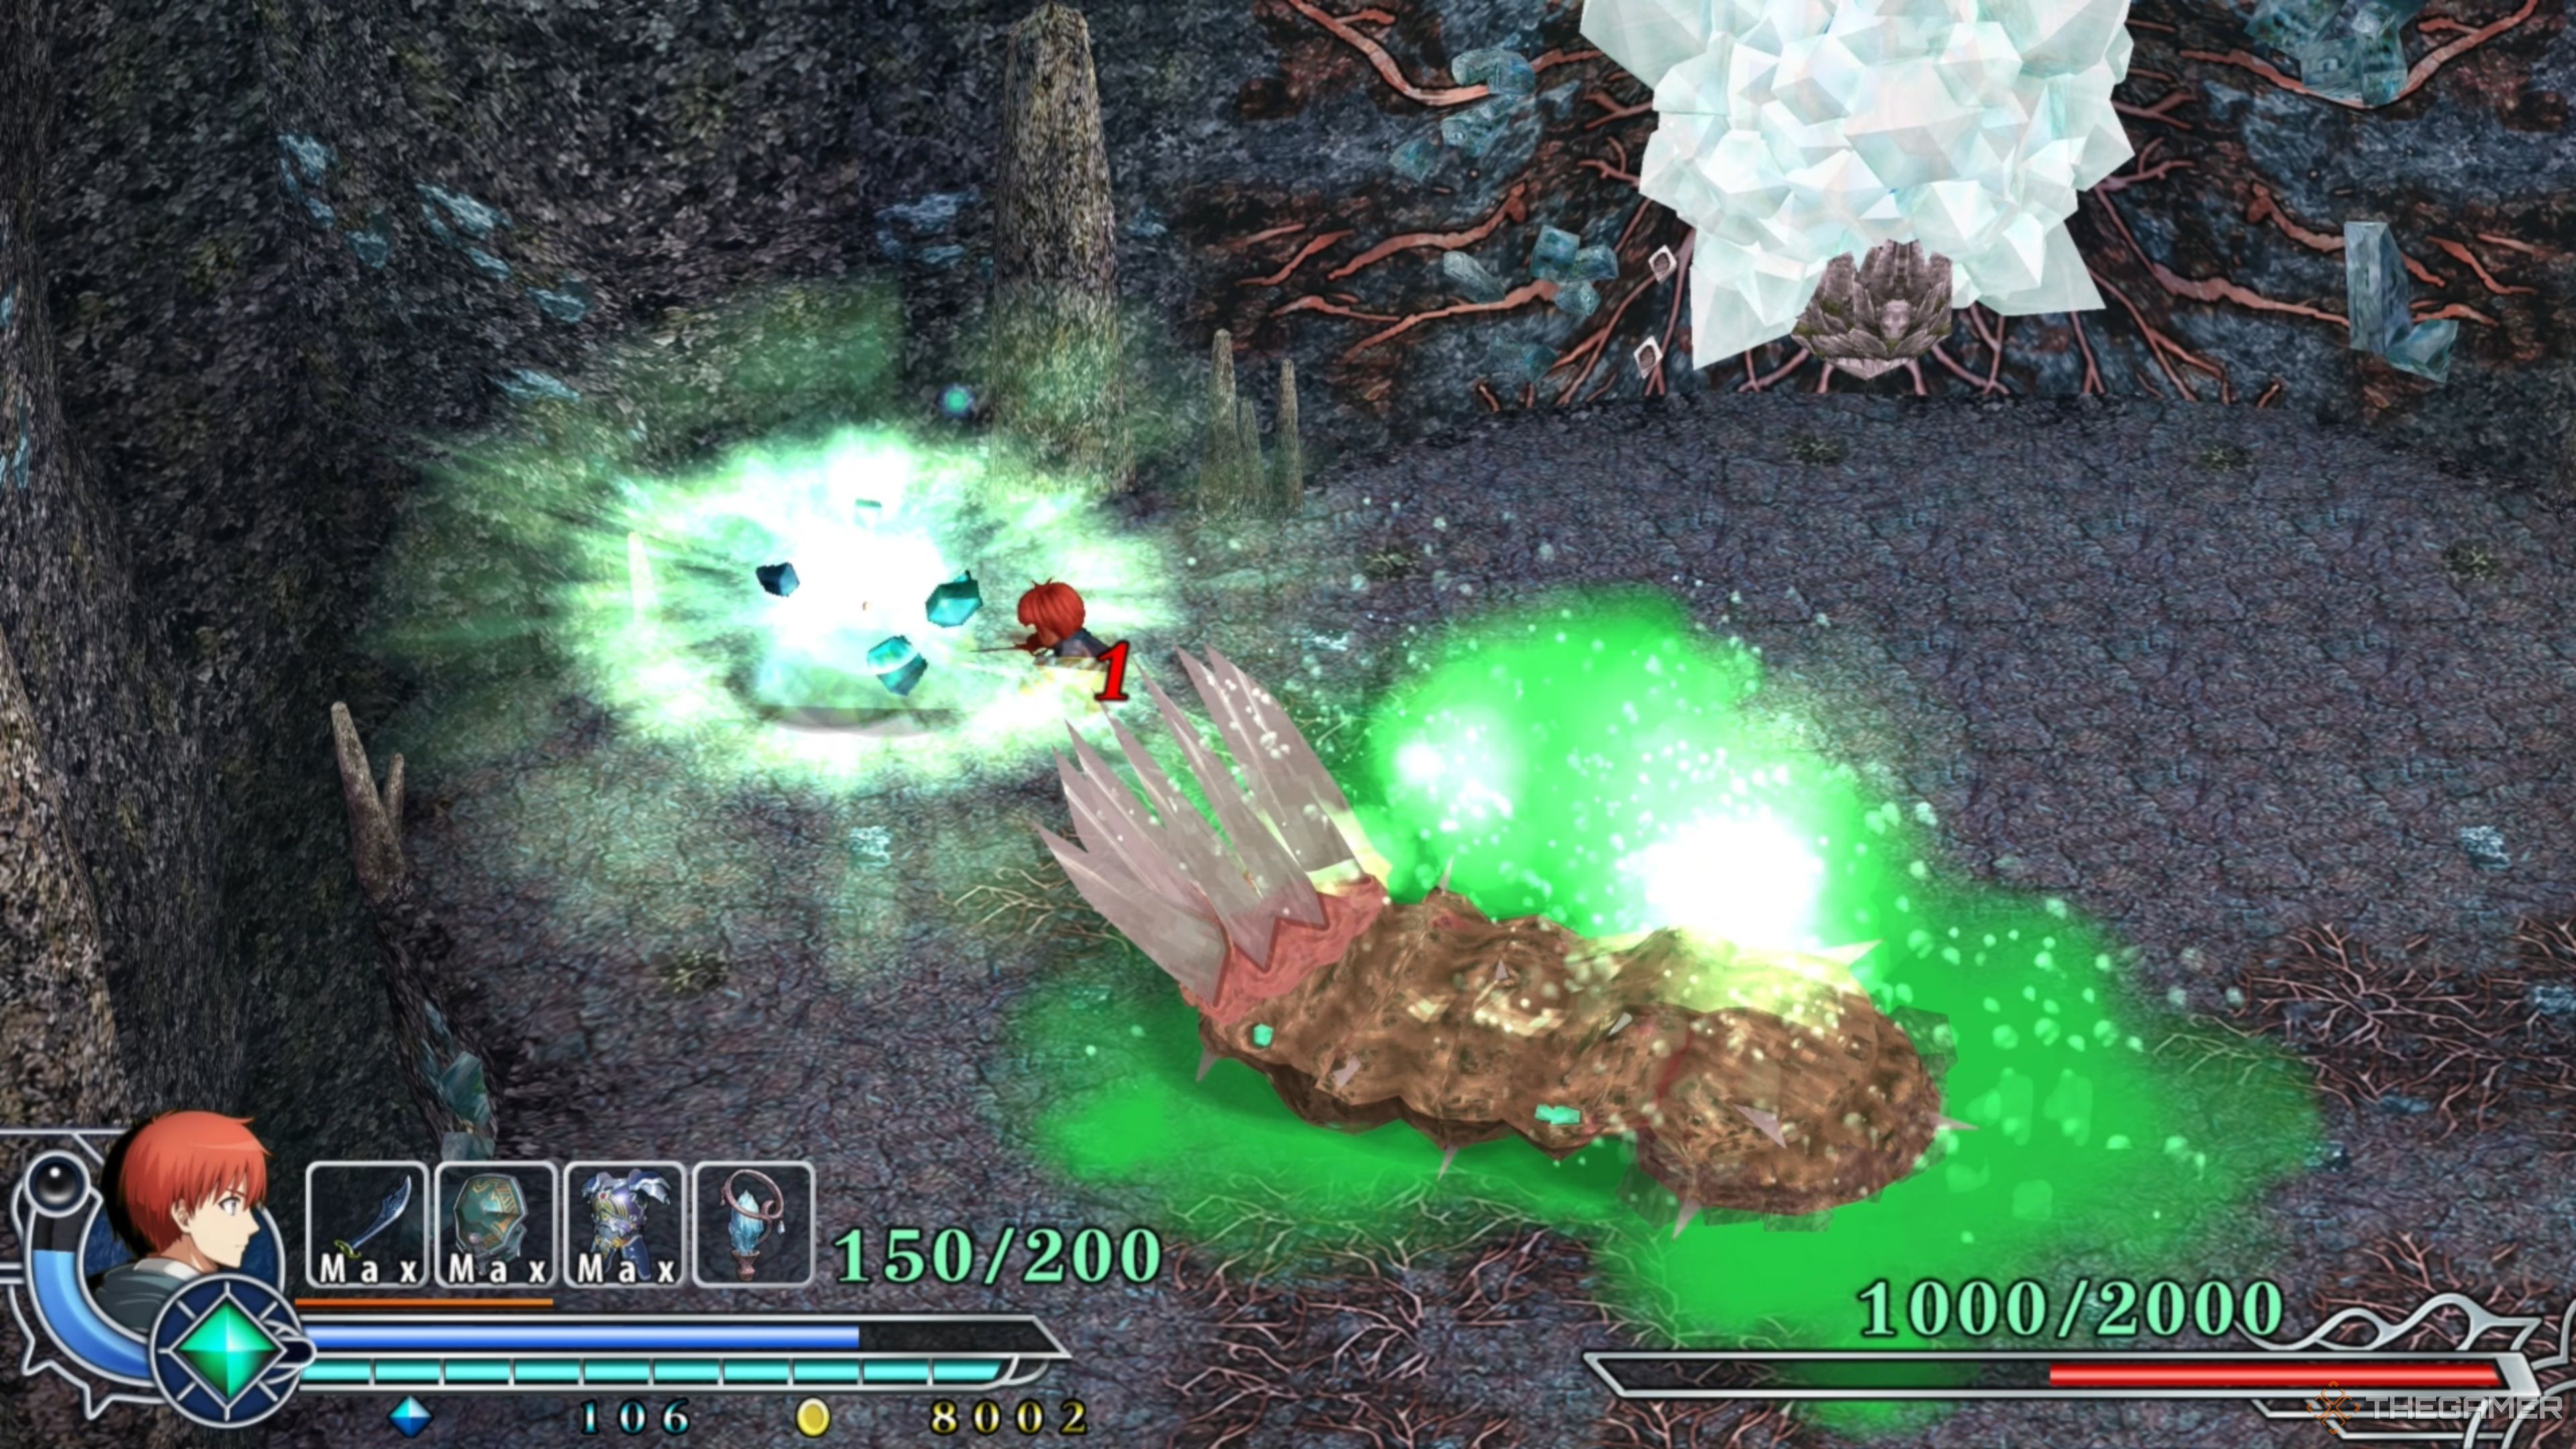
Before it transitions to the second phase, Istersiva will emit a mist of Poison around itself in a last-ditch effort to deal tons of damage to you. Whenever you get its health down halfway, run away from it and take care of any remaining Crystal Minions, if there are any, and prepare for the second phase!
Istersiva: Phase Two
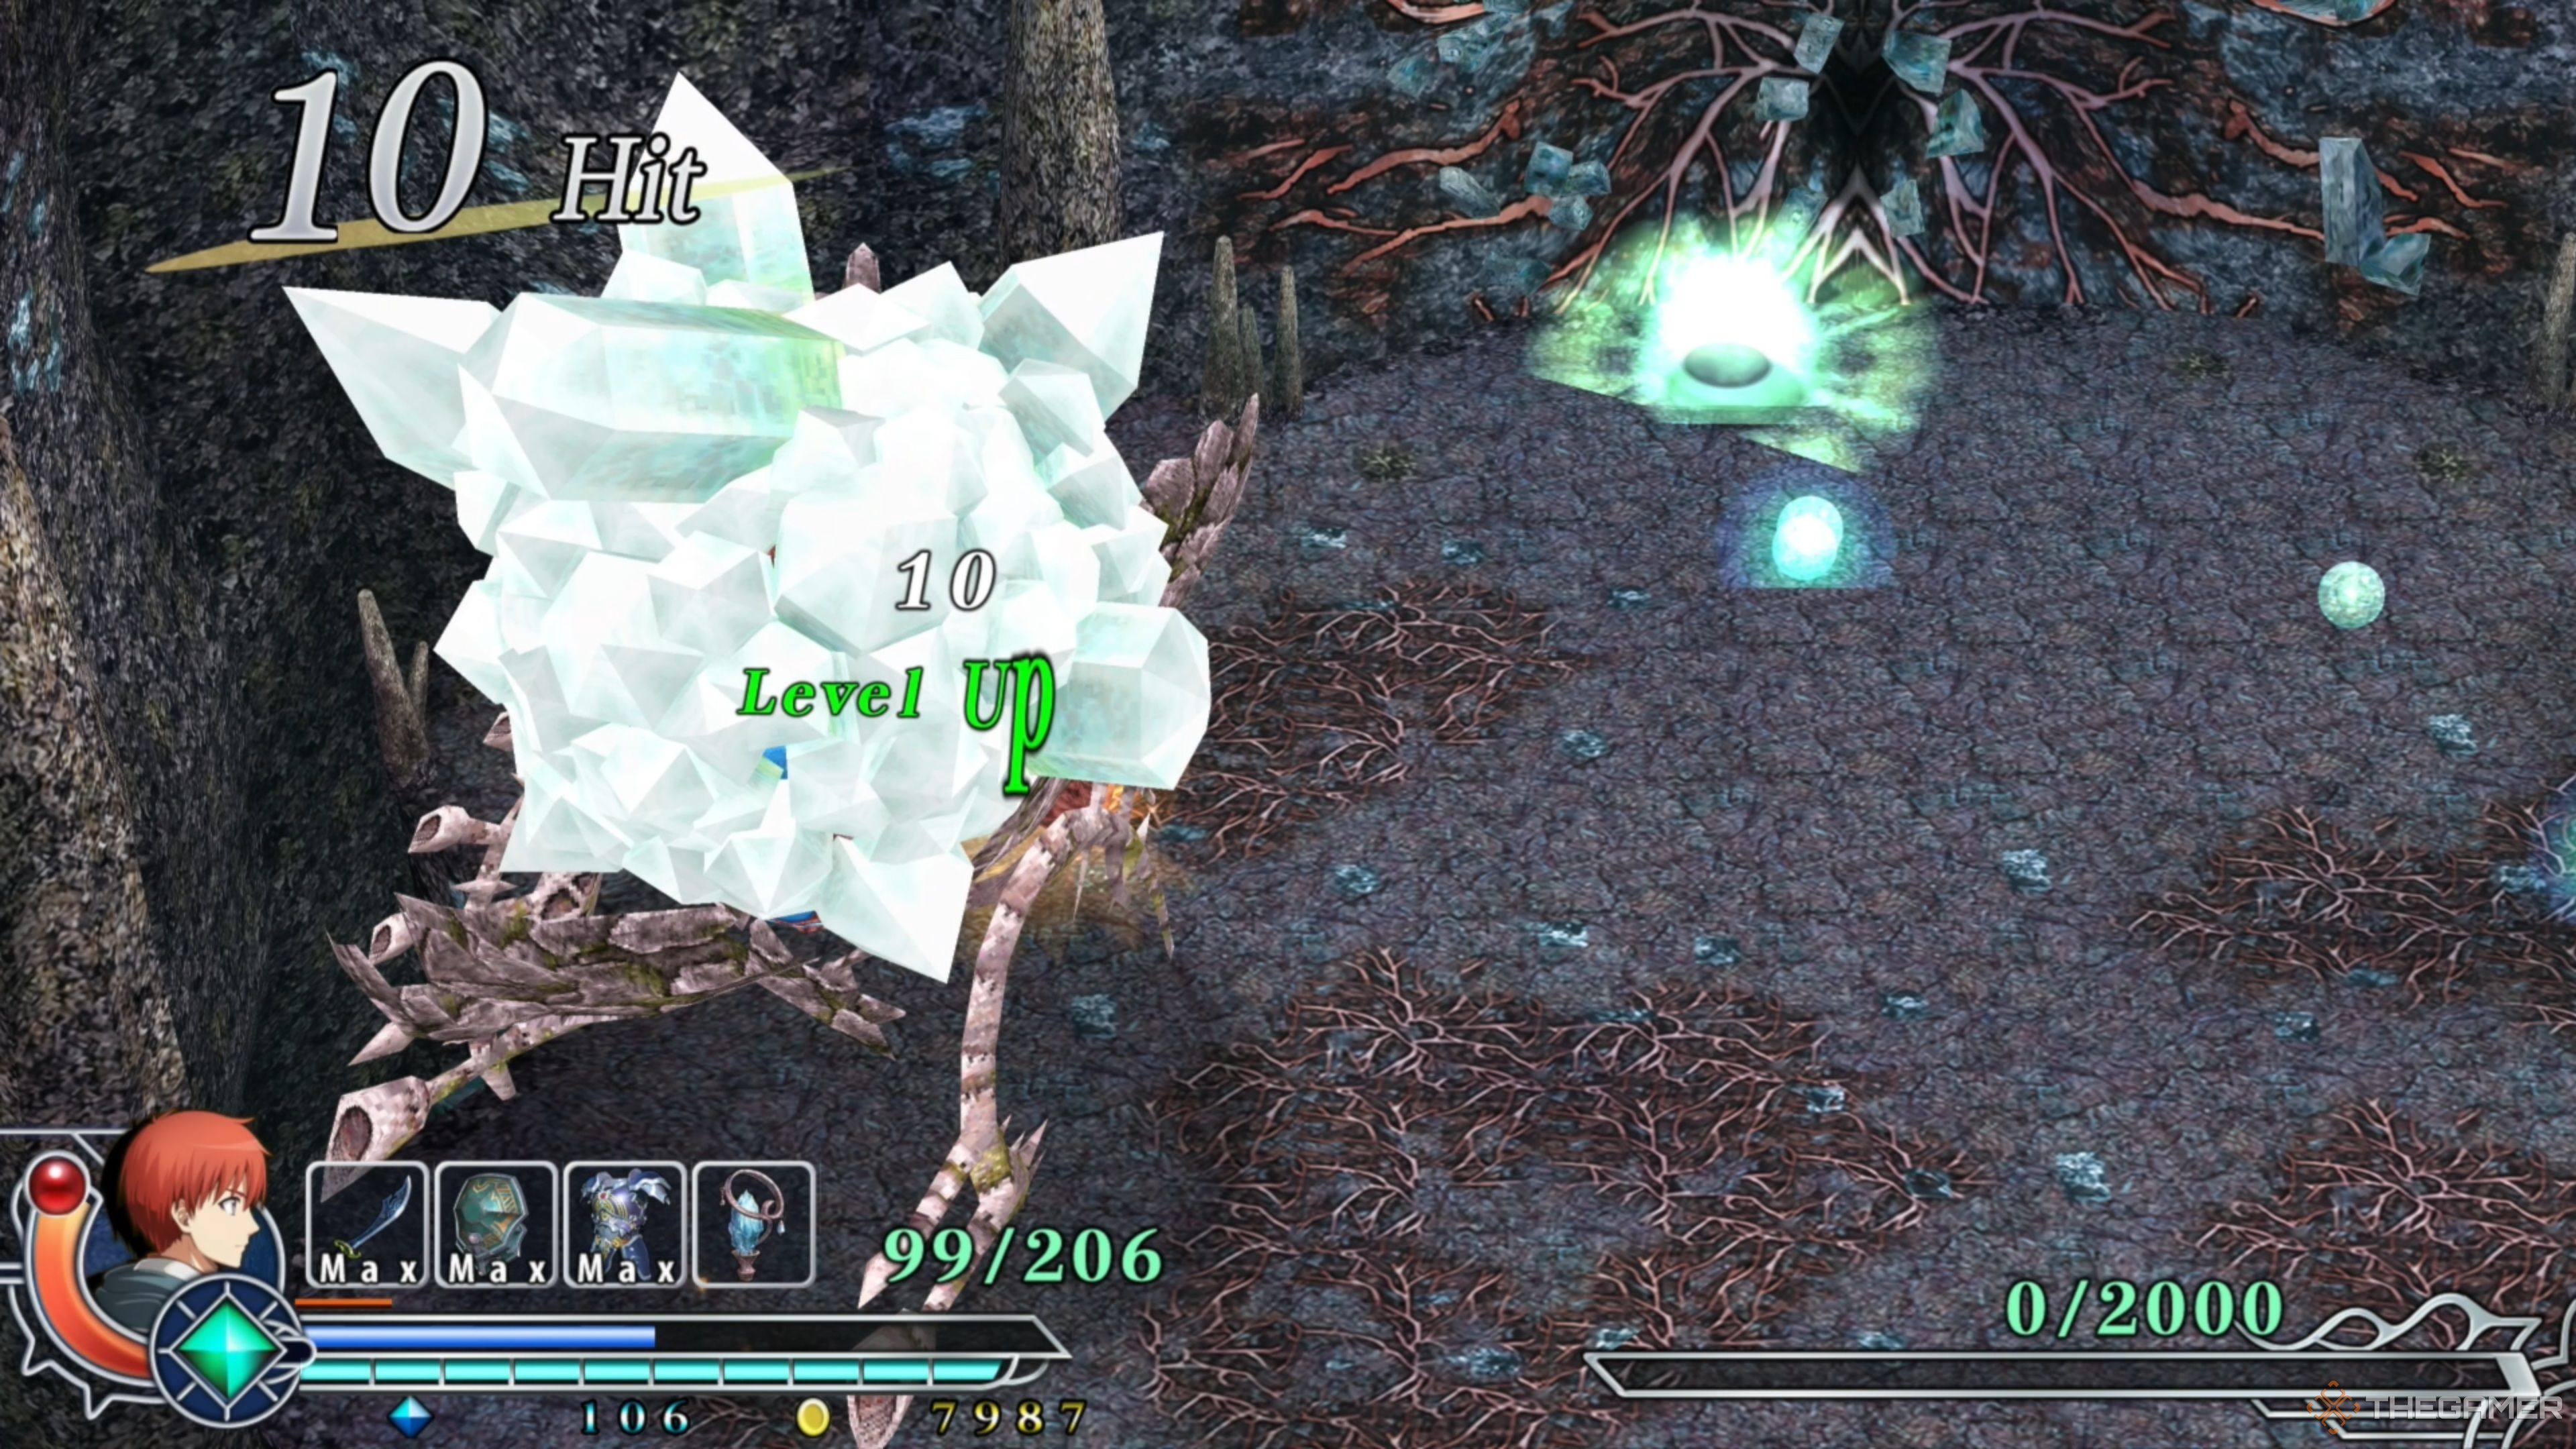
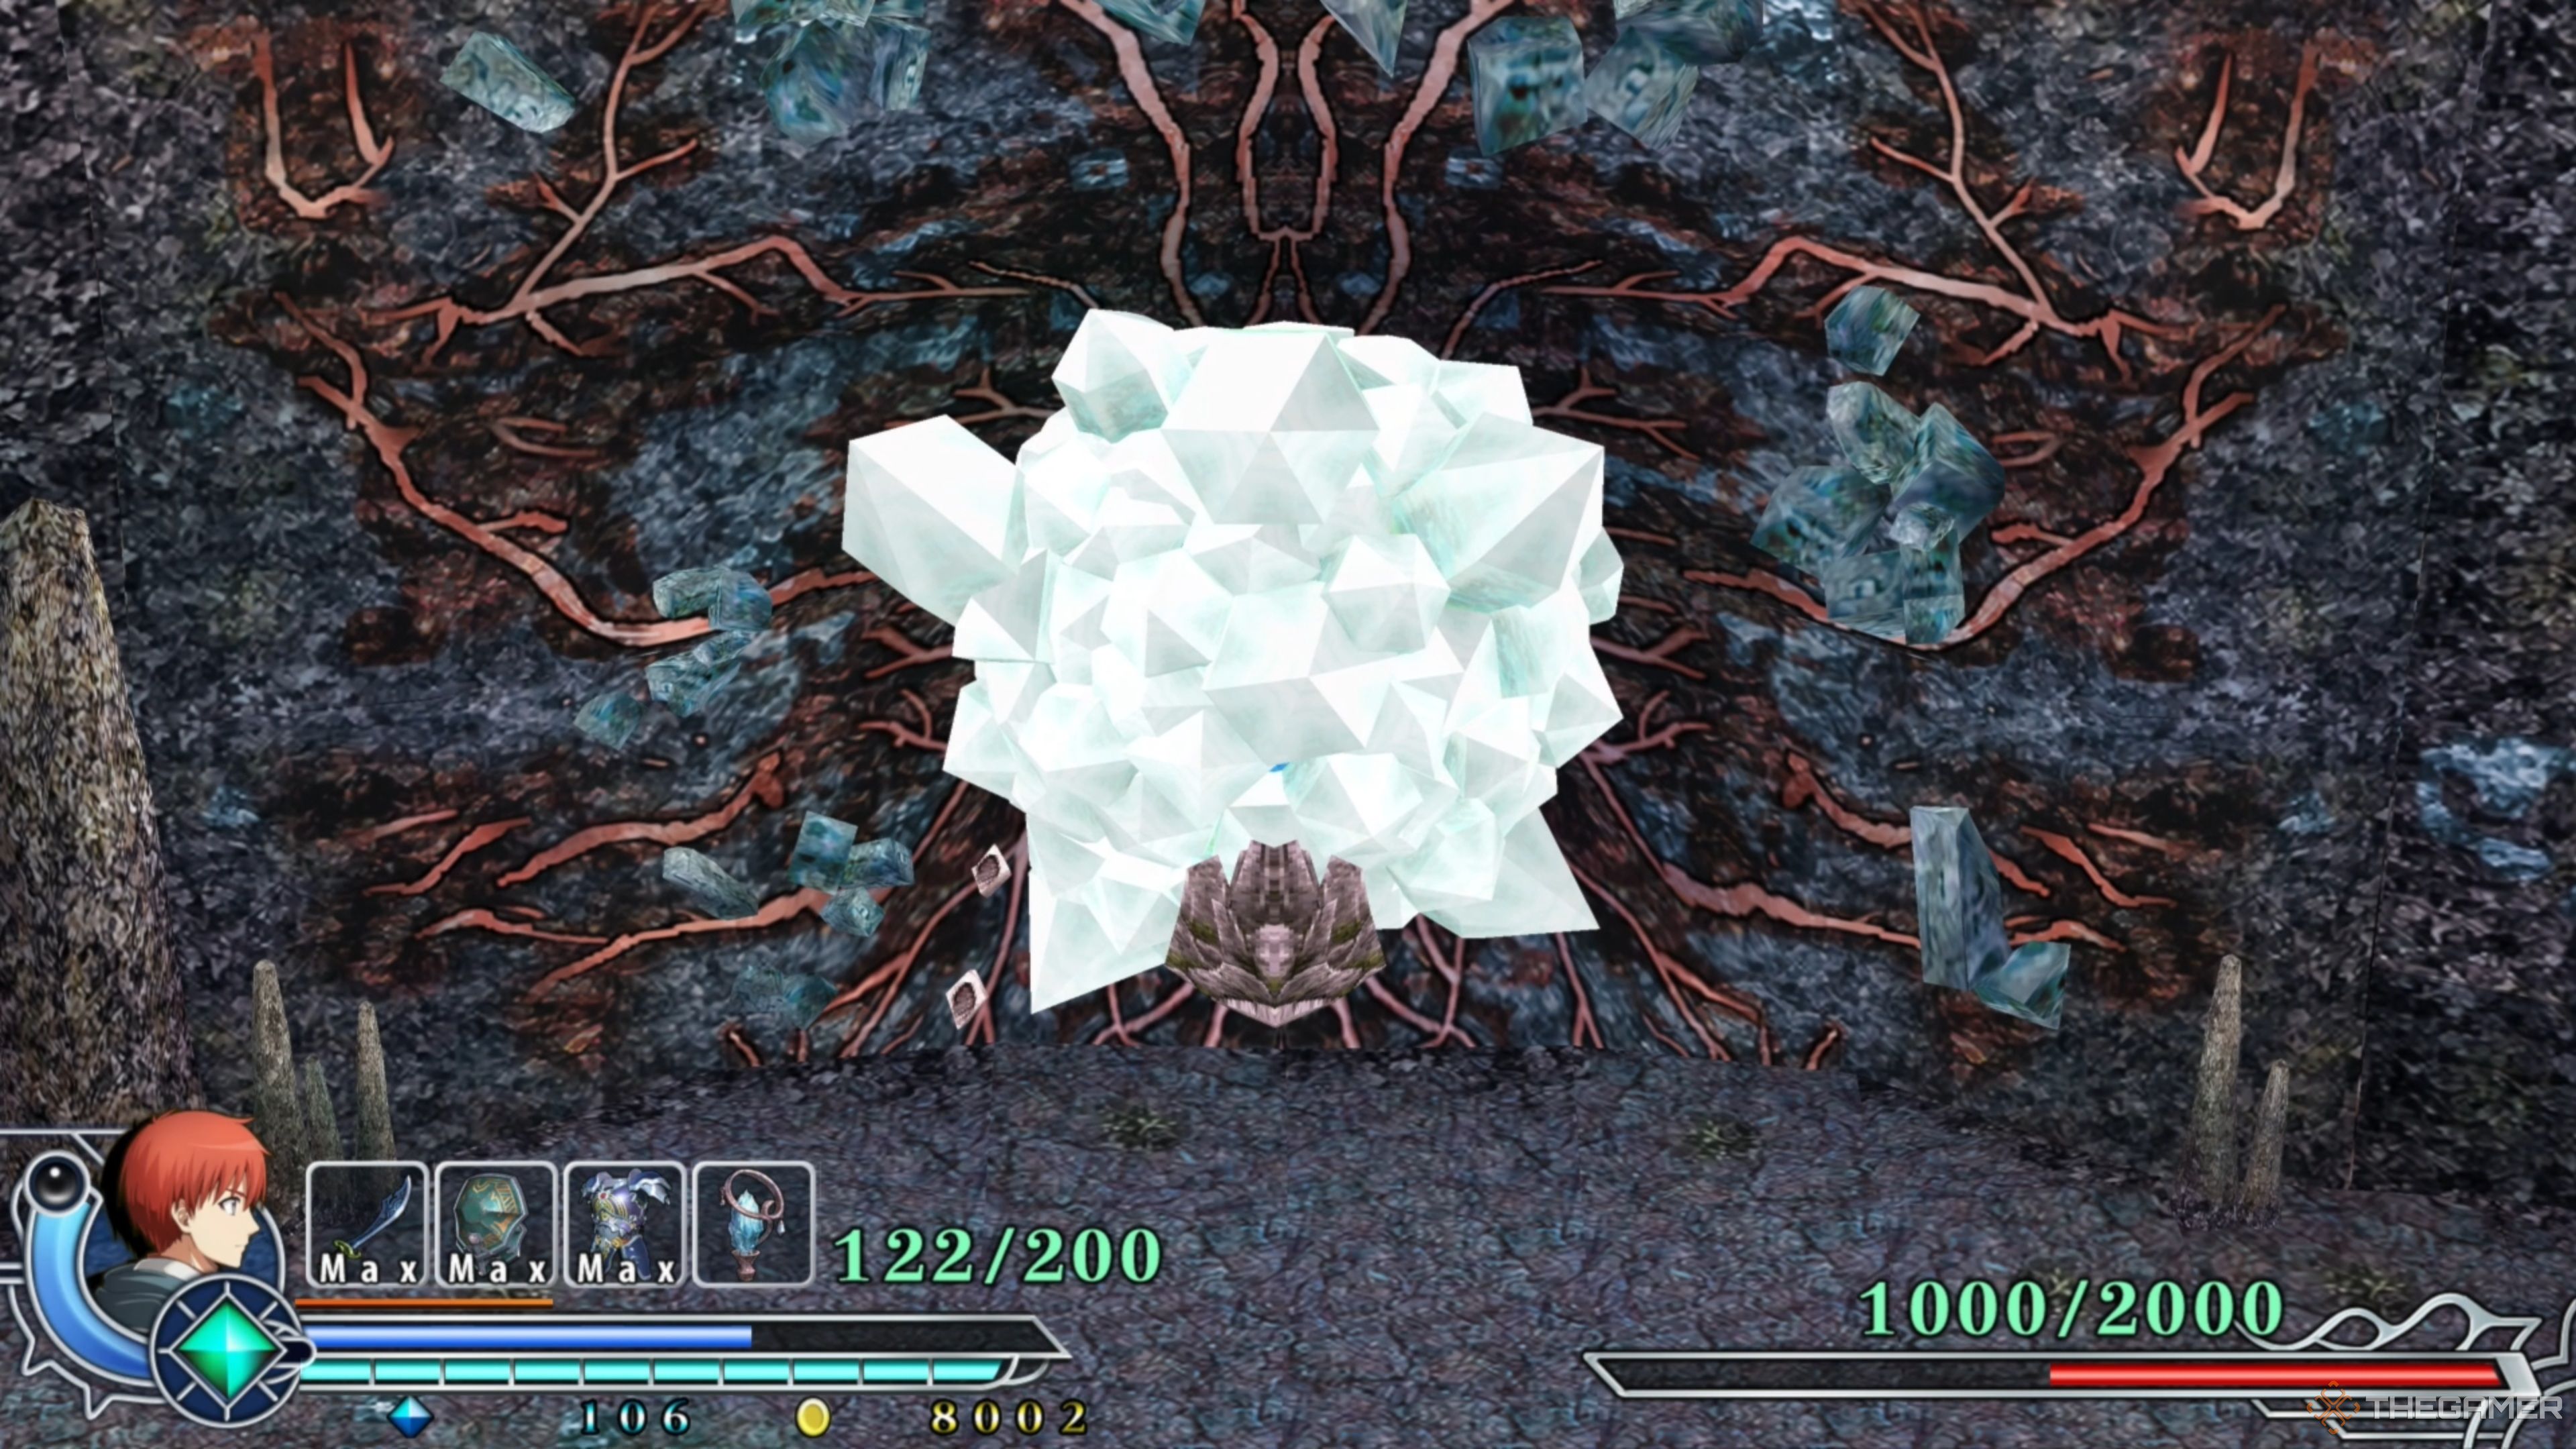
Dropping Instersiva’s health down to the halfway point will trigger its second phase, having the large Crystalline Entity emerge from the wall and begin its onslaught, kicking things up a notch. This phase is considerably more challenging than the previous one, so lock in!
Istersiva: Phase Two – Exploding Orbs
One of the first things Istersiva will do upon entering the second phase is to launch a volley of Exploding Orbs that bounce around the arena, eventually bursting with a small area of effect. These aren’t too bad to deal with, as they travel relatively slowly, and there won’t be that many of them overall.
The best way to avoid this action is to run to the side or even behind Istersiva if you can, as you will be out of the way from all of the Exploding Orbs and can even begin attacking Istersiva!
Adol: Phase Two – Double Boost And Attacking
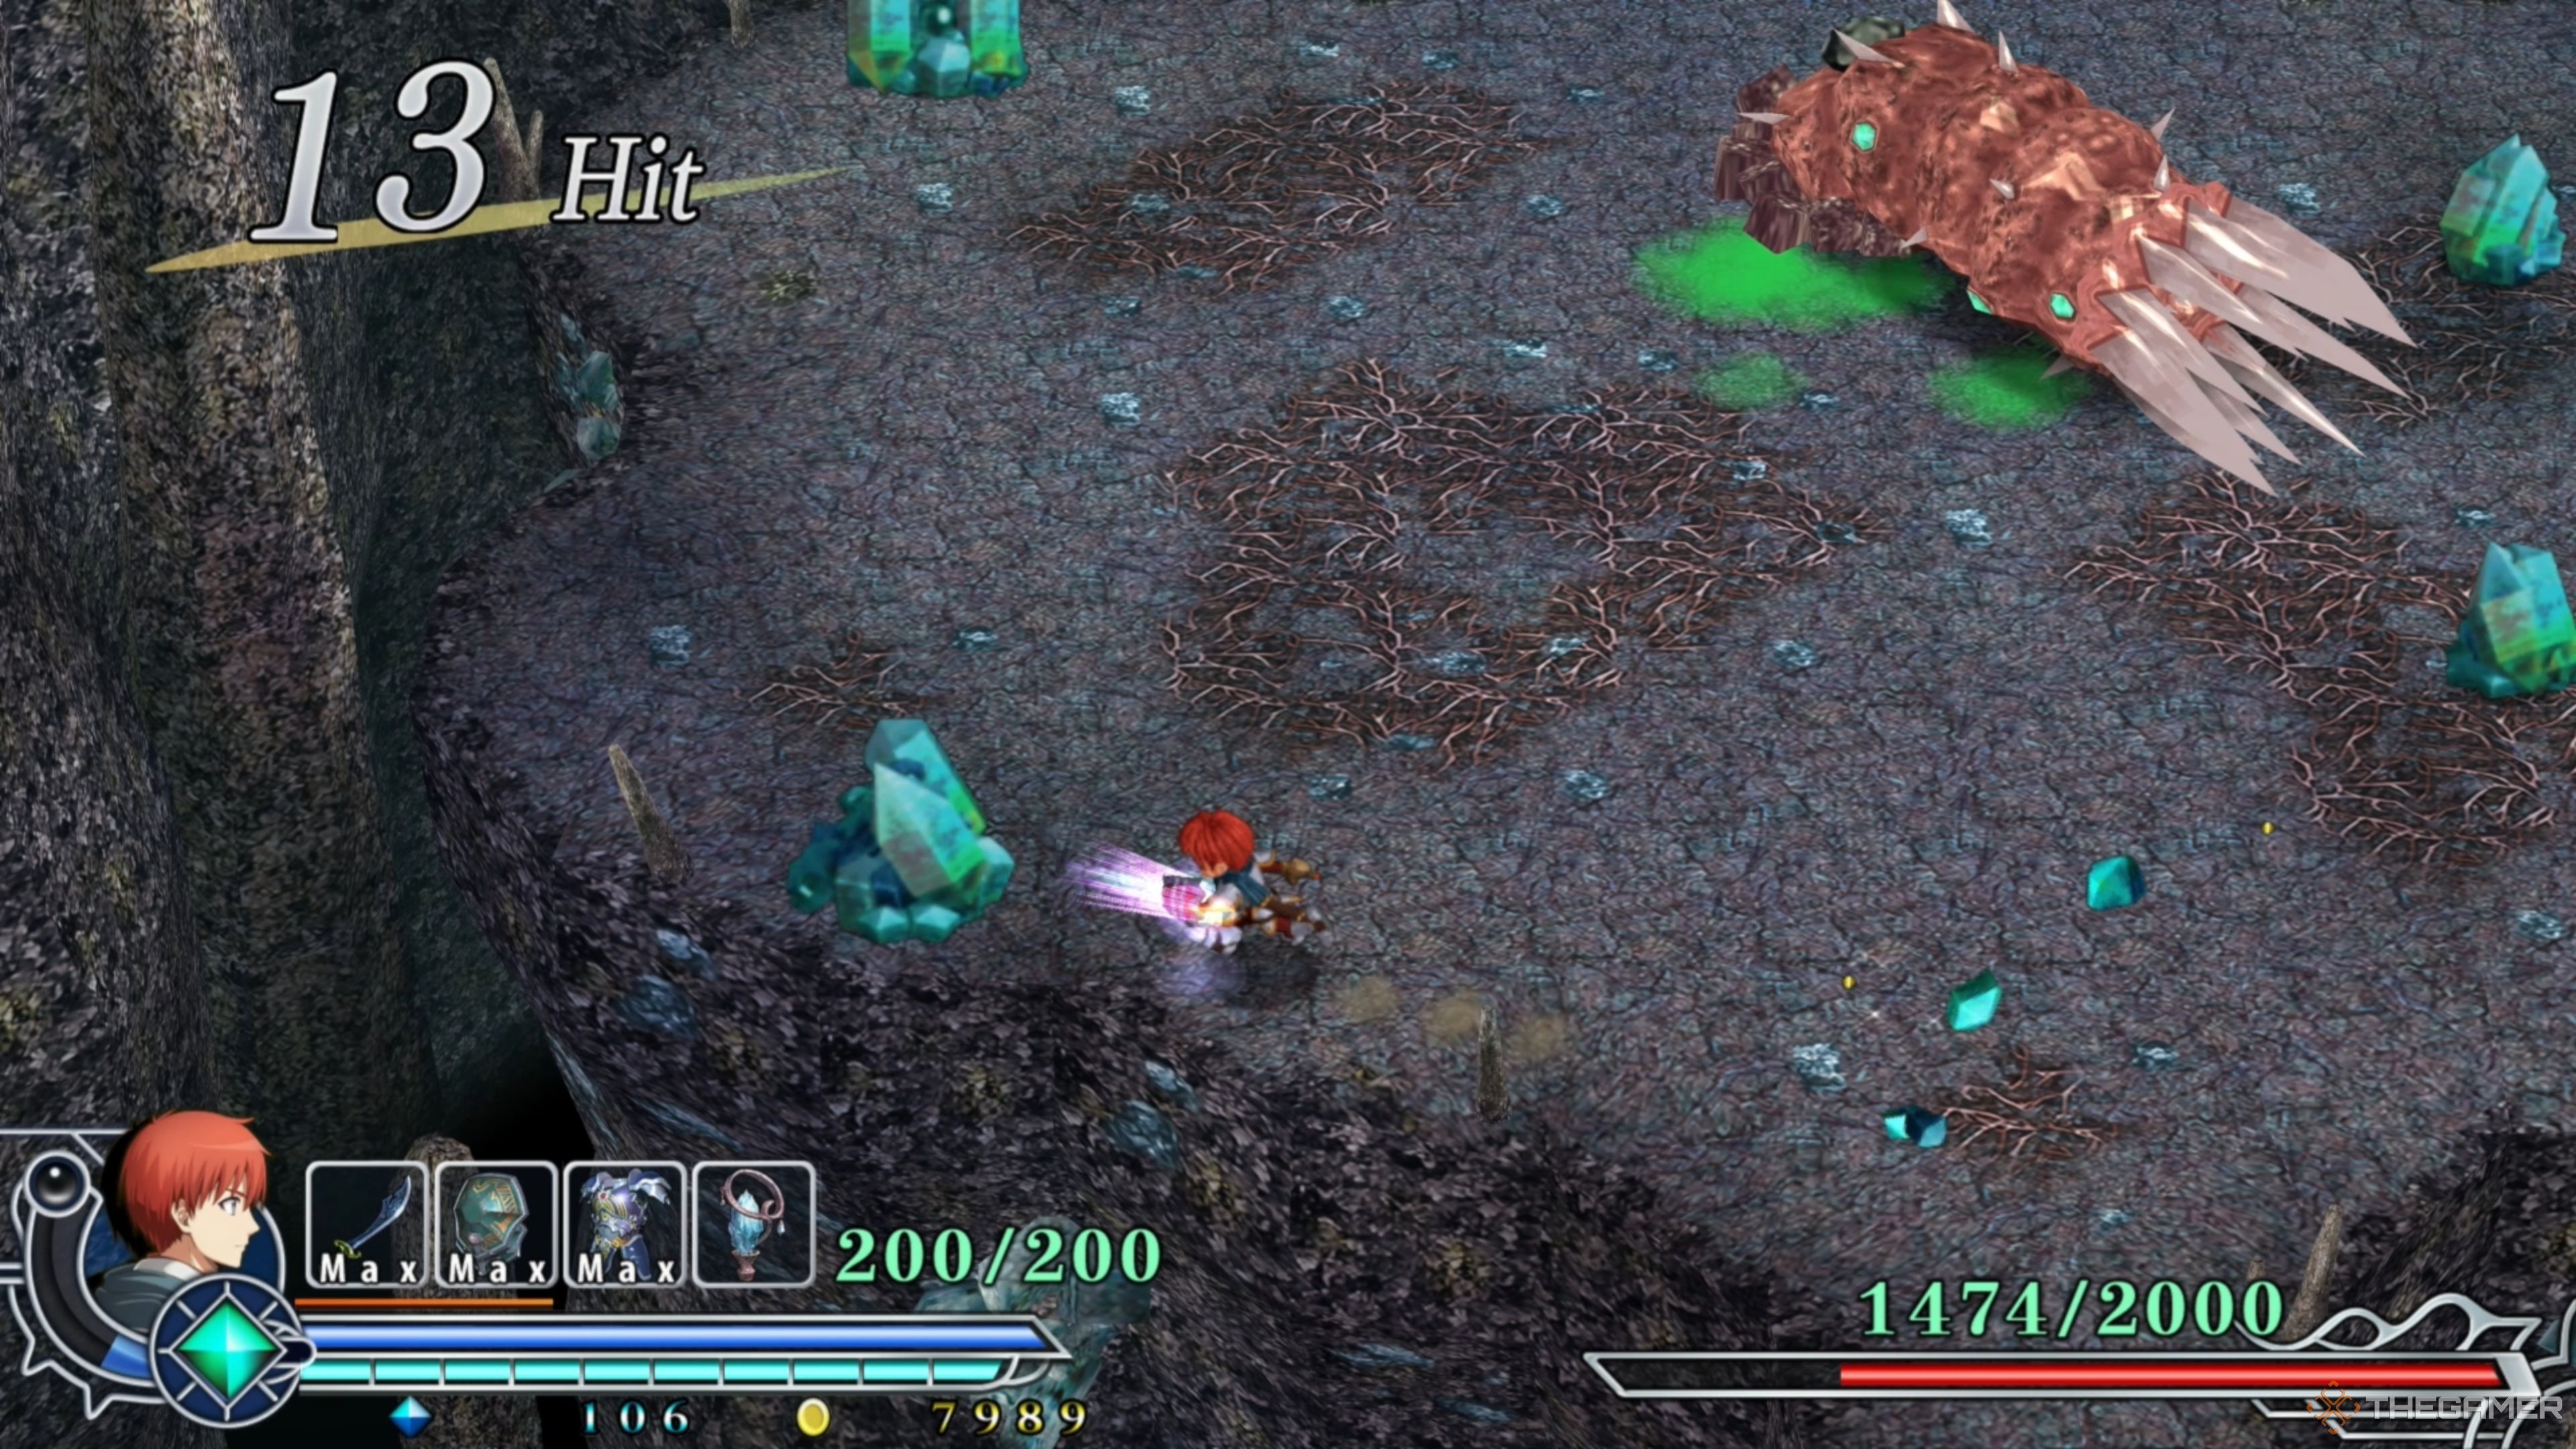
Speaking of attacking Istersiva during phase two, let’s get this over with, as it won’t be easy. The only way you can damage Istersiva is by attacking its exposed backside, which will be tricky to get to as all of its attacks force you to run for your life.
Activating Double Boost will help you regenerate HP if it’s low, so don’t forget to use that when things get hairy. Additionally, we recommend staying close to Istersiva throughout most of the second phase, as it remains stationary for most of its attacks, allowing you to run up behind it if you’re quick enough!
Istersiva: Phase Two – Energy Orbs
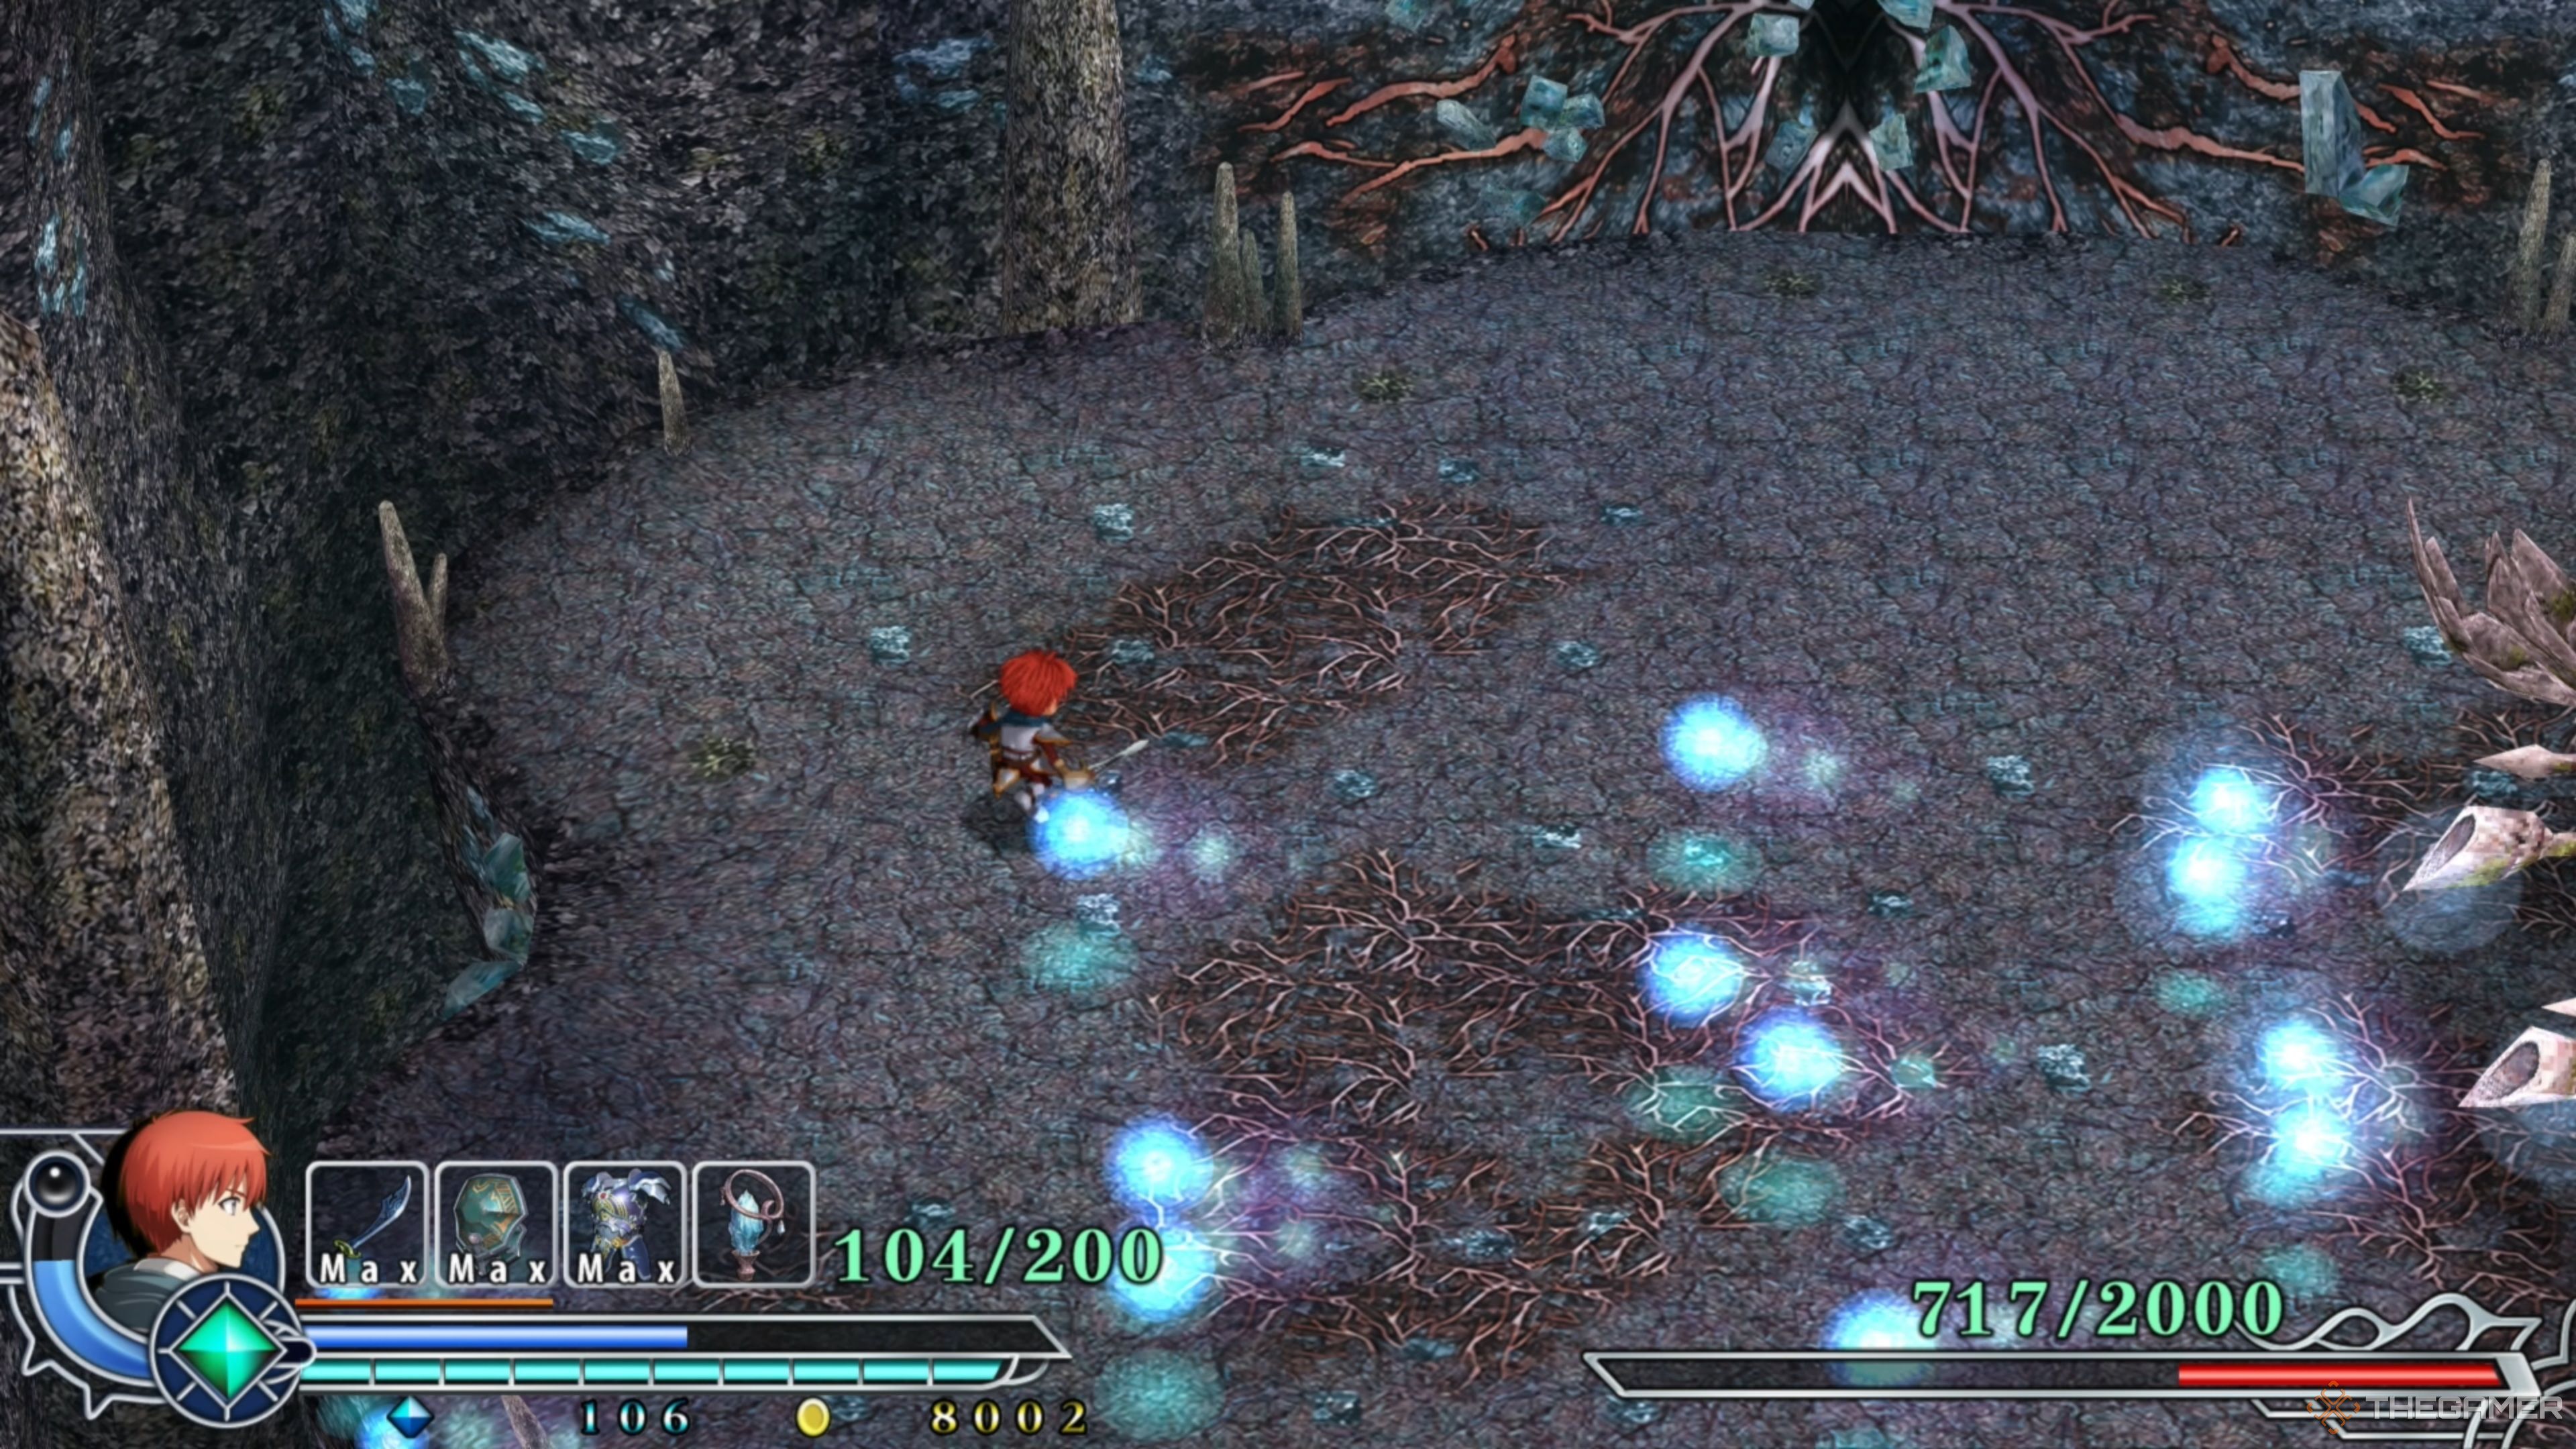
Another common action of Istersiva’s during this phase is its Energy Orb attack, having it launch a few Orbs of Energy forward that will explode on the ground and create many small Energy Orbs that will fly all over the arena, forcing you to dodge the ones that come your way.
Early on, this won’t be that bad to deal with, so you can stay close to Istersiva and jump over the ones that approach you. However, be warned, you can’t rely on this strategy forever, and we will touch on that a bit later!
Istersiva: Phase Two – Opening Up
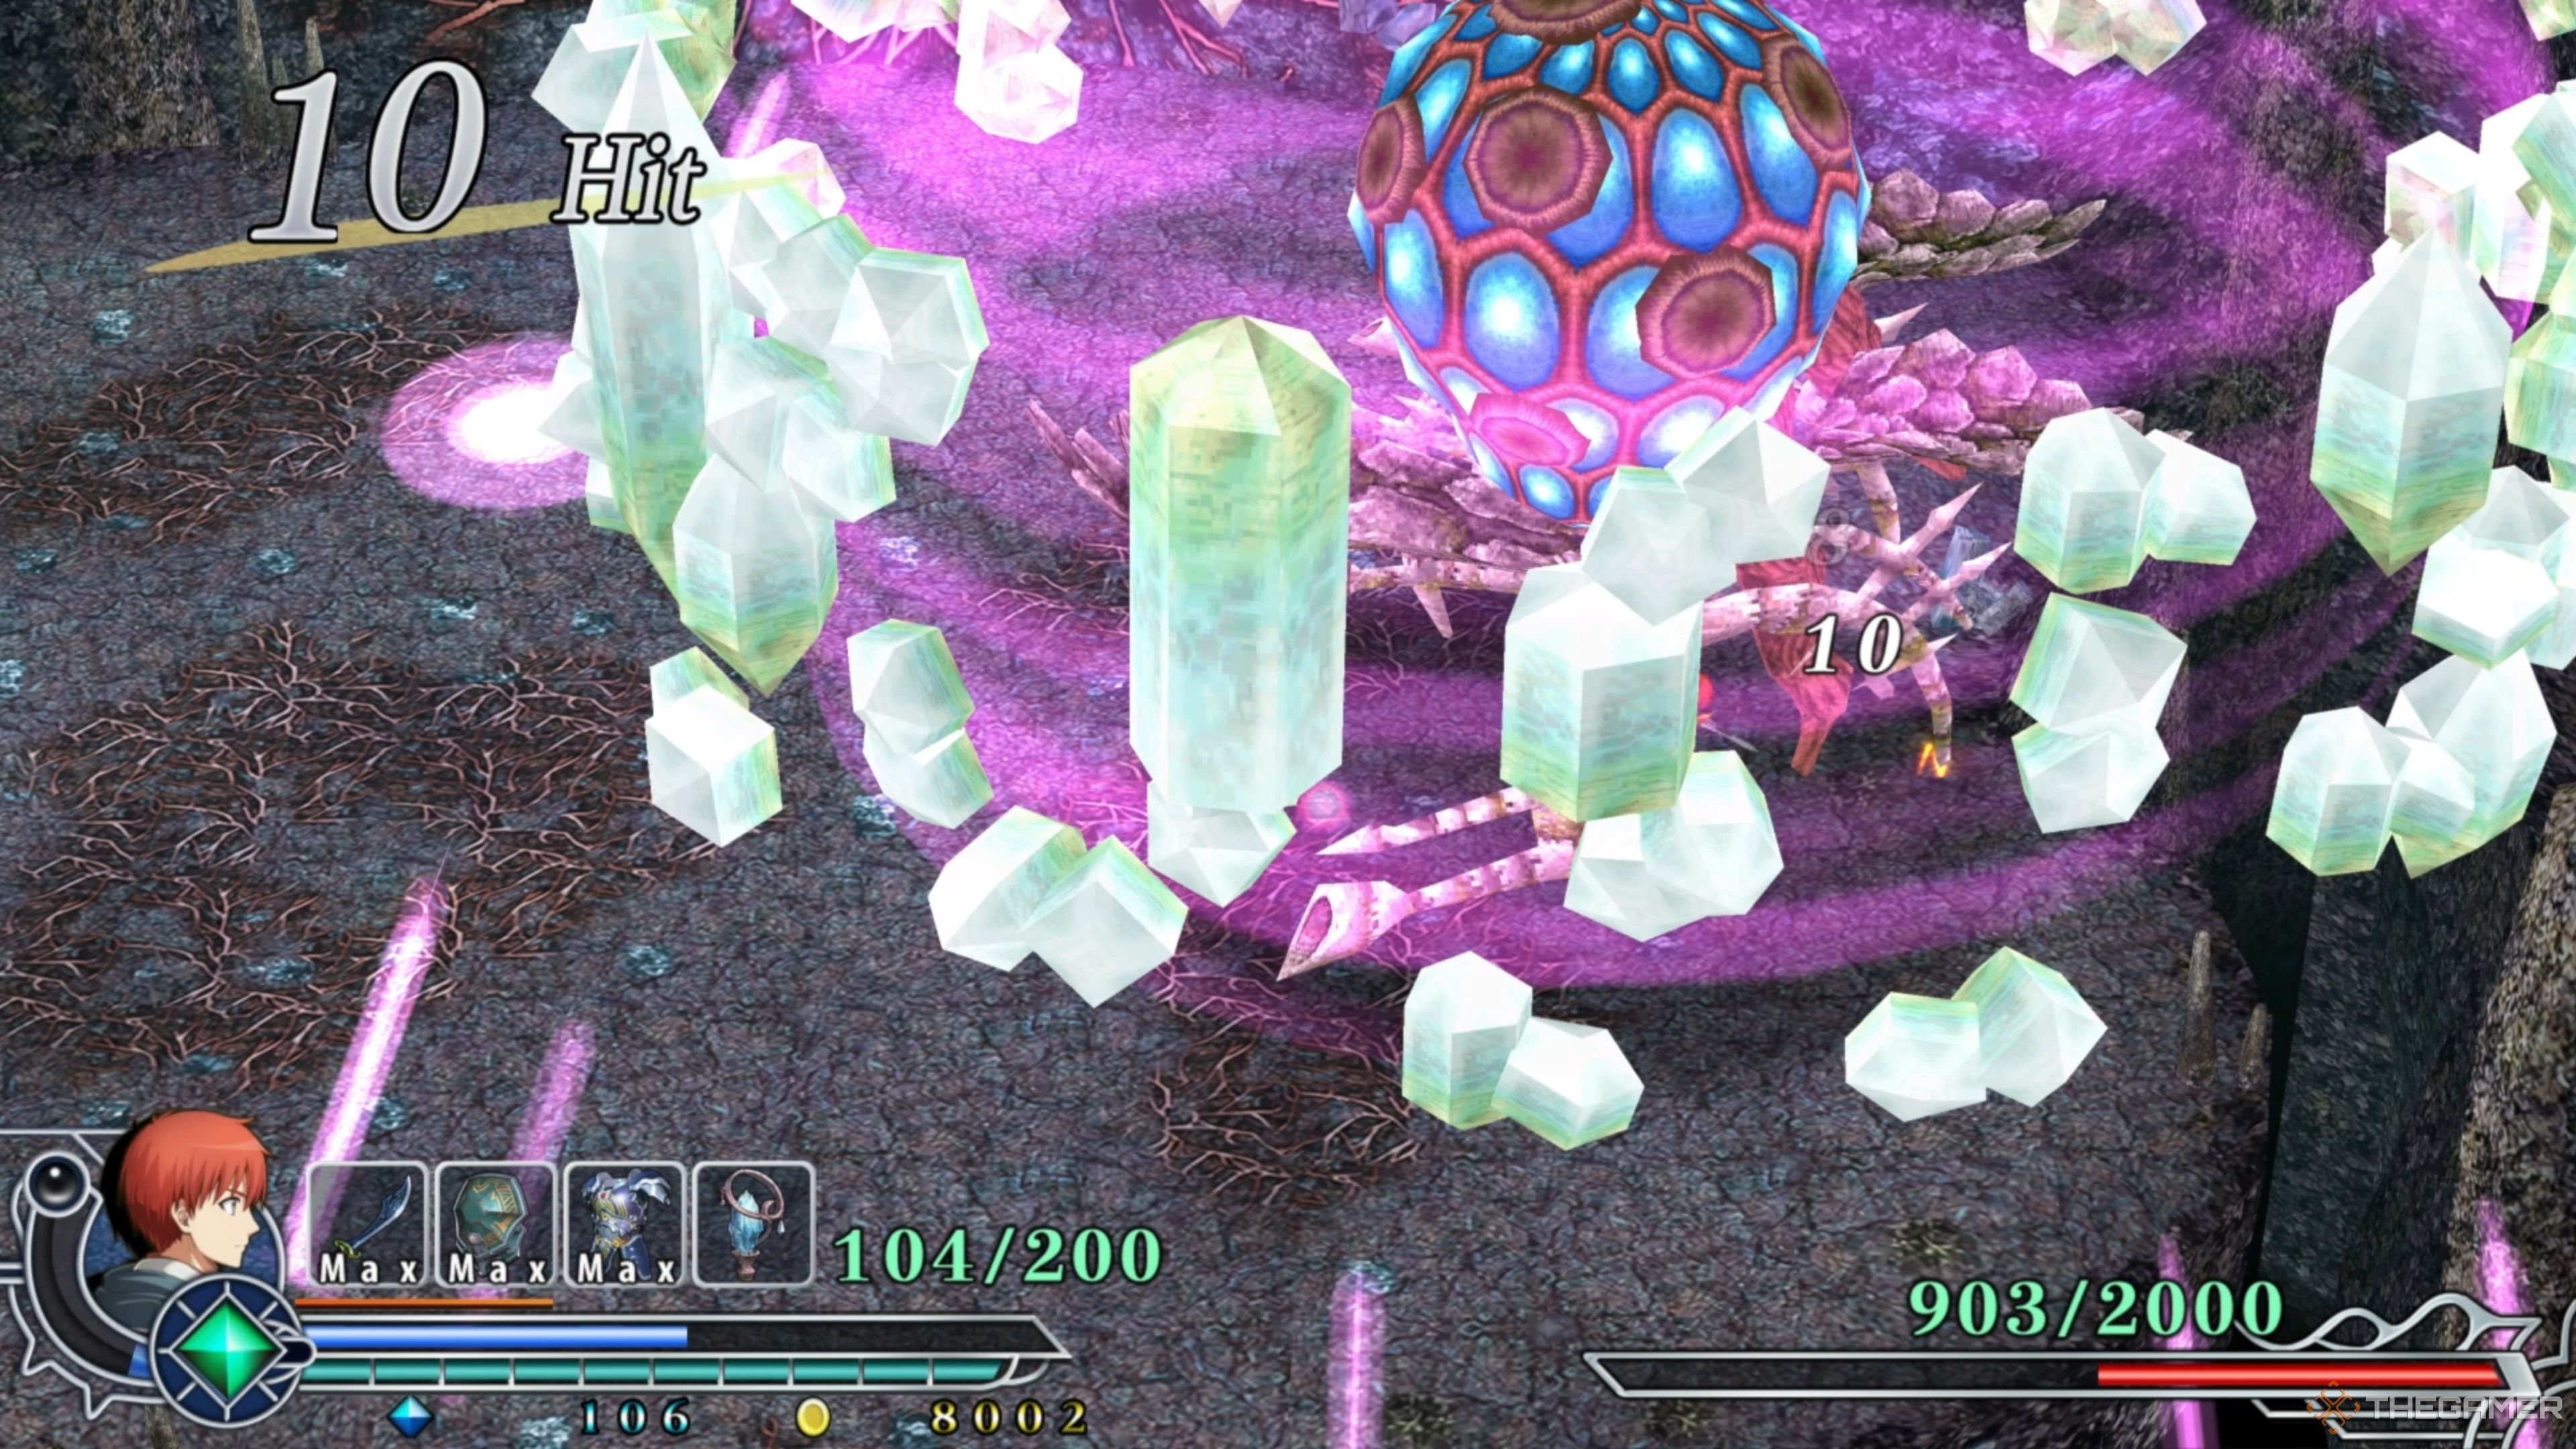
Do you know how we said you could only attack and damage Istersiva by hitting its backside? Well, that was a lie. Sort of. There is one other way you can attack it, and that’s when it opens up its crystal shell, revealing its naked and fleshy form underneath.
When we said you should try staying as close to Istersiva as possible, this is the reason why, as when it opens up like this, you can run inside of the purple barrier and begin hacking away at it, dealing substantial damage. If you’re caught outside of the barrier, you will be running for your life as Istersiva launches a barrage of lasers outside of the barrier.
Always stay near Istersiva, as this move happens sporadically, and you can never pin down when it’s about to happen. This will be how you will deal the majority of your damage, so activate Double Boost when inside the barrier to maximize your damage output!
Istersiva: Phase Two – Rapid Fire
Whittling Istersiva’s health down even more will have it begin Rapidly Firing its Energy Orbs, spraying a barrage of small Energy Orbs across the arena in a sporadic pattern, making it incredibly challenging to avoid.
Running to the left or right and jumping into the gaps seems to be the best method to avoid getting hit by this attack, but it won’t be easy. Once you reach the end of one side, turn around and begin running, as Istersiva is likely not finished. It fires A LOT of Energy Orbs; do not underestimate this attack!
Istersiva: Phase Two – Energy Orbs (Chaos Edition)
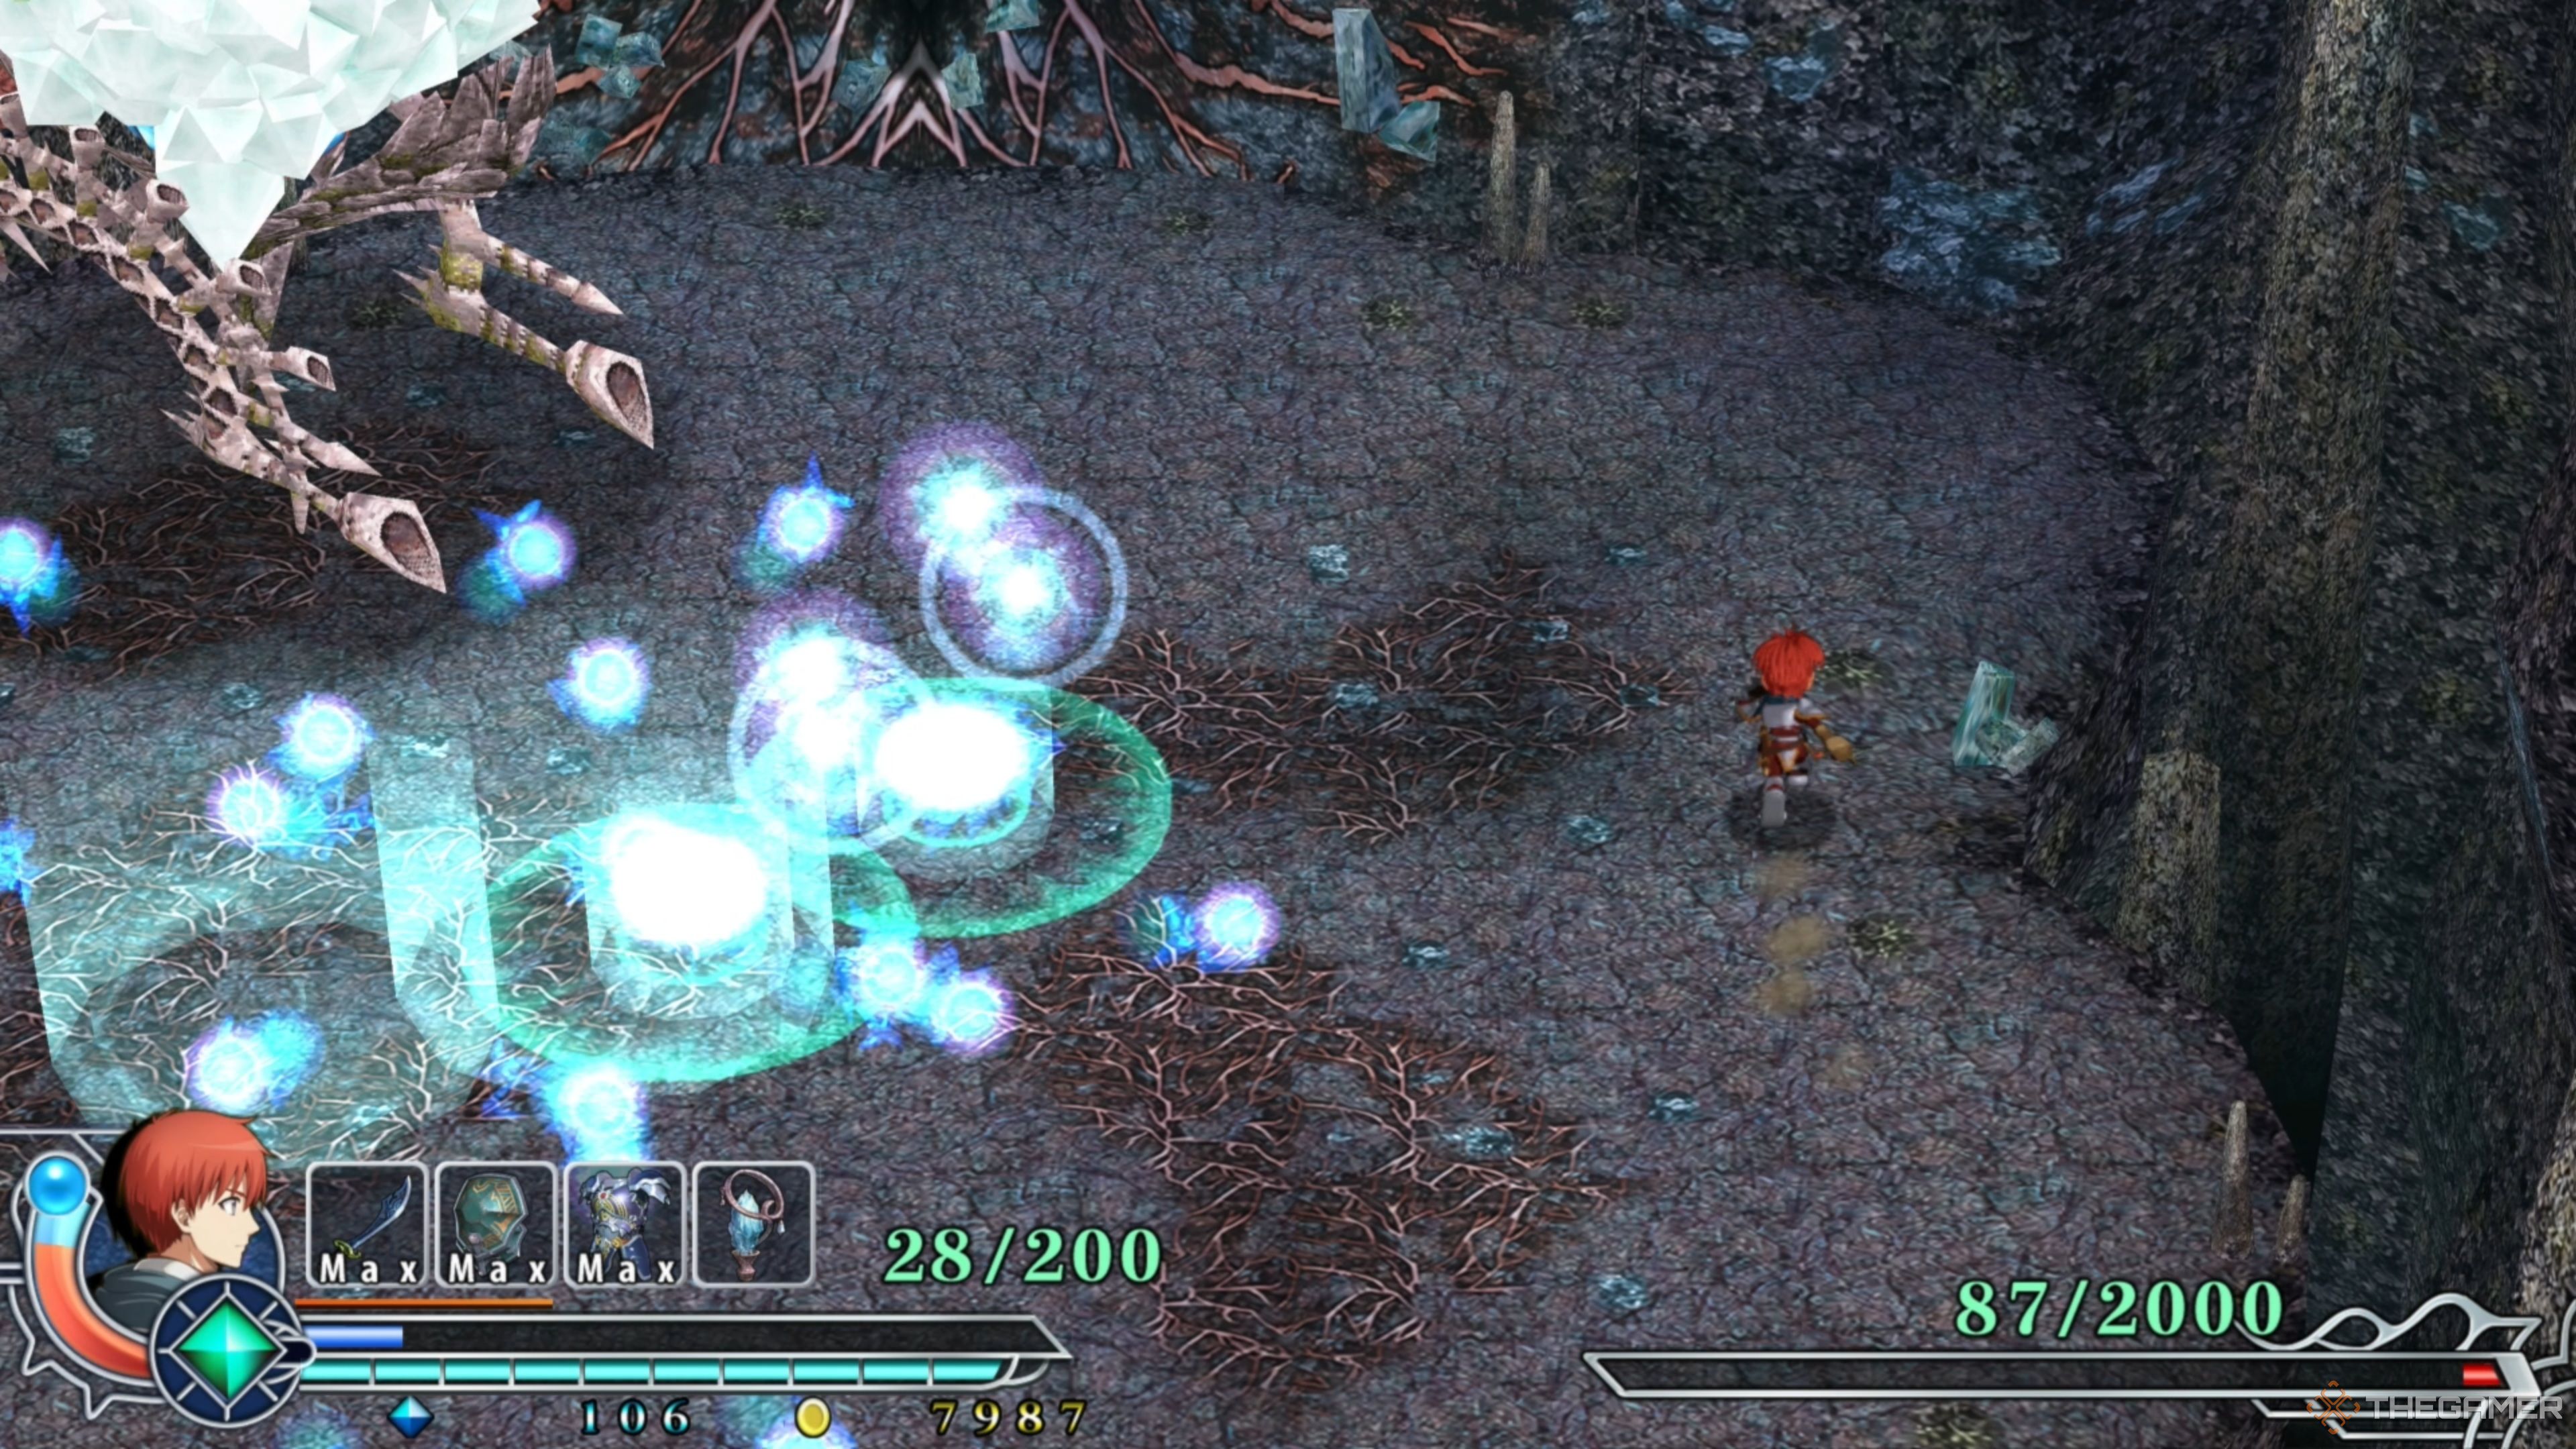
Lastly, the biggest attack in Istersiva’s arsenal is its Energy Orbs (Chaos Edition), as we like to call it. Like the Energy Orbs attack from earlier, Istersiva will fire Energy Orbs forward that break on the ground, generating many more, smaller, Energy Orbs that shoot around the arena.
This time around, however, it will launch several large Energy Orbs at once, exploding into smaller ones and flooding the arena with nothing but small Energy Orbs. And they just keep coming. Istersiva launches at least six large Energy Orbs and creates a sea of chaos that is nearly impossible to dodge.
It will be hard, but you must be somewhat patient here, as there will be some empty areas you can temporarily stand in before more Energy Orbs show up and explode. If you can, activate Double Boost to at least replenish some health just in case you get caught up in the bloodbath. From here, it’s simply rinsing and repeating the steps above until Istersiva is defeated!
Next
Ys Memoire: The Oath In Felghana – 8 Beginner Tips
Before diving into Ys Memoire: The Oath in Felghana, here’s everything you need to know to get started on the right foot!




Leave a Reply