As you explore Miraland with Nikki and Momo in Infinity Nikki, you’ll come across dozens of minigames. Whether you’re hopping through ethereal hoops to beat the clock or engaging with a small box game on a cafe counter, there’s always something to do.
Once you reach the Wishing Woods, there are even more activities for you to enjoy. We’ll show you the location of each Wishing Orb Express box game and how to complete it so you can collect more rewards and fill out your folklore guide! Here’s everything you need to know to get started on the Wishing Orb Express games.
How To Play Wishing Orb Express
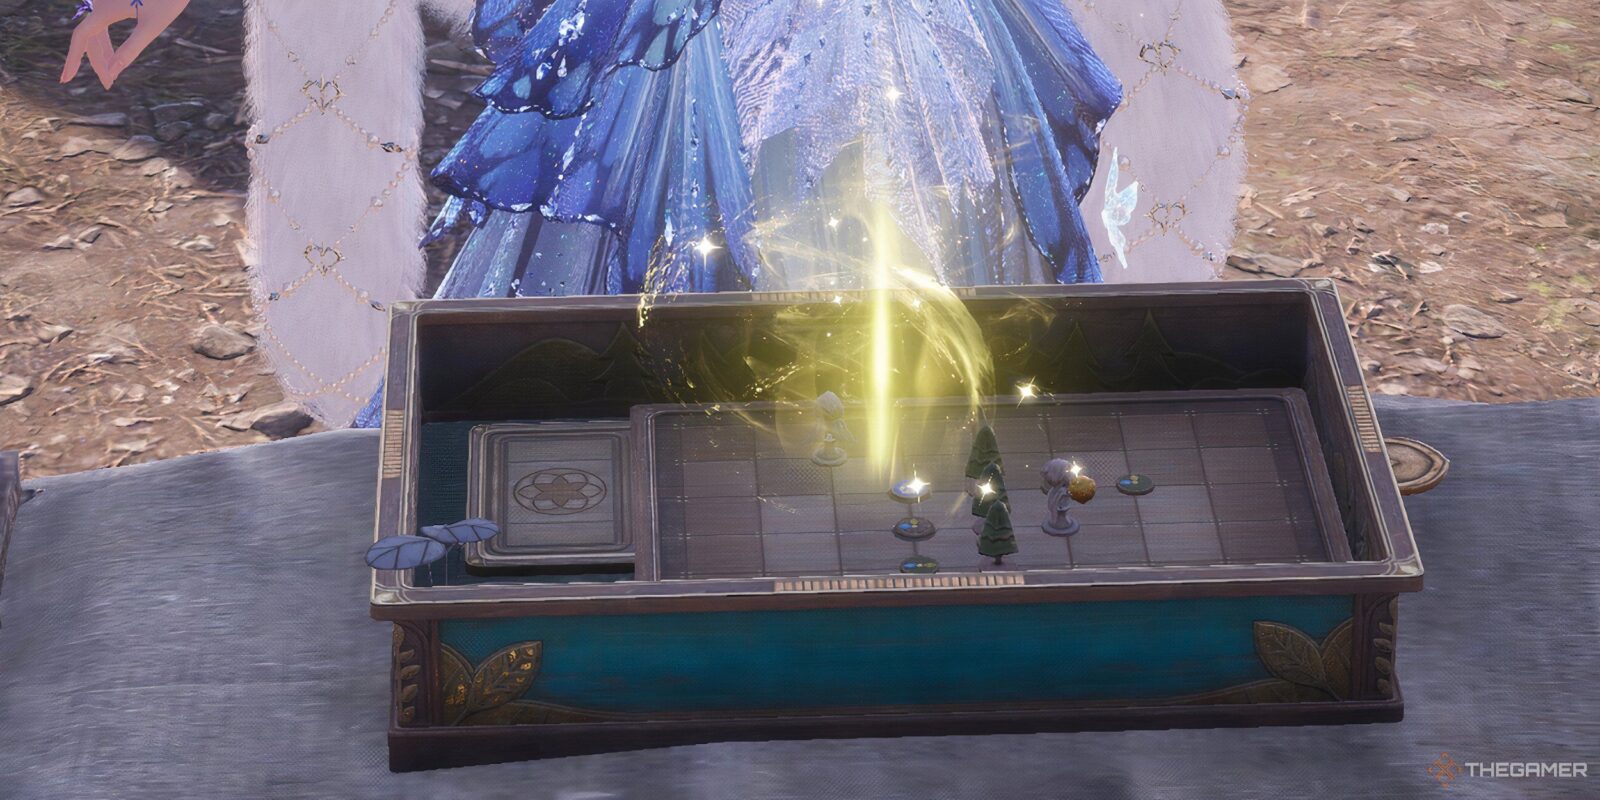
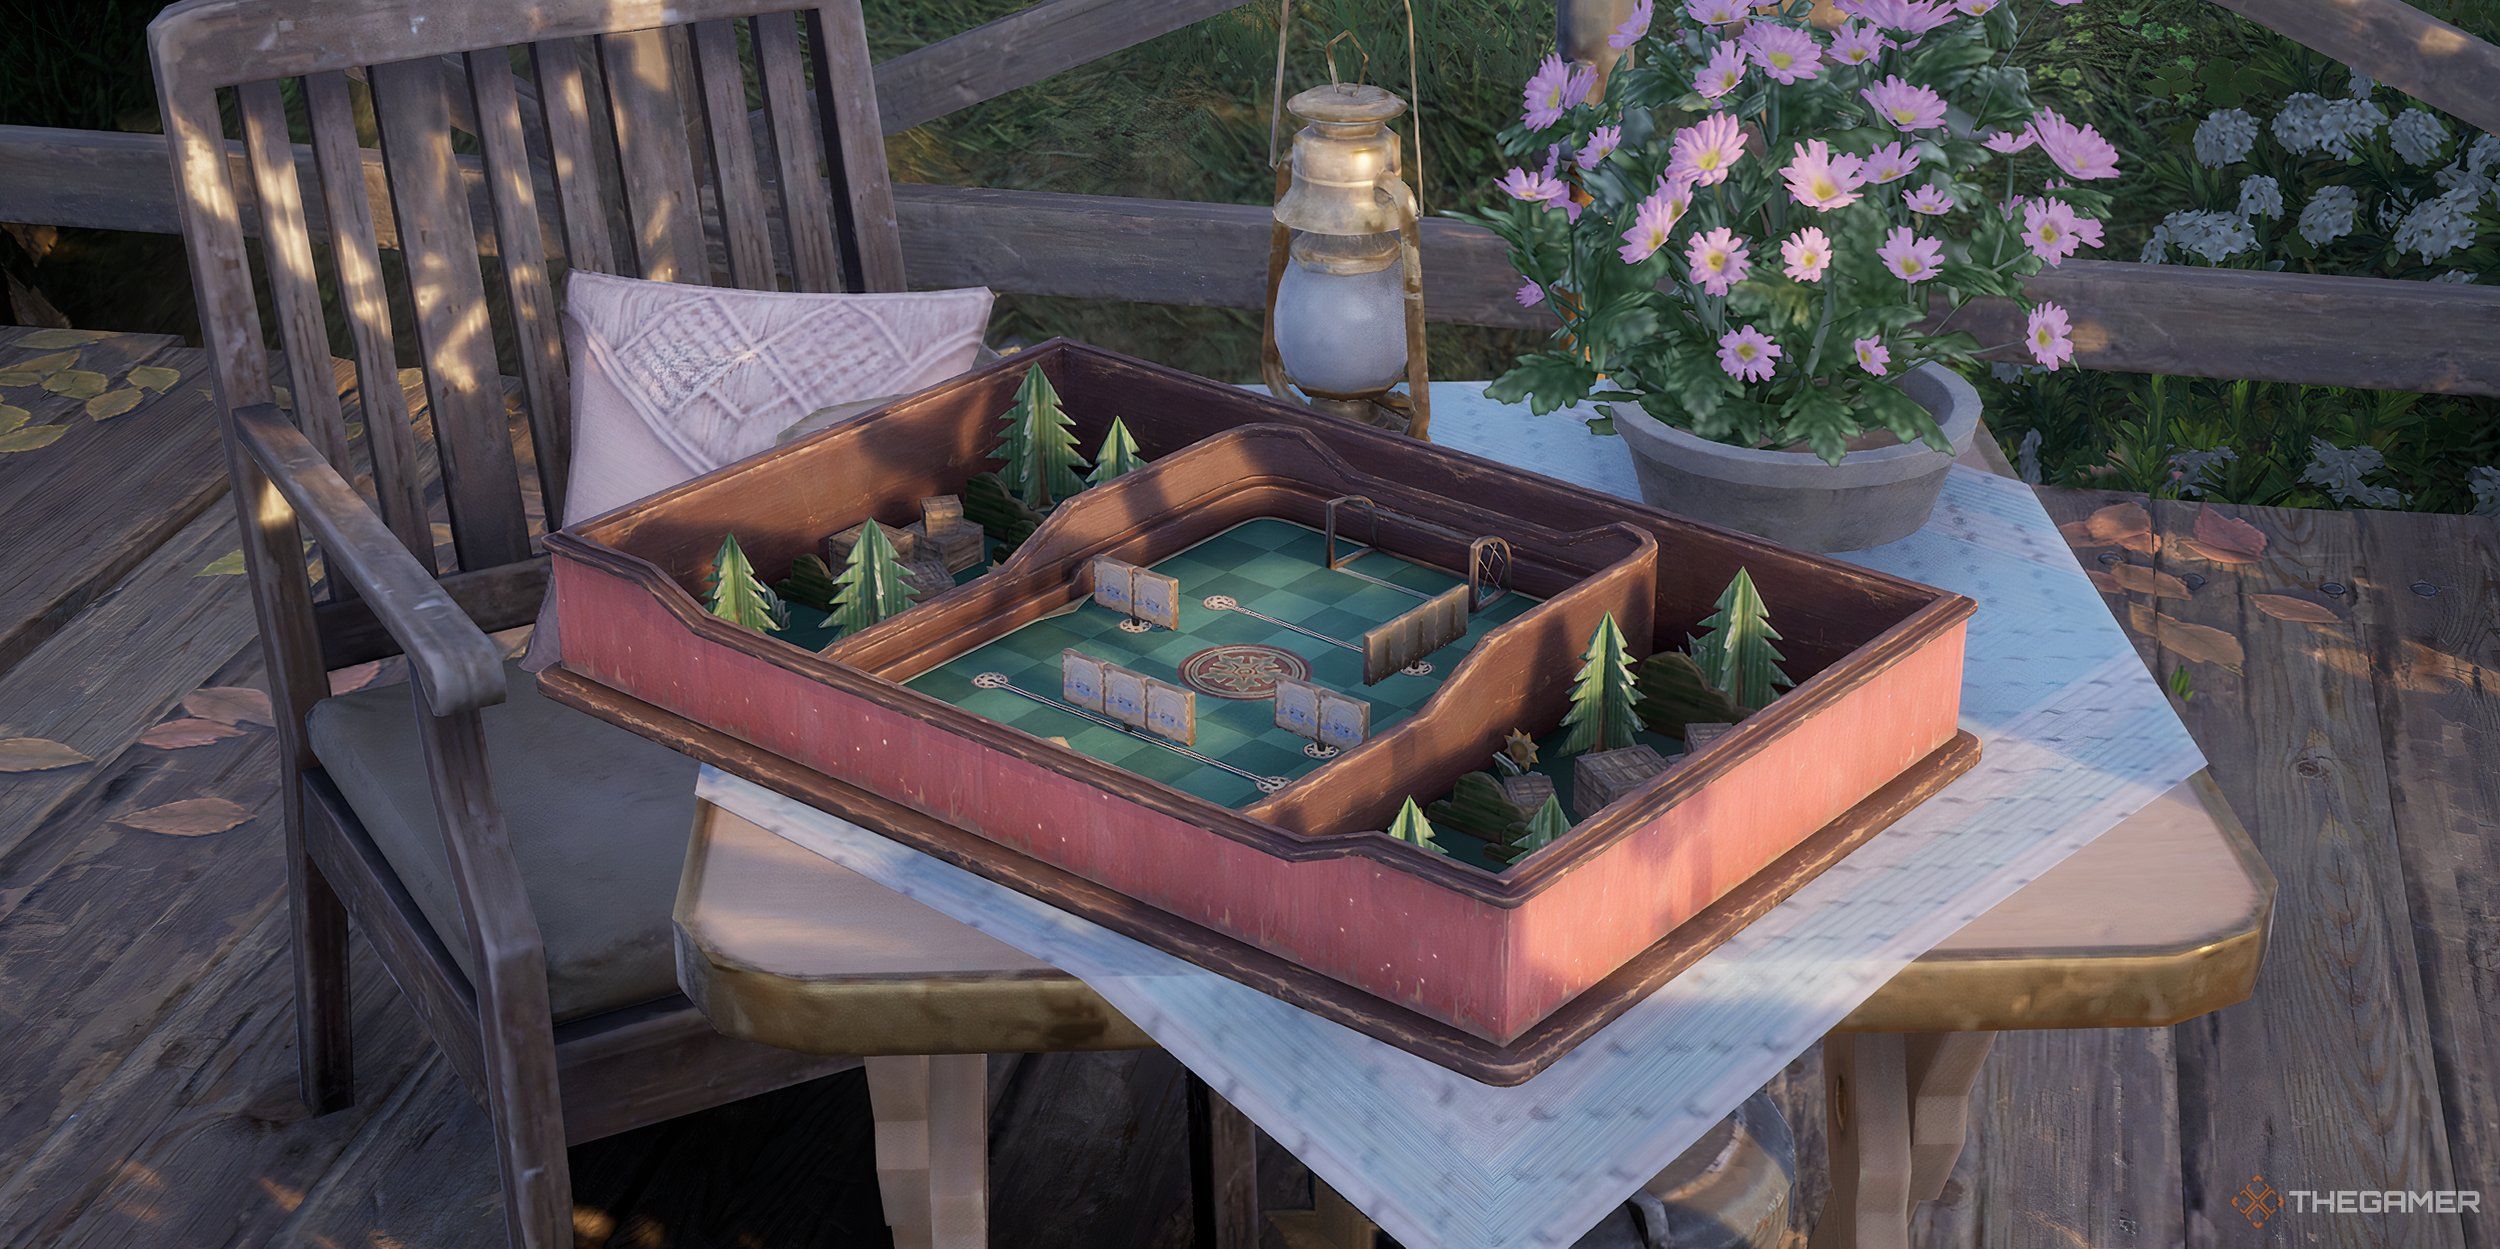
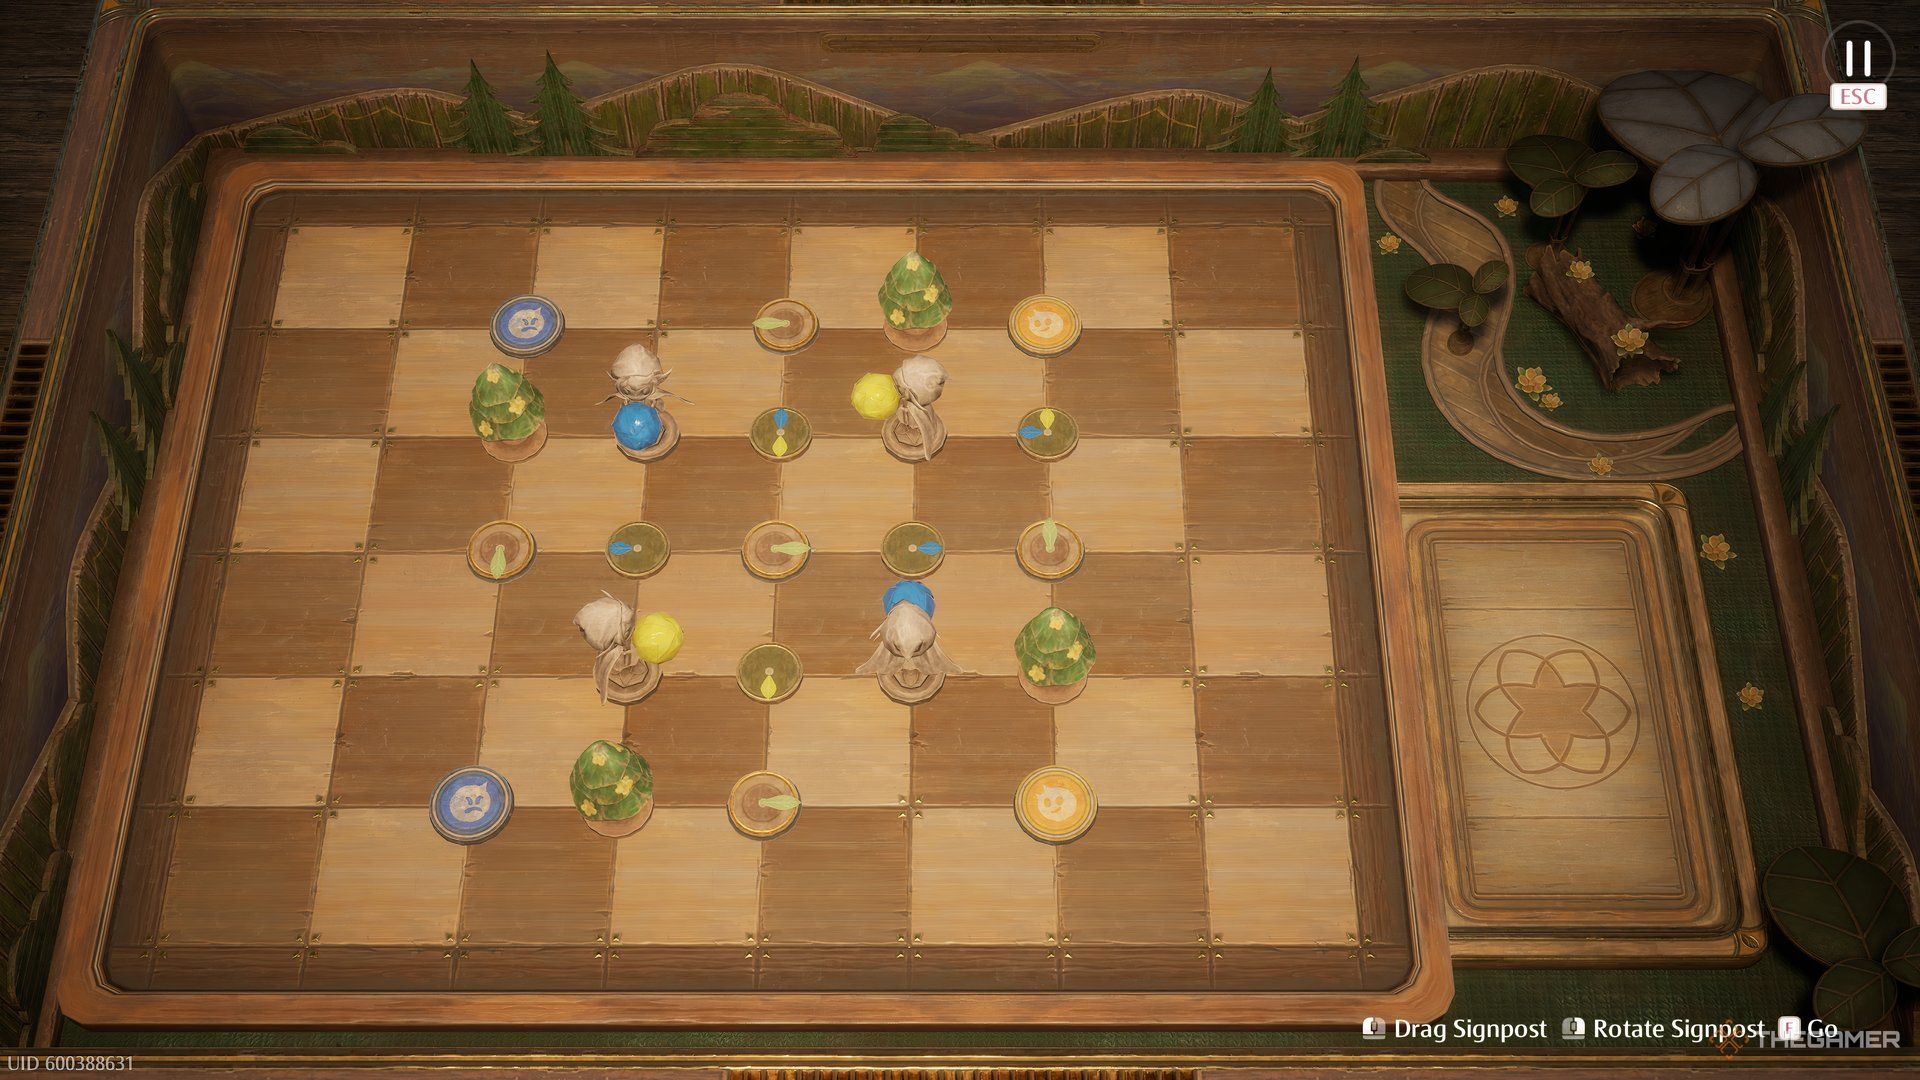
In the Wishing Orb Express box games, you’ll have to guide the Faewish Sprites to the corresponding colored tiles on the board. You’ll use tokens with arrows that direct their movements, though you want to avoid the sprites running into each other or obstacles on the map.
You can try as many times as you’d like, and the tokens can be repositioned and rotated to reach your goal.
Some puzzles are much easier than others, but each has a solution that gets the sprites to their destination. Below, you’ll find every box game location in the Wishing Woods and the solutions to each so you can complete your folklore guide.
Every Wishing Orb Express Box Game Location
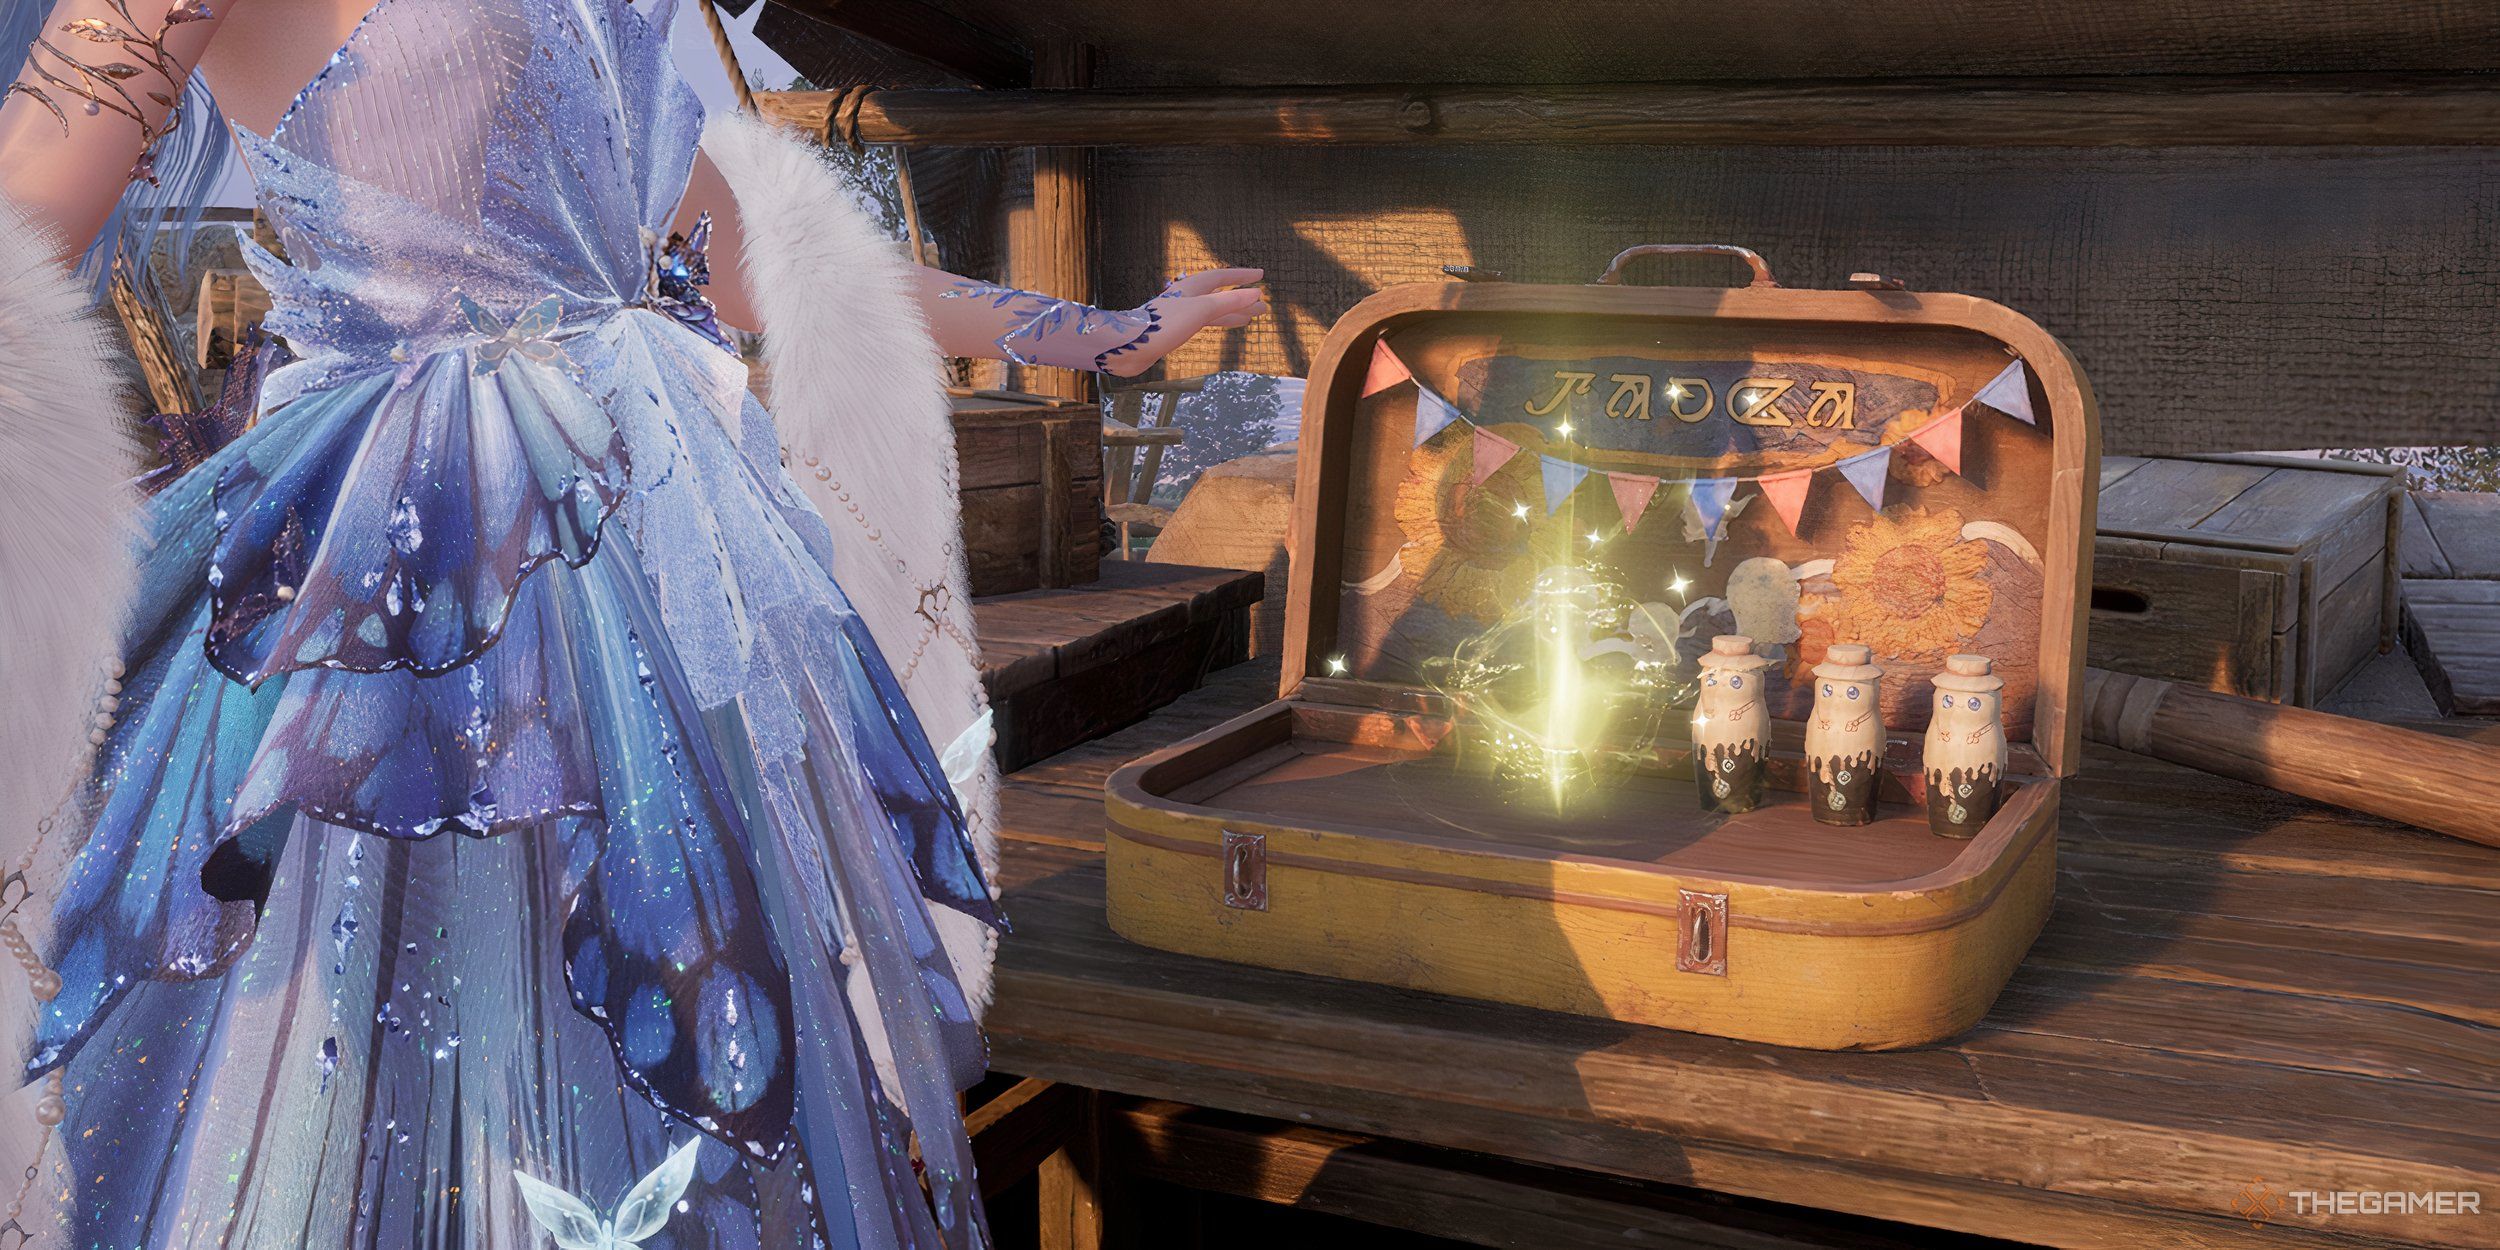
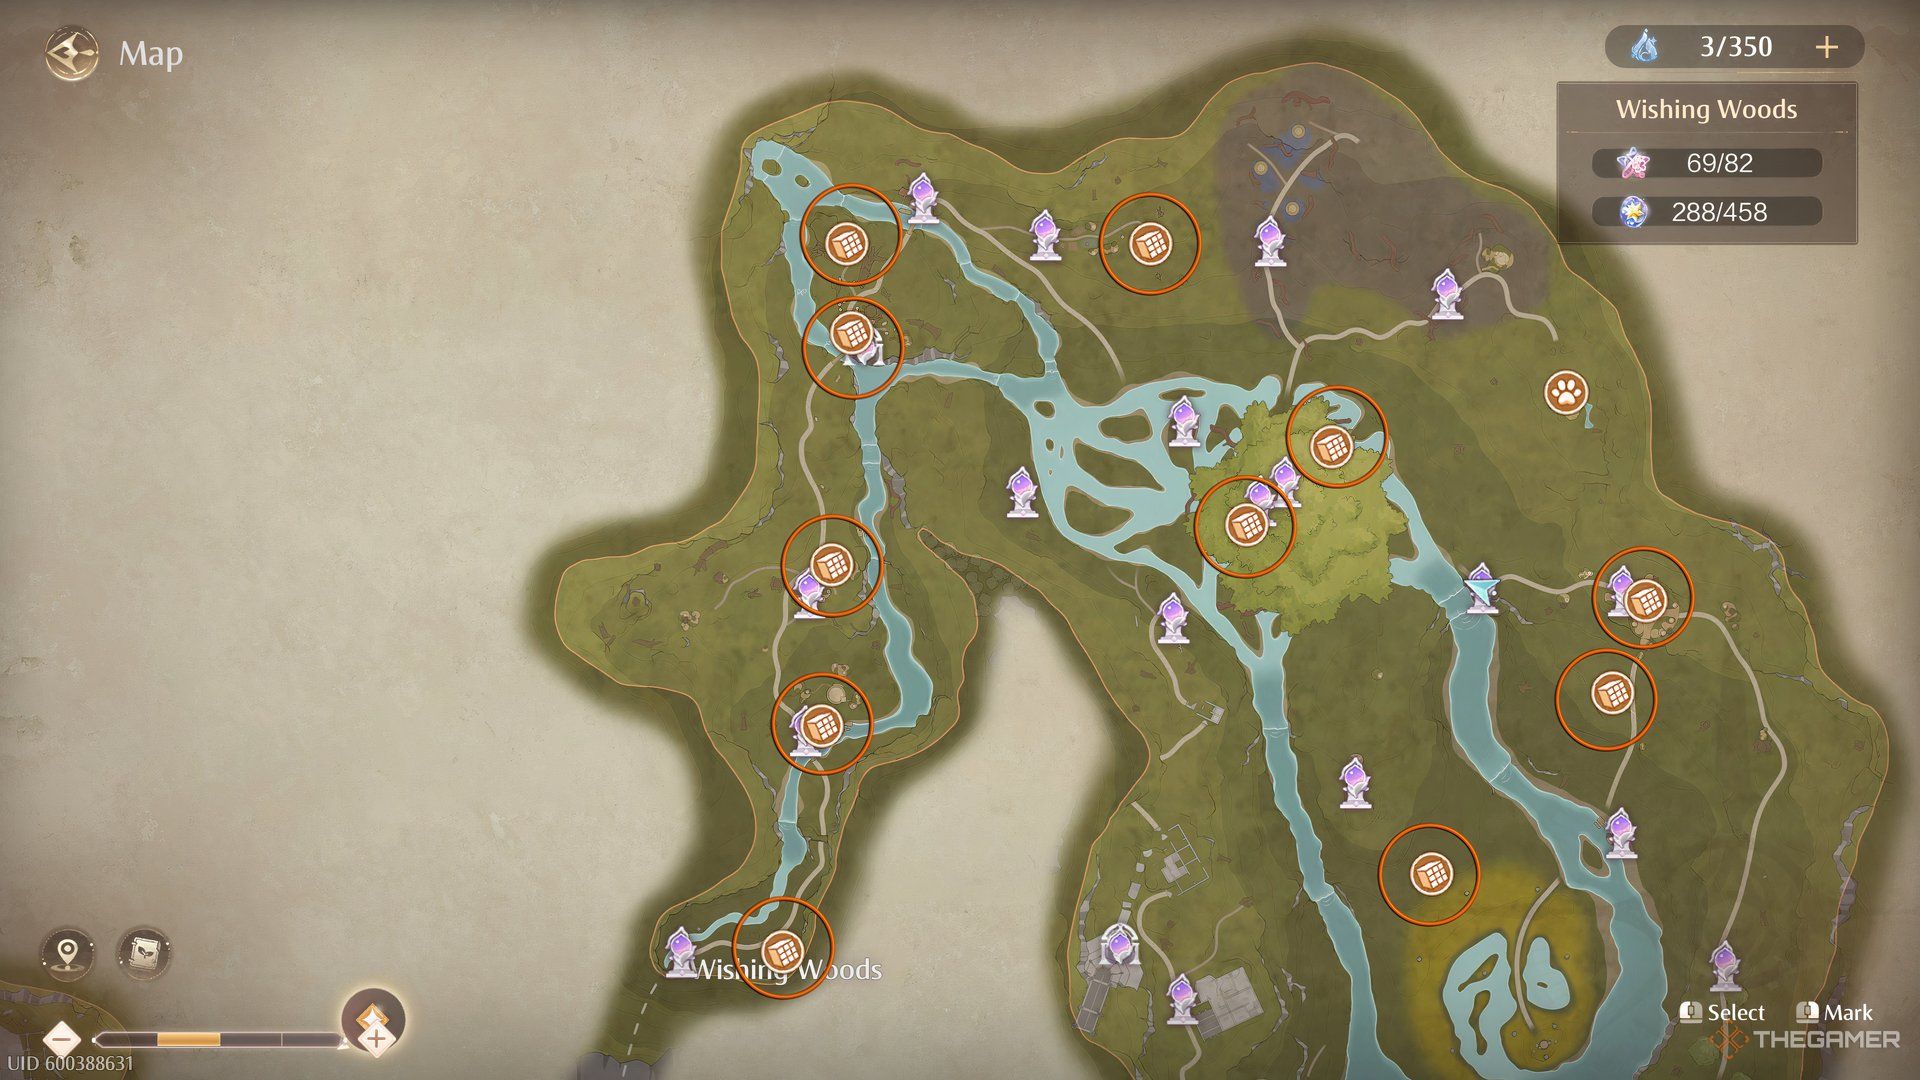
There are 11 Wishing Orb Express box games in the Wishing Woods. Any you haven’t completed yet will have a golden glow to them, so keep your eyes peeled as you explore! Below are the locations of each box and how to reach them.
Below are all the individual puzzle solutions so you can solve them and claim your rewards!
Wish Pass Office Puzzle Solution
For this puzzle, you have to get the yellow Faewish Sprite to the smiling token on the right. Using the two arrow tokens on the side, place one in front of the sprite facing down, and the other a couple spaces below it pointing to the right.
When you’re ready, start the game and let the Faewish Sprite follow the path to its destination.
Wish Inspection Center Puzzle Solution
For the next puzzle, you’ll have to think outside the box. At first, you’ll likely want to navigate through the trees to reach the goal, but with the tokens you have at your disposal, that’s just not possible.
Instead, place a token pointing left directly in front of the Faewish Sprite. One space from the end of the board, place another token facing down. Line up the final token with the goal, then place it in the intersecting spot between it and the previous token.
Wishcraft Lab Nature Department Puzzle Solution
For this Wishing Orb Express puzzle, there’s already an arrow token on the board. It’s immovable, but you can use it to your advantage. Place an arrow facing down two spaces above the immobile token, then place another token in the same direct two spaces to the left.
After making this backwards ‘L’ shape, allow the Faewish Sprite to carry the orb to the destination.
Beauty Lab Entrance Puzzle Solution
For this puzzle, you need to move two yellow Faewish Sprites, though one of them already has a mapped path with immovable tokens. You’ll need to work around them to get the other sprite to the goal.
Place an arrow facing down to the space directly above and to the left of the sprite to the east, then another arrow right above the trees pointing left. Next to it, place your final arrow facing down towards the goal.
Beauty Lab Market Area Puzzle Solution
The next puzzle has three sprites, two of which are blue. To guide them all to their respective goals, you’ll need to use your tokens carefully. Two spaces to the right of the yellow sprite, place a standard arrow facing down.
Three spaces further, place the other standard arrow pointing to the left, directly in the path of the bottom-most sprite. For the L-shaped arrow, place it directly beneath the arrow pointing down. Align the colors so the yellow arrow points towards the yellow goal, and the blue arrow points towards the blue goal.
Timis’s Farm Puzzle Solution
The next puzzle features three sprites in a square. You need to place the tokens in a way to divert them towards the center. Use the L-shaped arrows to guide them, placing the yellow arrows on the left and right of the square–with the blue arrows continuing to follow the square’s pattern.
To get the blue sprite to reach its goal, place it in the bottom center tile between the blue and yellow sprites. Have the blue arrow point upwards, then set the sprites free.
Grande Millewish Tree Residential Area Puzzle Solution
This puzzle has a simple solution, as both Faewish Sprites will move towards the center at the same pace. Using the four arrows you have, redirect either of them by creating a square so that one sprite is delayed from reaching the center.
Temple Of Wishes Puzzle Solution
For this puzzle, you’ll need to guide the sprites in intersecting lines. Place a blue arrow pointing up directly in front of the blue sprite, and a standard arrow directly in front of the top yellow sprite, pointing right.
Leave the center row alone!
Use the L-shaped arrow to guide the blue sprite to the goal while directing the yellow sprite downwards. Using your last double-sided arrow, direct the yellow sprite to the right.
Wish Celebration Center Central Platform Puzzle Solution
Guiding the sprites around the tree in the center is tricky, but it can be done. Place the L-shaped arrow next to the blue goal, with the yellow arrow pointing down. Then, place the double-sided arrow next to the blue sprite on the right.
With the remaining blue arrows, direct the blue sprite up to the top row where the blue goal is. This will get each sprite to the necessary point for you to claim your rewards!
Wish Celebration Center Puzzle Solution
This puzzle has many immovable tokens on the board, and it will be tricky to place all the other arrows. Directly below the yellow sprite at the top left, place a double-sided arrow with the yellow end pointing right. Two spaces above the sprite, place an L-shaped arrow with the blue end pointing down.
Five spaces to the right, use a blue arrow to guide a sprite left.
All the way to the right, one space up from the bottom of the board, place a yellow arrow facing up. Three spaces higher, place an L-shaped arrow with the yellow end pointing left.
Aurosa Valley Management Office Puzzle Solution
For the final puzzle, you have to redirect the sprites outside the inner square. You have five tokens to place, and most of them will fill in the inner spaces.
The only one placed outside is an L-shaped arrow with the yellow end pointing up!
At the top center, place a double-sided arrow with the blue end pointing up. On the left, use a blue arrow to direct the blue sprite to the left. Following that, use a yellow arrow in the bottom center pointing down, then use a single blue arrow facing right above the blue sprite on the right.
Next
Infinity Nikki: Every Among Pieceys Location
They’re hidden in plain sight, but can you find them all?



Leave a Reply