Quick Links
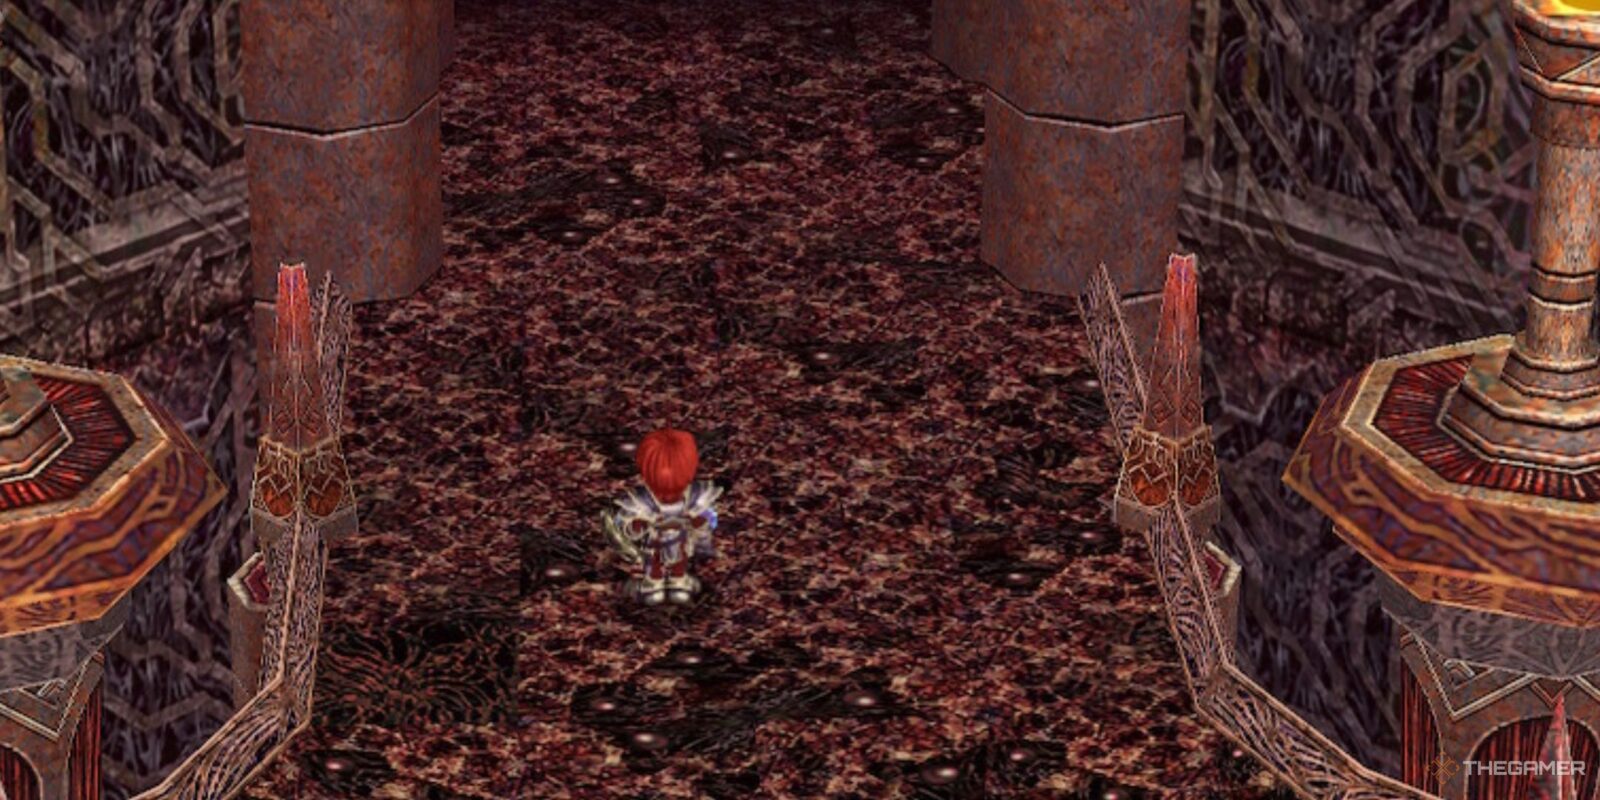
After a relatively short journey and the smaller-than-expected Genos Island, you have finally arrived in the Dark Shrine. This is the holding cell for Galbalan, and the final dungeon in the game. It’s a fun one, even if it’s not the longest, though it is packed with some of the most challenging enemies in the game.
6:38

Related
All Ys Games Listed In Chronological Order
The Ys series remains a popular, but well-kept secret in the JRPG game world. Here’s how every game fits into the series’ timeline.
The Dark Shrine is the best place to get all of your grinding done too, and plenty of the enemies here drop lots of Raval Ore if you’re running a little short. Now let’s get into this and finally get Ys Memoire: The Oath In Felghana completed.
Navigating The Dark Shrine
After defeating Dularn, you can go right into the next room to begin the Dark Shrine. From the offset, it looks incredibly complex, and while it’s definitely winding, it’s more linear than it might seem at first glance.
There are no save points in the Dark Shrine until the very end, so do your best not to die before you reach it. You can always warp out if you need to heal.
After entering, follow the path until you enter a large room with many enemies, mainly Keratros and Doonos. Jump up the platform by the spinning spikes, then immediately jump up to the right, carefully avoiding the spinning spike here. Head up again, and then use the Ventus Bracelet to cross the path over to the left.
Follow this path left and down, which leads to another linear section. Continue down it until you end up in the next room. Double jump over this gap to reach the central platform with spinning spikes and a hole in the ground. You can choose to go south here or drop down through the hole. The goal right now is to reach the Silver Chimes, as most enemies cannot be defeated until they are acquired.
We’re going to take the south path. Hope over the gaps between platforms and head to the next area, a linear section. Follow it to the end and you’ll end up in a room that splits between left and right. Take the right path, which brings you to a chest holding the Silver Chimes. Equip them immediately.
You can now take the left path to leave, which leads to another linear section, which then leads to the area that you would have reached if you fell down the hole earlier. Travel south here and take the exit to the right, leading to yet another linear section. This takes us to a large room. Jump up the platform on the right, and double jump to the left over the spinning spikes when it’s lowered.
Keep climbing until you reach another spinning spikes, jumping under this one when it’s at its highest. Do the same with the next platforming section. When standing on the pillar, use the Ventus Bracelet to reach the next high pillar rather than jumping to the lower one first. Finally, use double jump and the Ventus Bracelet when the next spinning spike is at its lowest to reach the final platform, then continue following this path to the left into the next linear section.
This next large area is a bit intense, filled with Levynades and Machvariese so try to take them out first before performing any platforming.
Double Boost is great here, with the activation blast taking out many of the weaker enemies immediately.
Like in the last area, climb up the platform and then cross to the right by jumping under the spinning spike when it’s at its highest. Continue the climb up until you come across two spinning spikes on the wall. This jump is a bit complicated since the spikes move at different rates, though double jump under them is the safest bet. Have the Ventus Bracelet charged in case you need a bit of extra distance.
If that jump is proving difficult, you can also use double jump to move around the upper area instead to reach the next platform with the hole.
Drop down from the higher platform and you’ll see a small hole in the ground. This is the only path forward, so drop into it. Follow the path to another linear section filled with Levynades. You can either avoid them or fight them, though make sure to use Boost if you do fight to make short work of them.
This will, finally, lead to a large spiral staircase downwards. At the very end is the only save point in all of the Dark Shrine. In the door beyond that is a boss battle against Bishop Garland, and then Galbalan after that. Having reached this save point, feel free to run back through the dungeon to pick up any items you missed, and return to Redmont to upgrade your items with all that Raval Ore.
Every Optional Item
Being the final dungeon of the game, you can expect some powerful gear awaiting you here. You can freely leave the Dark Shrine to upgrade all your gear whenever you want too, so don’t be afraid to put your newfound items to use immediately. Here’s where to find them all:
|
Item |
Location |
|---|---|
|
Emerald |
After crossing to the left with Ventus Bracelet in the first large room, drop down to find the chest in a small alcove. |
|
Raval Ore x750 |
Immediately after crossing the platform with the Ventus Bracelet, find this in a chest between spinning spikes. |
|
Raval Ore x640 |
In the areas with many holes in the ground and spinning spikes, find this on an isolated platform to the south-west. |
|
Silver Chimes |
After following the path all the way to the right, take the right path in this room to find it in a red-and-gold chest. |
|
Lotus Hammer |
After following the path left after the Silver Chimes, or following down the floor above with many holes, find this in a chest to the south. |
|
Topaz |
In the large room with Levynades, reach it by navigating the spinning spikes on the wall to the lower platform. |
|
Raval Ore x720 |
In the next large room with Levynades and Machvariese, travel to the left and up the platform to find this in a chest by a spinning spike. |
|
Raval Ore x960 |
Further along in the same room, travel upwards until you pass spinning spikes on the wall. The chest will be on this platform. |
|
Raval Armor |
In the room with holes in the ground, drop down the hole in between the spinning spikes. Navigate the platforms carefully in the floor below to reach the chest. |
All of these items are incredibly helpful right now, but the Silver Chimes are what you should aim for first. Without this accessory, you can’t defeat most of the enemies here, nor will they drop items or EXP until then either. An alternative path to reaching it is, after dropping down from the floor above, you can double jump up the ledge in the top-right of the area, leading directly to the room with the Silver Chimes.
Following this, the Lotus Hammer and Raval Armor are what you should aim for. The latter is the strongest armor in the game, while the former will allow Adonis back in Redmont to create the Raval Shield, the strongest shield in the game..


Leave a Reply