Control has a wide range of abilities for players to make use of. These abilities can be upgraded to behave in new and exciting ways. It is worth noting that in order to access every hidden location in the game, players will need to have unlocked the Levitate ability.
The Evade ability is another ability players will want to get, which first requires completing a specific side quest. There are 19 of these hidden locations scattered throughout the game. Control may not have a compass, but the game world is riddled with signs that point you in the direction of the different named areas. Players will need to find all of these locations to have enough ability points if they plan on achievement/trophy hunting in the base game.
9:17

Related
What is the Federal Bureau of Control – Alan Wake and Control – Bite-Size Lore
With Control and Alan Wake 2 building on the Remedy Connected Universe, the Federal Bureau of Control is a reappearing agency that binds these games.
How to Find All Hidden Locations in Control
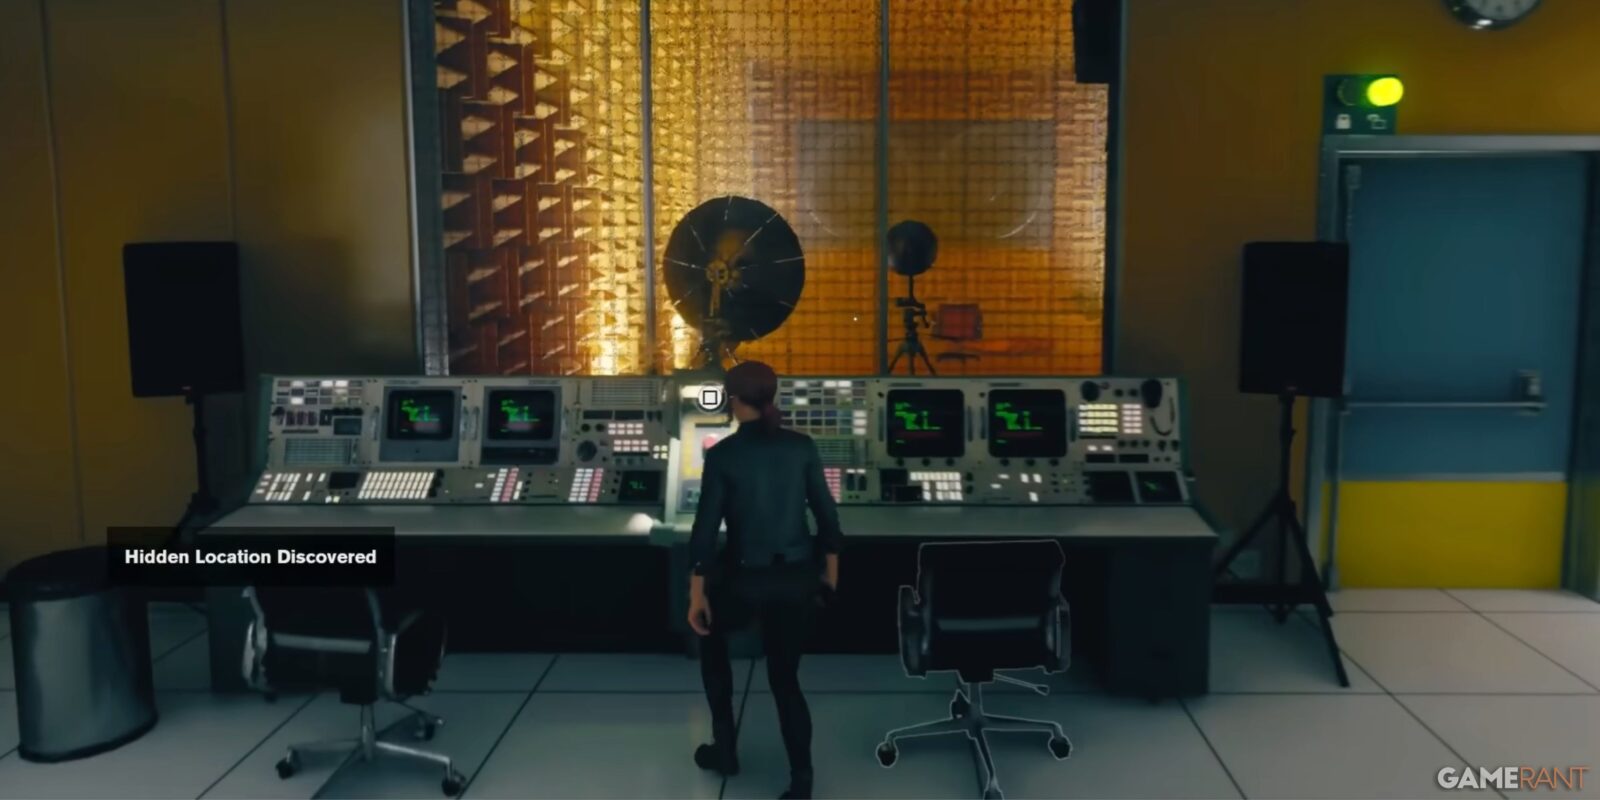
There are numerous sectors in the game, each with different named areas on the map. Players can obtain all hidden locations in any order they wish. These locations have been grouped into their various Sectors. Each time you enter one of these areas, you will see a prompt saying you have found a hidden location, earning an ability point in the process.
Executive Hidden Locations
There are 3 hidden locations in Executive. You will need to be able to deal with mold-covered rooms, which will come with progressing through the game. Fast travel to the control point in the Mail Room control point. Once you regain control of Jess, turn right and take the corridor north. This will lead you to a flight of stairs. Head all the way to the top and then head straight to find an office covered in mold. This is the first hidden location you will discover.
Turn around and head back in the direction you came. Stick close to the left wall, and you will pass through 2 large doors. There will be 9 cubicles inside. Levitate up to the top of the cubicle in front of you when you enter the room. Then levitate over to the adjacent cubicle with 2 orange wires coming from it.
Fast Travel to Central Executive. At the control point, you will need to upgrade your abilities if you do not yet have the Ground Slam upgrade. Ground Slam is one of many brilliant early game skills to get. Once you have Ground Slam, turn to face the boardroom. On the right side will be a staircase going up along the wall. Follow the signs to Executive Affairs. Once you enter Executive Affairs, you will find a large monolith in the middle of the room. Levitate up and then Ground Slam the top of the monolith. This concludes the hidden locations within the Executive Sector. Players collecting these hidden locations as part of their clean-up of the game can really admire just how unique Control’s world setting is.
Maintenance Hidden Locations
Fast travel to the Ventilation control point. You will see a sign with Ventilation and an arrow next to it pointing you in the direction. Head to the far end to see a sign that says Janitor’s Office. At this sign, make a right turn, and you will come to a room with a large hole in the top. Levitate up into this hole to discover the hidden location. Make your way through this hidden location and then backtrack to the Janitor’s Office.
Leave this office through the door to the left, and follow the path until you come to a fork within the pipes. Take a left turn, followed by a right turn. Take the next left and then levitate along the wall of the large open room with no floor. You will find the hidden location and a door you can use to backtrack to the initial control point in Ventilation.
Once you are back at the control point, head to the NSC Control Room — just follow the signs and arrows. You will arrive in the Access Corridor. Levitate up and through the door frame with pipes heading into it. When you come to the room with the large generator, Levitate up to the top of the pipes to find the hidden location.
Fast travel to the NSC Power Plant control point. Use Levitate to reach the very top of the high tower in this room. There are plenty of platforms and pipes to use. Just watch out for the Hiss that may be lurking on these platforms. Once you get the ability point, head back down to the control point and fast travel to the Quarry Entrance control point.
You will need clearance level 5 for this next location. From the Quarry Entrance control point, head into the Black Rock Quarry. As you enter, turn and look up and to the left to see light coming from a passage. Use Ground Slam to get up to this passage. Follow this passage to the opposite end to find a door that requires clearance level 5. Head straight to the far room, then ascend to the top area into some ventilation pipes. Follow these pipes to the hidden location.
Fast Travel back to the Quarry Entrance, then enter the Black Rock Quarry again. Take the first left you come to, and you will find a wall of square blocks. Use an exploding canister to blow open this wall. Head through it, and then follow the stairway to the bottom. This completes the 6 hidden locations for the Maintenance Sector.
The enemies in Black Rock Quarry will be immortal if you have progressed to the end of it once before. Be sure to have upgraded your service weapon to deal enough damage to keep them all at bay. Do not find yourself surrounded.
Research Hidden Locations
Fast travel to the Active Threshold control point in the Research Sector. Turn around and head to the wall. Look up, and you will see a gap in the wall. Levitate up to this point and you will find the hidden location. Drop back down and head through the large opening. Drop down to the floor below and Levitate to reduce the impact. Keep heading straight, and you will find a sign that says “Restrooms” straight ahead. Inside these restrooms will be a hole in the ceiling. Levitate through this hole and into the hidden location.
Fast travel to the Central Research control point. You will be near the doors to Luck and Probability. Head in the opposite direction. You will find a large stone open window you can jump up to. Head to the left cover and then levitate upward to find a balcony. Turn to face the opposite direction, where there will be another balcony on the far side. Jump, Levitate, and Evade your way to this far side. Do the same thing again along the right wall to find another balcony and a door with the number 79 next to it. Go through this door and keep heading straight to find the next hidden location.
Head back to the Central Research control point, and this time, drop down to the ledge on your right. You will find a ledge with glass windows all along it. Land there and smash the windows. Inside there will be a hidden location. Levitate backup and head to the stone window for the first hidden location of this area. Jump over the edge and then levitate onto the balcony underneath. Smash your way through the glass wall and venture into the mold-covered room to discover the next hidden location.
Containment Hidden Locations
Fast travel to the control point in Logistics. Tilt the camera to look up and then slowly pan it left, and you will see a large square hole in the ceiling. Use Levitate to pass through this opening into the hidden area. Drop back down and follow the signs to Security. From here, keep heading straight towards the Panopticon. Once you get to the bridge over the bottomless pit, make your way to the middle and turn around. You will see a secret room to the right of the door you came from. Levitate up to this spot to discover this hidden location.
Jump back to the bridge and run towards the Panopticon Entrance control point. Use this to fast travel to the Upper Panopticon control point. Go to Section 03 and cross the bridge to Floor 4. Go through the door to Fortified Unit 716. Keep heading straight all the way to where the environment twists into a spiral.
Backtrack to the bridge, and you will see a hanging platform to your right. Jump over to it and then Levitate up to the platform above it. Head up the stairs until you are on Floor 5. To the left of the large painted “Floor 5” you will see a broken wall. Levitated and Evade over to this location.
Fast travel to the Transit Corridor control point. Turn around and head towards the large sign that says NYC Subway. Jump onto the platform under this sign, and you will see an opening along the right wall. Hop through this opening until you press up against a glass wall. Break this glass wall to get into the final hidden location.


Leave a Reply