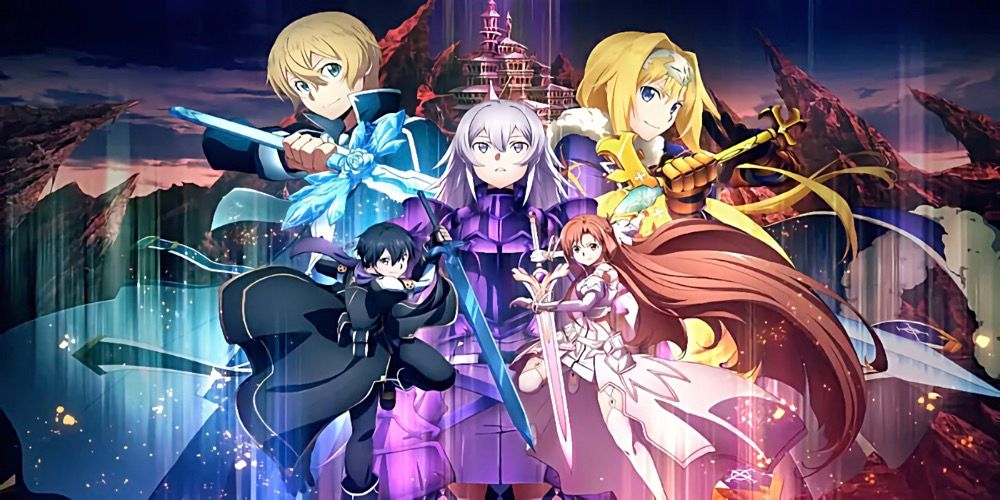
In Sword Art Online: Fractured Daydream, a long and captivating story awaits you. Of course, in most quests, the goal is to defeat monsters and bosses. Additionally, you’ll likely want to complete the quests with the highest score, which means battling Named Enemies and interacting with Consoles.
Related
Sword Art Online: Fractured Daydream – 7 Best Characters
These characters are the best available in Sword Art Online: Fractured Daydream.
Consoles provide you with tasks to complete within a specific time limit. One of these tasks involves destroying targets, requiring speed before the timer runs out. The other type of task involves defeating monsters within a given time frame, which is relatively easier.
All Console Locations In Chapter One
In Chapter One, nine quests await you, mostly taking place in Wind Fairy Grasslands and Dusk Wastes. Since these maps are quite large, finding the consoles won’t be an easy task. The tables below list all the consoles found in the first chapter.
Quest Two: Administrator
|
Map Image |
Location Image |
Description |
|---|---|---|
|
|
|
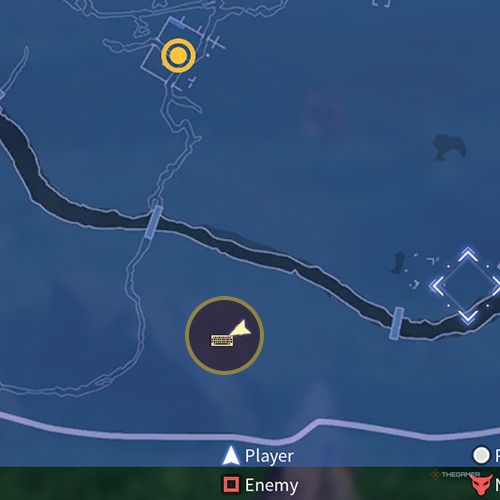
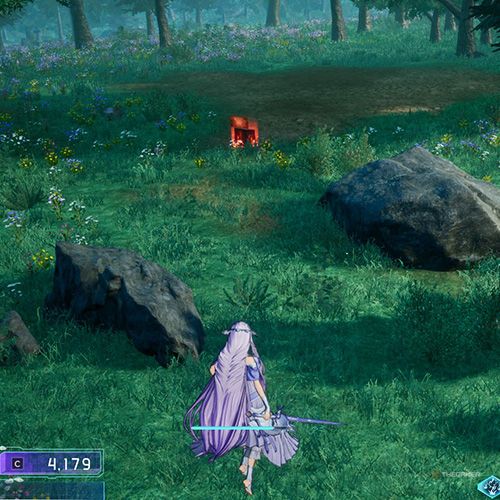
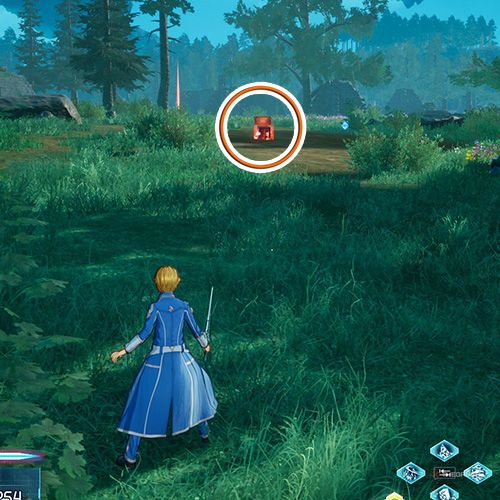
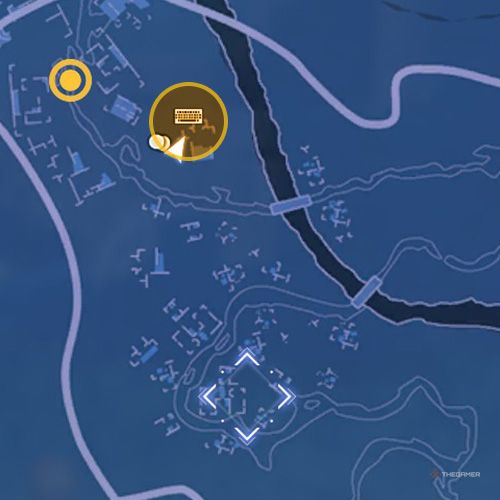
Follow the path leading to the southernmost part of the square-shaped structure depicted in the center of the map. You’ll cross a bridge over a river. After crossing the bridge, leave the path and head southeast. You’ll find this console near two large rocks. |
|
|
|
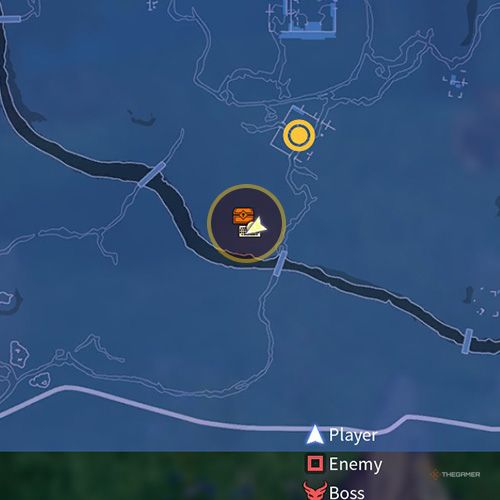
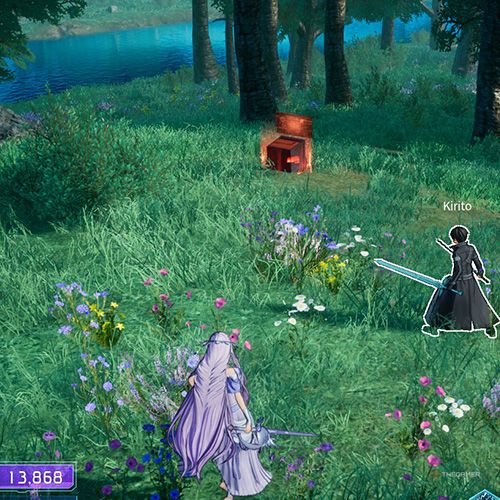
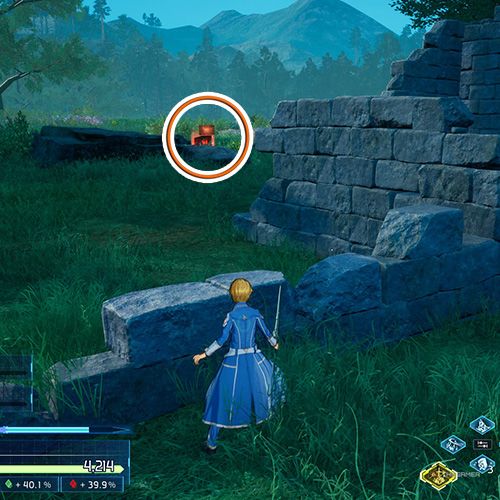
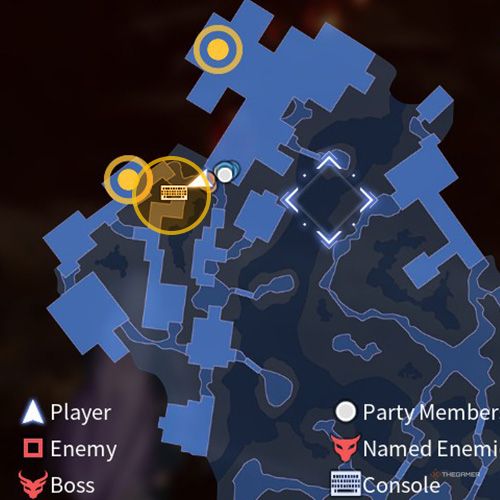
Follow the path leading to the southernmost part of the square-shaped structure depicted in the center of the map until you reach the bridge over the river. Do not cross the bridge. This console is located northwest of the bridge. |
Quest Four: A Familiar Assailant
|
Map Image |
Location Image |
Description |
|---|---|---|
|
|
|
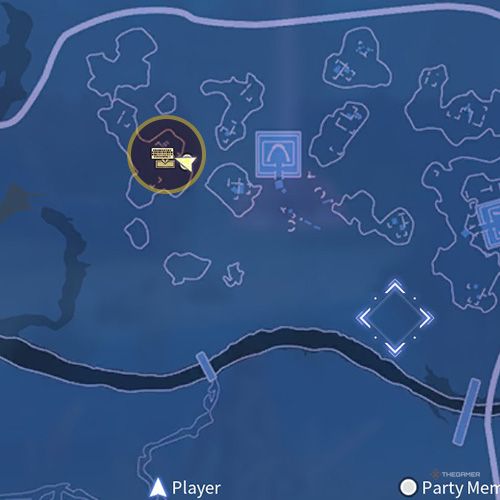
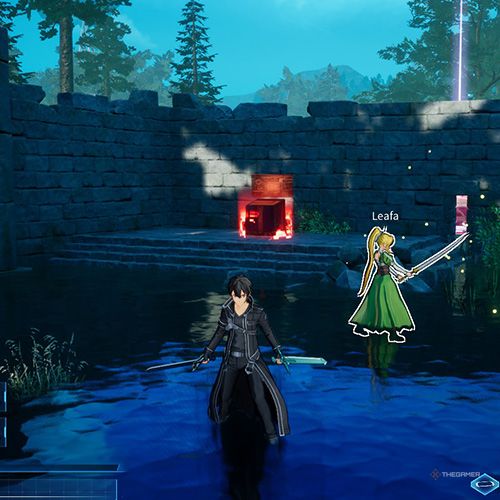
Head west from the temple-like structure where you first spawn. It’s near the ruins in the wetland area. |
|
|
|
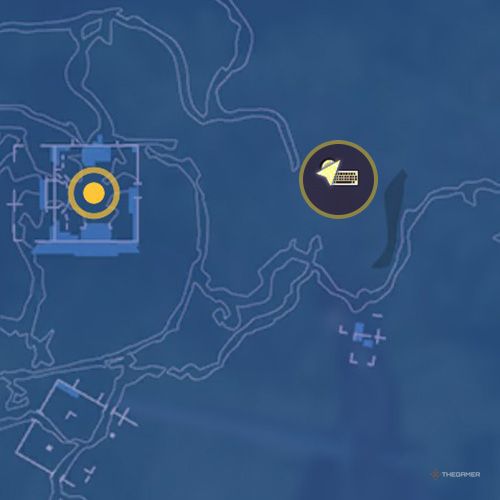
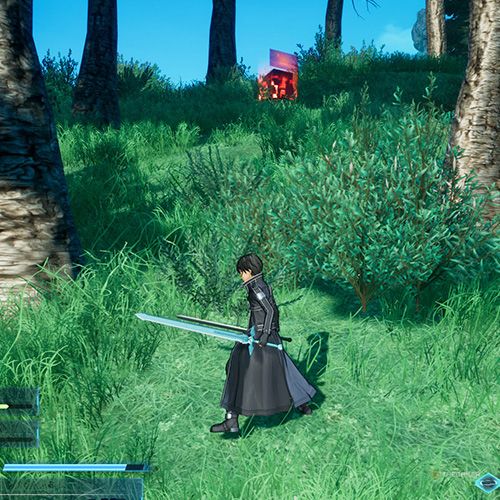
Found on a hill slightly east of the area where the Magma Elemental is located. |
Quest Five: LLENN
|
Map Image |
Location Image |
Description |
|---|---|---|
|
|
|
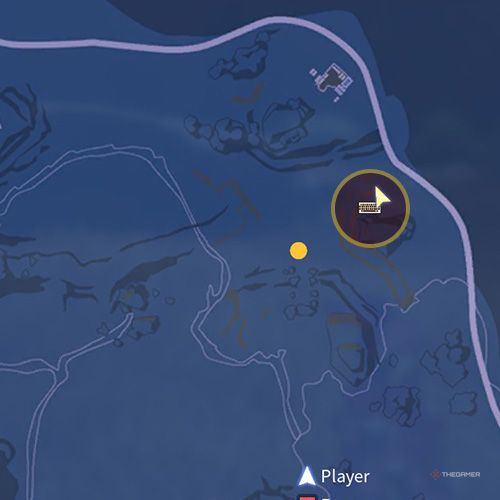
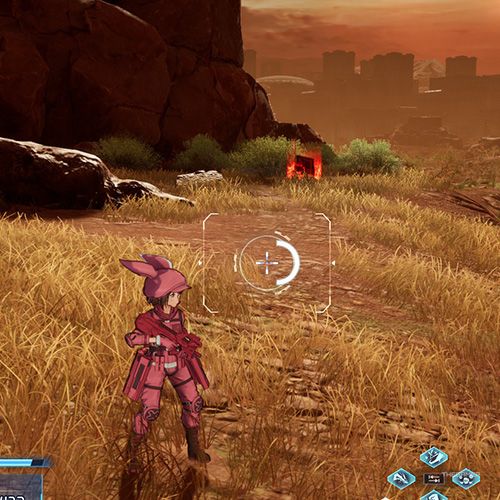
Located at the base of the rocky hill at the northeastern edge of the map. You’ll also find a Remnant and a Data Cell here. |
|
|
|
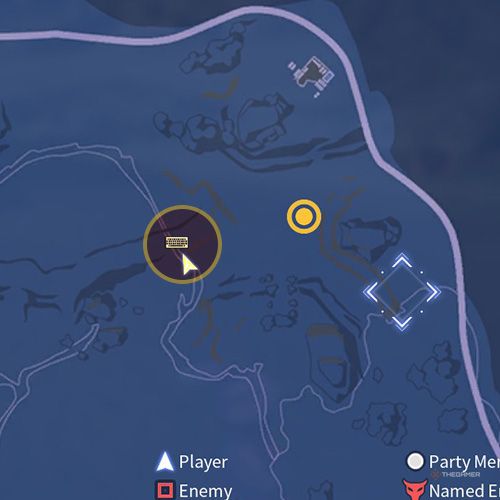
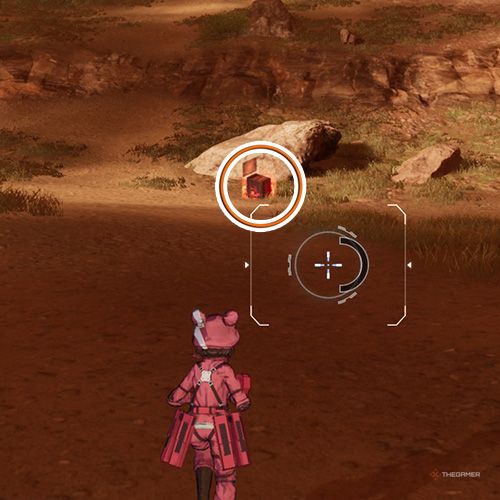
Go to the path far southwest of your starting point. You’ll find this Console on the path. There’s also a Remnant on the branches of a nearby tree. |
Quest Six: Eugeo And LLENN
|
Map Image |
Location Image |
Description |
|---|---|---|
|
|
|
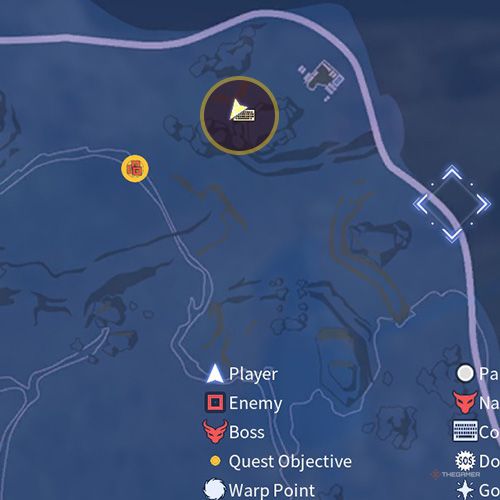
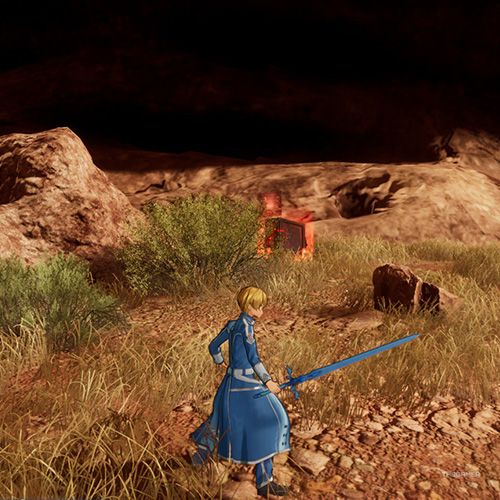
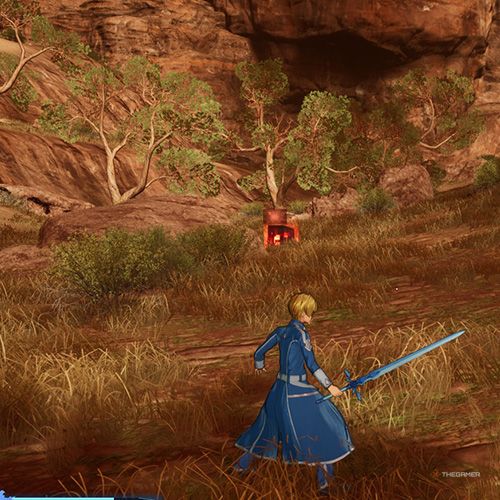
Located near the large hill close to the barrier in the northeastern part of the map. |
|
|
|
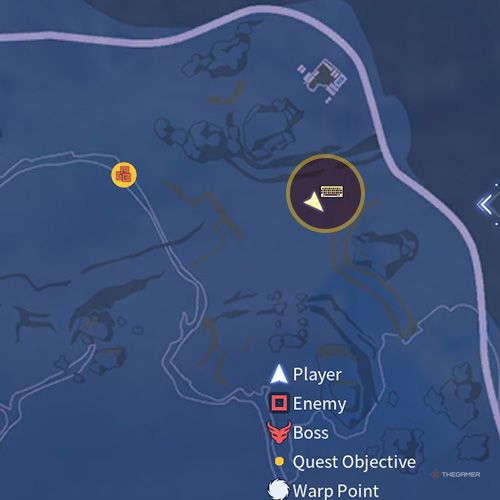
East of the first ‘surrounding enemies’ area. |
Quest Seven: Reinforcements
|
Map Image |
Location Image |
Description |
|---|---|---|
|
|
|
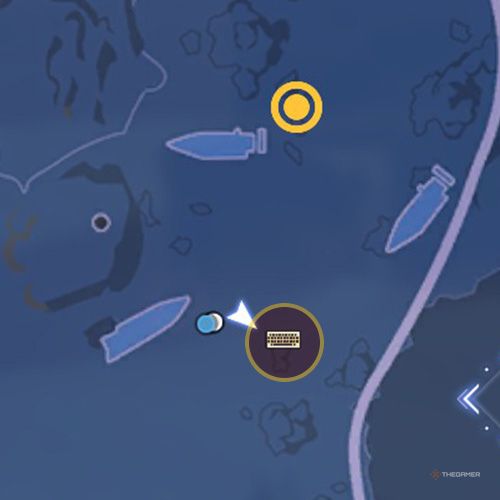
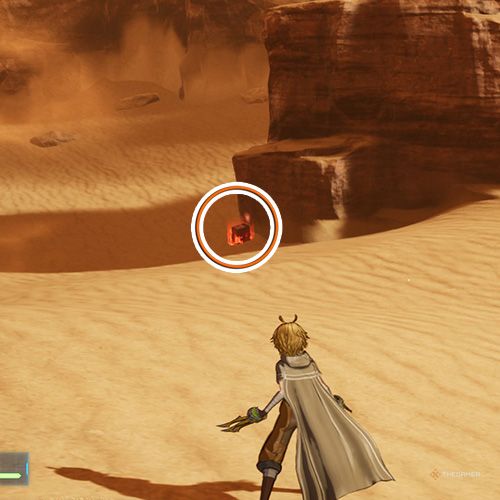
Head east from the southwestern sunken ship. After walking a bit, you’ll see this console in front of the cliff to your right. |
|
|
|
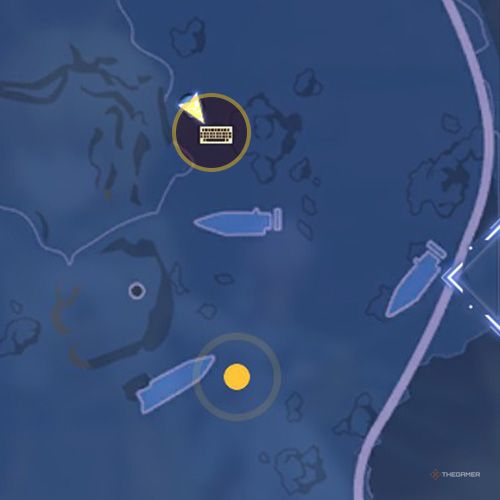
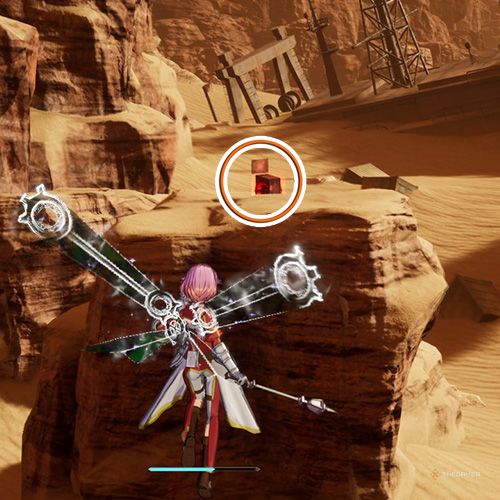
Located on the cliff north of the northernmost sunken ship. You’ll need to fly with Lisbeth to access it. You must hit all the targets on the large cliff nearby within the time limit. Starting from the very top of the cliff will make the task easier. |
Quest Nine: Galaxia’s Door
|
Map Image |
Location Image |
Description |
|---|---|---|
|
|
|
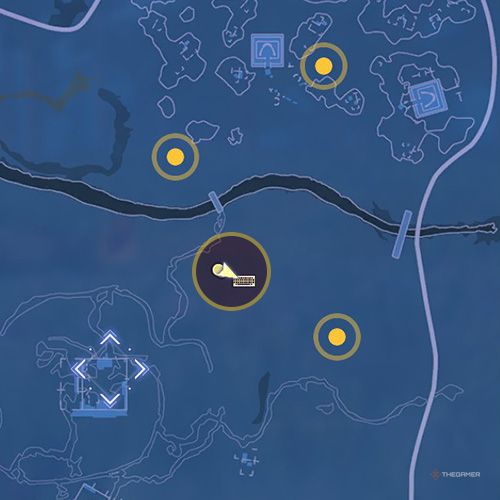
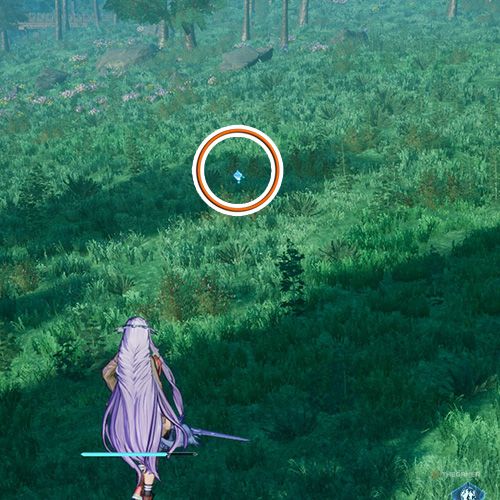
Northwest of the southernmost strong enemy location. |
All Console Locations In Chapter Two
There aren’t many quests in Chapter Two, but some side quests include consoles you need to find. Therefore, it’s in your best interest to play these side quests after completing the chapter’s five main quests.
Quest One: Knights Of The Blood Oath
|
Map Image |
Location Image |
Description |
|---|---|---|
|
|
|
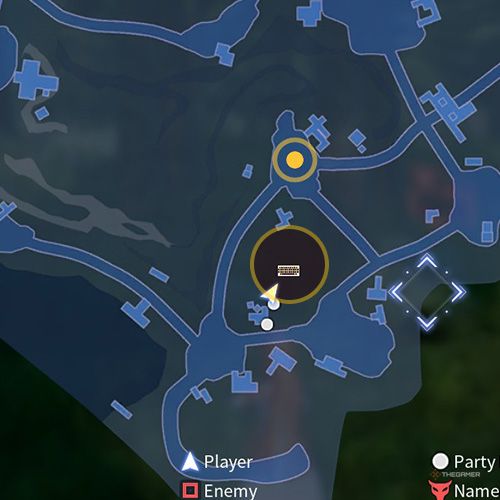
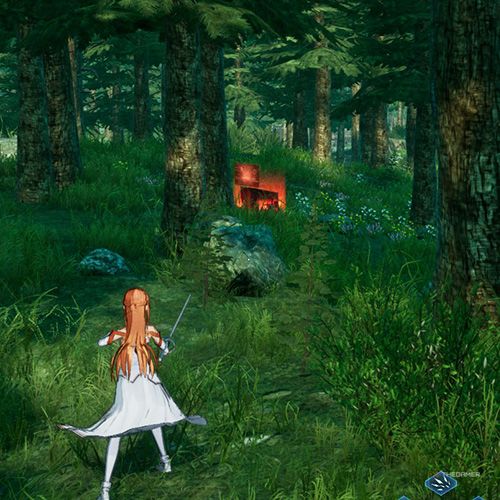
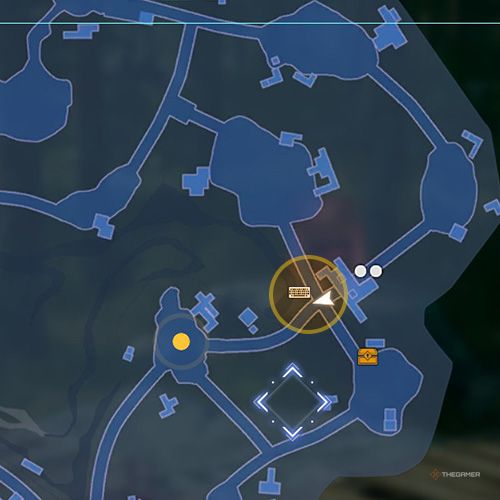
Go from the starting point to the first objective. After fighting the Kobolds, head a little further north, behind the wooden platform with boxes. |
|
|
|
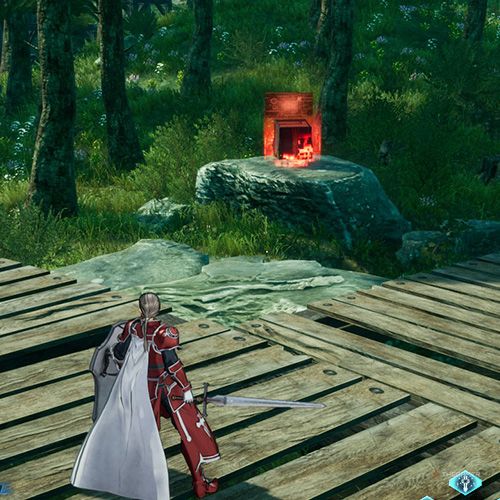
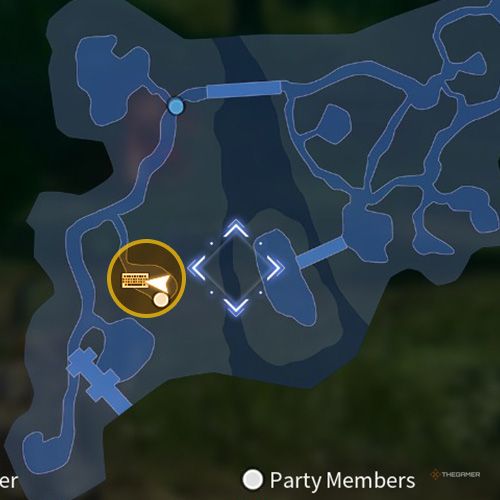
To the southwest of the eastern open area, next to the split wooden path, on a rock. |
Quest Two: Unease
|
Map Image |
Location Image |
Description |
|---|---|---|
|
|
|
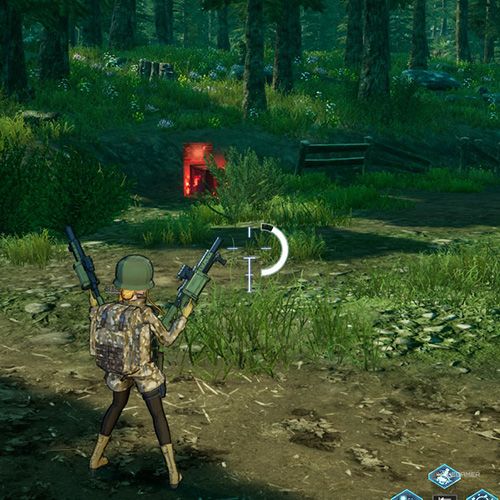
Follow the path from the starting point, then head to the open area to the north of the large columned wall. You will find this console. |
|
|
|
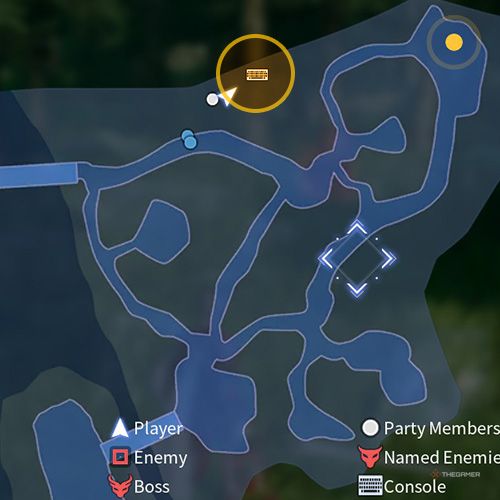
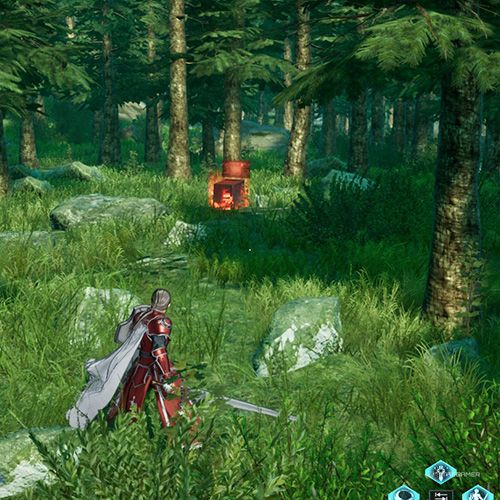
After meeting Asuna and Natulius, head east, cross the bridge. Then, if you proceed east from the northern path of the trail, you will find this console. |
Quest Three: A Hidden Player?
|
Map Image |
Location Image |
Description |
|---|---|---|
|
|
|
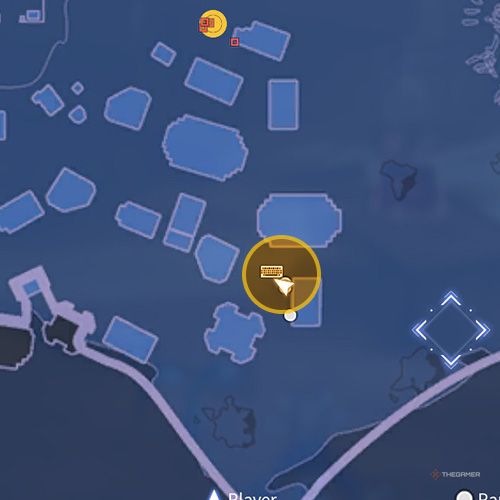
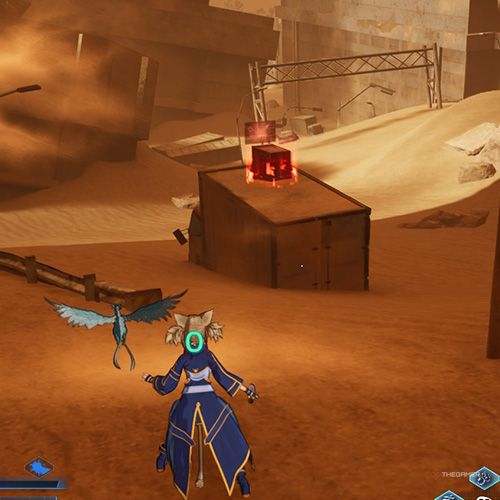
This console can be collected in the desert section where you first started the map. It’s not in the city area. To find it, head to the southeastern area and look for it on a truck buried in the sand. |
|
|
|
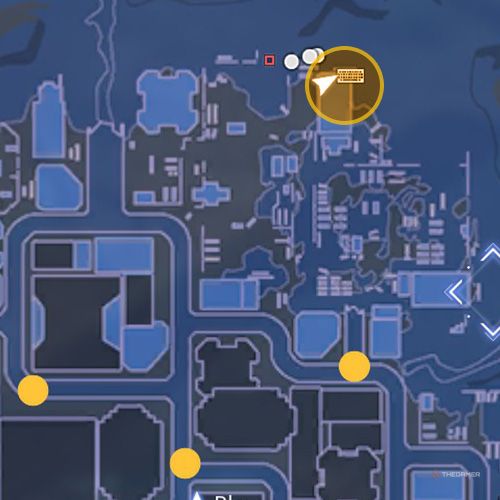
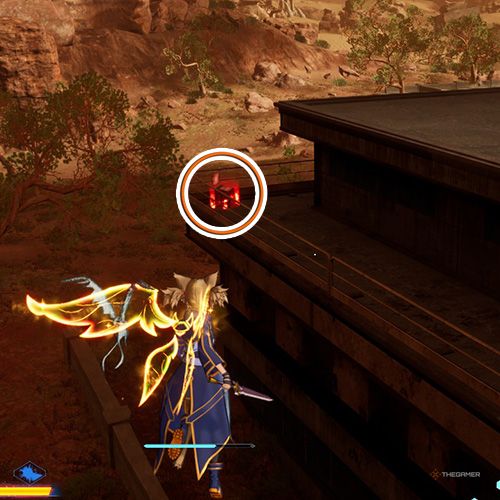
North of the easternmost yellow-marked enemy location shown on your map, on the roof of a low building at the edge of the desert area. |
Quest Five: Cardinal
|
Map Image |
Location Image |
Description |
|---|---|---|
|
|
|
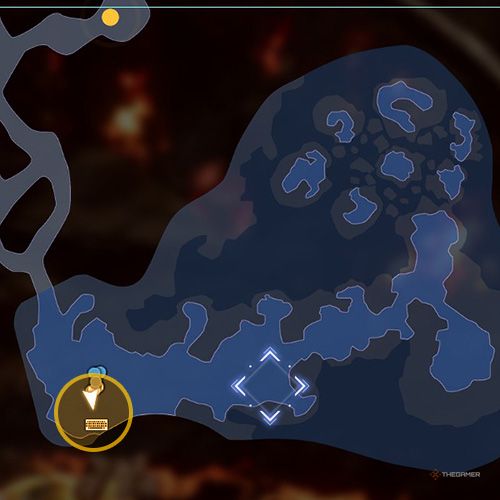
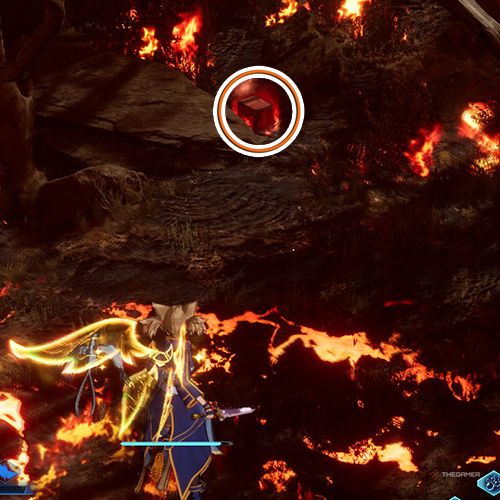
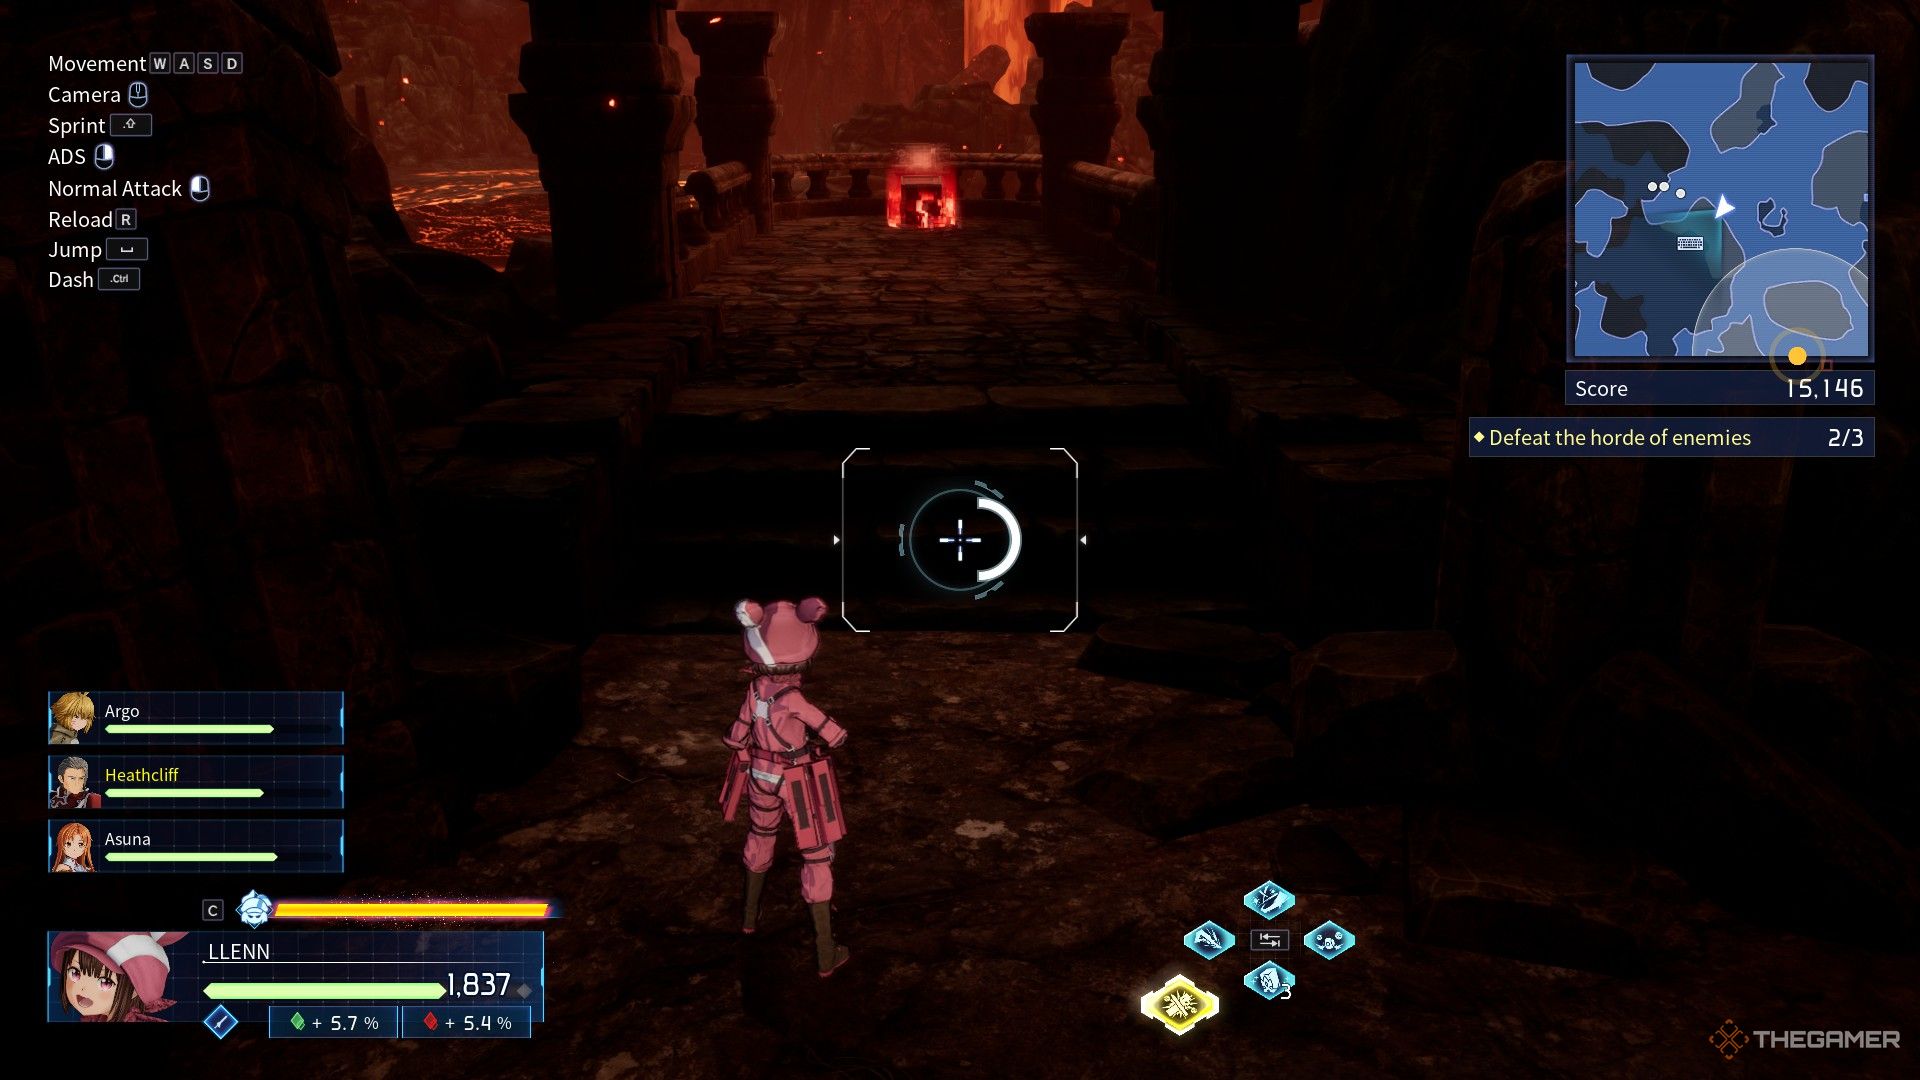
In the lava area south of the starting point, next to a chest. |
|
|
|
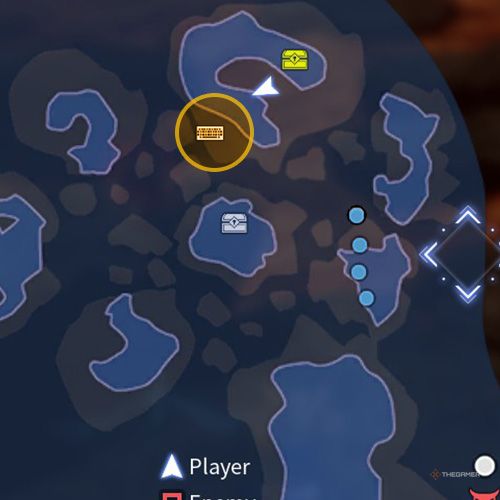
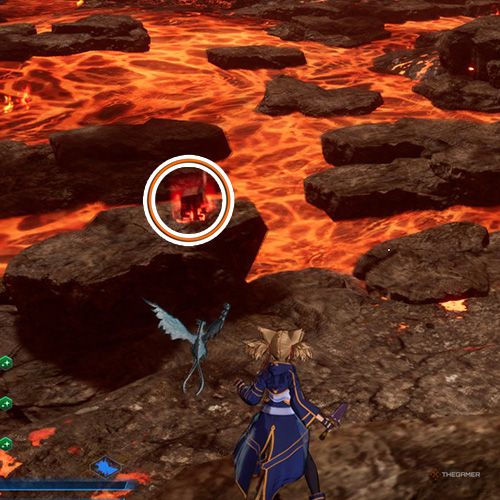
North of the northeastern lava pool. It’s at the base of the rocky hill where the golden chest is located. |
Side Quest One: A Makeshift Alliance
|
Map Image |
Location Image |
Description |
|---|---|---|
|
|
|
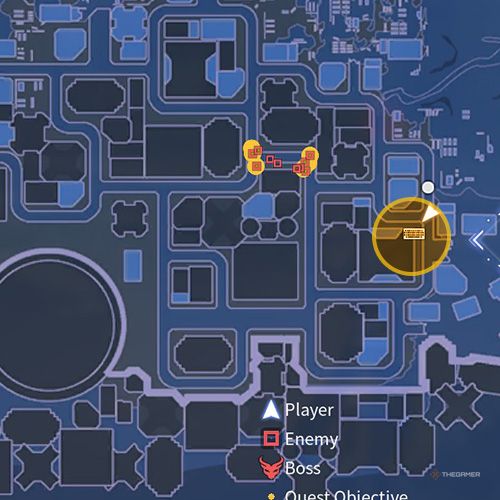
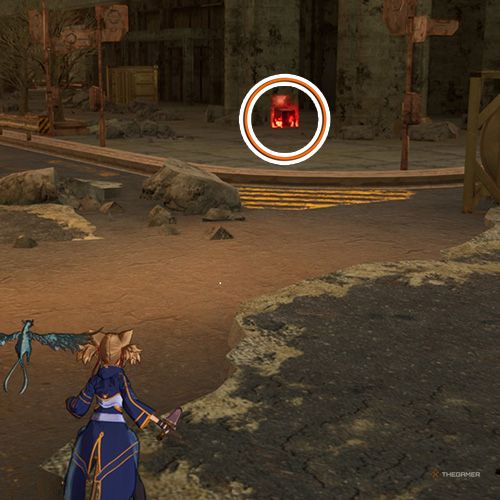
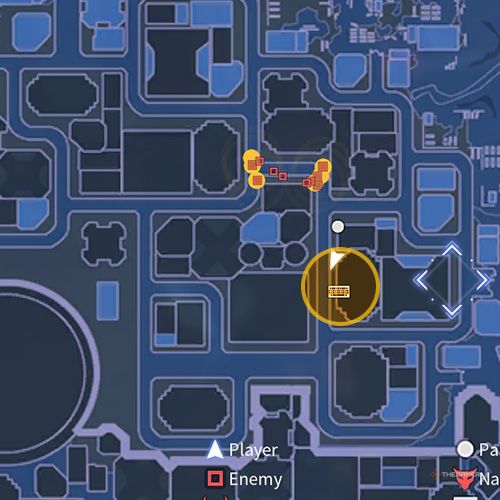
During the second phase of the mission, ignore the enemies coming from both sides and head southeast. You’ll find this in the corner of a building. |
|
|
|
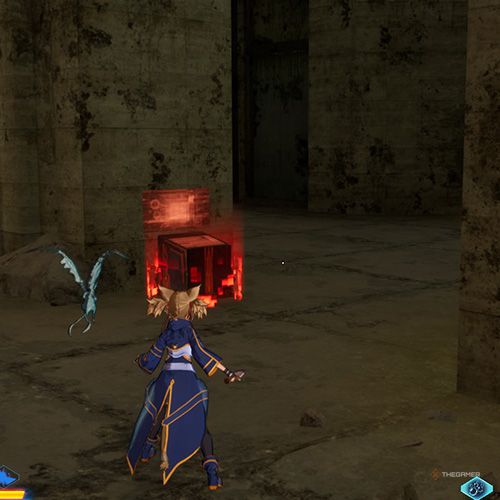
During the second phase of the mission, ignore the enemies coming from both sides and head to the southern street. You’ll find this there. |
Side Quest Three: Alice’s Discipline
|
Map Image |
Location Image |
Description |
|---|---|---|
|
|
|
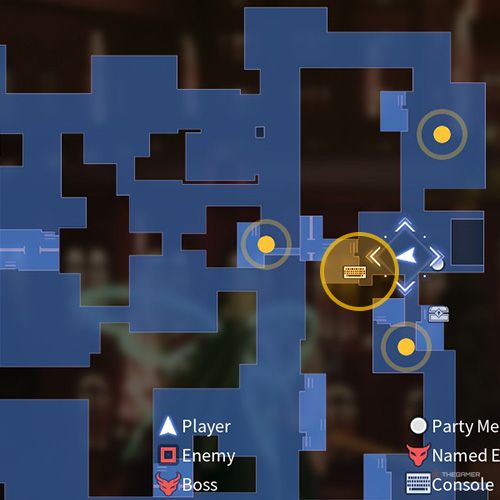
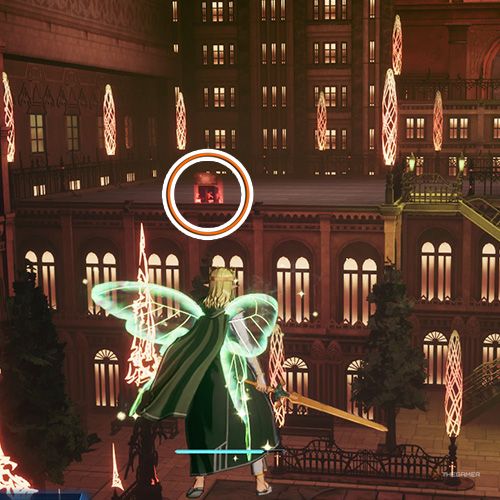
On the roof of the building immediately west of the starting point. |
|
|
|
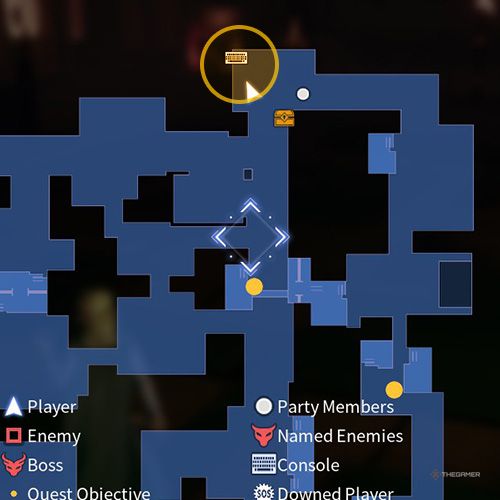
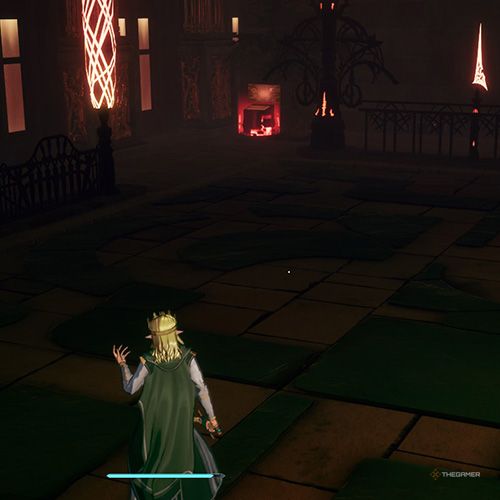
In the northwest corner of the northernmost street. |
All Console Locations In Chapter Three
Chapter Three features seven quests, but only four of them include consoles. Additionally, one side quest also contains a console. Finding these consoles will be beneficial for earning extra points.
Quest One: Unexpected Reunion
|
Map Image |
Location Image |
Description |
|---|---|---|
|
|
|
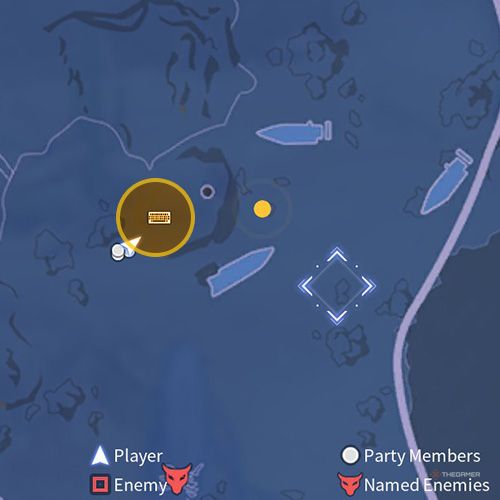
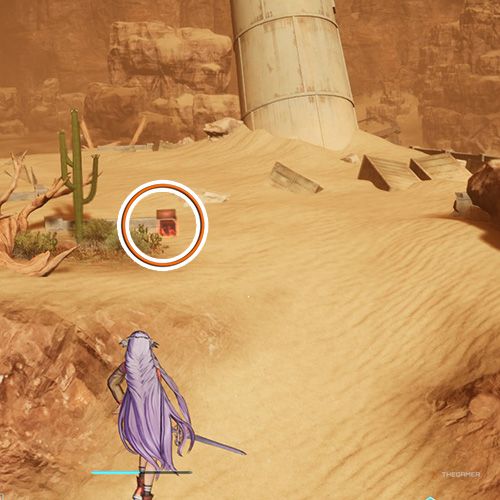
On the way to the first yellow marker on the map, you’ll see a tilted tower. The console is located around it. |
|
|
|
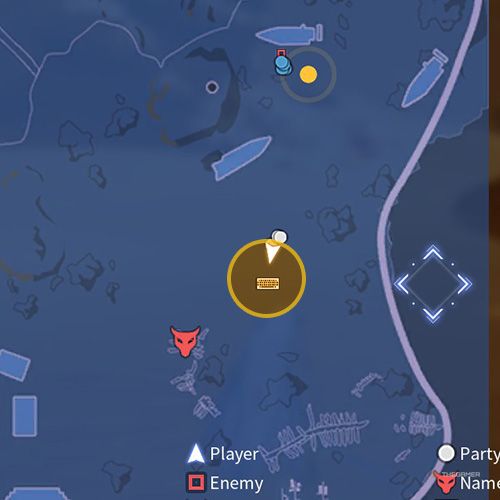
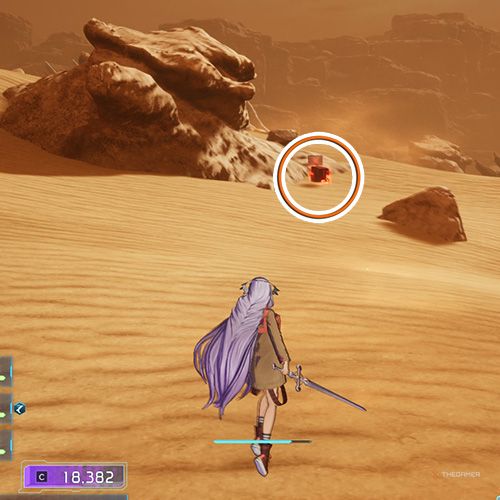
Found northeast of the Named Enemy. |
Quest Three: Forest Of Wandering
|
Map Image |
Location Image |
Description |
|---|---|---|
|
|
|
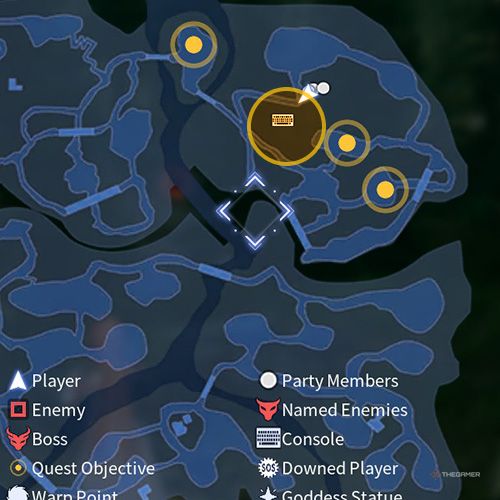
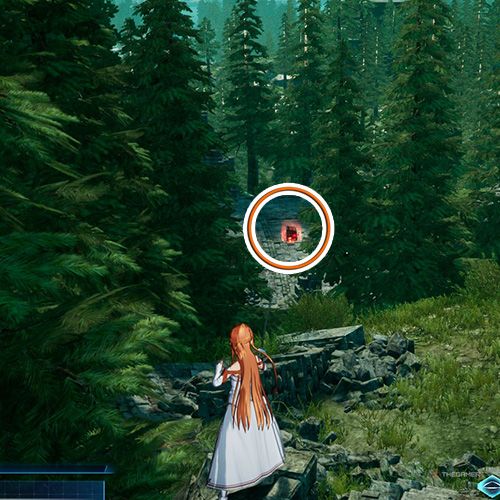
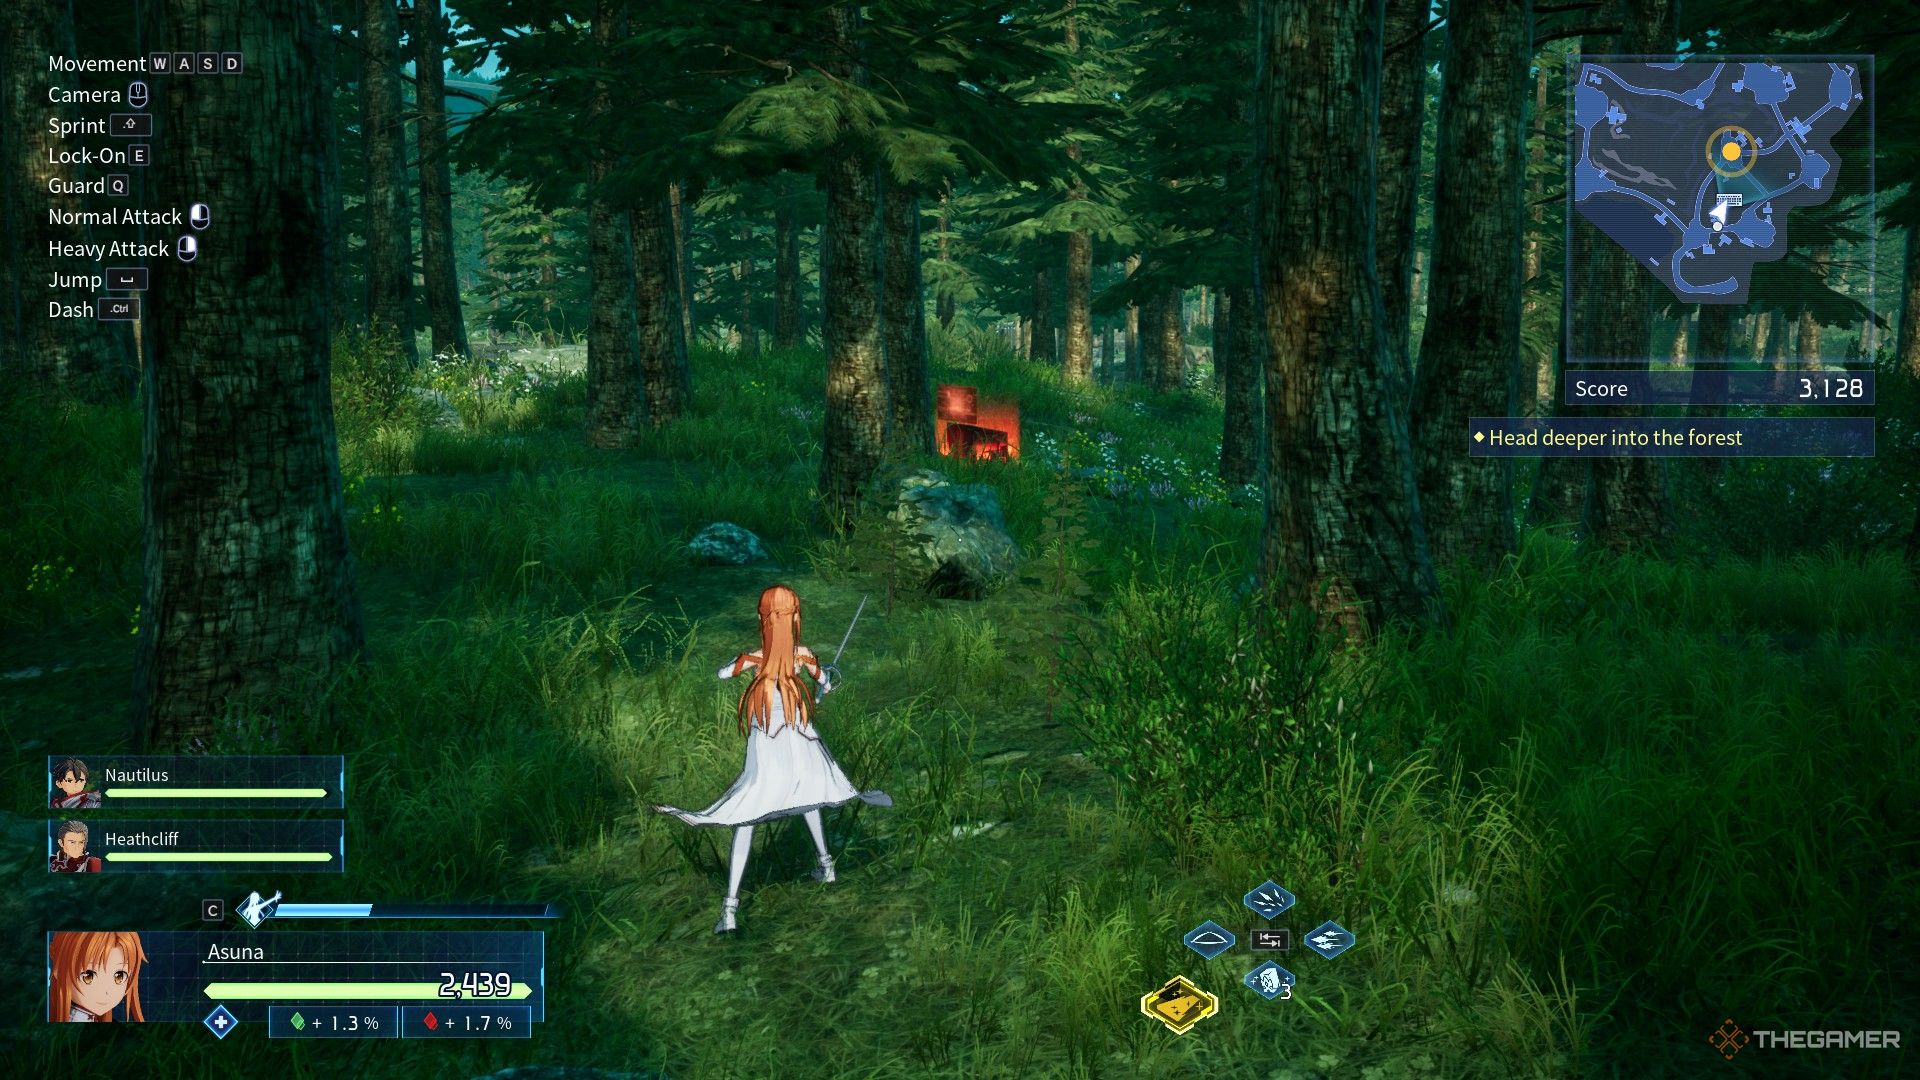
After teleporting for the first time, head north, then move south along the path. You’ll find this console in ruins among the trees. |
|
|
|
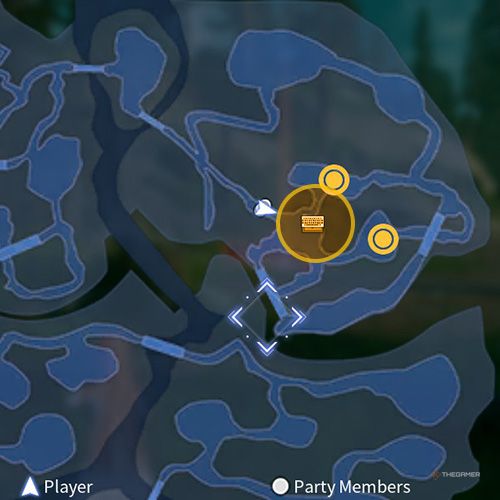
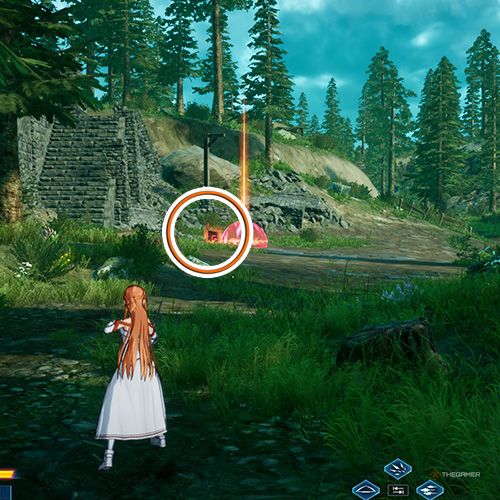
After teleporting for the first time, you can find it west of the enemy groups marked with a yellow icon to the east. There’s also a chest nearby. |
Quest Four: Maze
|
Map Image |
Location Image |
Description |
|---|---|---|
|
|
|
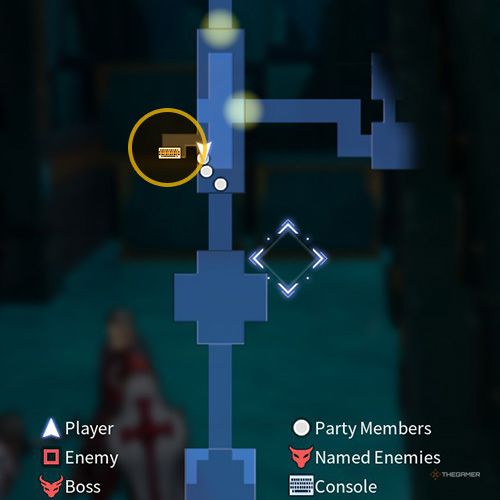
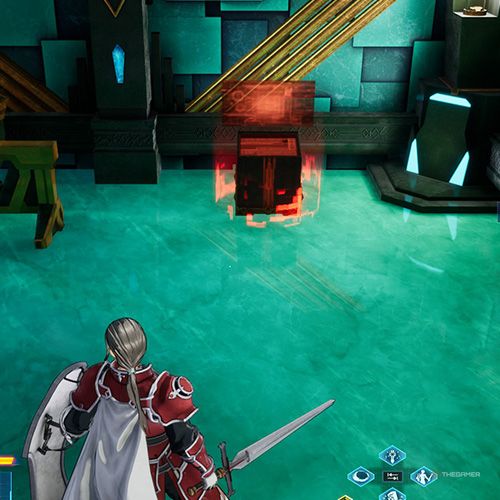
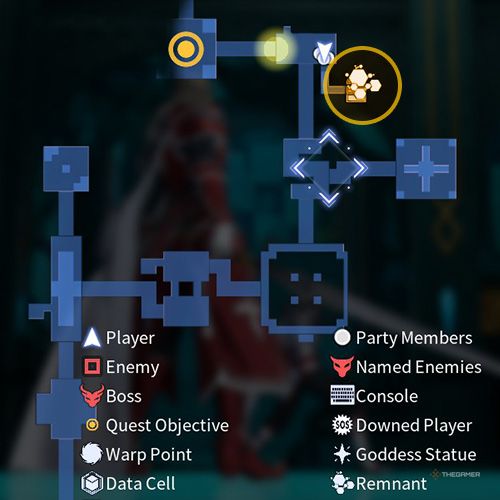
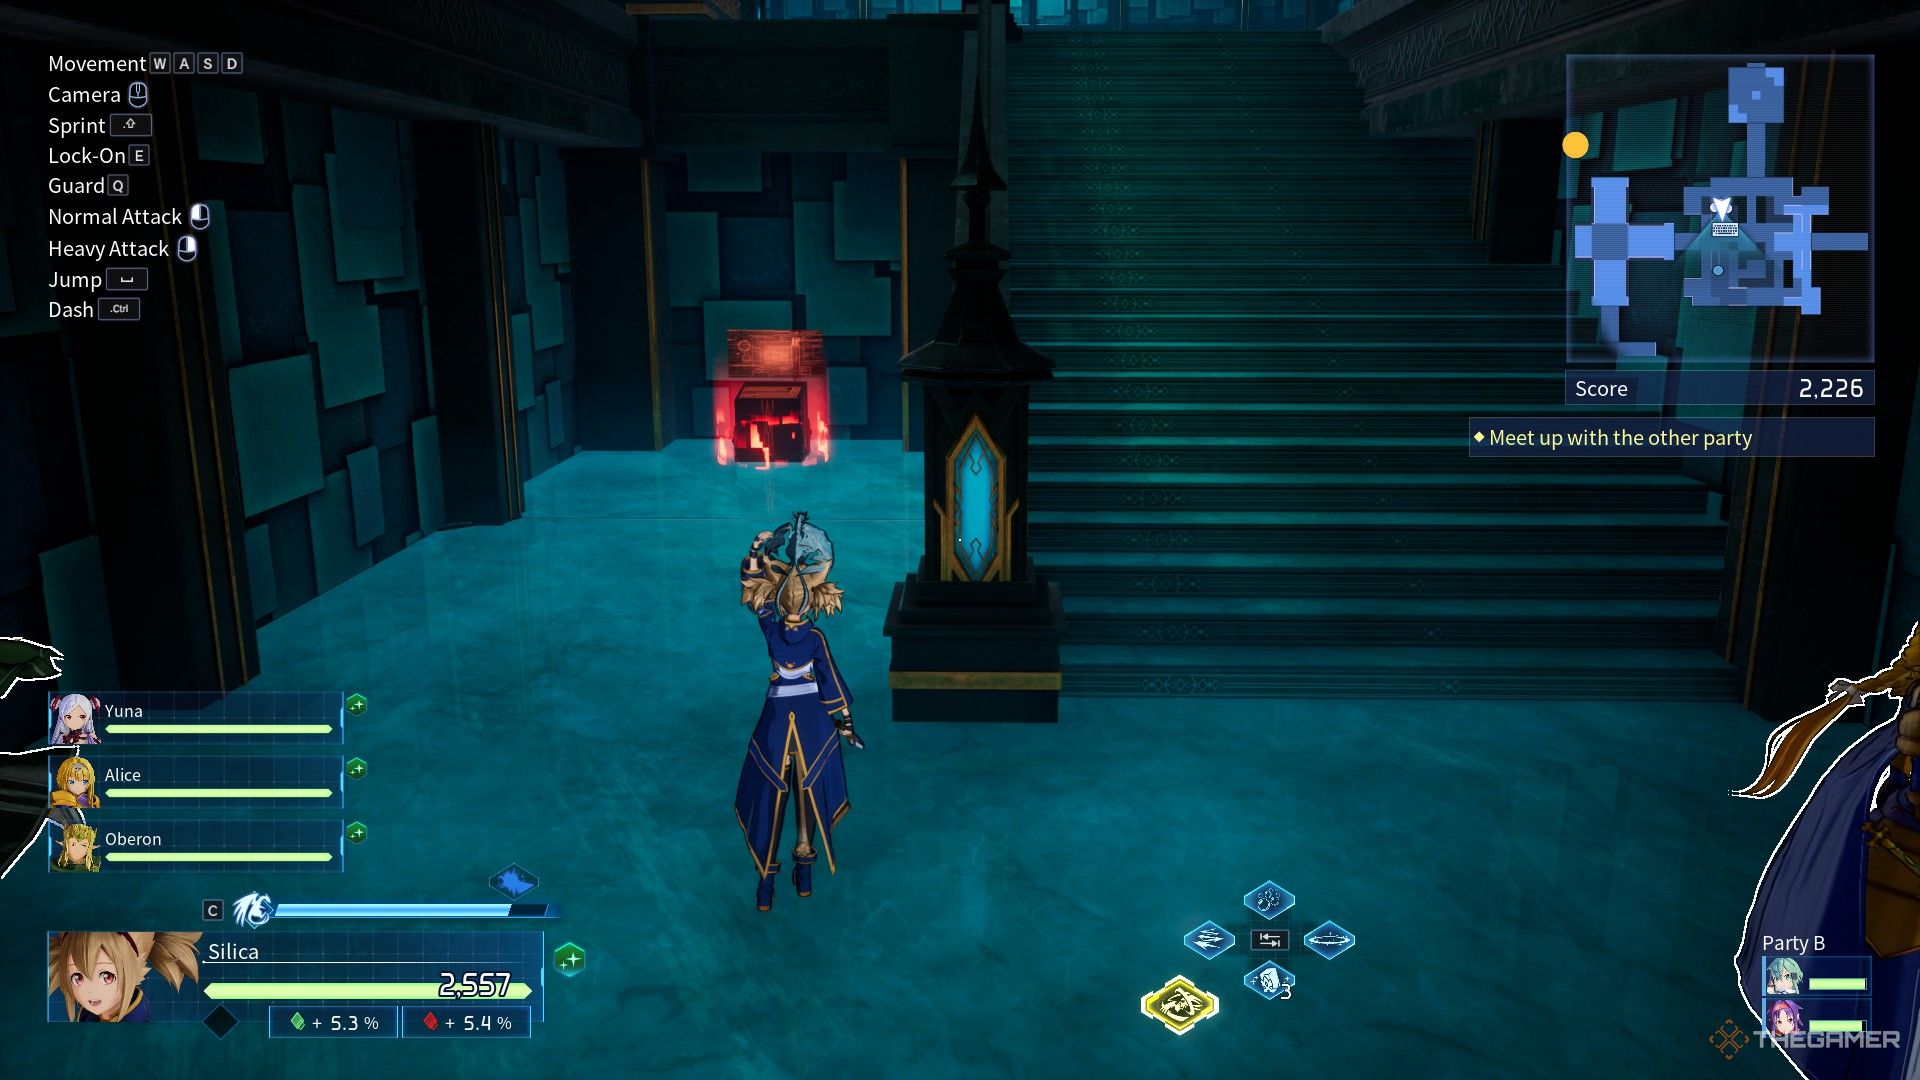
As you move straight ahead, when you reach the first stairs, instead of going up, go to the left. You’ll find a small room where this console is located. |
|
|
|
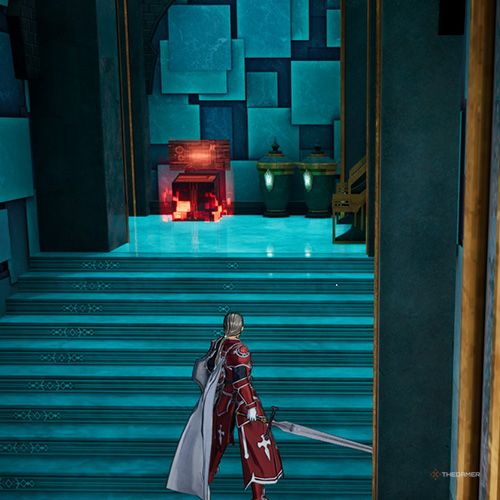
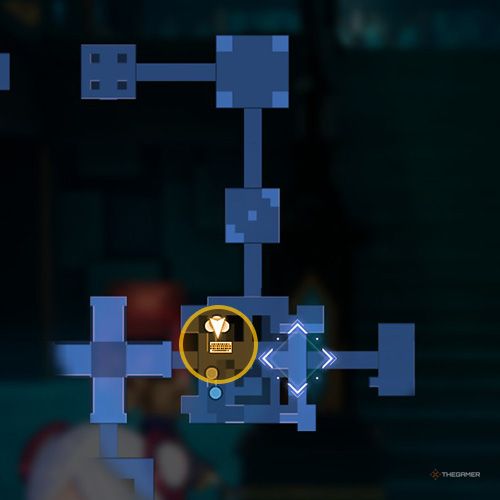
After heading north from the room with bottomless pits and then from the corridor with guardians, you’ll find this in a room to the north. There’s a glowing yellow crack on one of the southern walls of this room. Break it to reveal the console. |
Quest Five: Rendezvous
|
Map Image |
Location Image |
Description |
|---|---|---|
|
|
|
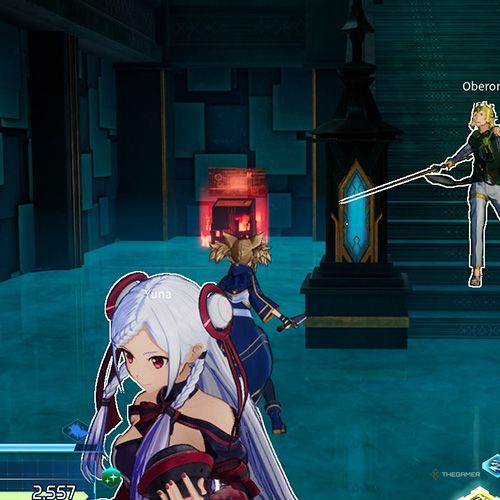
Go down the stairs near the blue console to find this. |
|
|
|
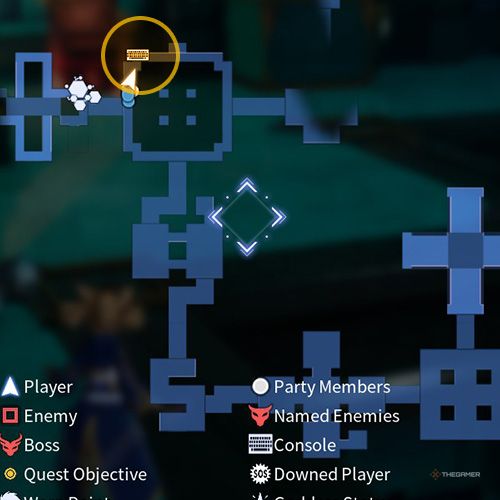
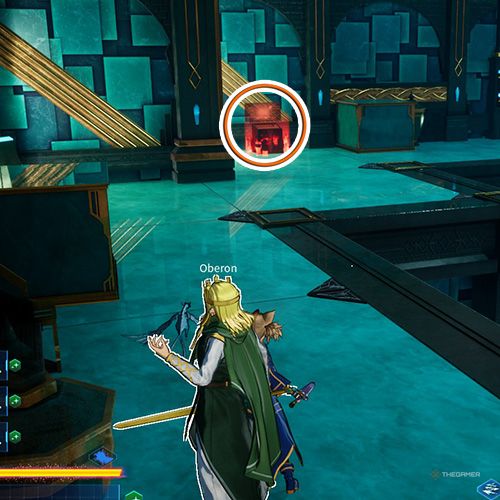
Found in the room with bottomless pits and moving platforms. |
Side Quest One: The Two’s Relationship
|
Map Image |
Location Image |
Description |
|---|---|---|
|
|
|
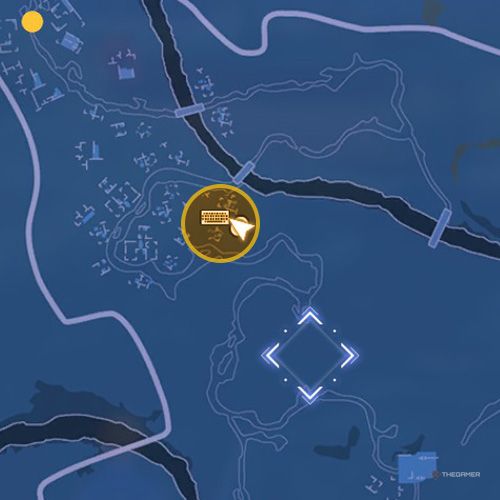
Found in the southern area of the middle bridge among the northwest bridges. There is also a Remnant nearby. |
|
|
|
Southeast of the Grand Paladin, in a ruined area. There is a Remnant nearby. |
All Console Locations In Chapter Four
Chapter Four features a notable number of quests and side quests, but only three of them contain consoles. Their locations are listed in the tables below.
Quest One: Tragedy At Ruins
|
Map Image |
Location Image |
Description |
|---|---|---|
|
|
|
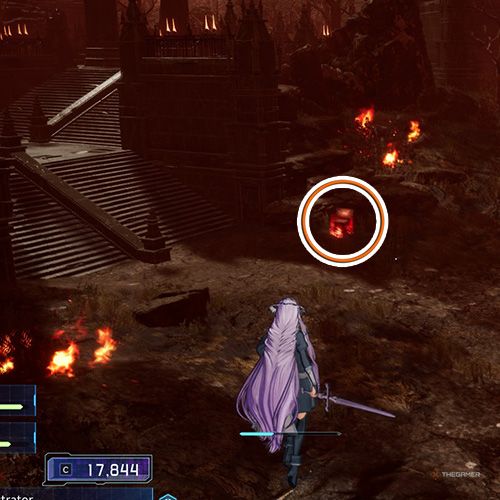
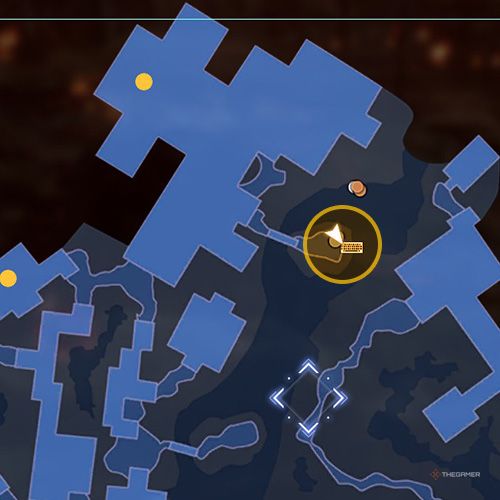
East of the southern yellow marker on your map. |
|
|
|
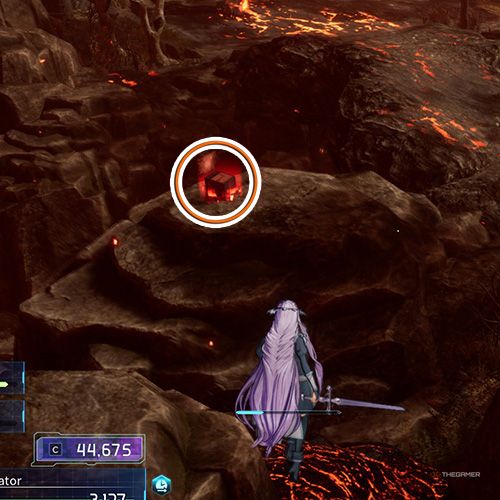
In the northern region of the map, on a rocky area in the middle of the volcanic river. |
Quest Four: Potential Culprit
|
Map Image |
Location Image |
Description |
|---|---|---|
|
|
|
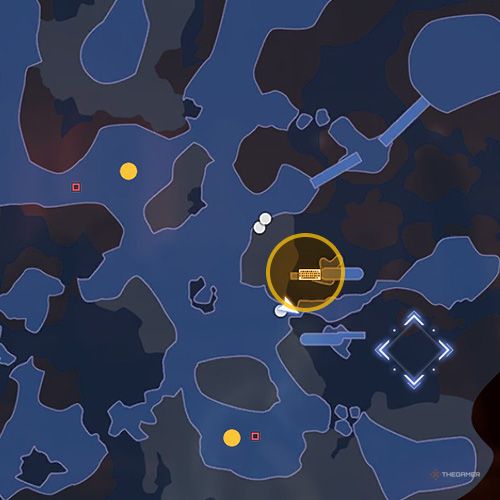
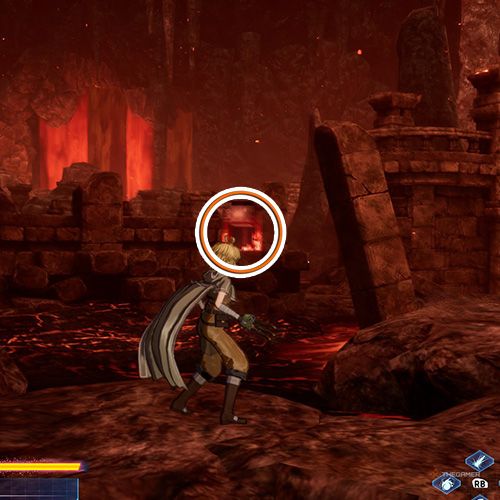
Northeast of the enemies marked with the southernmost yellow dot on the map, near a broken stone bridge that doesn’t connect to anything. |
|
|
|
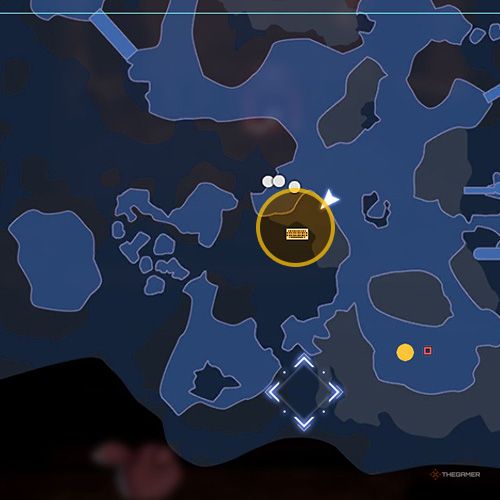
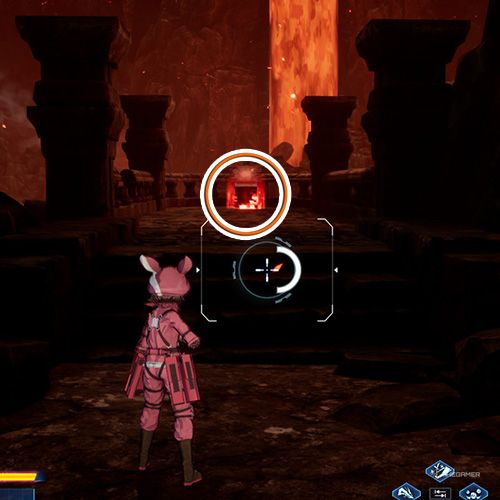
Northwest of the enemies marked with the southernmost yellow dot on the map. Look for a stone balcony-like structure with stairs surrounded by four pillars. |
Side Quest Five: Alice’s Tea Party Two
|
Map Image |
Location Image |
Description |
|---|---|---|
|
|
|
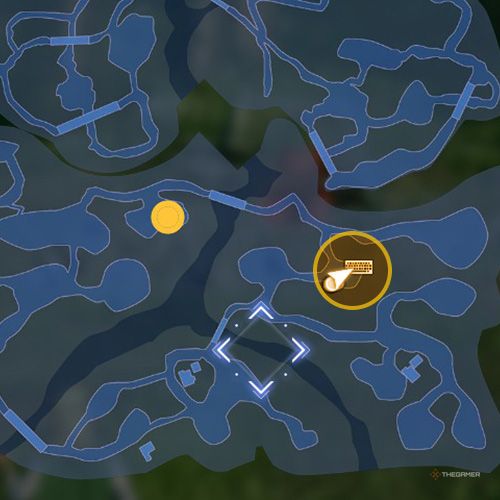
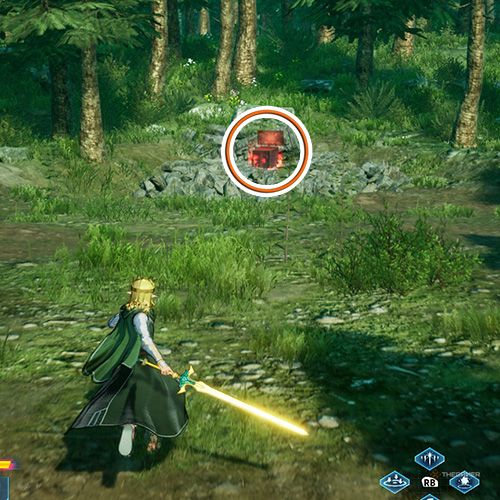
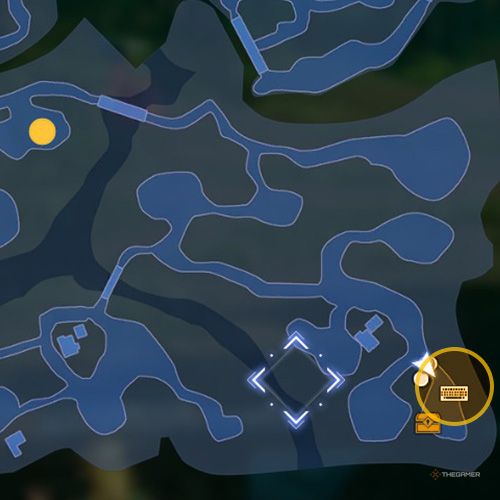
Cross to the east side of the northern bridge, then head south. It’s on top of a rock. |
|
|
|
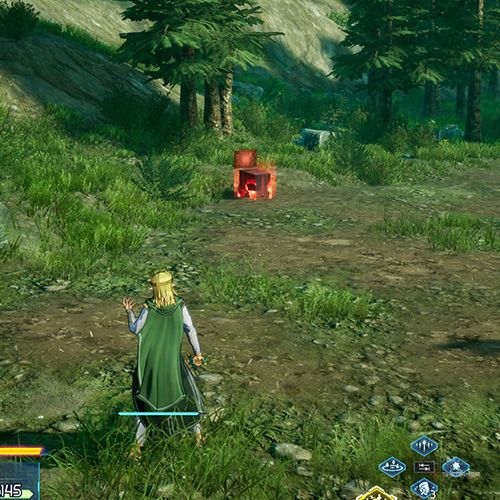
In the southeasternmost area of the map. |
All Console Locations In Chapter Five
The final and fifth chapter of the game features numerous quests and side quests, but since most of them are boss battles, consoles are not present in many of the quests.
Quest One: Enemies On The Praire
|
Map Image |
Location Image |
Description |
|---|---|---|
|
|
|
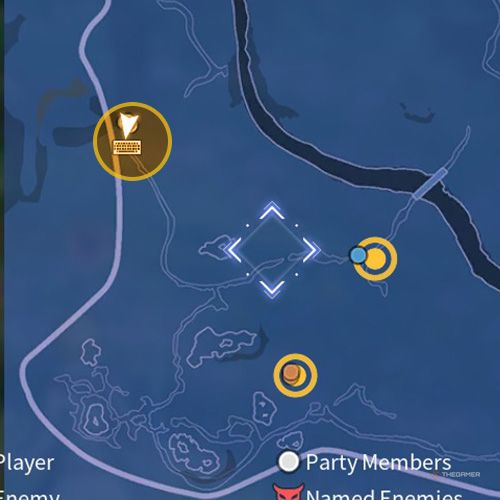
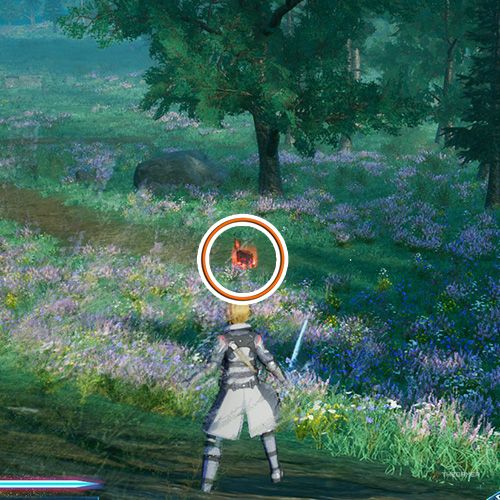
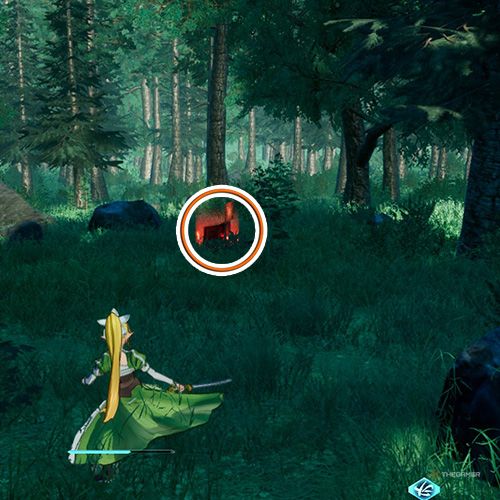
Follow the western border barrier from north to south; you’ll find it among the flowers. |
|
|
|
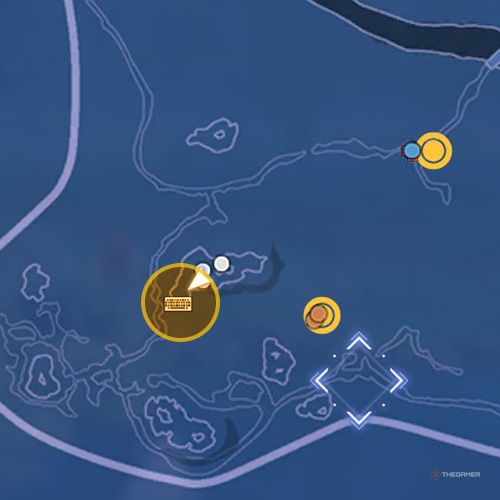
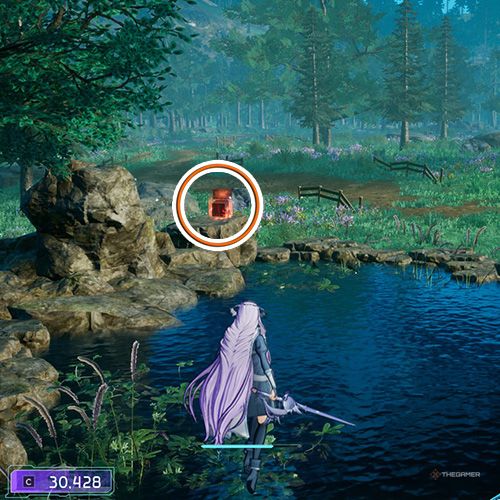
In the lake northwest of the southern marked yellow point. |
Quest Two: Fuuka’s Pursuer
|
Map Image |
Location Image |
Description |
|---|---|---|
|
|
|
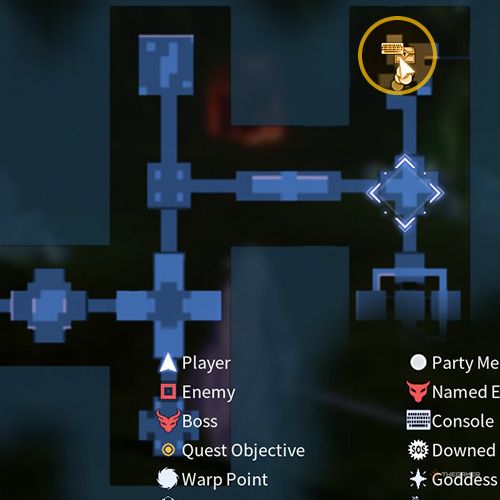
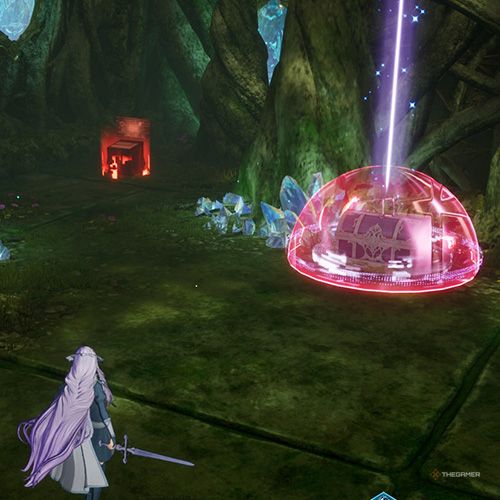
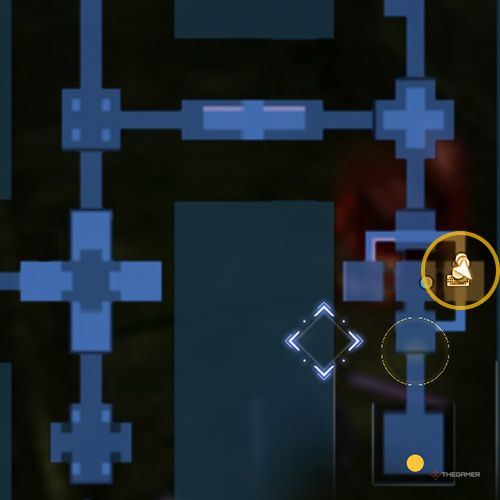
Located in the northeasternmost room. If not collected, there is also a Chest and Data Cell nearby. |
|
|
|
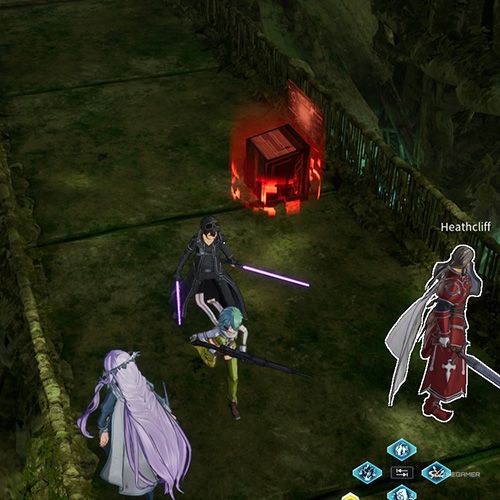
In the eastern section of the moving stone room just before the teleporter. It’s on the balcony-like bridge above the room. |
Quest Three: Fuuka’s Record
|
Map Image |
Location Image |
Description |
|---|---|---|
|
|
|
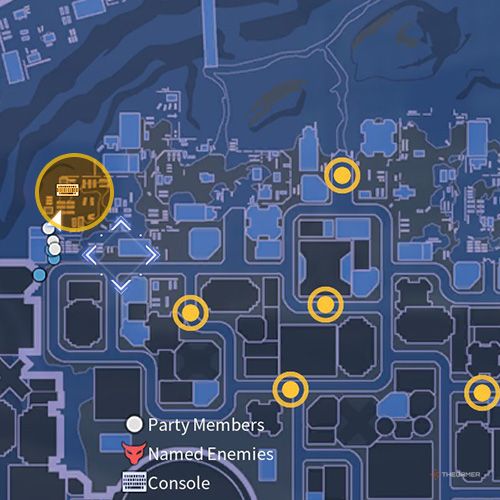
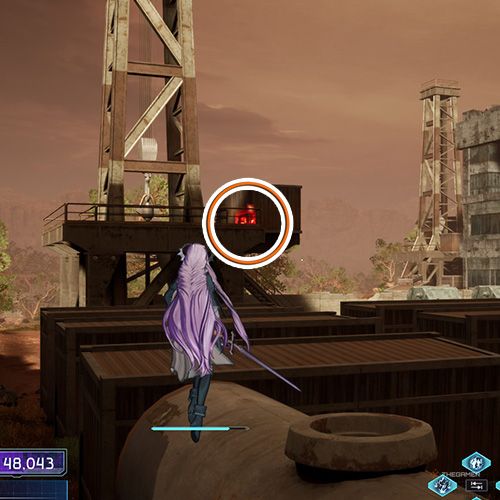
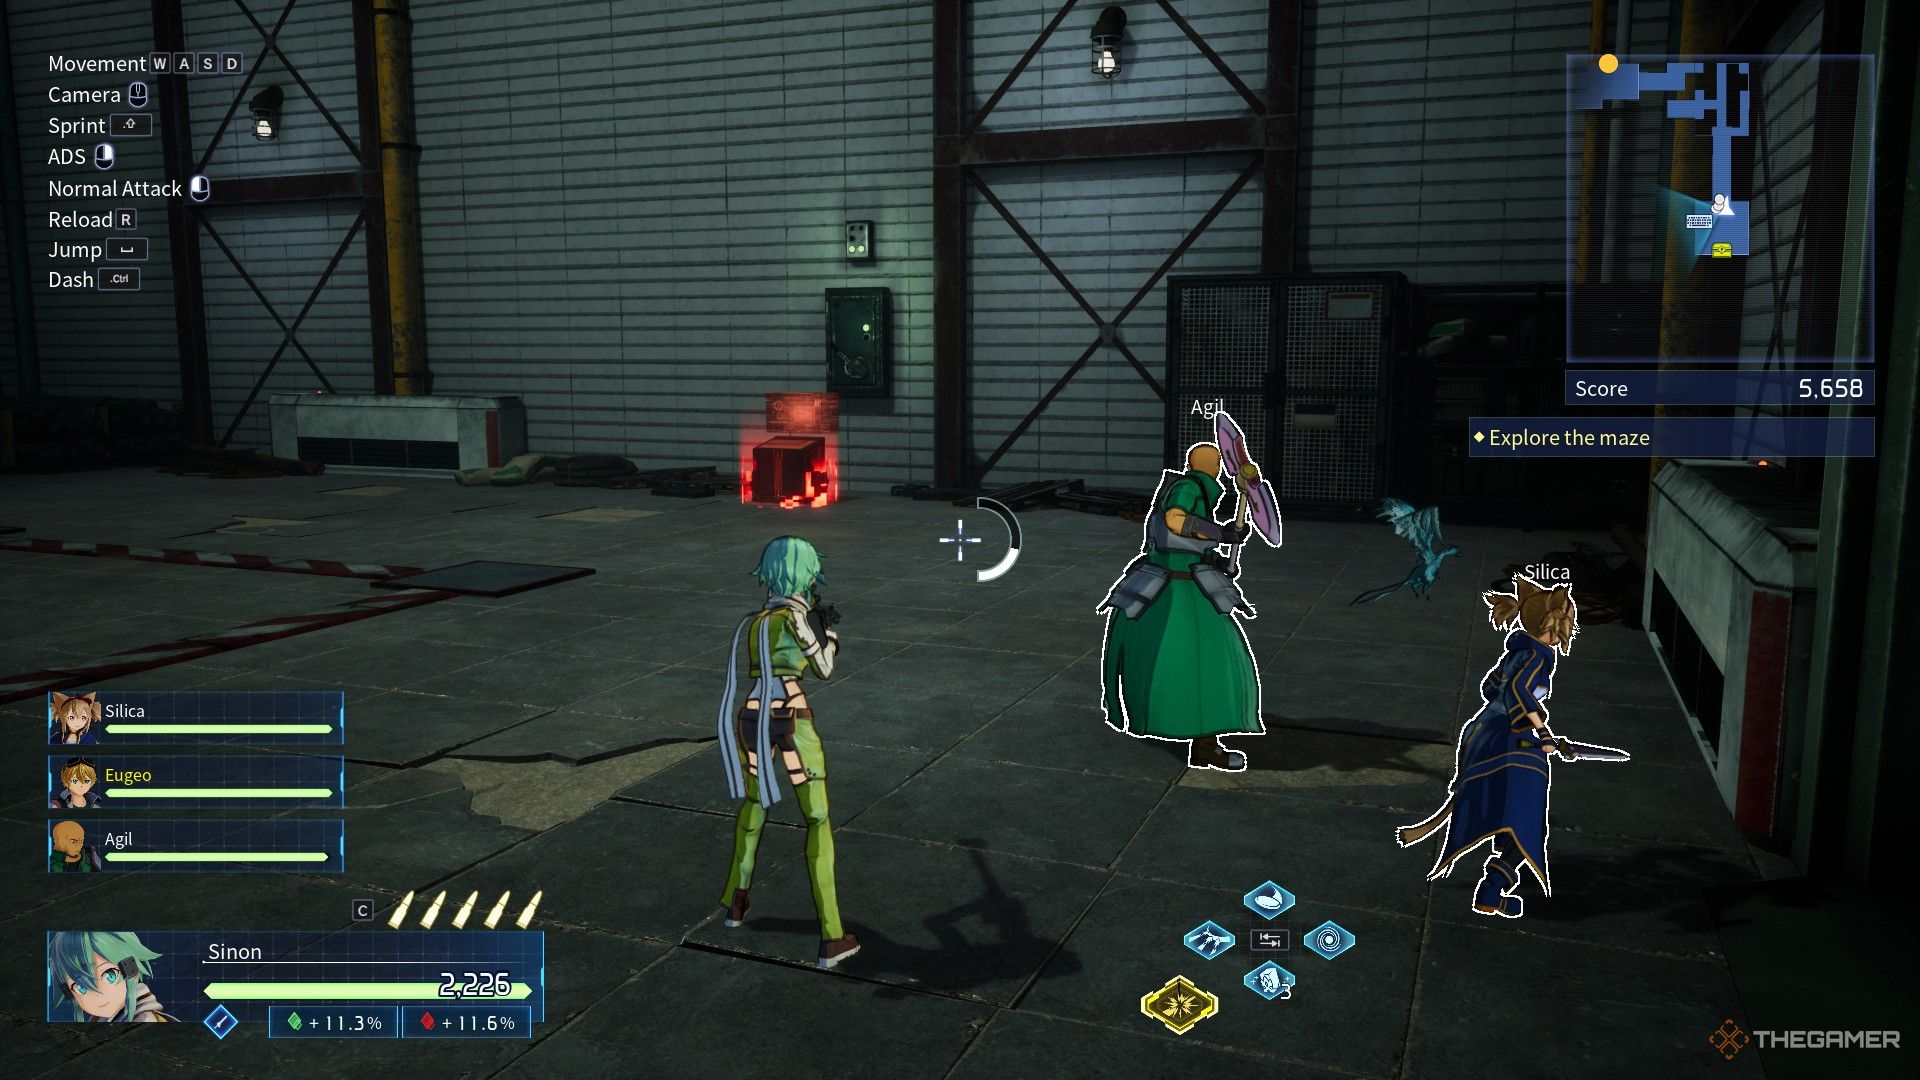
In the northwest of the map, on a metal tower with containers. |
|
|
|
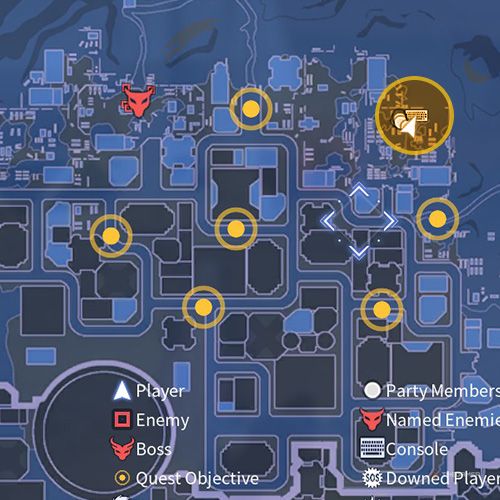
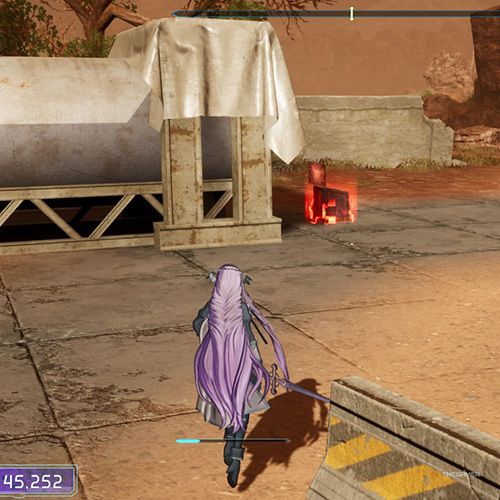
In the northeast of the map, outside the city, next to a round tanker. |
Quest Five: Junk Data
|
Map Image |
Location Image |
Description |
|---|---|---|
|
|
|
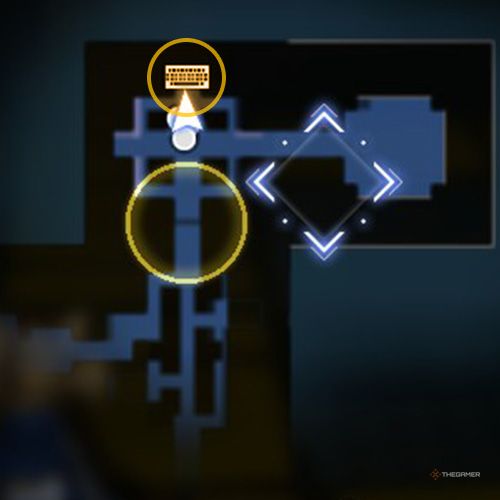
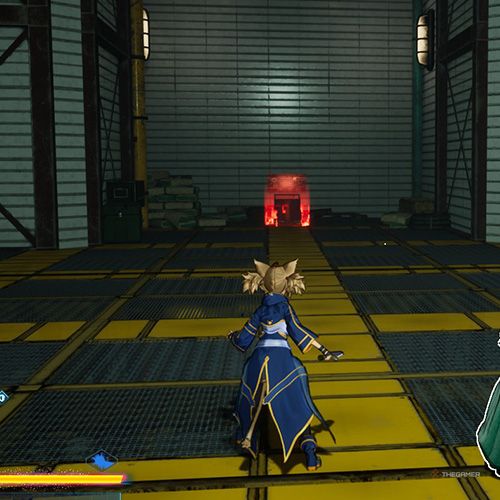
Found in the room with four bottomless pits after using the teleporter. |
|
|
|
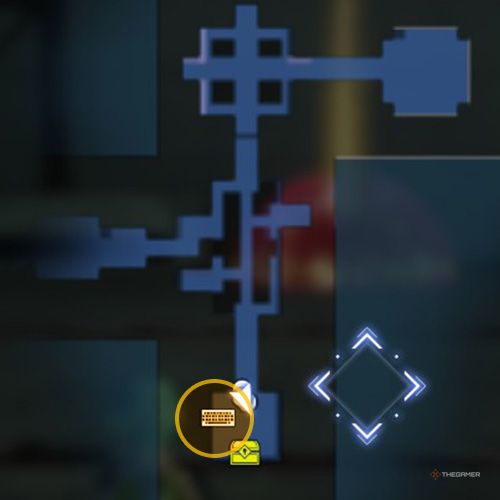
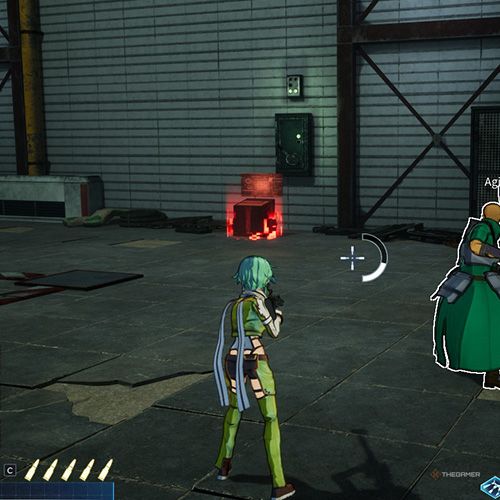
Found in the southernmost room after the one with four bottomless pits, alongside the chest with a barrier. |
Quest Six: Contradiction
|
Map Image |
Location Image |
Description |
|---|---|---|
|
|
|
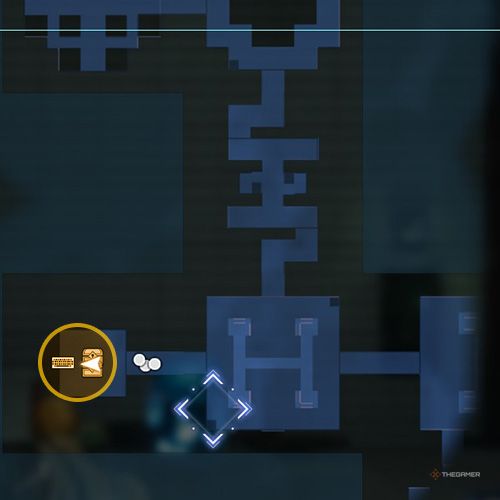
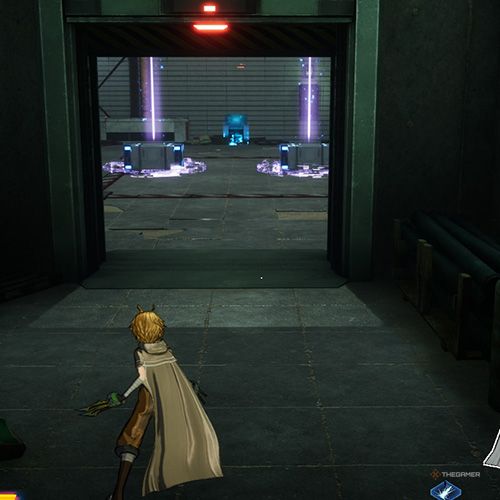
Found in the westernmost room where the two chests are located. |
|
|
|
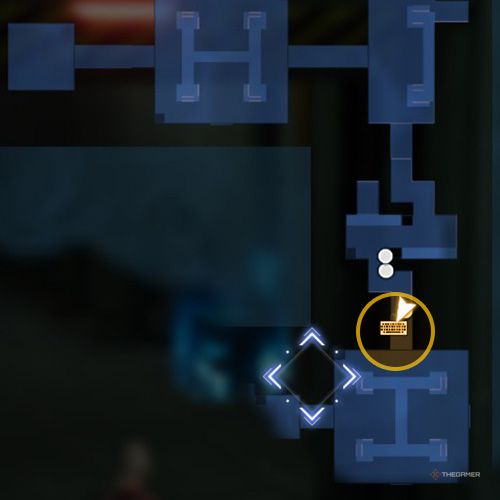
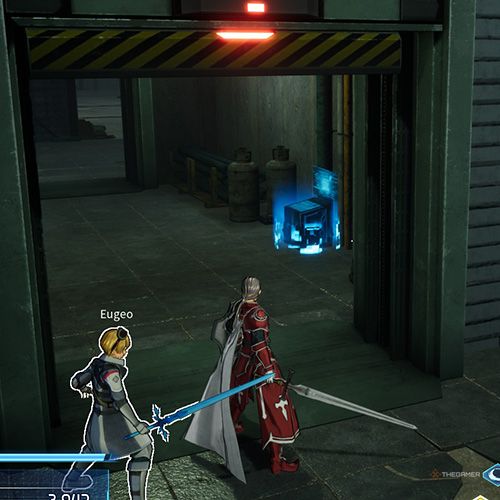
Open your map and locate the room that includes a horizontal ‘H’ shape in the middle of it. This console is in the corridor of the northern room in that area. |
Side Quest Two: A Number One!
|
Map Image |
Location Image |
Description |
|---|---|---|
|
|
|
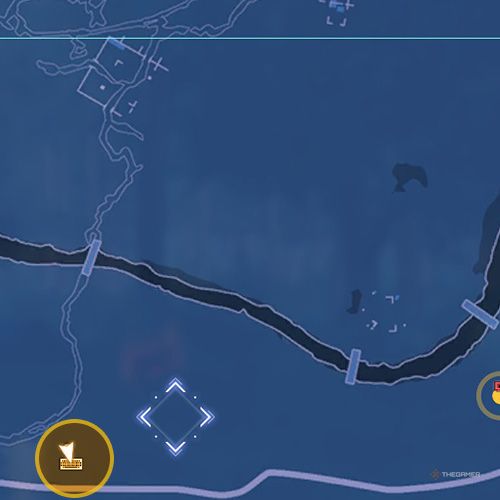
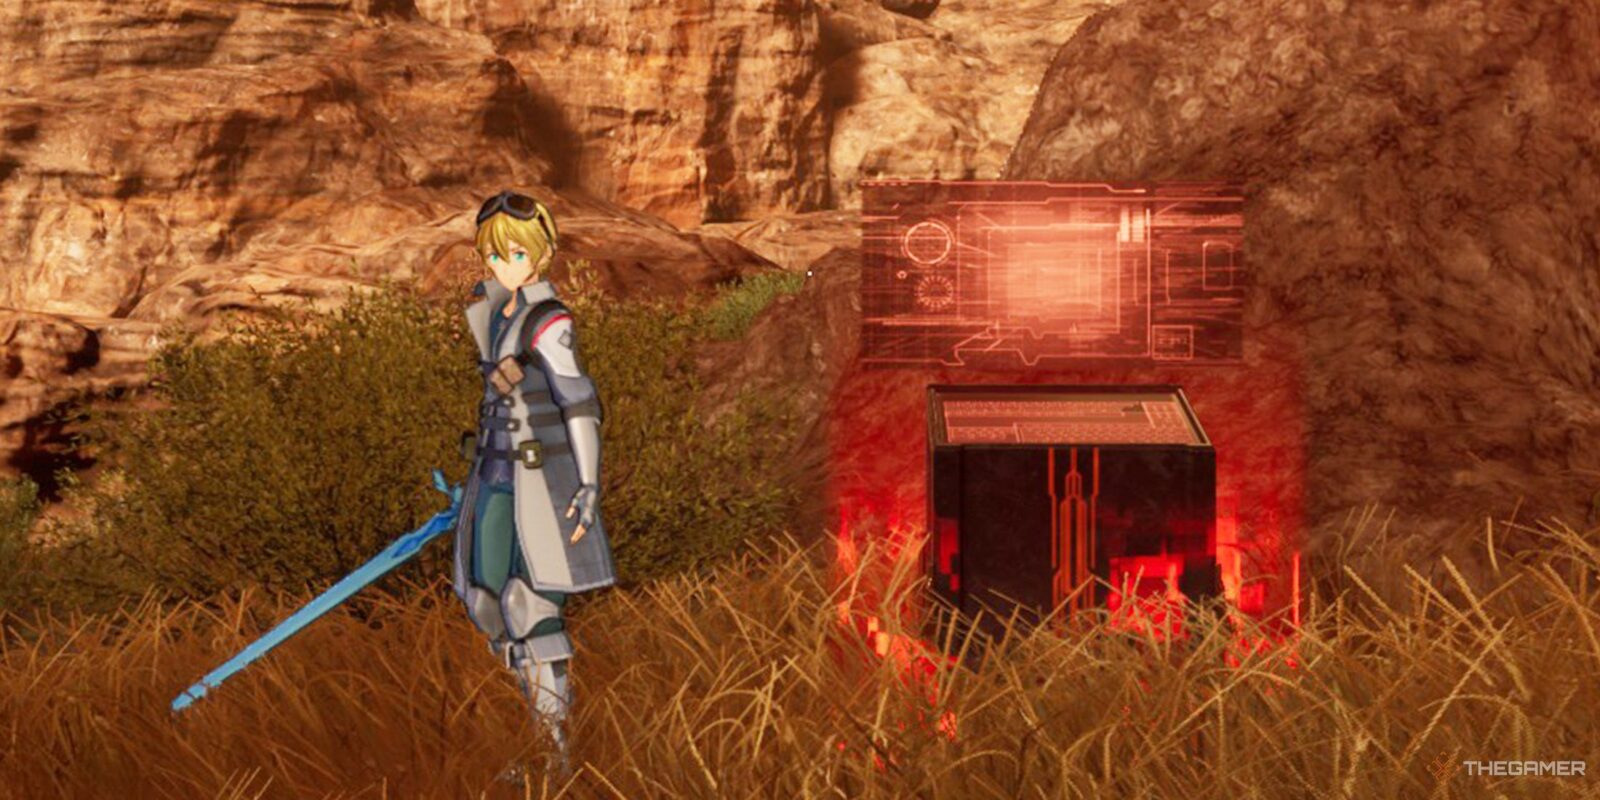
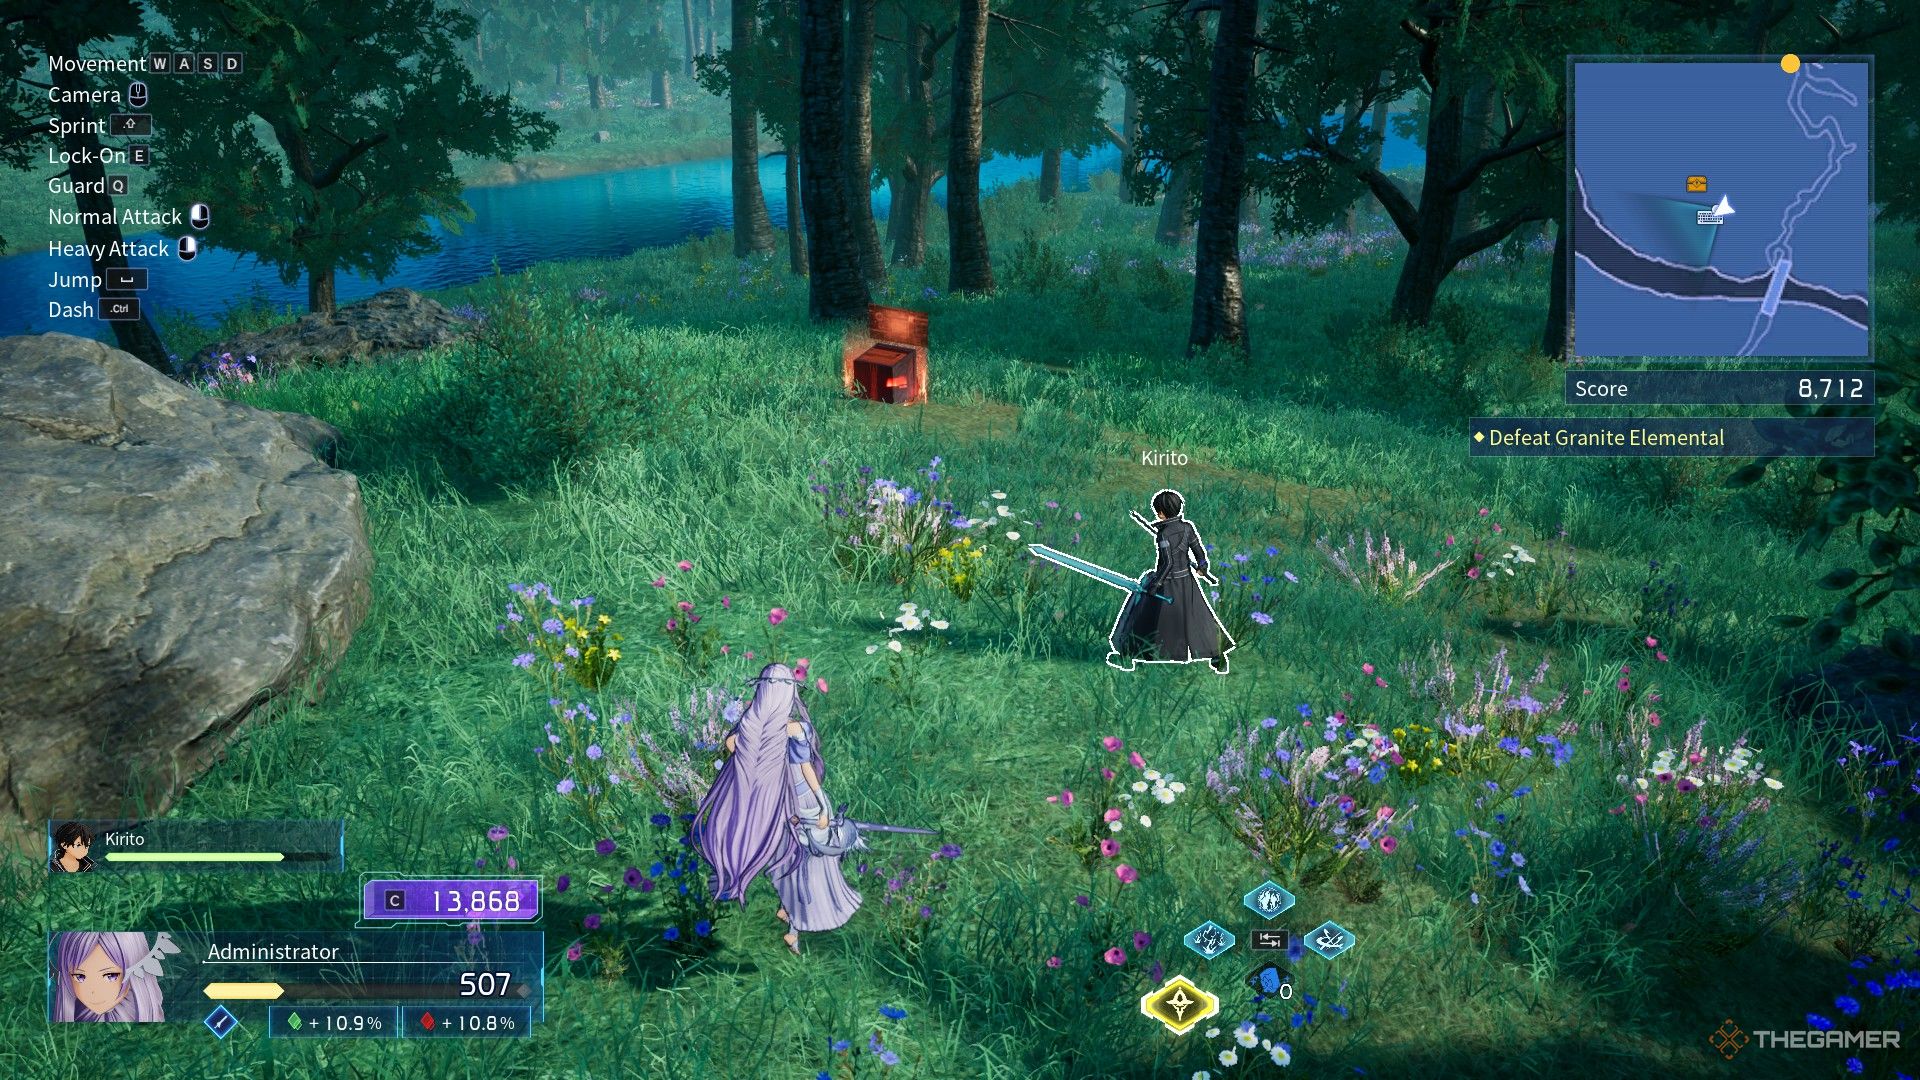
South of the westernmost bridge, close to the southern barrier. |





Leave a Reply