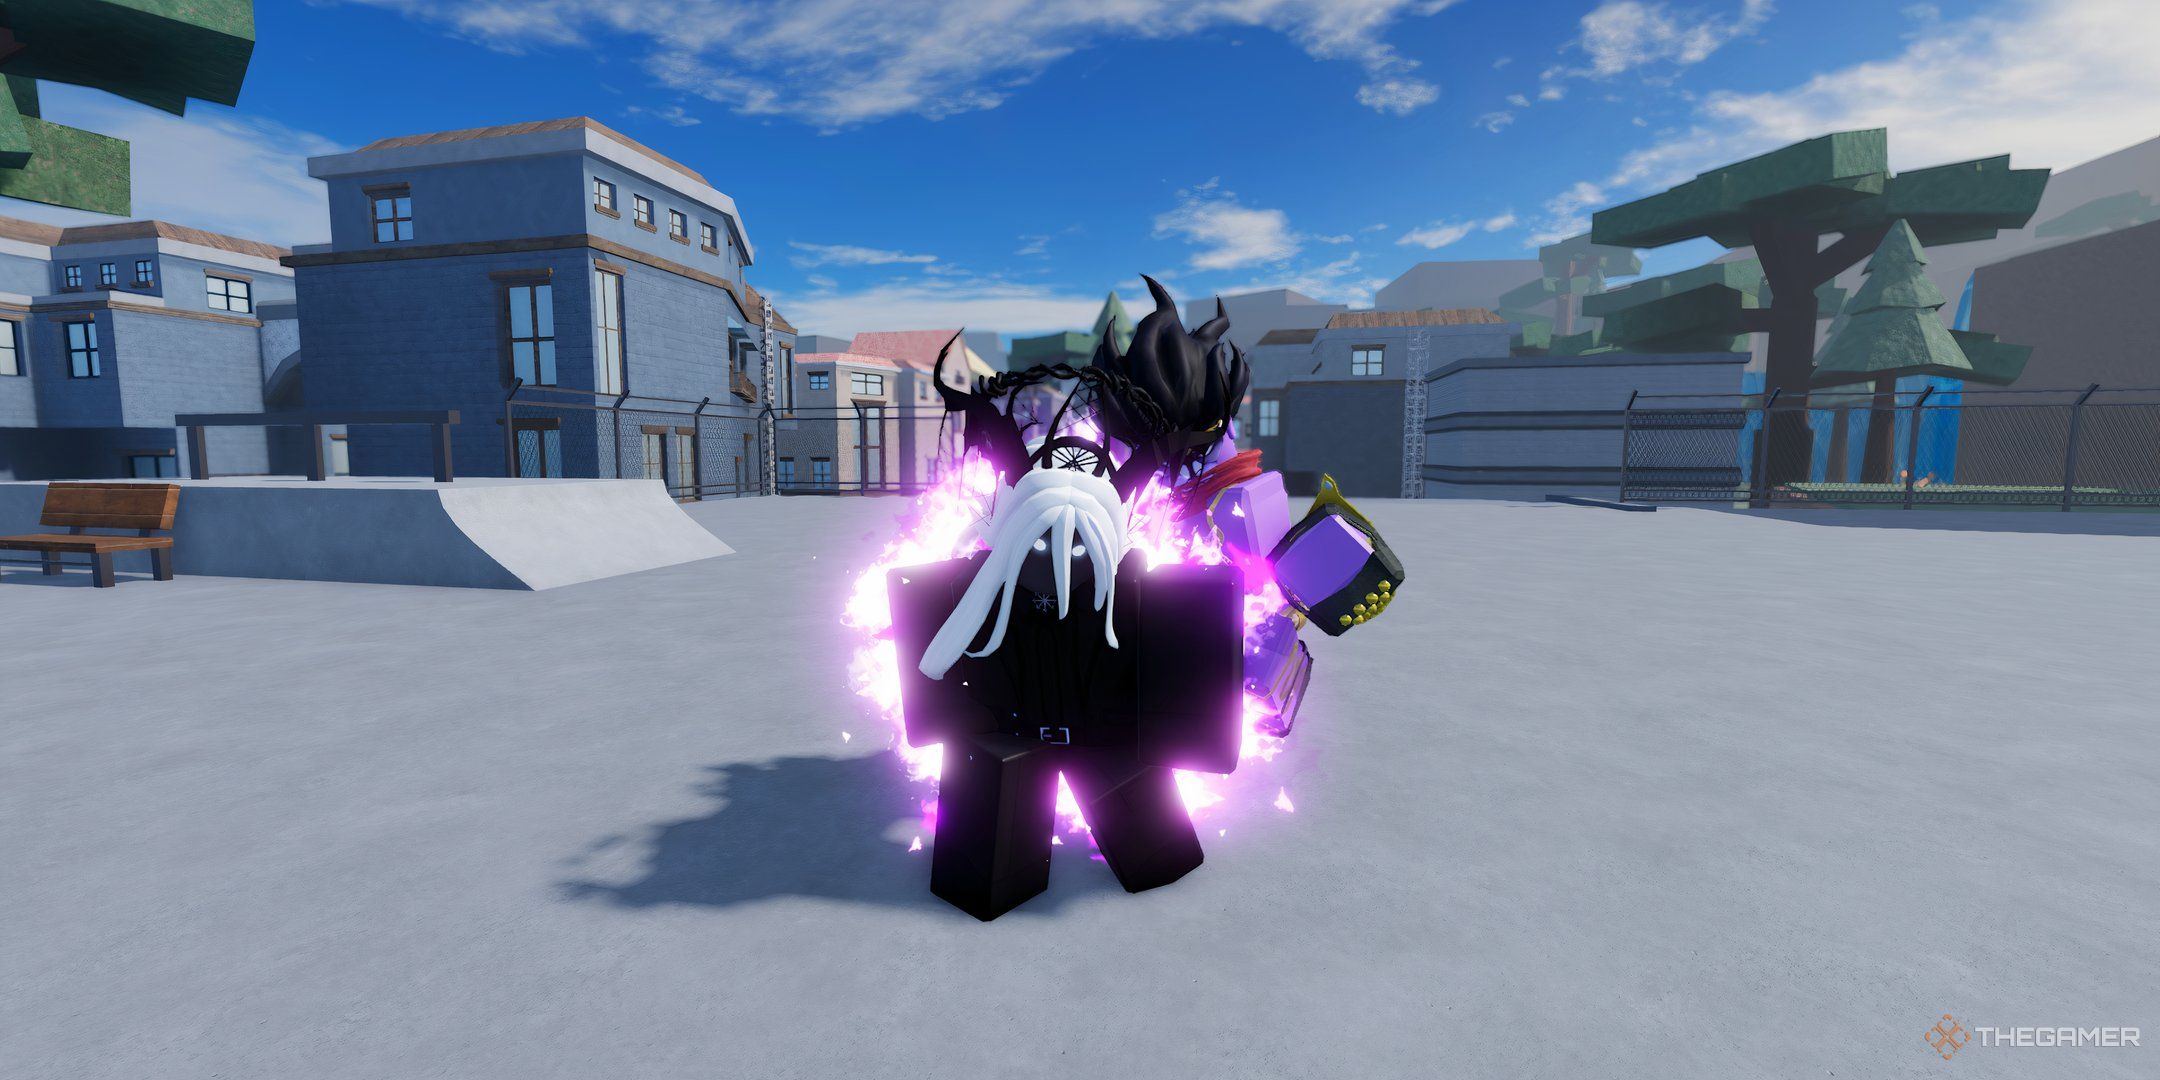
Throughout the story of Steel Ball Run, we see Johnny evolve his stand Tusk to a pinnacle of power so high it’s hardly matched by any stand in the series. This power can be yours to wield in A Universal Time on Roblox, and it certainly lives up to the expectations you’d gather from the story.
Related
The road to attaining it is long and difficult, so this guide will show you the steps you’ll need to make to take this stand from Act 1 all the way to Act 4. If you’re up for the challenge, let’s first see how Act 1 can be acquired.
How To Get Tusk Act 1
So, first you’ll need the original Tusk stand, with the ability to shoot nails. This stand is the easiest to attain, with a very quick and easy quest delivered to you by none other than Gyro Zeppeli.
For each quest in this series, there will be a different Gyro in a different place. They are all on the map simultaneously, so don’t get confused if you see Gyro in a different spot than what we mentioned. They will all come up later in the questline, as they’re all tied to it.
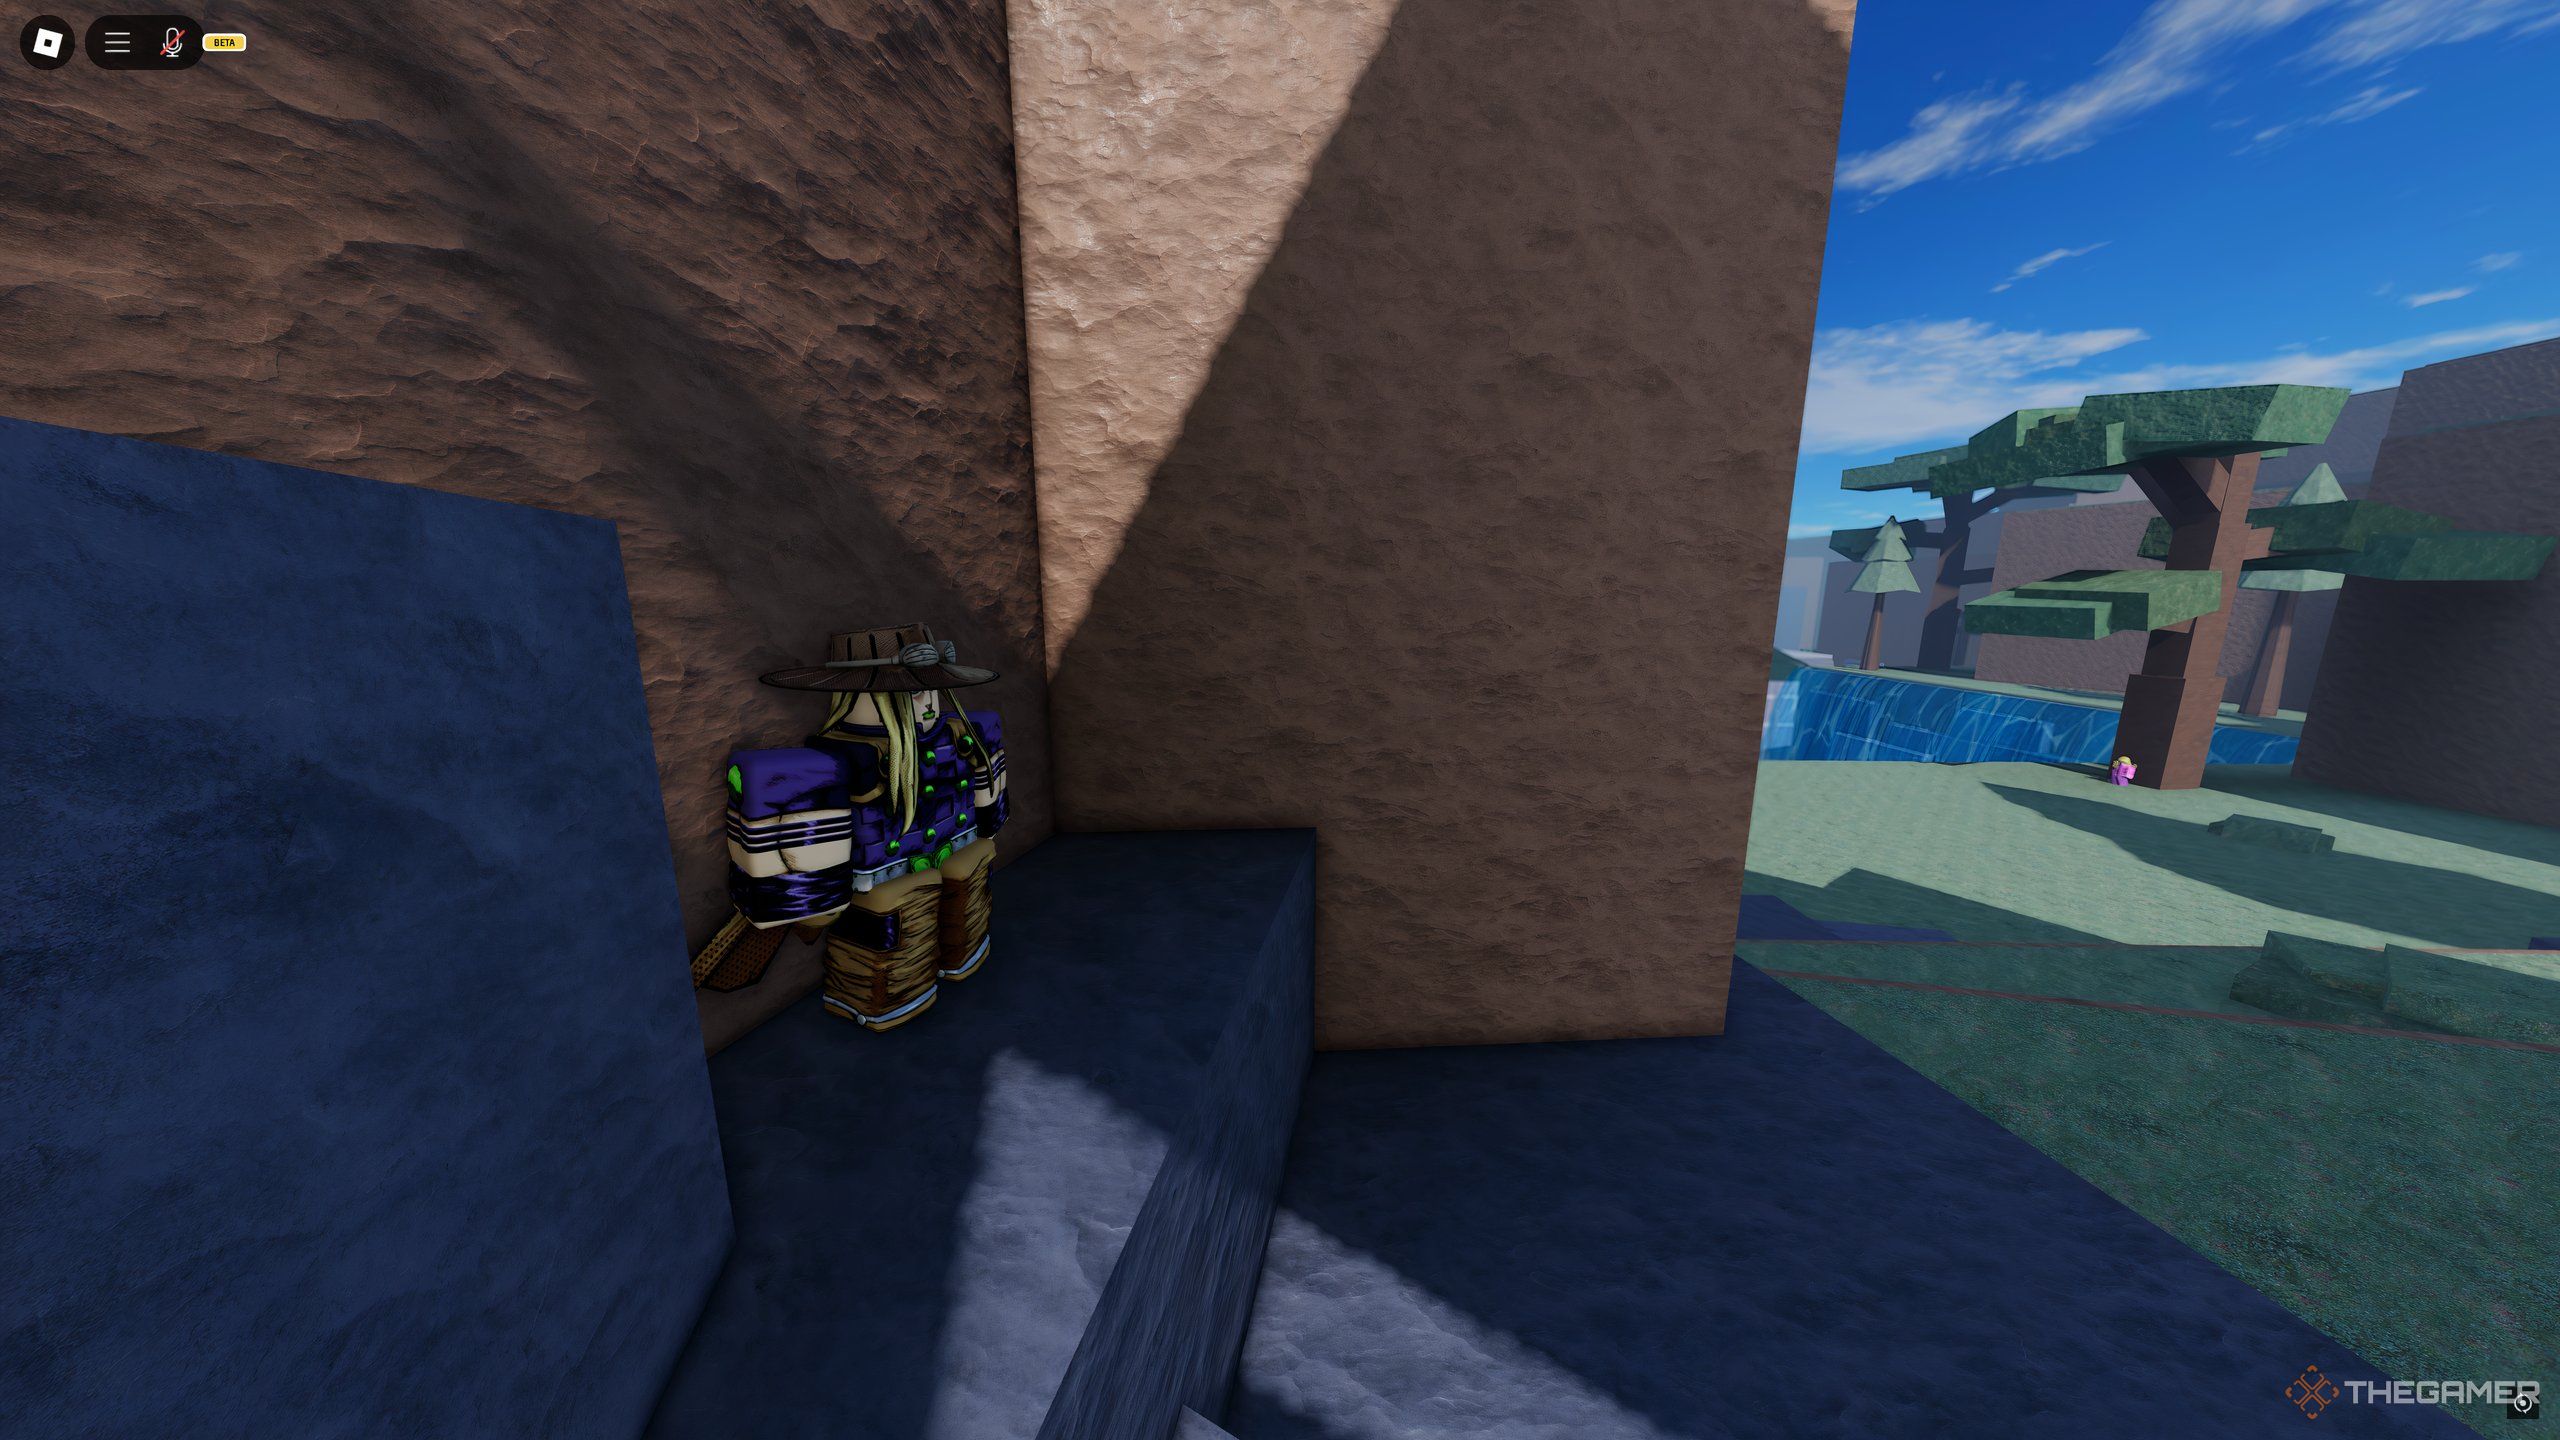
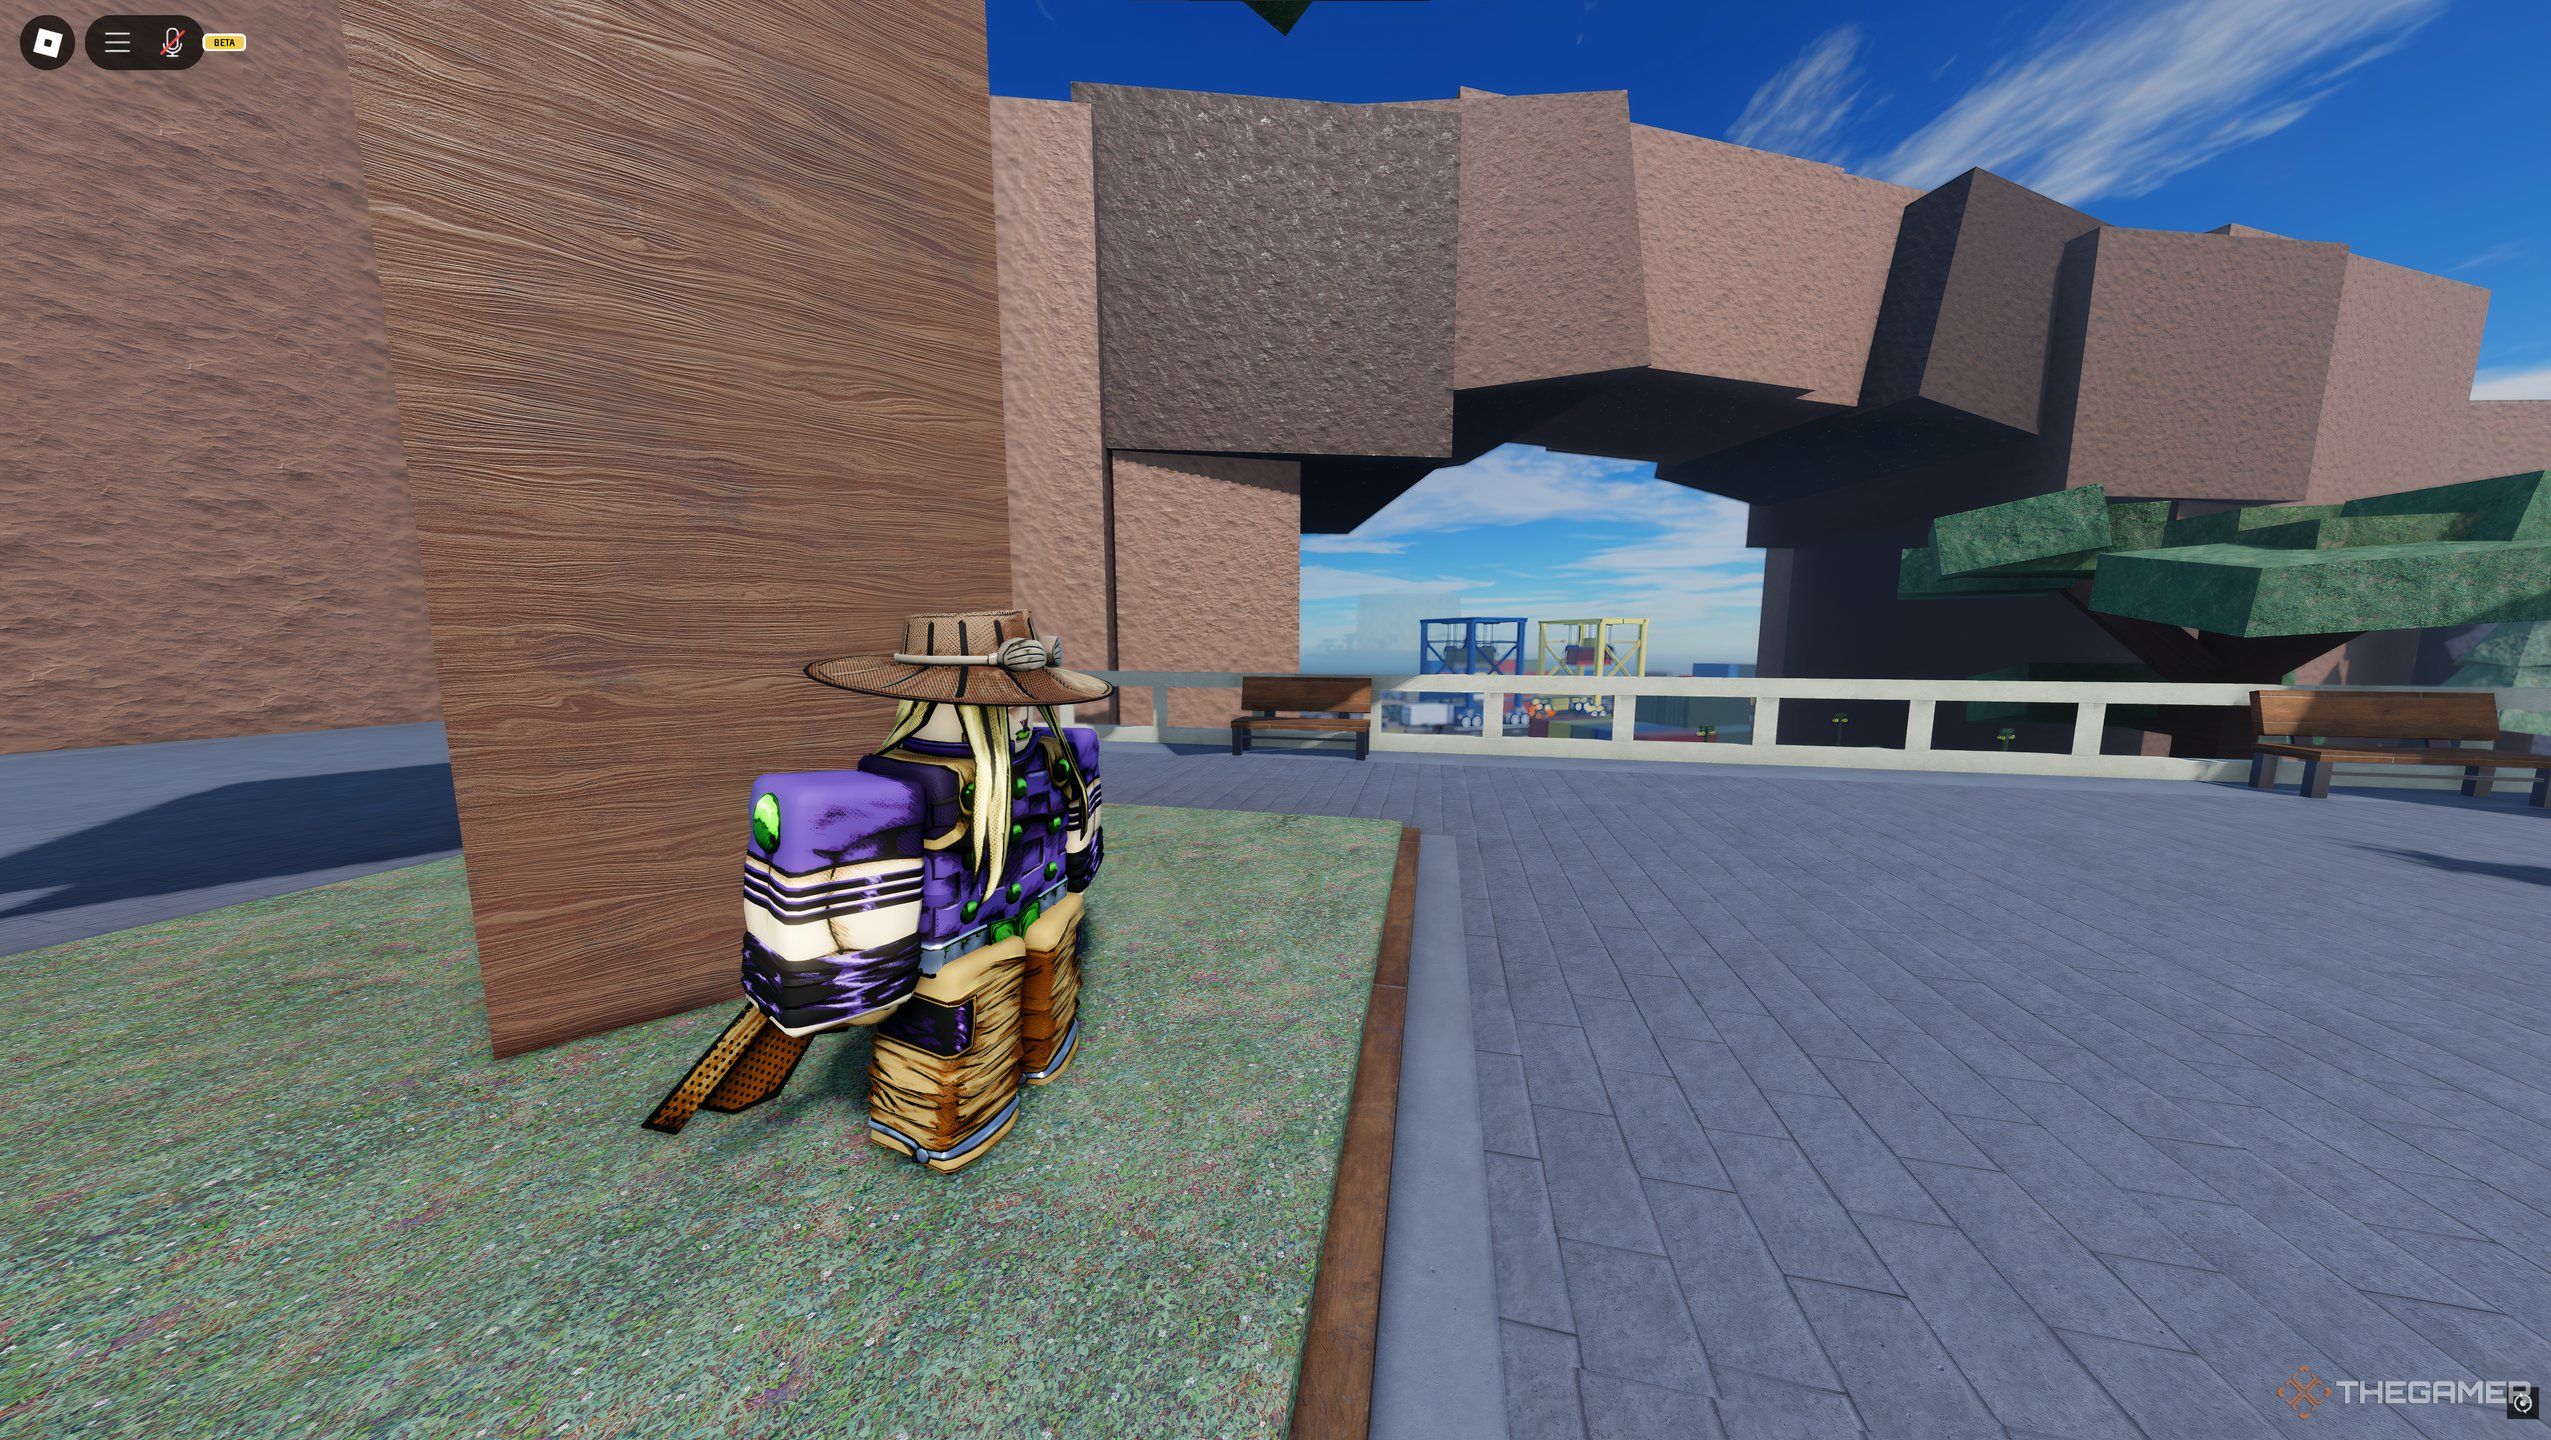
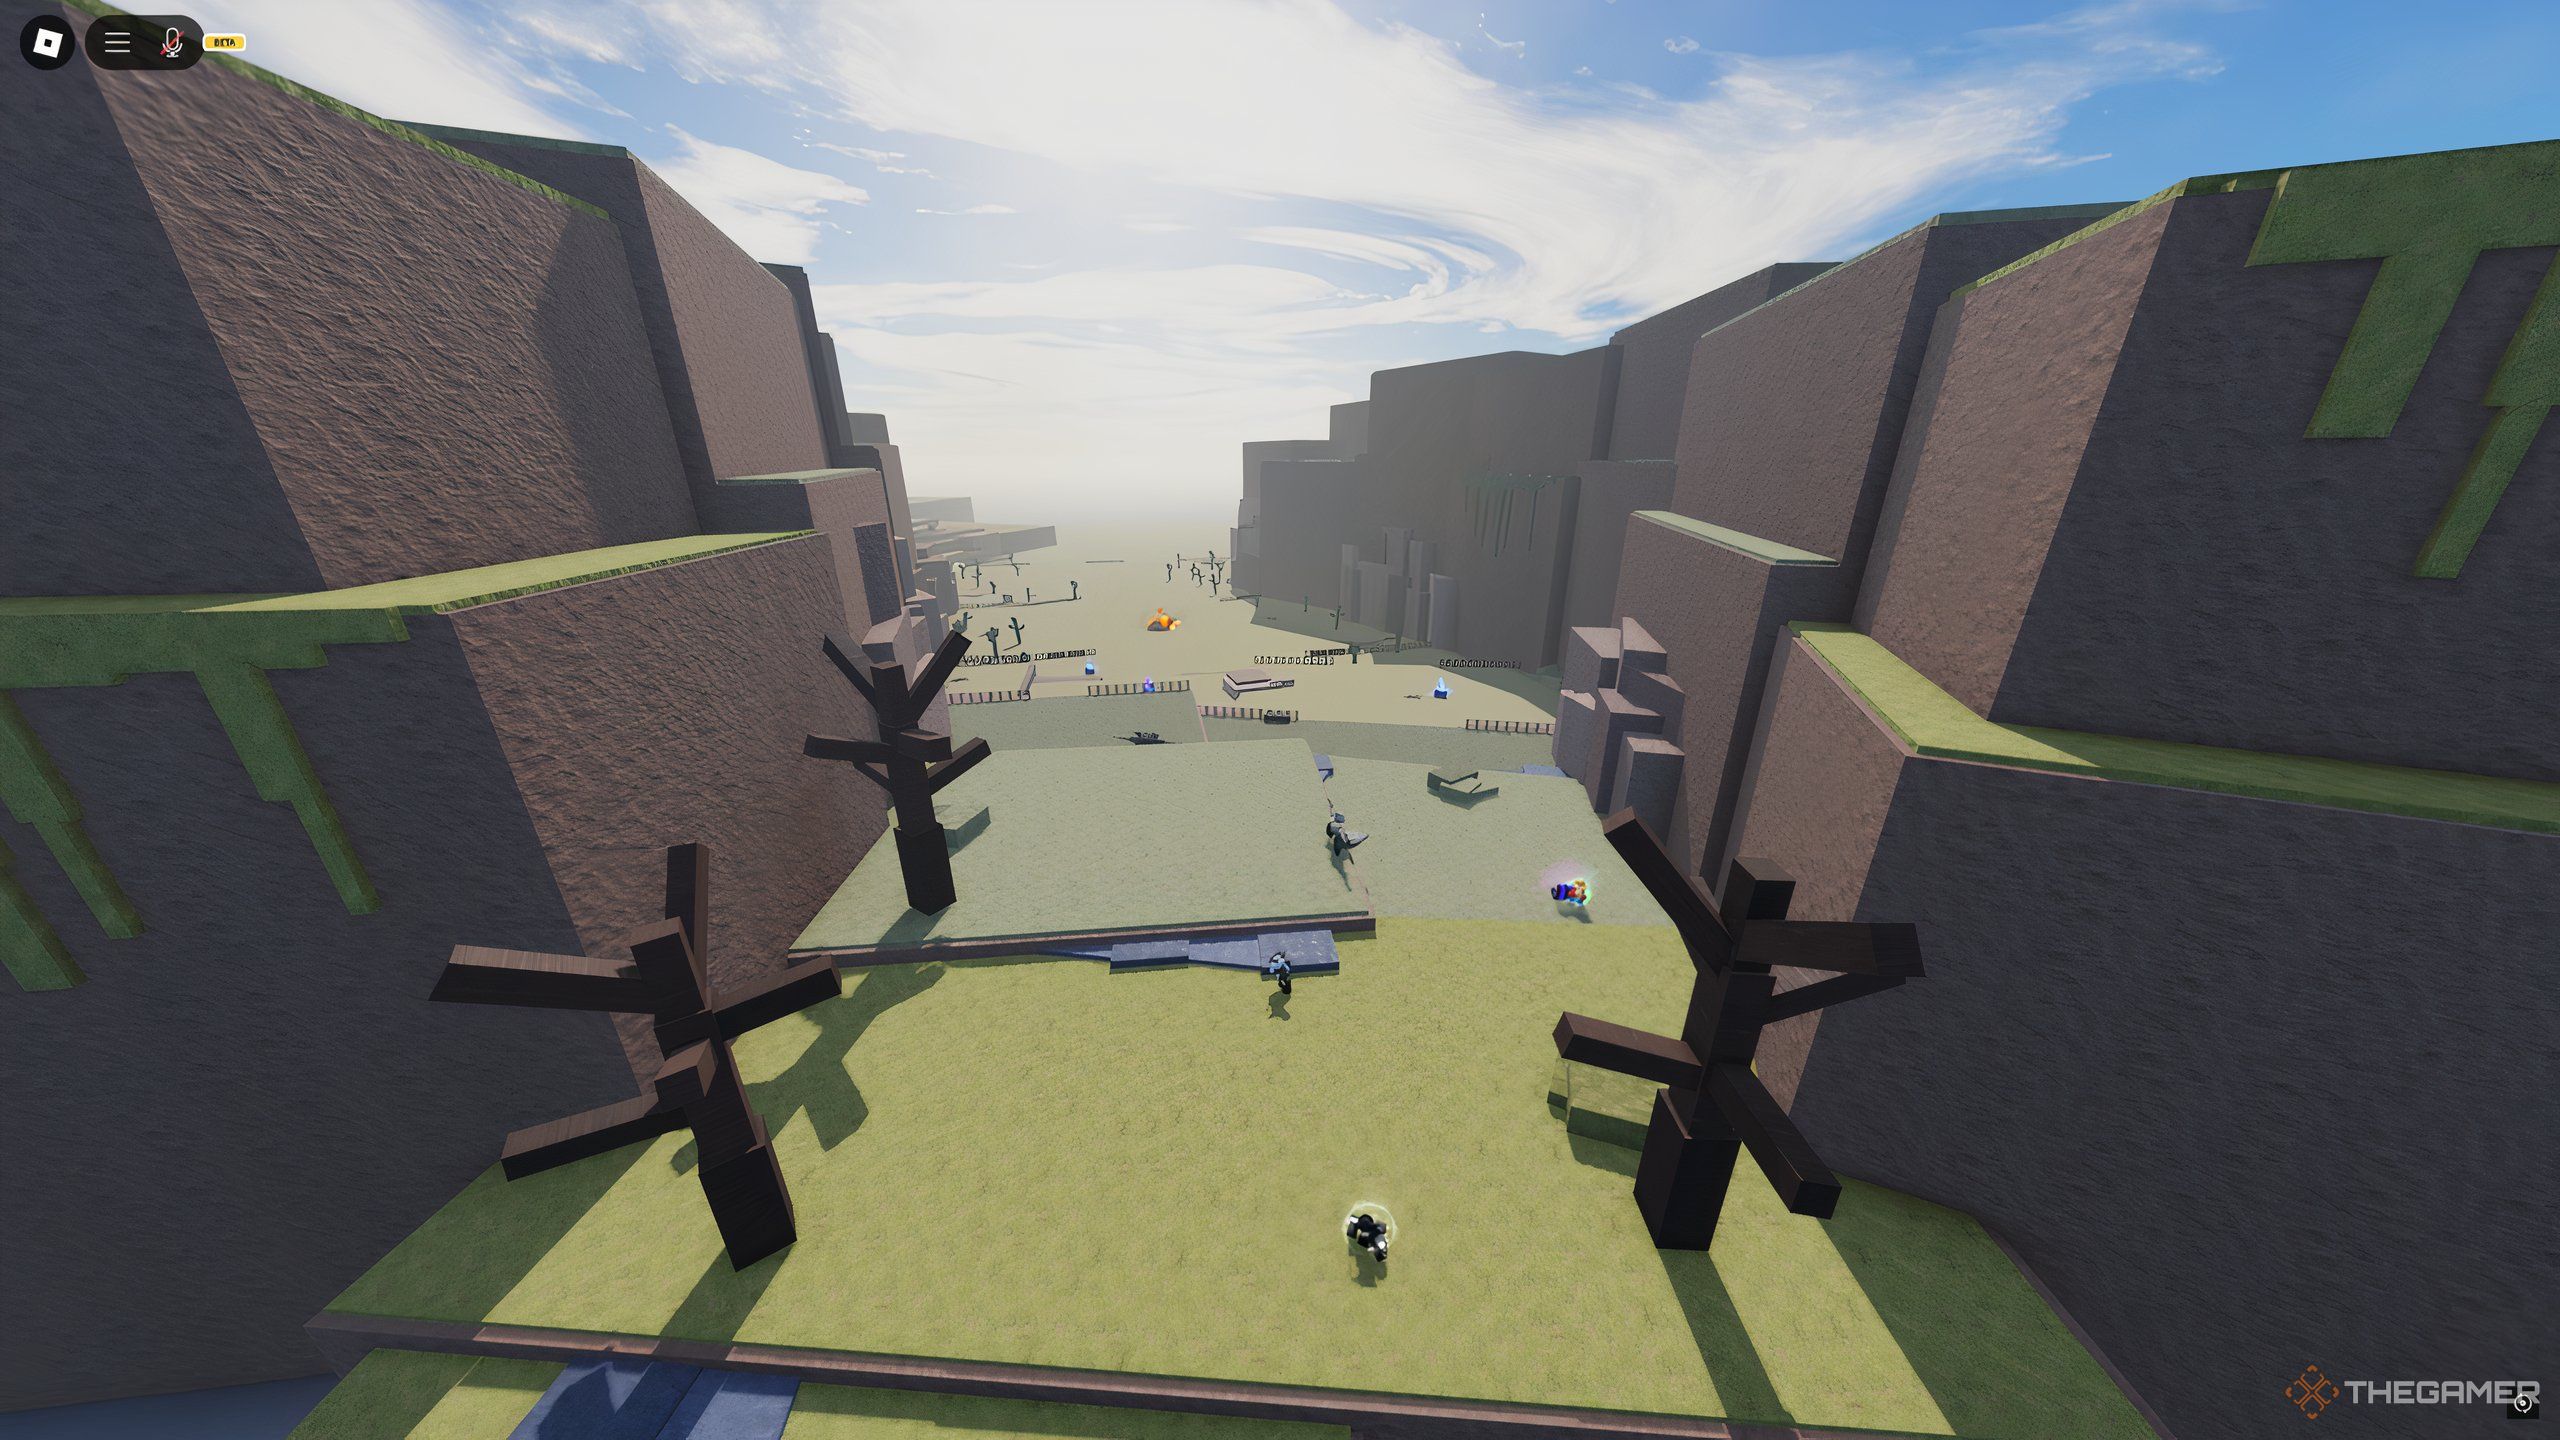
The first quest can be started upon talking to Gyro atop the waterfall, at the entrance to the Desert.
Tusk Act 1 Quest
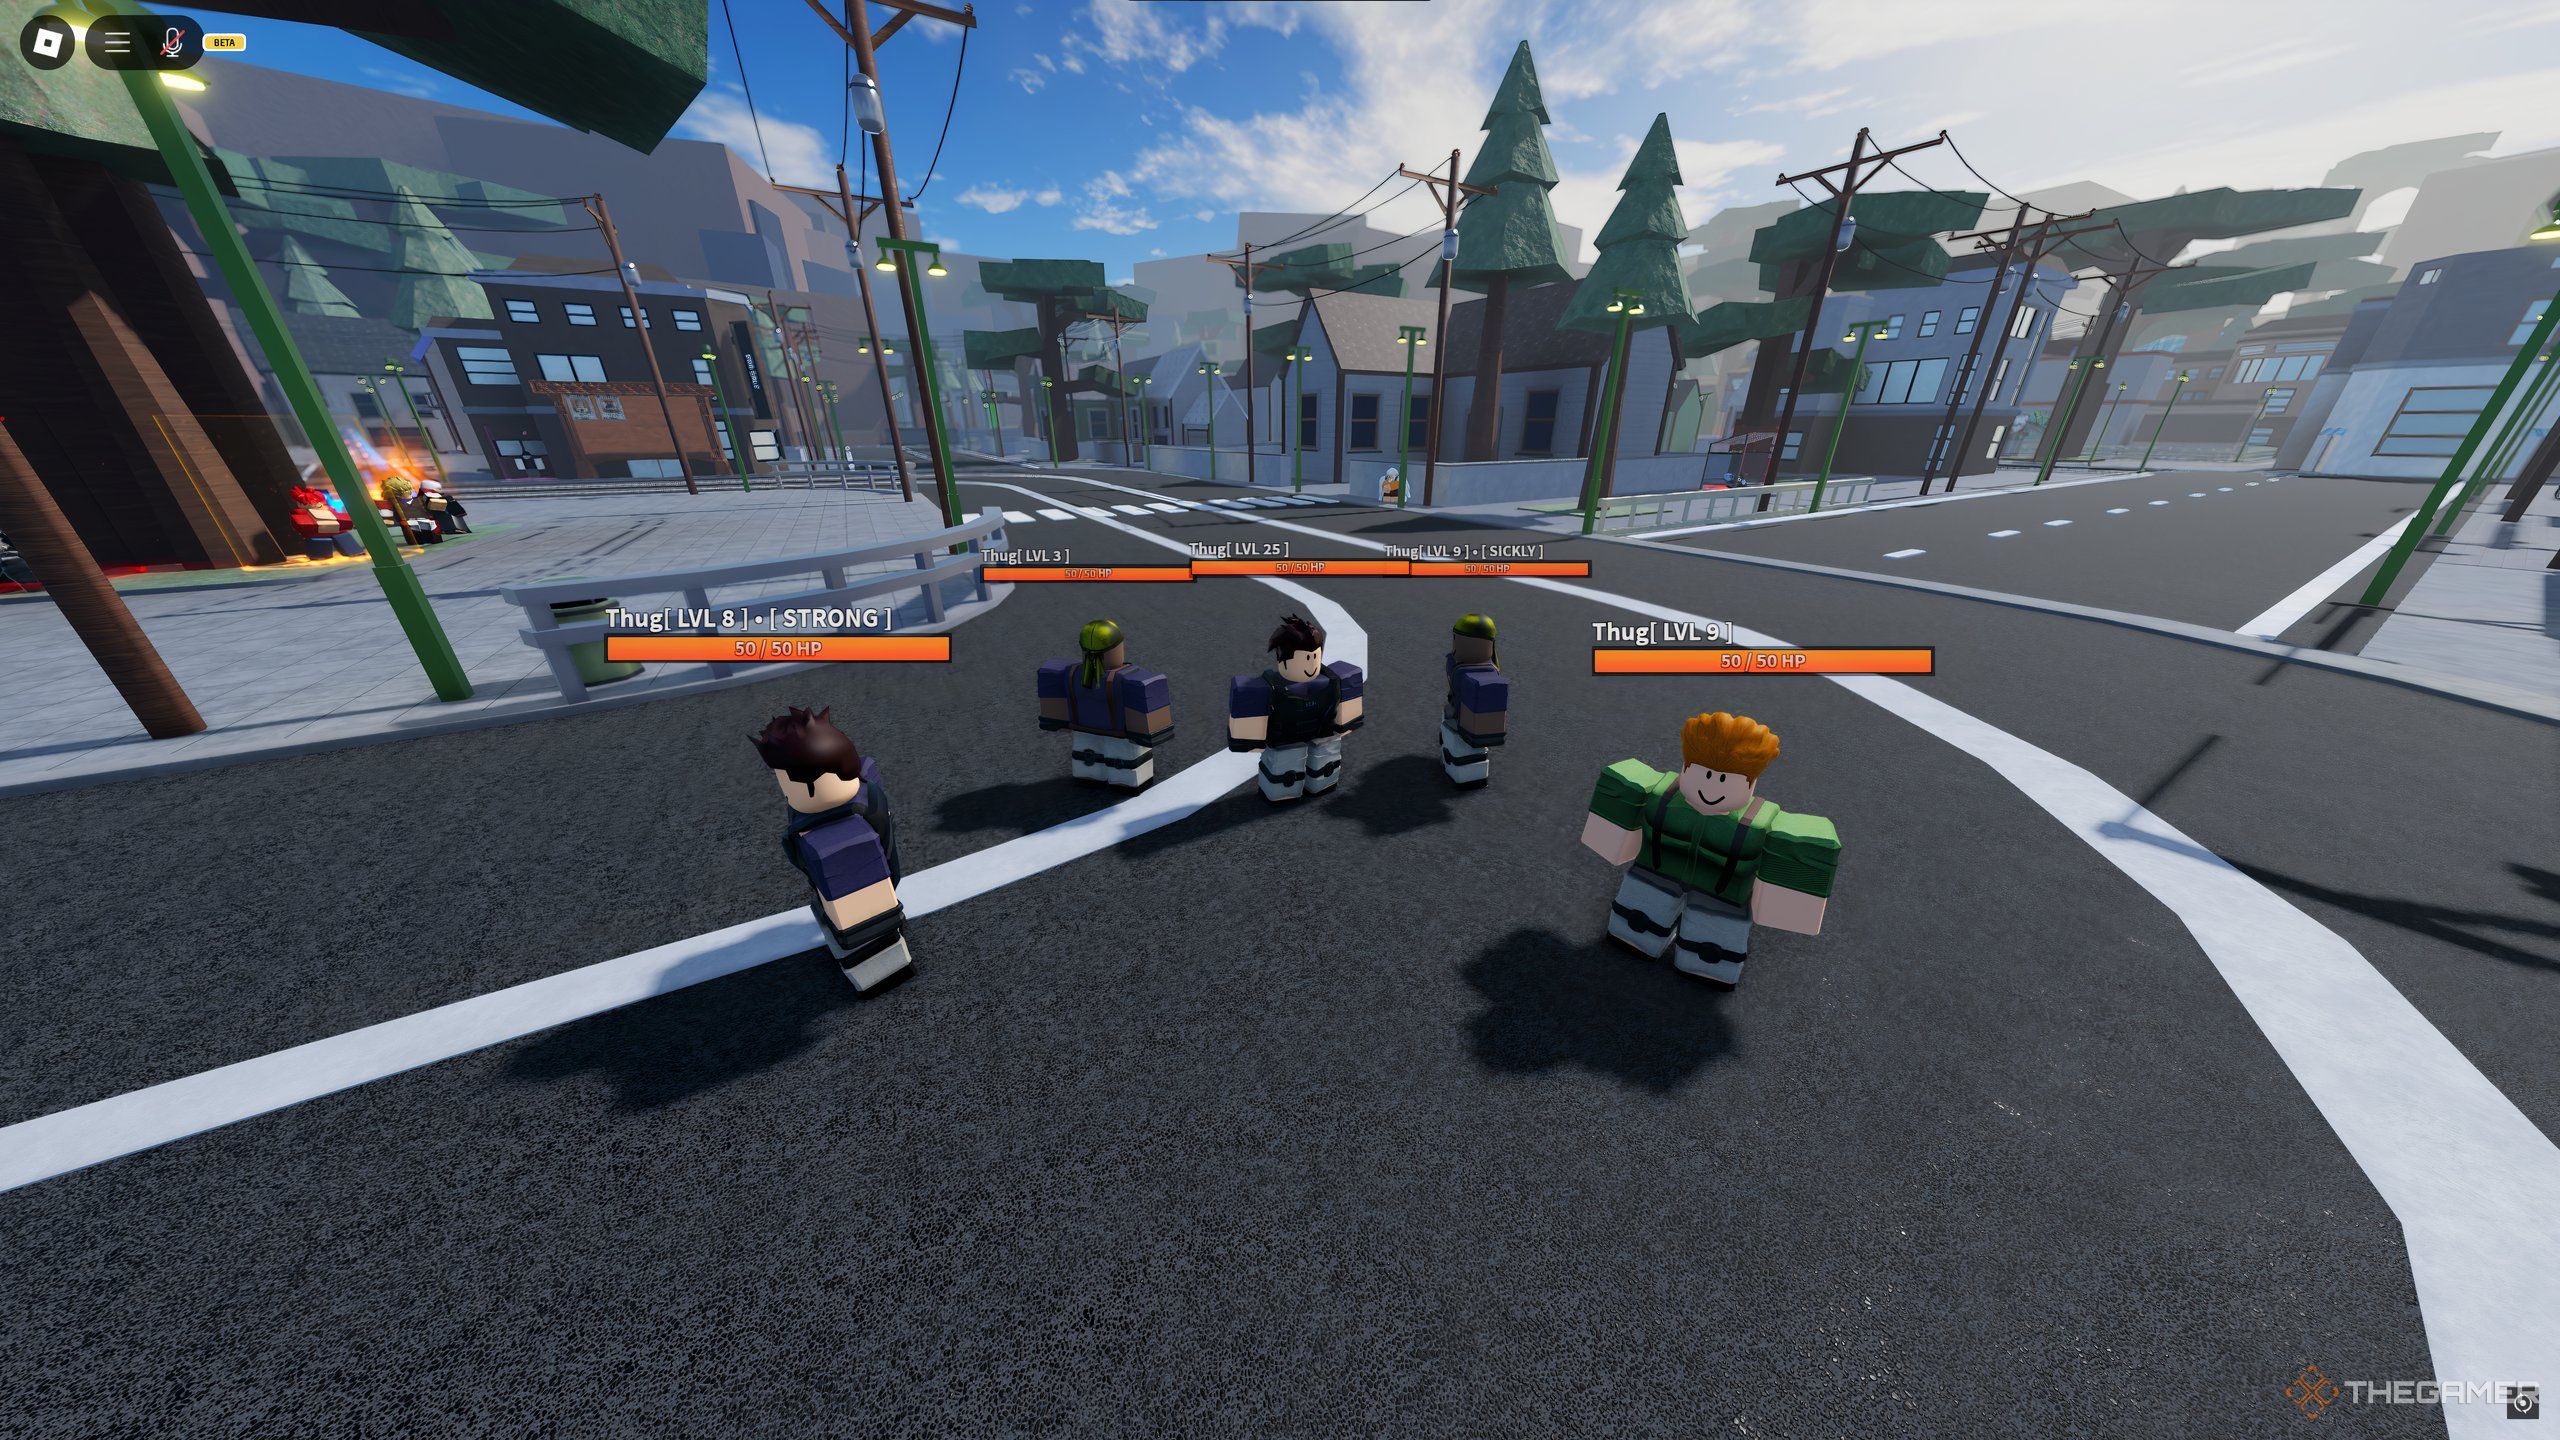
For this quest, you’ll need to kill 15 Thugs. These are the weakest enemies in the game, and they can be found around the spawn area.
Once you’ve defeated 15 of them, return to Gyro. He will give you a secret status effect called Temporary Spin Energy.
This status effect only means you’re now eligible to get Tusk Act 1, and now, you’ll need to find a rare item to actually obtain the stand.
How To Get A Saint’s Ribcage
Now, you’ll need a corpse part – the Saint’s Ribcage.
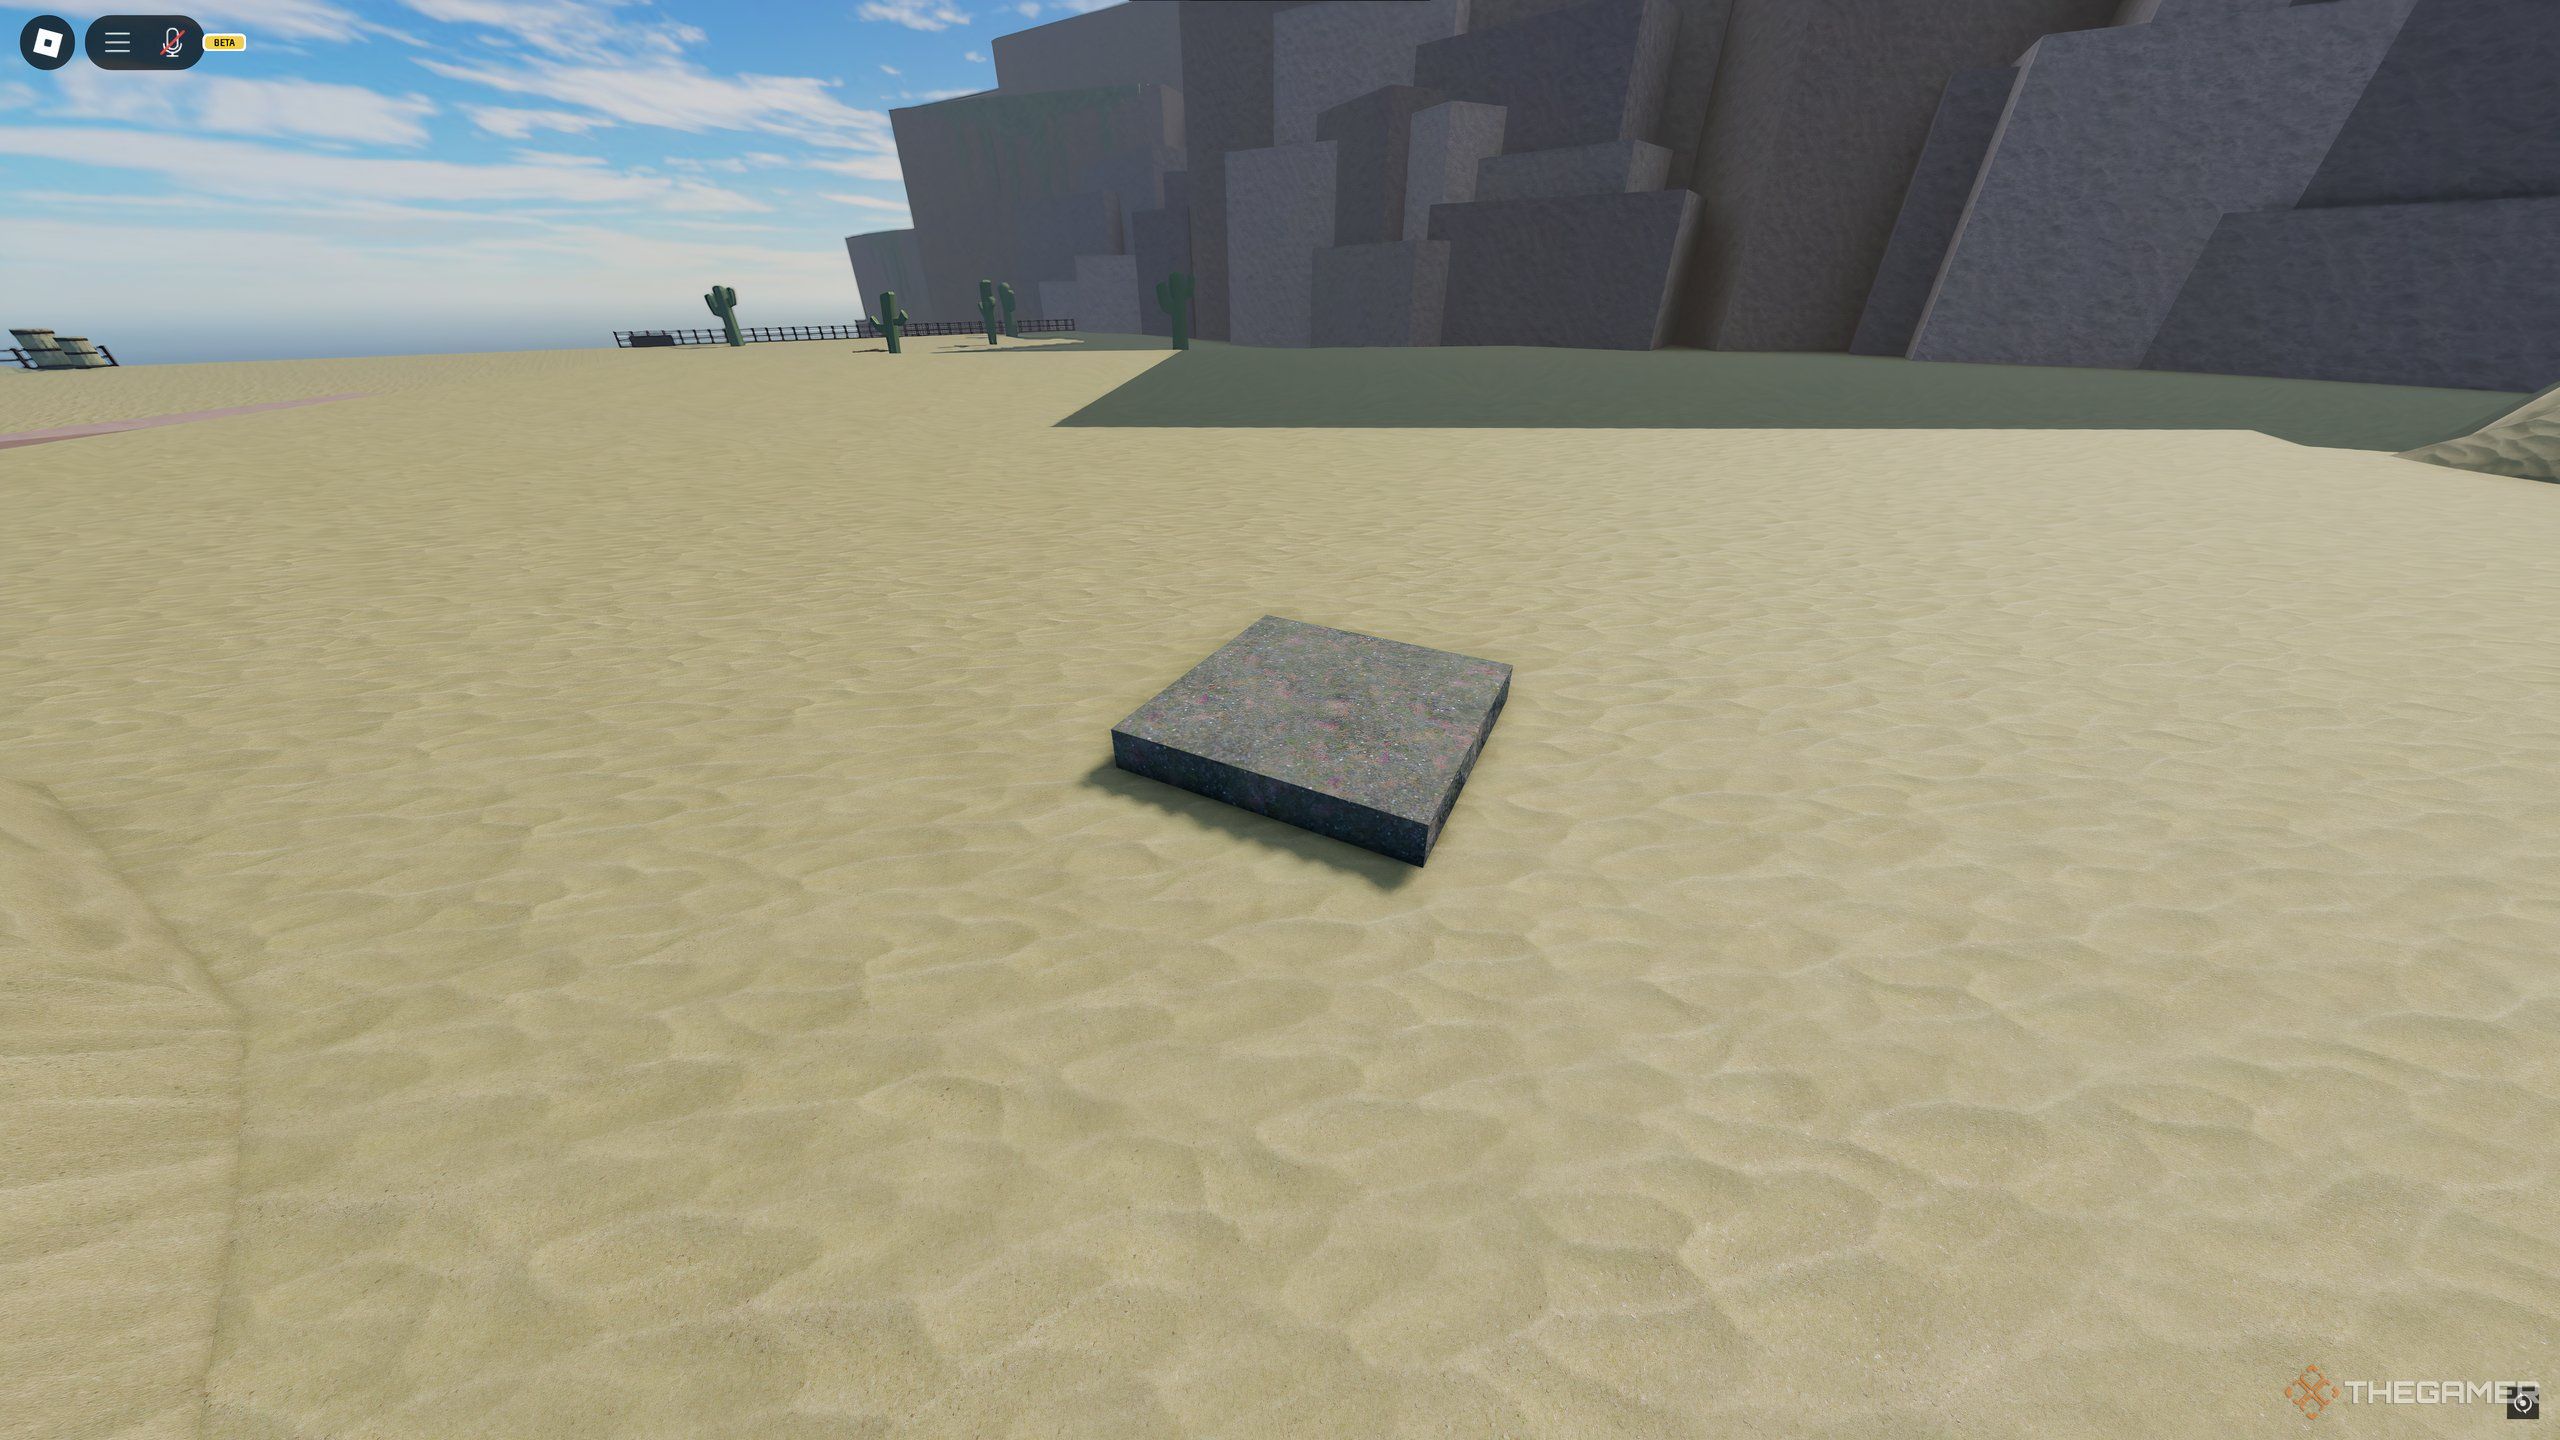
There are two ways to obtain one, the first one being digging in the Devil’s Palm. It’s an area in the Desert after the curses, where you take damage slowly. The Devil’s Palm has Sand Debris spawning around it, and there is a five percent chance of getting the Saint’s Ribcage every time you dig up some Sand Debris.
If you’ve got a strong Ability already, however, you can try your luck with the second route; Chests from curses. These enemies are the strongest regular enemies in the game, but upon killing a group of them, they may leave behind an Epic or Legendary Chest. The Saint’s Ribcage is an Epic item, so you can keep grinding these enemies until you get the Ribcage.
However you choose to obtain it, upon getting one, you’ll need to use it on Standless as you would an Arrow. You will then be awarded with Tusk Act 1.
Tusk Act 1 Moveset
All Tusks share the same moveset, except for Tusk Act 4. Each time you evolve it, new moves are added to replace old ones.
The moveset you get for Tusk Act 1 is as follows:
|
Move |
Description |
|---|---|
|
Lesson 3 |
Grab the enemy, and immobilize them, dealing heavy damage. |
|
Spin Charge |
Charge your Heat. |
|
Nail Barrage |
Standard barrage ending in a ragdoll. |
|
Tusk |
Long-ranged attack, sending three nails to your enemy. |
|
Lesson 2 |
Long-ranged attack, sending two nails to the enemy. If this enemy has gotten hit before by you, deal bonus damage. |
|
Herbal Tea |
Quick heal, can be held longer to heal more. |
|
Bloodshed |
Long-ranged attack, sending one strong nail at the enemy. |
|
Dark Determination |
Attack buff, lasting a long time. |
|
Nail Glide |
Mobility move, causing you to glide along the floor while held. |
Most of Tusk’s moveset relies on long-range attacks, so you’ll be using Nail Glide a lot to reposition yourself so you can line up the shots.
Dark Determination will be your Ace up your sleeve here. Use it as soon as you can.
How To Get Tusk Act 2
Now that you’ve got Tusk Act 1, you’ll first need to level it up to Level 200. This will take a while, so we recommend going to the Desert and fighting curses as early as Level 50. This will get you up to speed in no time, and there are no consequences for dying.
Once it’s maxed out, head to the dummies close to the entrance to the Port. There, Gyro will be waiting for you with another quest, and he will only speak to you if you’re Level 200 with Tusk Act 1.
Tusk Act 2 Quest
This quest is far more difficult, but it starts off relatively easy. You’ll need to do the following:
- Use the Nail Glide ability until you’ve traveled 1,000 meters with it.
- Kill 15 Thugs.
- Kill 15 Hooligans.
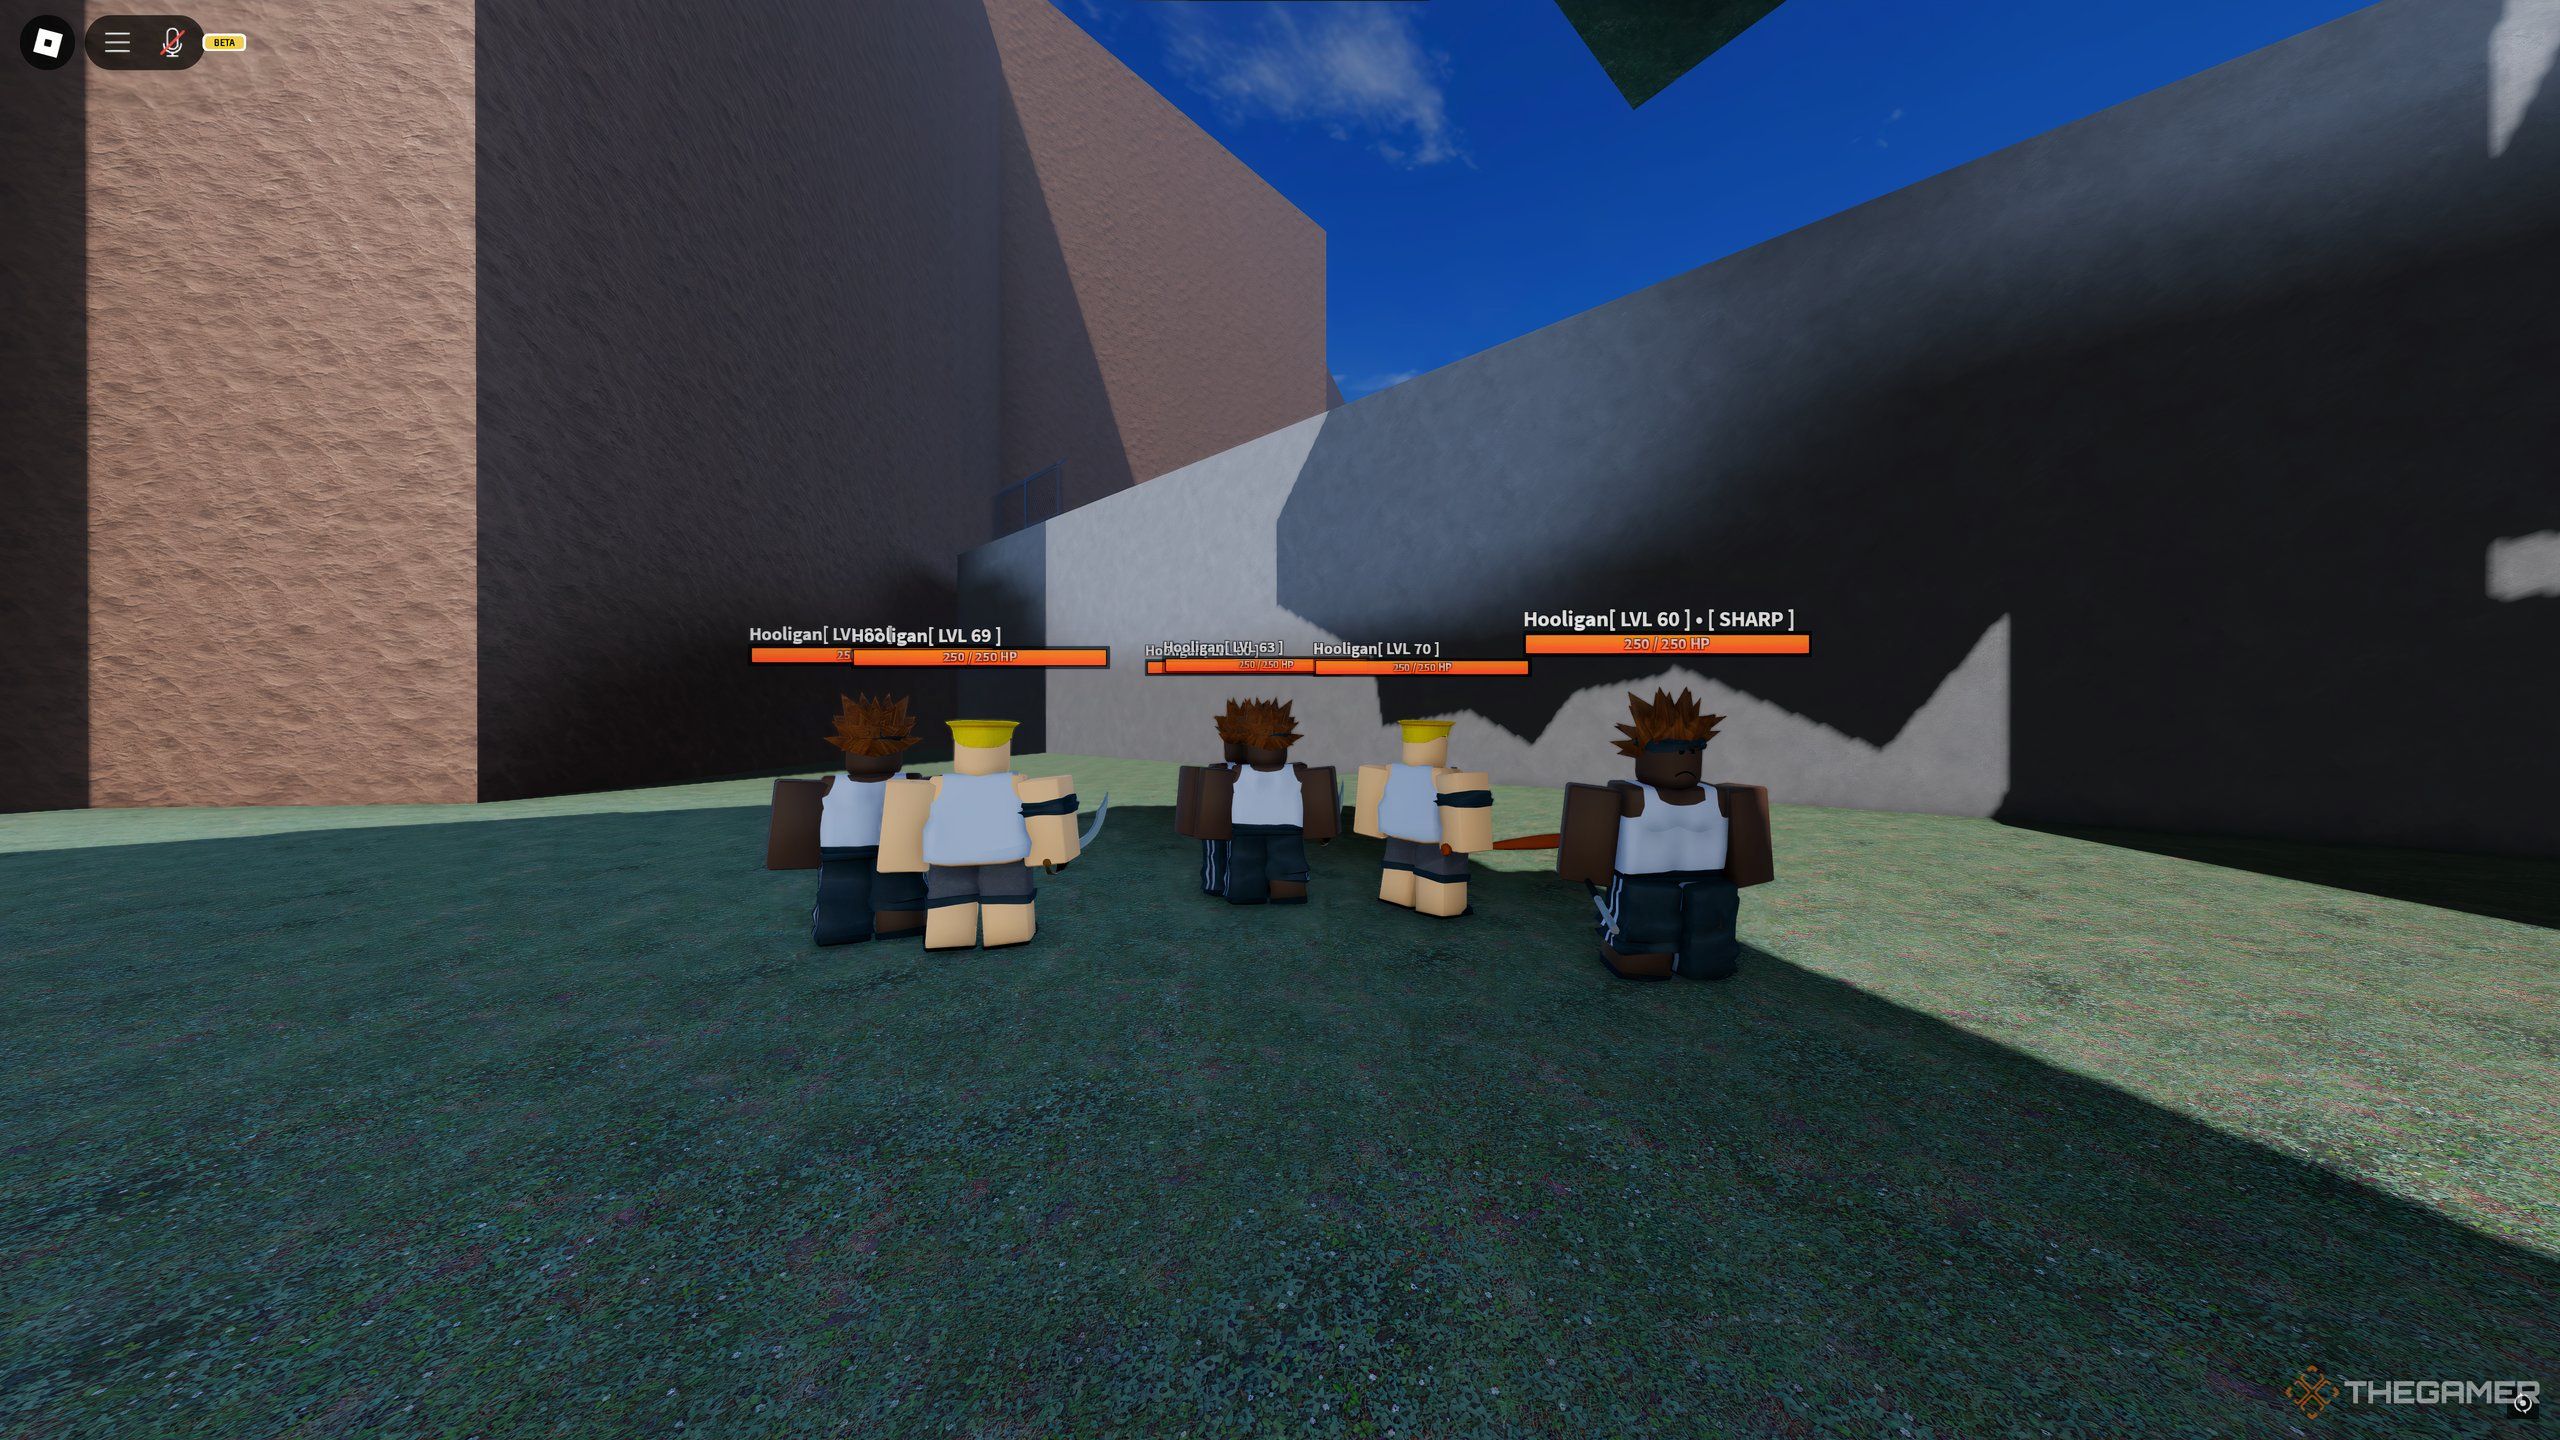
Hooligans spawn around the skate park area, and they’re not very strong either. For a Level 200 Tusk Act 1, this will be a breeze.
Once you’ve completed this, however, you will get another quest which is far more daunting than the last:
- Amass 250k Bounty using Tusk Act 1.
- Claim 250k Bounty using Tusk Act 1.
For this, you’ll need to fight players.
How To Amass And Claim Bounty
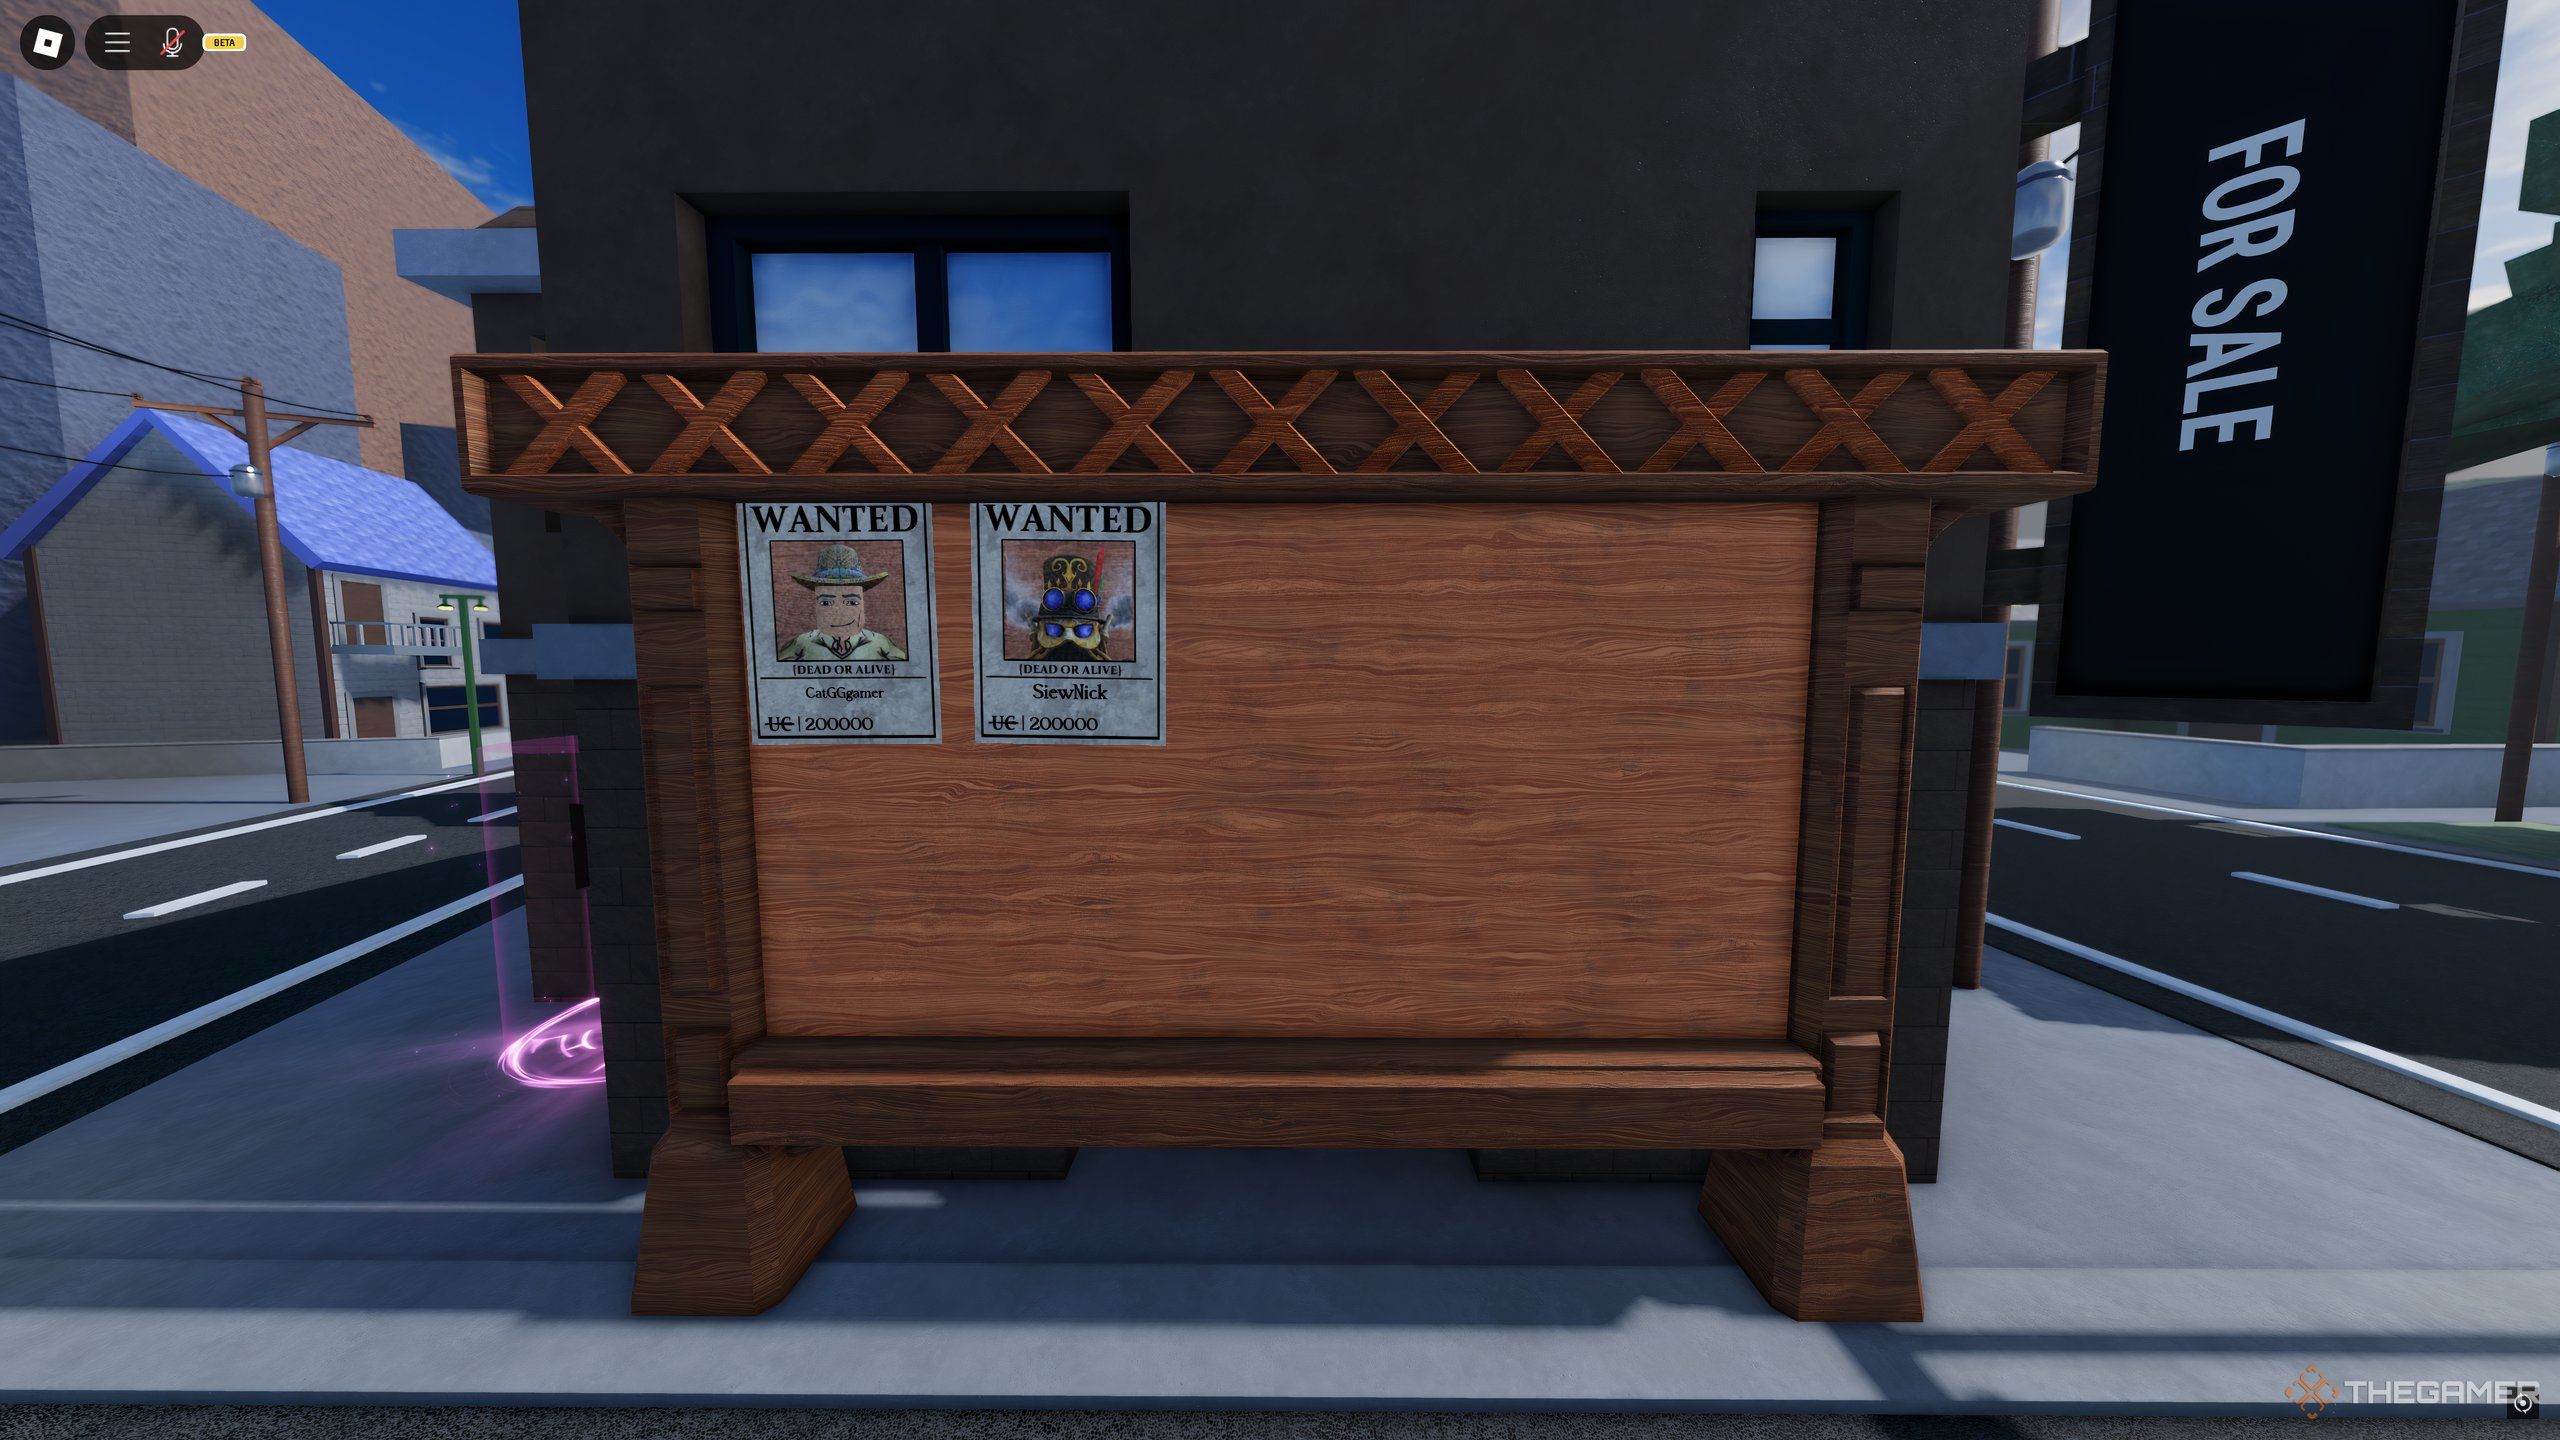
Once you’ve killed two players without dying, you will start gaining Bounty, at a rate of 50,000 per Bounty. This does not work on the same player more than once, so you will need to kill five different players across the map in order to amass a 250,000 Bounty.
If you’re good at combat, this isn’t too hard, but afterwards you’ll need to find someone who also killed five players and thus has a 250,000 Bounty themselves.
If you’ve completed the first task, you can just focus on killing the player with 250,000 Bounty without worrying about your own Bounty, but this will not be easy in the slightest for solo players.
For these reasons, we strongly recommend getting a couple of friends to help you out. You can also try to negotiate with the people in your game. Tusk is very popular, so you will definitely find competition on the server for this quest to be completed, thus you’ll need some friends to also defend you from players looking to claim your Bounty.
If you’ve made it through this quest, go back to Gyro and claim the Saint’s Arms. Upon use, these will transform your Act 1 into Act 2.
Tusk Act 2 Moveset
Tusk Act 2’s moveset is the same as the previous Act, with one changed ability:
|
Old Move |
Replacement Move |
Description |
|---|---|---|
|
Tusk |
Lesson 4 |
Charge a Steel Ball and shoot it forward for decent damage. |
Basically, the three strikes from Tusk are replaced with one strong one, the tactic here stays the same.
How To Get Tusk Act 3
This is the only Tusk Act that does not have a quest tied to it, and instead, you’ll need to do two things:
- Reach Ascension 2.
- Use the Dark Determination move.
How To Reach Ascension 2
This isn’t difficult, but it does take a very long time. Ascensions can be done when a Stand reaches Level 200, after which Ascending will send you back to Level 1 with that Stand, whilst keeping all the moves you unlocked. Each Ascension costs 1,000,000 UCoins, too, so you’ll need to sell some items you find from the Chests you’ll get whilst grinding to the Black Merchant.
Since you’re keeping your moves upon Ascending, you can use Dark Determination right as you hit Ascension 2. It’s not guaranteed to evolve Tusk, however, as the transformation has a 40 percent chance of occurring, but this will eventually grant you Tusk Act 3.
Tusk Act 3 Moveset
This moveset adds two new powerful moves:
|
Old Move |
Replacement Move |
Description |
|---|---|---|
|
Lesson 4 |
Wormhole Trap |
Trap an enemy in your sight, rooting them. If it lands, deal a heavy blow. |
|
Bloodshed |
Point of Infinity |
Long-ranged attack, firing five nails at the enemy at faster speeds. |
Lesson 4 here is not out of your moveset, however, it’s just been moved to another keybind.
These two make landing shots so much easier, especially the Wormhole Trap. Point of Infinity starts acting as a semi-ultimate, considering it deals the most damage out of your moveset.
How To Get Tusk Act 4
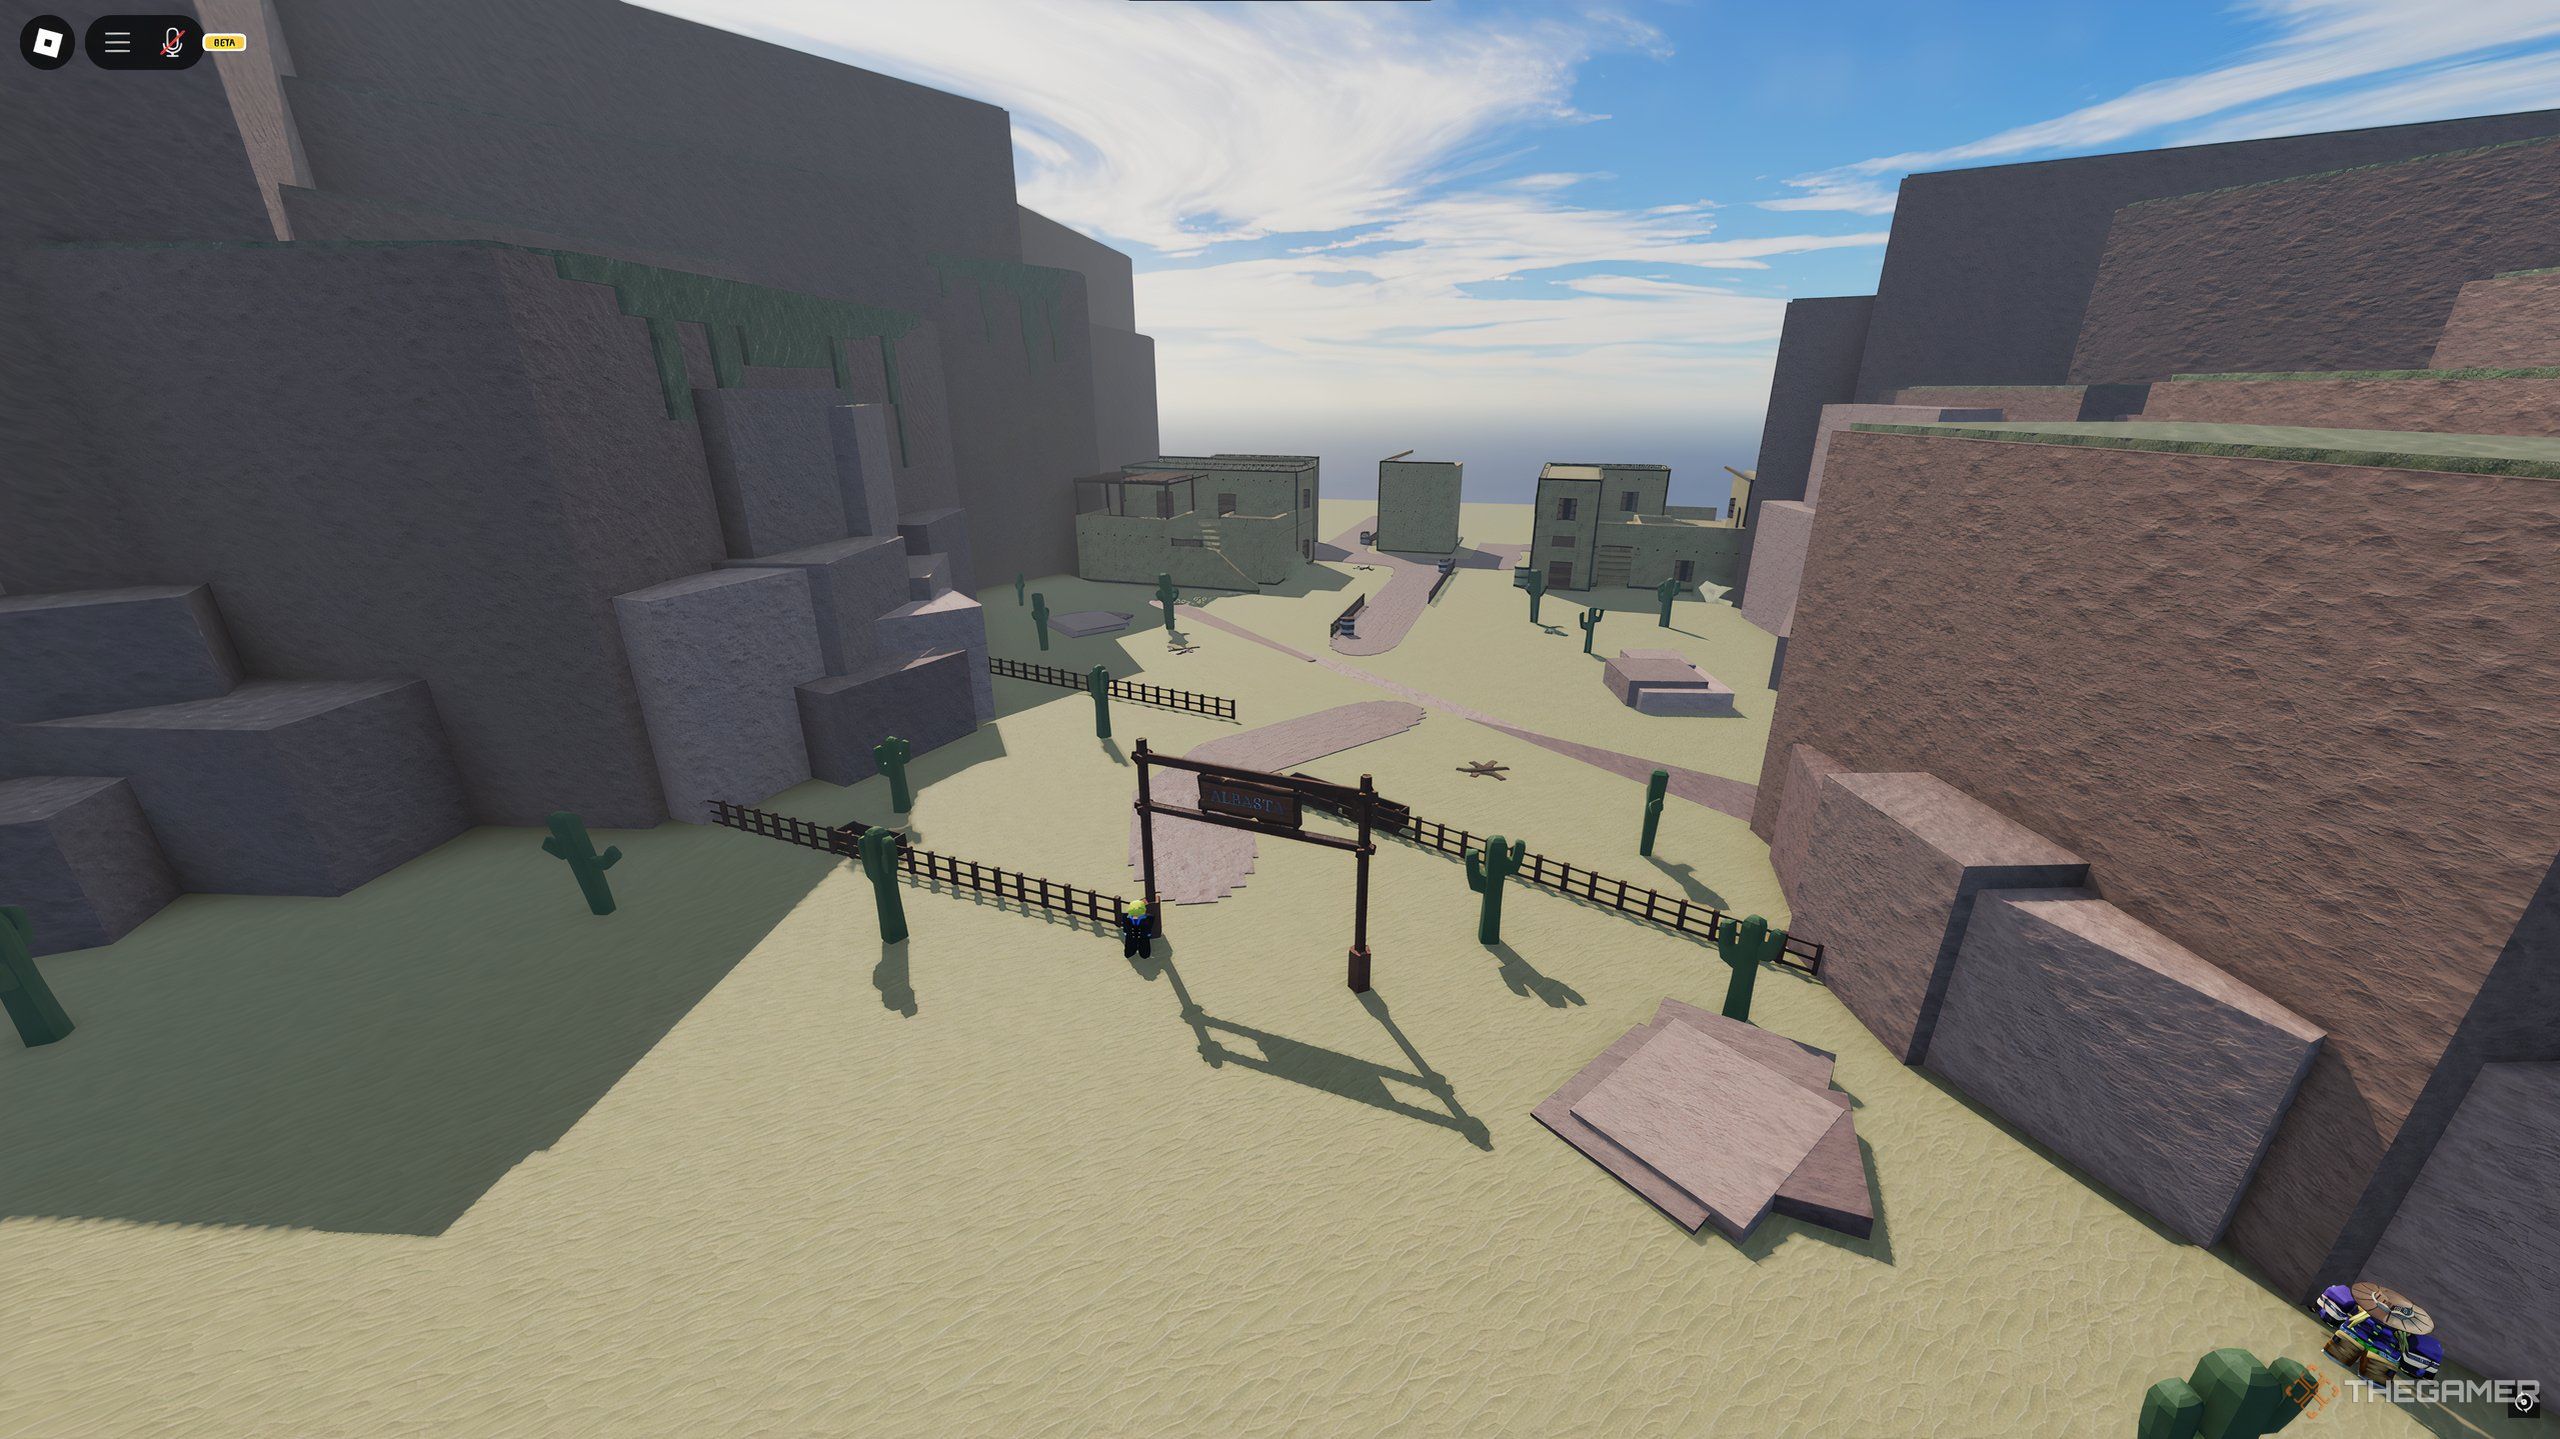
We’re in the home stretch, as Tusk Act 4’s quest leads us back to Gyro one last time. Gyro will be waiting in the Desert, in front of Alabasta Town, which is between the curses and the Devil’s Palm. For the quest to begin, you will need to once again level up your Tusk Act 3 to Level 200.
Tusk Act 4 Quest
The quest Gyro gives you starts off simply, asking only for you to defeat 35 Hooligans. Tusk Act 3 is still one of the strongest Stands in the game, so it’ll make quick work of these enemies.
After this, returning to Gyro will continue the quest. Gyro suspects Funny Valentine committed murder in Alabasta Town, so you’ll need to collect evidence throughout the town.
This is time-limited, as you only have seven and a half minutes to collect it all. Not to worry, however, as the town is very small with only three buildings. The clues will be laid out very obviously, with each one spawning after the previous was collected. You’ll need to find:
- The Blood Stains.
- The Dirty Napkin.
- The Corpse Parts.
- The Flag.
After all of this is done, going back to Gyro will begin the finale of the questline.
How To Defeat Funny Valentine
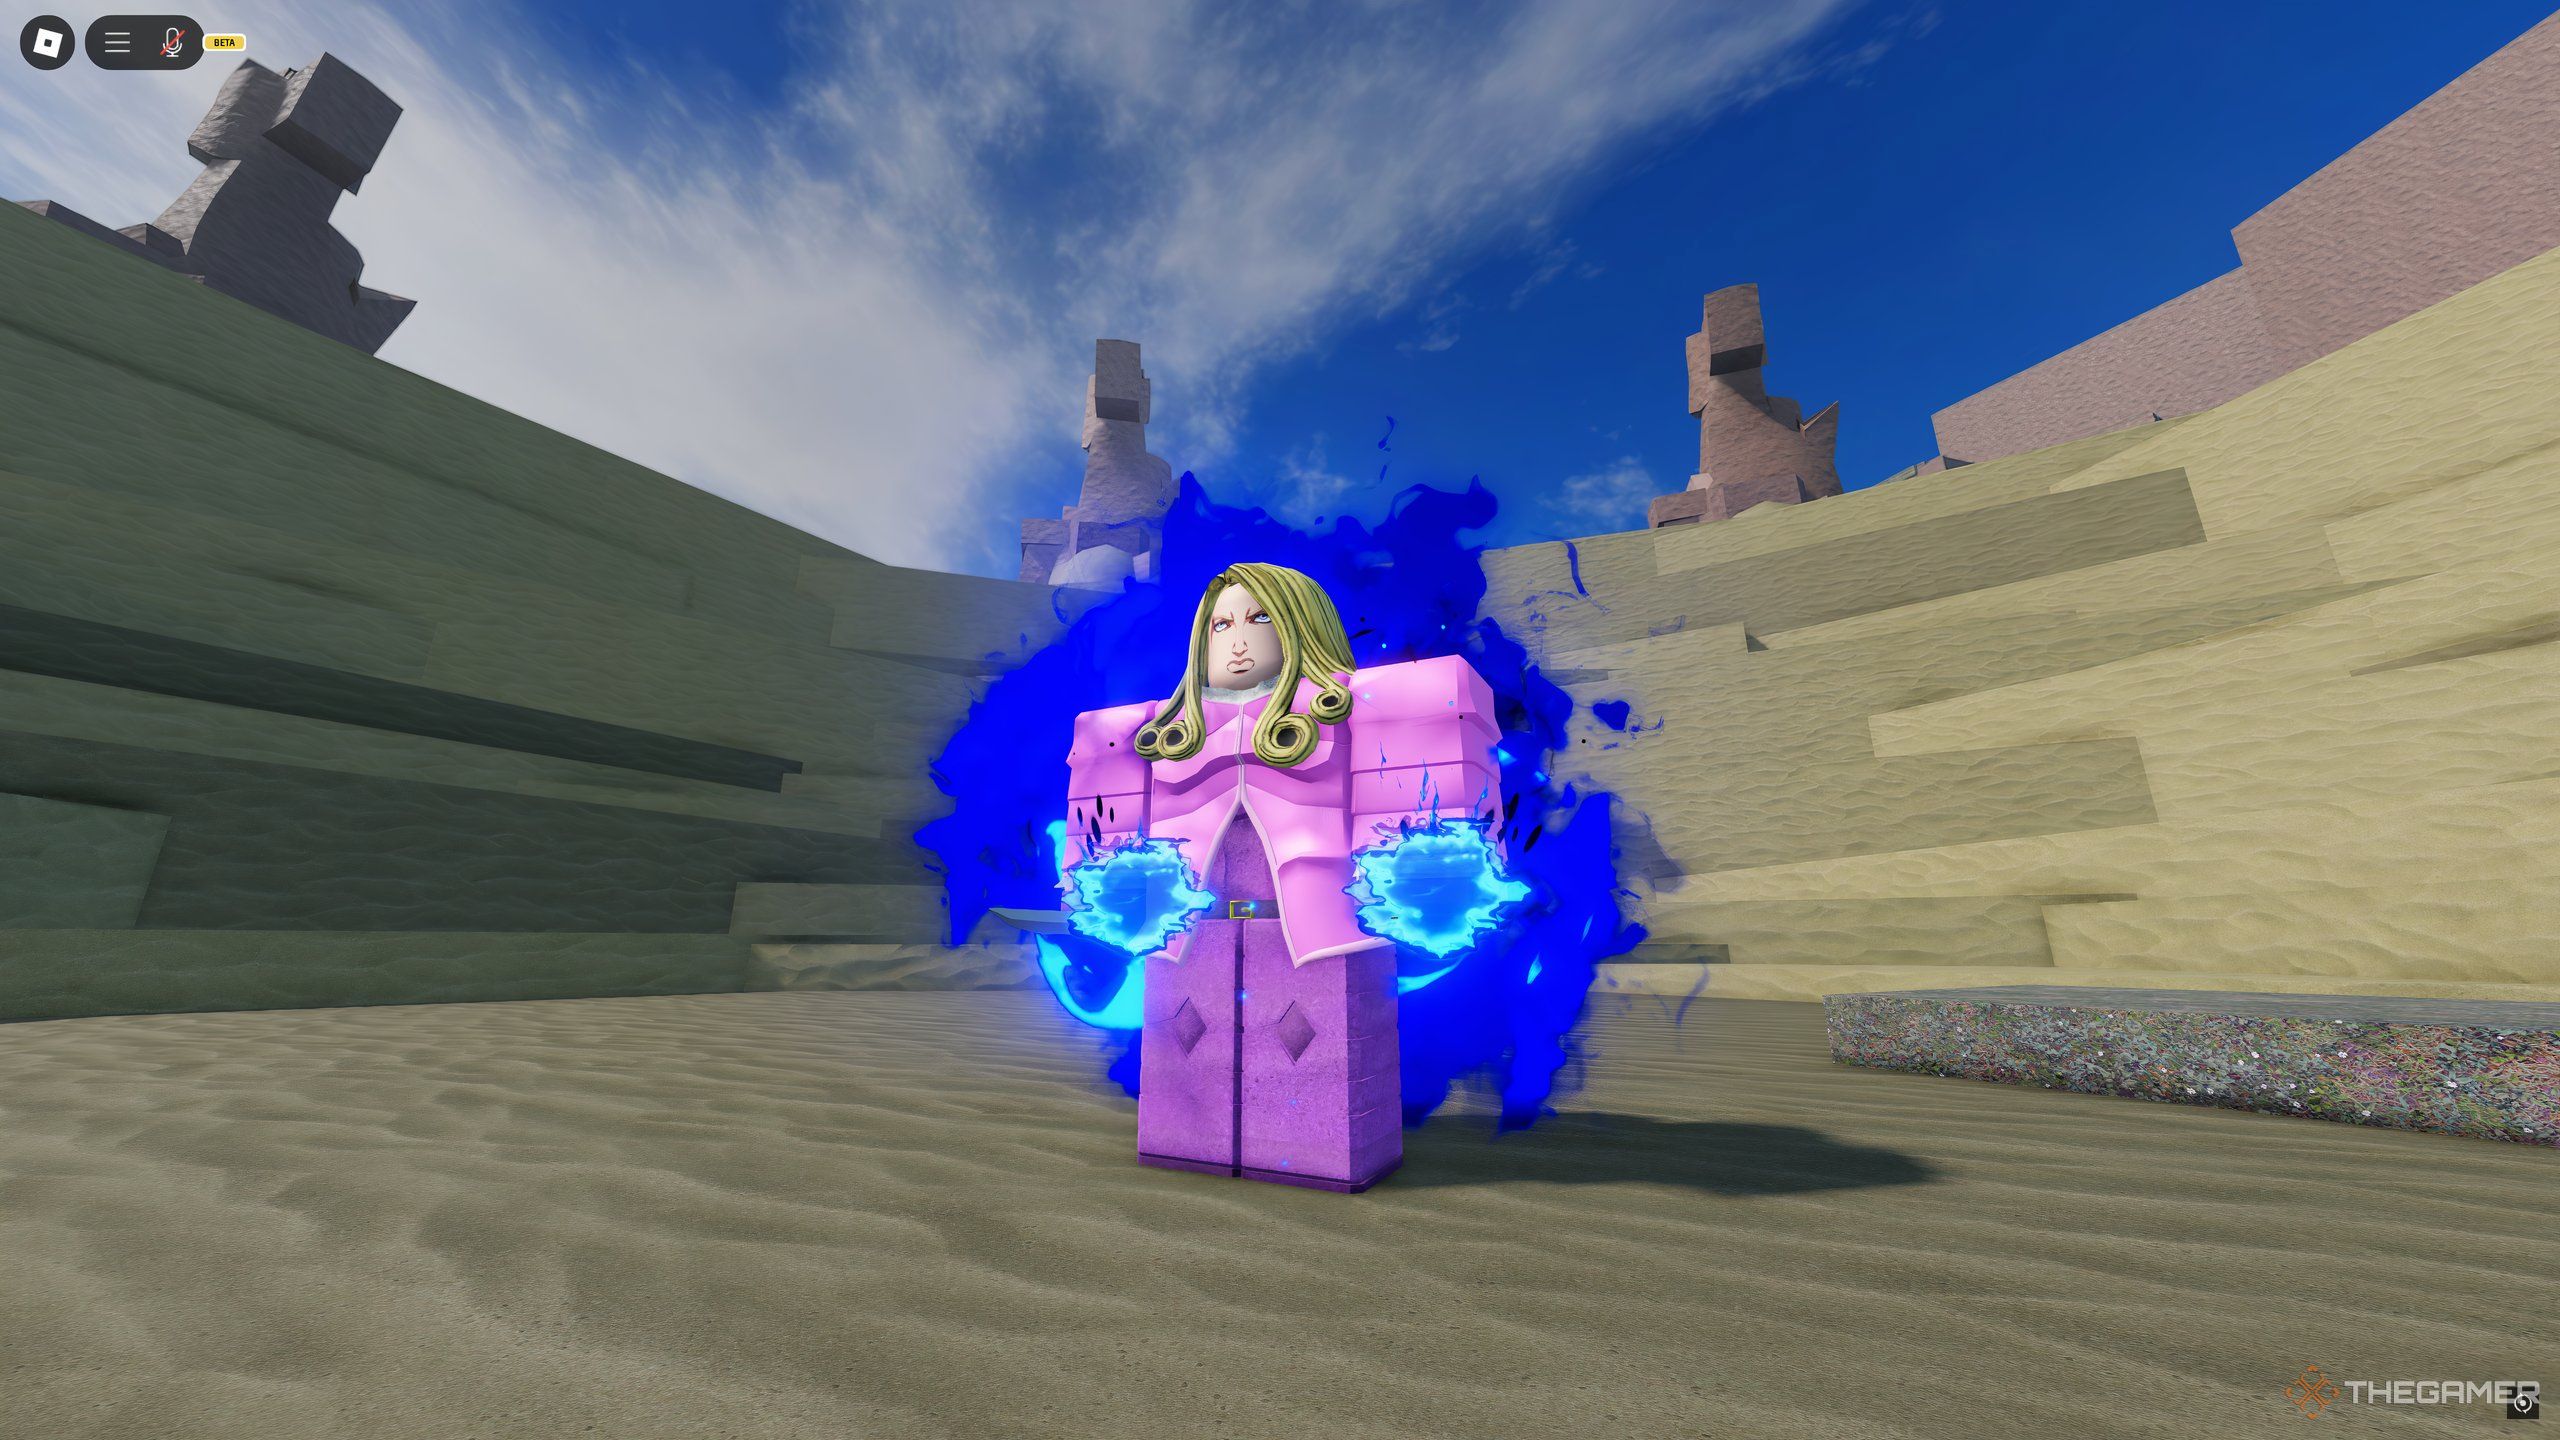
Funny Valentine is the final boss of the questline. He spawns in the Devil’s Palm, at the bottom of it, at the beginning of every real-world hour. He has 30,000 HP and drops nothing, so his only purpose is to be the final obstacle between you and Tusk Act 4.
You must beat him with Tusk Act 3, keeping in mind that the Devil’s Palm does tick damage slowly, so you will need to do this quickly too.
He uses his signature Stand, D4C. Keep away from the clones, as they explode on contact, and just try to deal as much damage as you can before you die. Chip away at his health, and do your best to keep your distance so you can line up those shots.
You can come back after you’ve died; his health will not reset, so you’ll keep the progress you made.
Finally, upon beating Funny Valentine, your Tusk Act 3 will evolve into Tusk Act 4, and this is where the questline ends.
Tusk Act 4 Moveset
The only abilities that you keep from the previous Acts are Lesson 3, Herbal Tea, and Dark Determination. Tusk Act 4 has a completely revamped moveset, and a new special moveset for having the stand on.
The Stand off moveset is the one that keeps the moves from previous Acts, and it has the following new moves:
|
Old Move |
Replacement Move |
Description |
|---|---|---|
|
Spin Charge |
Summon |
Summons the Stand, changing the moveset. |
|
Nail Barrage |
Nail Breakthrough |
Dash forwards, grabbing your enemy. If landed, Tusk appears to land a devastating blow. |
|
Wormhole Trap |
Final Point |
Long-ranged attack, firing three nails with the last one dealing bonus damage. |
|
Lesson 2 |
Spinning Continuum |
Long-ranged attack, firing a Steel Ball which deals heavy damage. |
|
Point Of Infinity |
Wormhole Pursuit |
Automatically target nearby enemies for a ragdoll, which can be recast to slam them down. |
|
Nail Glide |
Below The Road |
Long-ranged attack, firing very fast nails at an enemy. |
And, there are two entirely new moves for this moveset:
|
Move |
Description |
|---|---|
|
Nail Shot |
Long-ranged attack, which can be held down for higher damage. |
|
Glorious Rebound |
Counter-attack – if you’re attacked while it’s active, you reflect all the damage you just took. |
And here is the new Stand on moveset:
|
Move |
Description |
|---|---|
|
Summon |
Makes the Stand go away, changing the moveset. |
|
Cataclysmic Assault |
Grab the enemy, perform a powerful combo, and end with a ragdoll. |
|
Barrage |
Standard barrage, ragdolls the enemy with the final blow |
|
Fatal Strike |
AOE attack where Tusk slams the surrounding ground. |
|
Wormhole Retrieval |
Send Tusk in a straight line forward. If it connects with an enemy, teleport them in front of you. |
|
The Sacrifice |
Send the enemy into a cutscene where you decimate them with a barrage of attacks. |
|
Lesson 5 |
Ultimate attack – perform a long beatdown that deals incredible damage. One of the strongest moves in the entire game. |
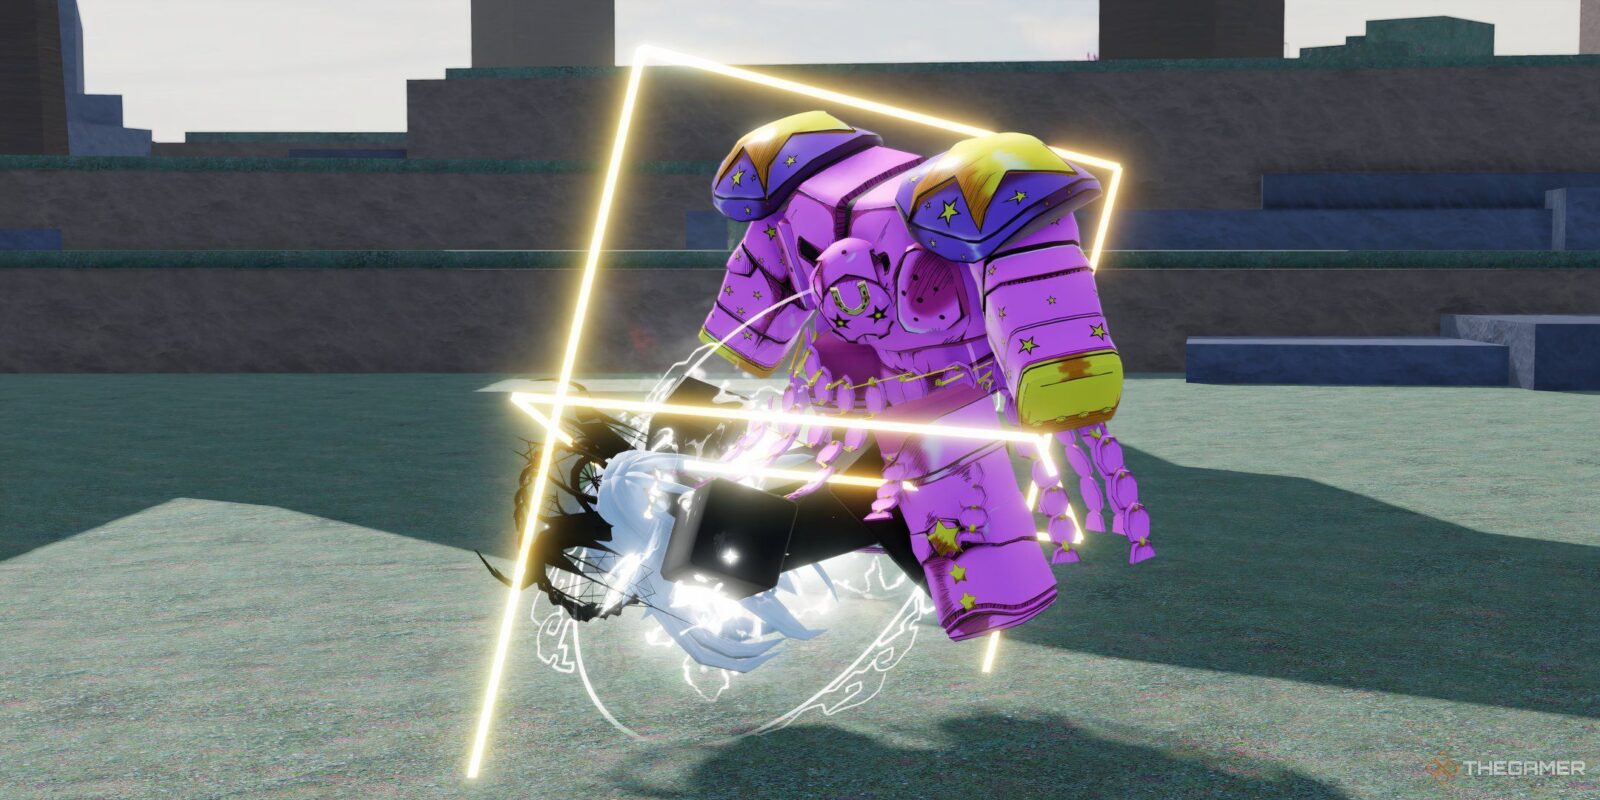
Tusk Act 4 is the ultimate Stand. It has some of the strongest moves in the game, and a little bit of everything; short and long range, AOE, quick moves, beatdowns, mobility and utility. Lesson 5 executes enemies if they’re low on HP, and the rest of the moves leave very little space for them to fight back. It truly lives up to the powers from the original story.






Leave a Reply