Quick Links
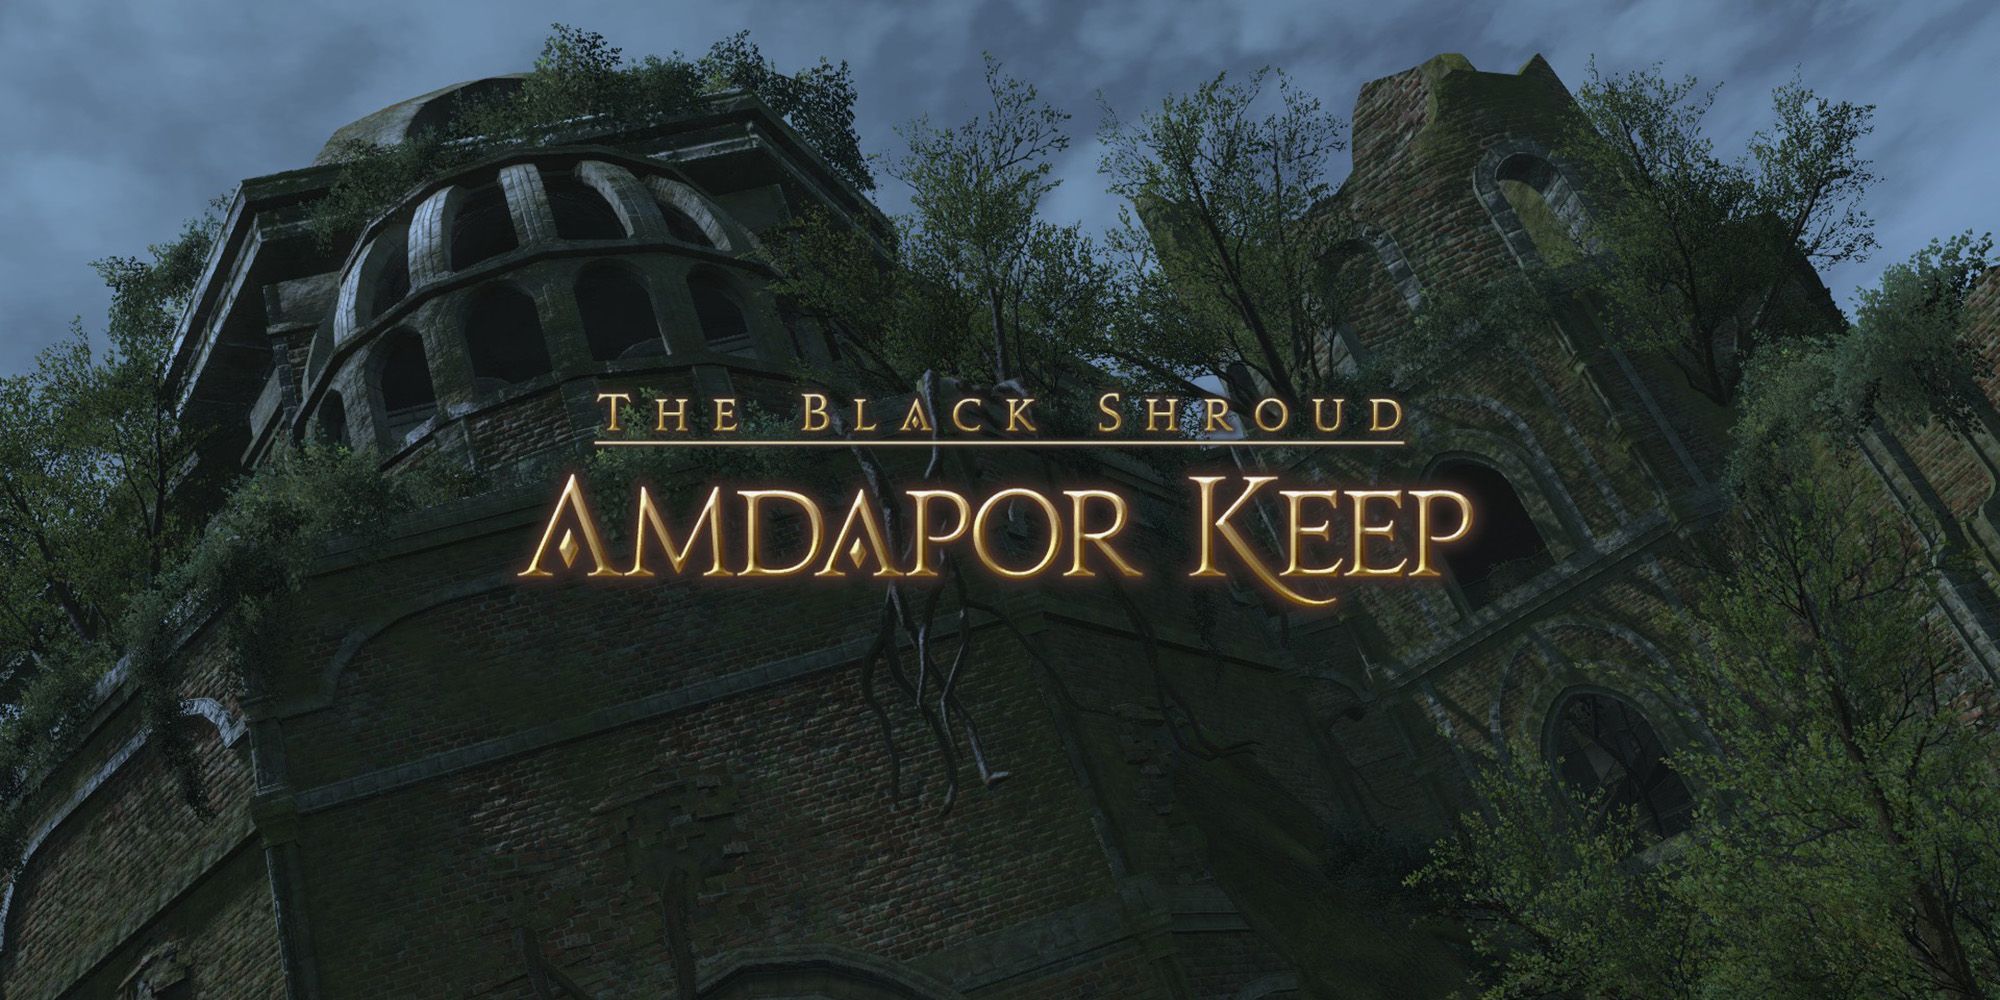
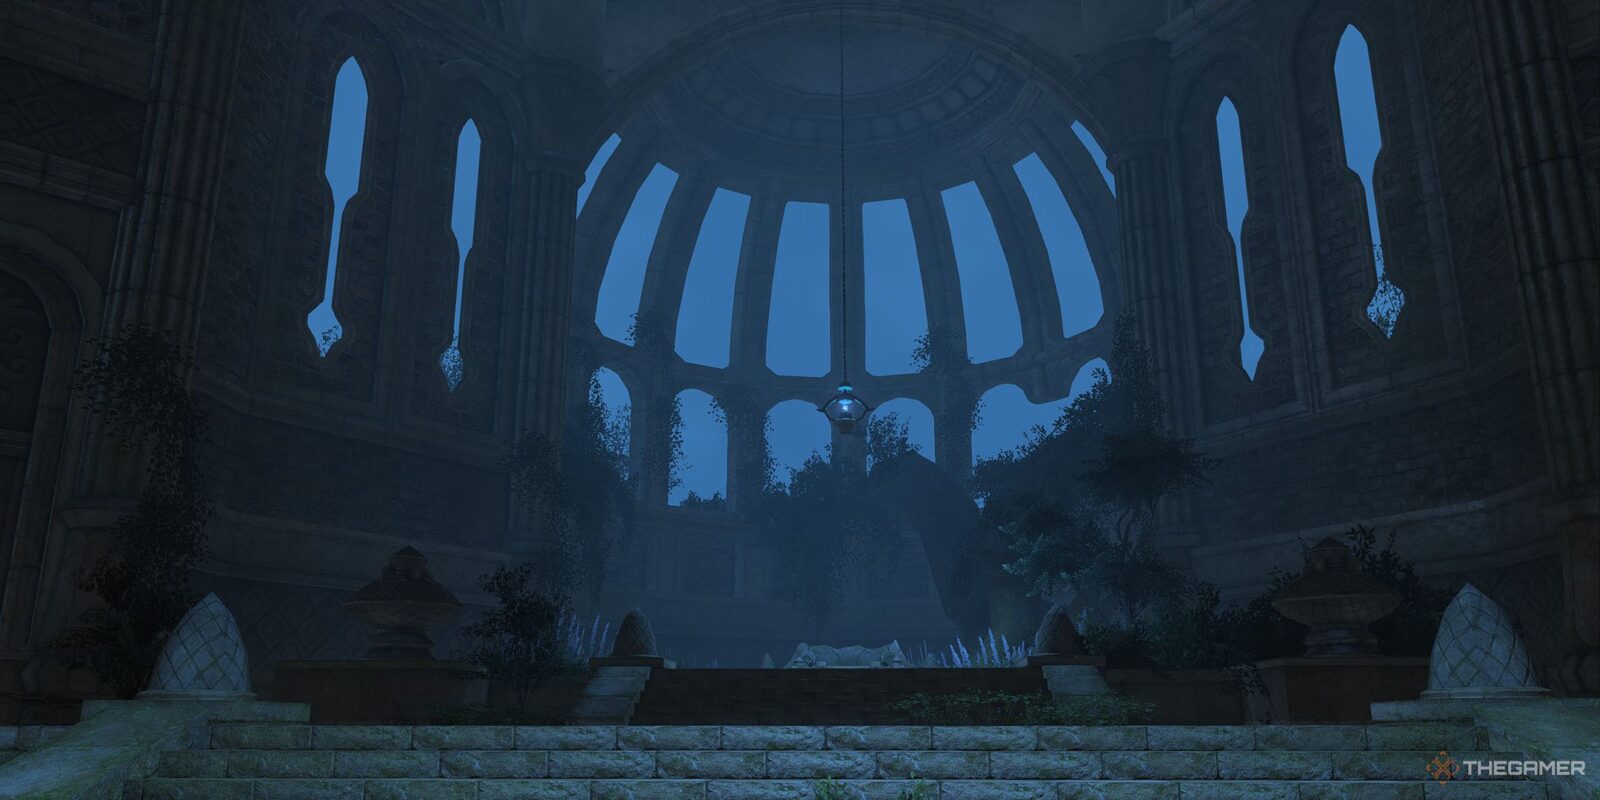
Amdapor Keep (Hard) is a level 50 Dungeon in Final Fantasy 14, an advanced version of the normal Amdapor Keep, and the fourth in a series of Dungeons centered around the lost city of Amdapor. Despite putting a stop to the cultist activity in Amdapor Keep, a dark being has completed their ritual, and the ruins are once again in need of an adventurer.
Related
Final Fantasy 14: Amdapor Keep Dungeon Guide
Here is a complete walkthrough for the bosses of the normal version of Amdapor Keep, a level 50 dungeon in Final Fantasy XIV.
While this Dungeon may have Hard in its name, it isn’t necessarily any more difficult than the normal version of Amdapor Keep. Below, we’ll take a look at every boss in this Dungeon, their attacks and mechanics, and how to beat them.
How To Unlock Amdapor Keep (Hard)
To unlock Amdapor Keep (Hard), you will first need to complete the level 50 Main Scenario Quest ‘The Ultimate Weapon’, as well as the side quest ‘Ghosts of Amdapor’, which unlocks the normal version of Amdapor Keep.
Then, you will be able to take on the quest ‘For Keep’s Sake’ from Lauriane in Mor Dhona (X:22.1, Y:8.6). This Dungeon has an item level requirement of 90.
Anchag
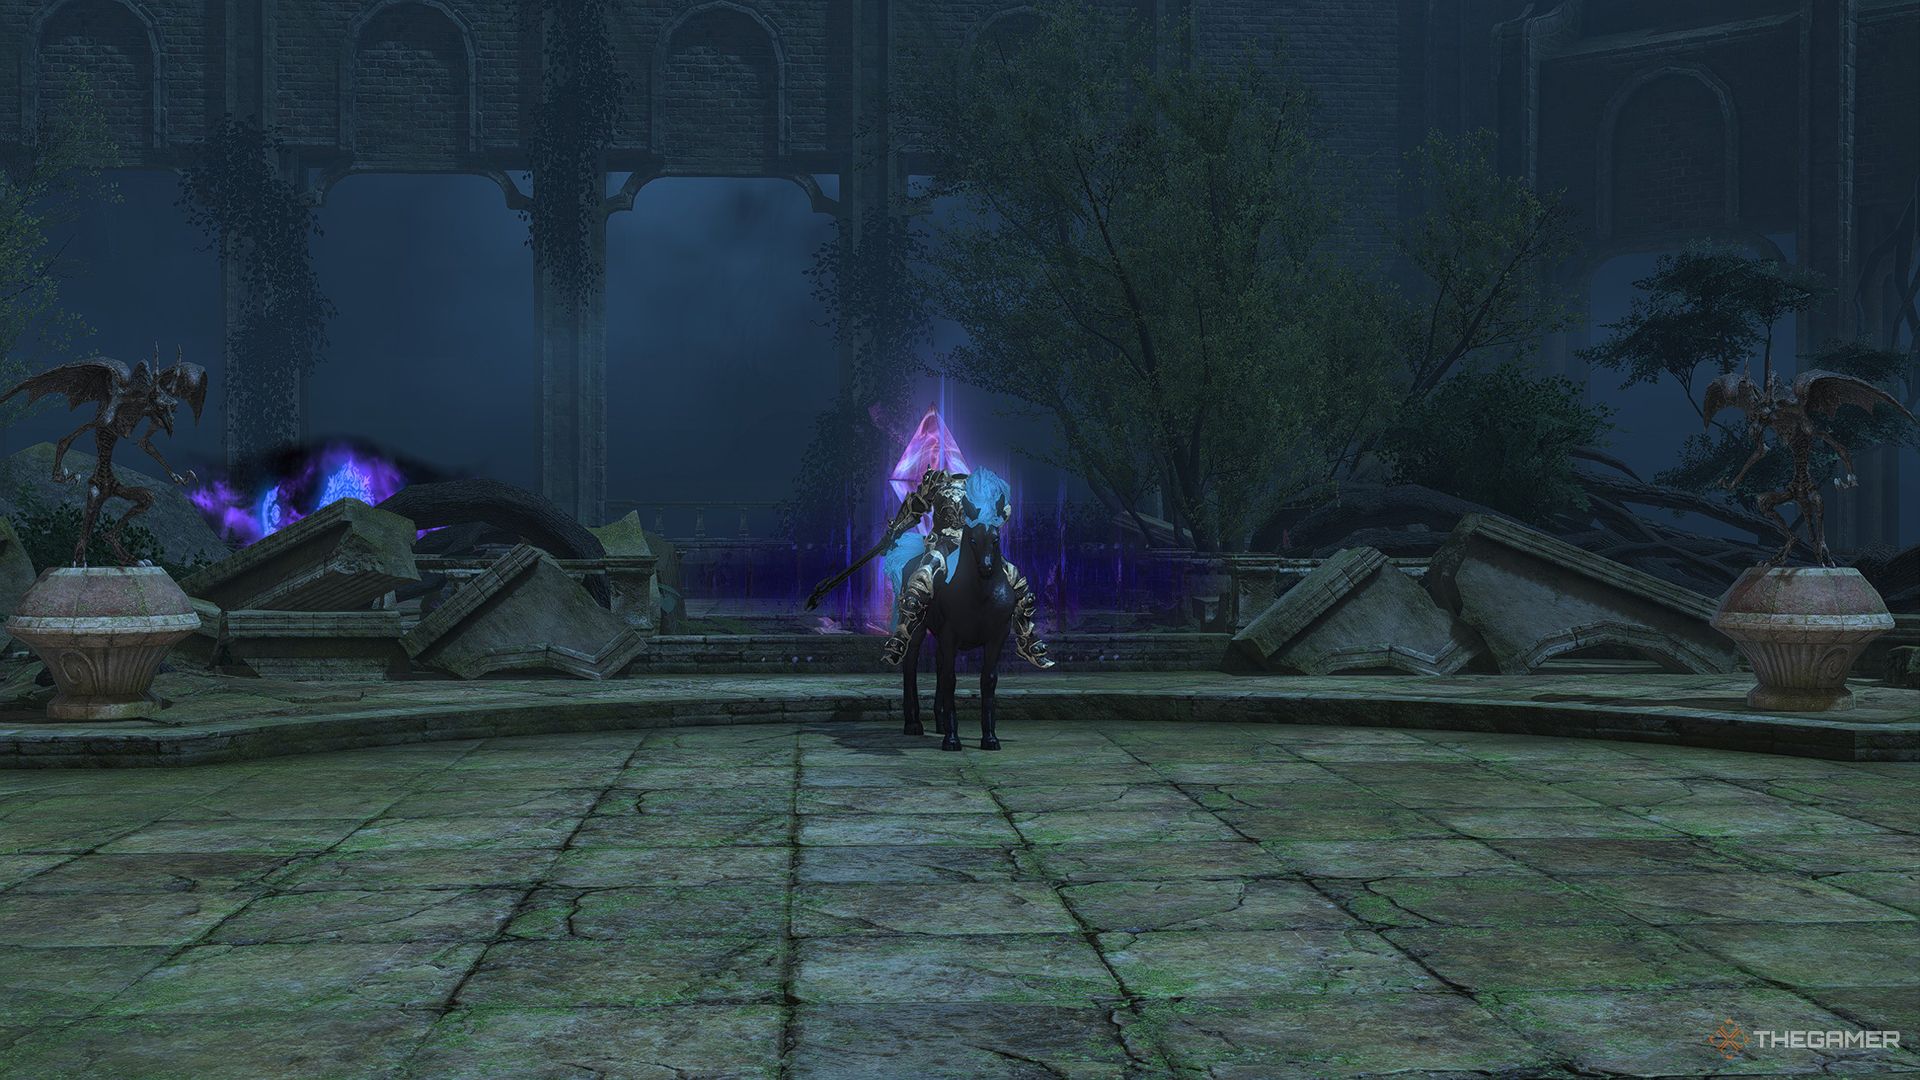
The first boss of Amdapor Keep (Hard) is Anchag. Around the arena are four Foreboding Statues, which will be used for one of the boss’s mechanics later, so keep them in mind. Additionally, the boss can damage these with its attacks, so try to keep the boss away from the statues as you deal with the following mechanics.
|
Attack Name |
Type |
Details |
|---|---|---|
|
Yggr |
Tether/Debuff |
The boss will target one player, then tether to them and deal damage three times, with each attack inflicting Vulnerability Up and Infirmity. To avoid this attack, run behind one of the Foreboding Statues, causing the tether to attach to the statue instead. |
|
Valfodr |
Line AoE |
Targets one player, then charges towards them, dealing damage in a line AoE. Move away from the rest of the party while making sure Anchag won’t hit a statue with this attack. |
|
Hall of Sorrow |
Circle AoE |
Deals damage in a circle AoE. Move out of the AoE indicator to avoid taking damage. |
Anchag will repeat these attacks until it is defeated. When you are targeted by Yggr, immediately move behind one of the statues to avoid getting hit with Vulnerability Up, which will increase all damage you take. If all of the statues are destroyed by Anchag’s attacks, you will have nowhere to hide from Yggr, so be careful.
Boogeyman
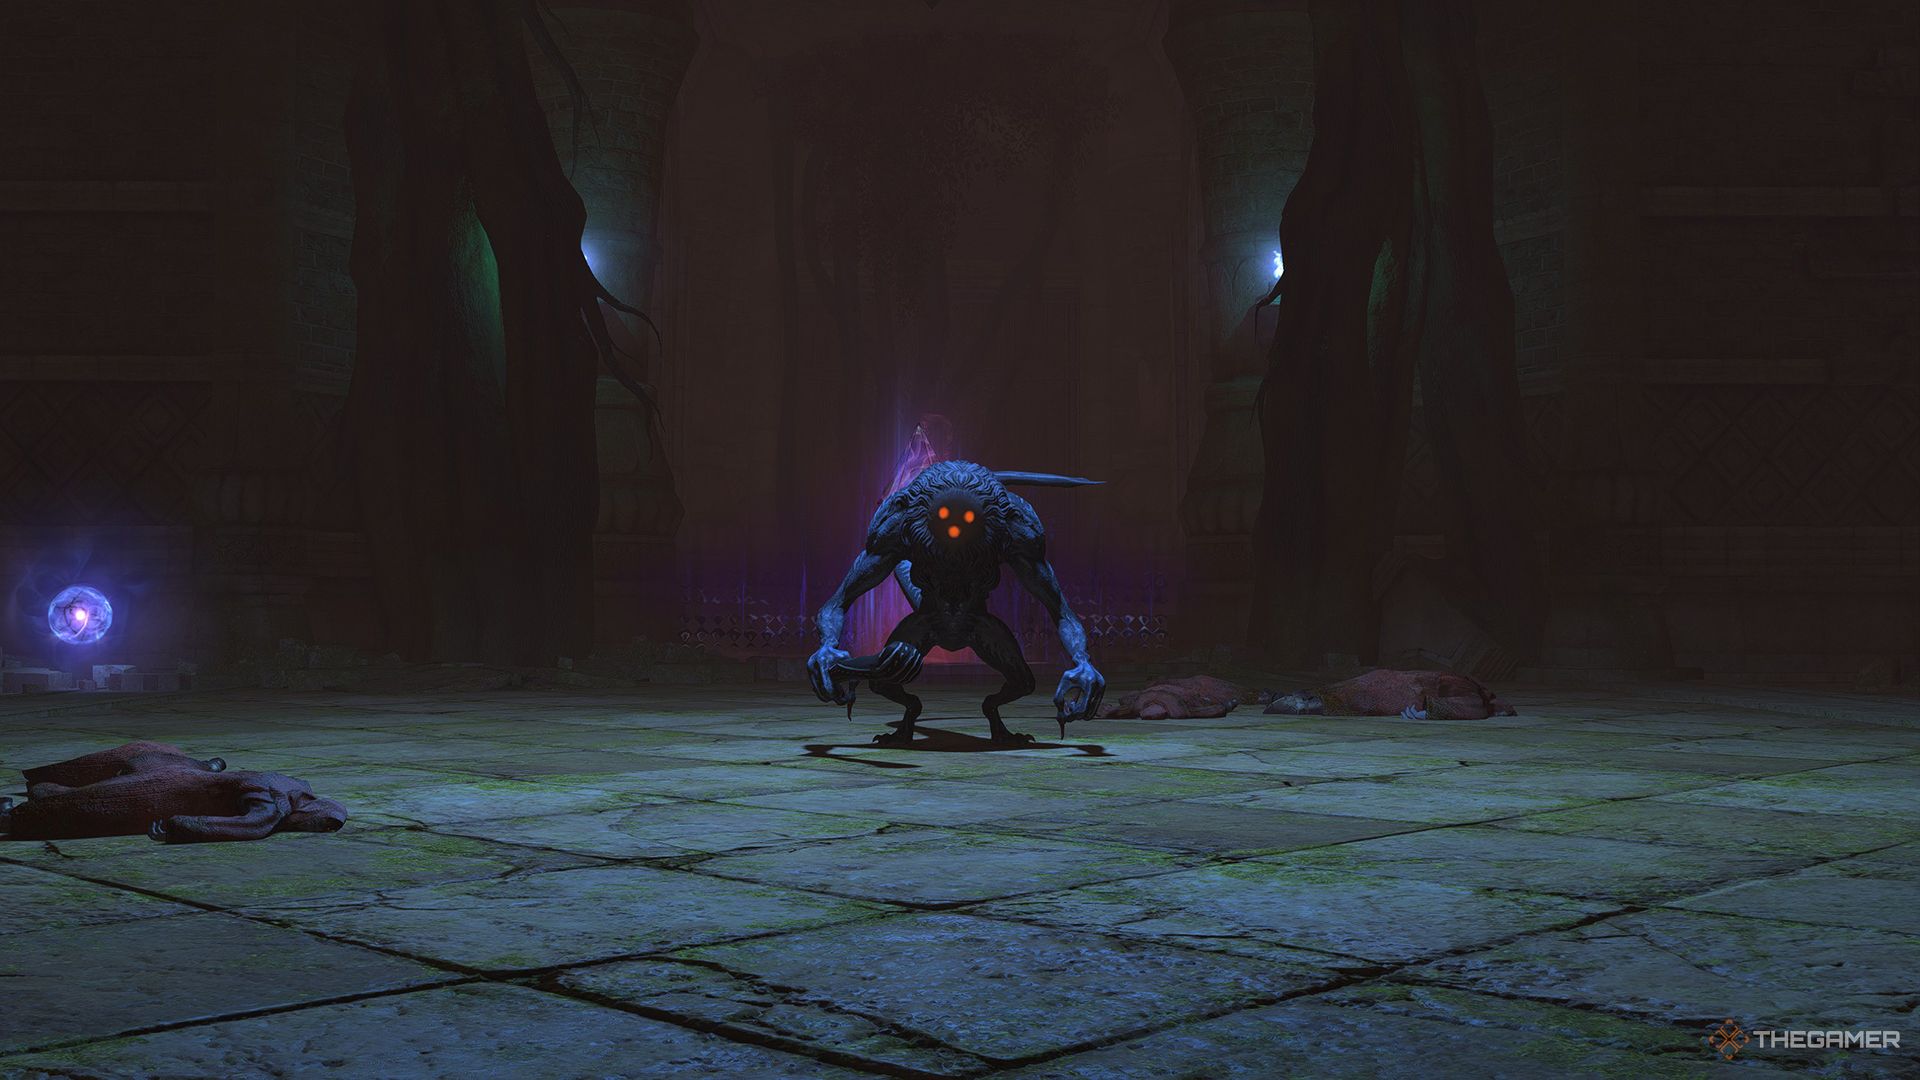
The second boss of Amdapor Keep (Hard) is the Boogeyman. Here are each of its attacks and mechanics.
|
Attack Name |
Type |
Details |
|---|---|---|
|
Smite of Gloom |
Single Target Damage |
Deals damage to the boss’s main target. |
|
Invisible |
Special |
The Boogeyman will become partially invisible and untargetable and gain a stacking damage buff, but continue to cast Smite of Gloom. To reveal the Boogeyman, destroy the Luminescence Orb, which will then apply the Irradiated buff in a small area. This buff, when it expires, will illuminate an area around you. If this occurs near the Boogeyman, it will be revealed and become targetable again. |
|
Ripples of Gloom |
Roomwide AoE |
Deals damage to all party members. Recover with AoE healing. |
|
Batter |
Circle AoE |
Deals damage in a circle around the Boogeyman, and inflicts Stun. |
|
Entrance |
Conal AoE/Gaze |
This attack inflicts the Confused debuff in the indicated area, causing you to attack allies automatically. This attack is used immediately after Batter, so if you’re stunned by that you will definitely be hit by Entrance. |
|
Doppelganger |
Special |
The Boogeyman will split into two, then cast Invisible, causing both of the Boogeymen to go invisible. At the same time, several Bloodmoon adds will be summoned. Deal with the adds, then use the Luminescence Orb to reveal both of the Boogeymen. |
These mechanics will be repeated until both Boogeymen are defeated. Deal with the summoned adds as quickly as possible, as these can easily overwhelm you if you aren’t careful. Also, try to group the party up before destroying the Luminescence Orb so that more people will receive the buff, making it easier to reveal the boss.
Ferdiad
|
Attack Name |
Type |
Details |
|---|---|---|
|
Blackout |
Roomwide AoE |
Deals damage to all party members. |
|
Wild Card |
AoE/Summon |
Adds will appear around the arena and tether to the boss, slowly increasing its area of influence, causing the Wild Card AoE to grow in size. This AoE deals damage and inflicts Bleeding; to stop it, kill all the adds to stop the AoE from growing, then move out of the indicator. |
|
Jester’s Reap |
AoE |
First, Ferdiad will trap several players in Suppuration adds, preventing them from moving. Then, he will target a player with Jester’s Reap, a conal AoE that deals high damage. Break out of the Suppuration, then move out of the AoE to avoid this combo. Subsequent uses of this attack will trap players in Cankerous Gobbets, which prevent moving and attacking. You will need to help your other party members escape from the Cankerous Gobbet so they can dodge Jester’s Reap. |
|
Death Scythe |
AoE |
A spinning blue scythe will appear on top of one player, dealing continuous damage in the area. Move out of the area and heal as necessary. |
|
Abyssal Charge |
Intersecting Line AoEs |
Spears of light will appear around the edges of the arena before charging forward, creating intersecting line AoEs on the arena. Move into a safe spot between the line AoEs to avoid taking damage. |
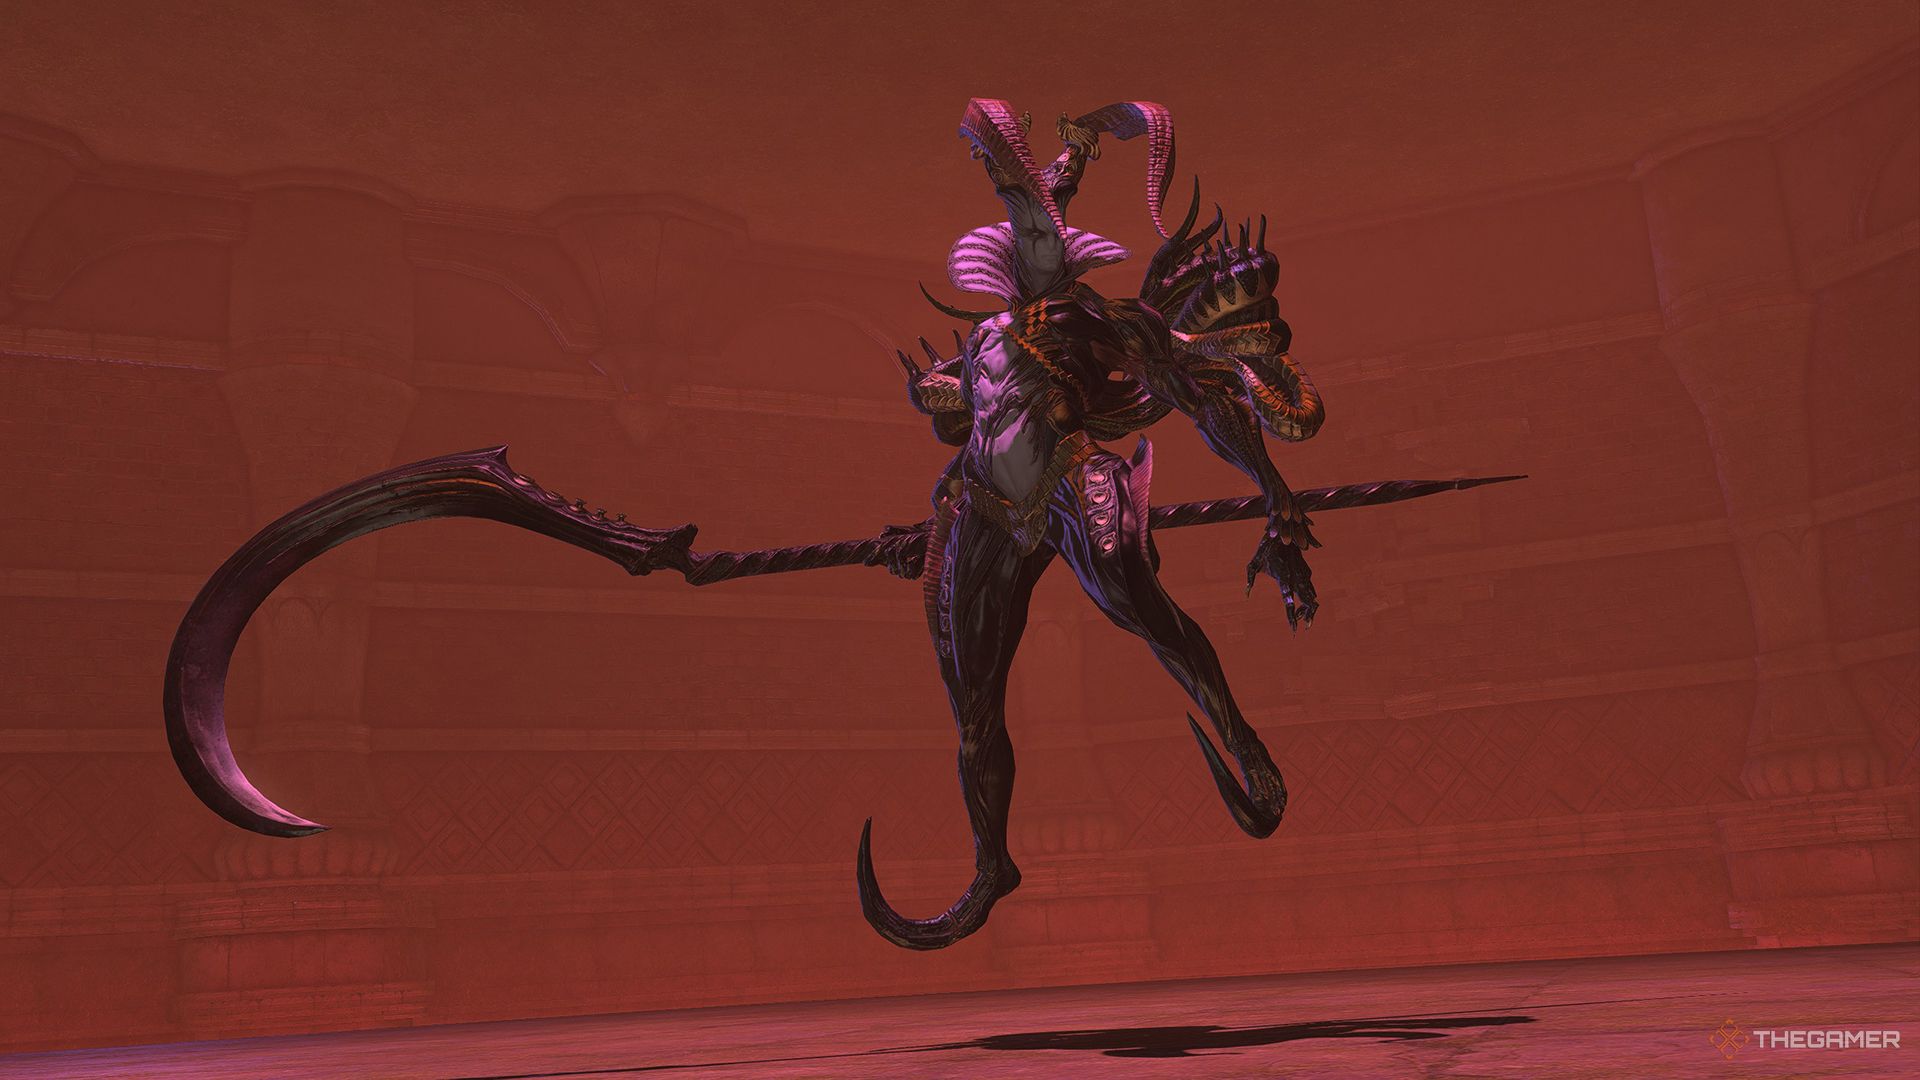
Ferdiad will repeat these mechanics until he is defeated. Be sure to help your party members escape from the Suppuration and Cankerous Gobbets, and deal with the adds during Wild Card as quickly as you can to avoid taking damage from the AoE.
Next
Final Fantasy 14: Complete Guide To Dungeons
We’ve got plenty of FFXIV dungeon walkthroughs right here.



Leave a Reply