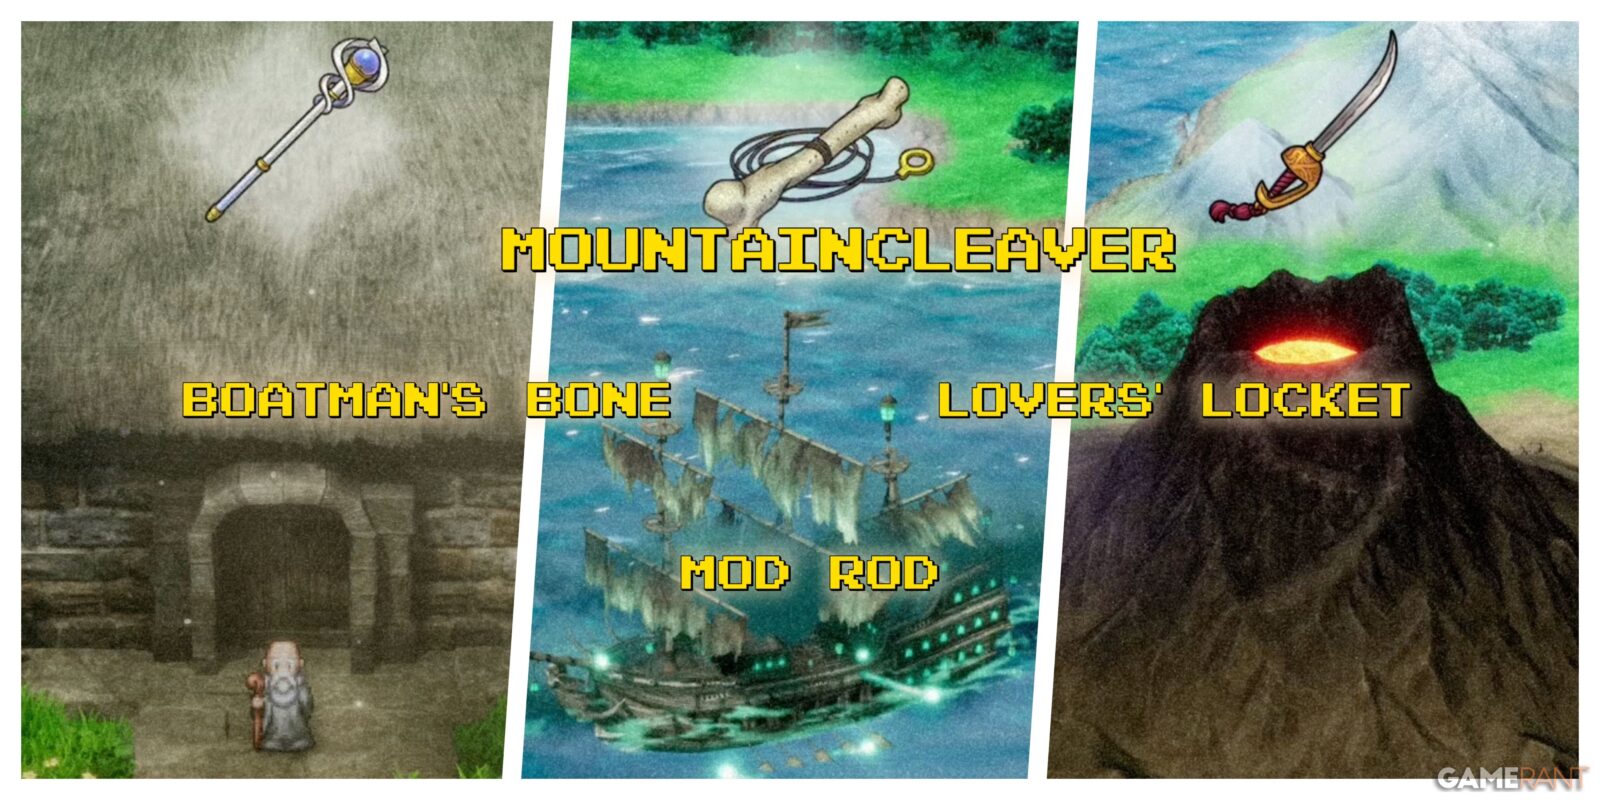
About a third of the way through Dragon Quest 3 Remake‘s main story, you will find yourself tasked with completing three key tasks that will move the story forward. The exact nature of these tasks is listed after you defeat the Boss Troll in Manoza. We will go over each task in detail below, but for now we’ll point out that they revolve around locating three key items: the Boatman’s Bone, the Lovers’ Locket, and the Mountaincleaver sword.
Related
Dragon Quest 3 Remake: Edina Castle Rock Puzzle Solution
To get the Bottomless Pot in Dragon Quest 3 Remake, players must solve the
Edina Castle rock puzzle.
The Boatman’s Bone and Lovers’ Locket are both tied to the Ghost Ship mini dungeon. These items, along with the Mod Rod, are all used in the service of reaching the Shrine of Shackles and recovering Mountaincleaver. Because of this, it makes sense to discuss them all together. In this guide, we’ll tell you how to get the Boatman’s Bone, how to get the Lovers’ Locket, and how to get Mountaincleaver in Dragon Quest 3 HD-2D Remake.
How to Get the Mod Rod in Dragon Quest 3 Remake
Before we tackle the Boatman’s Bone and Lover’s Locket, you’ll need to make sure you have the Mod Rod. This unique staff is capable of changing the form of the entire party, but its true purpose is its trade value. To get the Mod Rod, you’ll simply need to complete DQIII Remake‘s Manoza Castle and Cave quests.
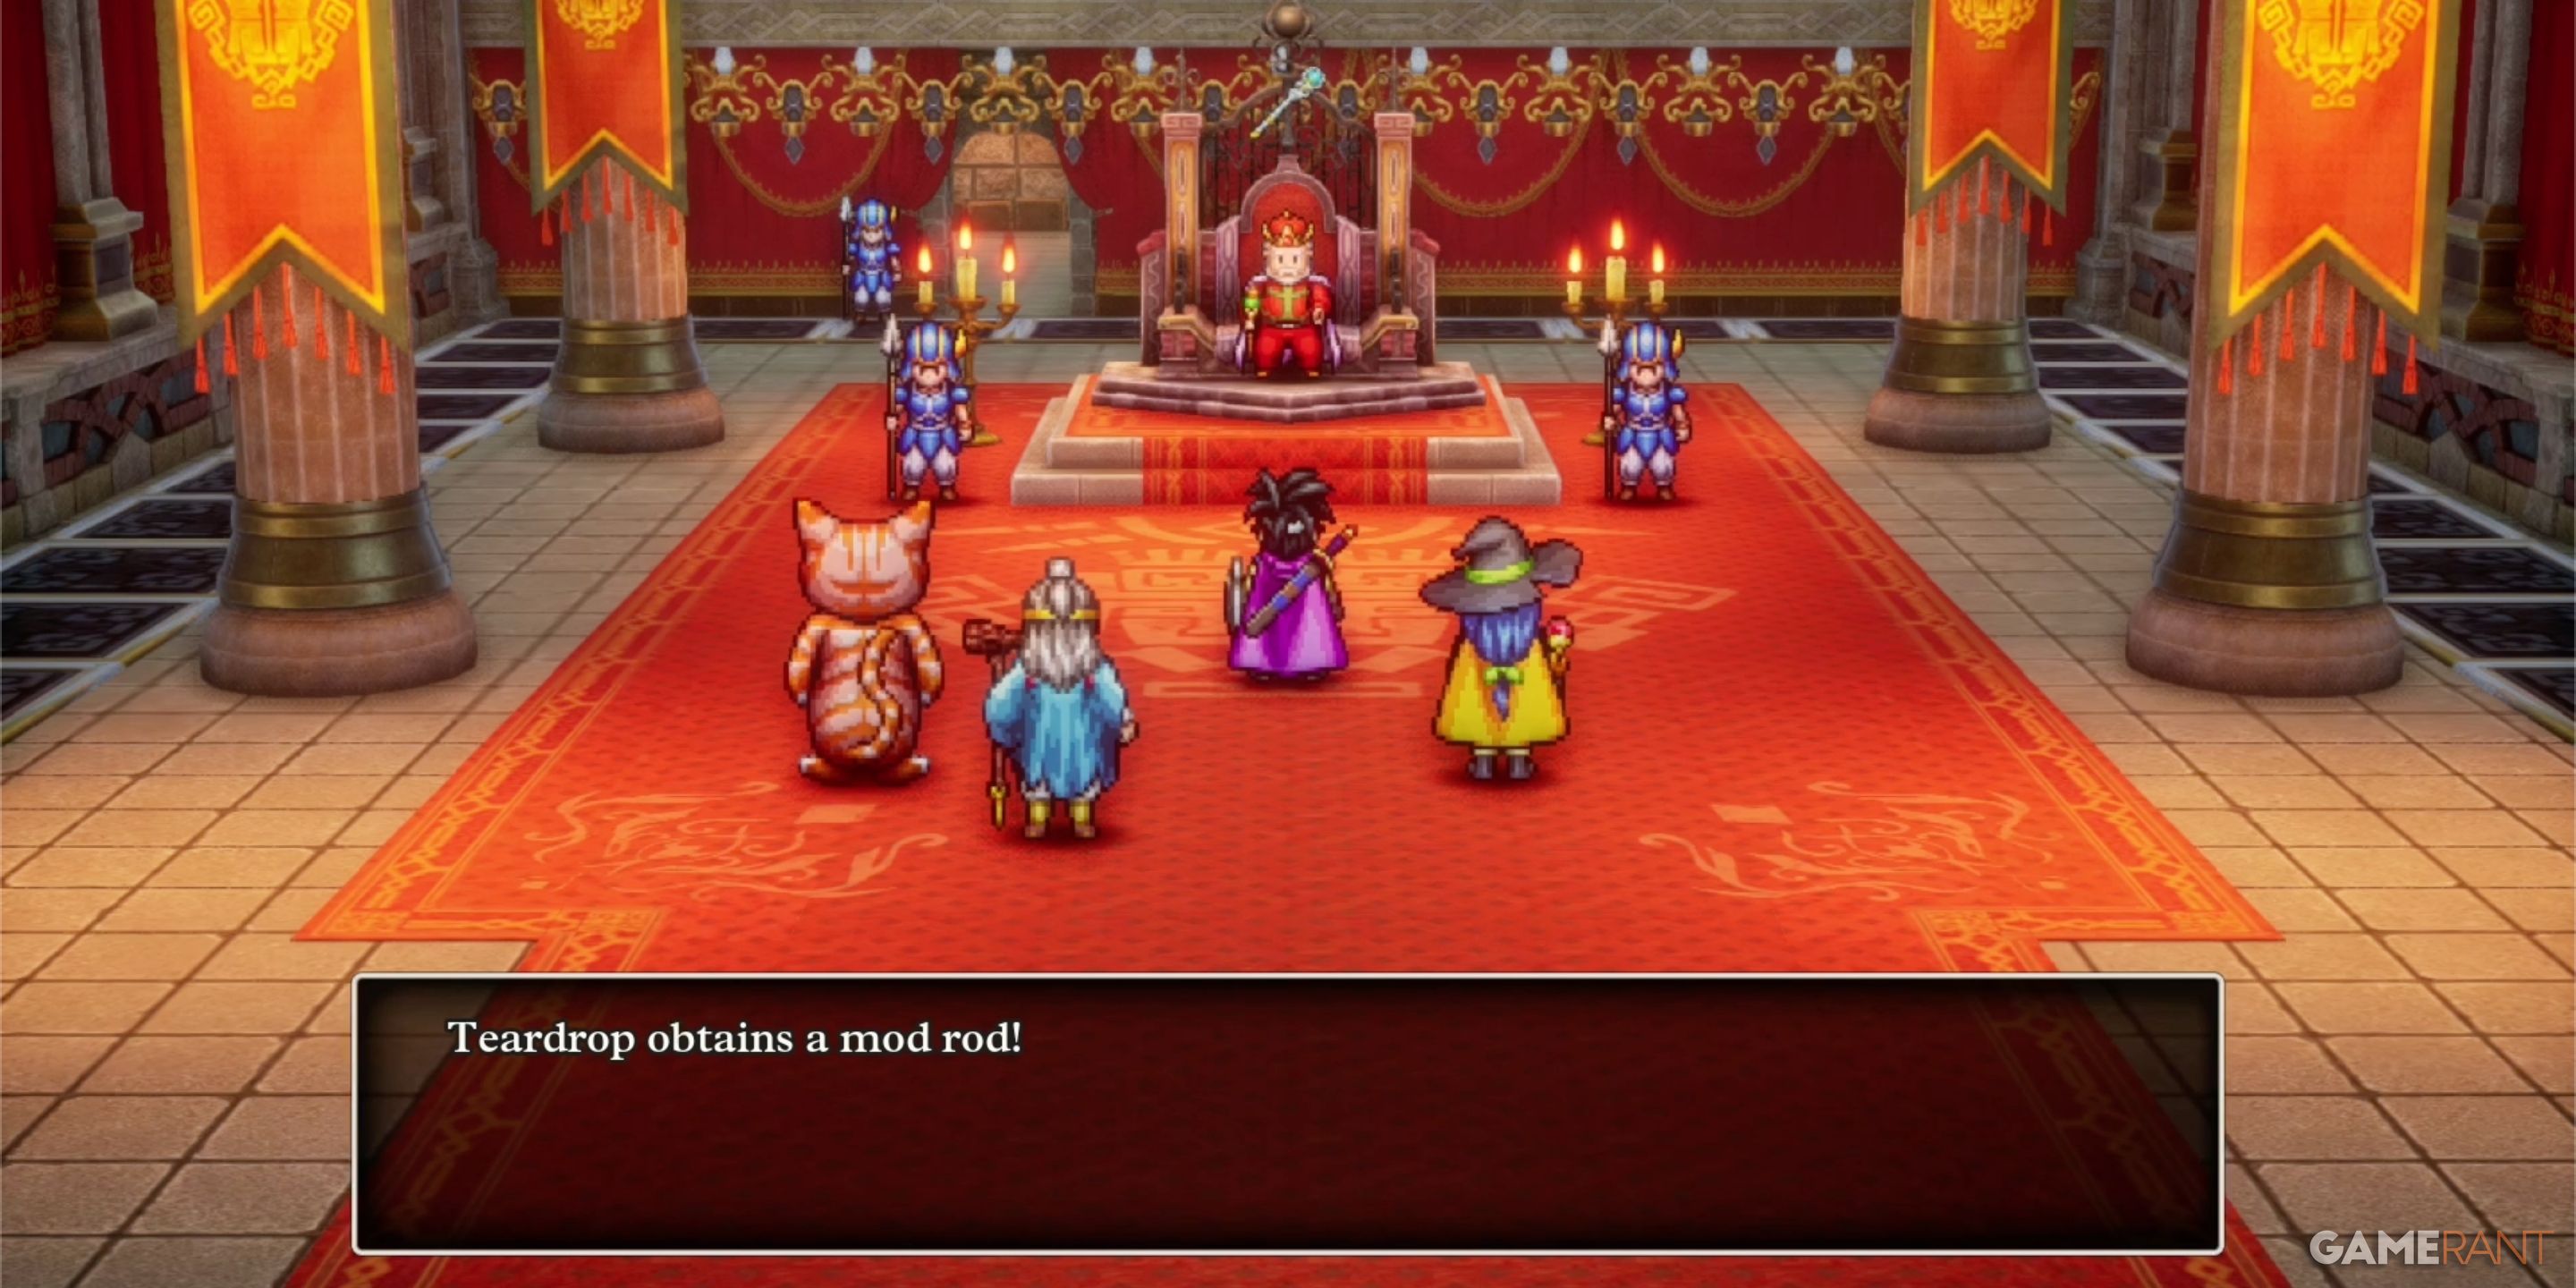
Once you defeat the Boss Troll at the end of the quest, the King of Manoza will give you the Mod Rod as a reward. As mentioned previously, you will also receive a vision that contains three important clues regarding the next major steps in your journey.
First, you are shown an old man and a magical staff. Next, you are shown a bone and a phantom ship. Finally, you are shown a sword and a volcano. The Mod Rod is the key to solving the first clue and receiving the Boatman’s Bone.
How to Get the Boatman’s Bone in Dragon Quest 3 Remake
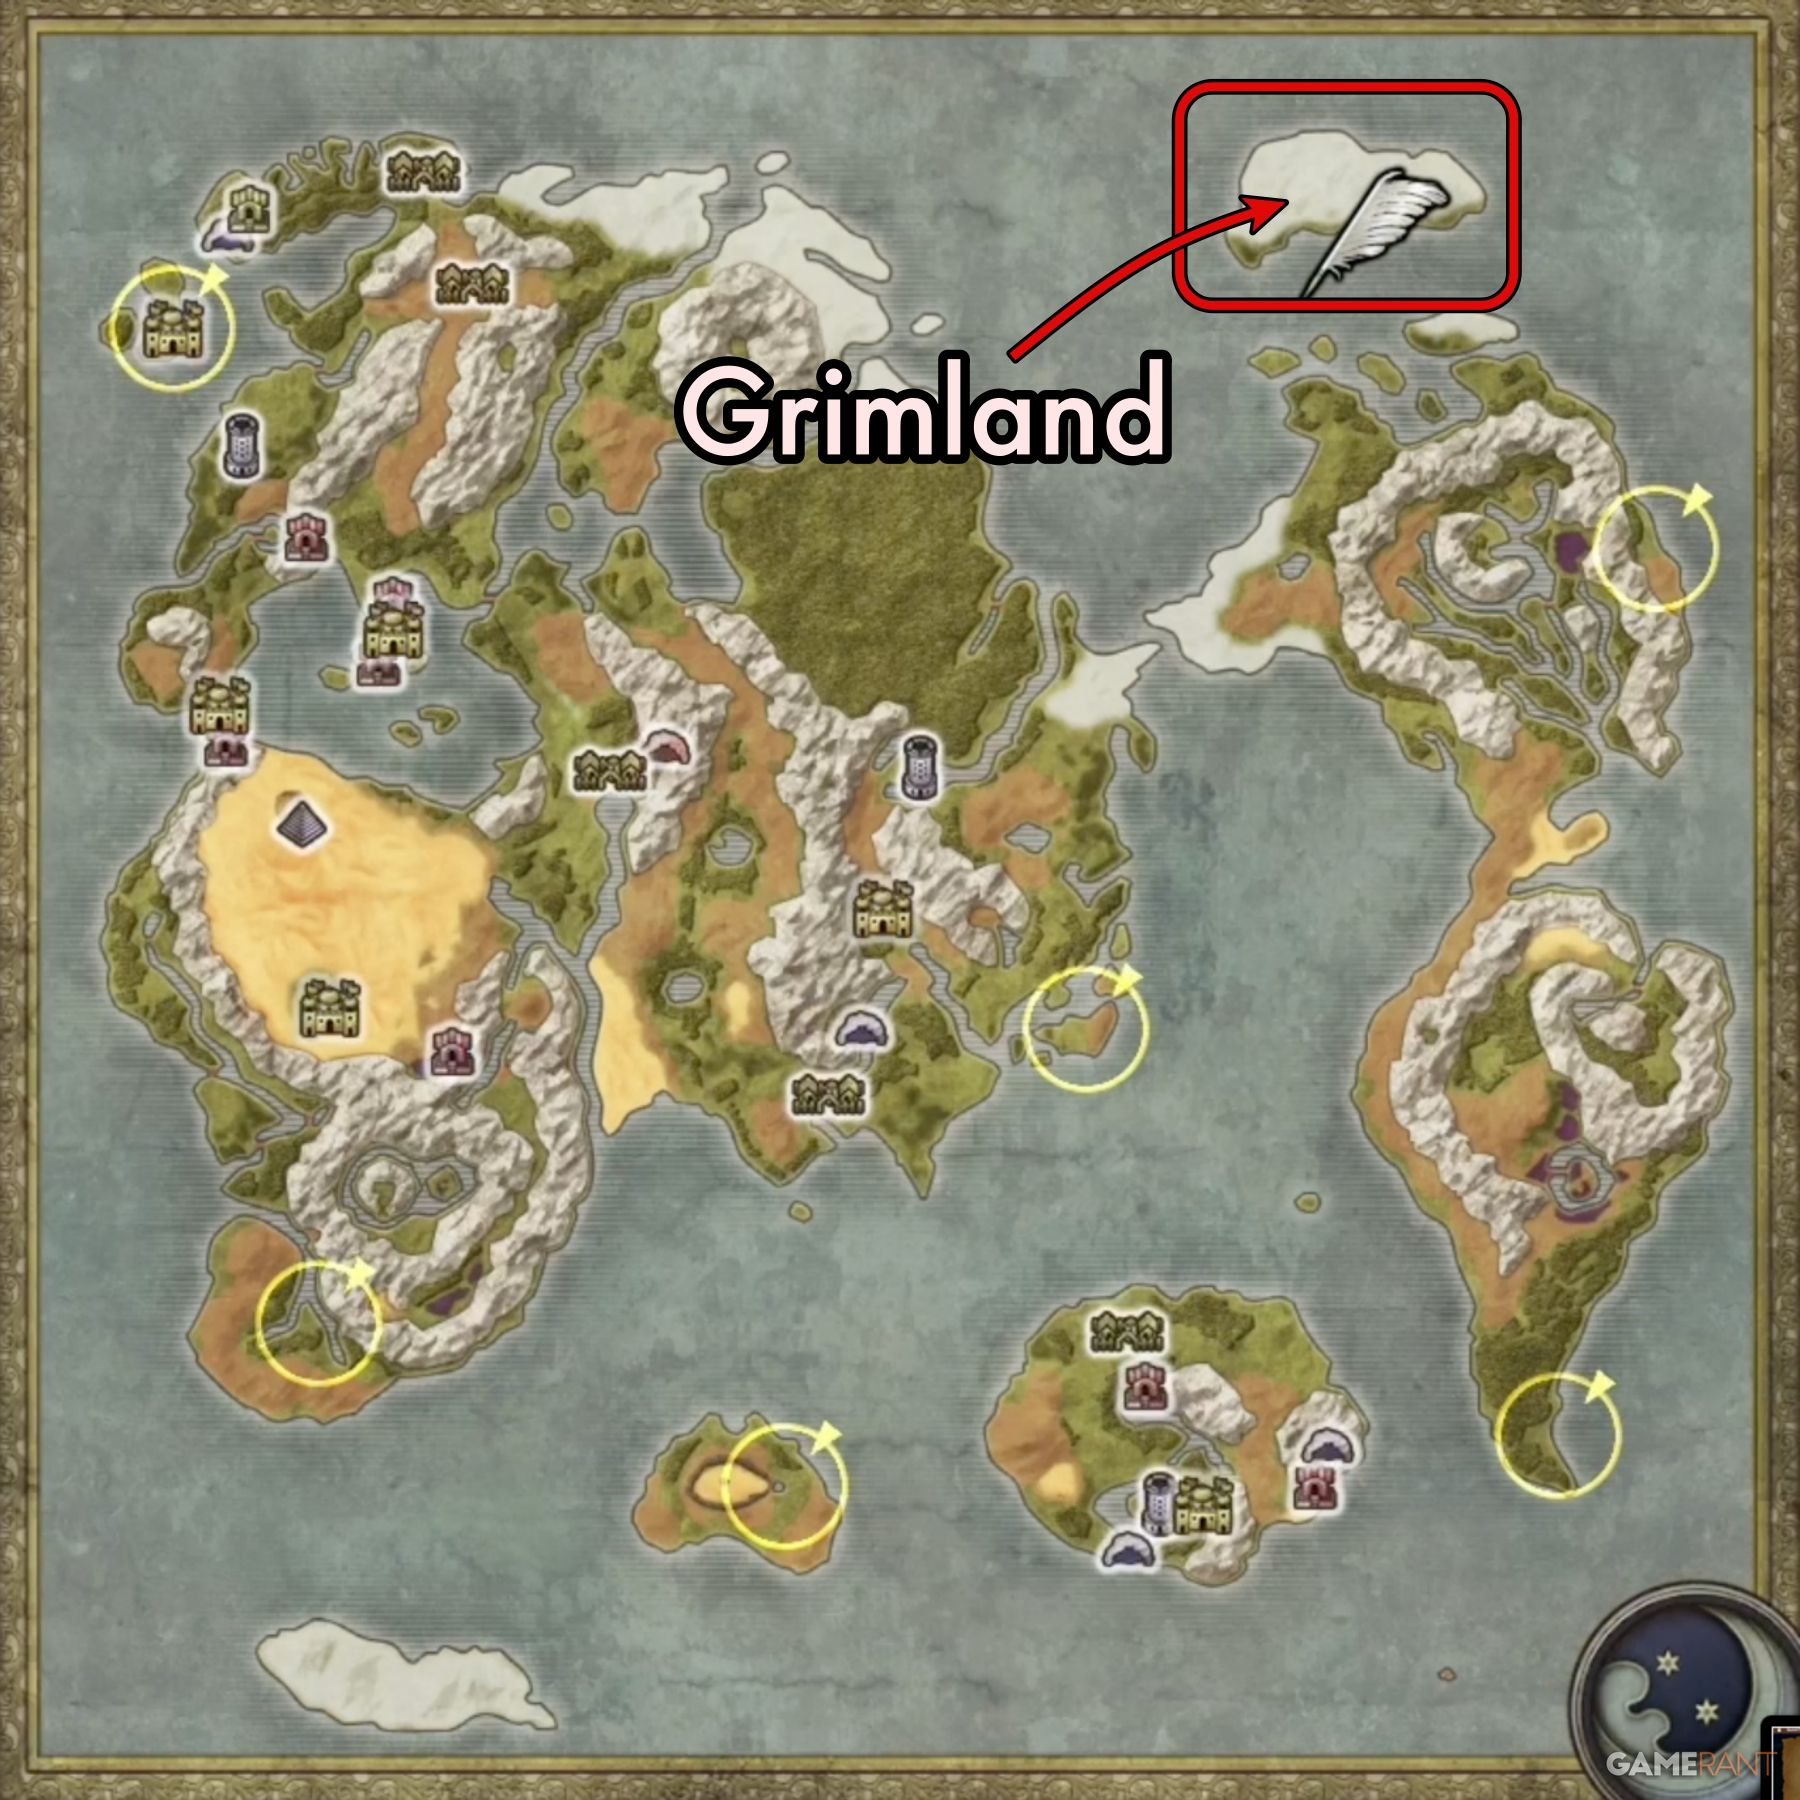
Once you have the Mod Rod, you need to take it to the NPC living on the small island in the northeast section of the map. The area where the island is located is called Grimland in the HD-2D remake, though it had various other names in past releases. To reach the ‘village,’ you’ll want to sail up to the center of the southern side of the island and disembark.
The old man NPC is located in a hut in the northeast corner of the Grimland village tile. Enter the hut you encounter and speak to the old man. He will trade you the Boatman’s Bone for the Mod Rod.
Do not worry about missing anything with the Mod Rod at this point. Later in the game, you will be able to get your hands on a second Mod Rod. It is given as a reward for completing Rank 10 in the secret Jipang Monster Arena.
Once you have the Boatman’s Bone, you’ll be able to see the Ghost Ship on the map. This will be your next stop.
Ghost Ship Lovers’ Locket Walkthrough – Dragon Quest 3 Remake
How to Find the Ghost Ship:
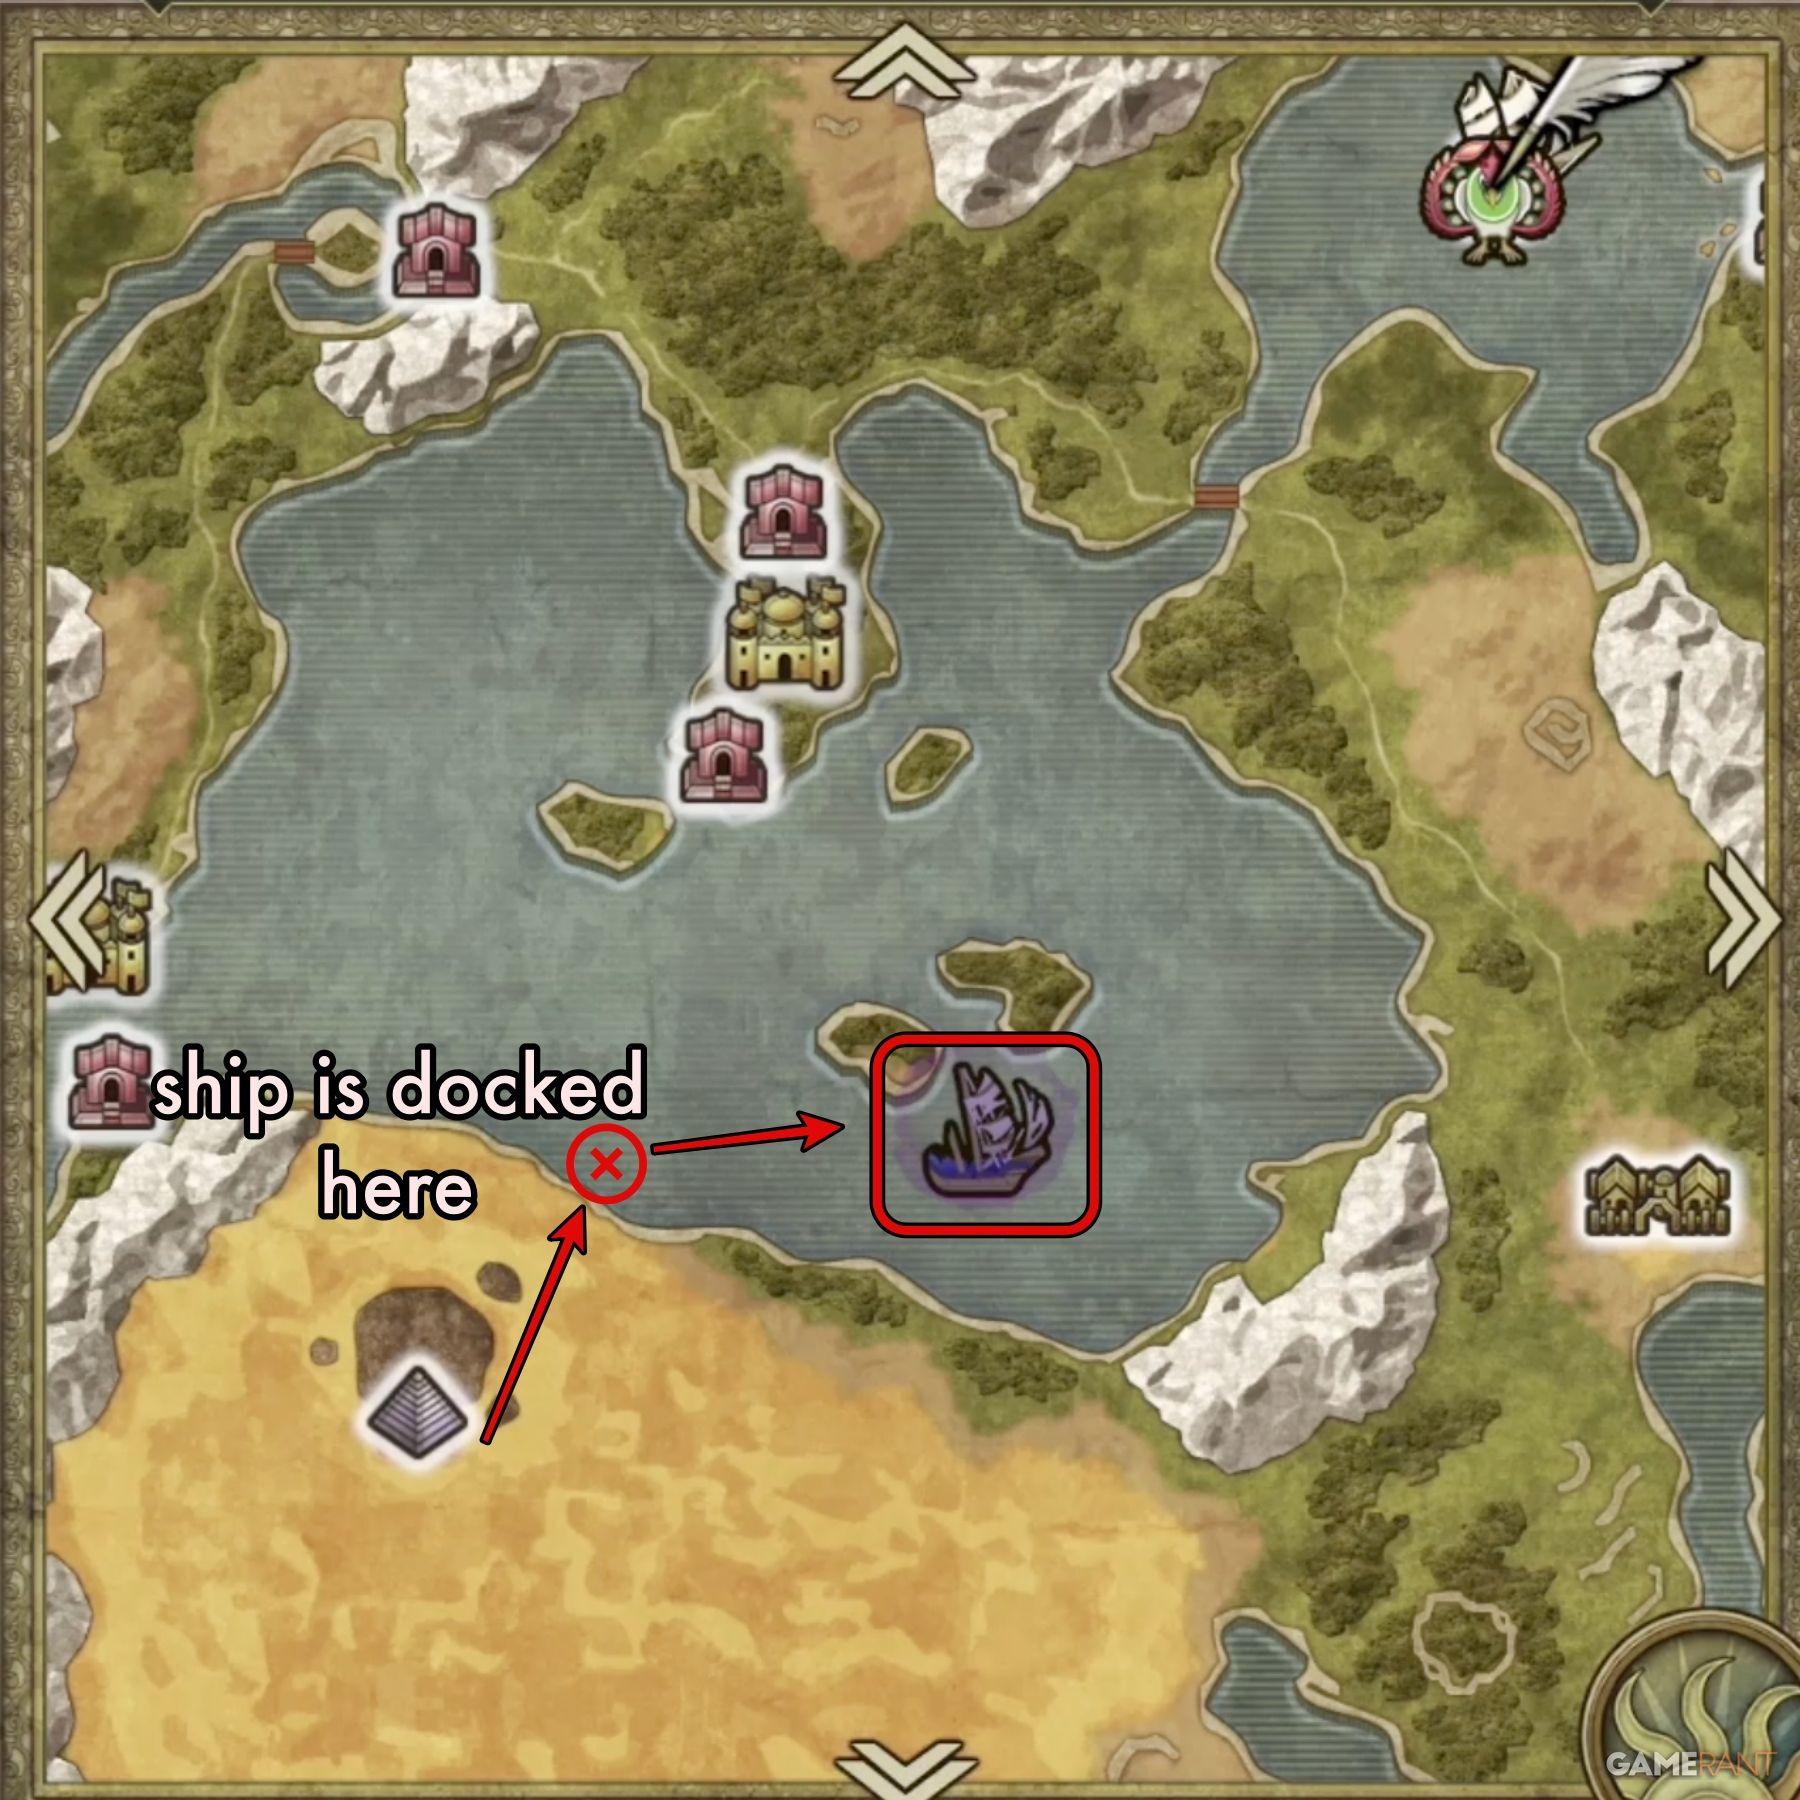
Now that you have the Boatman’s Bone, you’ll be able to see the Ghost Ship‘s location. Some players have claimed that the ship moves, but it was only ever in one location in our playthroughs.
Dragon Quest 3 HD-2D Remake‘s Ghost Ship is located in the large bay to the north of the Pyramid. If you check your map, you should be able to see the dark purple vessel in the southeast corner of the bay. You can Zoom to the Pyramid and walk to your ship, which will be docked to the north in the bay. Sail northeast to the ship and you’ll be prompted to enter when you get close.
Ghost Ship B1 Walkthrough:
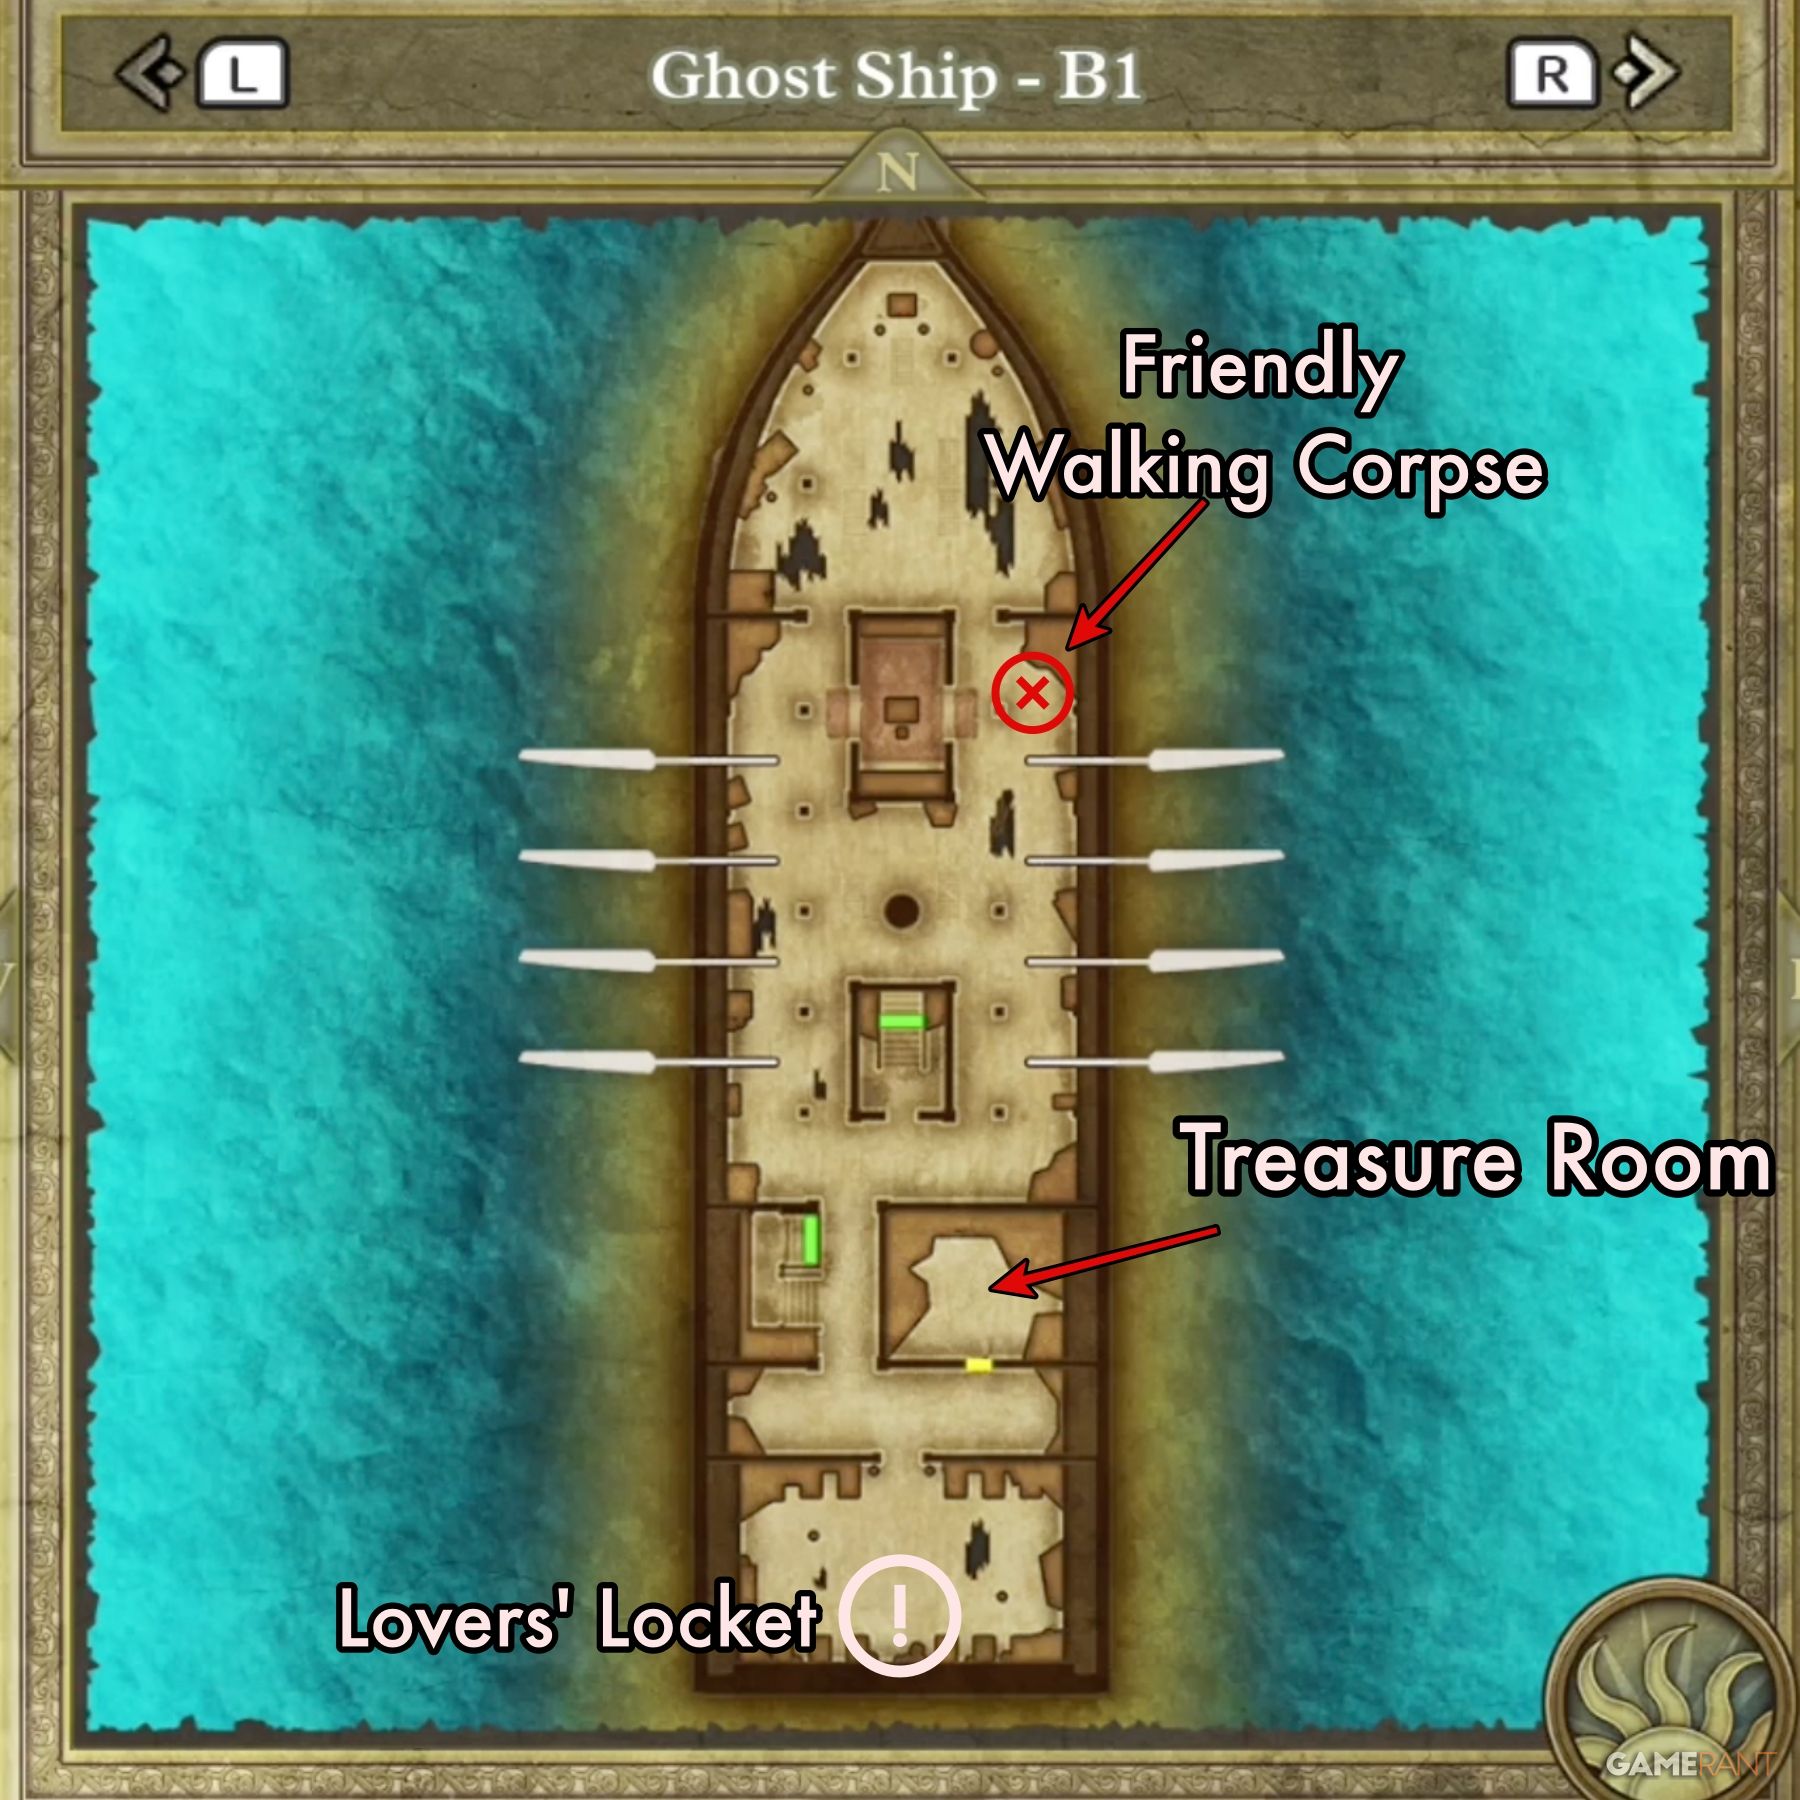
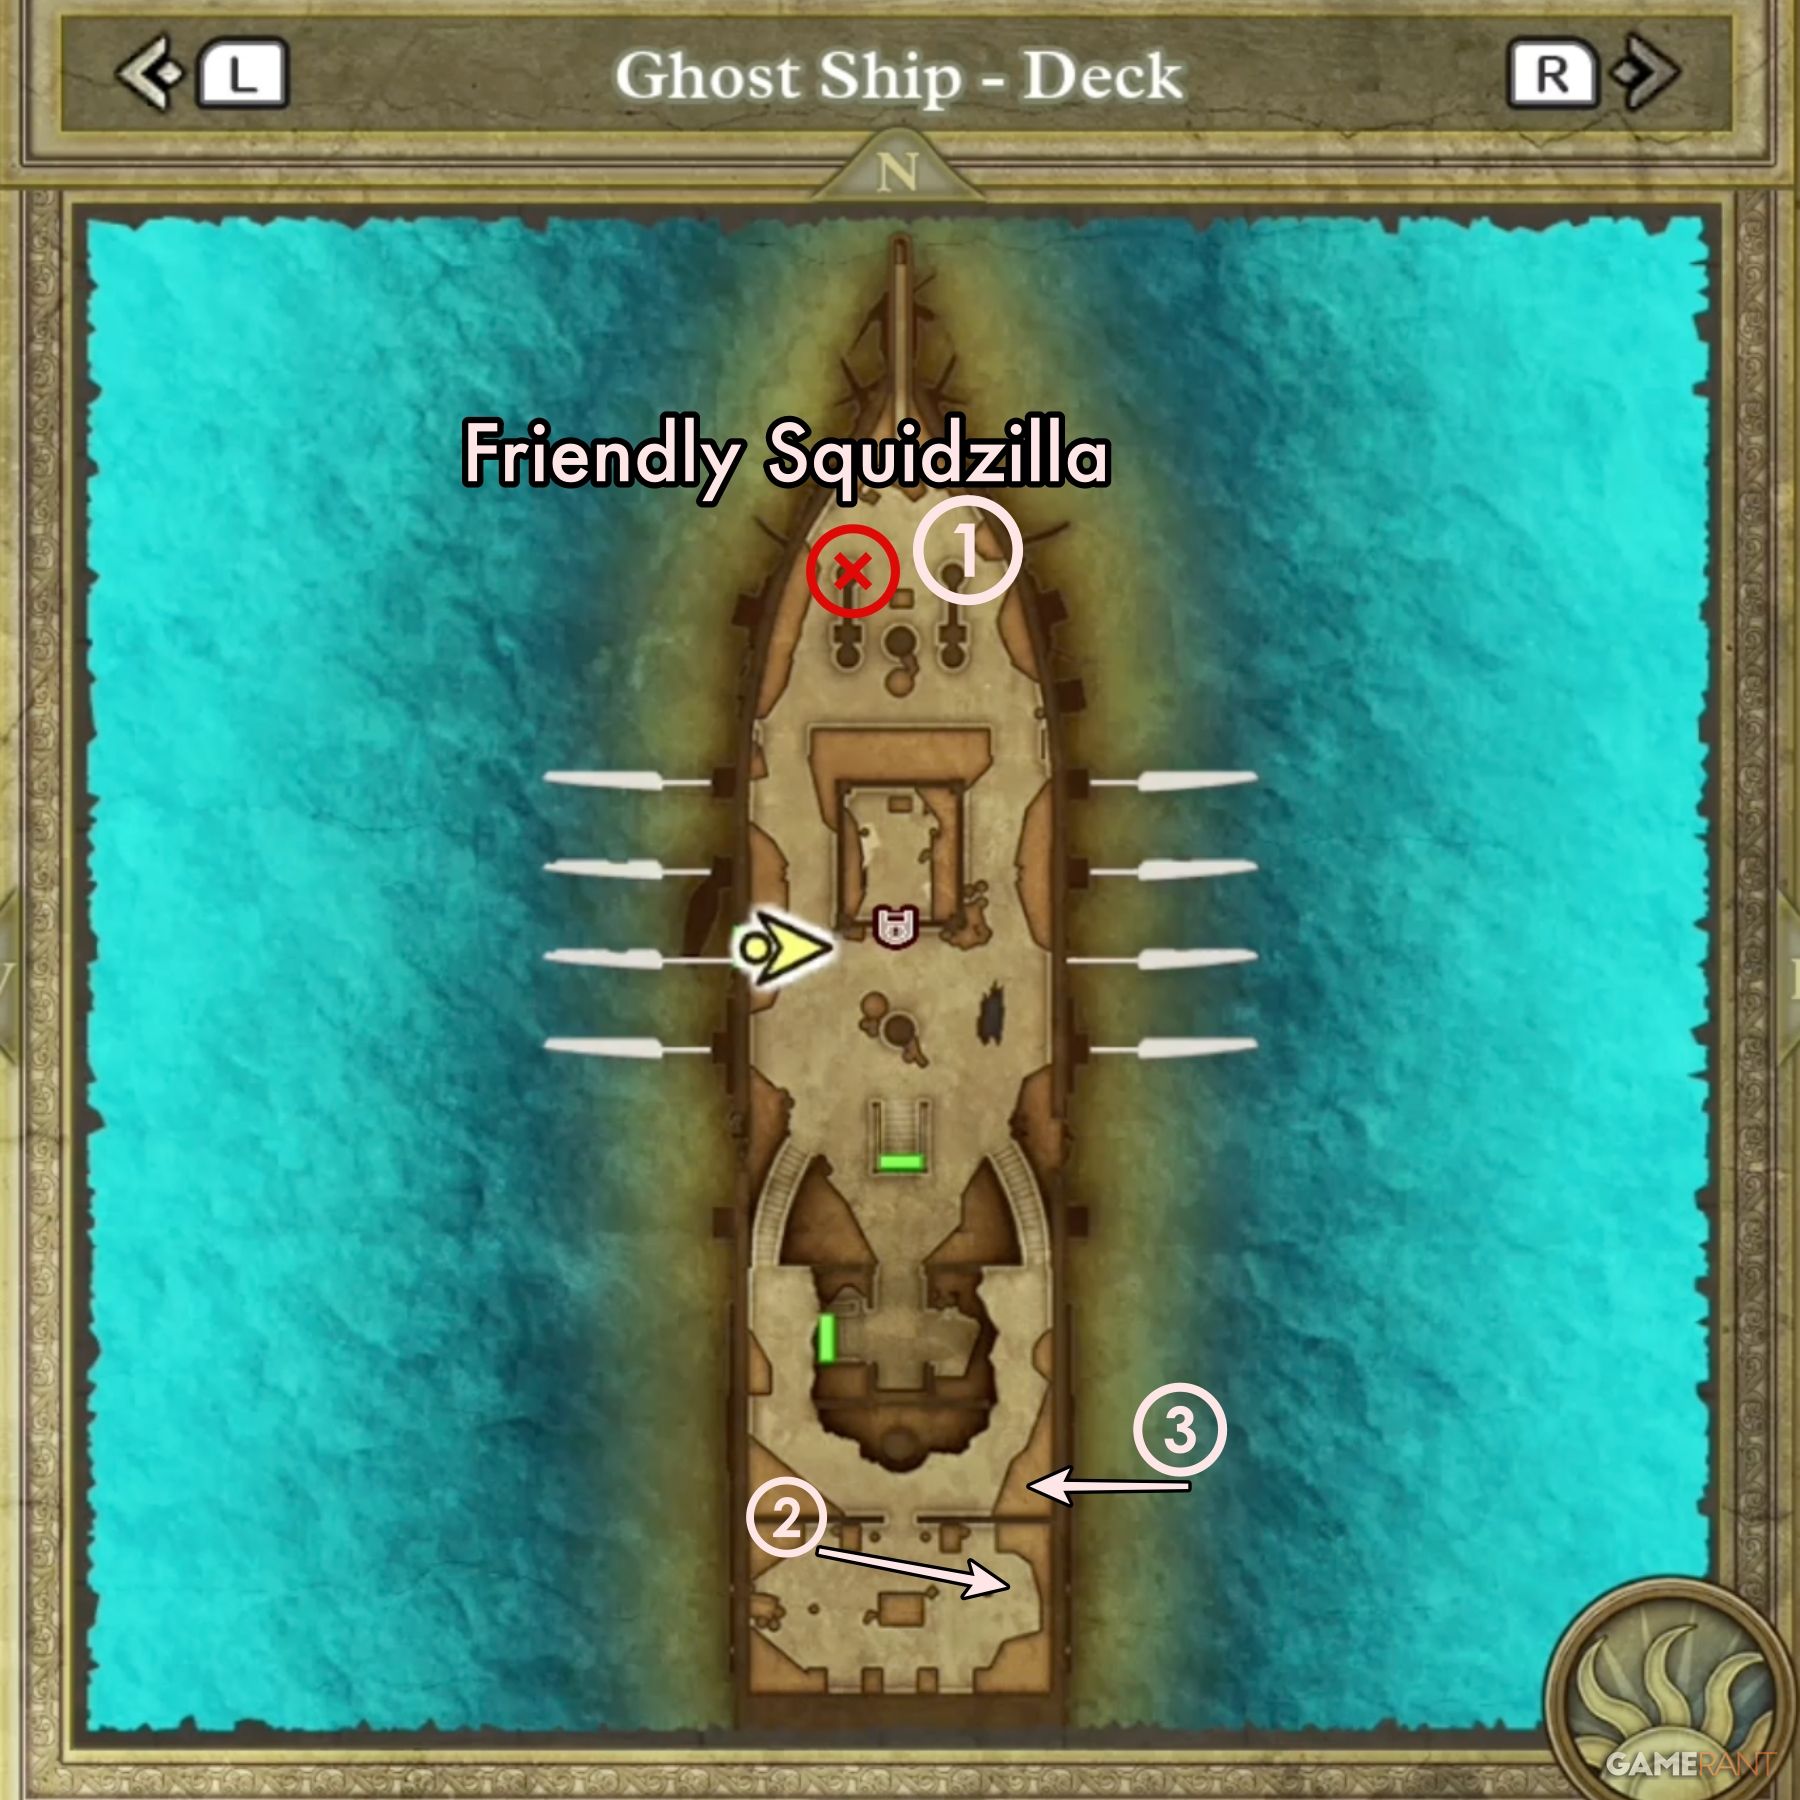
When you first get on the Ghost Ship, walk north along the western edge to find Tenda, one of DQIII Remake’s Friendly Monsters. To the right of Tenda you’ll find a treasure barrel.
Head to the southern end of the ship, where you’ll find a treasure barrel on the lower east side, and a treasure pot on the upper east side. You can reach the upper level by taking the stairs on the eastern side of the deck. Once you’ve collected all the treasure on B1, head down the stairs to B2.
How to Get the Lovers’ Locket – Ghost Ship B2 Walkthrough:
Head down the stairs in the center or southwest corner of the ship to reach B2. On this level, you’ll find several useful items, but the most important is the Lovers’ Locket. Head to the southern end of B2 to find this item in a wooden box. It has the special item ‘sparkle’, so it is hard to miss.
There is also a treasure room on B2, which you can see on the map as it has a yellow line marking the door. Make sure to collect the Mini Medal from the barrel behind the chests, and the gold coins from the pot.
Head to the NE end of the ship to find the second Friendly Monster, Hades.
Once you have the Lovers’ Locket, you’ll be free to leave and make your way to the Shrine of Shackles to collect Mountaincleaver.
How to Get the Mountaincleaver in Dragon Quest 3 Remake
Now that you have the Lovers’ Locket, you can make your way into the previously inaccessible area where the Mountaincleaver is located. The location we want to reach is called the Shrine of Shackles.
How to Reach the Shrine of Shackles:
To find the Shrine of Shackles, you’ll need to sail into an area just north of Olivia’s Promontory. Just north of the promontory there is a river inlet that is blocked by a magic barrier. If you try to cross it without the Lovers’ Locket, you’ll be repelled. Once you have the locket, you’ll be able to enter.
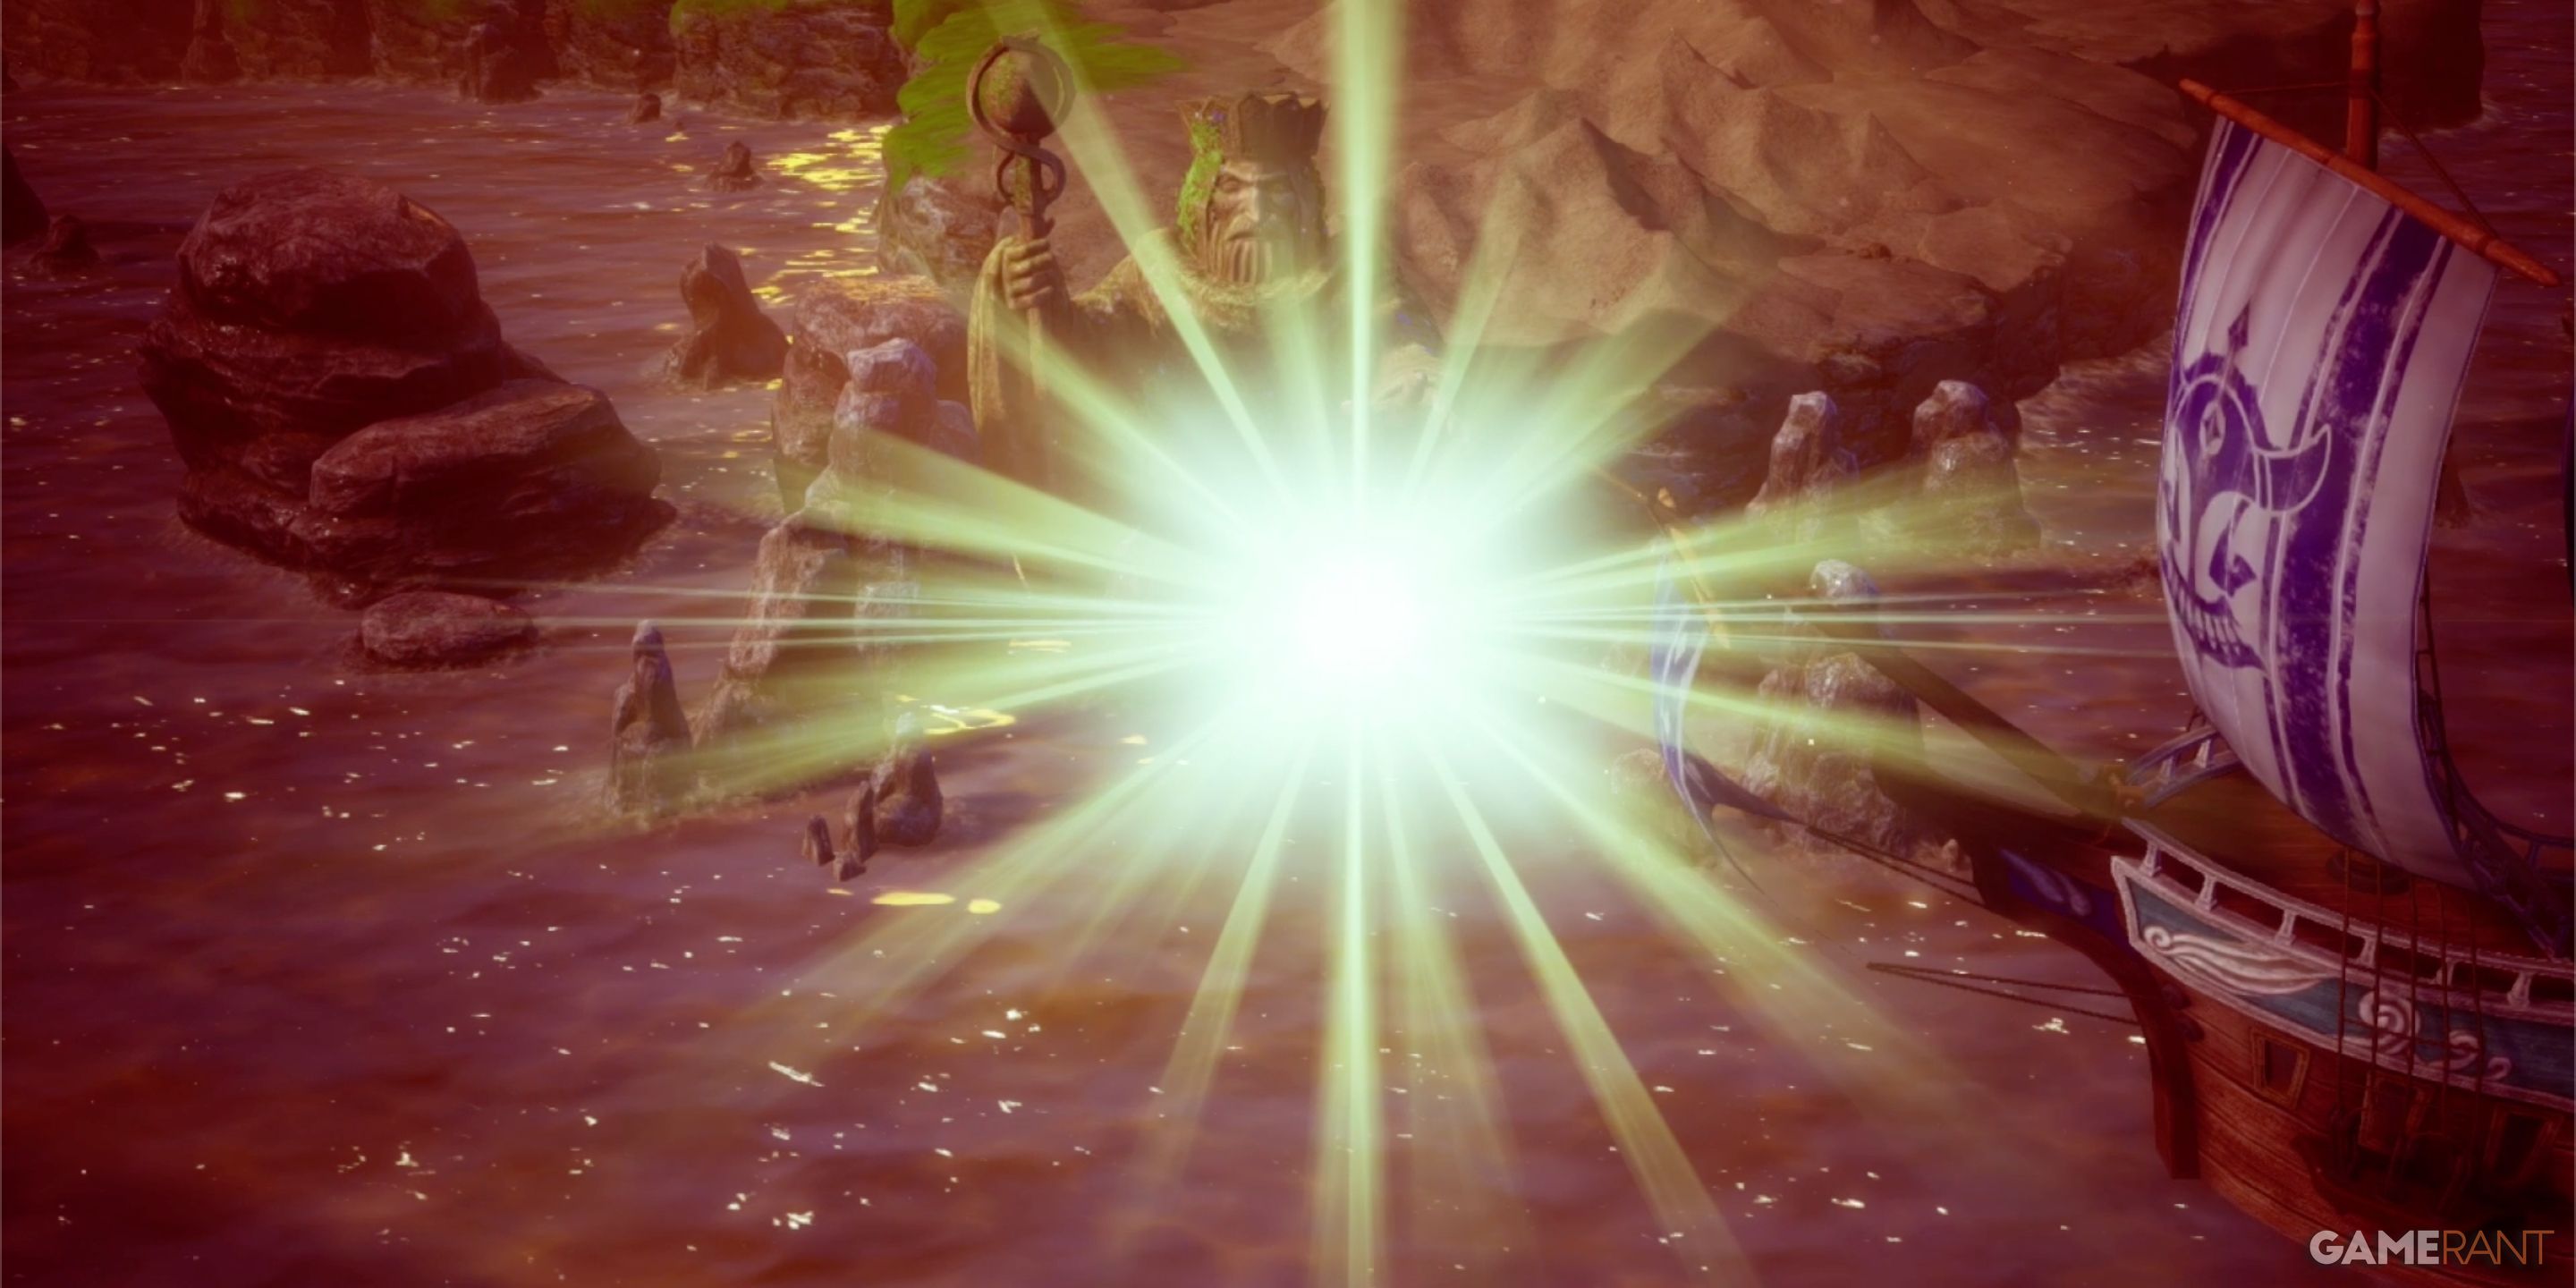
There is a significant cutscene after you approach the barrier with the Lovers’ Locket, but after it’s over, you need to sail directly west to find the island housing the Shrine of Shackles. The small structure is clearly visible on the island.
How to Get Mountaincleaver:
When you enter the shrine, you’ll see that there are multiple jail cells within. Head to the southwestern cell first and speak with the spirit NPC. After another lengthy cutscene, you’ll want to head over to the southeastern cell and search the skeleton. It is there you’ll find the Mountaincleaver sword. Luckily, there is no boss or any enemies in the Shrine of Shackles.
Feel free to use the Mountaincleaver while you have it. However, its main use will be revealed when you take the next step and head to Mt. Necrogond. This is the first step towards entering the Maw of the Necrogond, and receiving the Silver Orb from the Necrogond Shrine.







Leave a Reply