Elin takes a lot of inspiration from the first generation of roguelike games in its setting and tutorial designs. This broadly means that you start with no idea of what to do, and figuring that out is part of the difficulty curve. This doesn’t mean you have to go into the game spoiler-free to enjoy it.
Related
8 Games To Play If You Like Caves Of Qud
Caves of Qud is an experience like no other, but here are some games that have a similar vibe.
Knowing a few simple tricks as you start out will help you greatly and avoid some unfortunate pitfalls that can cost hours of work. Once you’ve survived past your first year in the wilds, you should have a good grasp of where you want to go next.
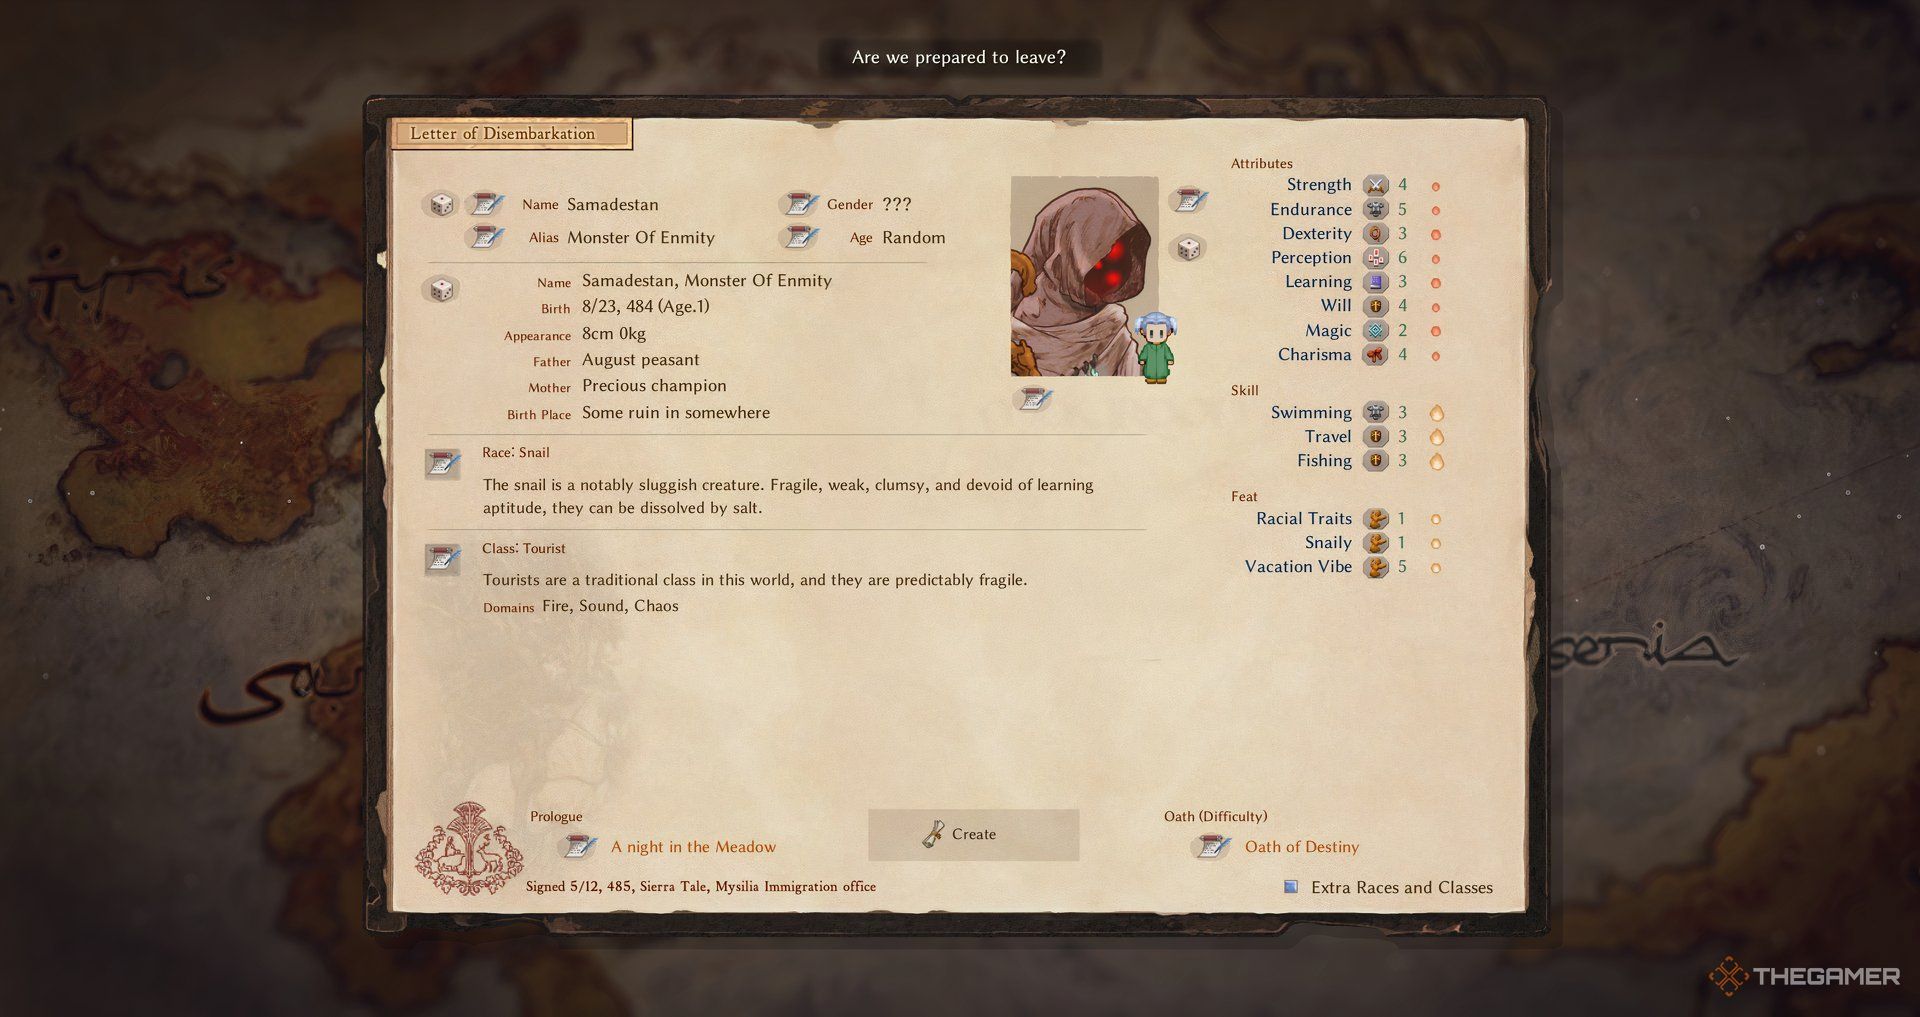
Class And Race Choice Determine Playstyle
There are a lot of classes in the game, to the extent that most of them are hidden on your first playthrough.
Despite this, your starting class doesn’t prevent you from doing most tasks. You don’t need to play as a pianist to be a travelling musician (though it does help). Similarly, the farmer specialises in a stationary playstyle but most players will want to invest in base-building to some degree.
When choosing a class, think about the playstyle rather than the listed abilities. Your character can learn other skills later in the game.
|
Playstyle |
Classes |
Ease |
Speciality |
Best Race |
|---|---|---|---|---|
|
Base Builder |
Farmer |
Easiest |
The farmer is great for learning the core mechanics, or for peaceful players looking to produce and sell their wares. In the late game a farmer can pivot to a more adventurous playstyle aided by good nutrition and a lot of skill grinding. |
Hillfolk are good at crafting and gathering, making for good farmers. Juere are counterintuitively good because they get more bonuses from their food. |
|
Nomadic |
Pianist |
Easy |
The pianist is designed to travel between towns, busking for money and carrying everything they need in their expanded inventory. Travelling often gives you persistent knowledge to help future characters, by knowing where to find certain skill trainers and shops. |
The Juere wanderlust does well, as you’ll receive reduced rewards for performing in the same spot too often. A more exotic playstyle can make use of the succubus or Nefu abilities. |
|
Spellcasting Adventurer |
Priest/Wizard |
Hard |
The domains of a class determine what spells they can learn. Spellcasting classes gain more of these than normal. |
Eulderna and fairy both make good spellcasters, with the fairy trading some fragility for more specialisation. |
|
Martial Expert |
Warrior/Archer/Executioner |
Medium |
Focusing on the adventuring side of the game can save you from needing to craft too much gear yourself. You’ll also learn more about the world from the main story quests and NPCs. |
Hillfolk have the strength and endurance for a close-ranged fighter, while Yerles have the skills needed for ranged and thrown weapons. |
|
Challenge Runs |
Tourist |
Hardest |
The tourist is deliberately bad at everything, but their starting skills make them good at travelling. |
The snail race adds an extra challenge by giving no bonuses and a weakness to salt. |
Exotic options need to be opted into in the character creation menu but can have drastically different playstyles. A very fun class option for combat-focused players is the Executioner: They cannot die from loss of health, and will instead take any surplus damage to their mana.
Prioritise Getting The Home Board
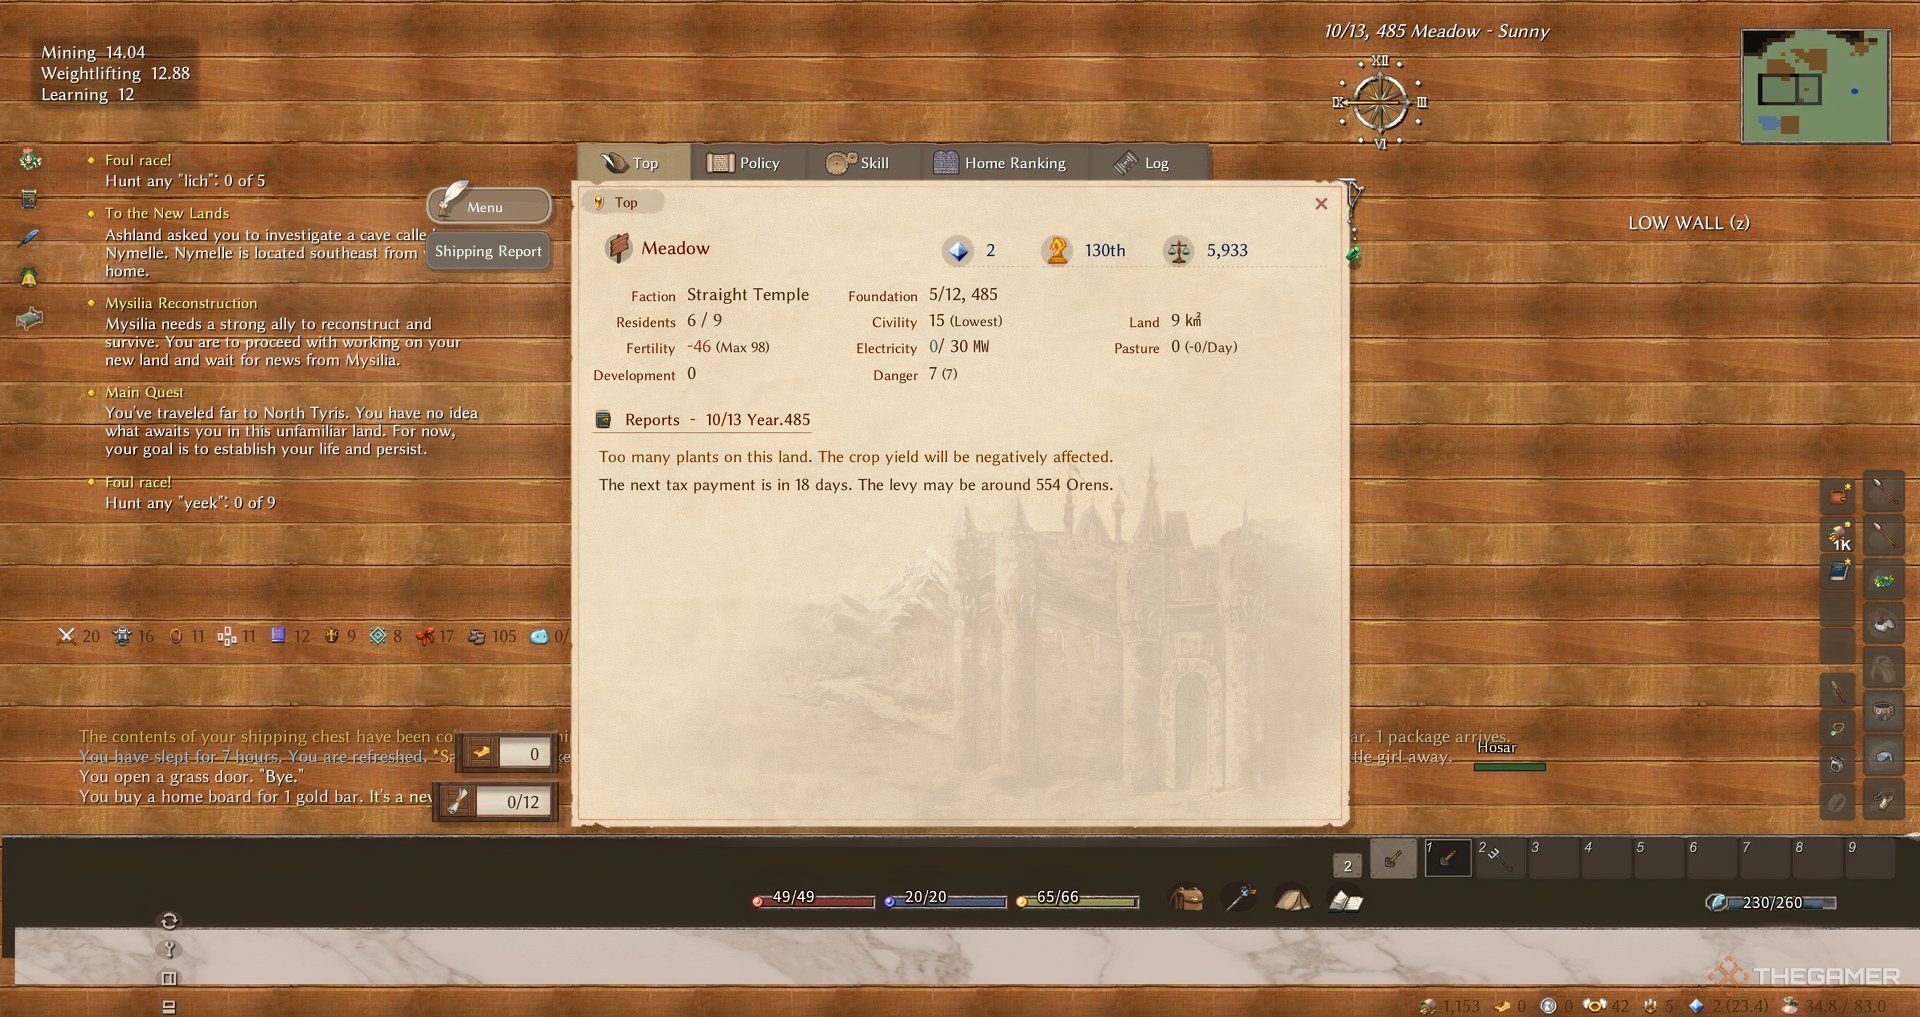
There are a bunch of different status boards that you can unlock early on, for managing your homestead and villagers. The most important one is the Home Board, which is used for enacting government policies, appraising the colony’s status, and improving government skills.
The home board will also summarize any pressing issues you need to deal with, such as unpaid taxes or overgrown plants.
Once you have this, a good policy for your first runs is growth suppression. This will limit how quickly your Hearth Stone levels up and begins attracting more powerful monsters. Once you’ve got a handle on the game this becomes less vital.
NPCs Don’t Give You Items Directly
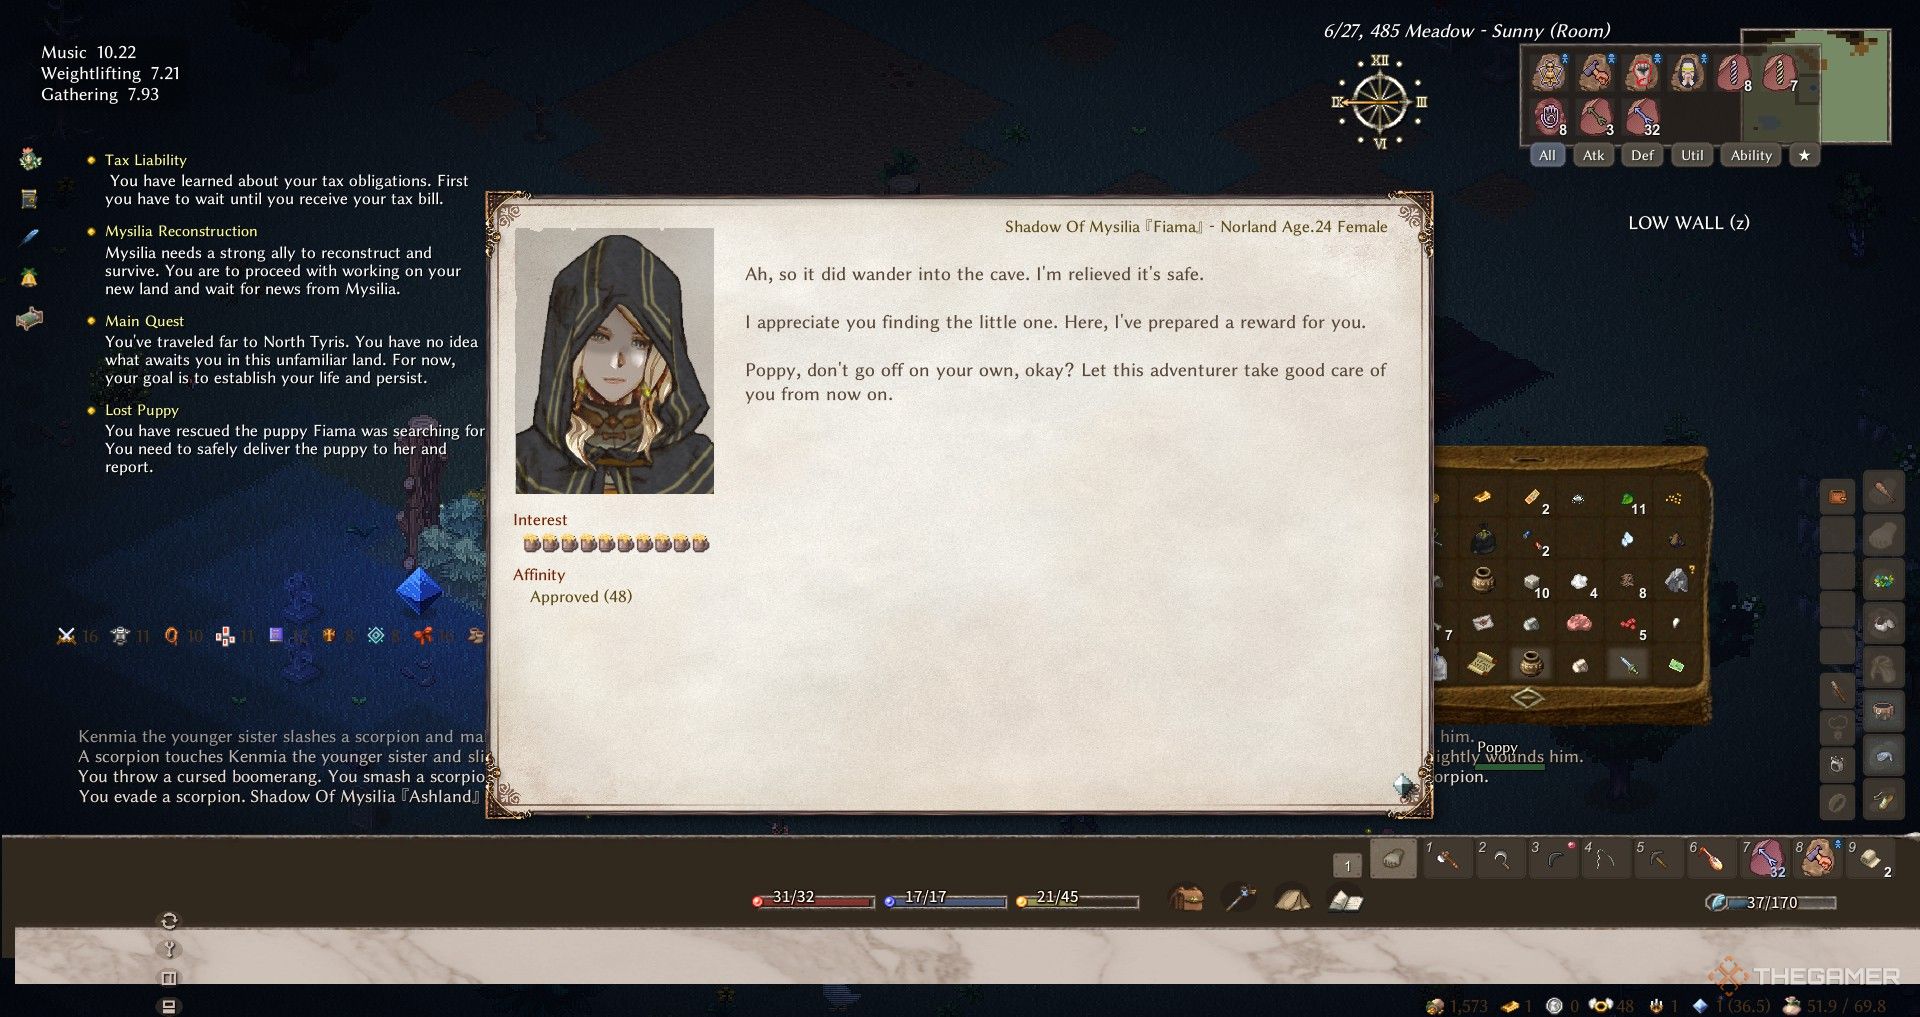
An easy thing to miss in the tutorial whenever a NPC talks about giving you an item is that they’ve actually thrown it to the ground in front of you. It’s easy to accidentally walk off without the quest items you need to start playing, so always check the ground at the end of conversations.
This applies extra when accepting quests at your job board. The items will be dropped in the same space as the board and are easy to miss visually.
Most quests are registered as completed the moment you meet their conditions. If you kill a quest monster in a dungeon, check for the quest rewards mixed in with other loot.
Set All Containers To Shared
Permissions for your containers should be managed carefully. Shared containers are important for communal resources such as crafting materials and food.
The config tab on a container can toggle what resources will be placed in it automatically, and these will be used by the NPCs and the auto-dump button of your inventory. For example, you can have a compost bin that accepts spoiled food, alongside a freezer box that only accepts unspoiled food.
You’ll generally want to set most containers to public so your NPCs can sort, process, and restock items for you.
Another good use of shared containers is storing your outdated equipment. Any gear you aren’t using can be taken by your villagers and used to defend your land.
Pets are able to access shared containers. They’ll feed themselves when possible, but you can also gift them food held in your hand.
A rare case where you’ll want to set private chests is food. Foods immune to spoilage can be stored in locked chests, while foods with a brief shelf-life should be stored communally and eaten first. This ensures you’ve got supplies for travelling but can keep your residents fed.
Automation Is Useful But Dangerous
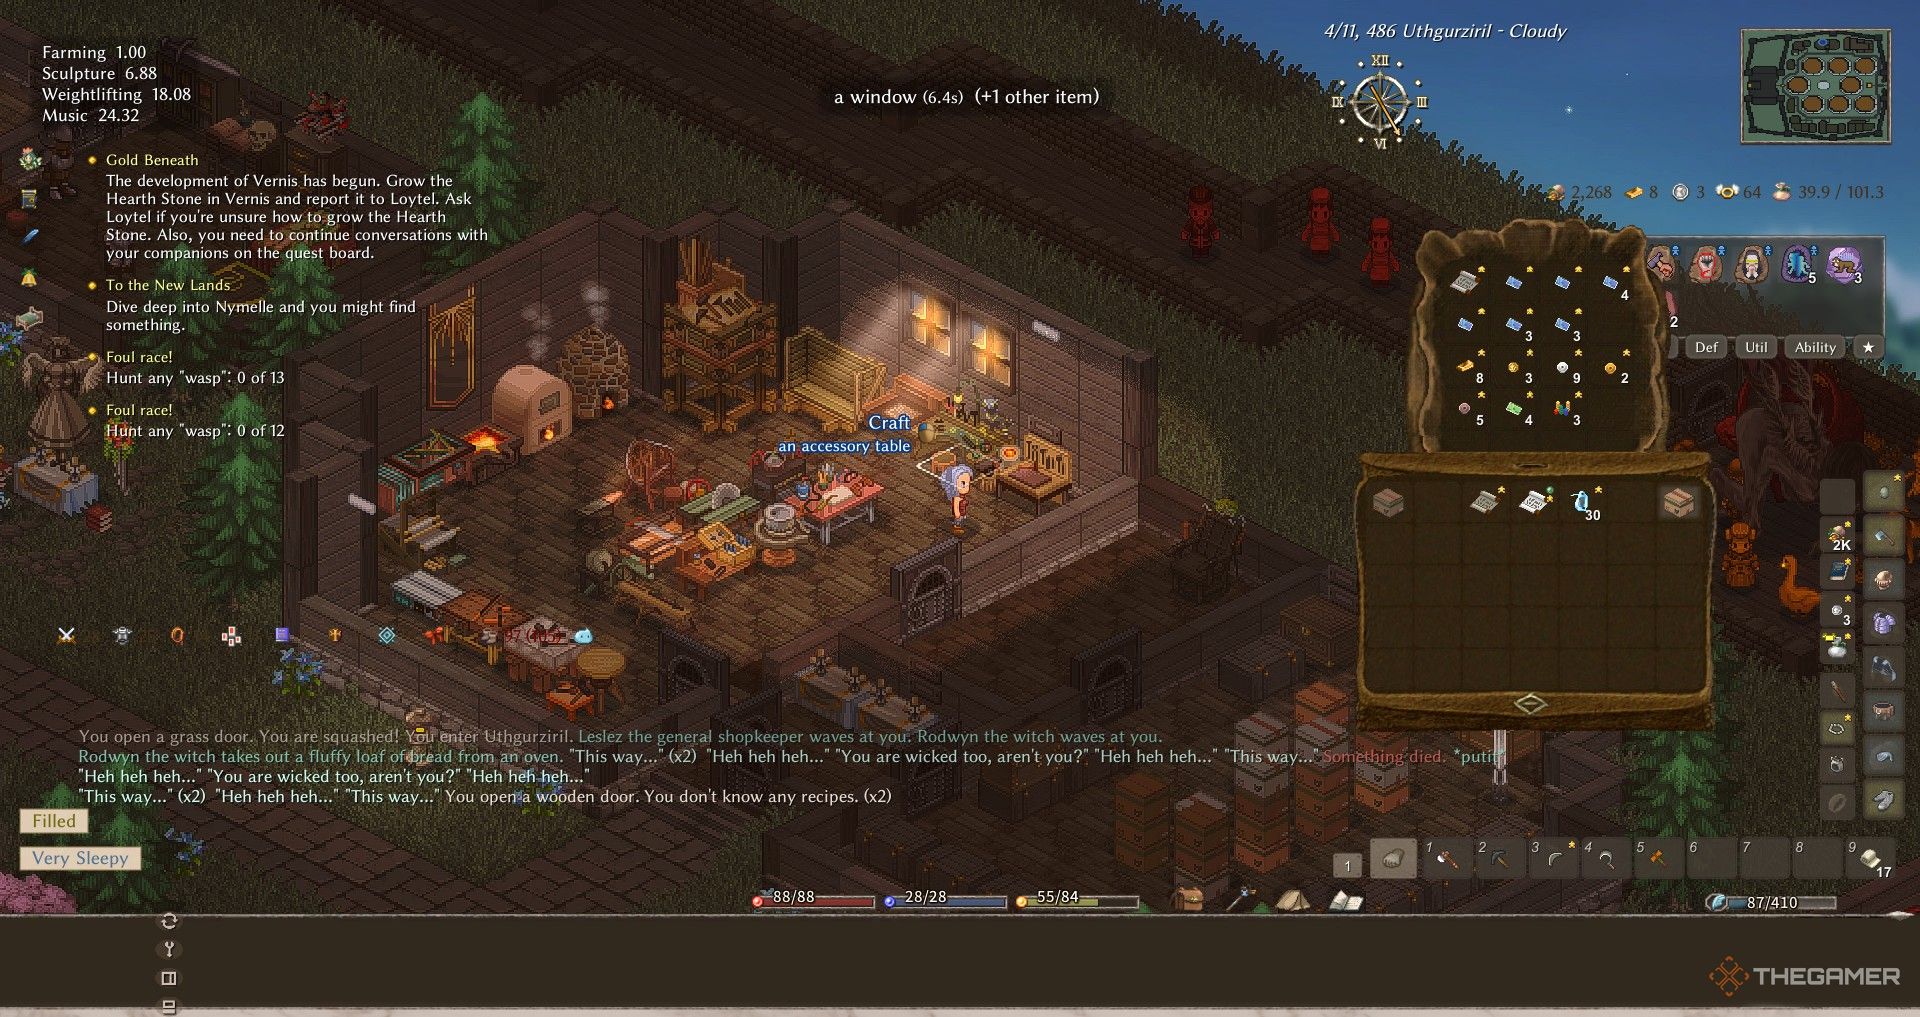
Crafting stations in your base let you draw from any storage chests on the same map. This is great for crafting large stacks but is very dangerous in the early game. When your stamina is low, you can die from overwork, and the game will not warn you if this is about to happen.
Some resource processing can be safely left AFK. Sculpting is the safest, as it automatically pauses itself when you take damage. The spinning thread does not have a similar safety feature. Crafting tasks is best done in batches, with a bed on hand for recovering. Keep the bed in your inventory and you don’t even need to leave your workshop.
Your maximum stamina will improve over time. The farmer gets a unique feat for reducing their stamina consumption, making them well suited to crafting in large quantities.

Related
25 Best Roguelikes On The Nintendo Switch
The Nintendo Switch seems tailor-made for roguelikes, and these are the best titles on the console.
Material Properties And Level Can Be Inherited
Similar items made from different materials can have very different properties. For instance, Medicines made using different herbs will have similar effects for generic healing but additional bonuses from their ingredients, such as curing specific conditions.
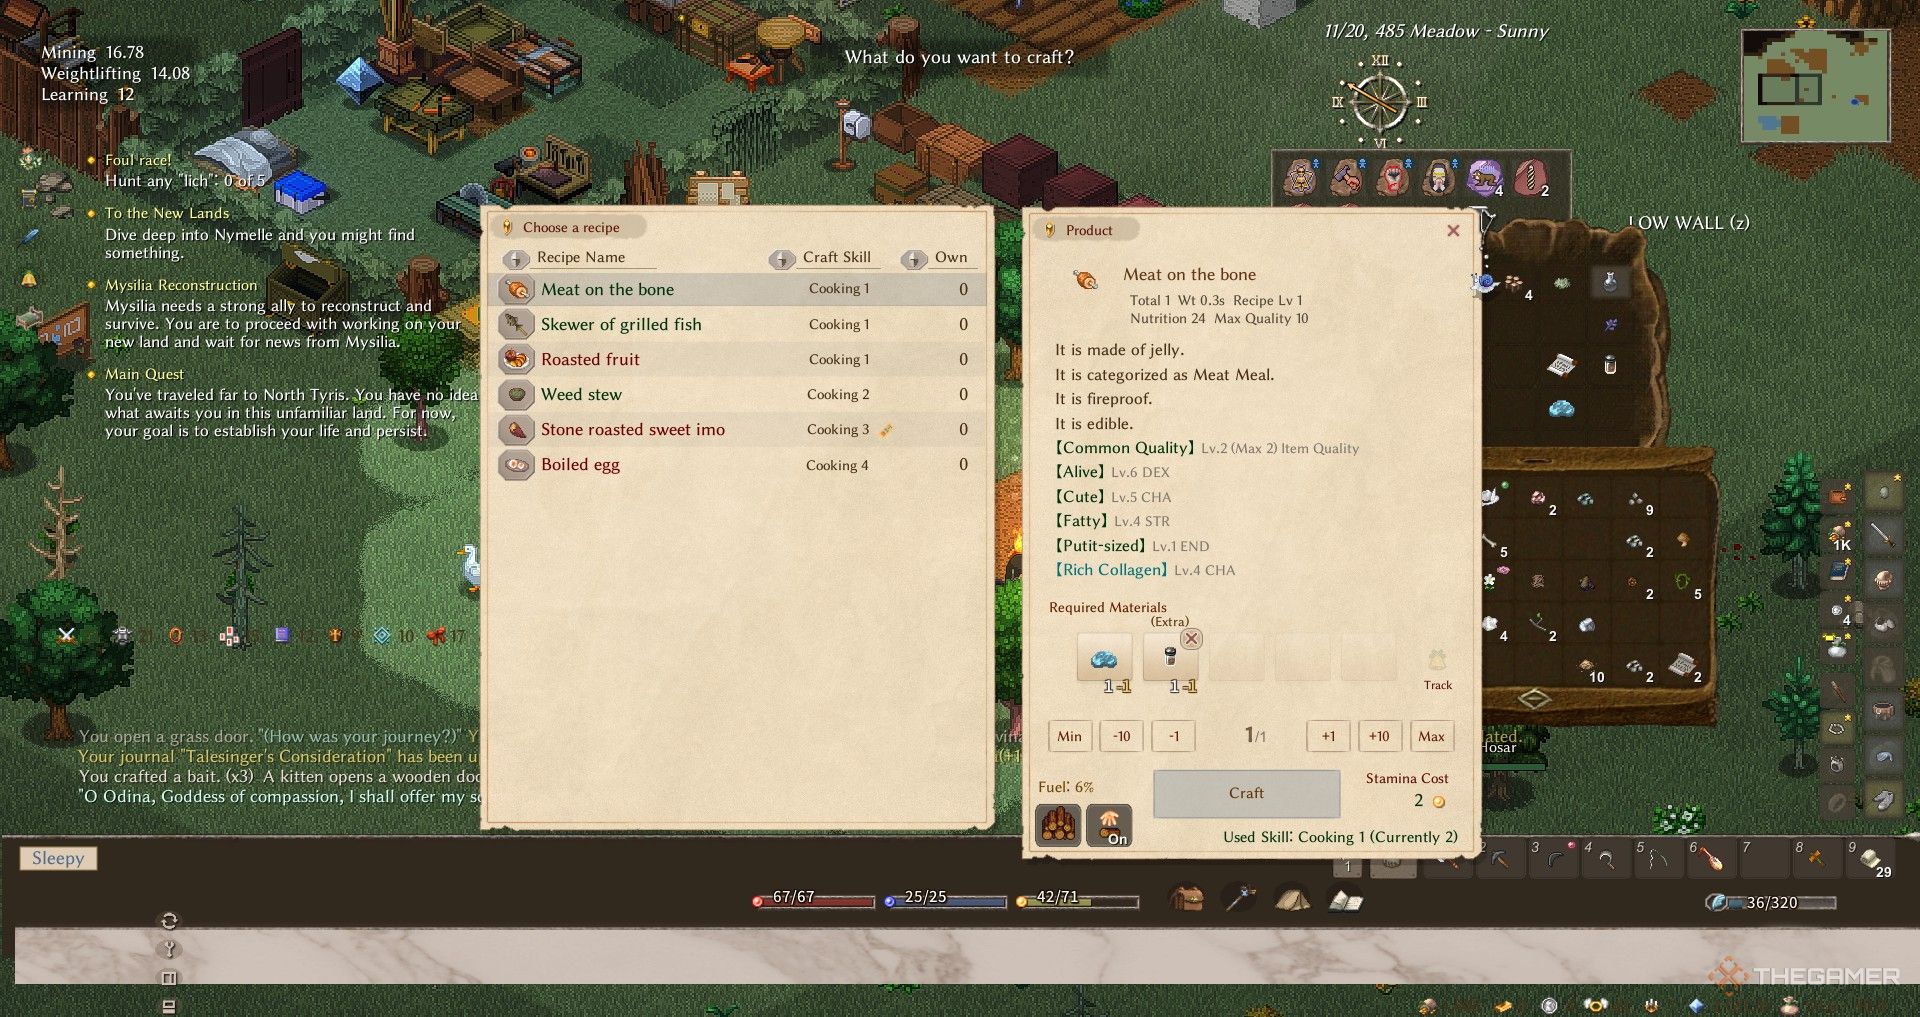
When a recipe can accept multiple versions of a base material, you’ll be able to choose which one to use. Hovering over a material will note any special properties it has.
In most cases, you can predict what properties a material will have without needing to read its properties thoroughly. Walls made from wood or grass are as flammable as you’d expect. Nuts can be stored for a longer time than berries without going off.
Within material categories, you can find further differences. Furniture made from bamboo is more comfortable for sleeping in, while birch wood furniture has a higher selling value.
Some properties are only visible if you have special traits. The gourmet feat (which farmers gain for free) lets you get extra details on food items. Useful if you don’t remember which mushrooms are hallucinogenic, but not necessary if you persist on travel rations purchased in large towns.
Skills Improve When You Push Their Limits
Elin doesn’t explain how to improve your skills beyond simply using them frequently. You’ll likely gain some levels in gathering and crafting during the tutorial, but other skills are less clear.
If a skill’s progression is stalled, try seeking out a trainer in the nearby towns. If your skill has a base value of zero, you cannot improve it without first speaking to a trainer. Some examples of what to do to level up some general skills:
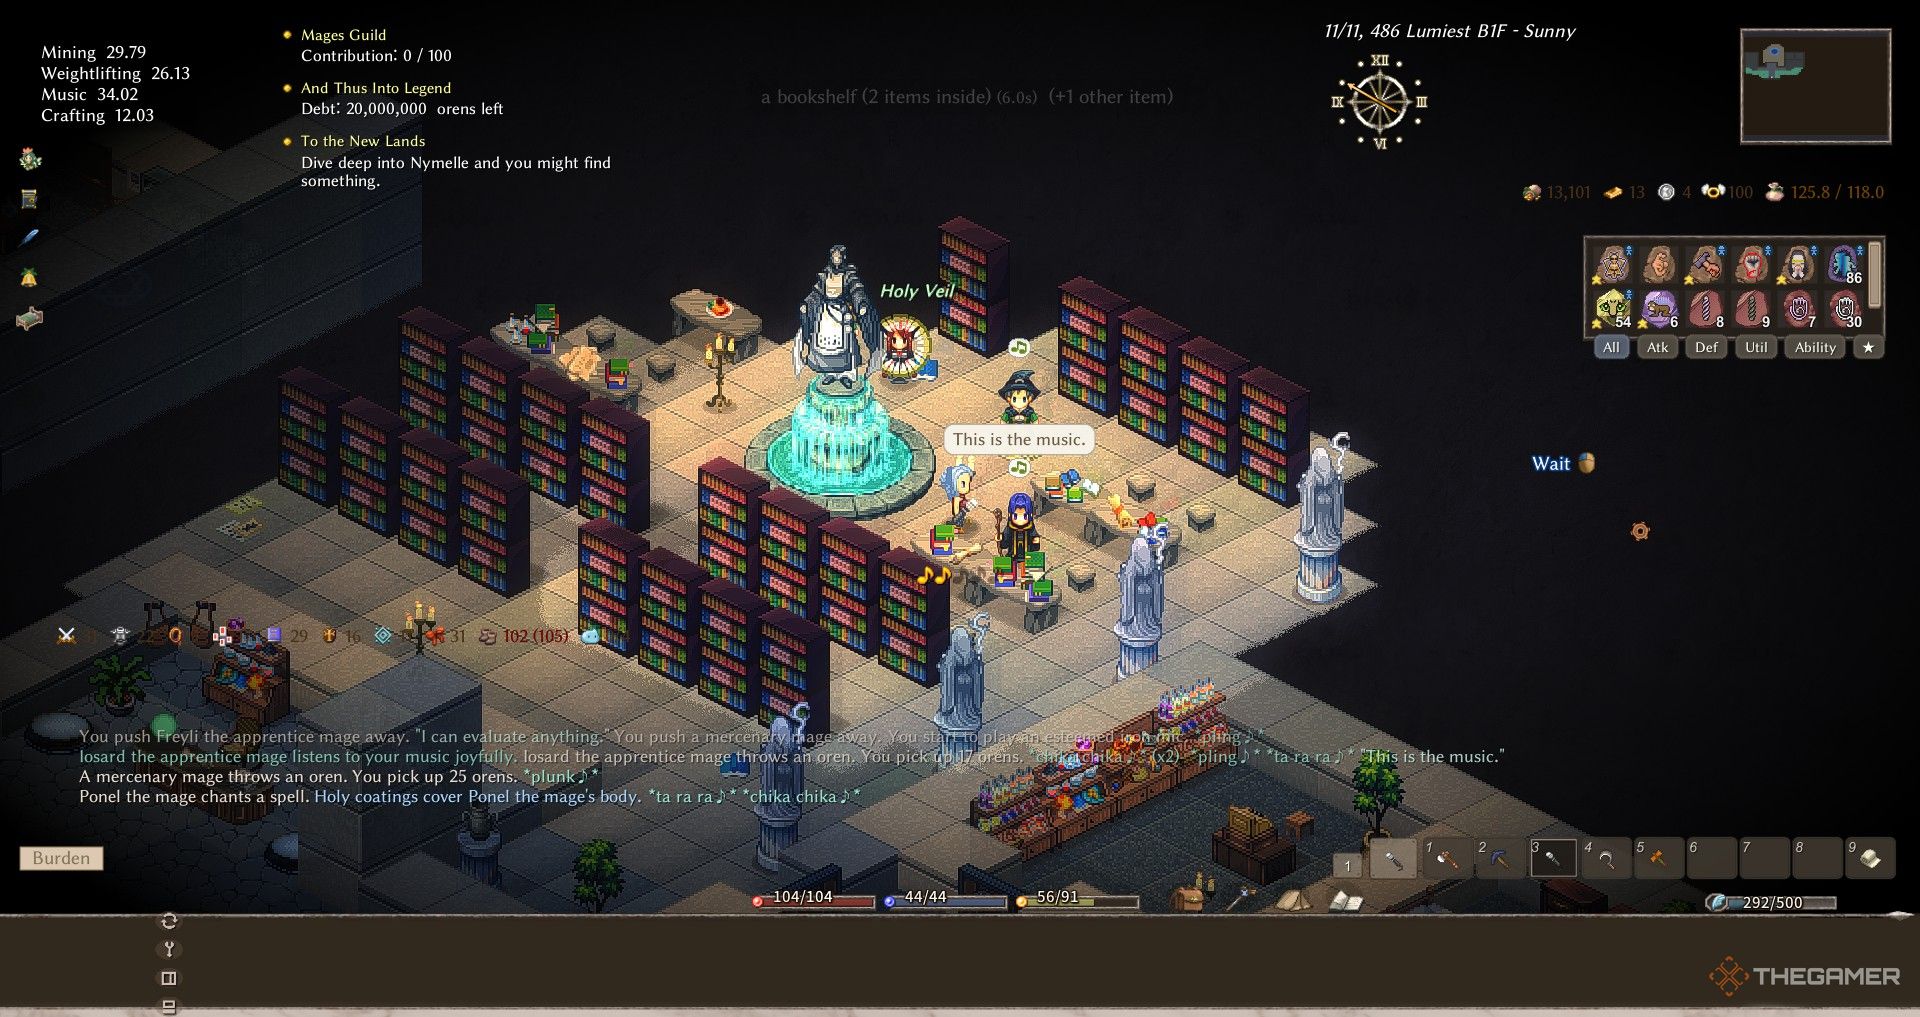
- You can play the lute until your fingers bleed but music skills only improve if you have an excited audience. An unsatisfied audience will stone you to death.
- Crafting gives more experience when making something beyond your skill level, but items below your skill level consume far less stamina.
- Your carry capacity (determined by the weightlifting skill) only increases when you carry more than your inventory limit.
- Eating spoiled food improves your willpower but also has a chance of causing insanity.
Use your first hundred days to train skills with a higher cost of failure. You lose levels upon death, making the first few levels of some skills difficult to get.
Enemies Can Target Your Equipment
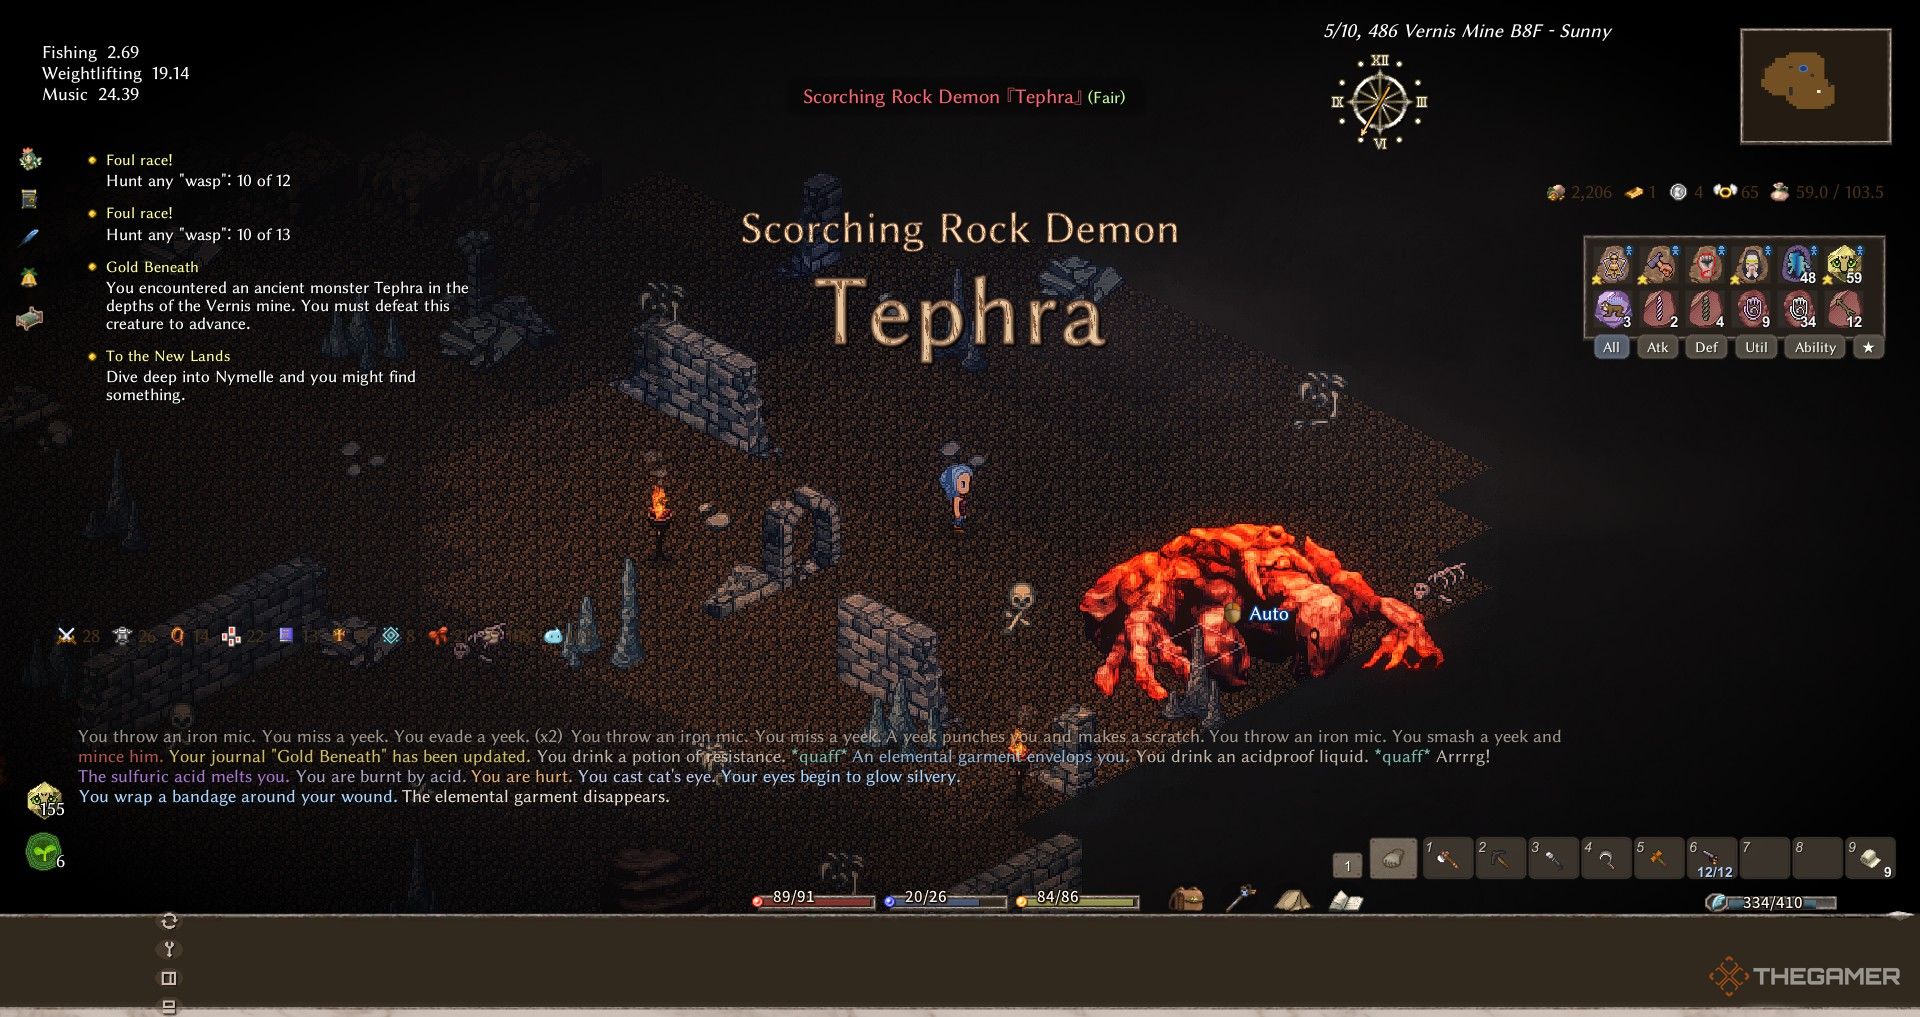
Death is not too punishing, but if you stray too far from the beginning zones, you’ll encounter enemies that can target your inventory with their attacks. If you spot any signs of an acid or fire enemy, you’re probably in over your head.
Even in the early levels, you can encounter gnomes that will steal your items and teleport away. Check the event log to see if it was something valuable, and if needed, search the area until you find them again. If you organise your inventory into purses, they can steal the entire container.
Most high-level items (or gear made from the right material) have immunity to acid and fire, but don’t expect to protect your entire inventory without precious spells and consumables. If your gear is damaged by acid you can repair it with a whetstone.
You can also use your inventory to damage enemies in unexpected ways. Throwing a cursed potion of slow at an elite enemy is a good way to bring them down to your level.
Karma Is Slow To Gain And Quickly Lost
Losing karma will severely impact your character. You’ll be driven out from almost every settlement you encounter, traders will refuse to do business and guards will attack you on sight.
Missing a month of taxes costs you 40 karma, while completing a quest rewards a single point.
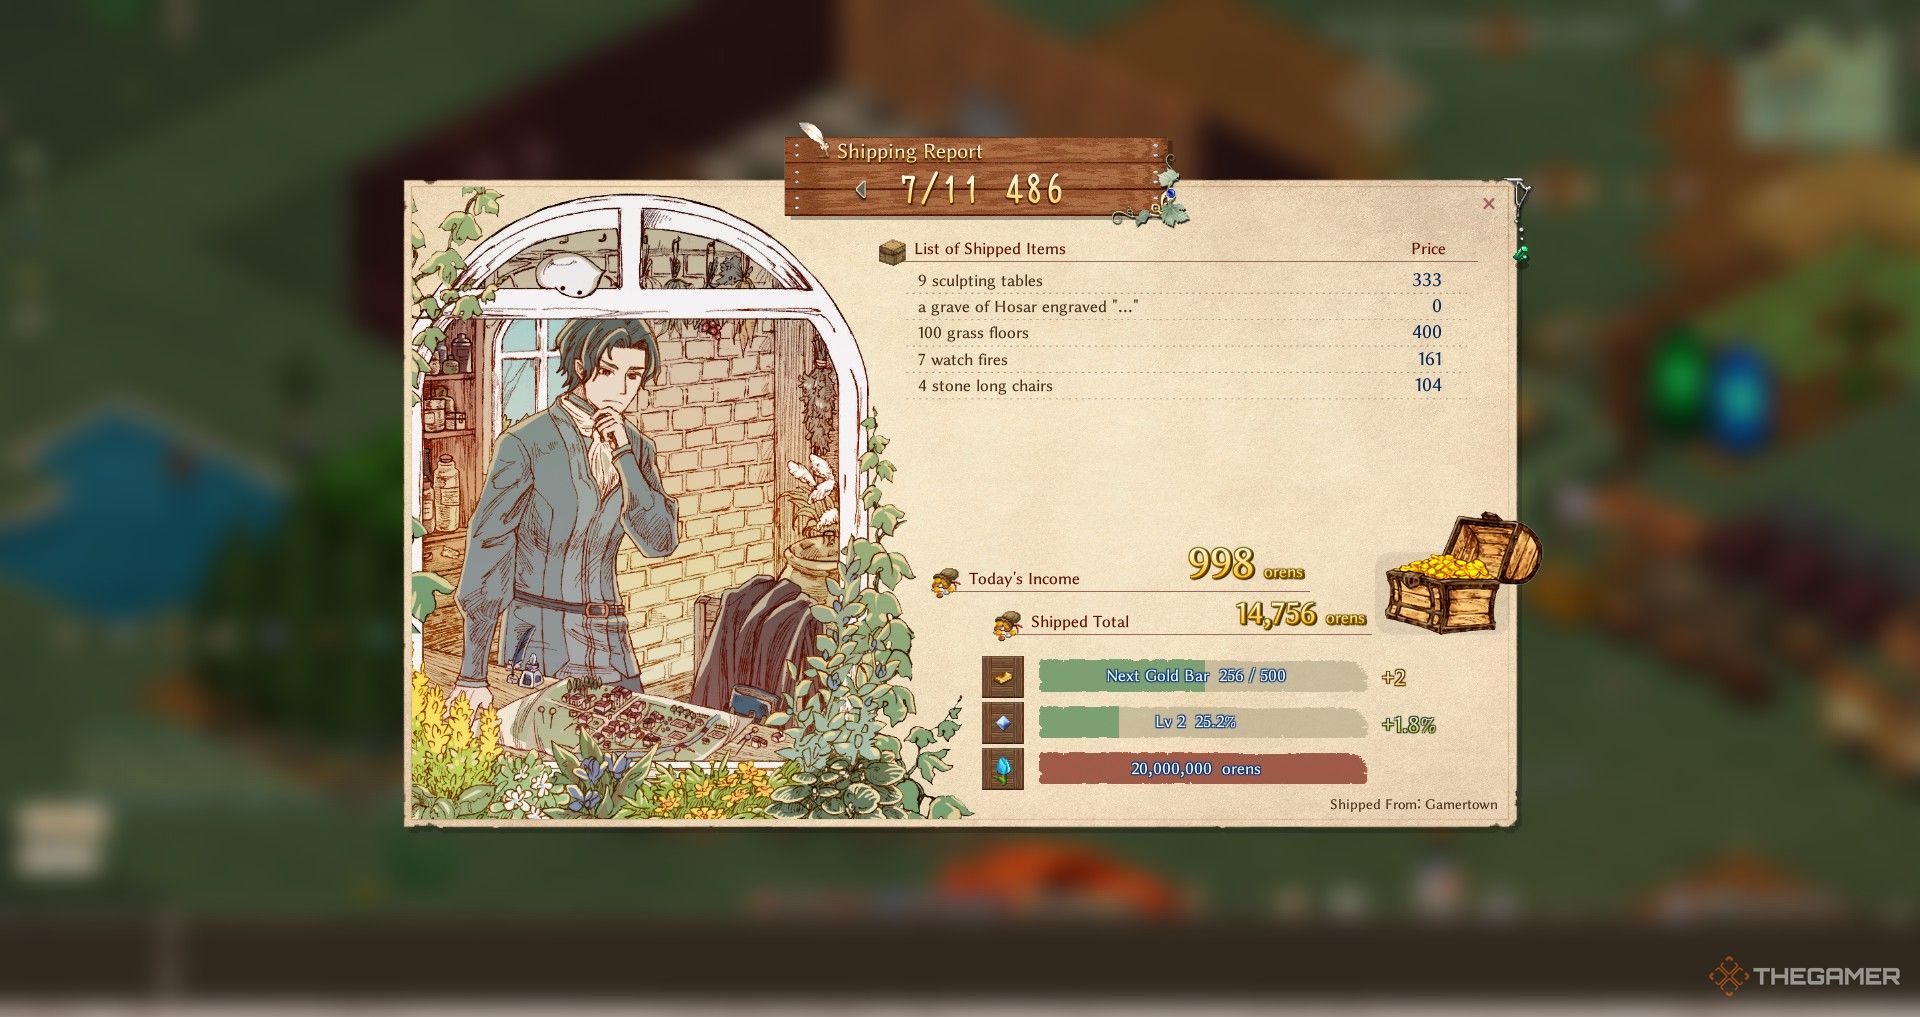
You have to travel quite far to one of the larger settlements when your tax payments are due. Using a furniture ticket, you can take a tax chest home and not have to repeat the trip.
Karma isn’t just a representation of reputation: Your Karma will decrease from crimes even when there are no witnesses. Here are some general tips for maintaining your Karma.
- Don’t harvest on land you don’t own.
- Avoid taking on timed quests you won’t be able to complete.
- Wait until morning instead of kicking a shopkeeper awake in the middle of the night.
If your karma is negative, you can repair it by buying Scrolls of Indulgence, or conceal it using an Incognito spell.
Customise Your HUD
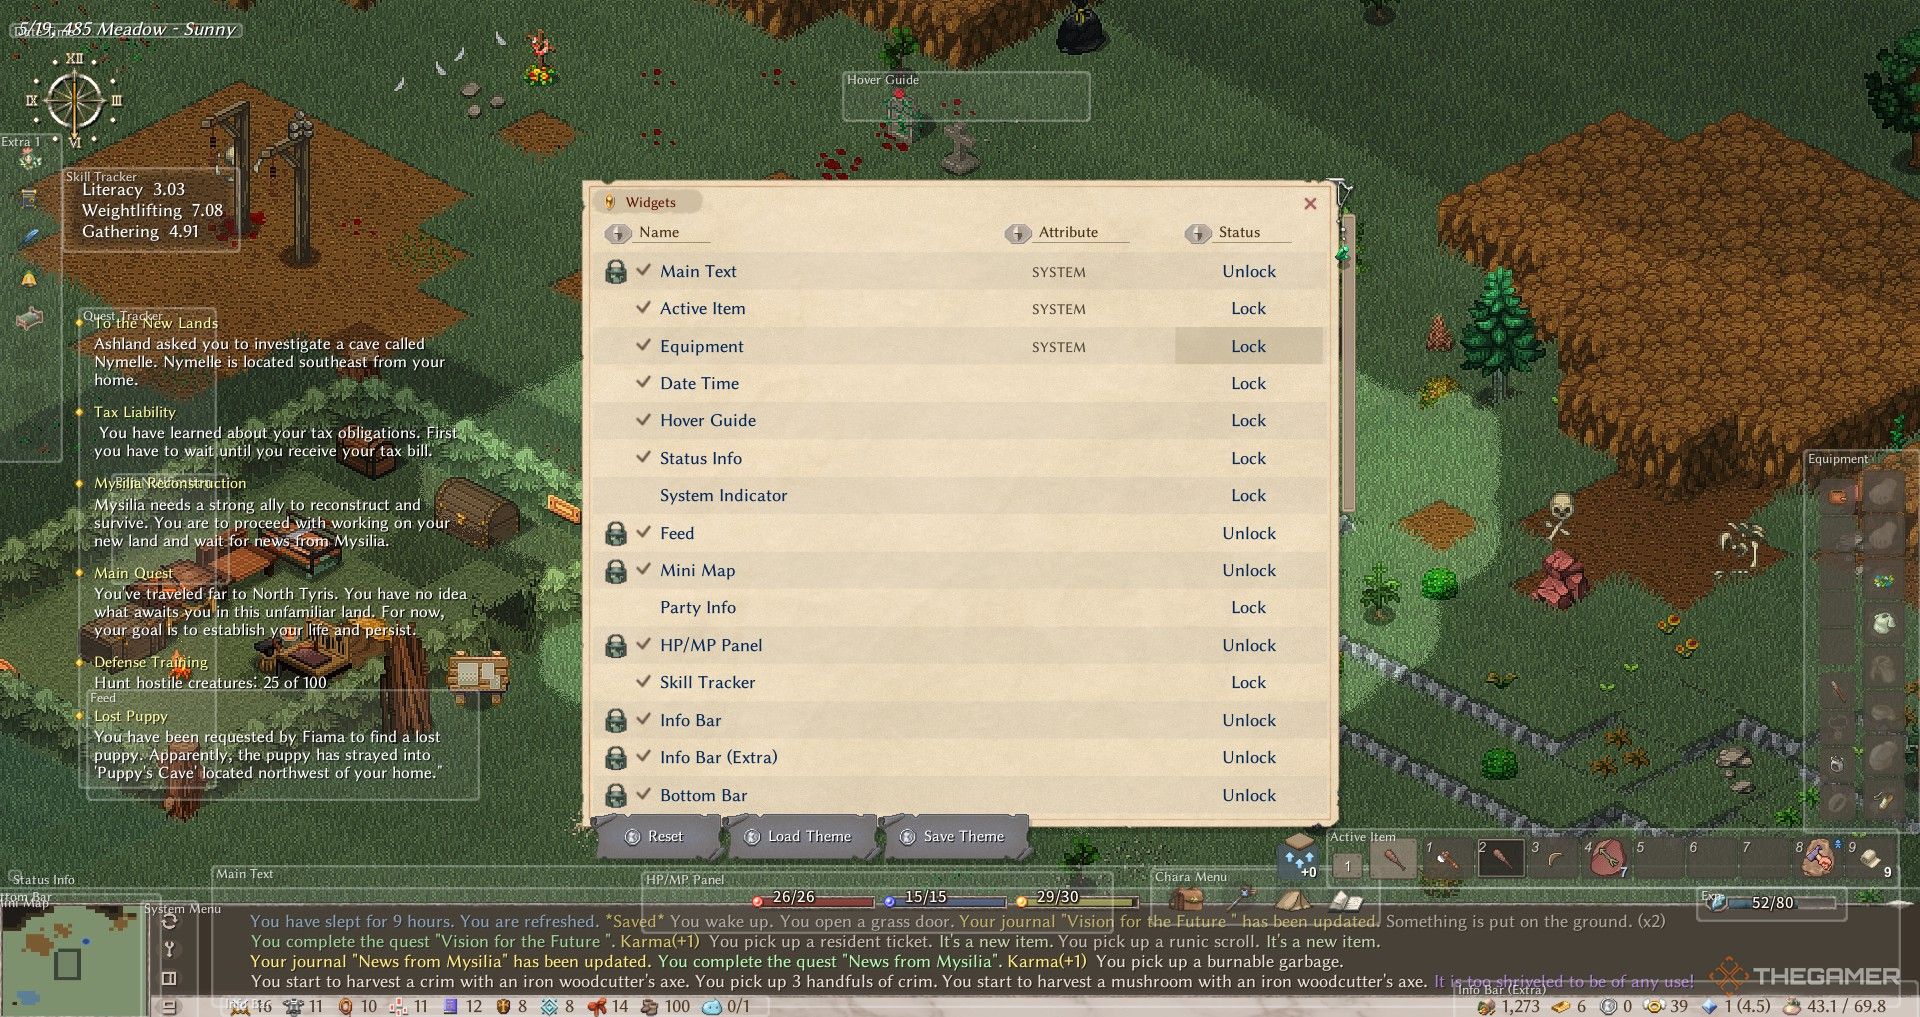
One of the first things you’ll want to do on a new character is adjust your menus in the Widget configuration. The default is prone to getting heavily cluttered, showing some details of everything regardless of their relevance.
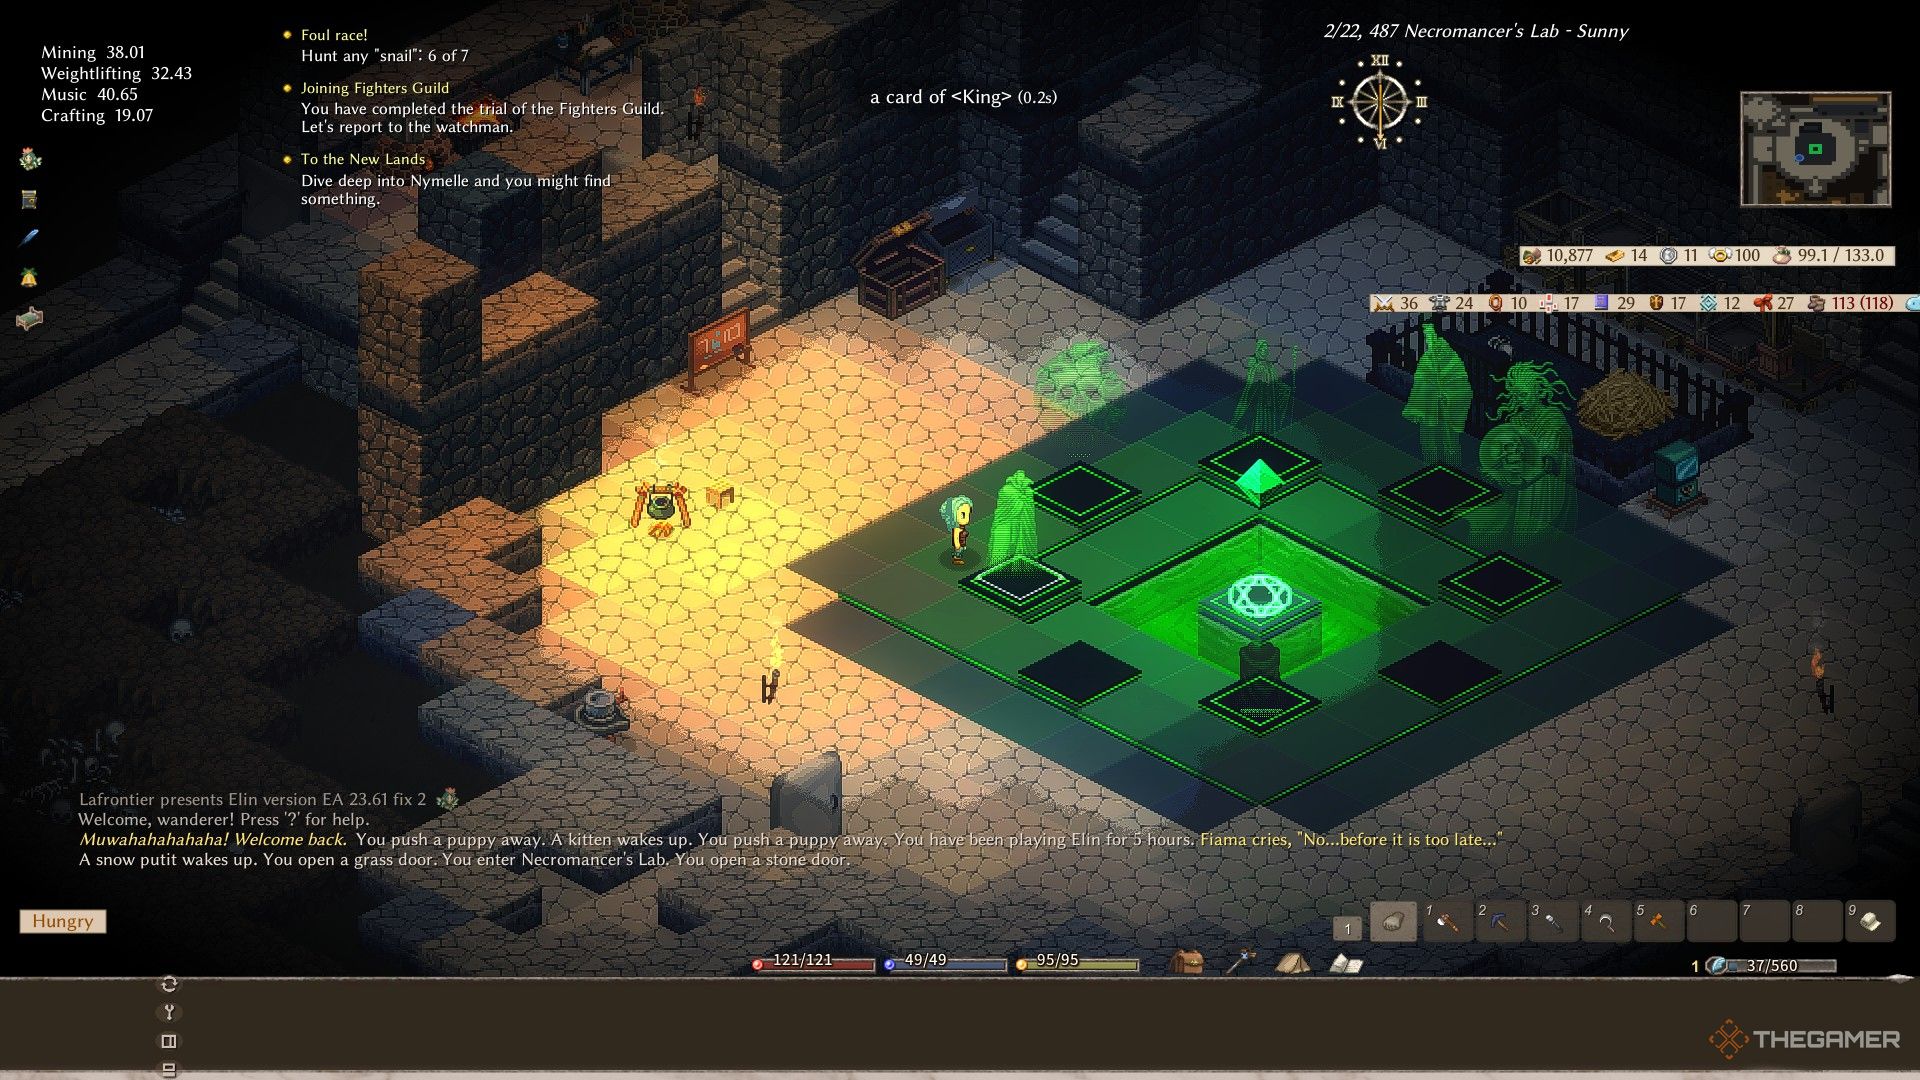
If you’re good enough at organising, you can configure multiple HUD presets for different gameplay sections.
- You don’t need your quest tracker listing out five long-term tasks you’re ignoring while farming.
- Your skill-learning progression isn’t the most important thing while exploring a dungeon.
- Your HP/MP/Stamina values are always important to have open, but you can place it in different locations depending on how closely you need to track it at the moment.
Be careful that you don’t accidentally disable an important widget. For instance, turning off the status window means the game won’t inform you if you’re about to die from starvation or sleep deprivation.
You can also turn on some HUD features that aren’t visible by default. Especially useful are the search bars for items and recipes, letting you take a more lax approach to inventory management and search for things as they become relevant.
Use Moongates And Furniture Tickets To Skip Ahead
When you don’t know what to build next, a good starting point is to look at other bases. The moongates sold at the Tinkerer’s Camp are an easy way of getting access to more complete bases submitted by other players. Borrowing a smelter can let you skip a lot of intermediate steps to getting your first metal tools.
These portals are also a much faster way of gaining access to personal vendors without needing to build them up slowly at your camp.
You’ll need a high weightlifting skill to carry the portal back to your base, but you can also use the nearby delivery box for a small fee. Delivery fees are paid the same way as taxes.
Furniture tickets are the other way of jumping ahead, by taking items and buildings from NPC towns. After completing a few quests you’ll be able to speak to the mayor or secretary of the town and purchase furniture tickets using reputation.
Taking a good quality bed from the rich part of town is a good use of some early quest points, and with enough weightlifting, you can carry these essential facilities around with you at all times.
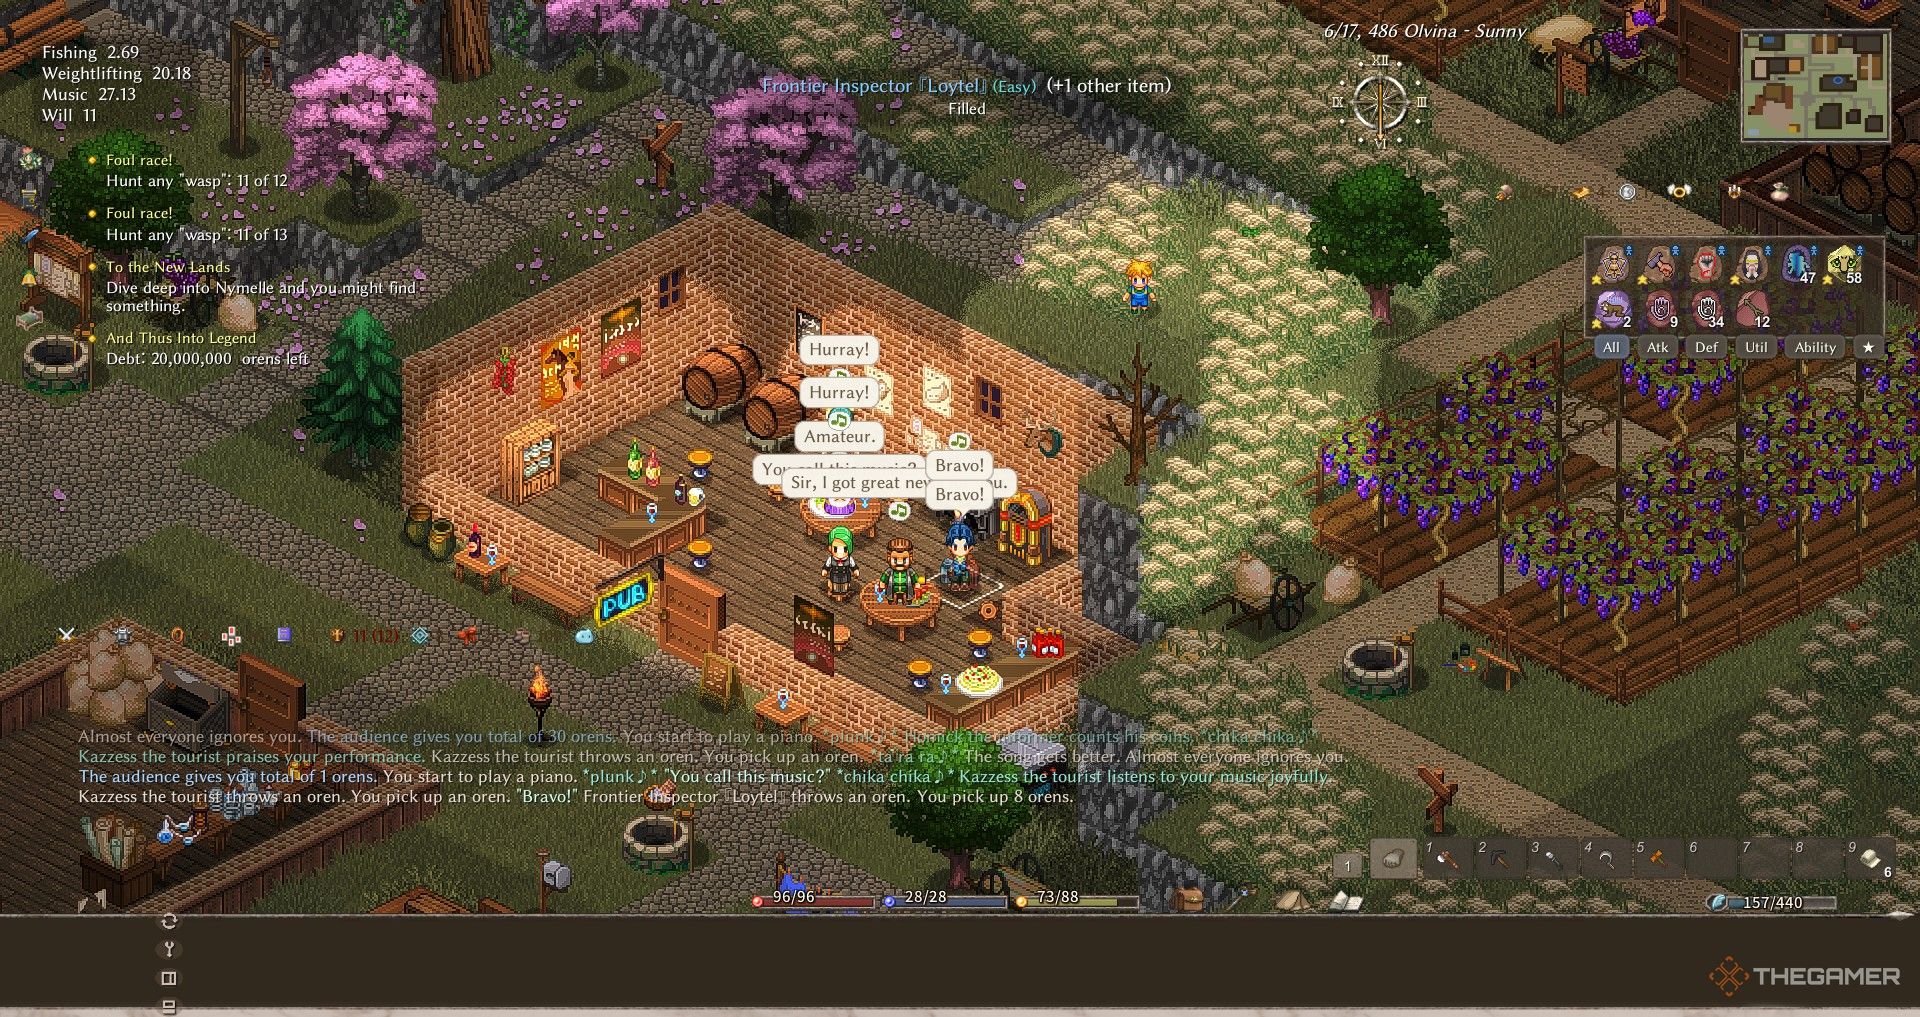
Some furniture items can also make for good adventuring gear. One of the best early throwing weapons is a microphone that can be taken from a bar or casino.
Next
8 Best Text-Based Roguelikes
If you don’t mind too much about looks, here you’ll find some of the most interesting and well-crafted roguelikes you can play.
Source link






Leave a Reply