The Xbox 360 has a vast library that is backward compatible with the Xbox One. Unfortunately, some games like Magna Carta 2 didn’t make the cut, and unless you still have access to an Xbox 360, they can’t be played on a modern system. Thankfully, some talented developers make it possible to play a selection of Xbox 360 games on the Steam Deck with Xenia.
To reliably run Xenia on the Steam Deck, you must install the EmuDeck program. It can run without it, but EmuDeck makes the experience much better and offers alternate methods for running Xbox 360 games with programs like Emulation Station being included.
Unfortunately, Xenia is in an experimental stage, and several games aren’t compatible or require changing lines of code to get them working.
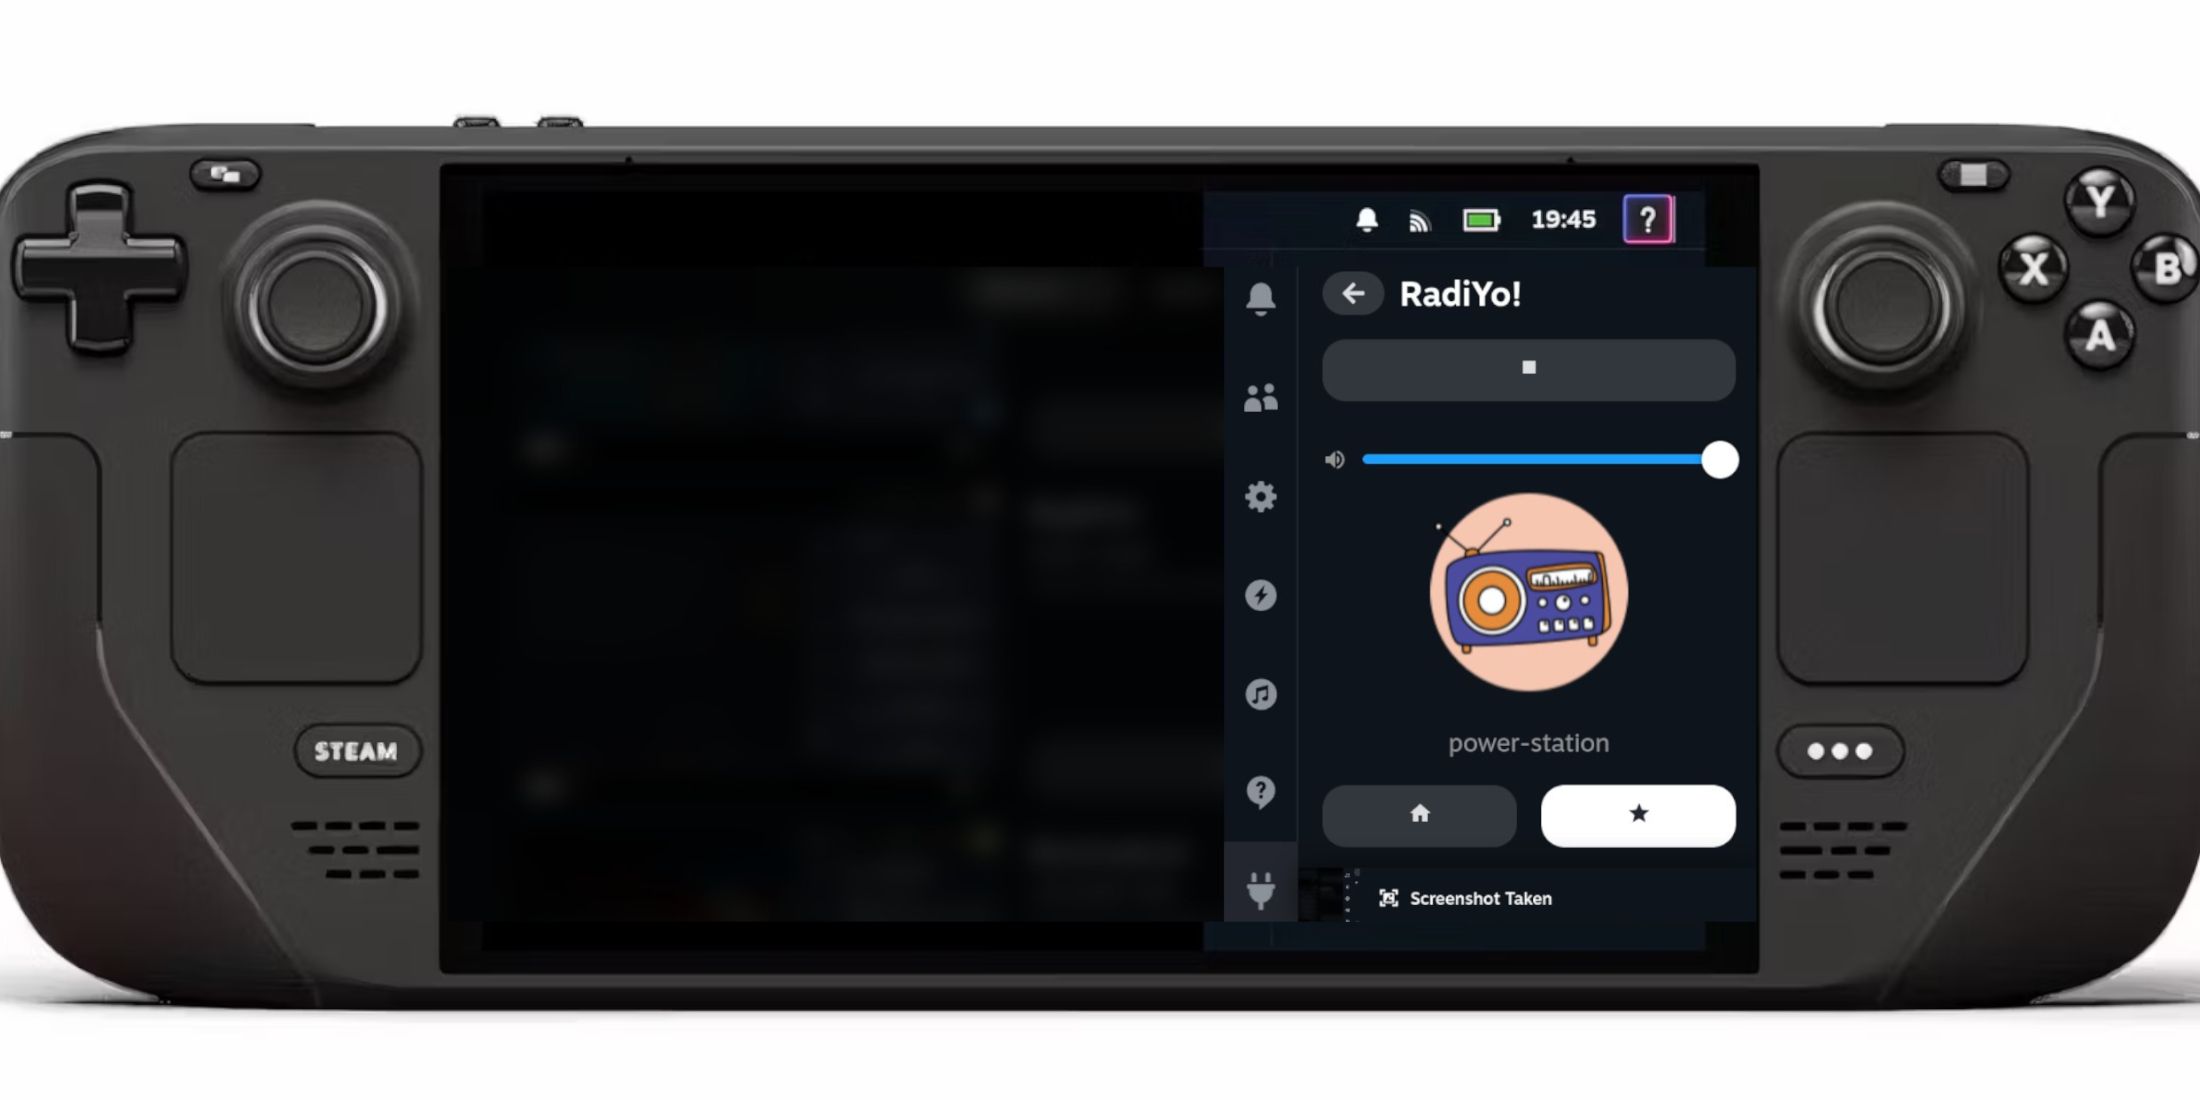
Related
Steam Deck: How To Play Internet Radio Stations While Gaming
For those who enjoy listening to music while playing video games, here’s how to play radio stations on the Steam Deck.
Updated December 18, 2024 by Michael Llewellyn: As part of the generation that introduced the HD era of gaming, Xbox 360 games are complex to run, and emulation is far from the perfect way to play some games without some technical knowledge.
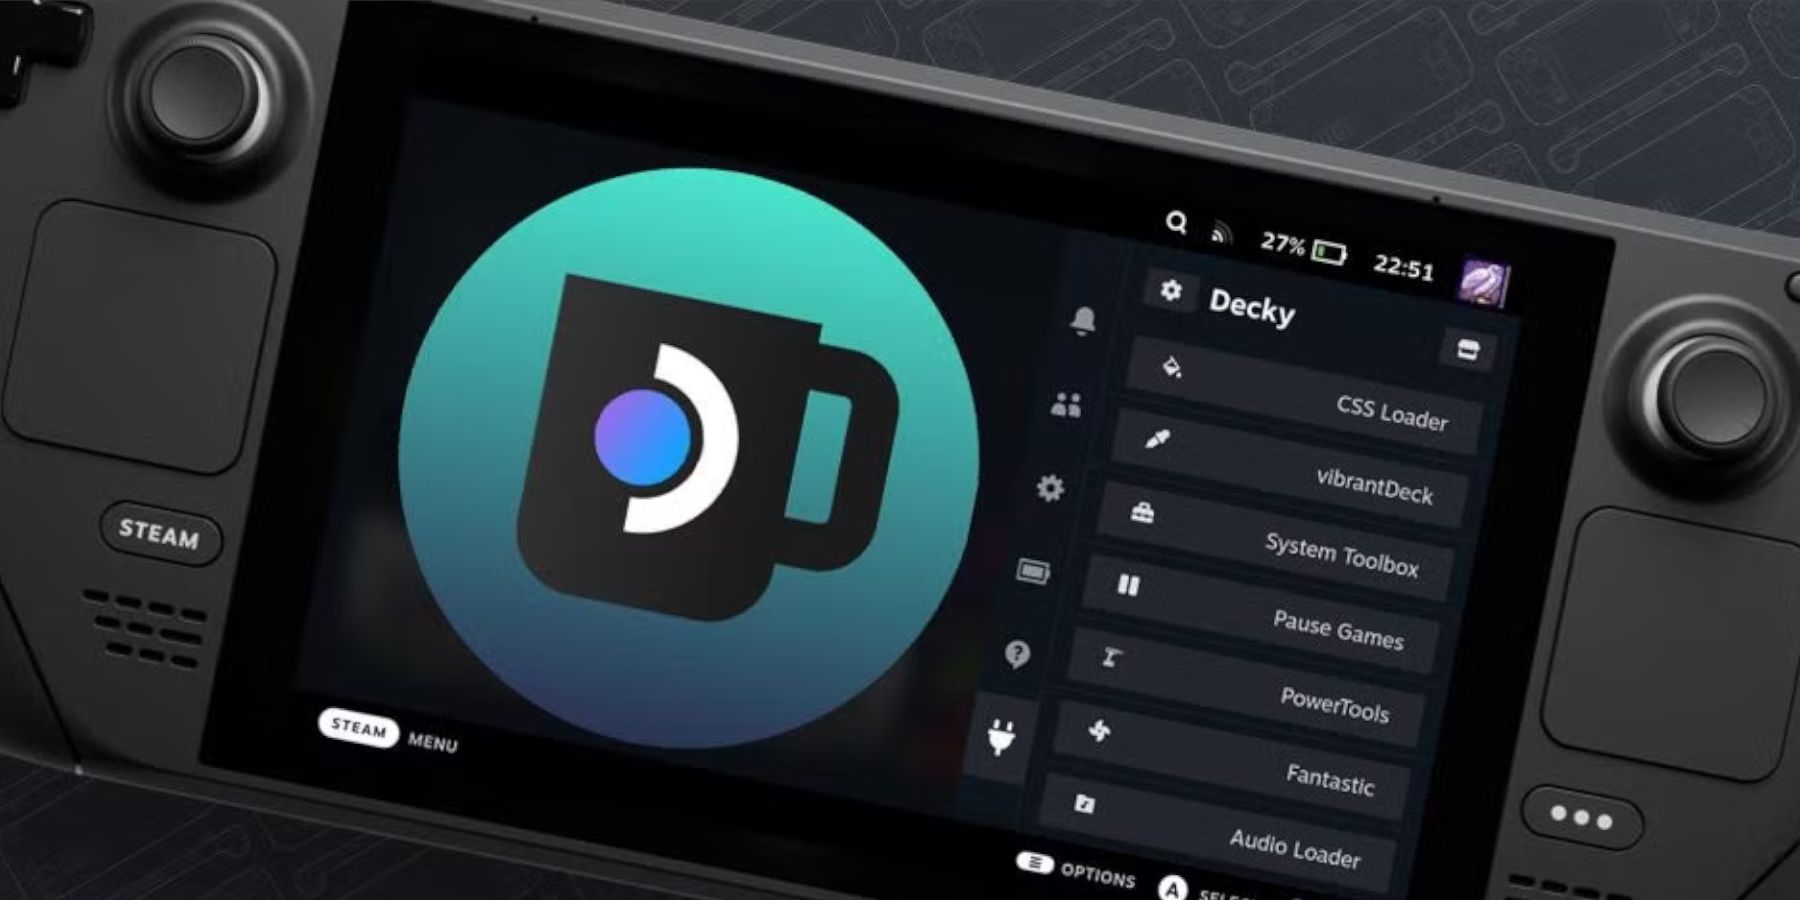
This guide has been updated with the steps to install Decky Loader and Power Tools. Power Tools allows you to adjust the SMTs to match the performance of older systems like the Xbox 360. This can provide better performance for your Xbox 360 games.
Before Installing EmuDeck On The Steam Deck
Before attempting to install the EmuDeck app on the Steam Deck, users should be prepared to make the installation go smoothly. Obtain the following items before installing EmuDeck:
- Ensure the Steam Deck has enough battery life or is plugged into the mains. If the Steam Deck shuts down during installation or file transfers, it can result in errors.
- An external Hard Disk Drive or High-speed A2 Micro SD card to install the emulators, install games, and protect the Steam Deck’s internal SSD.
- The SD cards are better suited to the Steam Deck’s portability, but an external HDD is a solid option if you’re using the Steam Deck like a PC.
- Legally owned Xbox 360 ROMS. If you own the games, you can create digital ROMS/copies of the games you purchased.
- A keyboard and mouse are optional, but using the Steam Deck in Desktop Mode is a better experience with a keyboard. Pressing the Steam and the X buttons together will pull up the Steam Deck’s built-in keypad. You can use the trackpads or the analog sticks to move the cursor and scroll webpages.
Activate Developer Mode
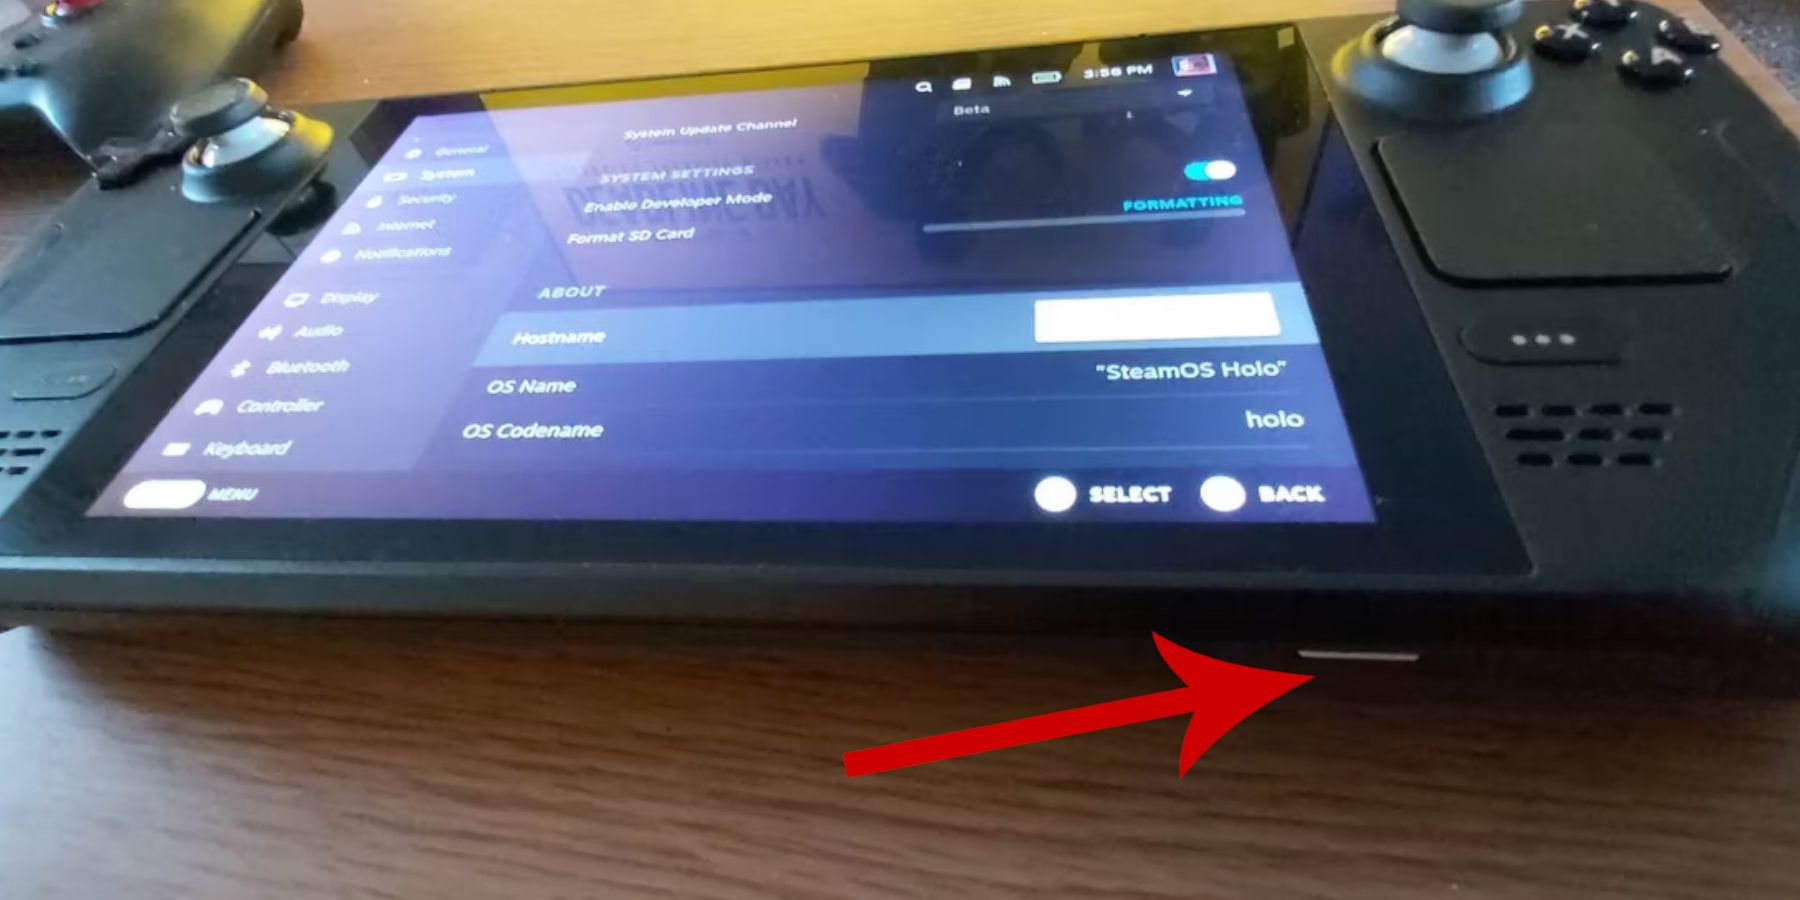
Activating the Developer Mode on the Steam Deck will ensure smooth operation when running the Xbox 360 emulator.
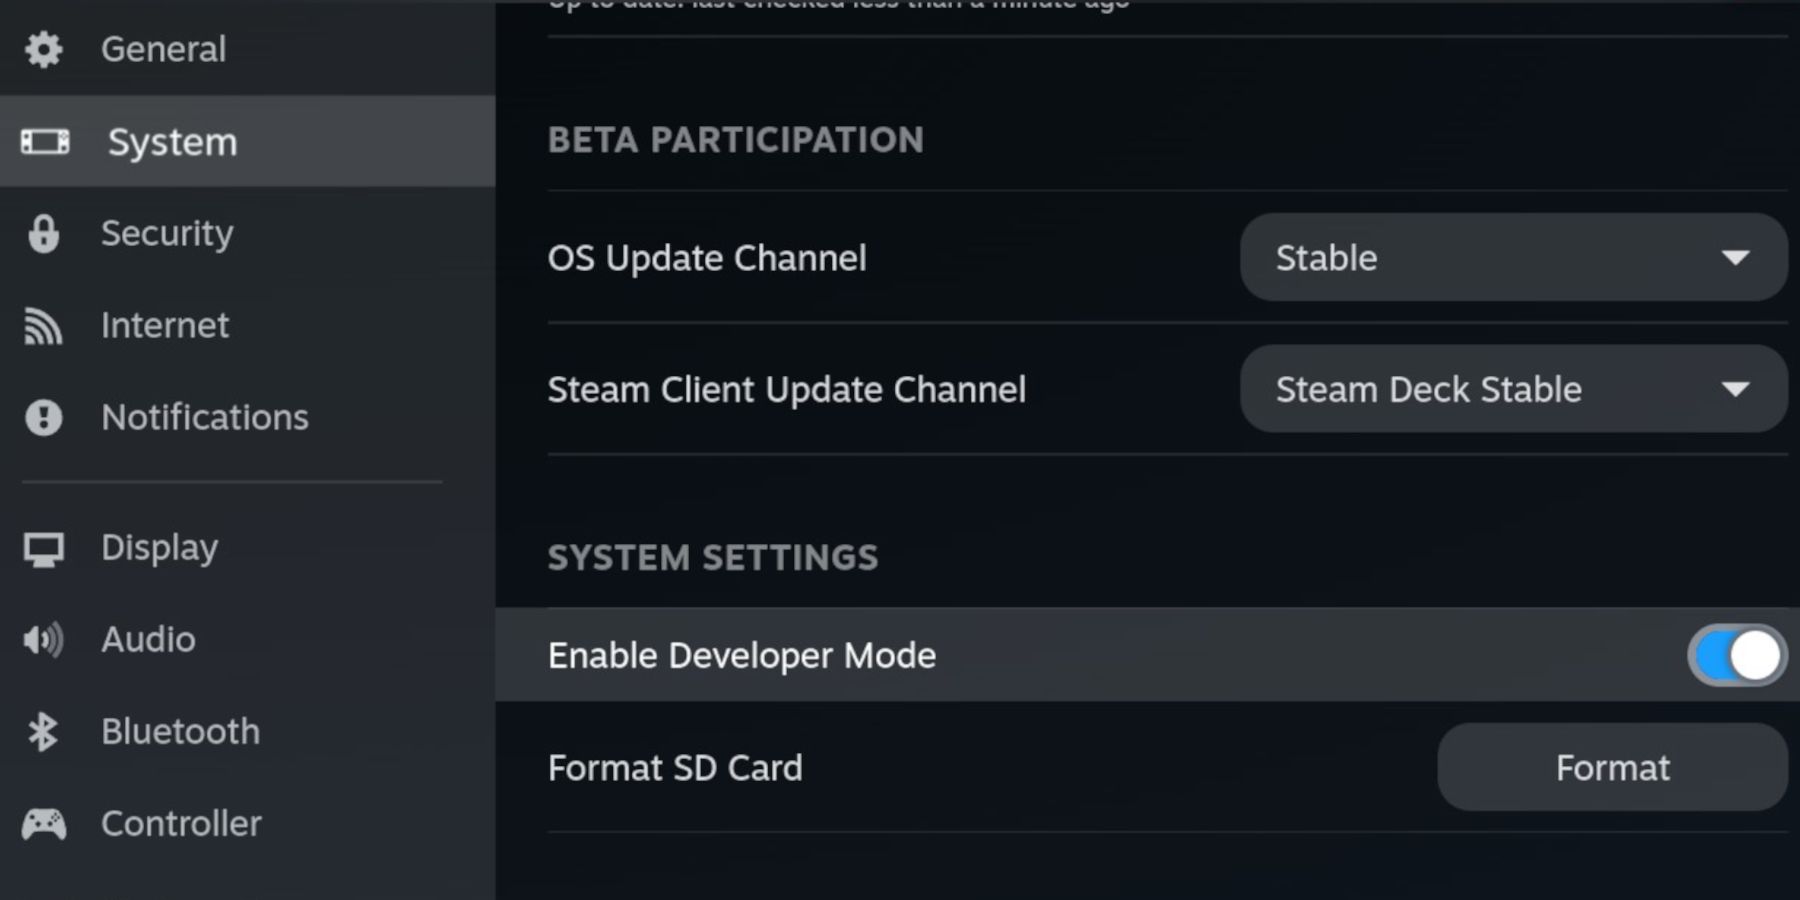
- Press the Steam button to open the left access menu.
- Click on the System menu.
- Under System Settings toggle Enable Developer Mode on.
- Look for the new Developer section – at the bottom of the access menu.
- In the Developer menu, use the d-pad to locate the Miscellaneous section.
- Then switch on CEF Remote Debugging
- Press the Steam Button.
- Open Power and select Restart.
Frequent Steam Deck updates can disable CEF Debugging by default. As a result, several modifications, like emulators and plugins, may get disabled. Ensure the setting is switched on after every update. Additionally, using the Steam Deck in beta mode results in more frequent updates than when it is operated in stable mode.
Install EmuDeck On The Steam Deck In Desktop Mode
Use the following steps to install the EmuDeck on the Steam Deck:
- Press the Steam button below the left trackpad to pull up the side menu and tap on the Power option.
- Switch to Desktop Mode.
- Download the EmuDeck program using this link within your preferred browser – Firefox, Chrome, DuckDuckGo, etc.
- Select the SteamOS version by clicking on it and download the program. Wait for the EmuDeck to finish downloading and double-click the installer to begin the installation.
- Select Custom Install.
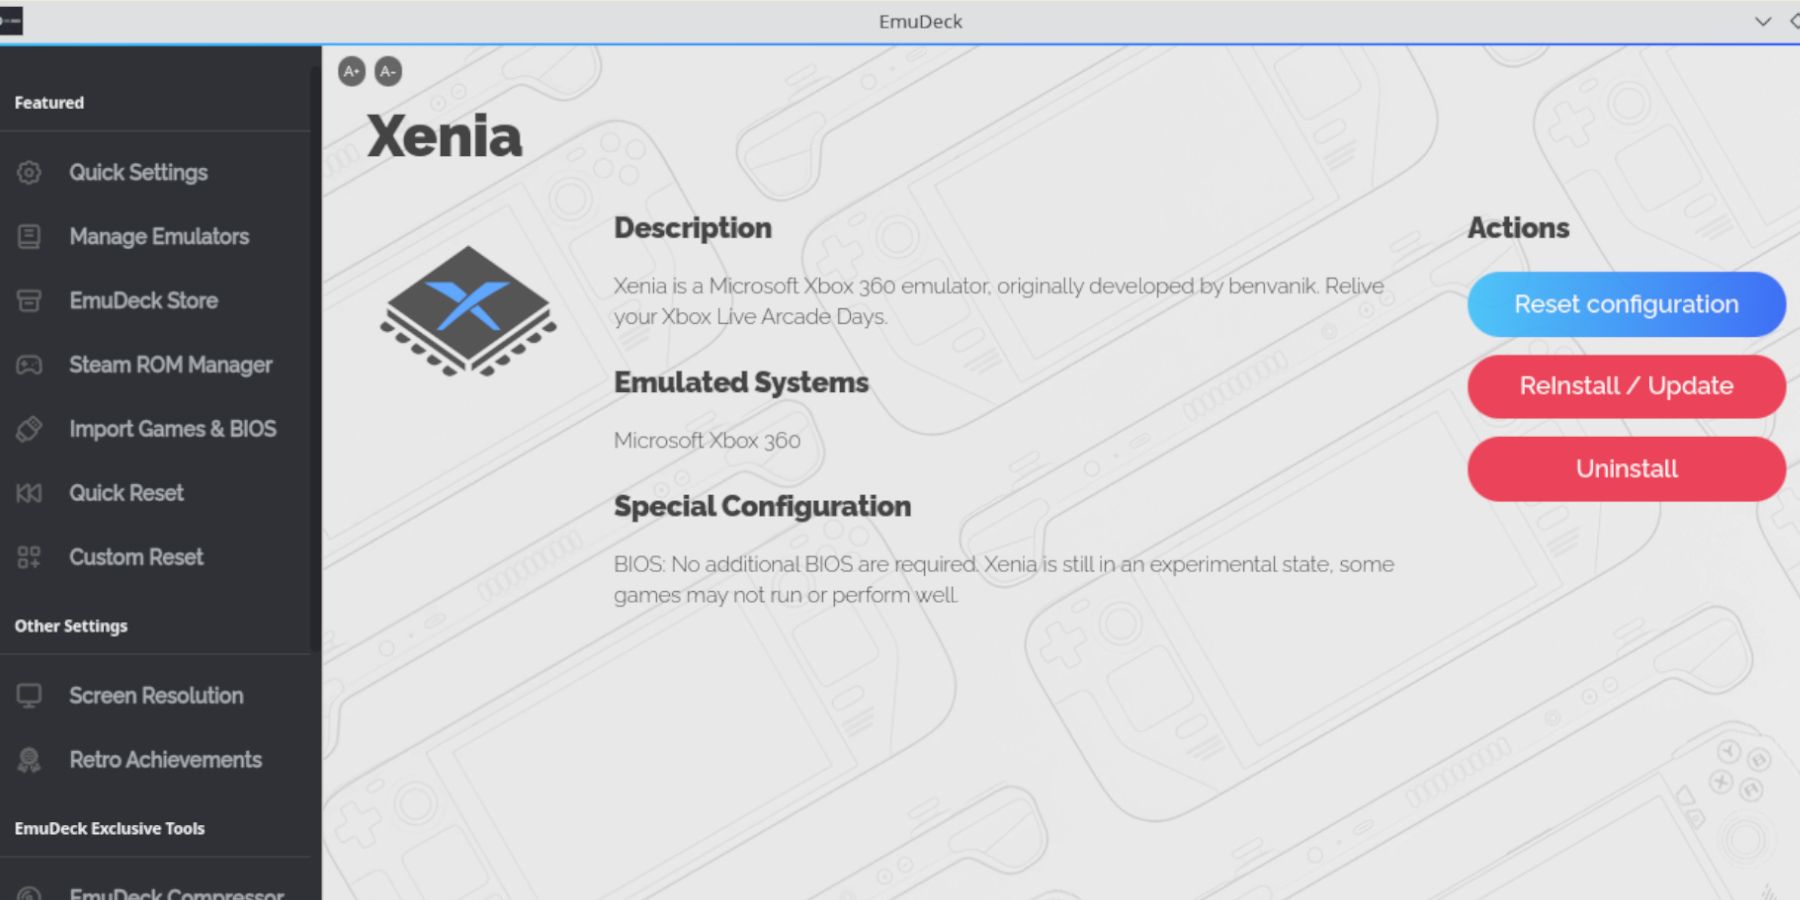
- Open the EmuDeck menu after the installation and select the SD card image named Primary to rename your SD card as Primary and make it easier to find in the file manager.
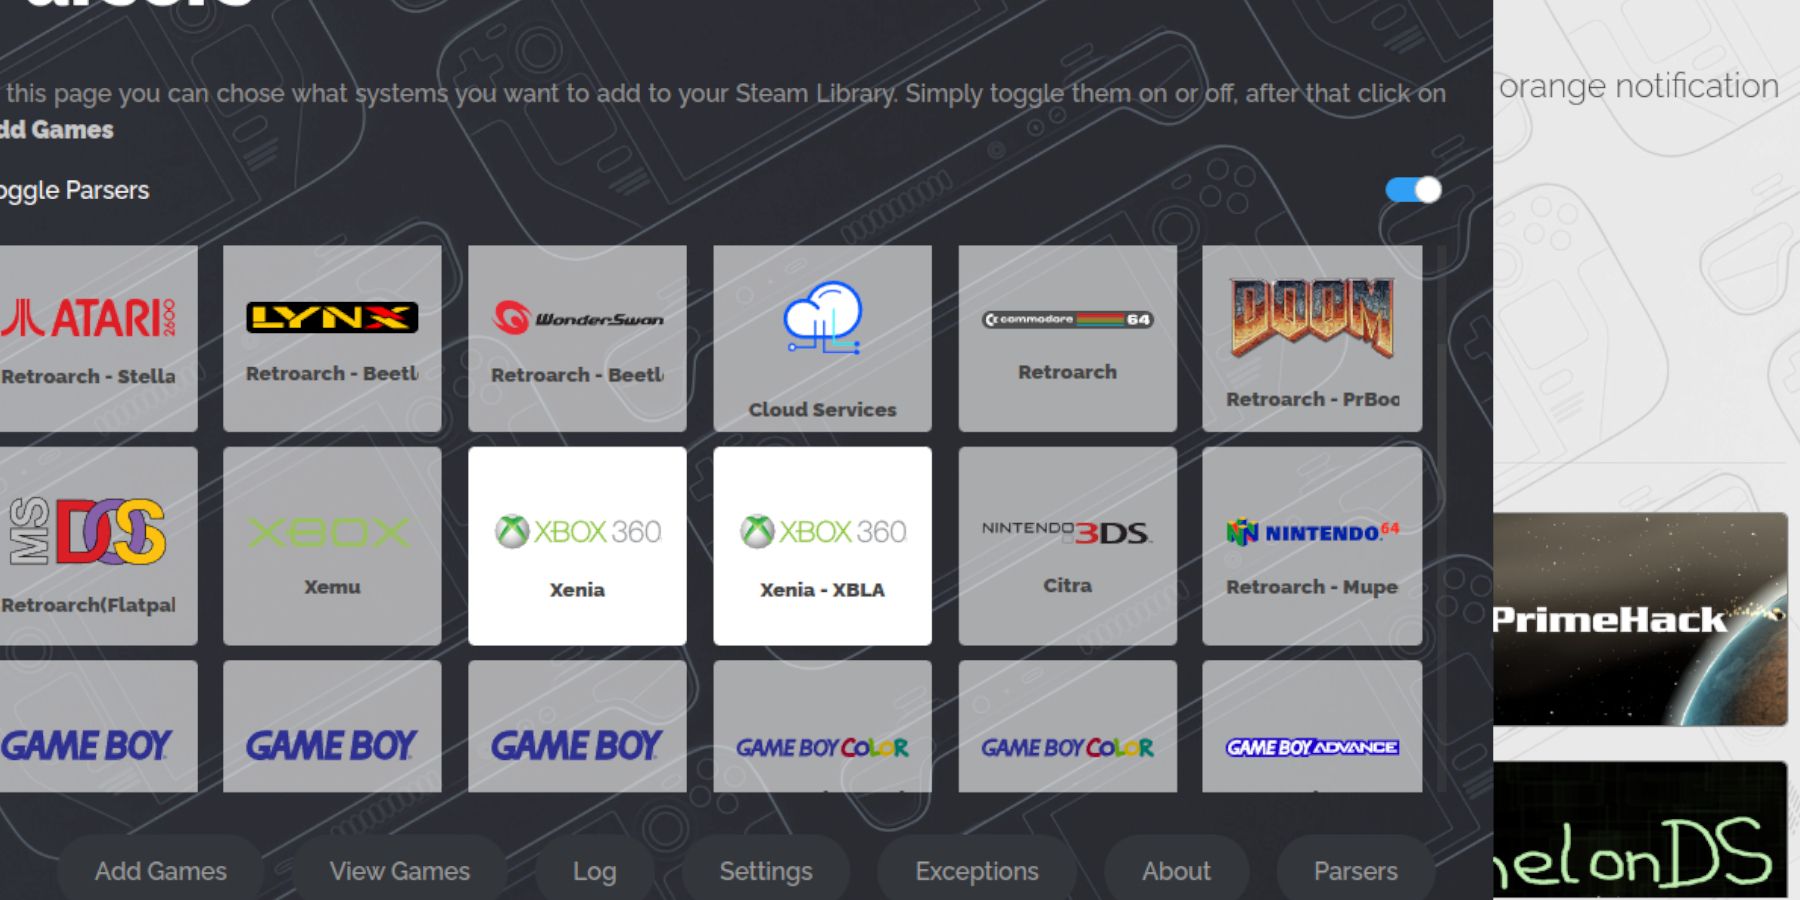
- Move down the list to locate Xbox 360 Xenia and Xbox 360 Xenia – XBLA. Click them both to highlight them on the Parser menu.
If you want more emulators, you can select them all or just the ones you want. Ensure the SD card has enough capacity to support them. However, you can always return to the EmuDeck menu and install them later.
- Ensure the Steam Rom Manager is selected, too. This will display the games on the main Steam library.
- Skip along the options and enable the Configure CRT Shader for Classic 3D Games option.
- Select Finish to finalize the installation.
Related
Steam Deck: How To Remote Play PS5 Games
Gamers looking to play some PS5 games on a more portable device can do so via the Steam Deck. Here’s what the process entails.
Transfer the Xbox 360 ROM Files To Their Correct Folders
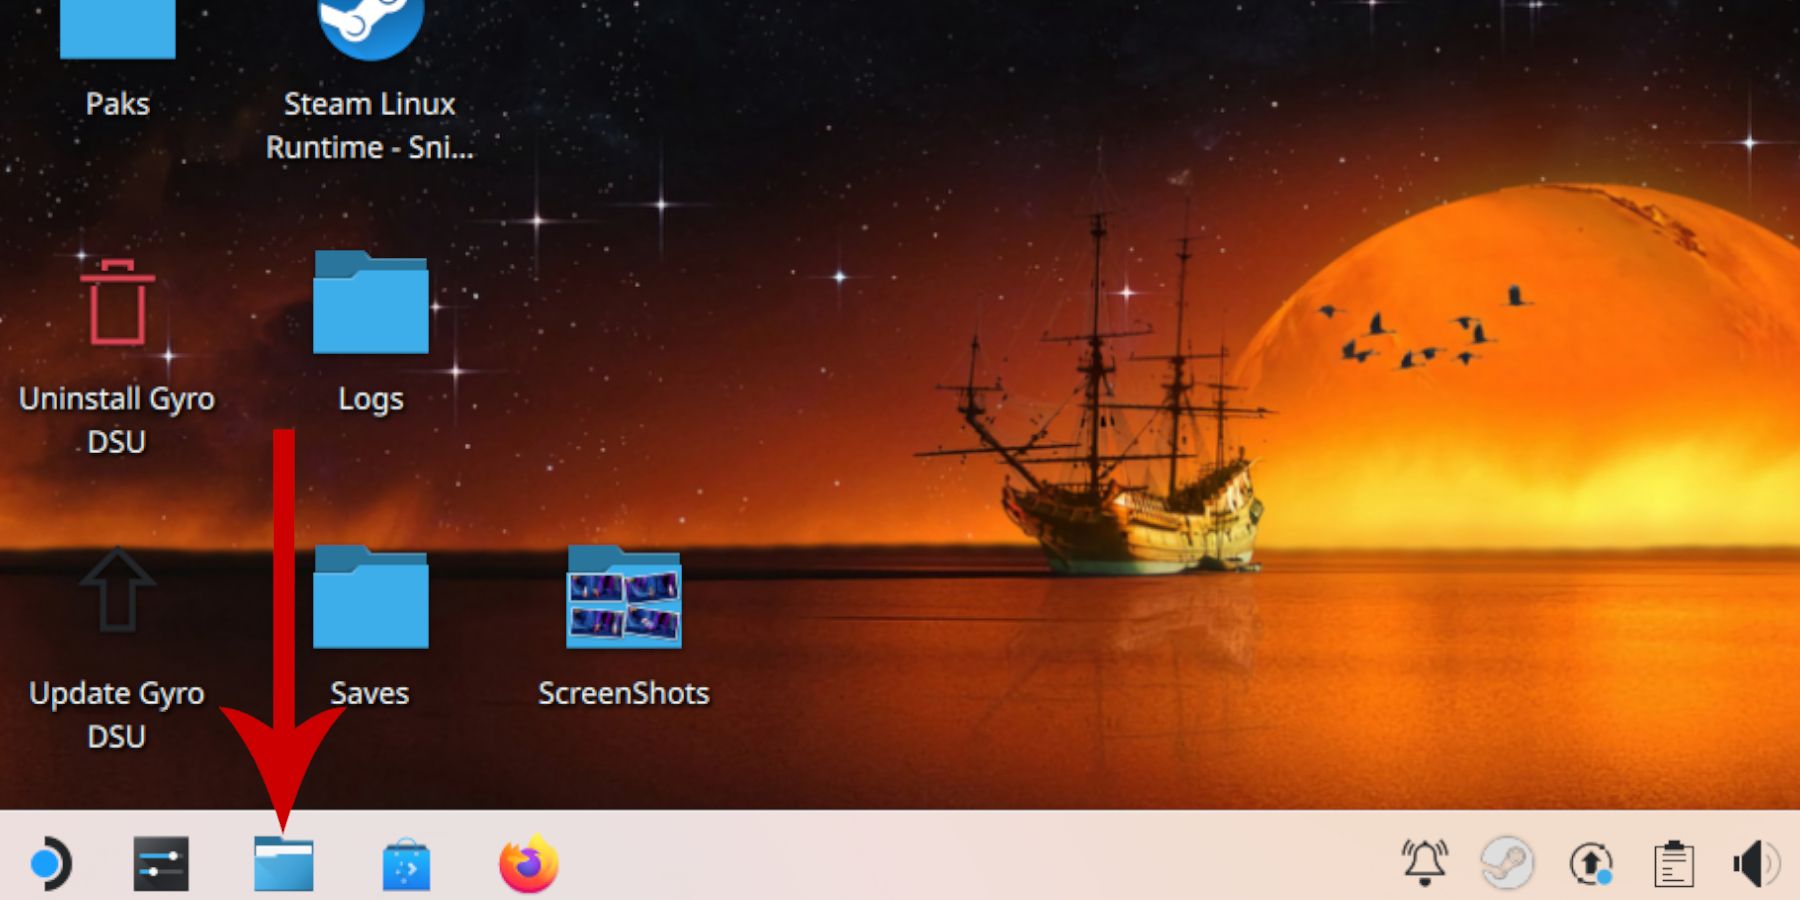
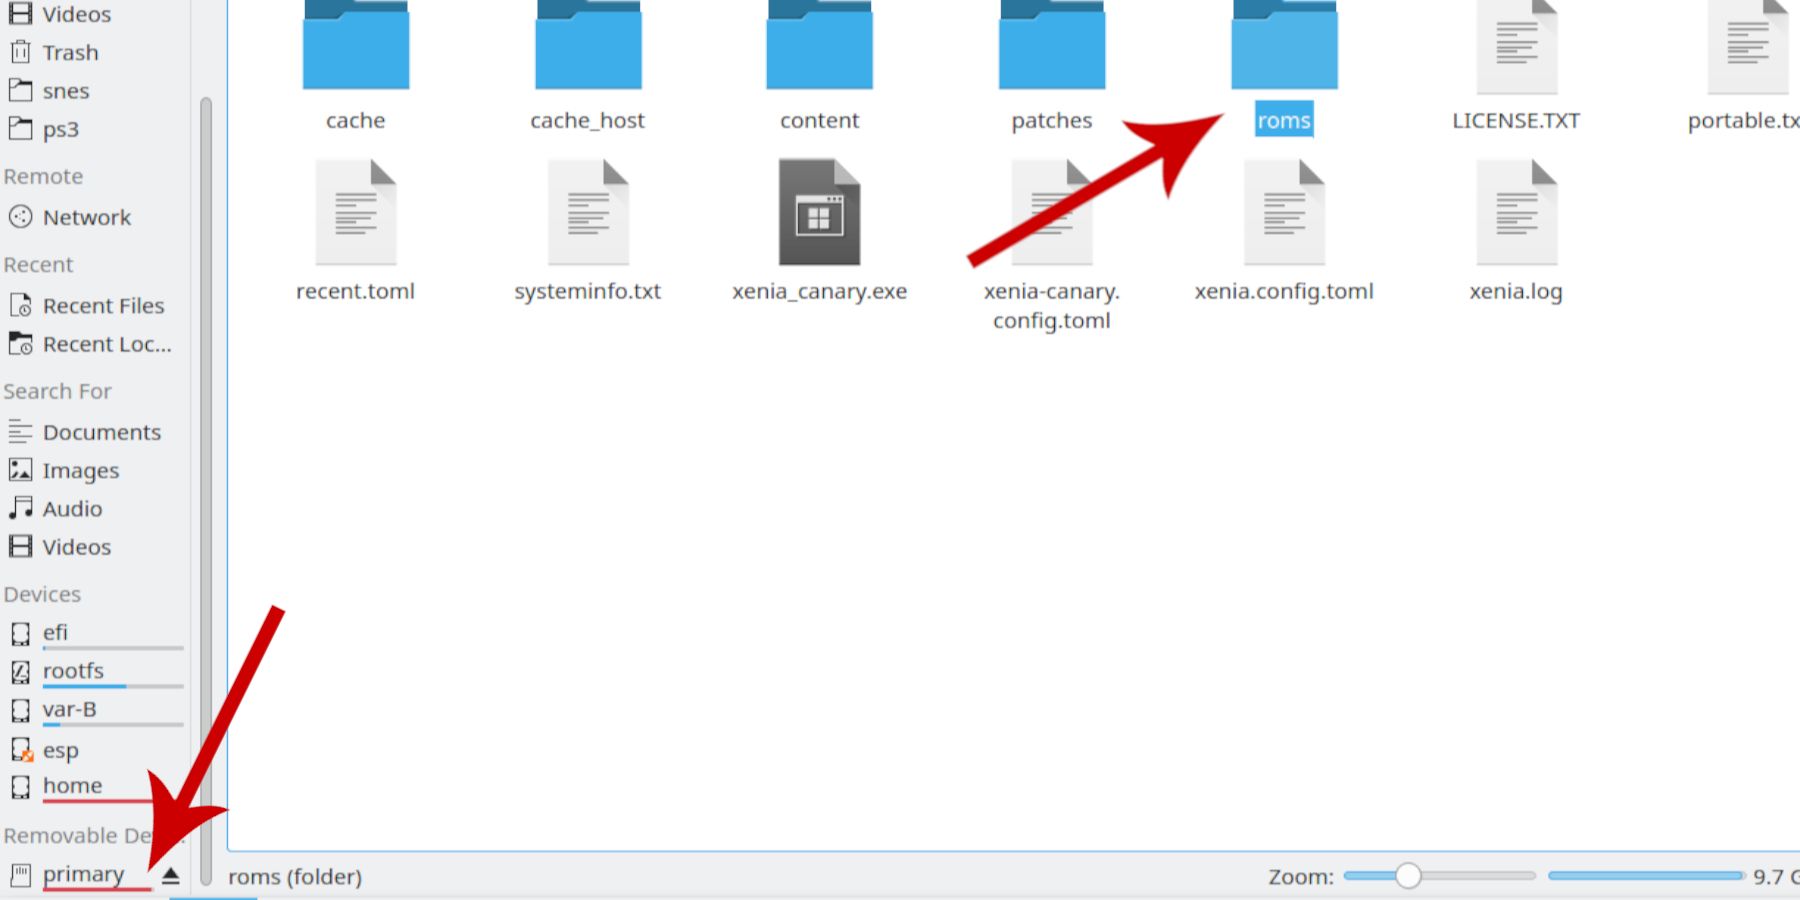
- Click the Dolphin File Manager on the bottom left of the screen.
- Under Removable Devices, open the SD card labeled as Primary.
- Open the Emulation folder.
- Then select ROMS.
- Locate the folder labeled Xbox 360.
- Within the Xbox 360 folder, open ROMS.
- Then, transfer the Disc-based Xbox 360 ROMS into that folder.
- For Xbox Live Arcade games – download only Xbox 360 games – place them into the XBLA folder.
Add Xbox 360 Games To The Steam Library
After you place the Xbox 360 and XBLA ROMS into their folders, you’ll want them to appear on the Steam Deck’s library in Gaming Mode.
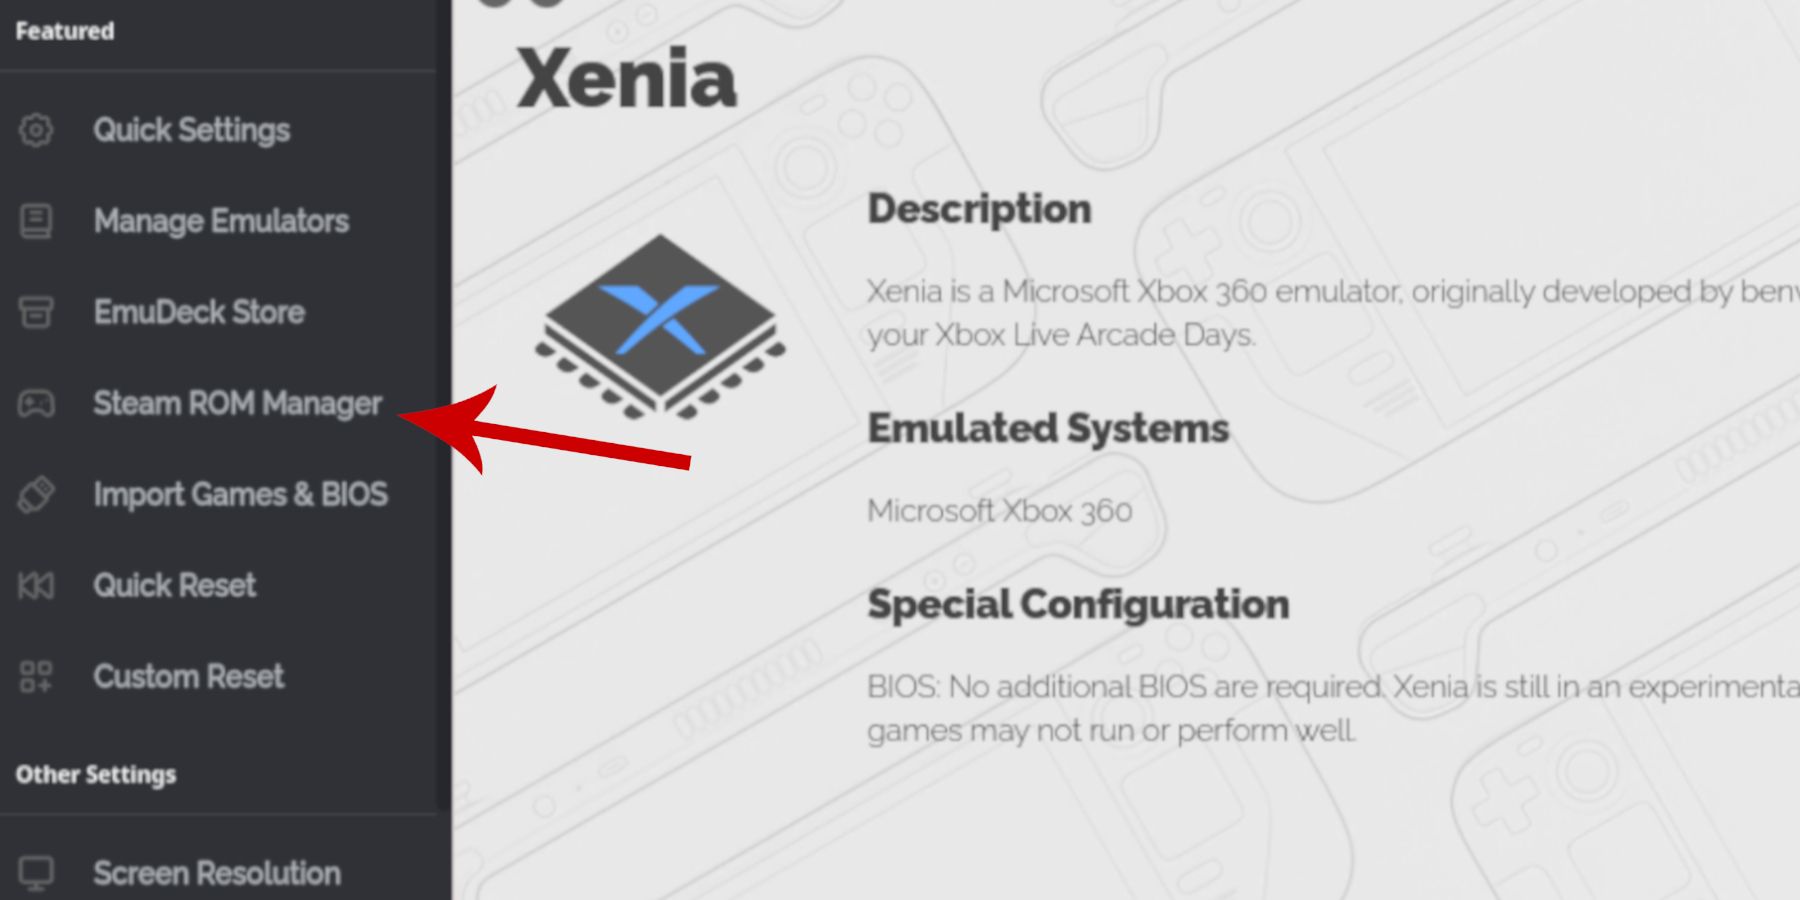
- If it’s closed, reopen the EmuDeck app in Desktop Mode.
- Under Featured, select Steam Rom Manager.
- Click Yes to close the Steam app in the background and launch the Steam Rom Manager. The Steam Rom Manager takes over the Steam OS and adds games, tabs, and cover art to the library.
- Tap Next on the Welcome to SRM page.
- Toggle the Parsers Off.
Switching parsers on will open all installed emulators in the Steam Rom Manager. If you want to focus on one at a time, switch parsers off and click on the desired tabs.
- In the Parsers menu, tap/click on the Xenia emulators labeled Xenia and Xenia XBLA until they are highlighted in white like the above image.
- Then click or tap on Add Games and Parse on the next screen.
- Steam Rom Manager will launch and organize the artwork for the Steam library.
- If you’re happy with the cover art for each title, select Save to Steam.
How To Fix Missing Artwork In EmuDeck
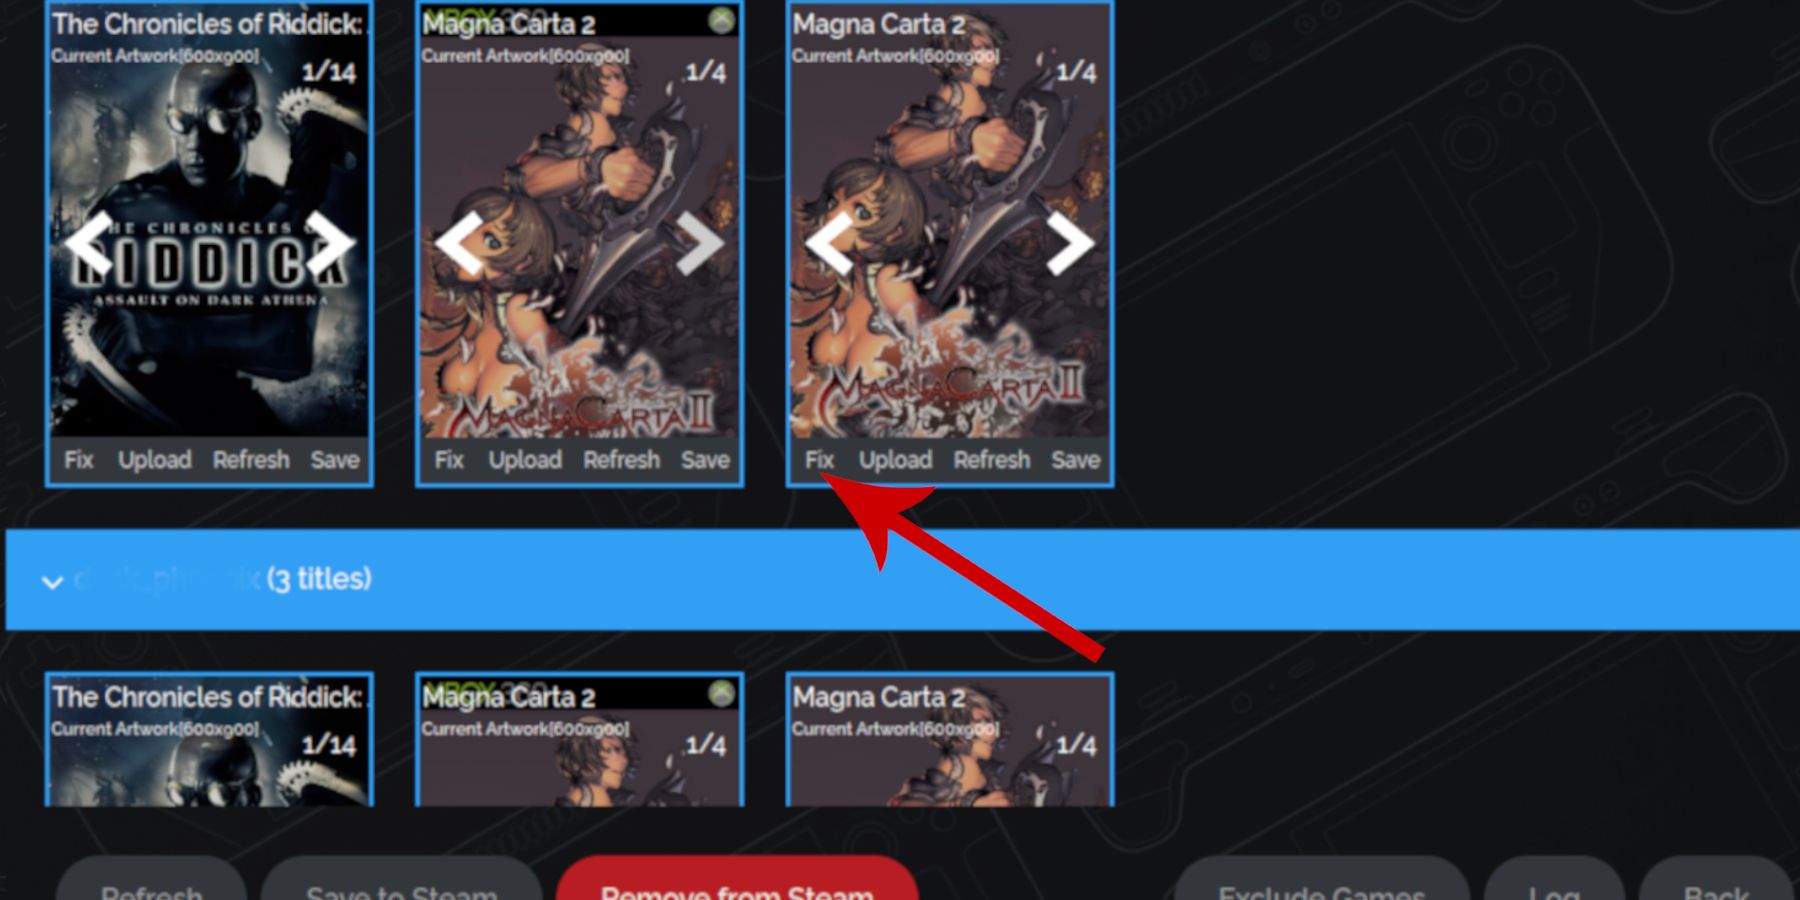
The Steam Rom Manager may place an incorrect or low-quality cover for your games. Thankfully, the community has uploaded a vast choice of game covers and images to choose from. The following steps can be used to fix missing artwork:
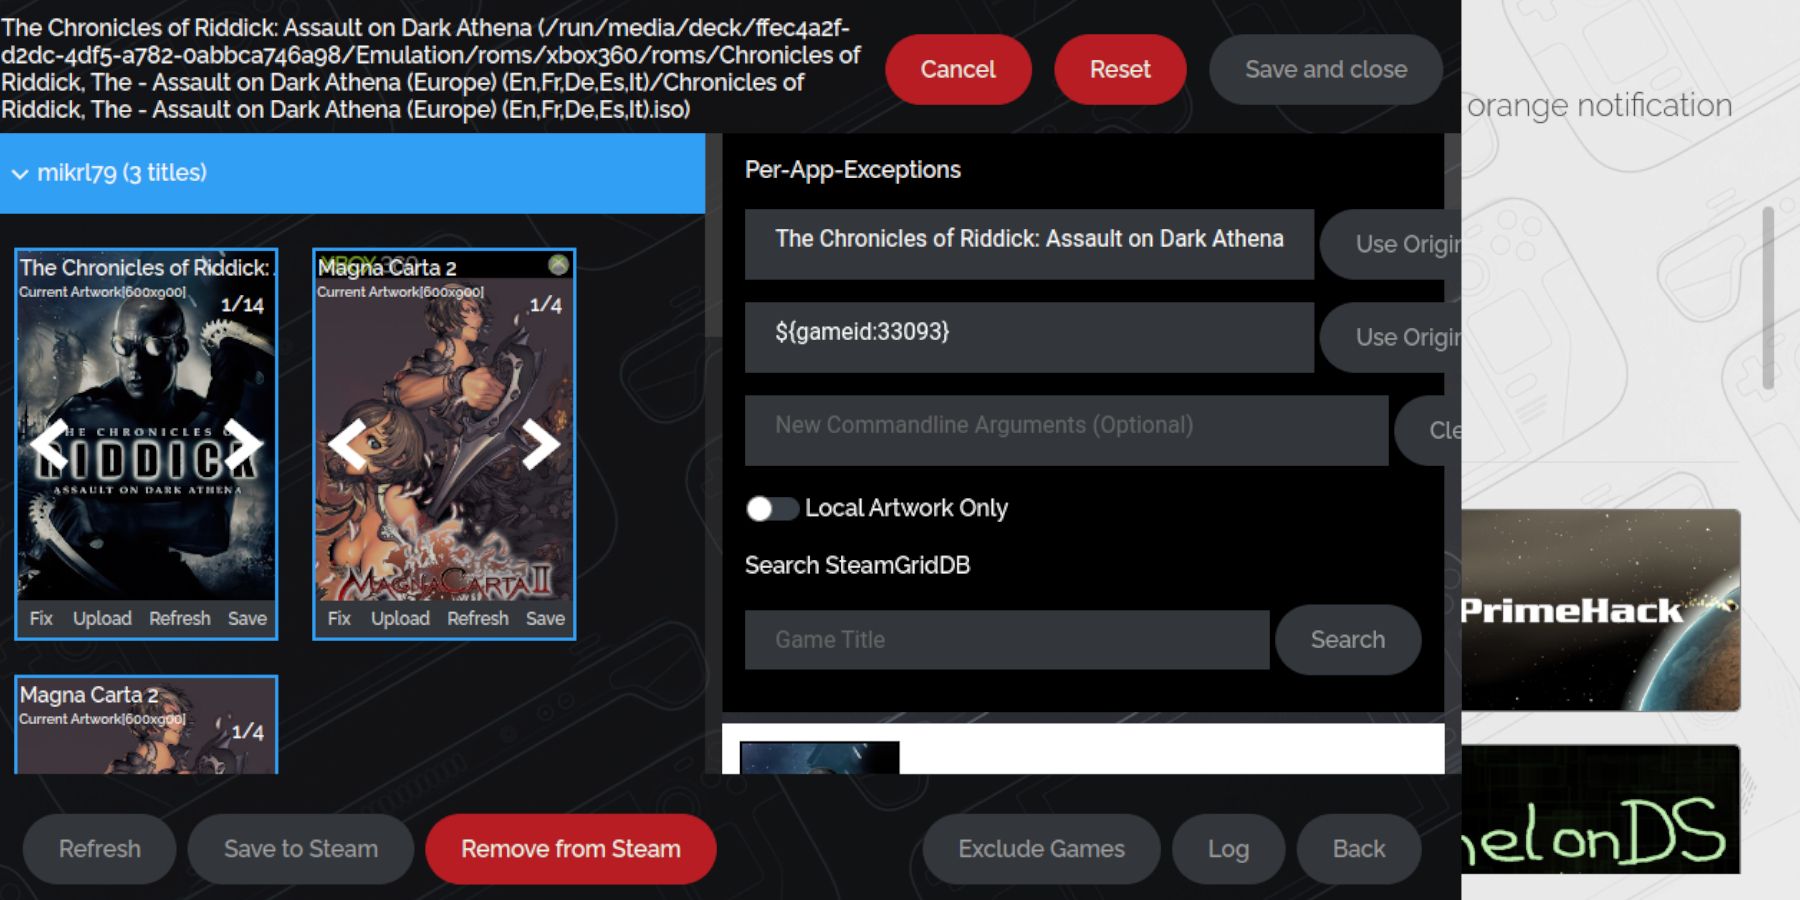
- If the Xbox 360 titles have incorrect artwork, or you’re unhappy with the image placement, click or tap the Fix icon.
- Type the game’s title in the Fix Artwork and Title search bar.
- The new game covers will appear in the small window below the search bar. Click on one you like to highlight it in white.
- If you’re happy with the new cover, tap or click Save and close.
Upload Missing Artwork In EmuDeck
The Steam Rom Manager may have struggled to read the ROM’s file name, pulling up a blank frame instead of the game’s artwork. To remedy this, you will need to upload your own. To upload a custom image from the game’s files, use the following steps:
- Use a browser in the Steam Deck’s Desktop mode and a search engine to find a game cover.
- Click on the images section of the search engine, and then open and save the cover to the Pictures folder on the Steam Deck.
- Open EmuDeck and Steam Rom Manager.
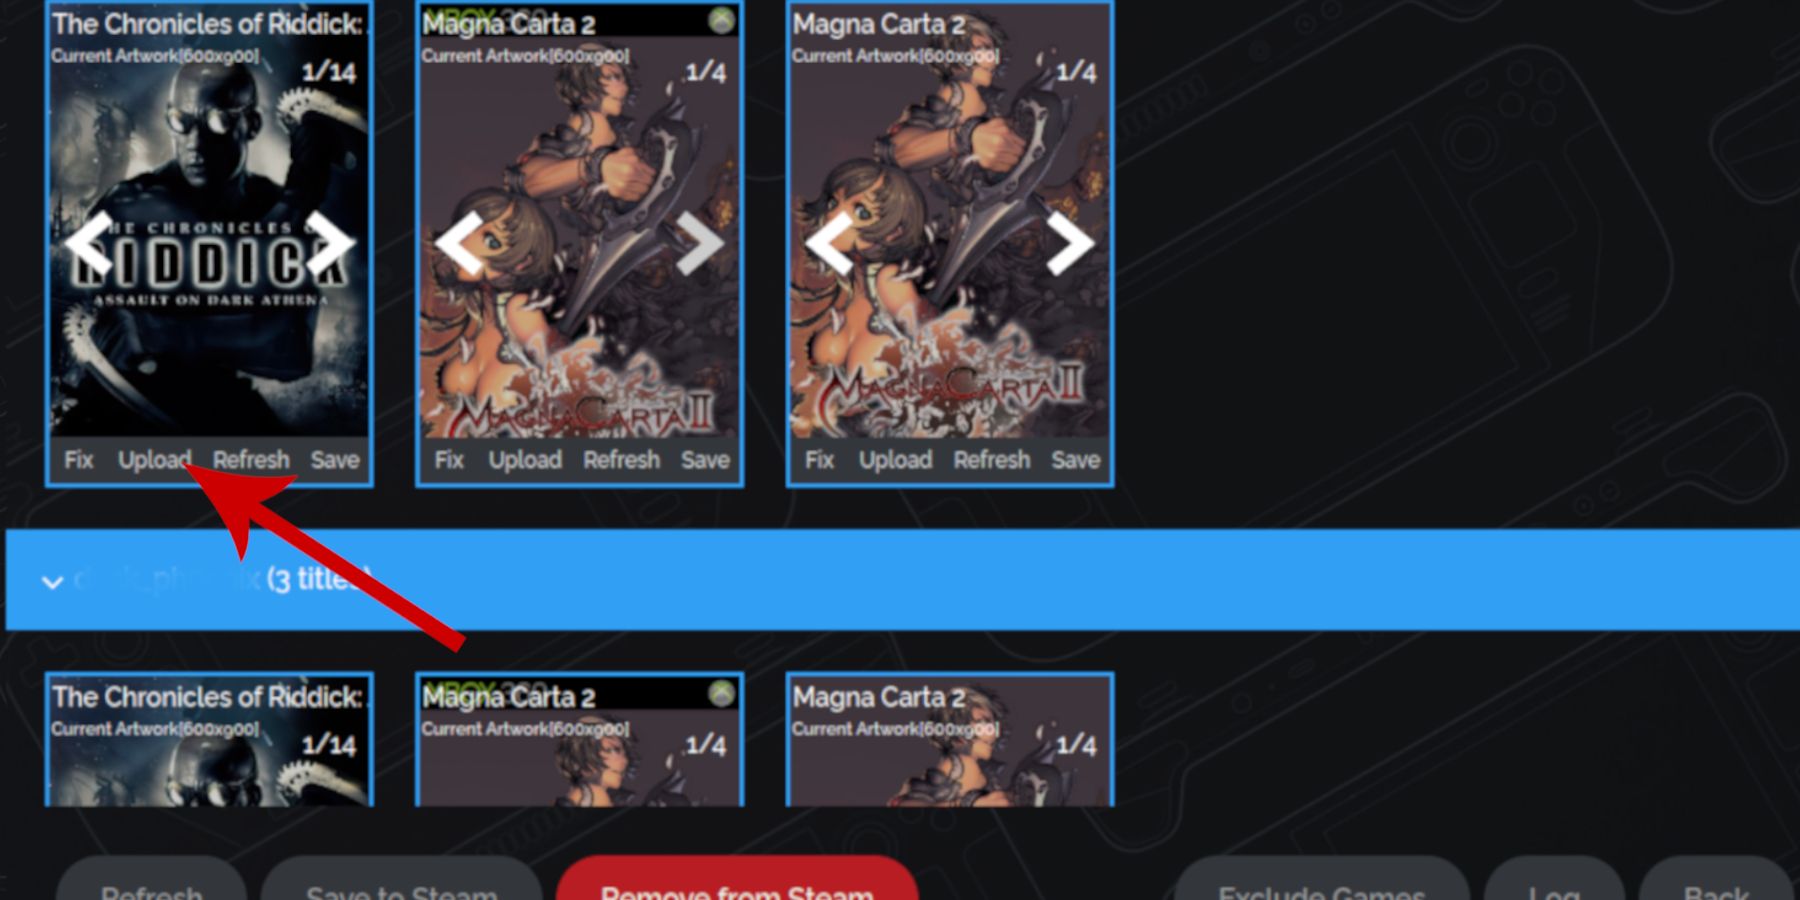
- Click on Upload on the game’s frame.
- Locate the new cover in the Pictures folder and select it.
- Ensure the cover has loaded into the empty frame, then select Save and Close.
Locating The Xbox 360 Games In The Steam Library
With the artwork uploaded, select Save to Steam. Wait for the batch files to finish uploading – a small indicator will let you know -, close the Steam Rom Manager, and switch back to Gaming Mode.
- In Gaming Mode, press the Steam button.
- Select Library and select the new tab labeled Collections.
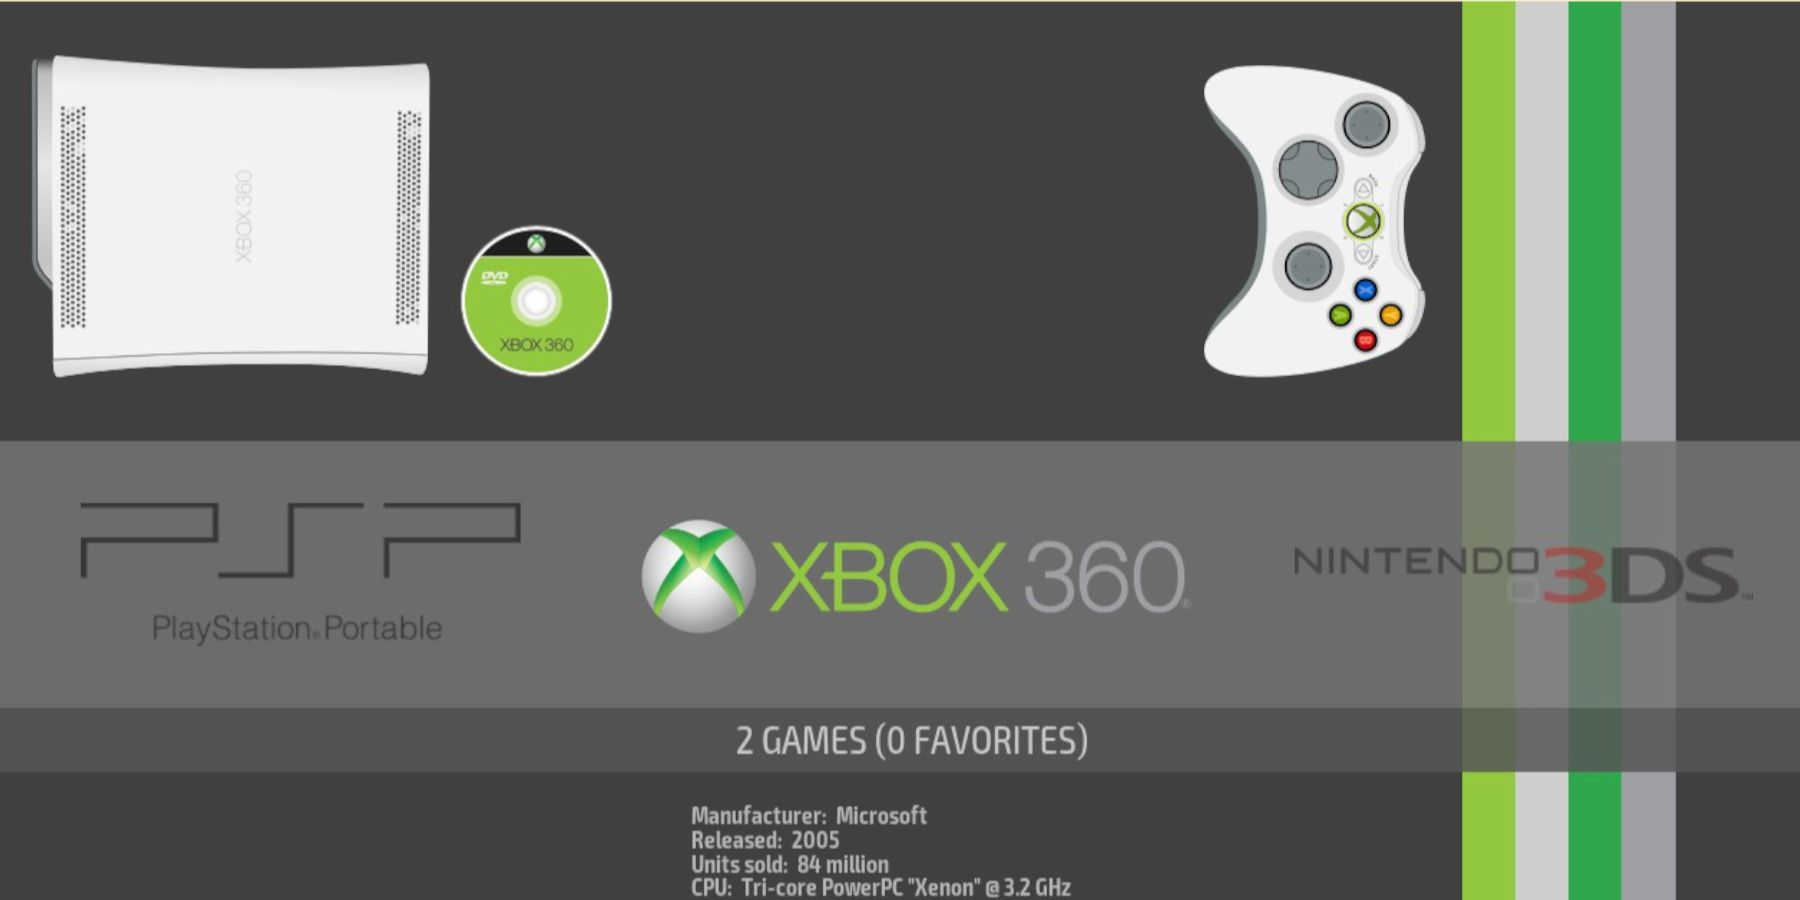
- The new Xbox 360 games will appear in the window labeled Xbox 360.
- Open the game and select Play to launch from the Steam library like an official game.
Playing Games With Multiple Discs
Some Xbox 360 games like Lost Odyssey and Magna Carta 2 have multiple discs, which can cause problems. Use the following steps to avoid crashes when running multi-disc games:
- Press the Steam button.
- Open Library.
- Press the R1 button to highlight the Collections tab.
- Then open the Emulation window.
- Then open the Emulation Station tab.
- Navigate the screen to highlight the Xbox 360 screen and press the A button.
- Locate the game and select disc one to launch the game.
- The Emulation Station app is more reliable when it comes to switching discs.
As mentioned above, the Xenia emulator is experimental. As such, some games may fail to run properly, crash, or will require some changes to the config.
Install Decky Loader On The Steam Deck
Running Xbox 360 games can vary in performance between titles, but utilizing Decky Loader and the Power Tools plugin, as suggested by the EmuDeck developers, can enhance your experience. Follow these steps to install the Decky Loader and Power Tools, and a guide for the Power Tools settings.
For better navigation, it is recommended that you connect a wireless or wired keyboard and mouse to the Steam Deck. Alternatively, you can use the onscreen keyboard and trackpads.
- Press the Steam button in Gaming Mode and open the Power menu.
- Switch to Desktop Mode.
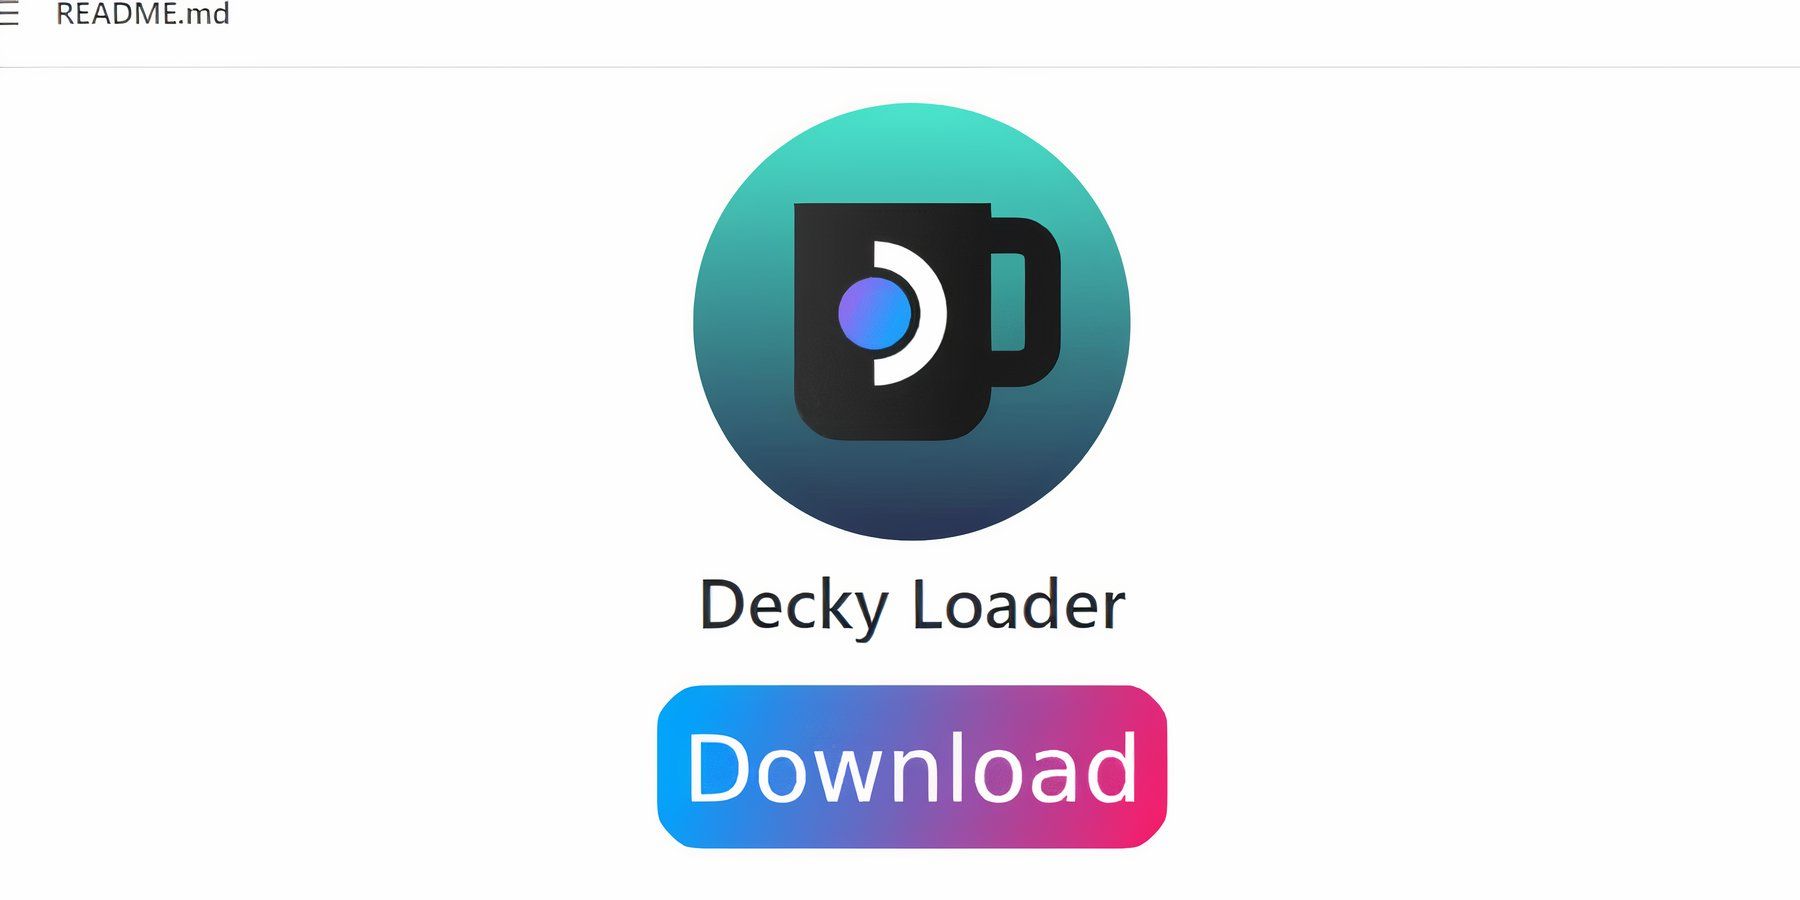
- Open a web browser and go to the GitHub page for Decky Loader.
- Click on the large Download icon to start downloading.
- With the download complete, double-click on the launcher and choose the Recommended Install.
- When the installation is complete, restart the Steam Deck in Gaming Mode.
With Decky Loader installed, you can now access the plugins and download Power Tools to achieve better performance from your Xbox 360 games.
- With the Steam Deck in Gaming Mode, press the Quick Access Menu (QAM) button.
- Open the new plugin icon at the bottom of the QAM.
- Click the store icon next to the settings cogwheel to access the Decky Store.
- Search for Power Tools in the search bar or scroll down to find and install the plugin.
Power Tools Settings For Emulated Games
- Press the Steam button to open the Library.
- Locate one of your Xbox 360 games from the Non-Steam Library or Xbox 360 section in your Collections tab.
- With the game running, press the QAM button to open the Decky Loader and select the Power Tools menu.
- Select Turn off SMTs.
- Adjust the slider and set the Threads to 4.
- Press the QAM again to access the Performance menu.
- In the Performance menu, Enable Advance View.
- Switch the Manual GPU Clock Control On.
- Increase GPU Clock Frequency to 1200.
- Save these settings for individual games by switching on Per Game Profile.
Restoring Decky Loader After A Steam Deck Update
With many of the Steam Deck’s bigger updates making significant changes to the Steam Deck’s UI, some third-party apps like Decky Loader may become incompatible with your Quick Access Menu. Use the following steps to recover your Decky Loader program including your installed plugins like Power Tools.
- Switch the Steam Deck back to Desktop Mode by pressing the Steam button and selecting the Power menu.
- Wait for the Steam Deck to boot up in Desktop Mode and open a browser.
- In the browser head to the Decky Loader GitHub page and click the Download button again to initiate the download.
- Select only the Execute and avoid clicking Open.
- When prompted, enter your sudo password in the pop-up box.
- If you haven’t set a sudo password, follow the instructions to create one. Choose a memorable password to keep for future unofficial app installations.
- After completing the installation, restart the Steam Deck in Gaming Mode.
- Press the QAM button to restore your Decky Loader app, settings, and plugins to their previous state before the update. Use this guide if a Steam Deck update removes your Decky program in the future.
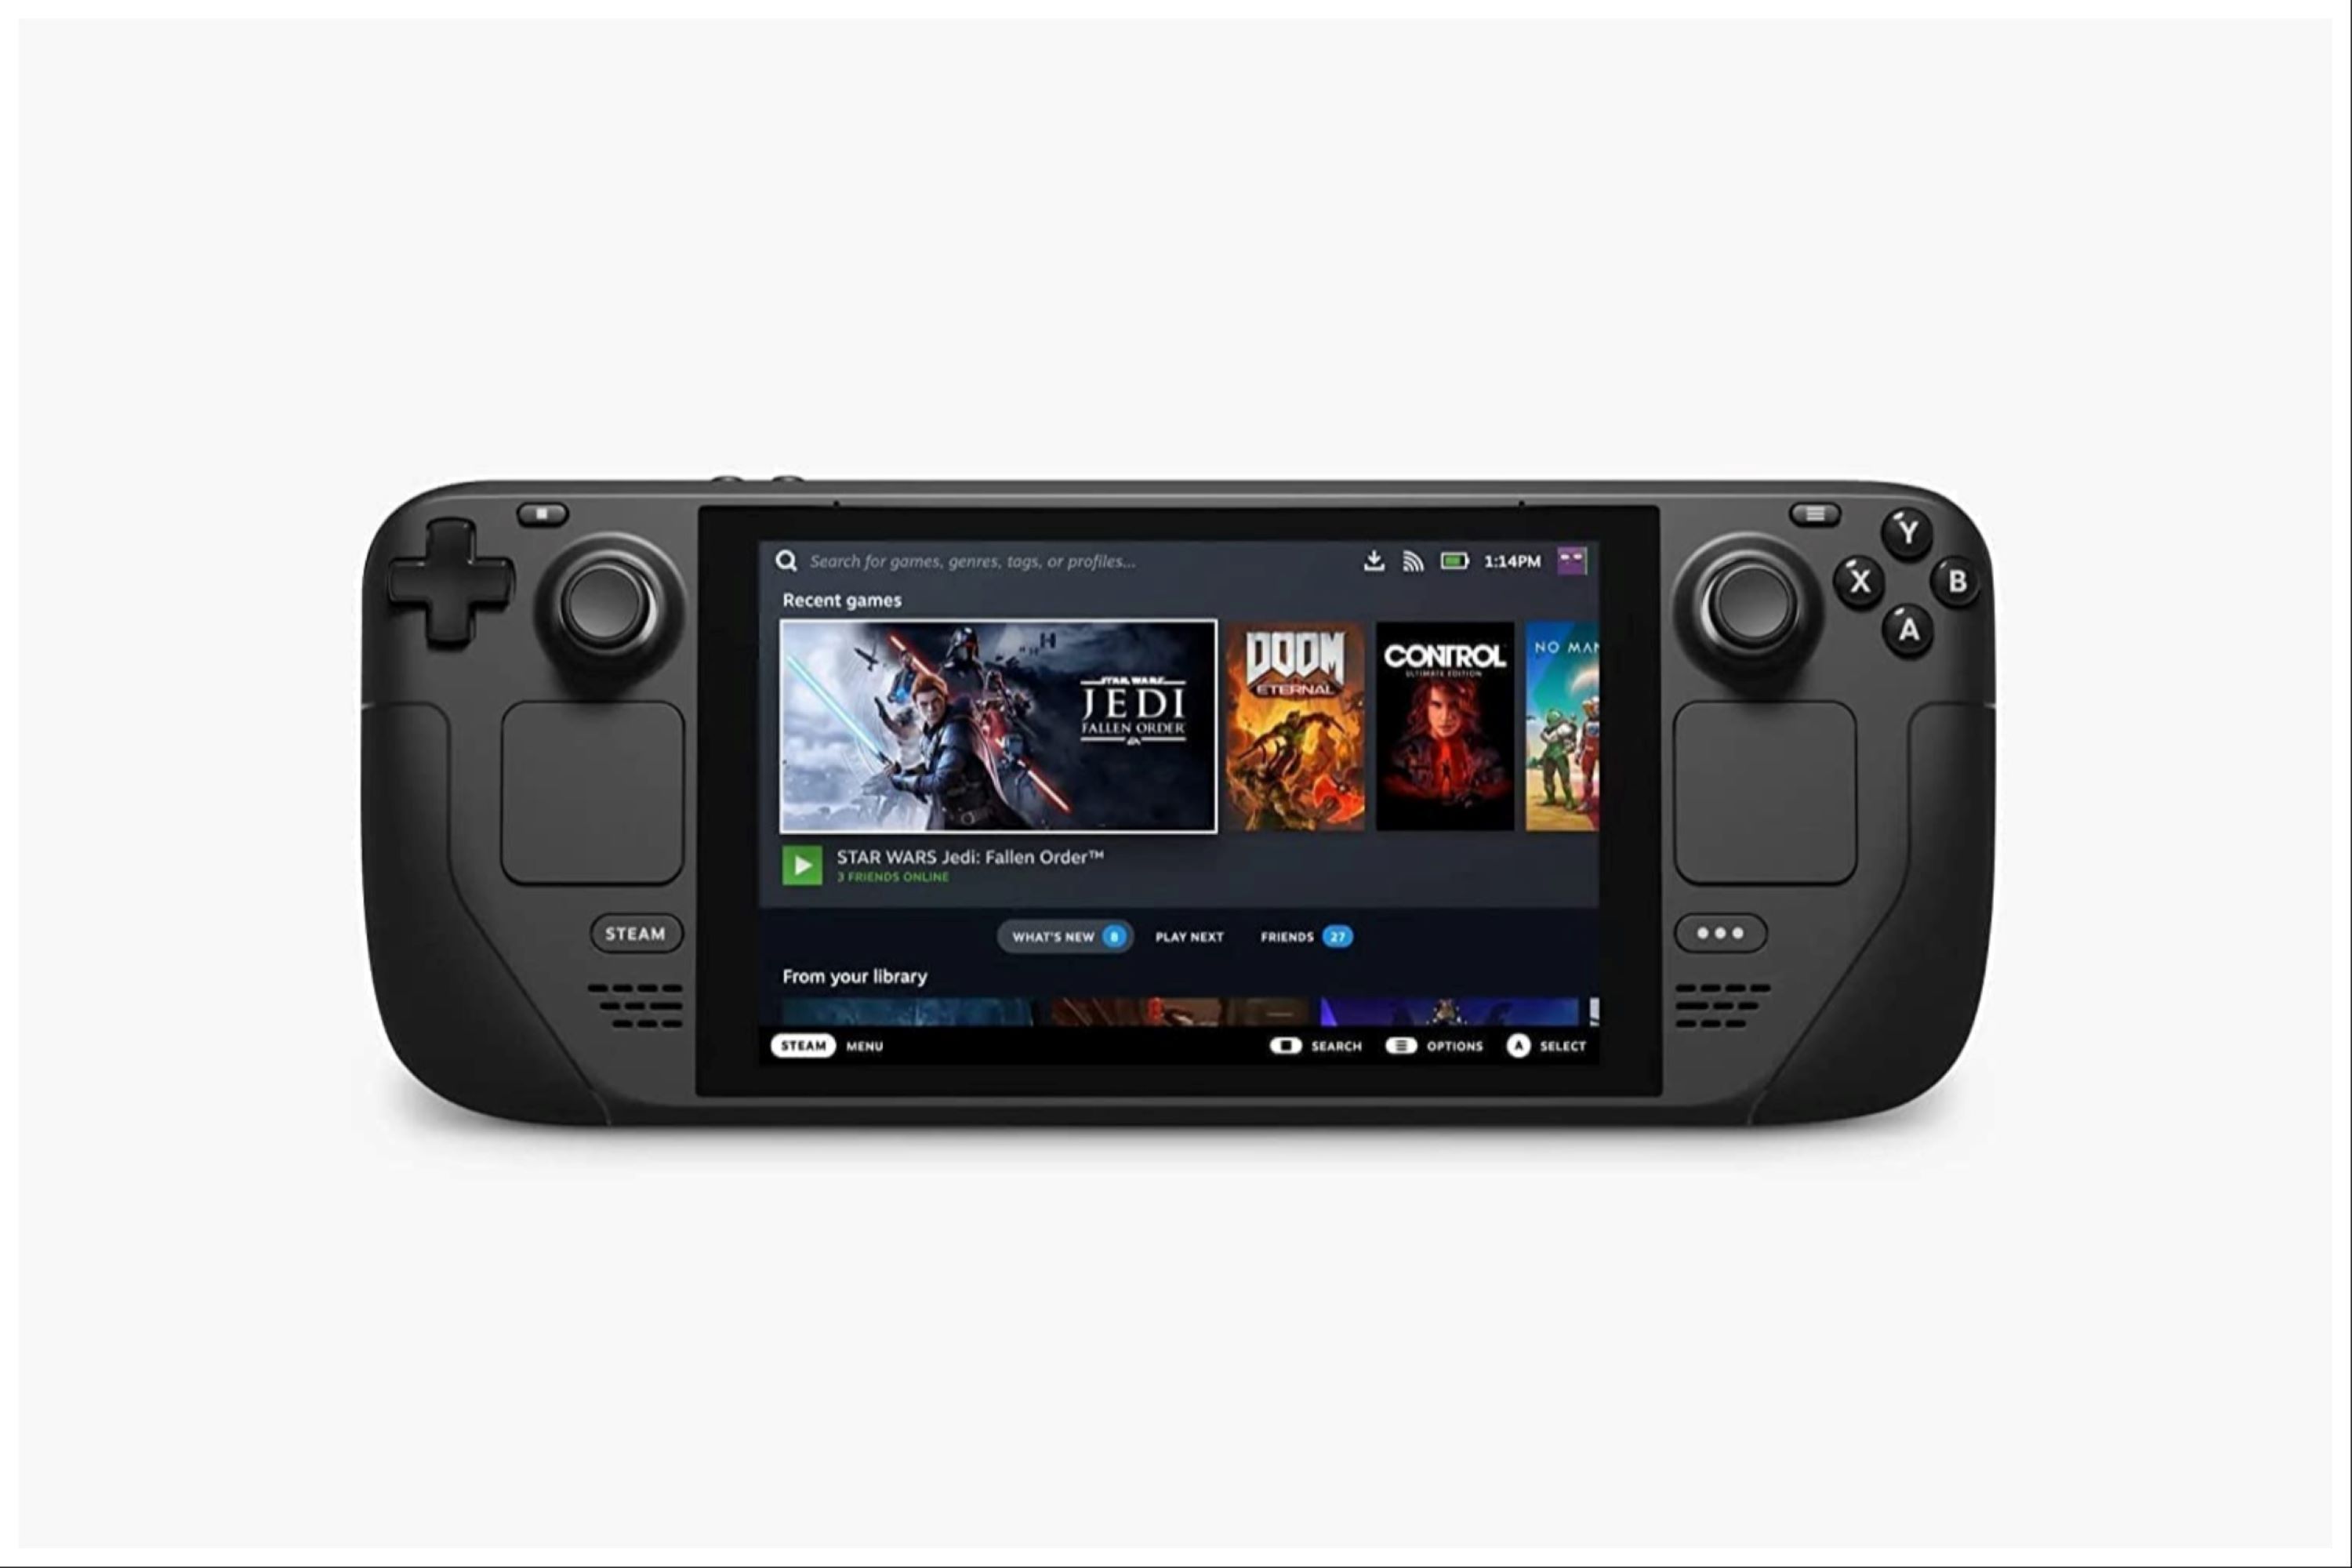
Valve Steam Deck
- Dimensions
- 16 x 5 x 3 inches
- Brand
- Valve
- Weight
- 3.54 pounds
- Battery
- 2 Lithium Ion batteries required








Leave a Reply