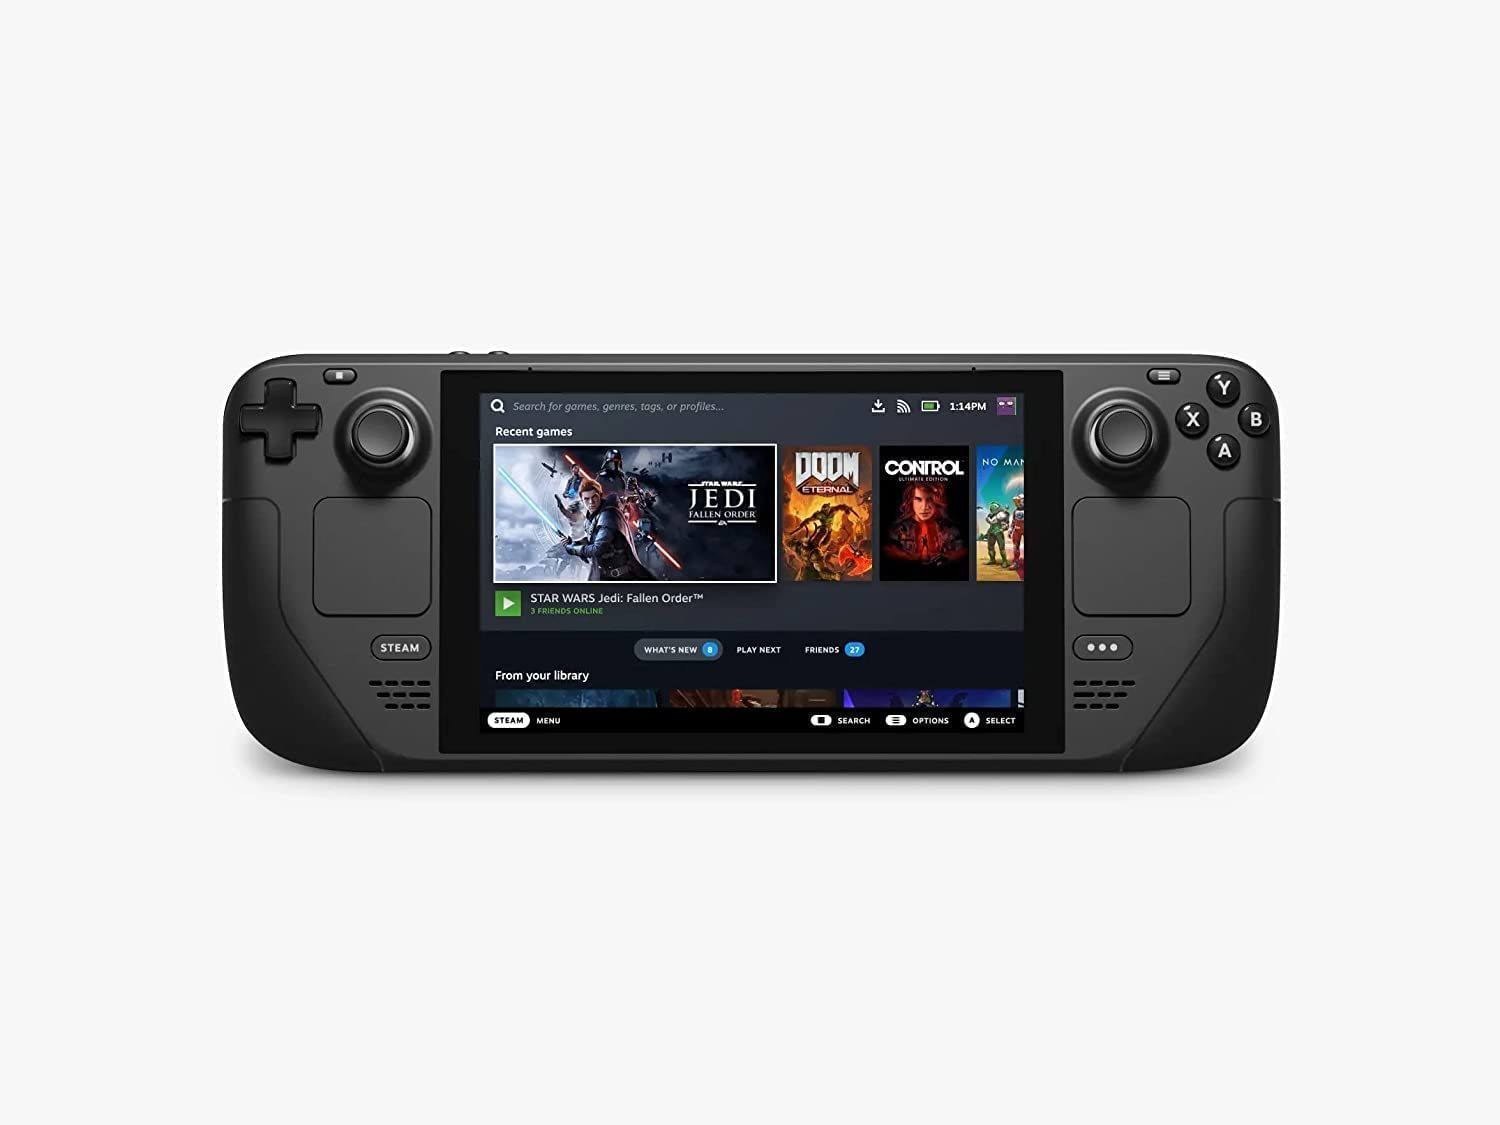
The Steam Deck is a portable PC and a gaming device with access to one of the most vast gaming libraries available. Gamers can use it like a handheld gaming device, play it on the TV, switch to Desktop Mode, and use it like a fully functional PC to play games specifically designed for the PC, like RTS and point-and-click titles.
Related
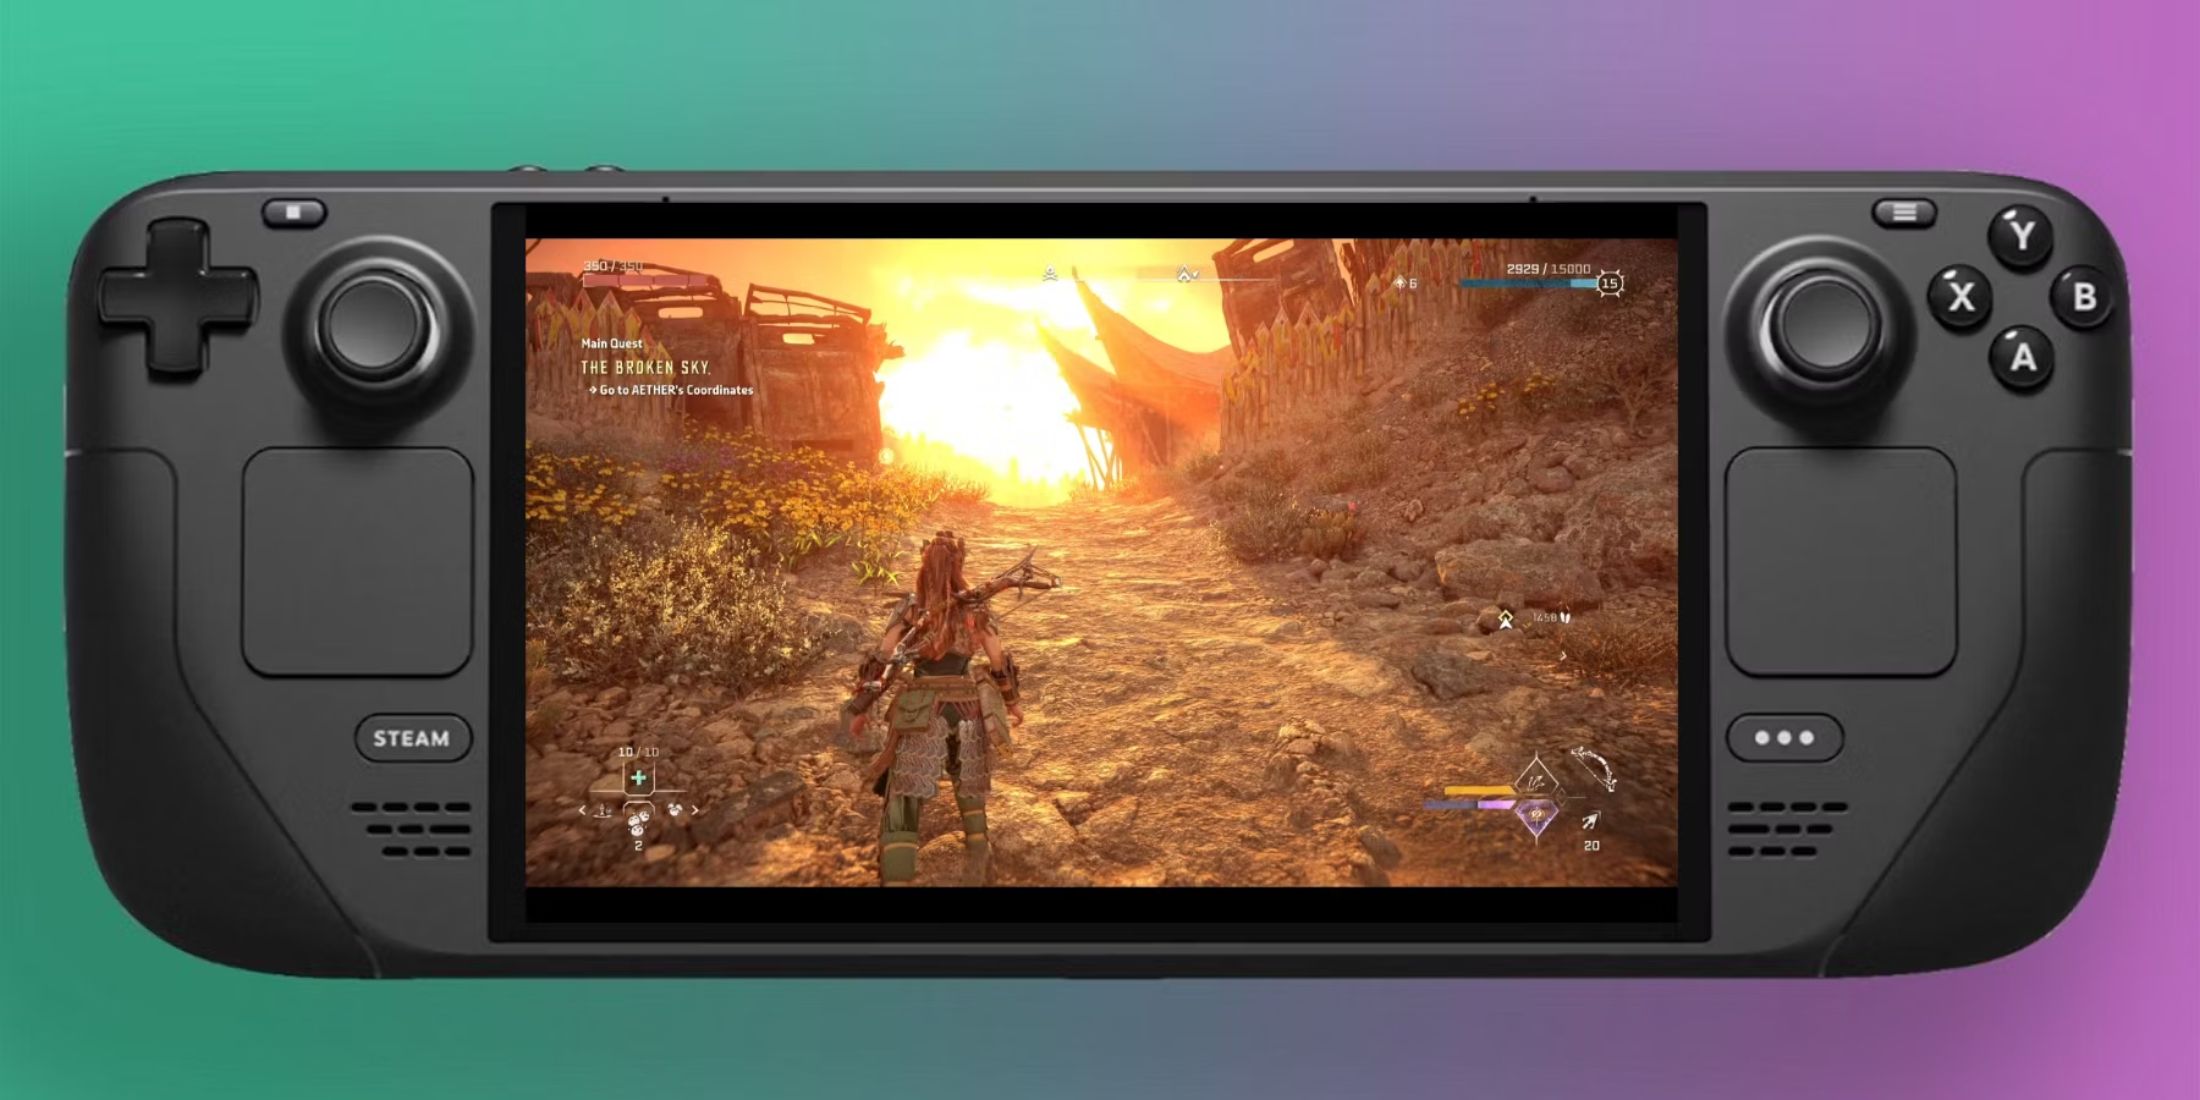
Steam Deck: How To Remote Play PS5 Games
Gamers looking to play some PS5 games on a more portable device can do so via the Steam Deck. Here’s what the process entails.
With the right tools, Steam Deck users can transform it into one of the best available emulation devices and expand their gaming library with their SNES collection. Decades later, the Super Nintendo still has one of the best all-time gaming libraries, with titles like Chrono Trigger and Final Fantasy 6 being just two incredible examples. For those looking to dive into this realm of gaming, this guide will show players how to install and run SNES games on the Steam Deck.
Updated December 17, 2024 by Michael Llewellyn: The developers of EmuDeck recommend installing Decky Loader and using its highly useful plugin, Power Tools, for optimal performance with SNES games on the Steam Deck.
This guide has been updated to include steps for installing Decky Loader and Power Tools, as well as instructions on how to recover the Decky Loader app if it stops working due to a Steam Deck update.
Before Installing SNES Emulators On The Steam Deck
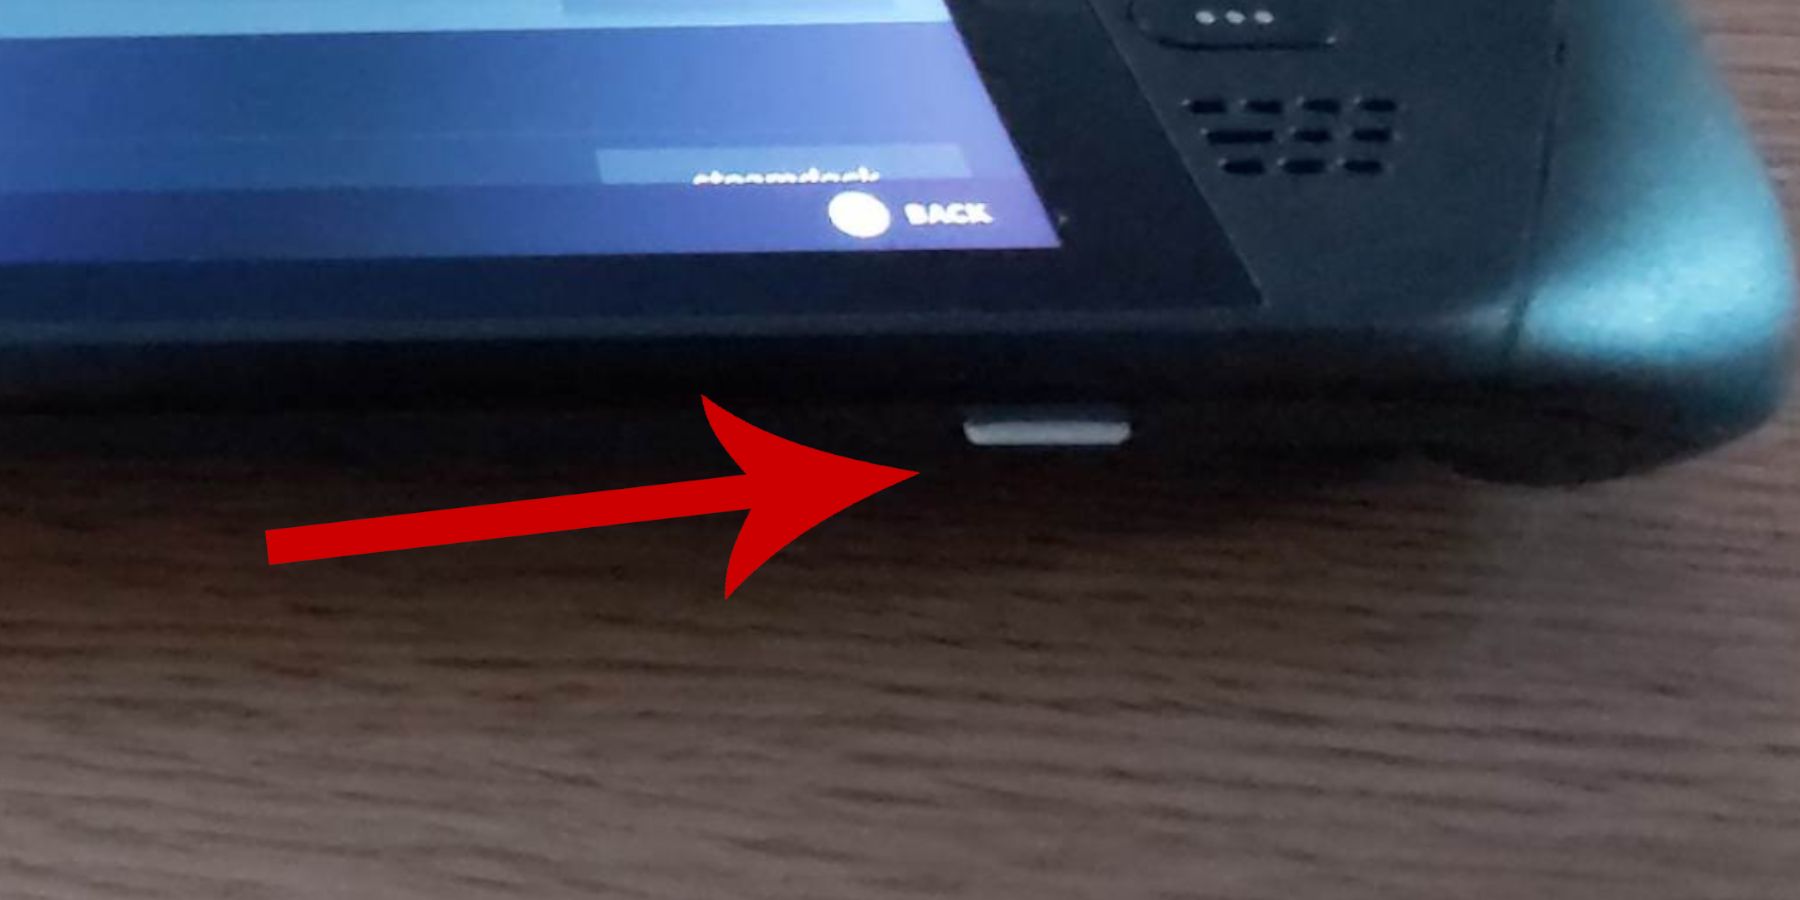
Before installing emulators and trying to run SNES games on the Steam Deck, users must acquire the following items:
- A High-speed A2 microSD card. The microSD functions as a second hard drive. It is capable of running modern games and better for emulated titles. An external HDD with a USB-C connection is another means of storing games and running EmuDeck. However, it’s less convenient and doesn’t have the portability of a microSD card.
- Legally obtained SNES ROM files.
- A keyboard and mouse are optional – but recommended – to install and transfer files on the Steam Deck in Desktop Mode.
Enable Developer Mode On The Steam Deck
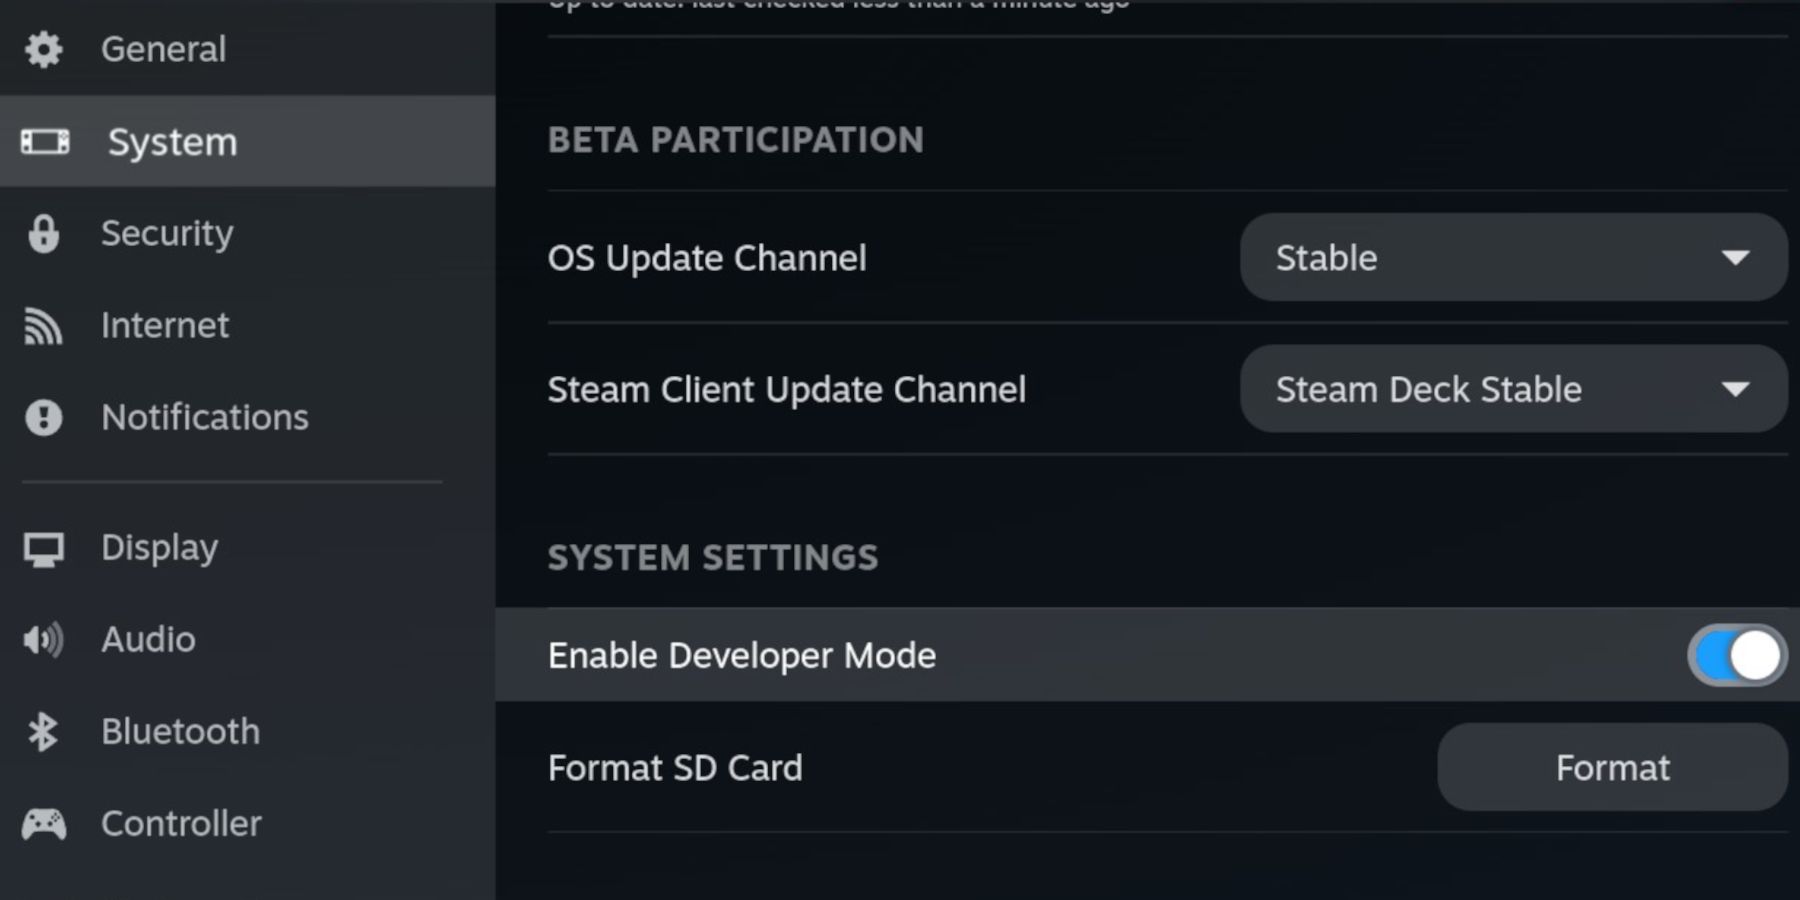
After setting up the Steam Deck to run emulators and install third-party programs you should enable Developer Mode and activate the required setting to ensure EmuDeck, and RetroArch are running perfectly.
- Press the Steam button.
- Open the System menu.
- Now enable Developer Mode.
- The new Developer menu can be located at the bottom of the left access panel.
- In Developer switch on CEF Debugging.
- Press the Steam Button, and select Power.
- Switch to Desktop Mode.
Valve is always hard at work maintaining the Steam Deck’s performance and adding new features. However, these features require several updates when running the Steam Deck in stable, beta, preview, or testing modes. Unfortunately, the updates can interfere with Steam Deck’s Developer Mode settings and disable CEF Debugging. If the emulators or related plugins are not working properly, double-check the Developer settings and make sure the above settings are enabled.
How To Install The SNES Emulator On Steam Deck
To run SNES games and other emulators on the Steam Deck, users will need RetroArch running on the Emudeck program. Emudeck does all the hard work and places SNES ROMS into the SteamOS library to make them accessible from the home screen and run with the best available programs. The following steps can be used to install EmuDeck on the Steam Deck:
- Switch the device to Desktop Mode.
- Open a browser and download the EmuDeck installer.
- Click Download and install the SteamOS version of EmuDeck.
- With the program downloaded, double-click on the SteamOS icon.
- On the Select Your Device page, click on the Steam Deck image.
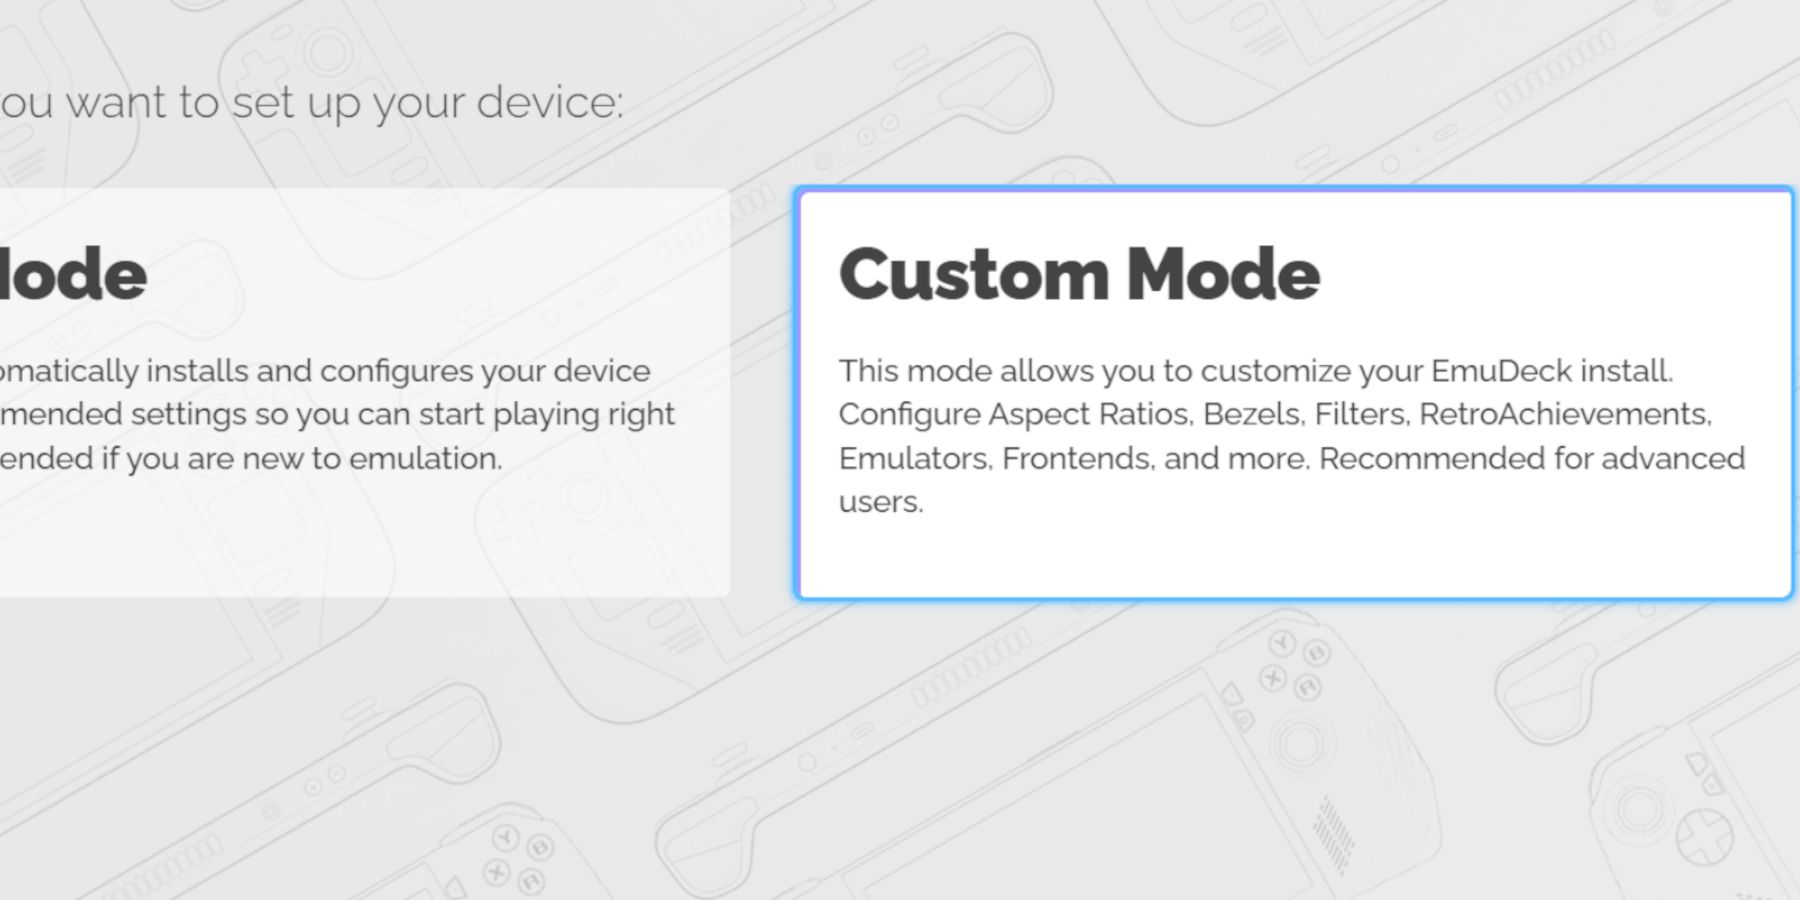
- Run the installation and select Custom.
- Select the microSD card image to install EmuDeck.
- EmuDeck will display all available emulators.
- Steam Deck users should install them all. They don’t take up a lot of space, and players can utilize all available emulators for different systems like the Sega Megadrive/Genesis, Master System, and more.
- Click on the image with the microSD card to install EmuDeck on the card.
- Install RetroArch and Steam ROM Manager.
- Switch AutoSave on.
- Skip the Achievements section for now as this can be activated later.
- Configure Game Bezels to on.
- Configure Aspect Ratio to 4:3 for Classic Nintendo games.
- Ensure that the Steam ROM Manager is installed.
- To achieve retro-style visuals, enable the CRT Shader for classic 2D games. It reproduces the visuals of an older CRT TV/monitor.
- Select All Frontends for Steam Deck – Steam Library is the most important.
- Skip the next few steps and select Finish.
How To Transfer ROMS On The Steam Deck
Assuming that Steam Deck users have their SNES ROMS downloaded and ready, they must transfer them into the correct folders so Retroarch and Emudeck can identify them. Use the following steps to transfer ROMS:
- Ensure the Steam Deck is in Desktop Mode.
- Open the Dolphin File Manager – the blue folder icon on the bottom taskbar.
- In the left bar underneath Removable Devices, select Primary.
- In the Primary folder, click on Emulation.
- In the Emulation folder, select ROMS.
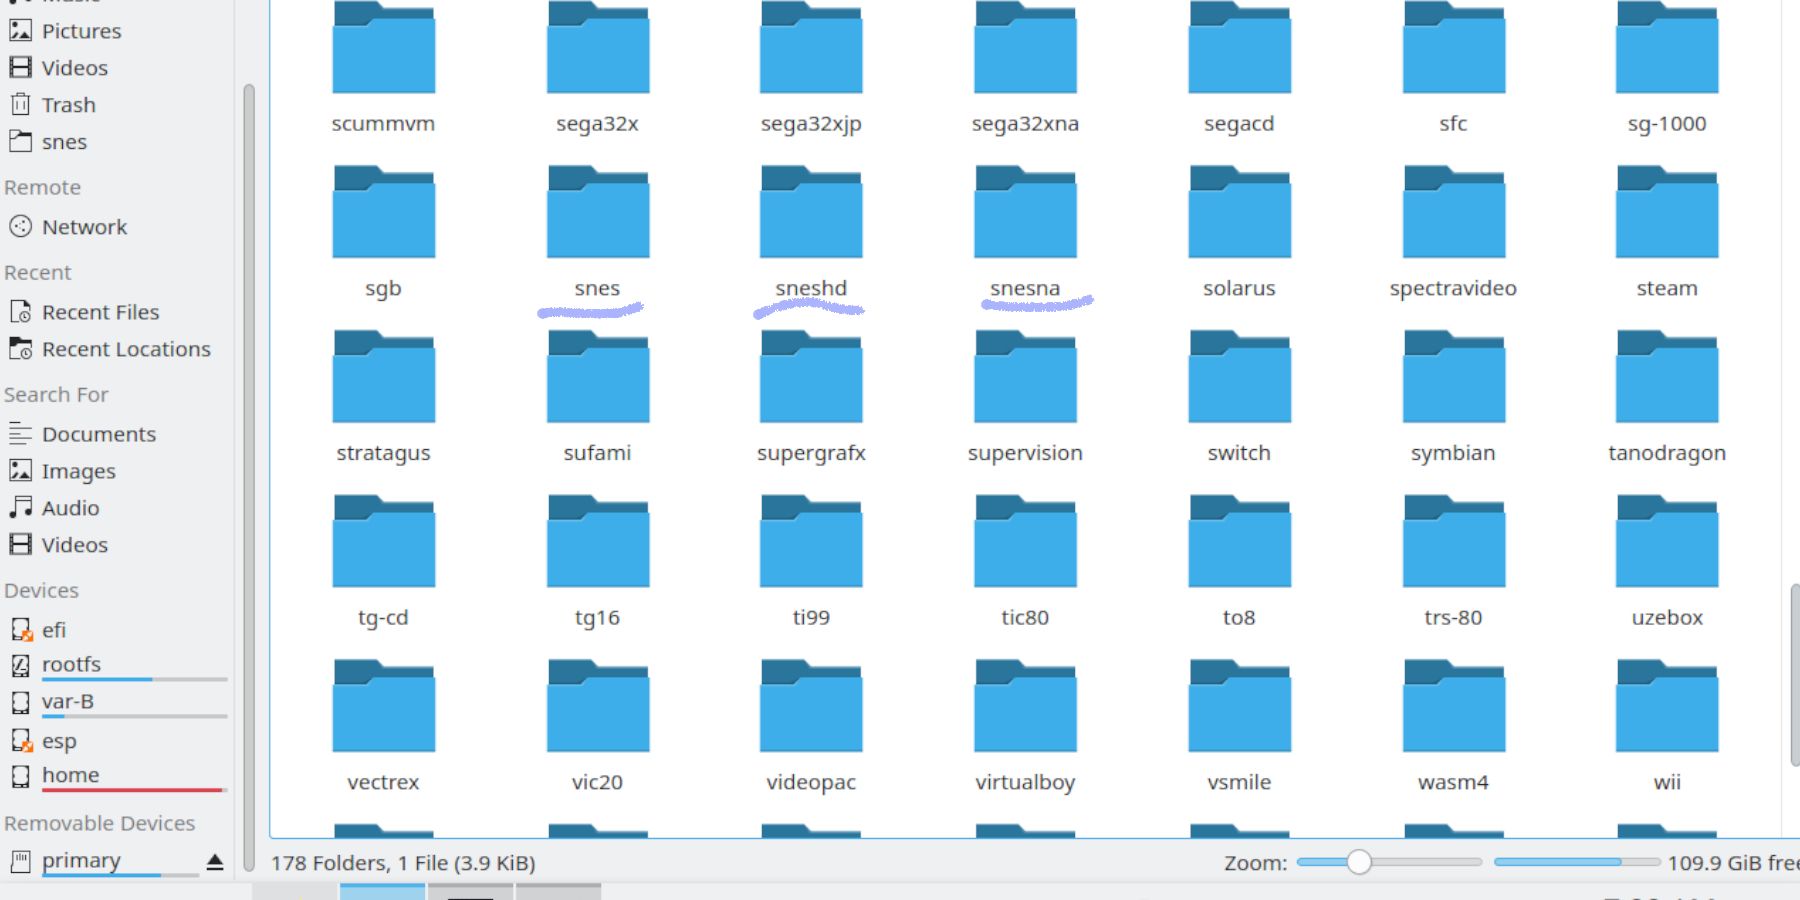
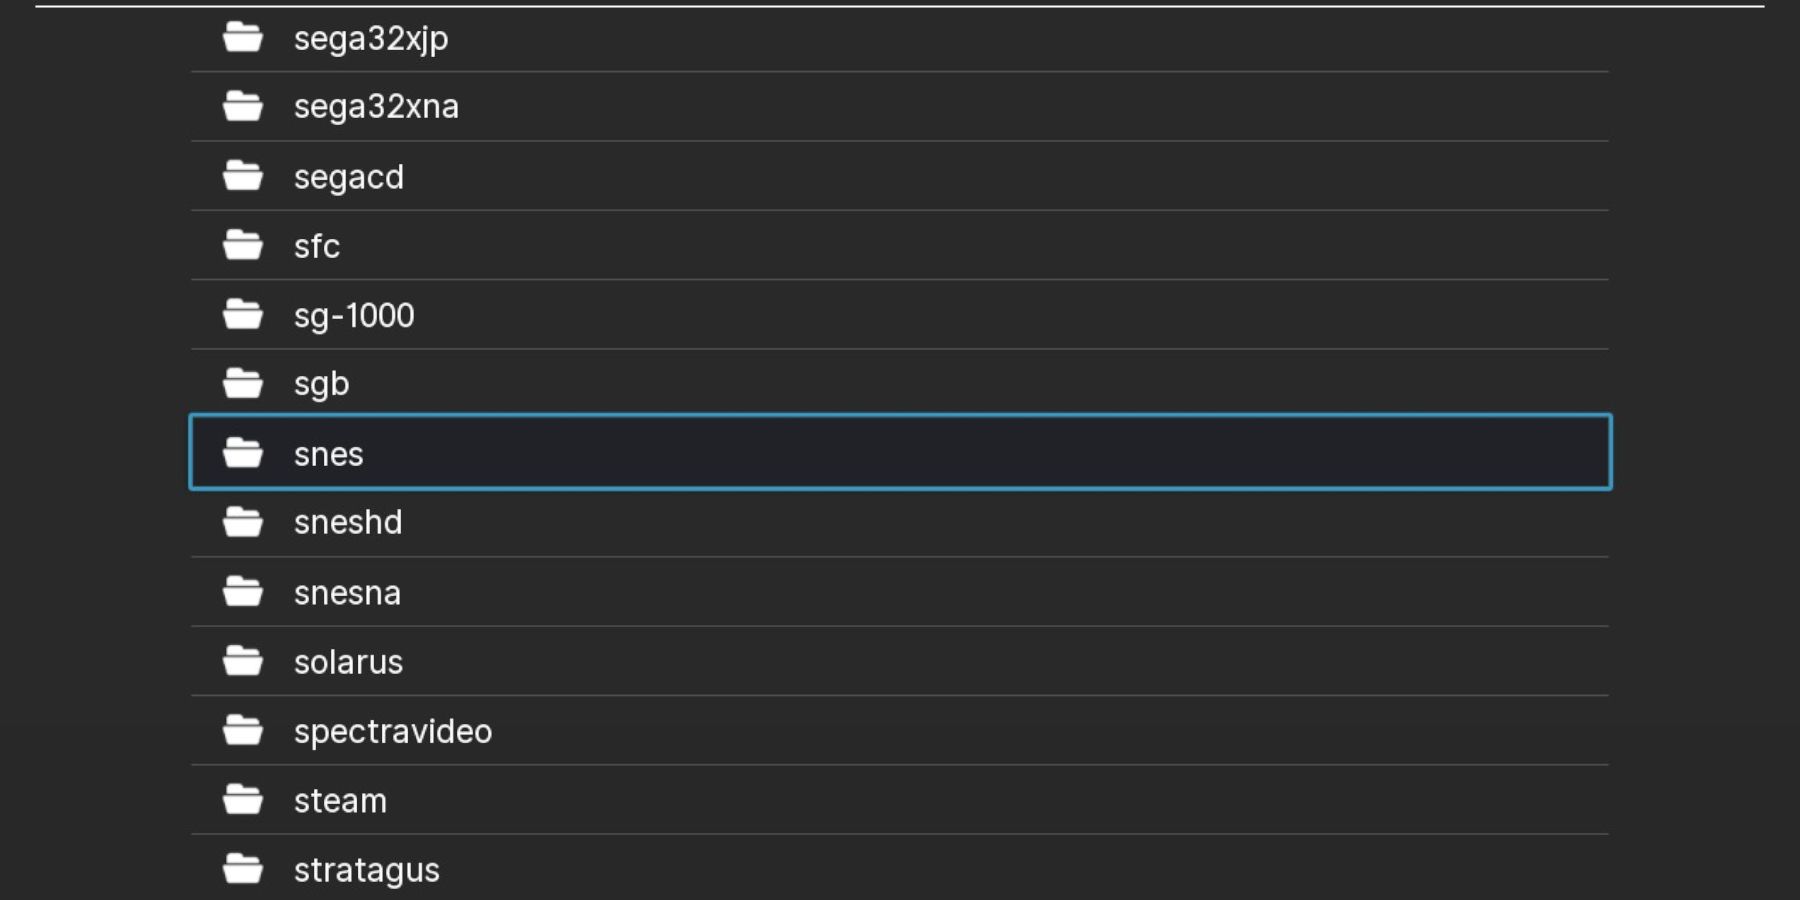
- Locate the SNES folders, then copy the SNES ROMS into one of the folders. SNES HD will try and create a widescreen effect for the SNES games. However, the effect can make some games look worse.
How To Add Games To SteamOS
With EmuDeck, Steam Deck users can add the games to their main library and collections. To do this, use the following steps:
- Ensure the Steam Deck is Desktop Mode.
- Click on the Steam Icon in the bottom left of the taskbar.
- Select All Applications.
- Locate EmuDeck and launch the application.
- Open the Steam Rom Manager on the left panel.
- Select Yes on the prompt to shut down the Steam application running in the background and run the Steam Rom Manager in Lizard mode.
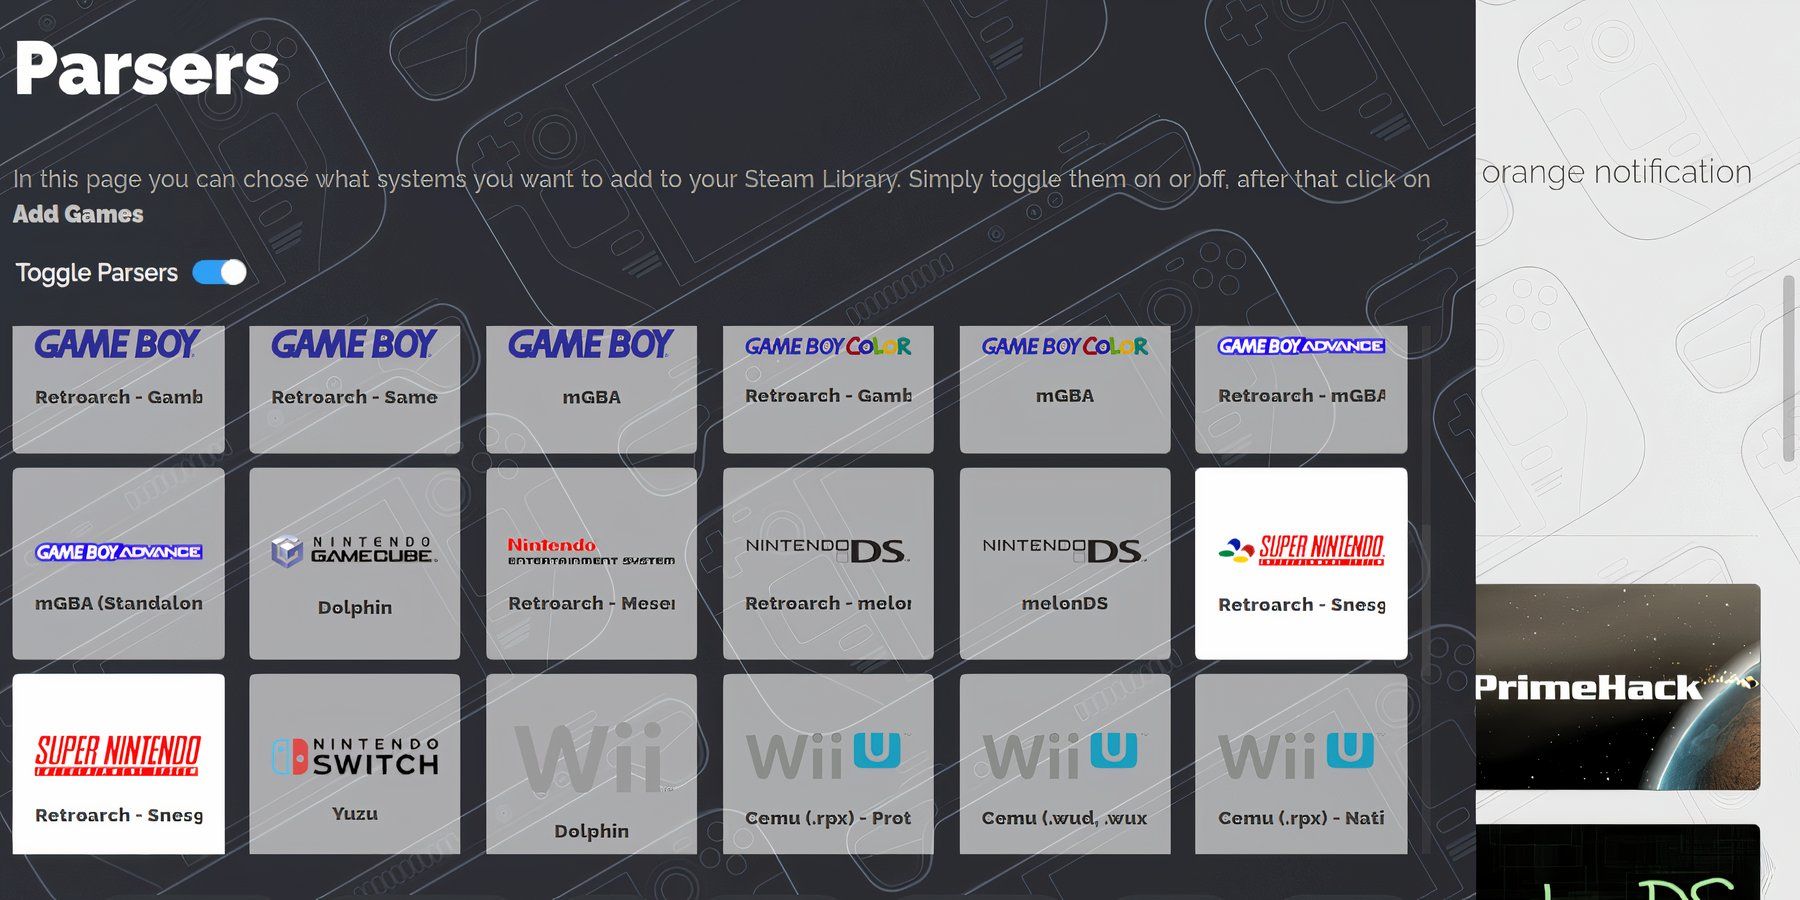
- Switch off Toggle Parsers.
- On the Parsers menu, highlight and select the Super Nintendo emulators, both labeled Super Nintendo Retroarch – SNES.
- Click on Add Games.
- Then click on Parse.
- This will load the SNES games and their artwork into the SteamOS.
- When the app has finished loading the files, select Save to Steam.
- Close the EmuDeck app and click Return to Gaming Mode on the desktop screen.
How To Fix Missing Artwork On The EmuDeck
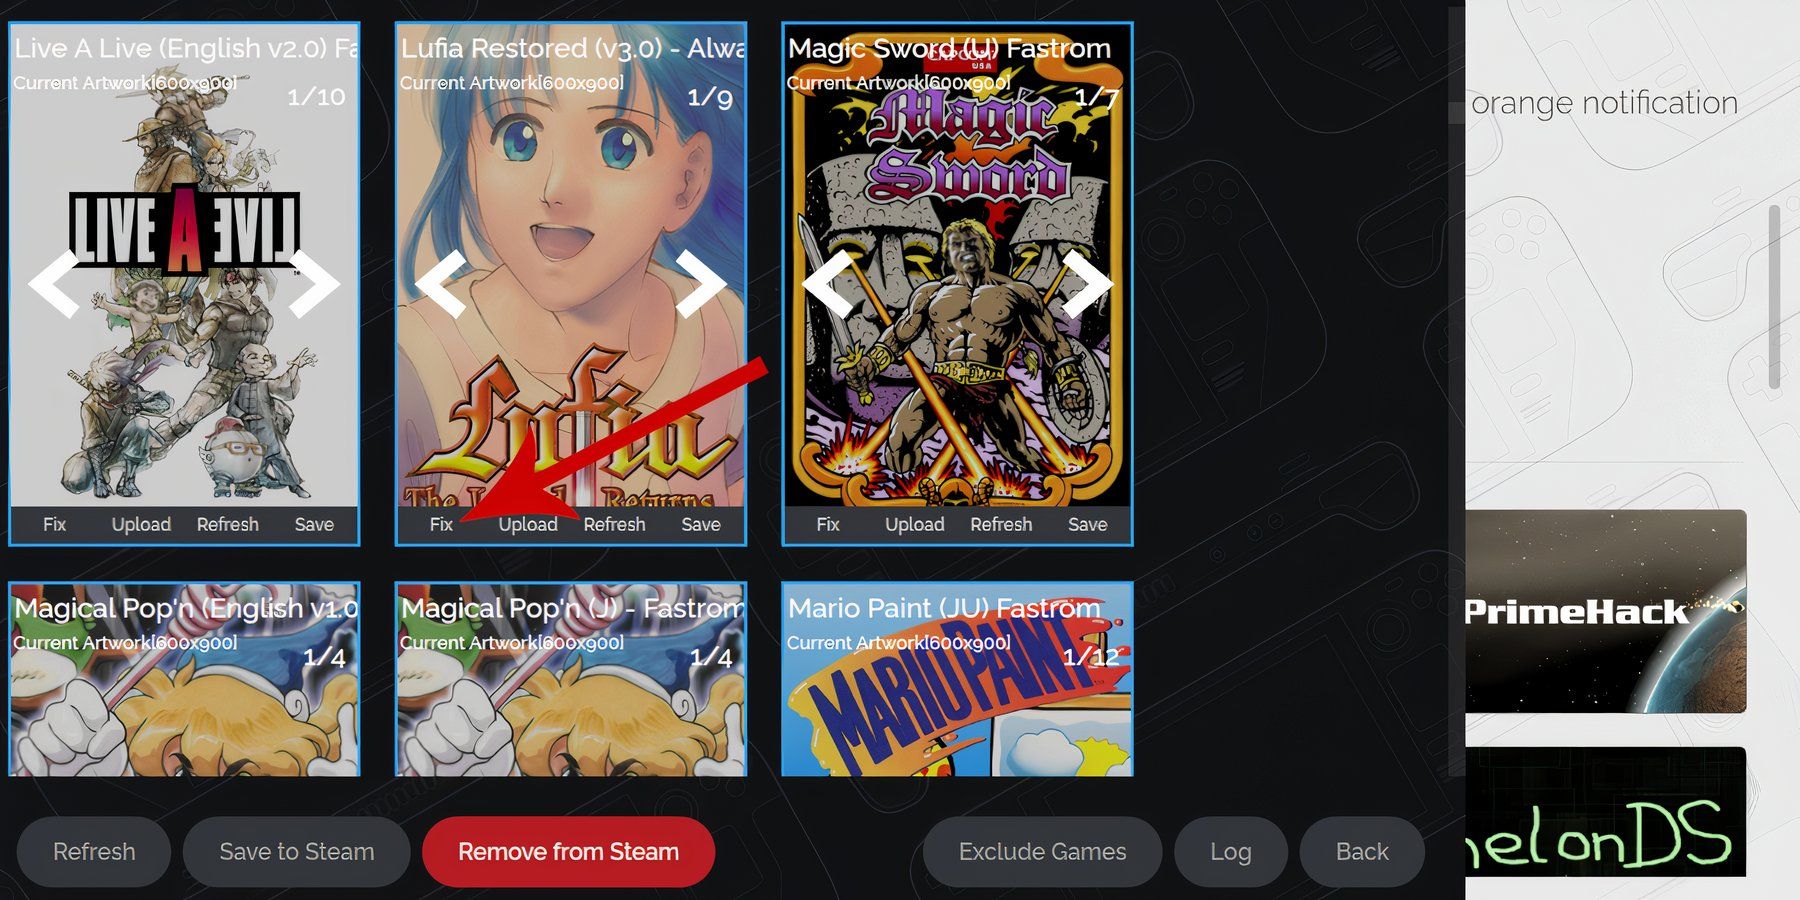
In some cases, the cover art for some older, modified, or obscure video games may be missing from the Steam Rom Manager. To fix missing images on the EmuDeck, use the following steps:
- Locate the game with missing art and click on the Fix icon.
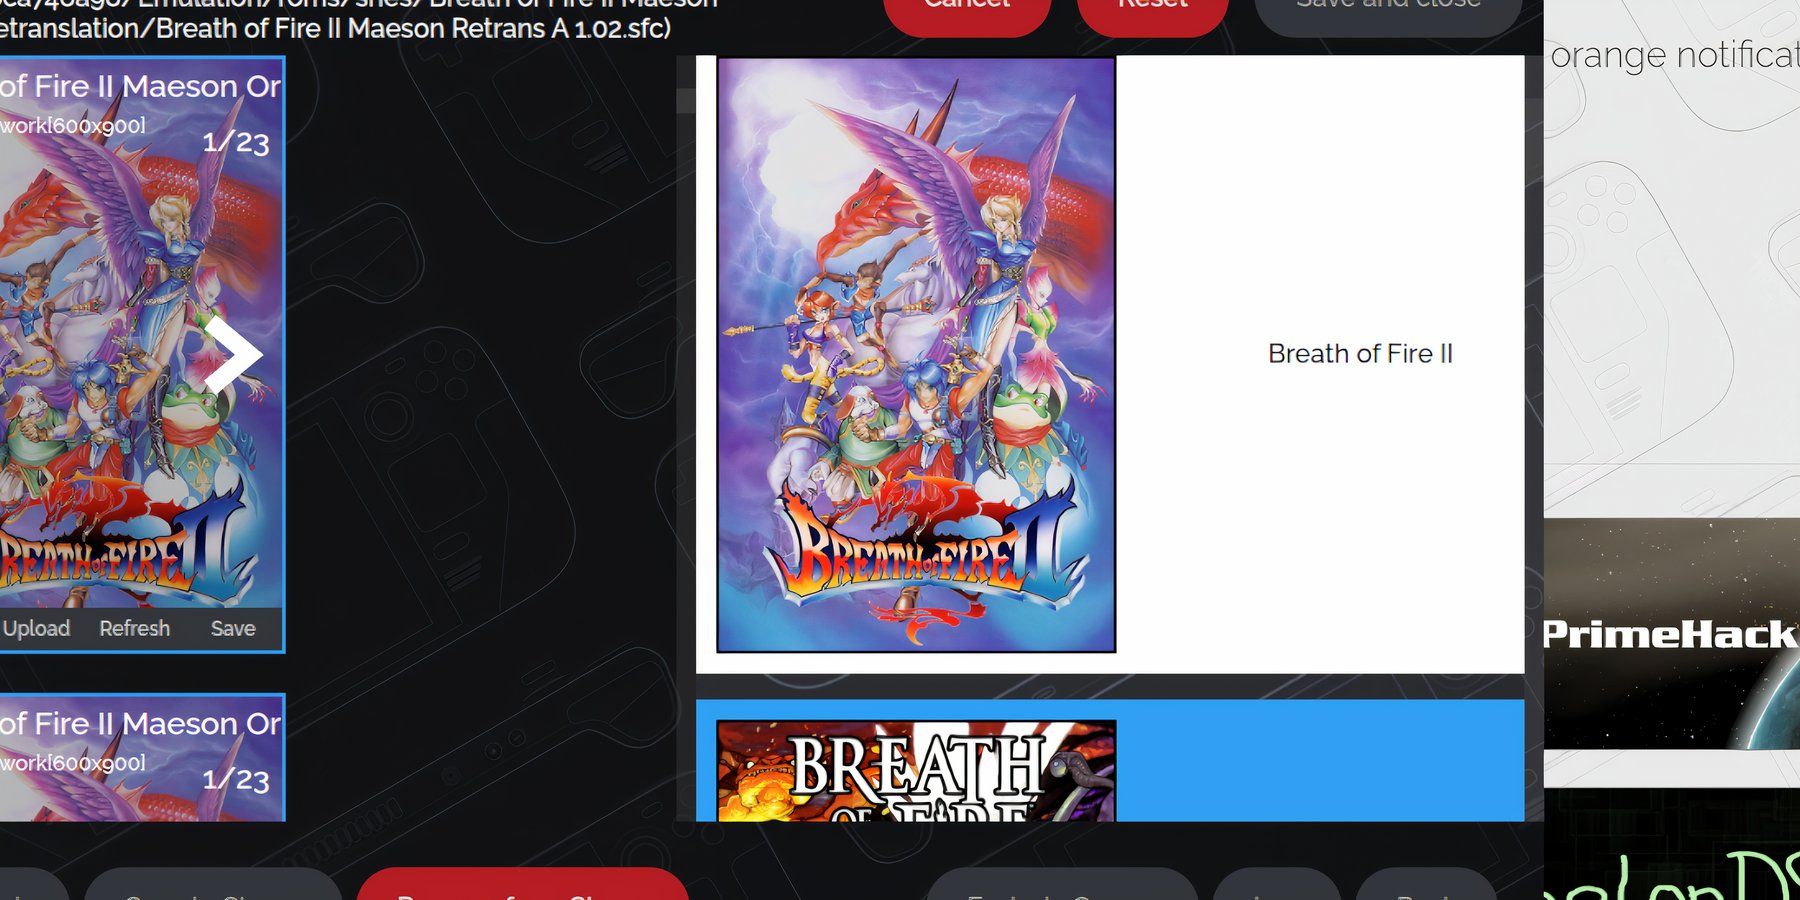
- Type the game’s title in the Fix Artwork and Title search bar.
- Select one of the game covers and click inside it so that the cover art is highlighted in white.
Uploading Missing Artwork
If the Steam Rom Manager can’t locate the correct cover art, Steam Deck users can upload their own:
- Open Desktop Mode, and use a favored browser and a search engine to find a game cover.
- Once an appropriate cover has been found, save it to the Pictures folder on the Steam Deck.
- Steam Deck users can also add a custom game cover and save it to the Pictures folder.
- Open the EmuDeck program.
- Run the Steam Rom Manager.
- Parse.
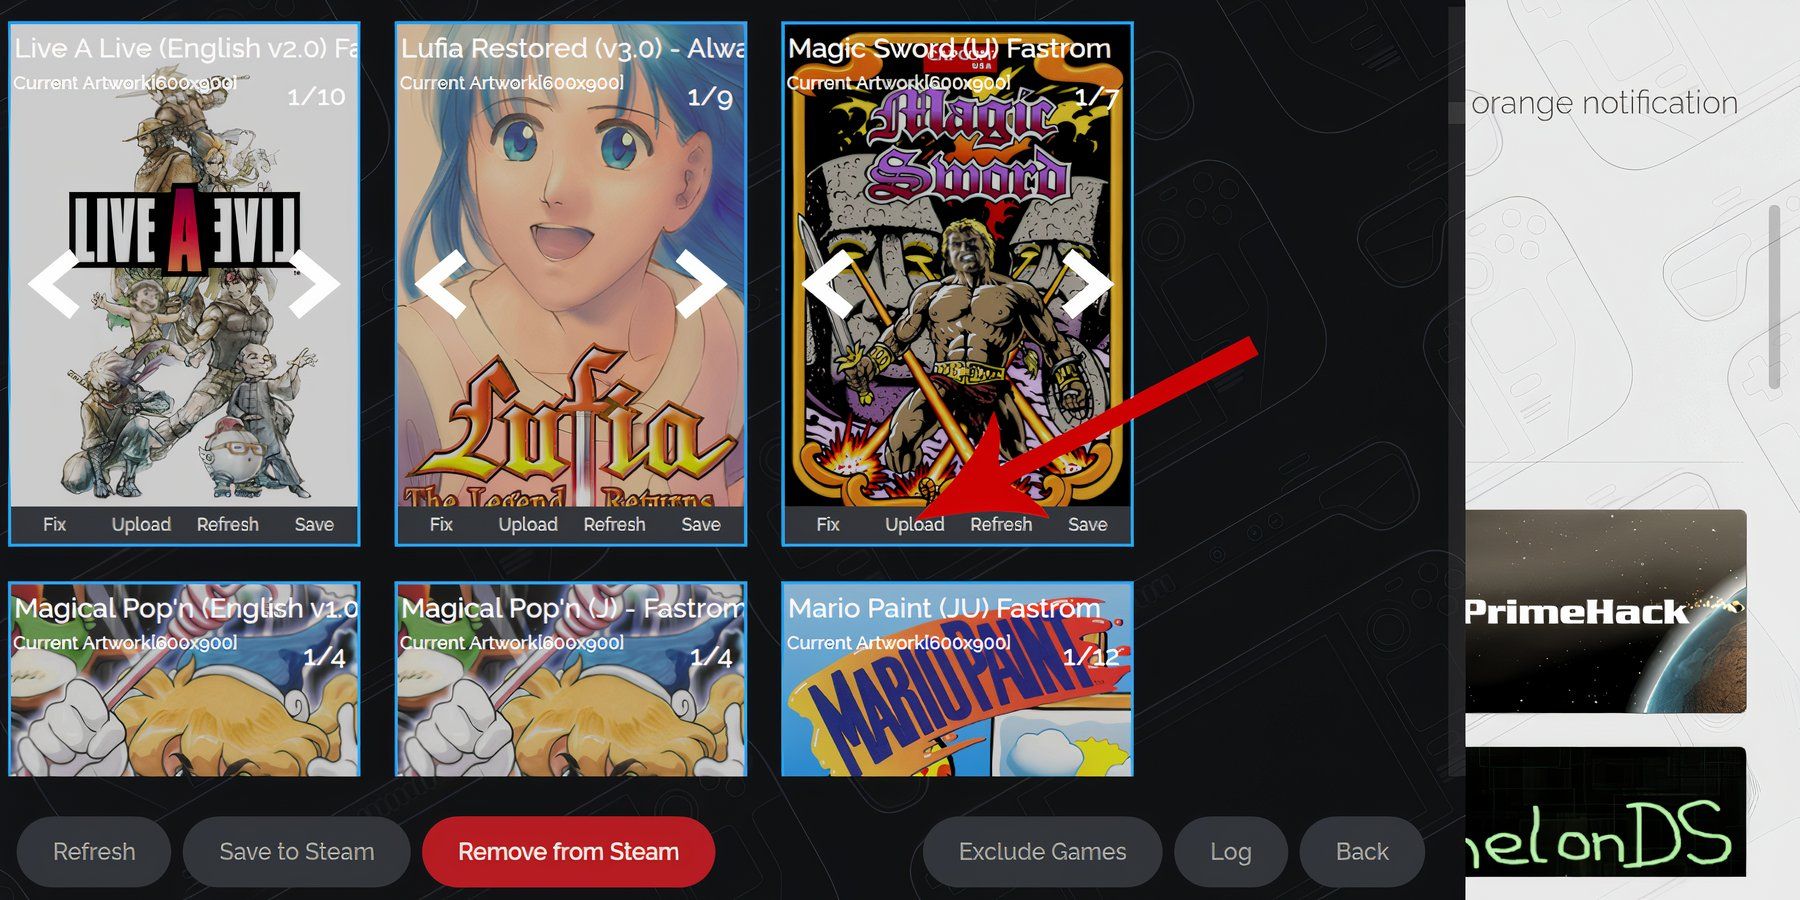
- Select Add Game.
- Click on Upload on the game’s frame.
- Open the Pictures folder and open the new cover image in the Steam Rom Manager.
- Select Save and Close.
Related
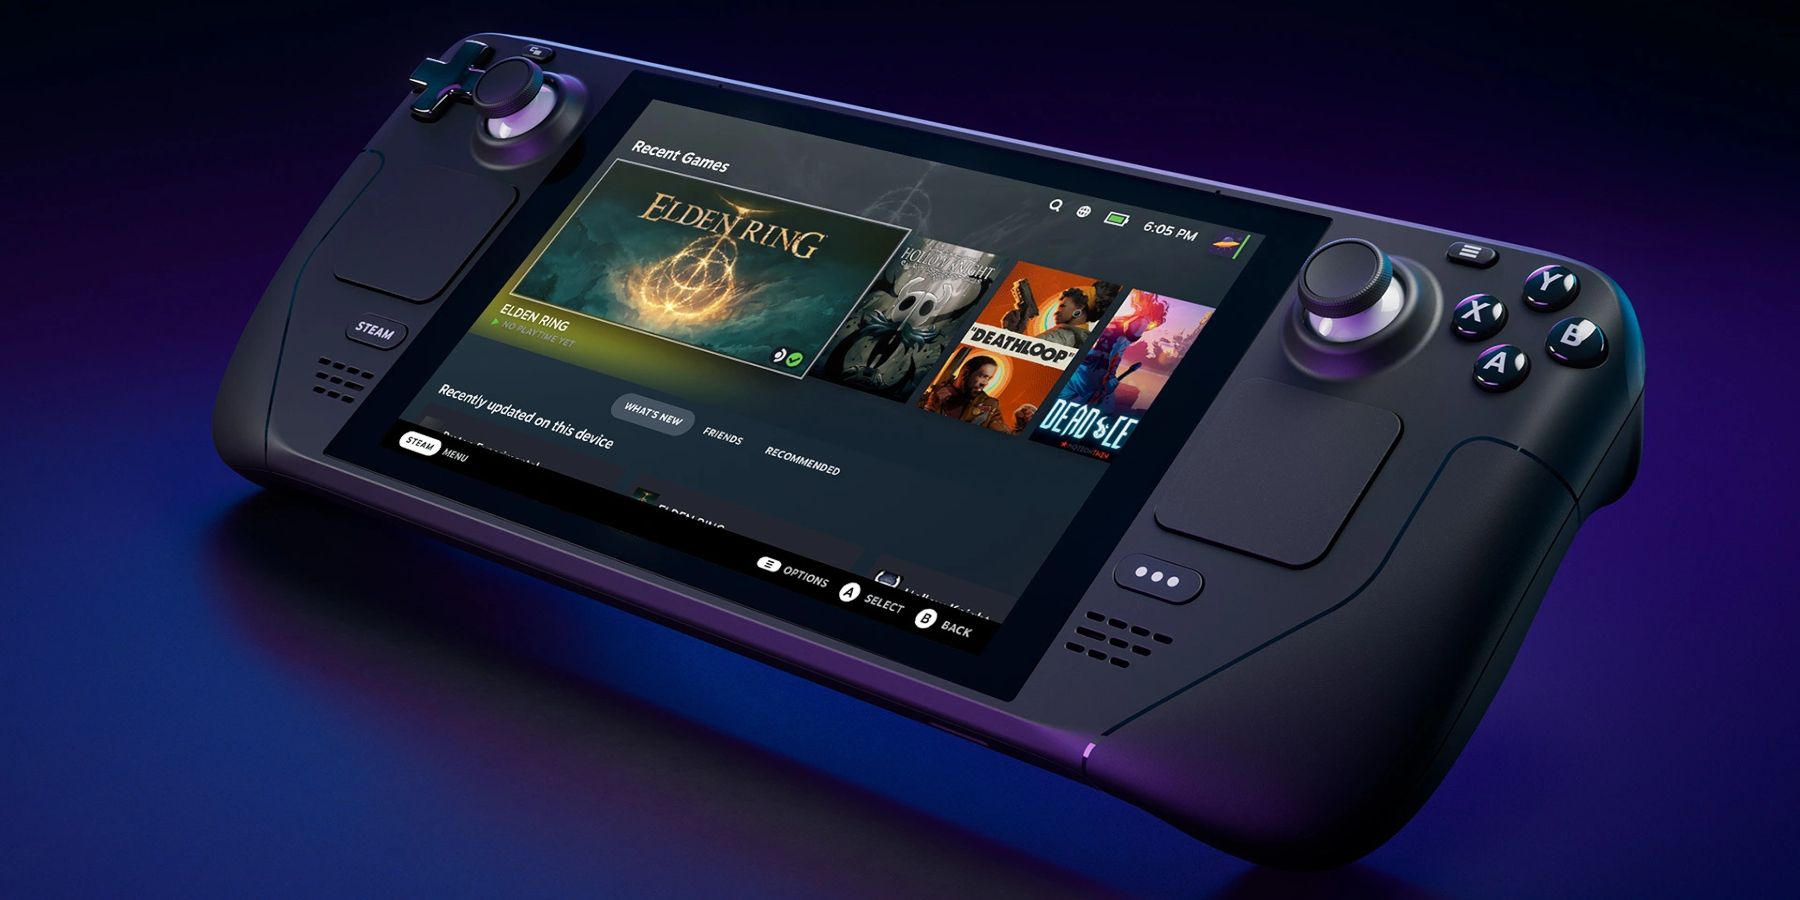
Steam Deck: How To Install Decky Loader
Decky Loader can unlock the potential of the Steam Deck. Here’s how to install it.
How To Play SNES Games On The Steam Deck
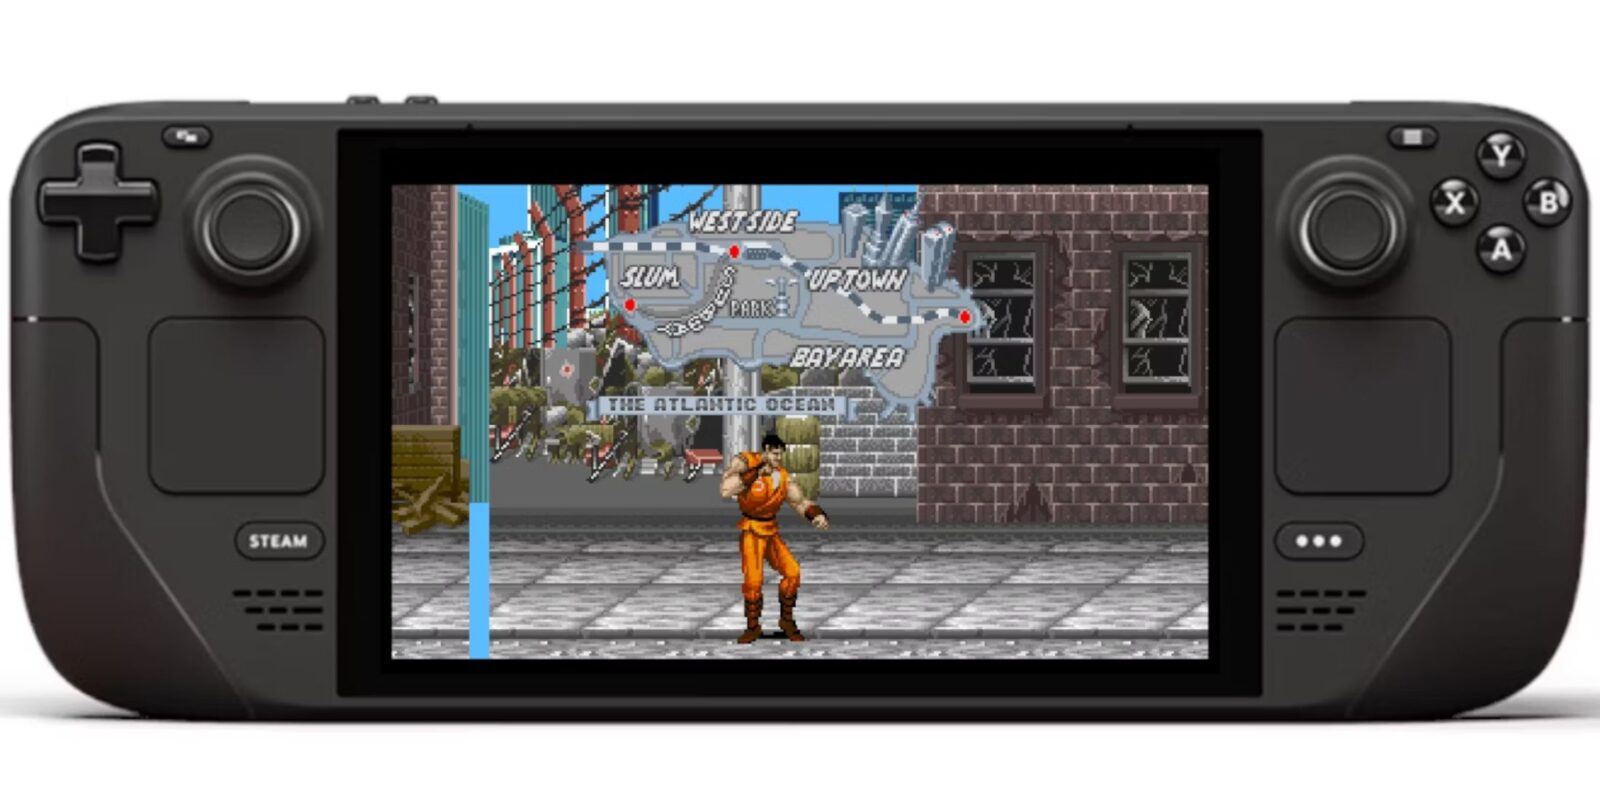
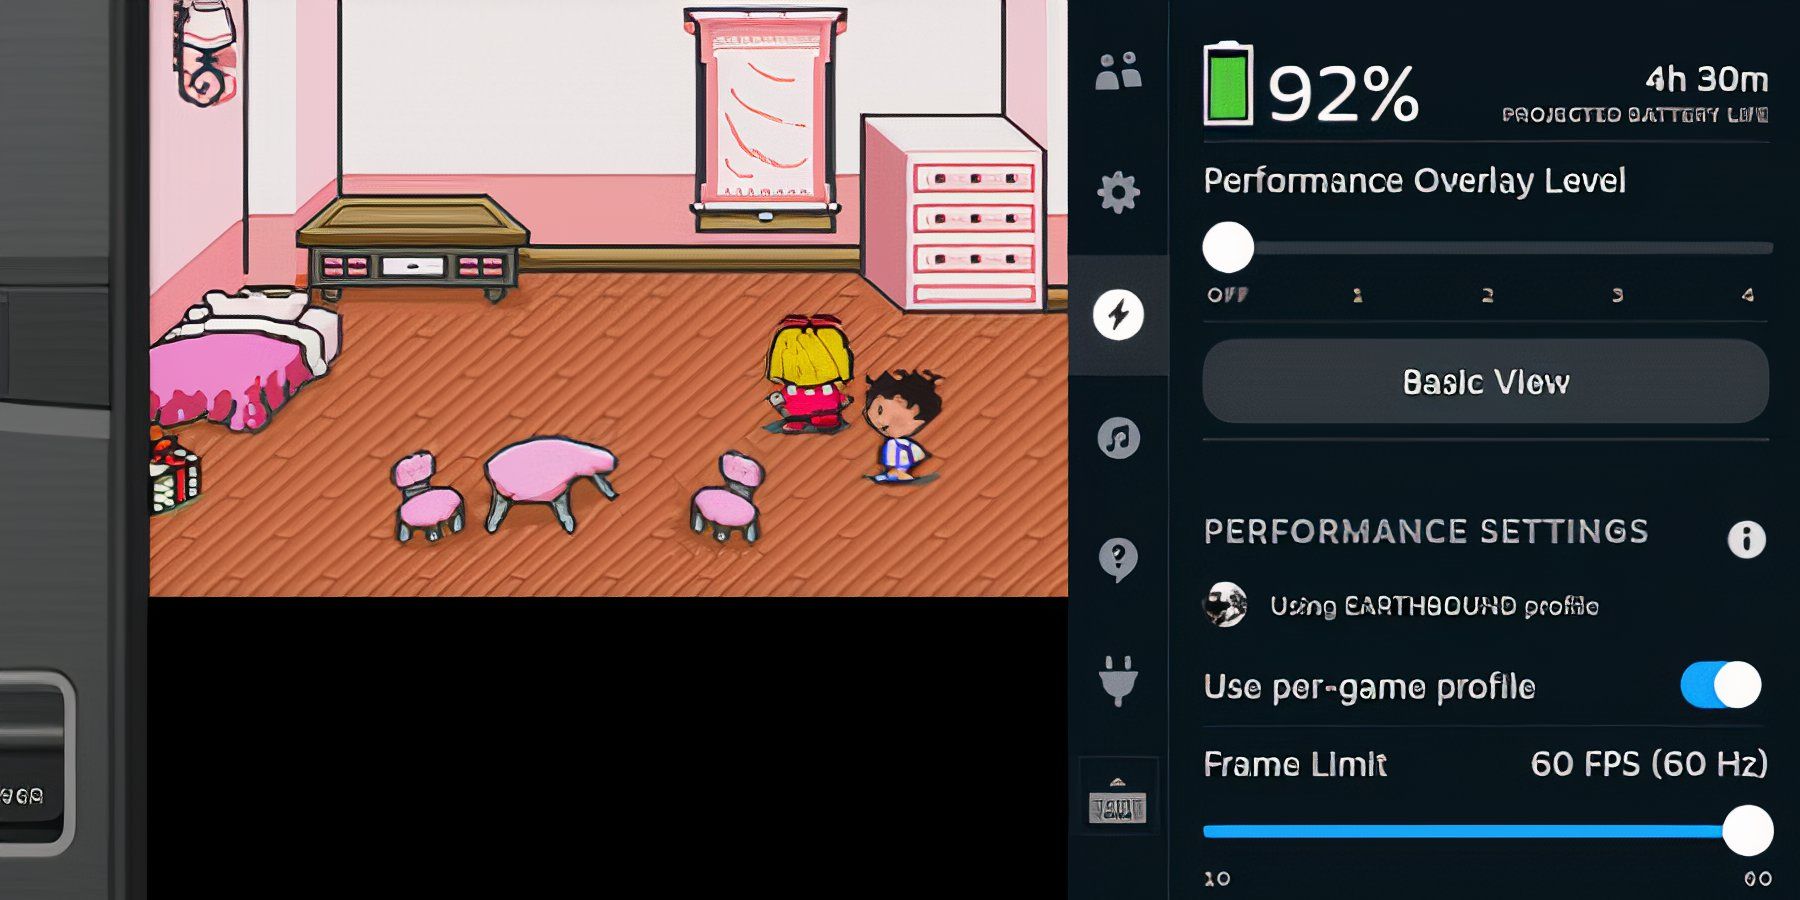
The SNES games will be added to the library, accessed by pressing the Steam button. EmuDeck should add a new tab called Collections. Most games will work without issue, but some titles can perform like they are in slow motion. The following steps can be used to fix this:
- Launch the SNES game from the SteamOS library.
- Press the Quick Access Menu (the button with three dots underneath the right trackpad on the Steam Deck).
- Highlight and select the battery icon for the Performance side menu.
- Switch on Use per-game profile.
- Slide the Frame Limit up to 60FPS.
- The screen will blank for a second, and the game will play at the desired speed.
Using RetroArch
Even though most SNES games should run without issue from the Steam Deck’s library, some users may encounter freezing issues. Sometimes, launching games from the RetroArch emulator is the best way to run the game. The following steps can be used to do so:
- Under the Collections tab in the library, click on the Emulation.
- Select the RetroArch app.
- Under Main Menu, select Load Content.
- Scroll down the list and open the SNES folder.
- Select the game to launch it inside RetroArch.
- Steam Deck users can utilize the History feature to access recently played games, add favorites, and more.
How To Fix Slowdown On SNES Games In EmuDeck
Some older games can run into issues that cause stuttering and slowdown, making them near-unplayable on the Steam Deck. Thankfully, with a quick fix in the handheld’s settings, the games will run better and have improved stability:
- Play the SNES game.
- Press the three-dotted QAM (Quick Access Menu) button underneath the right trackpad.
- Select the power symbol to open the Performance menu
- Under Performance Settings, switch on User per-game profile.
- Increase the Frame Limit to 60 FPS.
- The game’s screen may go blank for a second as the new settings kick in.
Install Decky Loader On The Steam Deck
In addition to improving retro game performance on the Steam Deck by enabling Developer Mode, it’s recommended to install Decky Loader and its plugin, Power Tools. Power Tools gives you the ability to control the SMTs (Simultaneous Multithreading) to optimize performance for older games. Follow the steps below to install Decky Loader and Power Tools, and learn how to adjust the settings effectively.
- Press the Steam button in Gaming Mode and open the Power menu to s witch to Desktop Mode.
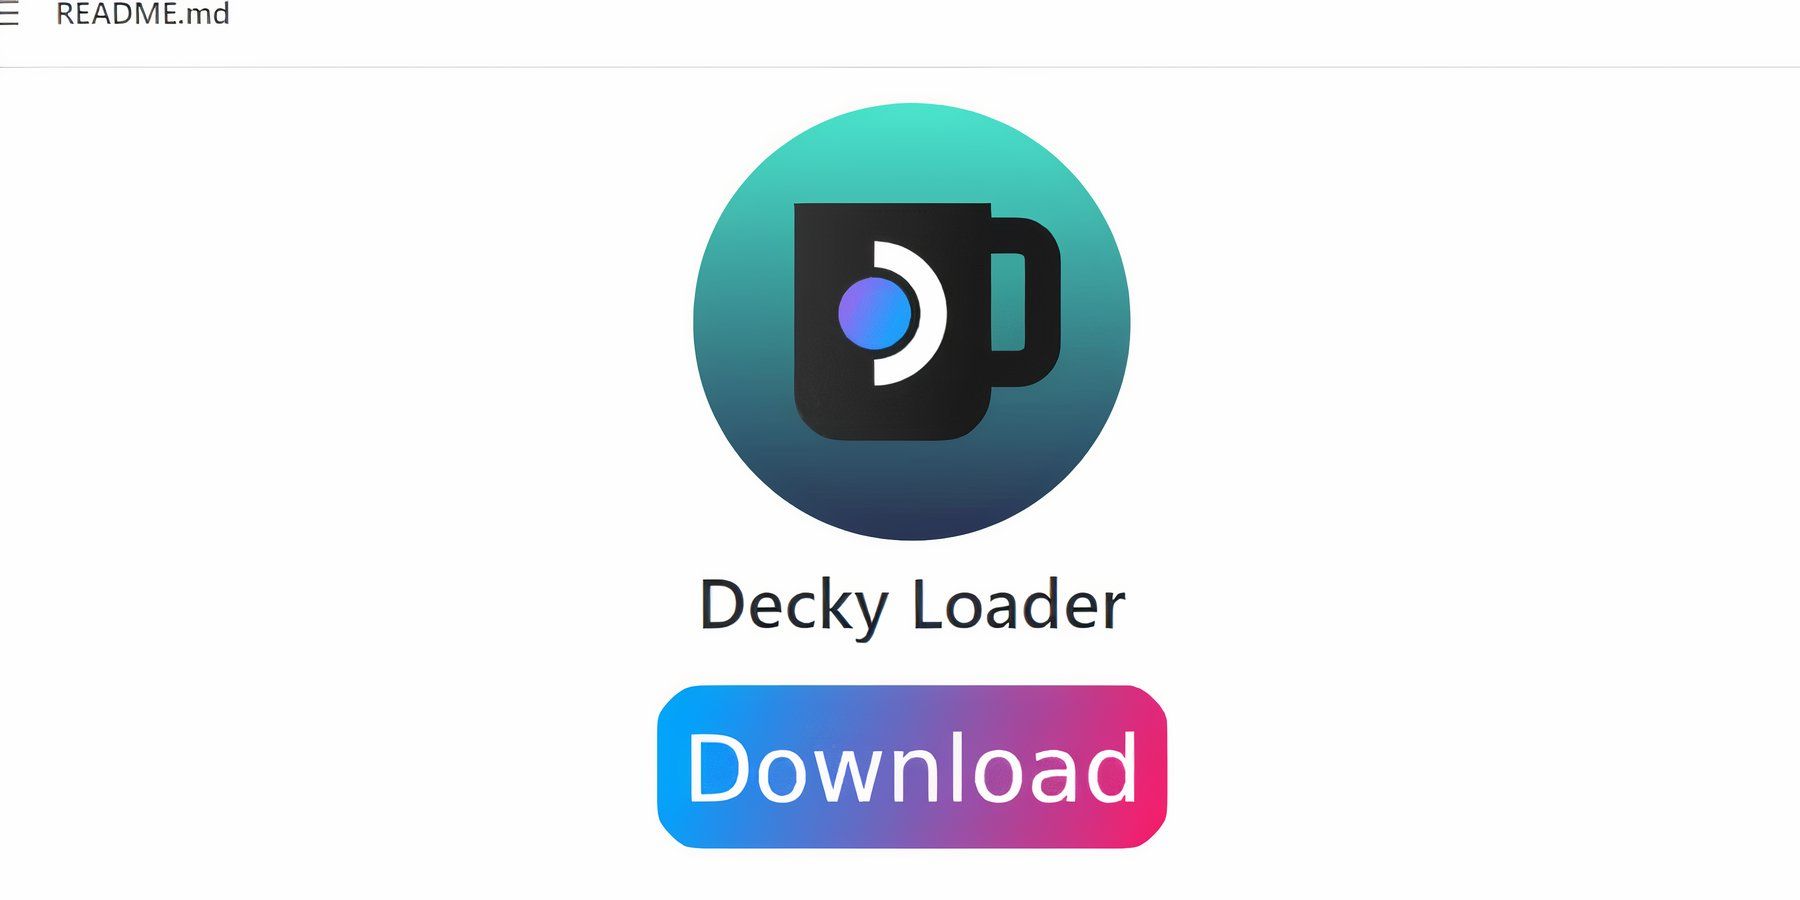
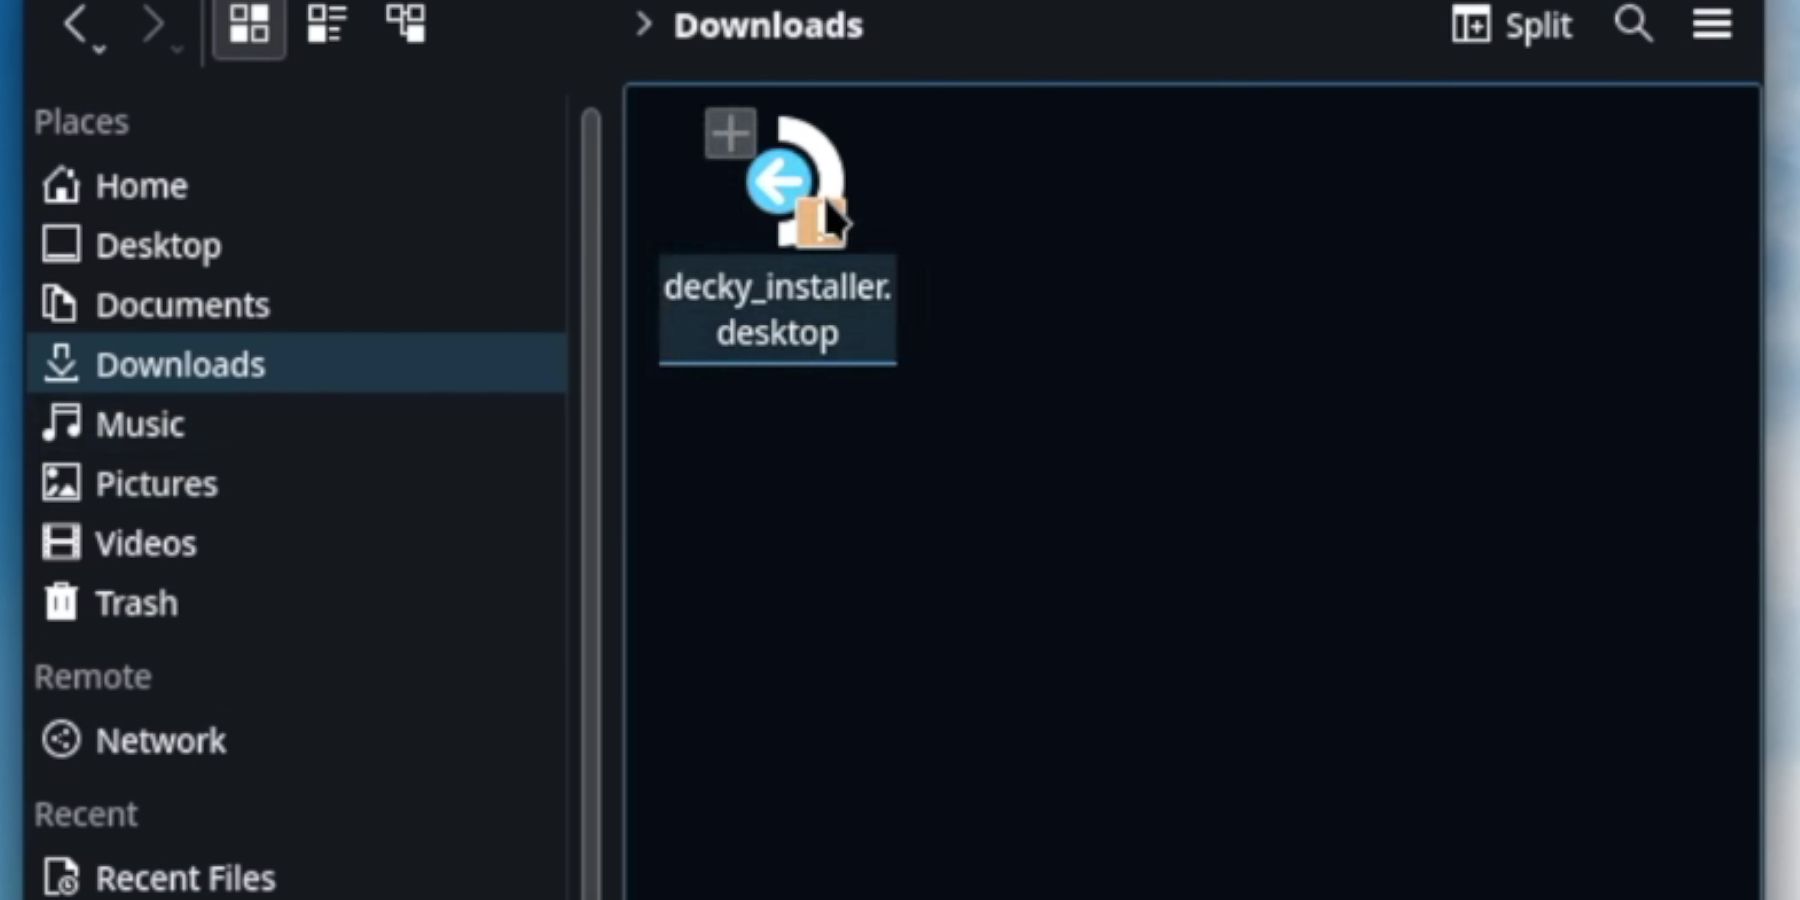
- Launch a browser, and navigate to the Decky Loader GitHub page. and open the Download icon to start downloading.
- Once the download is complete, open the launcher and select the Recommended Install option.
- When the installation is complete, restart the Steam Deck in Gaming Mode.
To enhance performance with the RetroArch SNES emulator, the EmuDeck developers recommend installing the Power Tools plugin. Follow these steps to install the plugin and adjust the settings.
- Ensure the Steam Deck is in Gaming Mode, press the QAM button beneath the right trackpad, and open the new plugin icon at the bottom of the QAM.
- Click the store icon next to the settings gear to open the Decky Store.
- Type Power Tools in the search bar, or scroll down to find the plugin and install it.
Power Tools Settings For Emulated Games
- Press the Steam button to open the Library.
- Open one of your SNES games from the Non-Steam Library or access your SNES category block under the Collections tab.
- With the game running, press the QAM button to open the Decky Loader and select the Power Tools menu.
- Turn off SMTs.
- Move the slider and set the number of threads to 4.
- Press the QAM button to open the Performance menu, highlighted by the battery icon.
- In the Performance menu, Enable Advance View.
- Switch the Manual GPU Clock Control On.
- Increase GPU Clock Frequency to 1200.
- Save these settings for individual games by switching on Per Game Profile.
Restoring Decky Loader After A Steam Deck Update
The Steam Deck can undergo significant updates that change the performance and the interface. This can also interfere with the Quick Access Menu, removing third-party apps like Decky Loader along with your plugins like Power Tools. Use the following steps to restore your Decky Loader as it was before the update.
- Set the Steam Deck back to Desktop Mode by pressing the Steam button and selecting the Power Menu.
- Open your web browser in Desktop Mode.
- Open the Decky Loader GitHub page and click the Download button.
- Only choose the Execute option; do not click on Open.
- When prompted, type your sudo password into the pop-up window.
- If you haven’t set a sudo password, follow the instructions in the pop-up box to create one. Choose a memorable password and note it if you plan to install unofficial apps later.
- Restart your Steam Deck in Gaming Mode after the installation is complete.
- Press the QAM button to restore your Decky Loader app, settings, and plugins to their previous state before the update. Refer to this guide if an update removes the application with a future update.










Leave a Reply