Endwalker is finally upon us, bringing Final Fantasy 14’s Hydaelyn and Zodiark arc to a close. Within Endwalker, fans will see minor adjustments to their favorite Jobs, along with two new Jobs that offer wholly unique playstyles. Whether you’re a seasoned veteran or a newcomer, Endwalker is bound to provide something that catches your eye.

Related
Final Fantasy 14: Complete Guide To Playing Reaper
Here’s everything you need to know to master the scythe as a Reaper in Fantasy 14’s newest expansion, Endwalker.
Suppose you are a newcomer to Final Fantasy 14. In that case, you may be intimidated to dive directly into a new class as it starts at a relatively high level, having tons of abilities unlocked from the jump, with specific rotations, requirements, and much more. Fortunately, Endwalker does a decent job teaching you most of the crucial details before tossing you into the void to fend for yourself.
Updated December 18, 2024, by Seth Parmer: Dawntrail has been out for quite a while since we last updated this guide, allowing us to tackle it yet again to include some of the more recent changes to the Sage Job. While only some of its Actions were adjusted, and its Opener remained largely the same, its best in slot has changed drastically, allowing us to update the table at the bottom of the guide with the best equipment available for the Sage and how to acquire it!
Leveling Up The Sage Job In FFXIV
When it comes to leveling up a brand new Job in Final Fantasy 14, such as the Sage, the same general principles from our Reaper guide apply here as well, with some minor differences.
The Sage doesn’t really start kicking into gear until you reach level 100, which can be quite a grind as you will have to amass well over 330 million EXP in total. That’s A LOT of experience needed.
But, to help make this process a bit easier, we included every activity you should focus on to power level your Sage below! Keep in mind you should also consider doing the FATE trains, Duty Roulette, and Nutsy Clan Hunts outlined in our Reaper guide.
However, we found the following activities may be the fastest way to power level your Sage from 70-71 to partake in Skirmishes and Critical Engagements found in the Bozjan Southern Front, which will become your primary focus until you reach 80.
PvP Frontline Roulette (70-71)
While it may be offputting to some, doing your daily PvP Frontline Roulette will give you a pretty decent chunk of experience and is an excellent way to get from level 70-71 quickly.
Win or lose. You will get around 5 million EXP out of the 12,449,000 needed to reach 71. However, if you do the following two steps, you will quickly reach that level.
Note: The Nutsy Clan Hunts will suffice if you are against doing PvP at all costs.
Wondrous Tails (70-71)
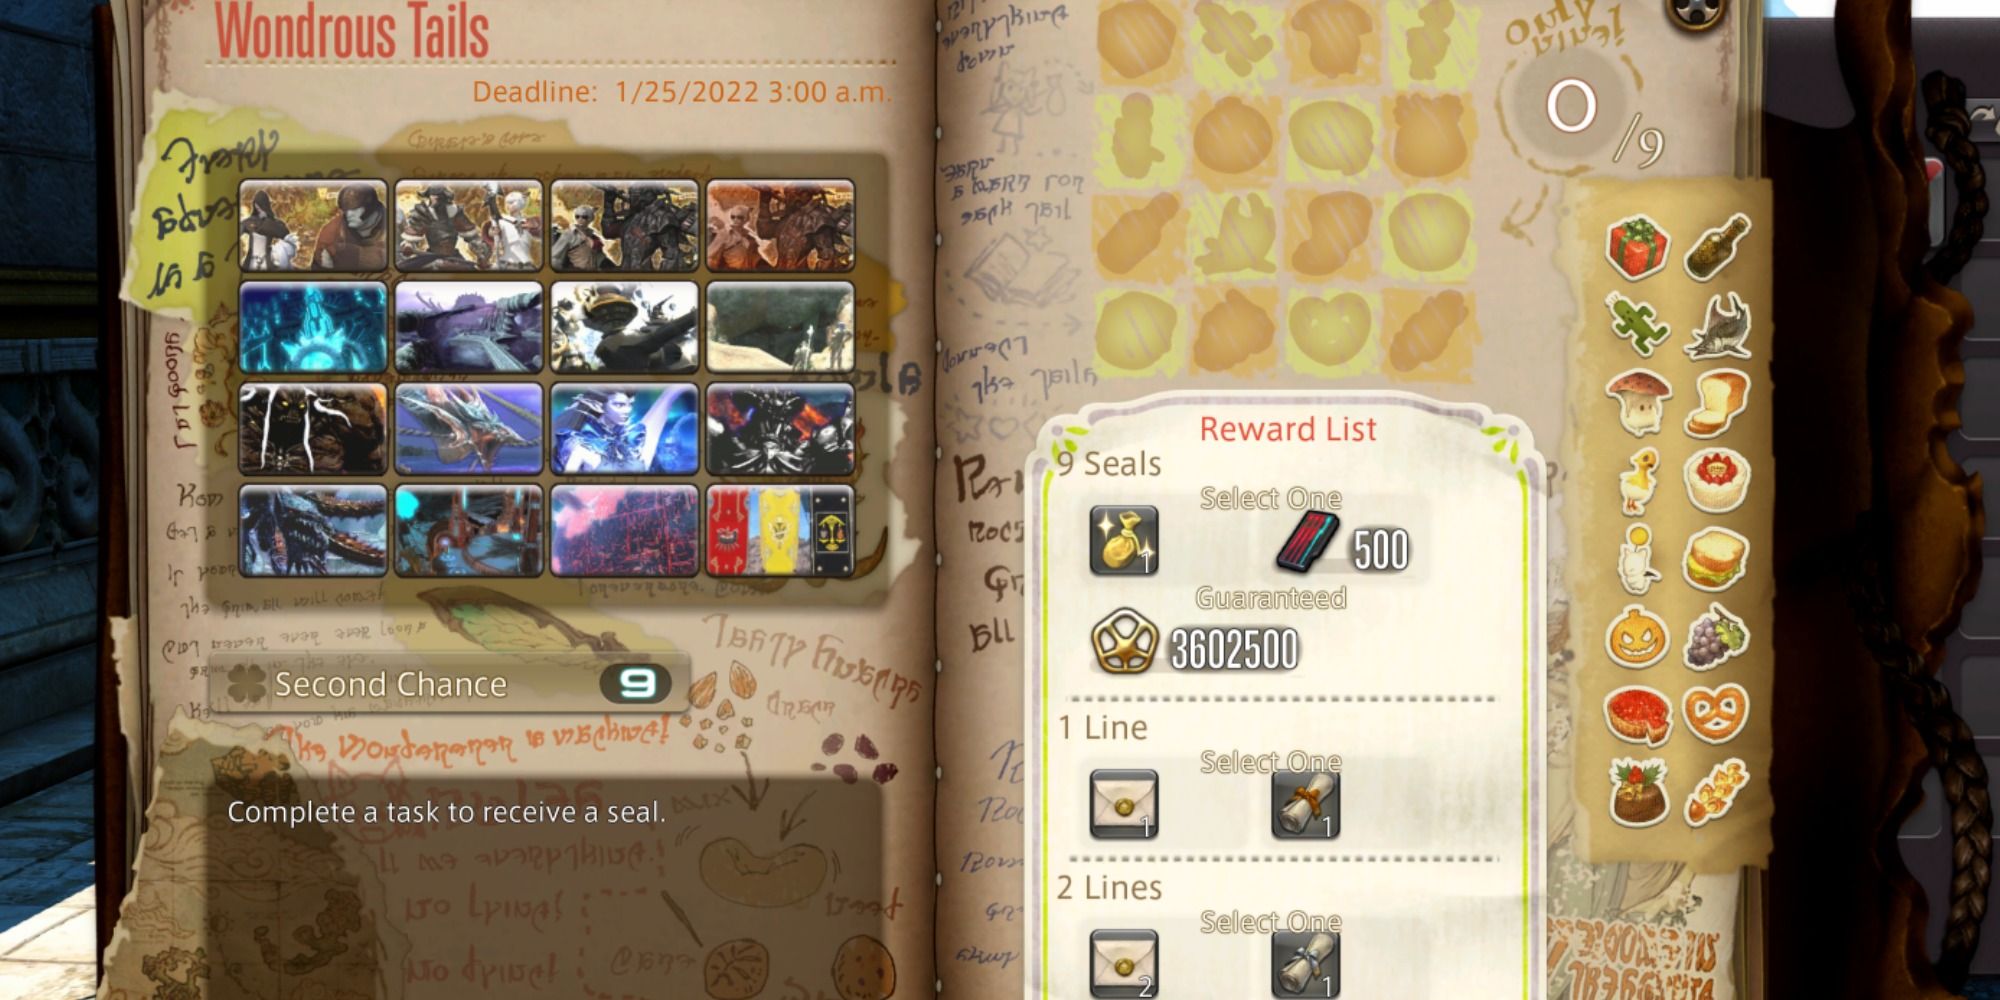
The Wonderous Tails is a weekly event found within Idyllshire, tasking you to fill out a journal with Seals. Once you receive nine Seals, you can deliver them to Khloe Aliapoh for a reward. This reward will always be roughly 50% of your total experience.
In this case, it will be around 6,224,500 EXP in total. If you followed the first step, this should bring you to approximately 11 million experience out of the 12,449,000 needed to reach 71. From here, you can either follow the next step or borrow an activity from our Reaper guide to reach the next level.
Pixie Tribe Quests (70-71)
One of the best ways to earn quick yet ample experience is by doing your daily Beast Tribe Quests. While you’re only able to take on twelve of these quests a day, you will only need to complete three quests from the Pixie Tribe located in Il Mheg for a whopping 3,450,000 EXP.
Doing this should be more than enough to get you from 70 to 71 and is doable in a single day and (hopefully) under an hour.
Skirmishes/Critical Engagements (71-80)
Skirmishes and Critical Engagements will be the best way to jump from level 71 to 80 quickly, but they will require lots of grinding and can take several hours to complete. In total, you are looking at approximately 158 Skirmishes needed to achieve level 80.
While this is a significant time commitment, it is the fastest, most consistent way to earn mass amounts of EXP. You can do these events in the Bozjan Southern Front or Zadnor, though we recommend Bozjan’s more as they seem to occur much more frequently.
Additionally, you could also farm roughly half of what’s needed, return refreshed tomorrow, and knock out some of the daily quests that grant you large EXP bonuses on completion.
If you want to jump from 70 to 80 in one day, your options will be somewhat limited. But if there’s no rush, and you don’t mind waiting a couple of days, then this method will be perfect for you.
Trust System (71-80)
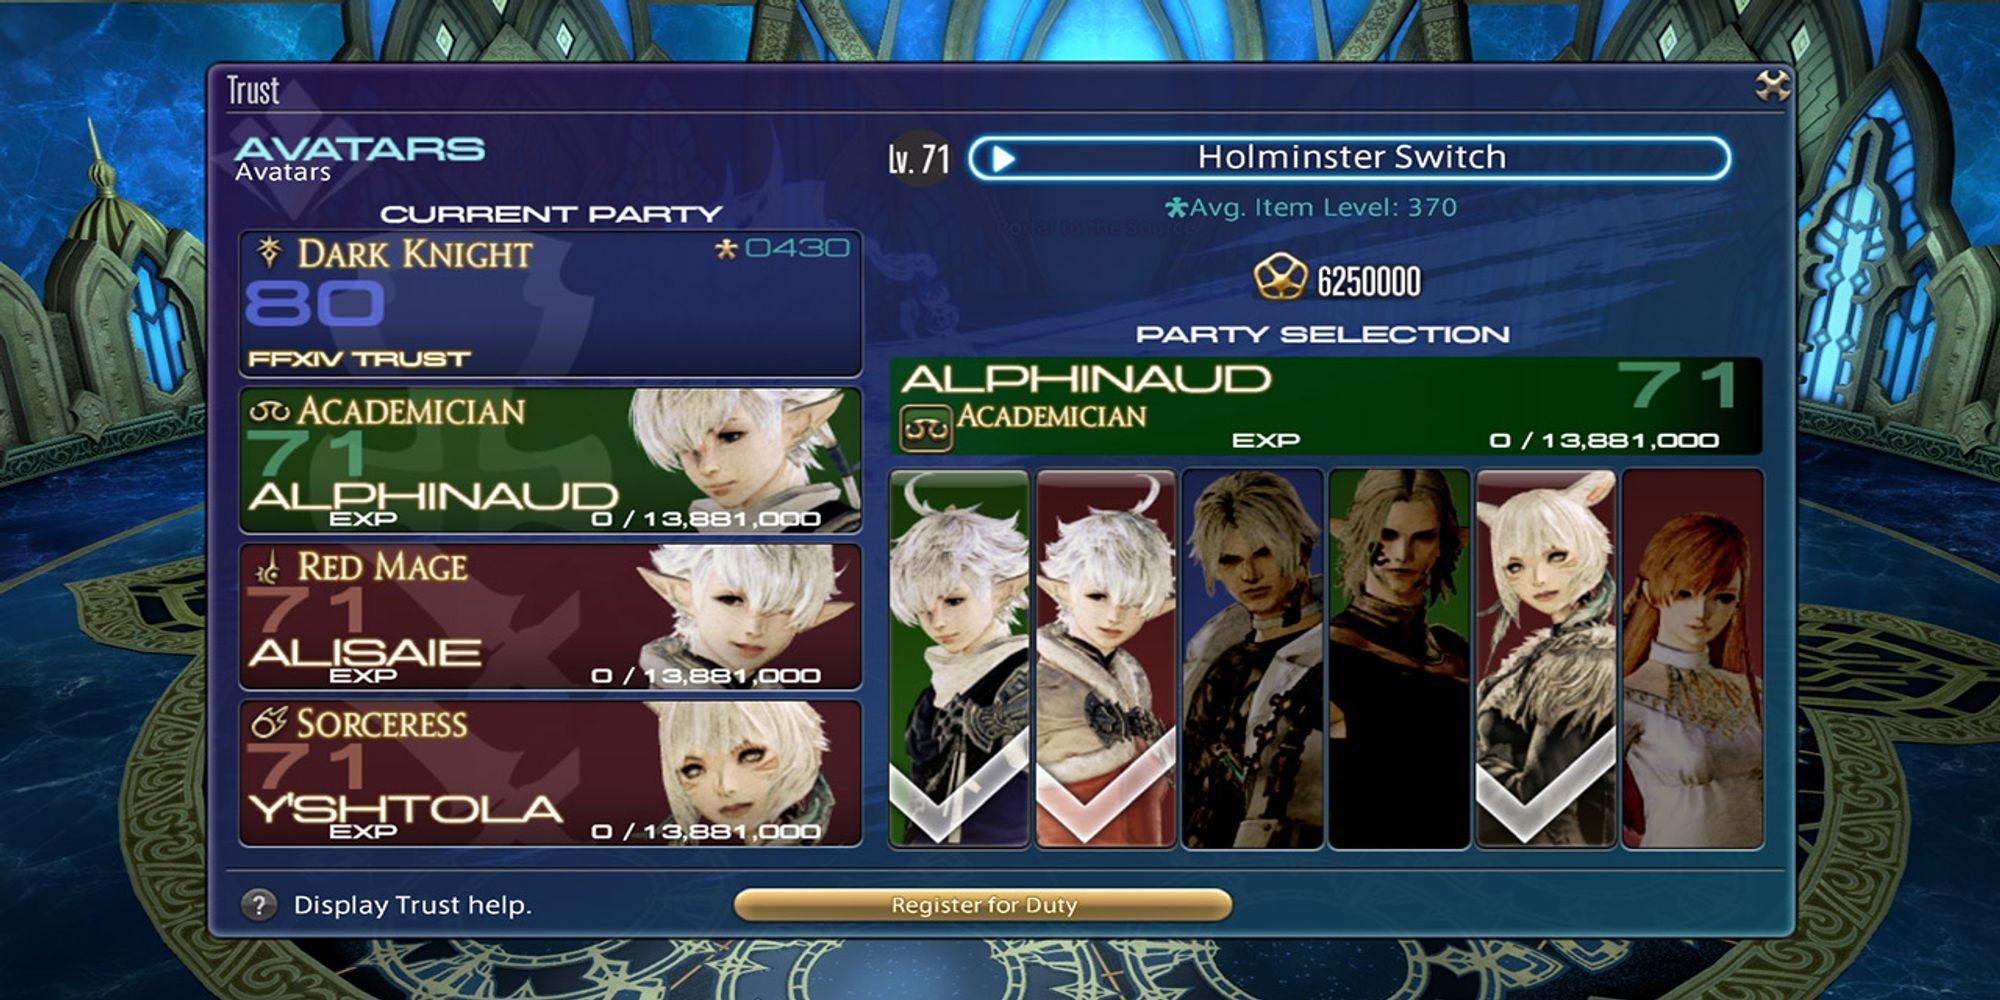
If you feel burnt out on the Skirmish grind, another way to amass quick EXP is by partaking in the Trust System. The Trust System has you challenge Dungeons with your NPC friends from the game’s story.
While this method is slower, you will still earn a level by completing around 3-4 Dungeons via the Trust System. This method is helpful if you need a break from grinding Skirmishes for hours on end.
Levels 81-100
To get from Level 81 to Level 100, you more or less have to rely on tackling your Dailies found via the Daily Duty Roulette and will have to rinse and repeat the Skirmishes and Critical Engagements, as well as the Trust System, found above in the 71-80 sections. This will be a long grind, so be prepared to be in it for the long haul if this wasn’t your main role heading into Dawntrail.
Sage Skillset Outline
As with most new Jobs in Final Fantasy 14, the Sage class can be intimidating to approach due to automatically being level 70 once unlocked.
While there are many different abilities with crucial rotations, learning how to stay on top of the Sage’s kit properly isn’t all that complex and has a pretty decent flow to it once you get into the rhythm of things.
Opening Spell
Before diving headfirst into a fight, it is always appreciated – and sometimes necessary – to apply buffs to you and your teammates prior to the battle itself. You will learn more as you grow stronger as a Sage, but in the early goings, your focus will be on one spell, which we will detail below.
-
Opening Group Buff: Eukrasian Prognosis > Eukrasian Diagnosis
- Shields your entire party, giving the Tank an additional Shield.
- Use as an opening move before boss fights/group fights.
Damage Rotations
Due to your central role being dedicated to keeping the rest of the team afloat, you don’t have many options when it comes to “rotations” on the DPS side of things. However, what you do have is a small list of pretty strong attacks that you will be sprinkling into your support role as much as possible.
-
Single Target: Eukrasian Dosis
- Damages target over time.
-
Single Target Combo: Dosis > Dosis
- Since Dosis has a relatively short cooldown timer, you can quickly spam it and use it as your main attack.
-
AoE Attack: Phlegma
- Deals damage to the target, as well as enemies nearby.
- Damage done to nearby enemies is 30% of initial damage.
- Restores HP to all targets under Kardion with a Cure Potency of 170.
- You can store a total of two charges of Phlegma.
-
AoE Attack: Toxikon
- Deals damage to the target, as well as enemies nearby.
- Damage done to nearby enemies is 50% of initial damage.
-
AoE Combo: Eukrasian Dosis > Dyskrasia
- Deals damage to all enemies nearby with a potency of 160.
- Eukrasian Dosis isn’t required but will help deal more damage over time.
Healing/Buffs Rotations
Aside from your opening buff, you will have access to quite a few others that you should be casting on your teammates throughout the course of battle.
There should never be a time when you aren’t casting something to boost a teammate up or inflict damage on the enemy. The Sage serves a vital role to the team, and the following abilities showcase why perfectly.
-
Single Target Heal: Kardia > Dosis
- Heals whoever you cast it on whenever you damage an enemy with Dosis.
- Almost always cast Kardia on your Tank to help them regain lost health.
-
Multi-Target Damage Mitigation/Healing: Kerachole > Physis
- Mitigates damage for the entire party, followed by a group heal.
- Physis starts an Off-GCD of 60 seconds.
-
Multi-Target Healing: Holos
- Heals you and all nearby party members with a Cure Potency of 300.
- Additionally reduces damage by 10% for you and nearby party members.
- Holos starts an Off-GCD of 120 seconds.
-
Multi-Target Damage Mitigation: Eukrasian Prognosis > Pepsis
- Casts a shield on you and your party with Eukrasian Prognosis, then swiftly removing it with Pepsis to heal the party with a potency of 450.
- Excellent for healing you and your team in large bursts.
-
Single/Multi-Target Shielding: Haima and Panhaima
- Haima shields a single target
- Panhaima shields the party
-
Single Target Healing: Taurochole
- Restores your own health or a single member of your party’s.
- Cure Potency 700
- Costs 1 Addersgall
Sage Systems
Pretty much every Job in Final Fantasy 14 has its own unique gauge of sorts, which you will be in charge of managing throughout the fight to get the most out of the class. The Sage is no exception in this regard and has a rather important mechanic with the Eukrasia Guage and Addersgall Gauge.
-
Eukrasia Gauge
- Strengthens Dosis, Diagnosis, and Prognosis, changing their effects (detailed above).
-
Addersgall Gauge
- Rewards you with a stack of Addersgall every 20 seconds.
- Abilities such as Druochole and Kerachole require Addersgall to use (along with most of the more potent healing skills)
-
Addersting
- You acquire Addersting whenever one of your magicked barriers disappears.
- Abilities such as Toxikon and Toxikon II require Addersting to use.
The outline above will cover the basics of the Sage Job in Final Fantasy 14, especially for newcomers. You should always be casting something as a Sage, as it is an essential part of the role and the class in general.
You will always have a heal, shield, or chance to deal damage and should always be sprinkling everything you have at your disposal into every encounter to get the most out of the class.
Sage Off-GCD Actions
Even with all the Actions and Spells covered above, there are still a few Off-GCD Actions of the Sage we have yet to go over, which are crucial to learning more about if you want to make the most out of the Opener posted in the following section. The table below details more about every Off-GCD Action available to the Sage!
|
Action |
Recast Time |
Information |
|---|---|---|
|
Kardia |
5s |
You and a targeted Party Member receive Kardia, which restores HP whenever using specific Spells. |
|
Physis |
60s |
Replenishes HP with a Cure Potency of 100 to self and nearby Party Members gradually over 15s. |
|
Physis II |
60s |
Heals HP with a Cure Potency of 130 over the span of 15s to self and all nearby Party Members. Enhances healing effects of all Healing Actions by ten percent for 15s. |
|
Soteria |
60s |
Receive four stacks of Soteria, enhancing the healing properties of Kardion Effects by 70 percent for 15s. |
|
Icarus |
45s |
Swiftly move to the location of your targeted Party Member or enemy. |
|
Druochole |
1s |
Replenishes the HP of your target with a Cure Potency of 600 by consuming one Addersgall. Restores seven percent of maximum MP. |
|
Kerachole |
30s |
Incoming damage is reduced by ten percent for yourself and nearby Party Members for 15s. Action cannot stack with Taurochole. Costs one Addersgall. Casts Regen when used for a Cure Potency of 100 for 15s while also restoring seven percent of maximum MP. |
|
Ixochole |
30s |
Consume one Addersgall and replenish your and all nearby Party Members’ HP with a Cure Potency of 400. Restores seven percent of maximum MP. |
|
Taurochole |
45s |
Replenishes your or your selected Party Member’s HP with a Cure Potency of 700 while also reducing incoming damage by ten percent for 15s. Costs one Addersgall to cast and cannot stack with Karachole. Restores seven percent of maximum MP. |
|
Zoe |
90s |
Significantly enhances the healing properties of your next Healing Spell by 50 percent. The effects of Zoe last for 15s. |
|
Pepsis |
30s |
Removes the effects of Eukrasian Diagnosis and Eukrasian Prognosis from yourself and nearby Party Members and restores HP. Amount of HP replenished depends on what has been removed:
Party Members not under the effects of Eukrasian Diagnosis or Prognosis will not be healed. |
|
Haima |
120s |
Casts a Magicked Barrier around yourself or a targeted Party Member that will negate damage equal to a Cure Potency of 300 and grant five stacks of Haimatinon for 15s. If the Magicked Barrier is completely absorbed, one stack of Haimation will be consumed to re-erect the Magicked Barrier. When the effect of Haima expires, you or your target will receive healing with a Cure Potency of 150 per remaining stack of Haimation. |
|
Panhaima |
120s |
Create a Magicked Barrier around yourself or a targeted Party Member that will negate damage equal to a Cure Potency of 200 and grant five stacks of Panhaimatinon for 15s. If the Magicked Barrier is completely absorbed, one stack of Panhaimation will be consumed to regenerate the Magicked Barrier. When the effect of Panhaima expires, you or your target will receive healing with a Cure Potency of 100 per remaining stack of Haimation. |
|
Rhizomata |
90s |
Receive one stack of Addersgall. |
|
Holos |
120s |
With a Cure Potency of 300, restore your own and all nearby Party Members’ HP. Generate a Magicked Barrier around all healed that nullifies damage equal to the amount of HP recovered for 30s. Also reduces the damage received from self or nearby party members by ten percent for 20s. |
|
Krasis |
60s |
Boosts HP recovery through Healing Actions by 20 percent for yourself or a targeted Party Member for 10s. |
|
Psyche |
1.5s |
Attack with a wide AoE action that has a potency of 600 for the initial target, dealing 50 percent less damage to other enemies caught in the AoE. |
|
Philosophia |
180s |
Potency of Healing Magic is increased by 20 percent for 20s. Grants caster and nearby party members Eudaimonia, replenishing their HP after casting Spells. The Cure Potency of Eudaimonia is 150 and lasts for 20s. |
Best Sage Opener In FFXIV Dawntrail
Now that all the Sage’s Actions and Spells are accounted for, it’s time to put them into practice with a solid opener. While the Opener is going to be incredibly short compared to most other Jobs (you are a Healer, after all), it’s still crucial to get this down pat so you can deal your fair share of damage while also keeping your Party Members’ health topped up at all costs.
Basic Opener
- (Pre-Pull) Eukrasian (Grade 1 Gemdraught of Mind) > Toxicon III
- Eukrasian Dosis III > Dosis III > Dosis III > Dosis III > Phlegma III (Psyche) > Phlegma III > Dosis III > Dosis III > Dosis III > Dosis III > Eukrasian Dosis III > Dosis III
Pneuma Opener
- (Pre-Pull) Eukrasian (Grade 1 Gemdraught of Mind) > Pneuma
- Eukrasian Dosis III > Dosis III > Dosis III > Dosis III > Phlegma III (Psyche) > Phlegma III > Dosis III > Dosis III > Dosis III > Dosis III > Eukrasian Dosis III > Dosis III
A simple Opener, right? Now, don’t forget to apply healing and shields to yourself and Party Members throughout the encounter while also repeating your Opener above.
Since your main focus isn’t damage, you don’t have many options at your disposal to dish it out, so your main priority will be creating Magicked Barriers and keeping everyone’s HP topped up to avoid an unfortunate situation.
Best Gear For Sage In FFXIV Dawntrail
The last section we would love to tackle is how to properly manage your Sage’s Equipment and Materia, as there are many ways to squeeze the Job’s full potential through these means.
Below is a table showcasing a “Best In Slot” build for a Level 100 Sage in Final Final Fantasy 14. Even if you haven’t obtained Level 100 yet, the information may still be crucial to you, as it highlights the areas you should focus on Stat-wise for the Job!
|
Equipment |
Materia |
Stats |
How To Obtain |
|
|---|---|---|---|---|
|
Weapon |
Dark Horse Champion’s Milpreves |
|
|
Can drop during AAC Light-heavyweight M4 (Savage) or purchased from Hhihwi in Solution Nine (X:8.7, Y:13.7) for x8 AAC Illustrated: LHW Edition IV. |
|
Head |
Augmented Quetzalli Hood of Healing |
|
|
Upgraded by giving x1 Surgelight Twine and the corresponding Quetzalli Armor to Theone in Solution Nine (X:8.5, Y:13.6). |
|
Body |
Dark Horse Champion’s Coat of Healing |
|
|
Can drop during AAC Light-heavyweight M3 (Savage) or purchased from Hhihwi in Solution Nine (X:8.7, Y:13.7) for x4 AAC Illustrated: LHW Edition II. |
|
Hands |
Augmented Quetzalli Gloves of Healing |
|
|
Upgraded by giving x1 Surgelight Twine and the corresponding Quetzalli Armor to Theone in Solution Nine (X:8.5, Y:13.6). |
|
Legs |
Augmented Quetzalli Hose of Healing |
|
|
Upgraded by giving x1 Surgelight Twine and the corresponding Quetzalli Armor to Theone in Solution Nine (X:8.5, Y:13.6). |
|
Feet |
Dark Horse Champion’s Shoes of Healing |
|
|
Can drop during AAC Light-heavyweight M3 (Savage) or purchased from Hhihwi in Solution Nine (X:8.7, Y:13.7) for x4 AAC Illustrated: LHW Edition II. |
|
Earrings |
Dark Horse Champion’s Earring of Healing |
|
|
Can drop during AAC Light-heavyweight M1 (Savage) or purchased from Hhihwi in Solution Nine (X:8.7, Y:13.7) for x3 AAC Illustrated: LHW Edition I. |
|
Necklace |
Augmented Quetzalli Necklace of Healing |
|
|
Upgraded by giving x1 Surgelight Glaze and the corresponding Quetzalli Accessory to Theone in Solution Nine (X:8.5, Y:13.6). |
|
Bracelets |
Dark Horse Champion’s Bangle of Healing |
|
|
Can drop during AAC Light-heavyweight M1 (Savage) or purchased from Hhihwi in Solution Nine (X:8.7, Y:13.7) for x3 AAC Illustrated: LHW Edition I. |
|
Left Ring |
Augmented Quetzalli Ring of Healing |
|
|
Upgraded by giving x1 Surgelight Glaze and the corresponding Quetzalli Accessory to Theone in Solution Nine (X:8.5, Y:13.6). |
|
Right Ring |
Dark Horse Champion’s Ring of Healing |
|
|
Can drop during AAC Light-heavyweight M1 (Savage) or purchased from Hhihwi in Solution Nine (X:8.7, Y:13.7) for x3 AAC Illustrated: LHW Edition I. |
As always, there are a couple of other ways for you to get more out of your Job during combat, and this is through the use of consumables such as the Grade 1 Gemdraught of Mind found in the Opener section above and by eating Moqueca to boost your Stats before heading into an activity.
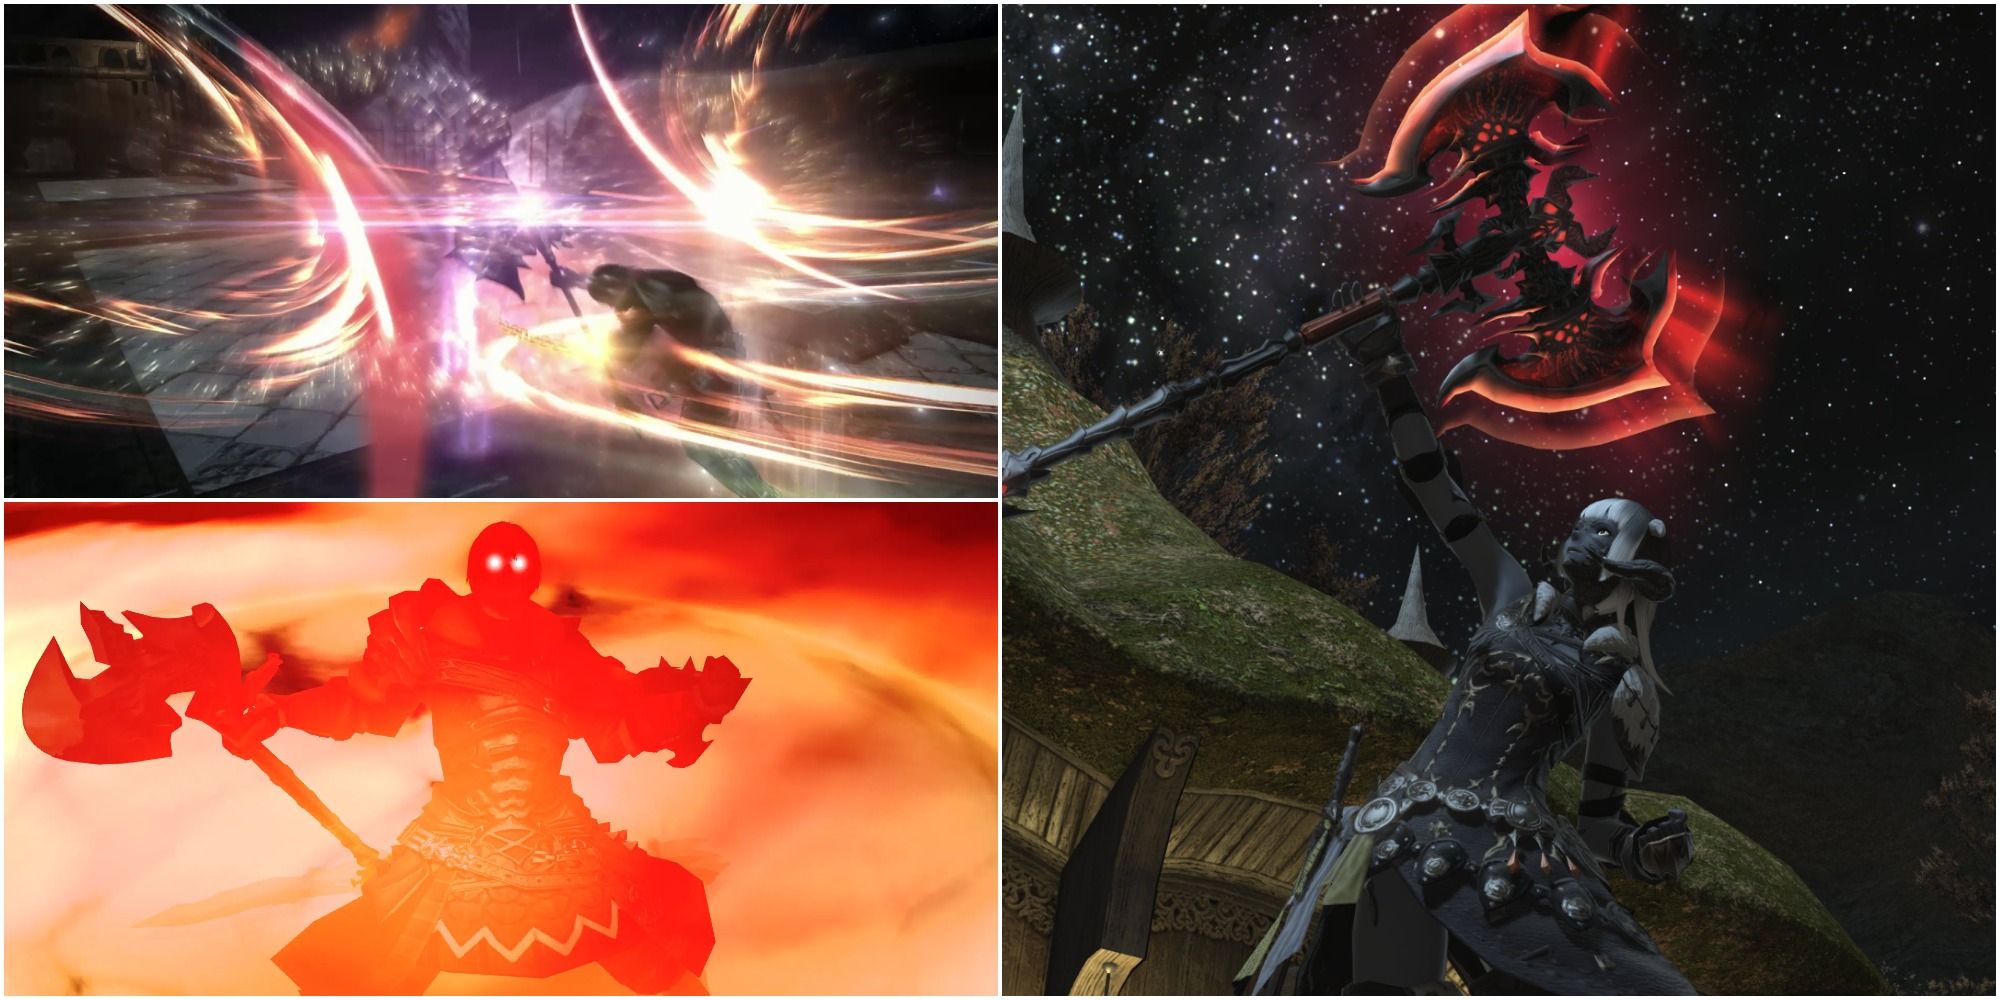
Next
Final Fantasy 14: Complete Guide To Playing Warrior
Here’s how to get the most out of the Warrior job in Final Fantasy 14!
Source link



















Leave a Reply