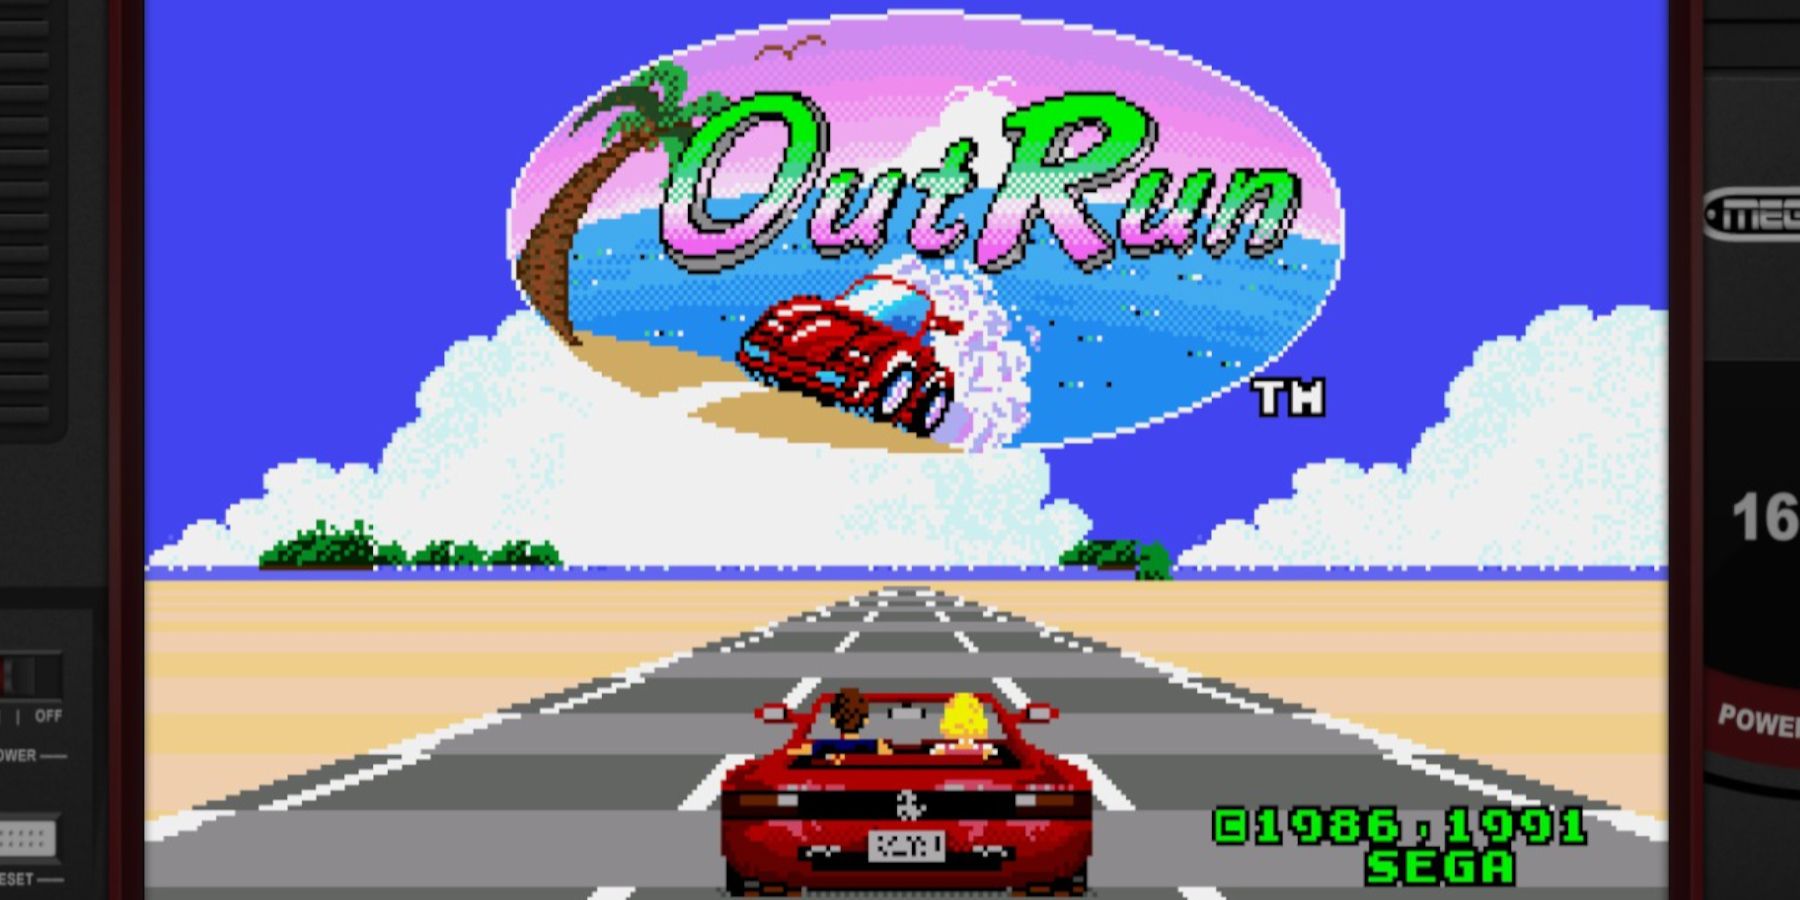
The Sega Genesis/Megadrive was the rival to the Super Nintendo. Like the SNES, it offered a vast library of games to cater to various tastes. The Genesis featured arcade classics like Streets of Rage and Golden Axe, JRPGs like Phantasy Star and Shining Force, and mascot platformers like the Sonic the Hedgehog series.
Thankfully, with some tinkering, the Steam Deck allows fans to play their Genesis/Megadrive via an emulator called the EmuDeck. This guide will show Steam Deck users how to install the emulator and run their Megadrive games.
Related
Steam Deck – How To Run Sega Dreamcast Games
The Sega Dreamcast was home to some unforgettable classics; here’s how to play them on the Steam Deck.
Updated December 17, 2024 by Michael Llewellyn: The Steam Deck is an excellent device for modern gaming and the ideal platform for enjoying retro games from the Sega Genesis/Mega Drive collection.
However, some older games require specific settings to play them without issue. This guide is updated to include the recommended steps to install Decky Loader, the Power Tools plugin, and the method to recover it in the event of a Steam Deck update.
Before Installing EmuDeck On Steam Deck
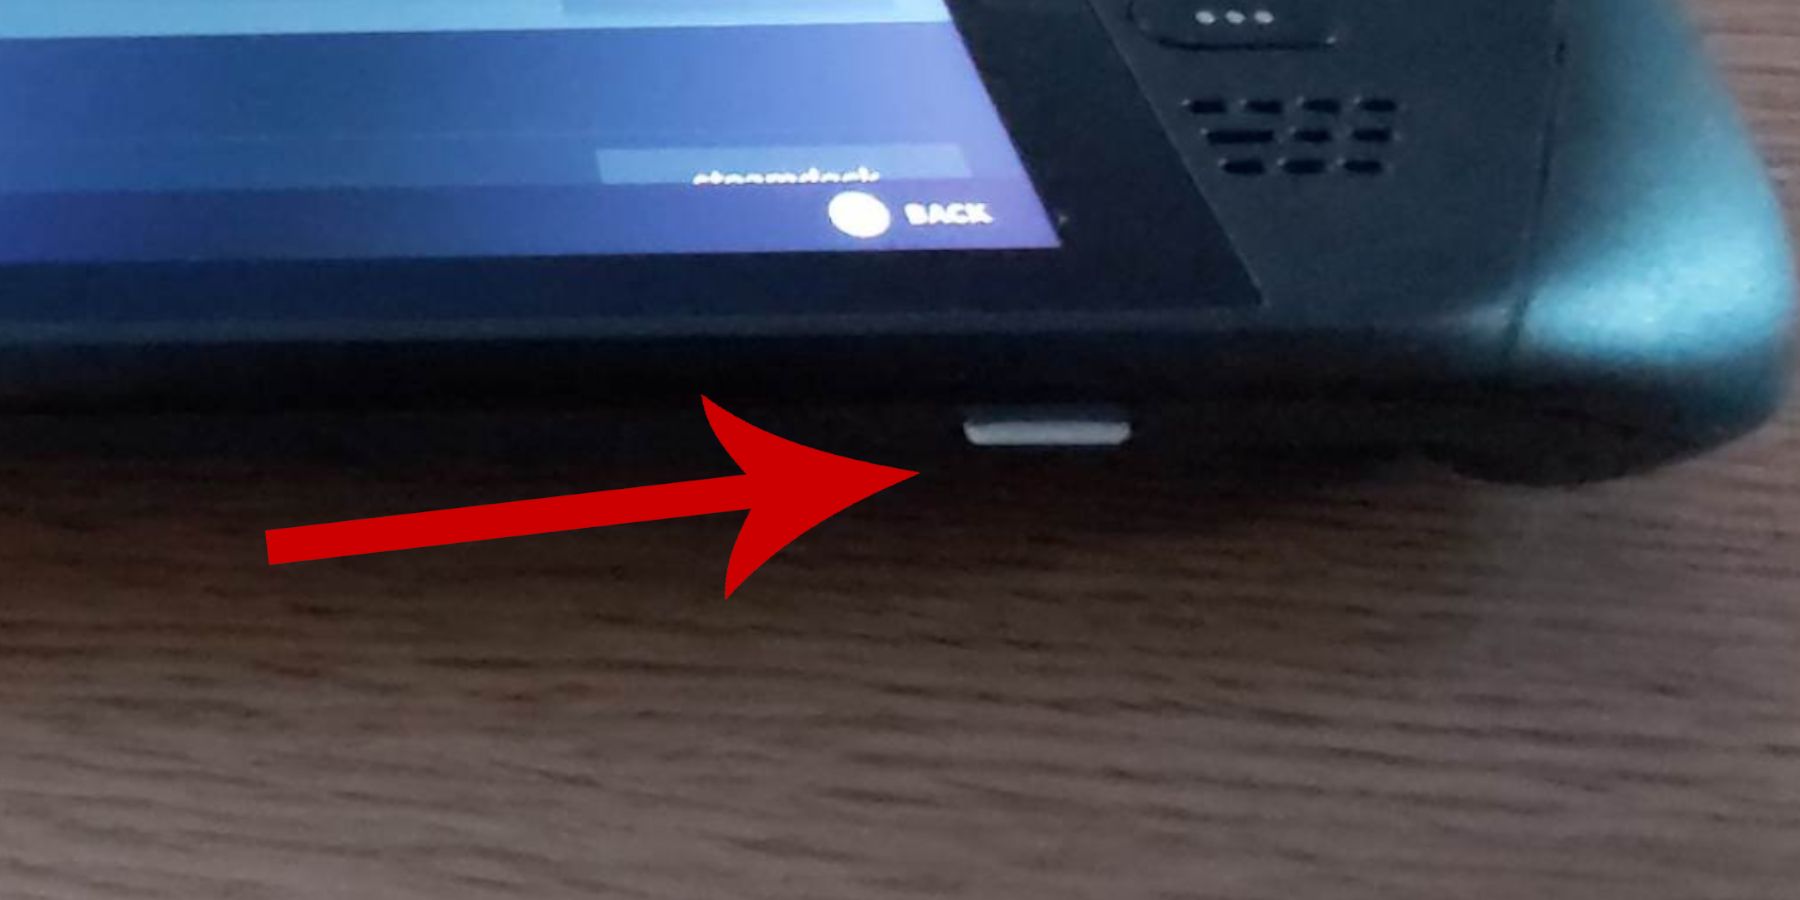
Before installing the EmuDeck emulator, users are required to get some items to make the process more reliable and error-free.
- High-speed A2 Micro SD card: Having the extra space frees up the Steam Deck to install emulated games and prevents potential internal SSD errors.
- Sega Megadrive/Genesis ROMS: Players can have legally owned digital ROMS of games to back up their content.
- Keyboard and mouse: Using a keyboard and mouse makes downloading programs like EmuDeck in Steam Deck’s Desktop Mode more efficient.
Enable Developer Mode
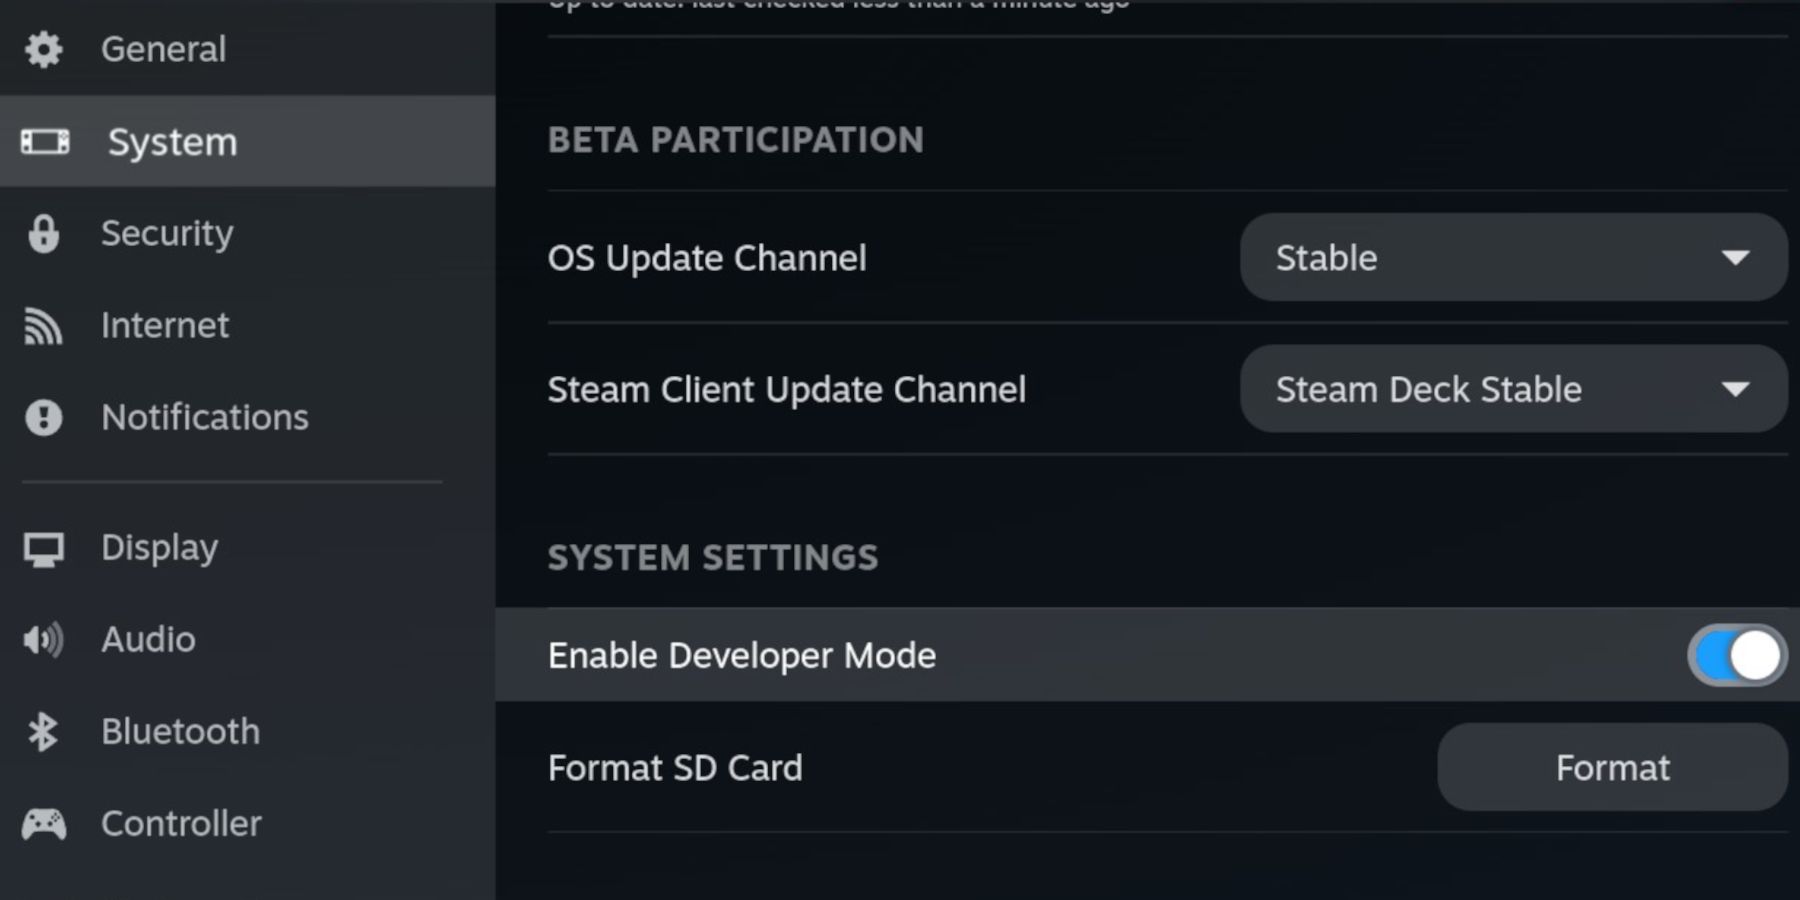
The Steam Deck’s updates can disrupt the functionality of emulators like RetroArch. To prevent this from happening, use the following steps to activate Developer Mode on the Steam Deck:
- Press the Steam button.
- Open the System menu and toggle Developer Mode on.
- The new Developer menu is located at the bottom of the left access menu.
- Toggle CEF Debugging on.
- Press the Steam Button, and select Power.
- Switch to Desktop Mode to prepare to download the EmuDeck program for RetroArch and the Genesis/Megadrive emulators.
The Steam Deck will receive important updates that may disable Developer Mode or CEF D Debugging. Check your Steam Deck settings after each update and keep the above settings to run emulators and related plugins. Running Steam Deck in beta mode has its advantages, such as access to the settings in testing, but the updates are more frequent.
Download EmuDeck For The Steam Deck
To run Megadrive/Genesis games for the Steam Deck, users must now install EmuDeck. This can be done by following these steps:
- Press the Steam button – located underneath the left trackpad.
- Select the Power option and switch to Desktop Mode.
- The Steam Deck will shut down and restart in Desktop Mode.
- Open a browser and download Emudeck.
- Select the SteamOS icon and download it.
Run The EmuDeck Installer
- With the program downloaded, double-click on the SteamOS icon.
- On the Select Your Device page, click on the Steam Deck image.
Related
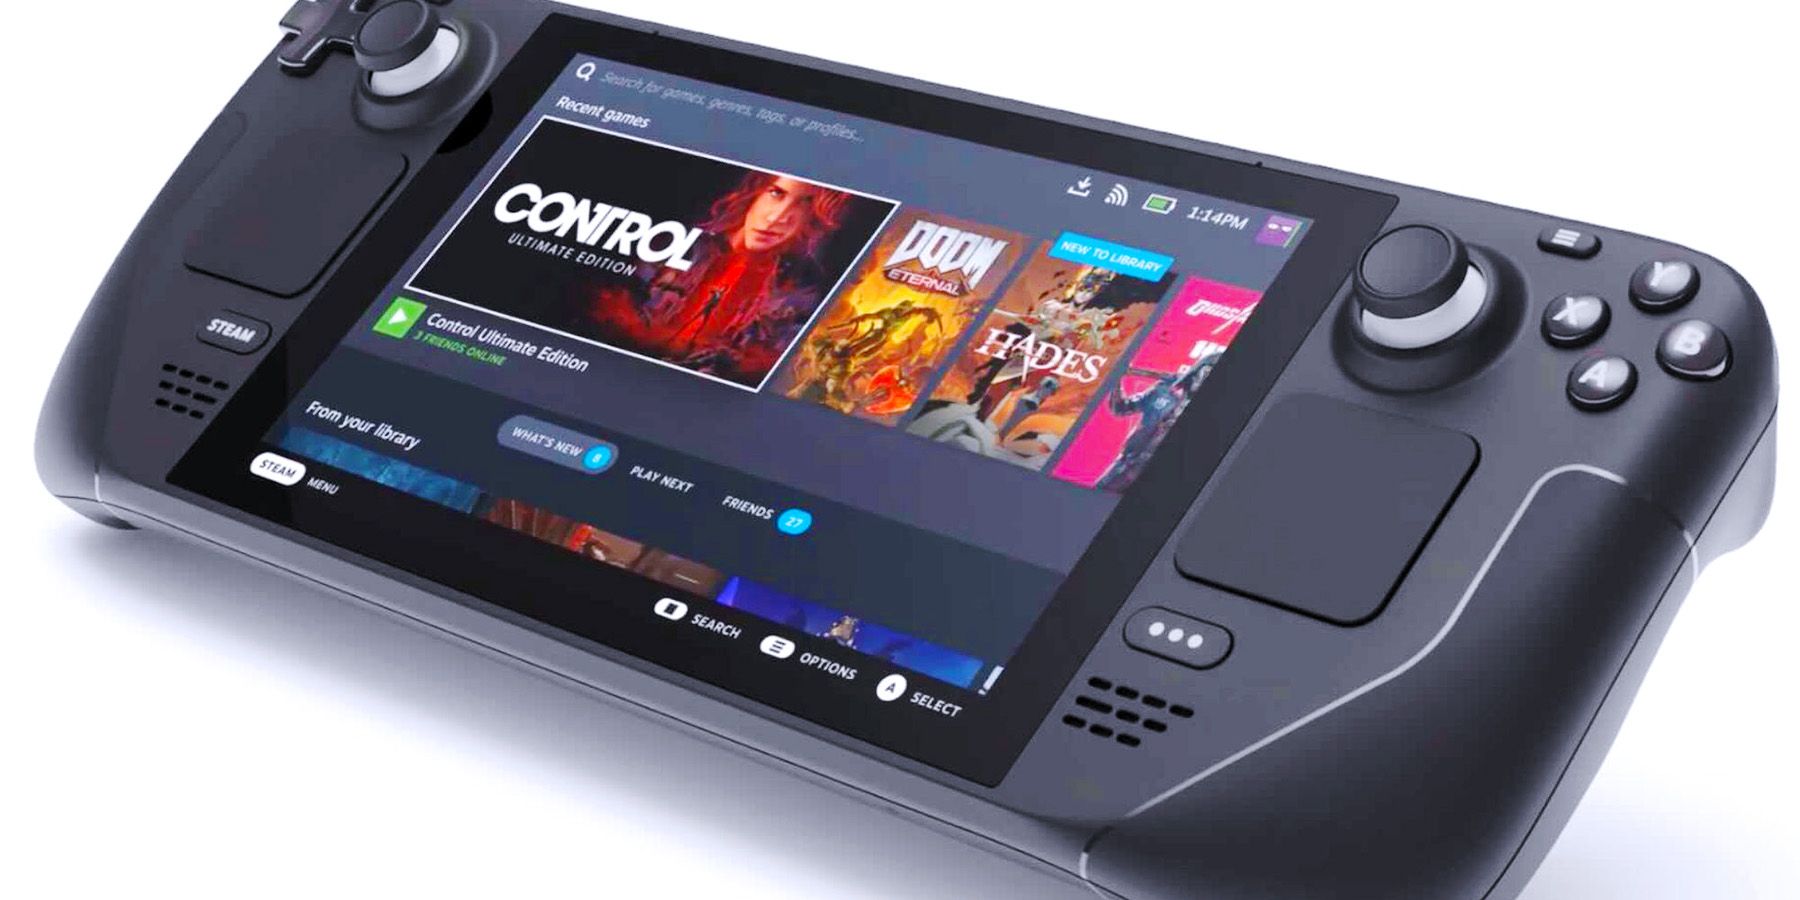
Steam Deck – How To Record Gameplay Videos
Learn how to record videos and clips on the Steam Deck in this comprehensive guide.
- Click on the image with the microSD card to install EmuDeck on the card.
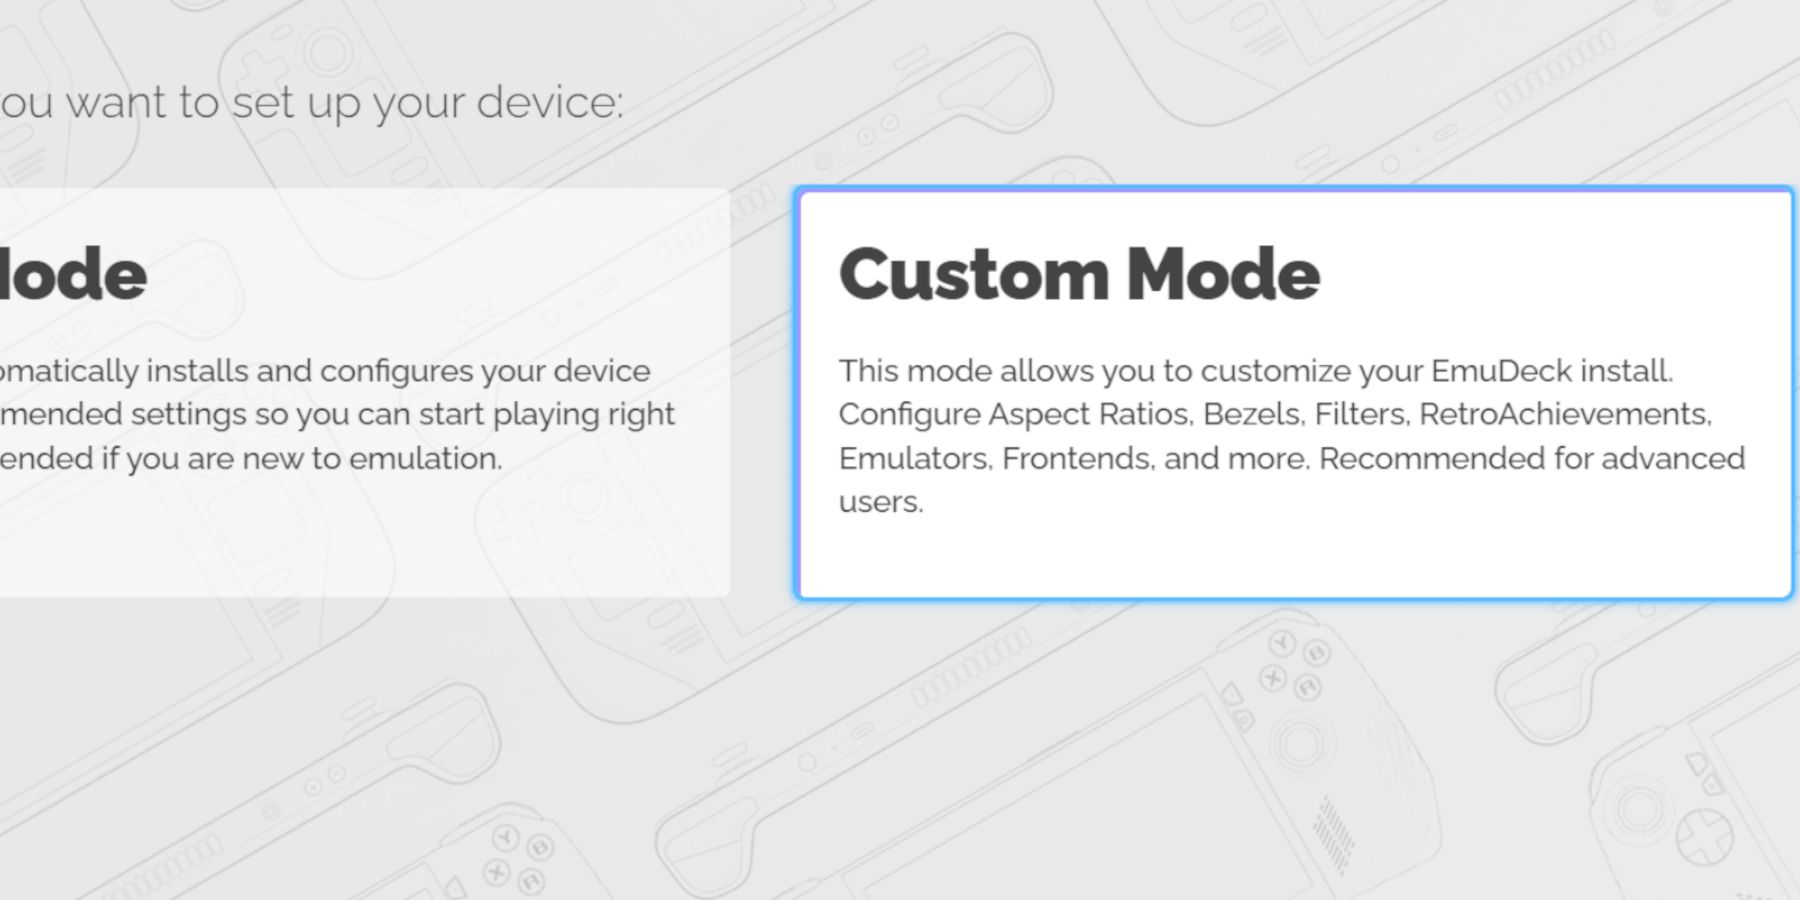
- Install RetroArch and Steam ROM Manager.
- It’s a good idea to install the other programs so users can access emulation for other consoles like the 3DS.
- Switch AutoSave on.
- Skip the Achievements section for now as this can be activated later.
- Configure Game Bezels to on.
- Configure Aspect Ratio to 4:3 for classic Sega Systems. This will give the Genesis/Megadrive games a more accurate look.
- Skip Configure LCD Shader for Handheld System unless other emulators have been downloaded. This option can be switched to off for a brighter screen.
- Configure CRT Shader for Classic 2D Games to on if you want a retro look.
- Select All Frontends for Steam Deck – Steam Library is the most important.
- Select Finish to end the installation of EmuDeck and RetroArch.
Transferring ROMS To The EmuDeck
It is time to transfer the Megadrive/Genesis files into the correct folder. The file names should have the game’s title and the extension (“.md” stands for Megadrive).
- Click on the blue folder icon at the bottom of the screen to open the Dolphin file manager.
- Click on Primary under Removable on the left sidebar.
- Click on the Emulation folder.
- Click on ROMS.
- The files can be transferred into the folder labeled Genesis or Megadrive, but stick to one.
Steam ROM Manager
- Open the EmuDeck program in Desktop Mode.
- Select Steam Rom Manager and Launch.
- Click Yes to agree, close the Steam app running in the background, run the Steam Rom Manager, and revert to Lizard Mode.
- If there’s an available update, click yes and then restart.
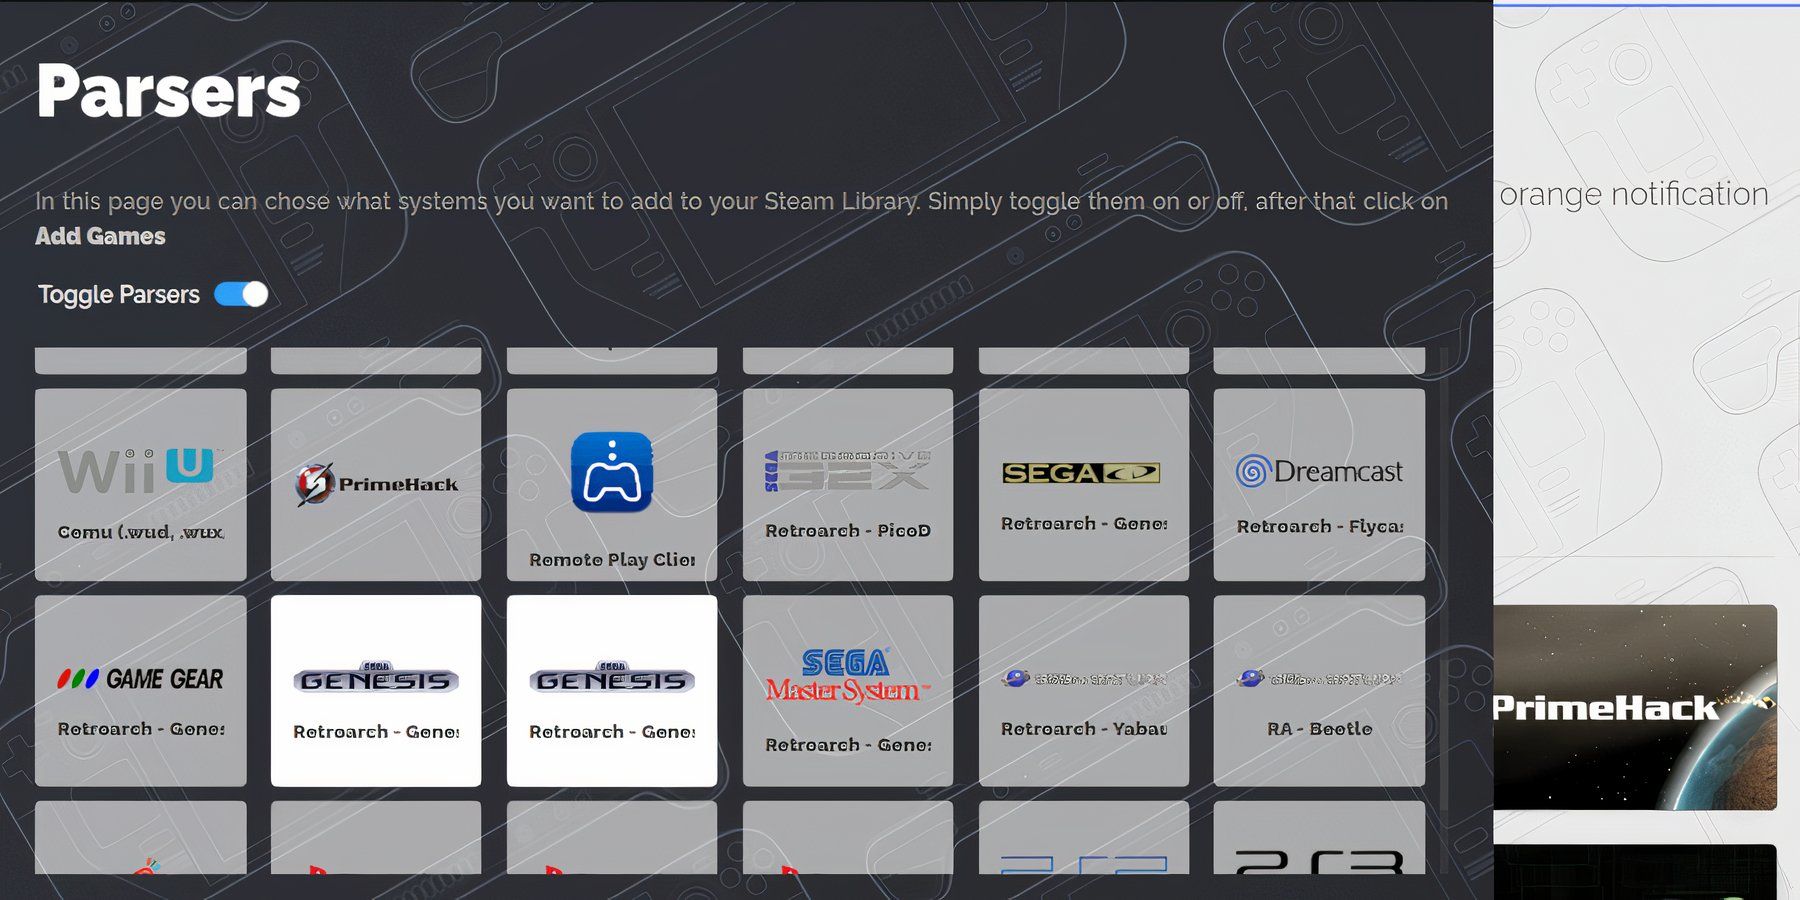
- Switch Toggle Parsers off.
- On the Parsers screen – highlight and select the two Genesis – Retroarch emulators.
- Select Add Games.
- On the next screen select Parse.
- The Steam Rom Manager will open, select Refresh.
- Check the game’s cover art is in place and select Save to Steam.
Fix Missing Artwork On The EmuDeck
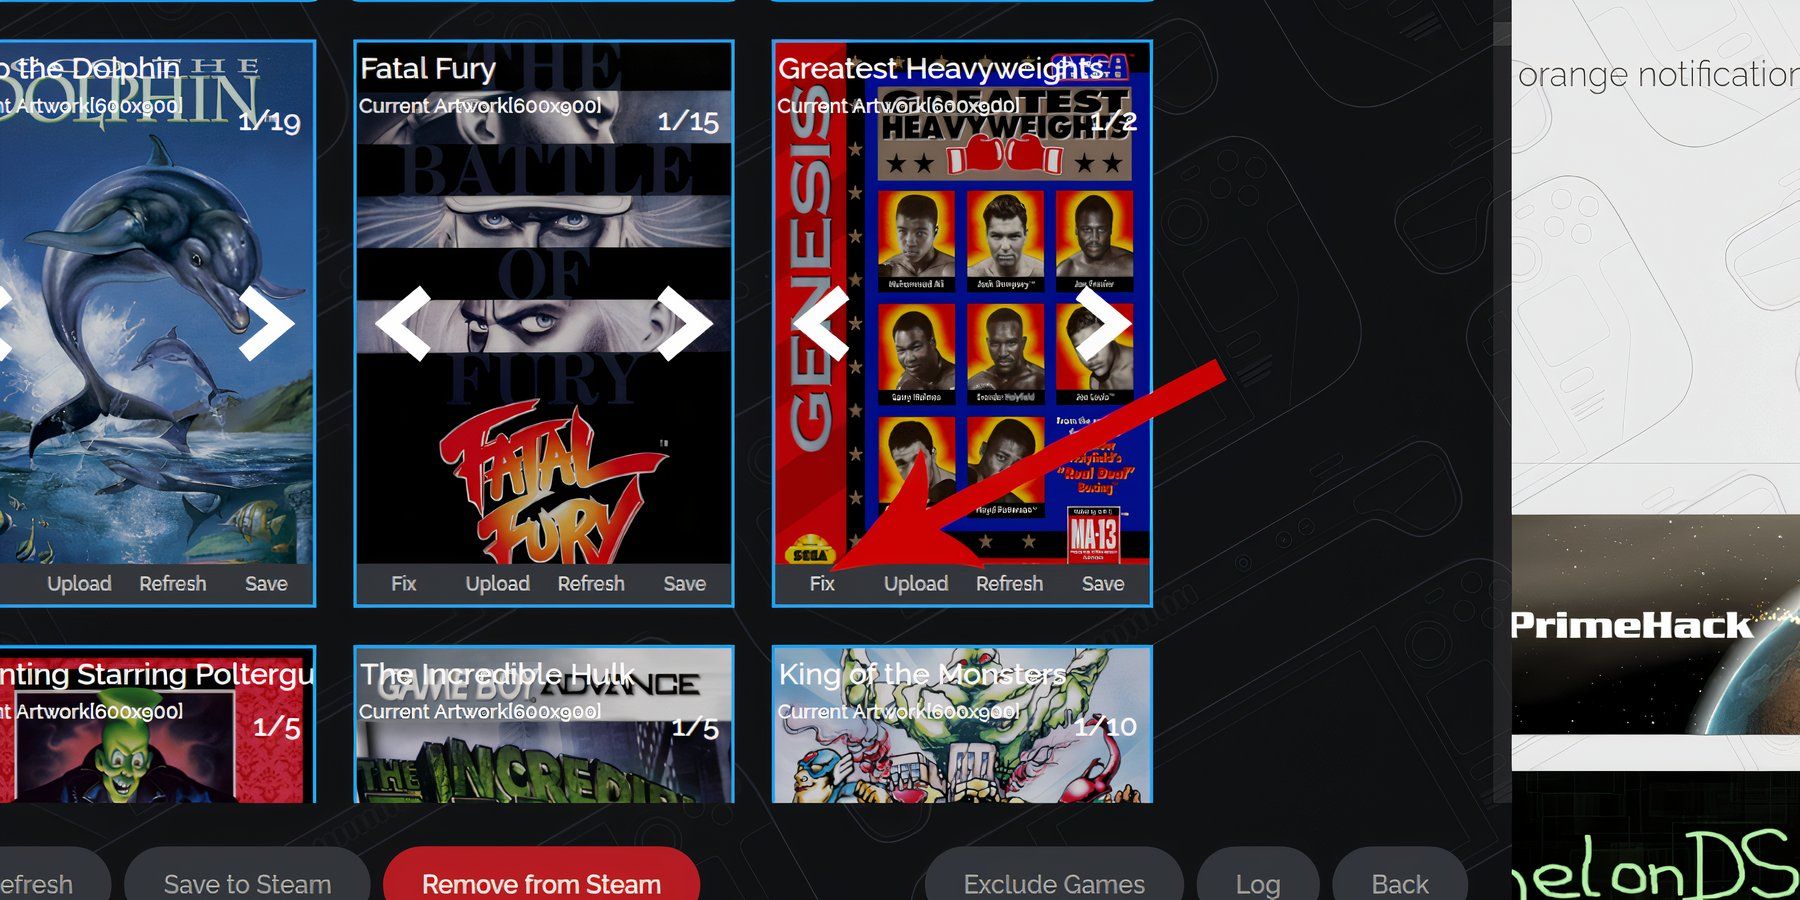
Some games may have missing or incorrect cover art. This can happen if there is something in the file name that the Steam Rom Manager won’t recognize. There are also occasions where some obscure, modded, or imported games won’t display properly. In the event of missing artwork, use the following steps:
- If the desired game has missing cover art in the Steam Rom Manager, select Fix.
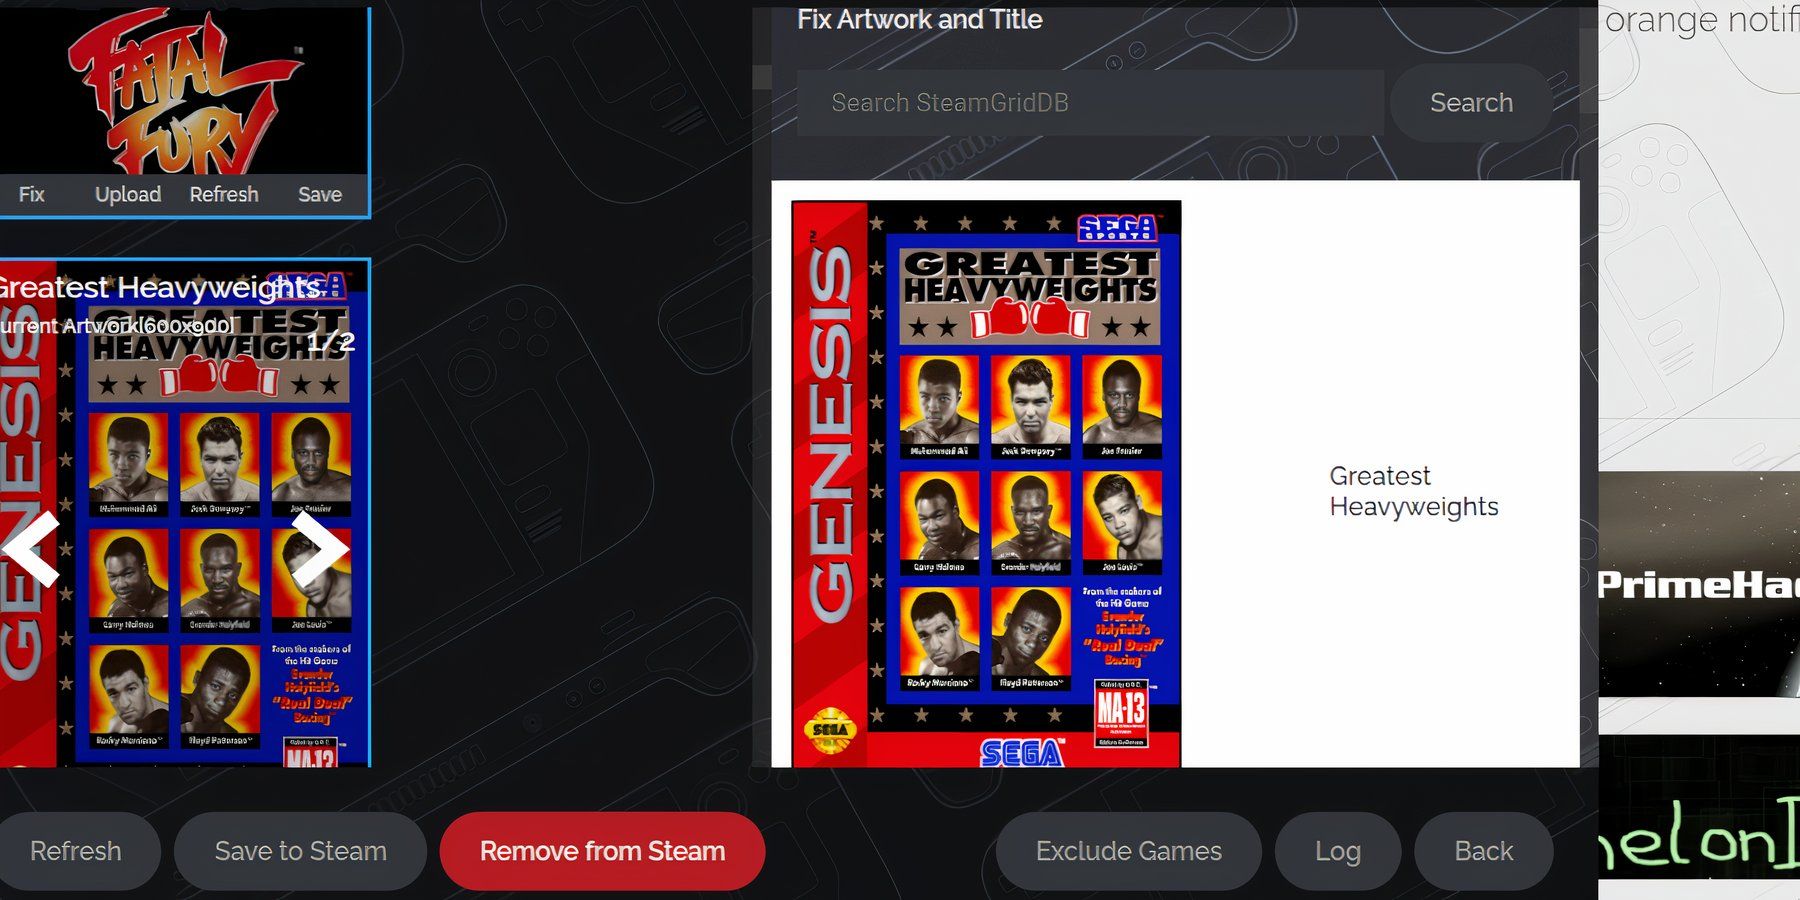
- Enter the game’s title in the Fix Artwork and Title search bar.
- The next screen in the Steam Rom Manager will display a list of new cover art pieces.
- Select one and click on it so the tab turns white.
- Save and close to add the new or replacement artwork.
- Then select Save to Steam wait for the app to finish adding games and art to the Steam library and close EmuDeck.
Upload Missing Or Custom Artwork
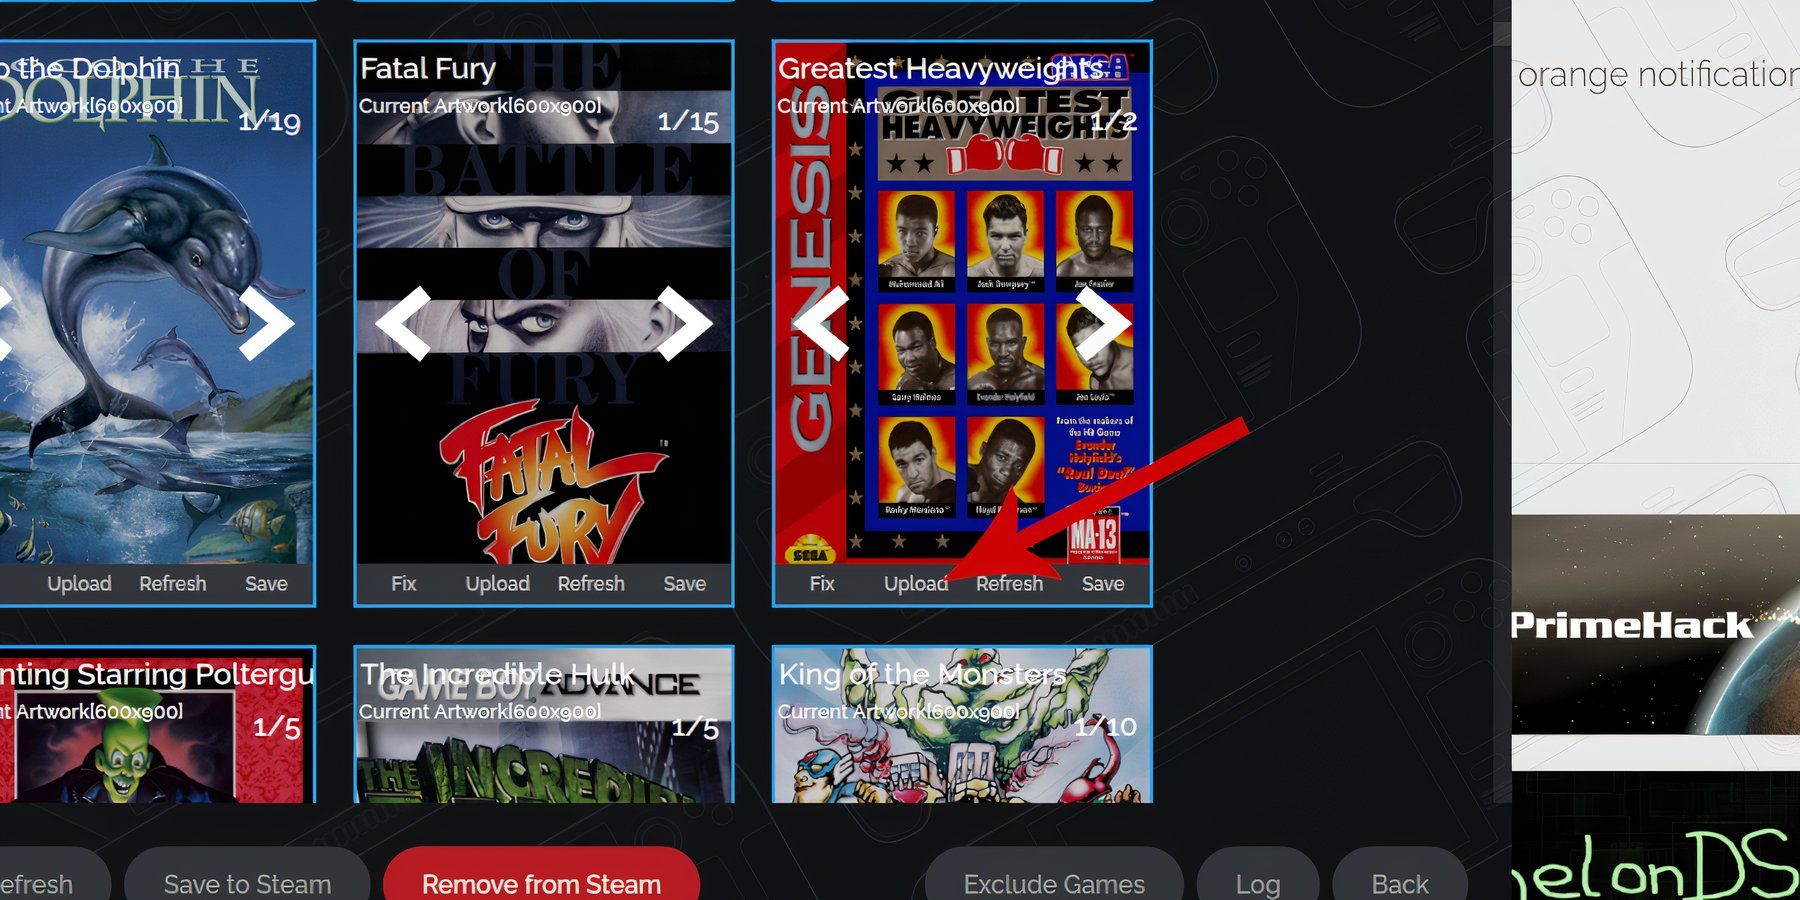
Some Japanese, untranslated, or modded games may cause issues for the EmuDeck. Thankfully, you can add your own covers and artwork via the following steps:
- Download and save the video game cover art using a browser in the Steam Deck’s Desktop Mode.
- Save it to the Pictures folder.
- Or create custom art and transfer it to the Steam Deck’s Pictures folder.
- Open the Steam Rom Manager within EmuDeck.
- Select Add Game.
- Click on Parse.
- Then Refresh in the Steam Rom Manager.
- Instead of clicking Fix, select Upload.
- Locate the cover art in the Pictures folder. Then, Save and Close.
- Select Save to Steam, wait for the app to finish adding games and art to the Steam library, and close EmuDeck.
Related
Steam Deck: How To Run PS2 Games With EmuDeck
Thanks to the EmuDeck program, it is possible to play PS2 games on your Steam Deck. Here’s what is required in order to do so.
How To Run Megadrive/Genesis Games On The Steam Deck
With the files copied into the relevant folder and loaded into EmuDeck, run the games on Steam Deck using the following steps:
- Switch the Steam Deck into Gaming Mode.
- Press the Steam button and click on Library.
- Use R1 to select Collections.
- Open the Megadrive/Genesis folder and click on the game to run from the Steam Deck’s gaming mode.
Use RetroArch To Run Mega Drive/Genesis Games
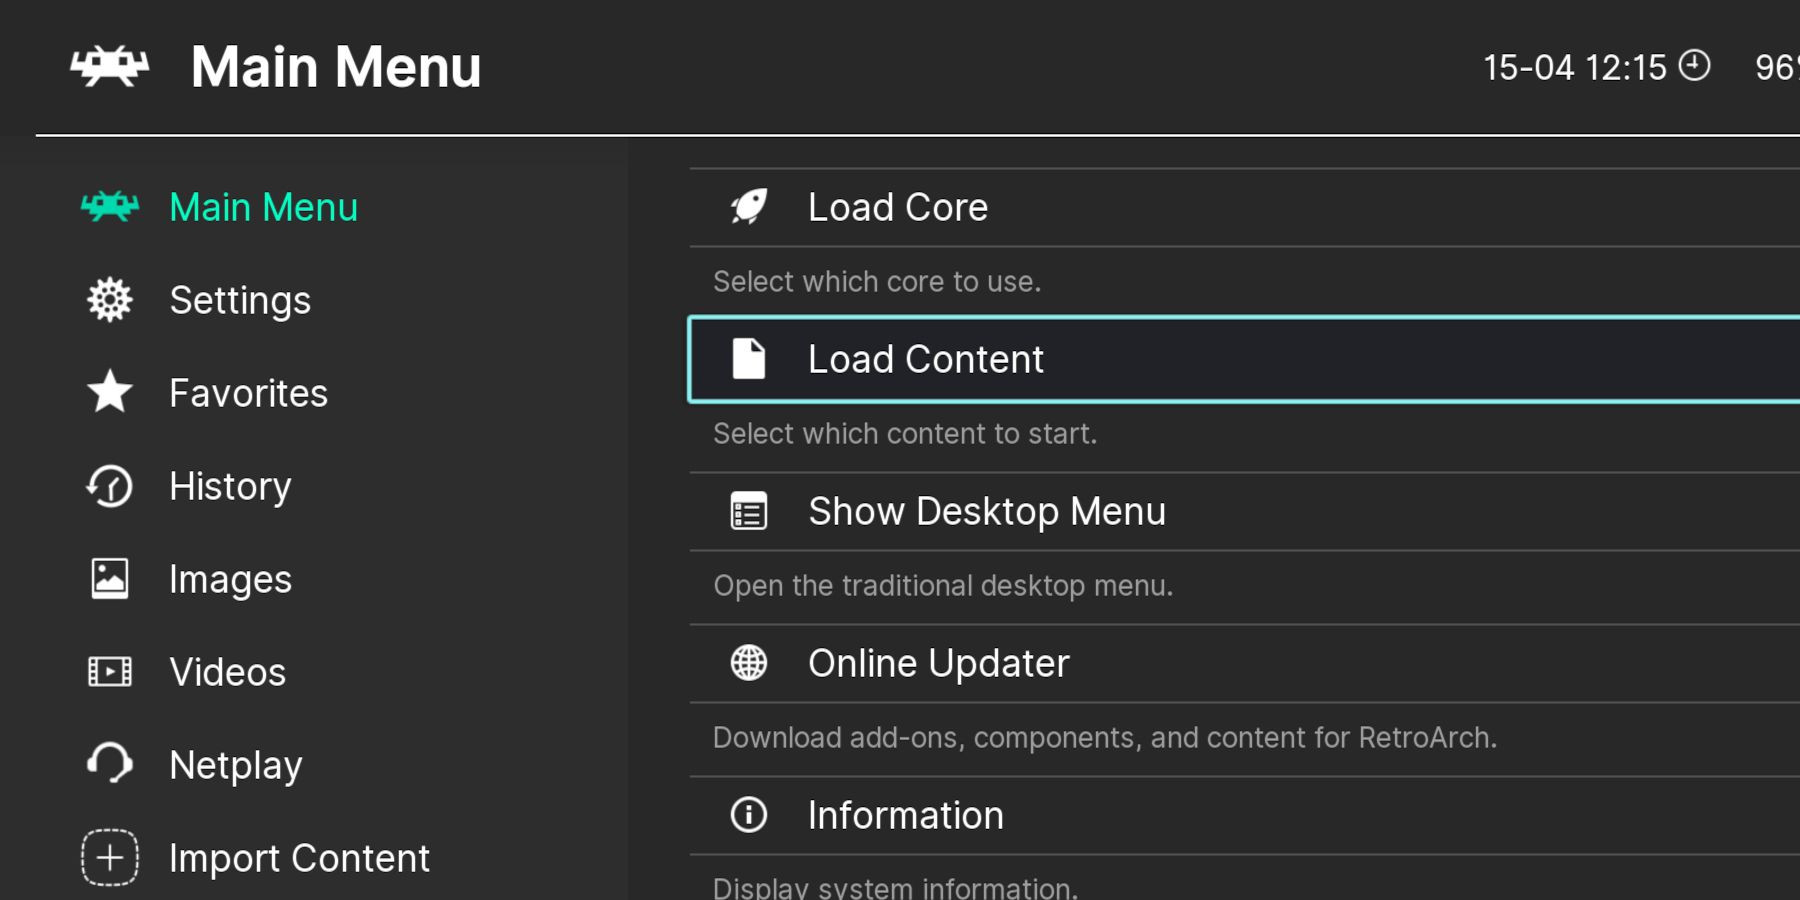
There may be occasions when some Mega Drive/Genesis games can run into issues running from the Steam library. As a result, it’s a good idea to use the RetroArch emulator instead. RetroArch is similar to EmuDeck. It’s capable of running many retro games under one program. Run RetroArch on the Steam Deck using the following steps:
- Ensure the Steam Deck is in Gaming Mode.
- Press the Steam button.
- Highlight and select Library.
- Press the R1 button to access the Collections tab.
- Open the Emulation square.
- Tap on the RetroArch logo.
- Open Load Content.
- Click Start Directory.
- Scroll down the list to find the file named Genesis.
- Click the desired Mega Drive game to run it in RetroArch.
Fix Slowdown On Emulated Games On Steam Deck
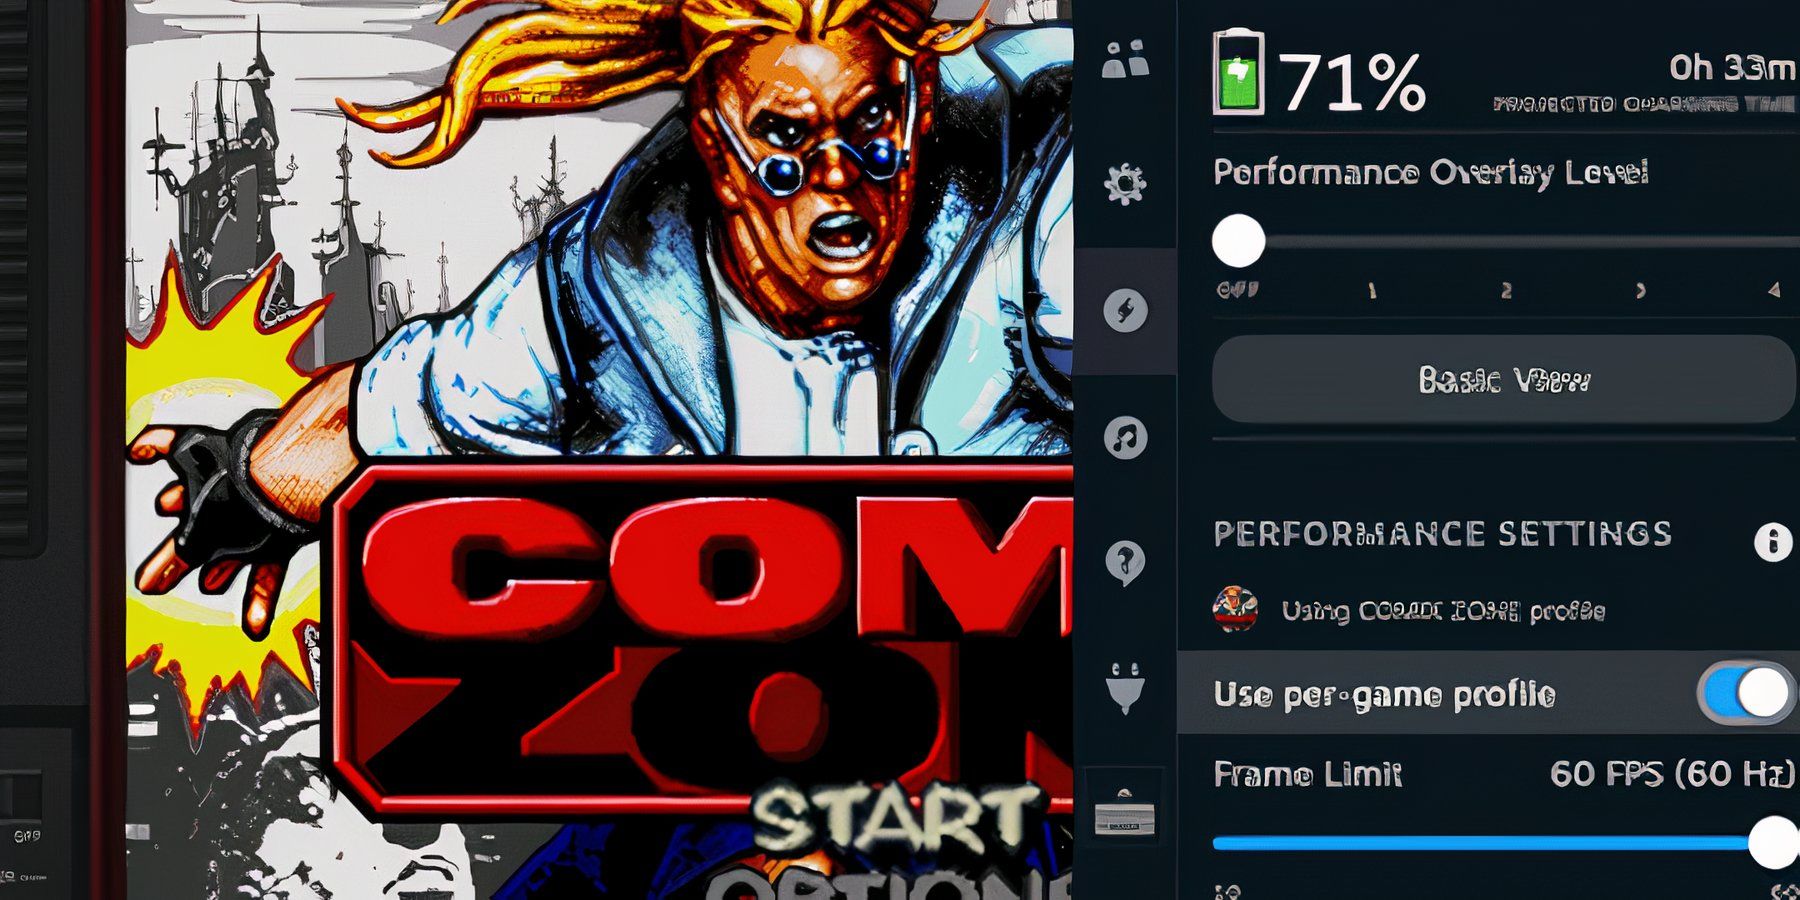
Some emulated games on the Steam Deck can run into slowdown and audio problems. Thankfully, there’s a quick fix to cure the stuttering and achieve a smooth gameplay experience:
- Run the Genesis/Mega Drive game
- Press the QAM – Quick Access Menu – button underneath the Right Track Pad.
- Select the small power symbol to access the Performance menu.
- Switch on Use per-game profile.
- Then increase the frame limit to 60 FPS.
Install Decky Loader On The Steam Deck
If the steps to resolve slowdown and stuttering don’t work, the EmuDeck developers recommend installing Decky Loader and the Power Tools plugin. Power Tools allows you to change the SMTs on your Steam Deck to better replicate retro consoles like the Genesis. Follow the steps to install Decky Loader, Power Tools, and the settings to apply to your Sega Games.
- Press the Steam button in Gaming Mode and open the Power menu.
- Switch to Desktop Mode.
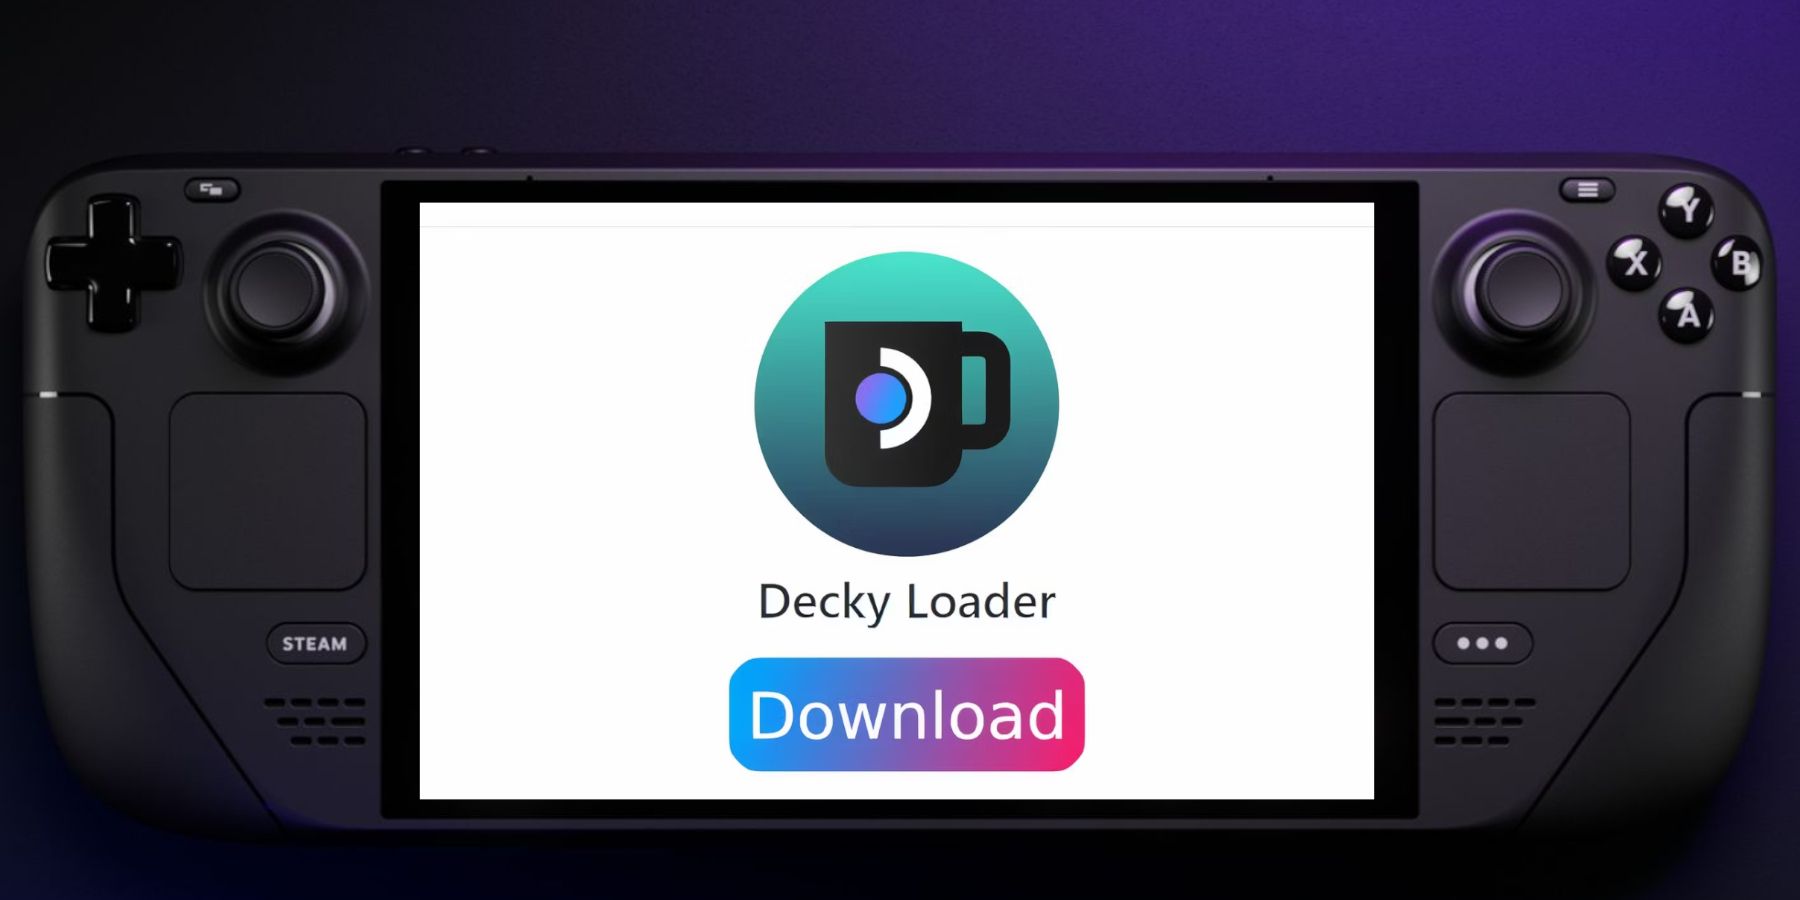
- Launch a browser and open the Decky Loader GitHub page.
- Move down the page and click the large Download icon to start downloading.
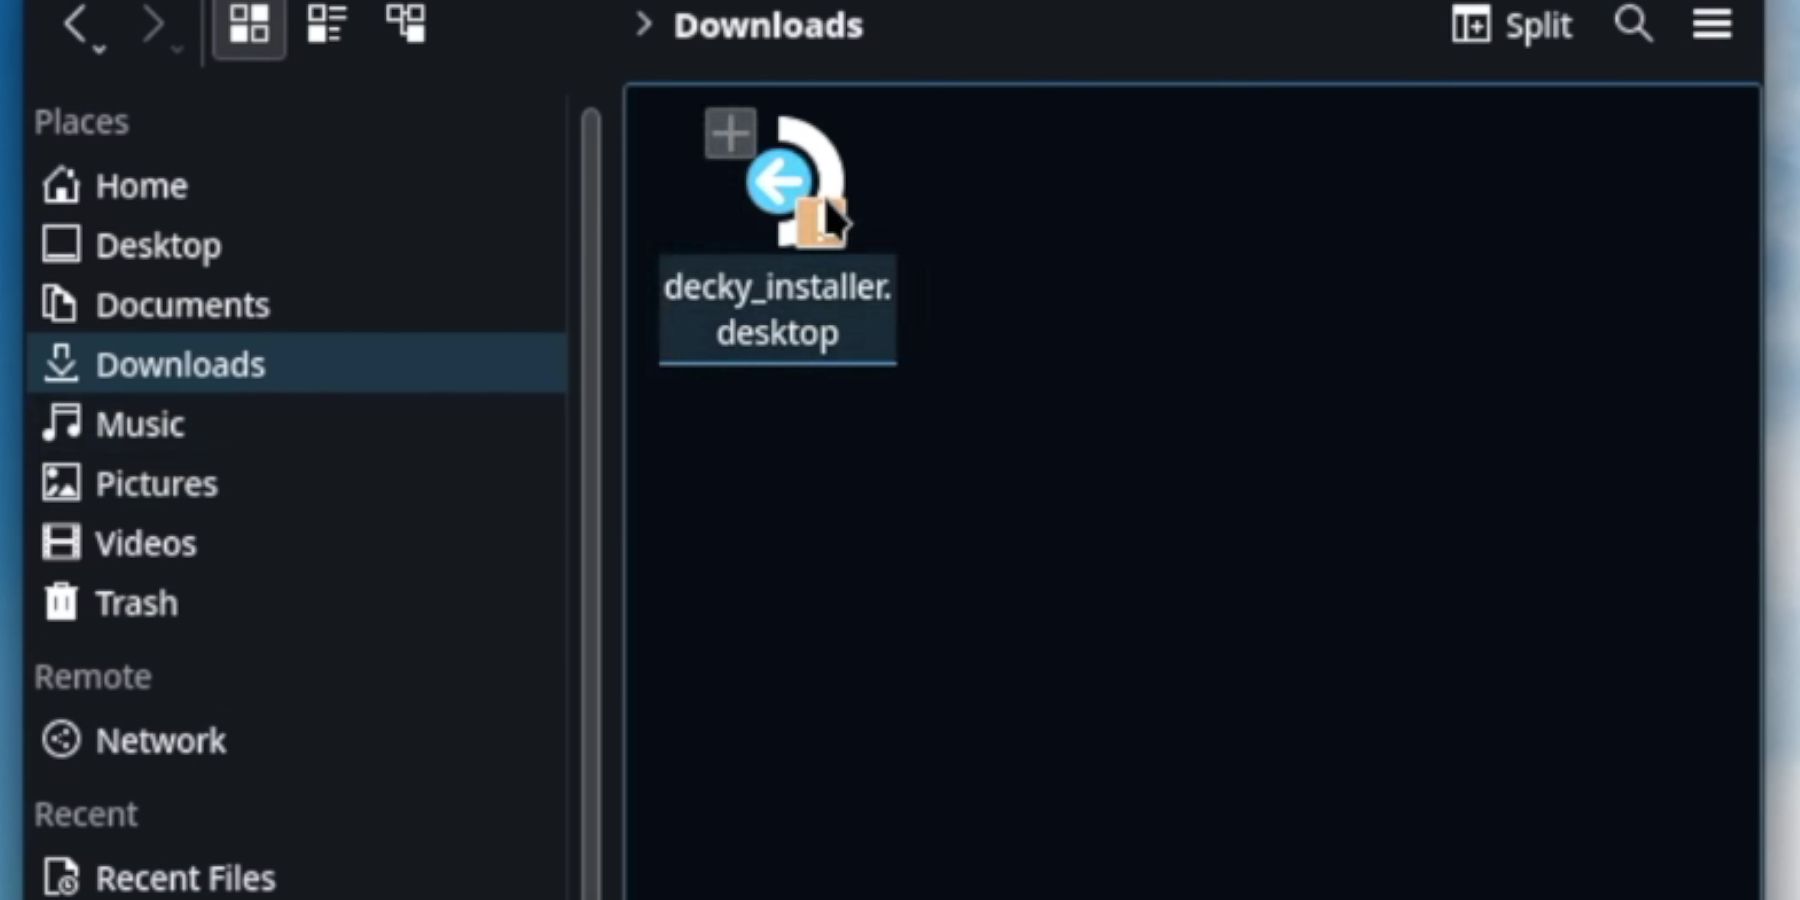
- After the download, double-click on the launcher and check the Recommended Install option.
- Once the installation is finished, reboot the Steam Deck into Gaming Mode.
With Decky Loader installed on the Steam Deck, it’s time to install the Power Tools plugin and adjust the settings to get better performance out of your classic Sega games.
- Ensure the Steam Deck is in Gaming Mode and press the Quick Access Menu (QAM) button under the right trackpad.
- Locate the new plugin icon at the bottom of the QAM.
- To access the Decky Store, click the store icon next to the settings cogwheel.
- Use the search bar to locate Power Tools or scroll down until you find the plugin, and install it.
Power Tools Settings For Emulated Games
- To open the Library, press the Steam button.
- Play a Sega Genesis/Mega Drive game by launching it from the Non-Steam Library, or access your Sega Saturn section under the collections tab.
- With the game running, press the QAM button to launch the Decky Loader, then open the Power Tools menu.
- In Power Tools, Turn off SMTs.
- Adjust the slider and set the Threads to 4.
- Press the QAM button to access the Performance menu.
- In the Performance menu, Enable Advance View.
- Toggle the Manual GPU Clock Control On.
- Increase GPU Clock Frequency to 1200.
- Save these settings for individual games by switching on Per Game Profile.
Restoring Decky Loader After A Steam Deck Update
The Steam Deck frequently receives important updates that may modify the user interface and introduce new features. These updates could impact the compatibility with the Decky Loader program, potentially causing it to disappear from the Quick Access Menu. To restore your app, personalized settings, and plugins, please follow these steps:
- Switch the Steam Deck back to Desktop Mode, press the Steam button, and open the Power Menu.
- Open a browser while you’re in Desktop Mode.
- Navigate to the Decky Loader GitHub page and click the Download button again to start downloading.
- Select the Execute option—avoid clicking Open.
- At the prompt box, enter your sudo password.
- If you haven’t set a sudo password, follow the instructions to create one. Choose a memorable sudo password and note it for future use with unofficial apps. Wait for the installation to finish.
- Restart the Steam Deck in Gaming Mode.
- Press the QAM button to restore your Decky Loader app, settings, and plugins to their previous state before the update. Follow the above steps in this guide to recover the application if a Steam Deck update removes it again.
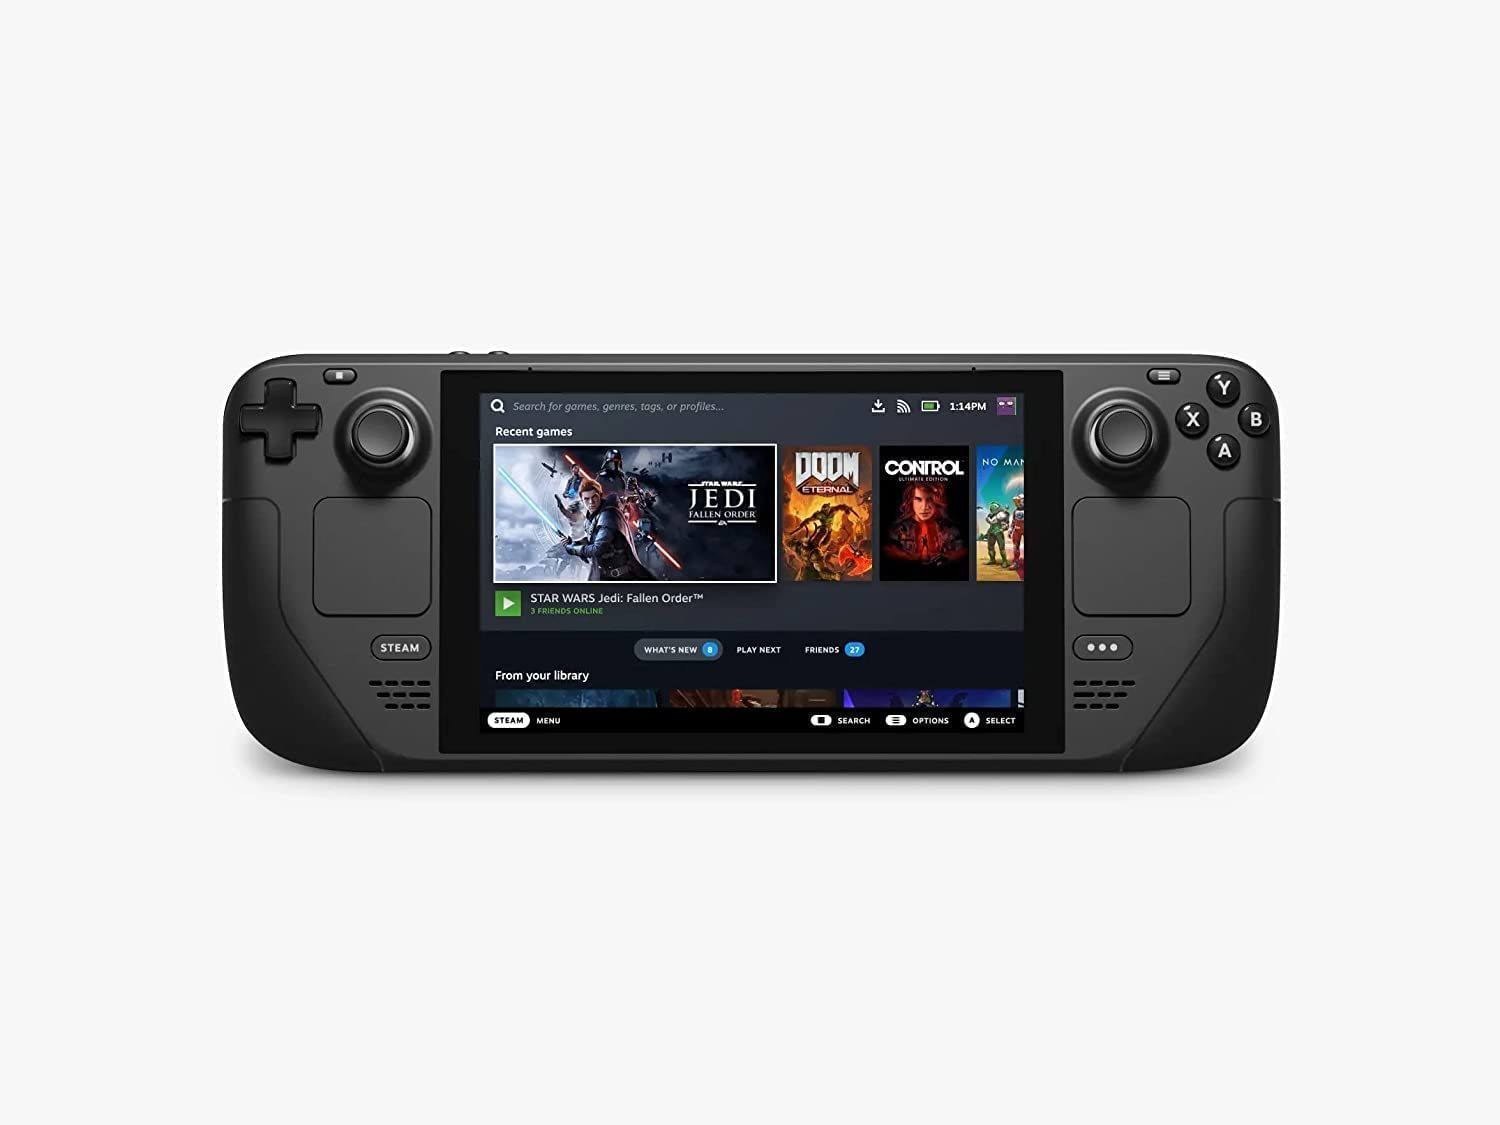
Steam Deck
- Screen
- 7″ diagonal 1280 x 800px (16:10 aspect ratio) 60Hz
- Storage
- 64 GB – 512 GB
- CPU
- AMD APU Zen 2 4c/8t, 2.4-3.5GHz
- Battery
- 40Whr battery. 2 – 8 hours of gameplay
- Connectivity
- Bluetooth 5.0 and Dual-band Wi-Fi radio, 2.4GHz and 5GHz







Leave a Reply