In Infinity Nikki, you’ll get to break up the regular flow of things by exploring the world and encountering dungeon-esque areas that test your abilities. You’ll solve puzzles, fight esselings, and dress to impress all at once. When you cross into the Abandoned District, though, things take a turn for the worst.
Related
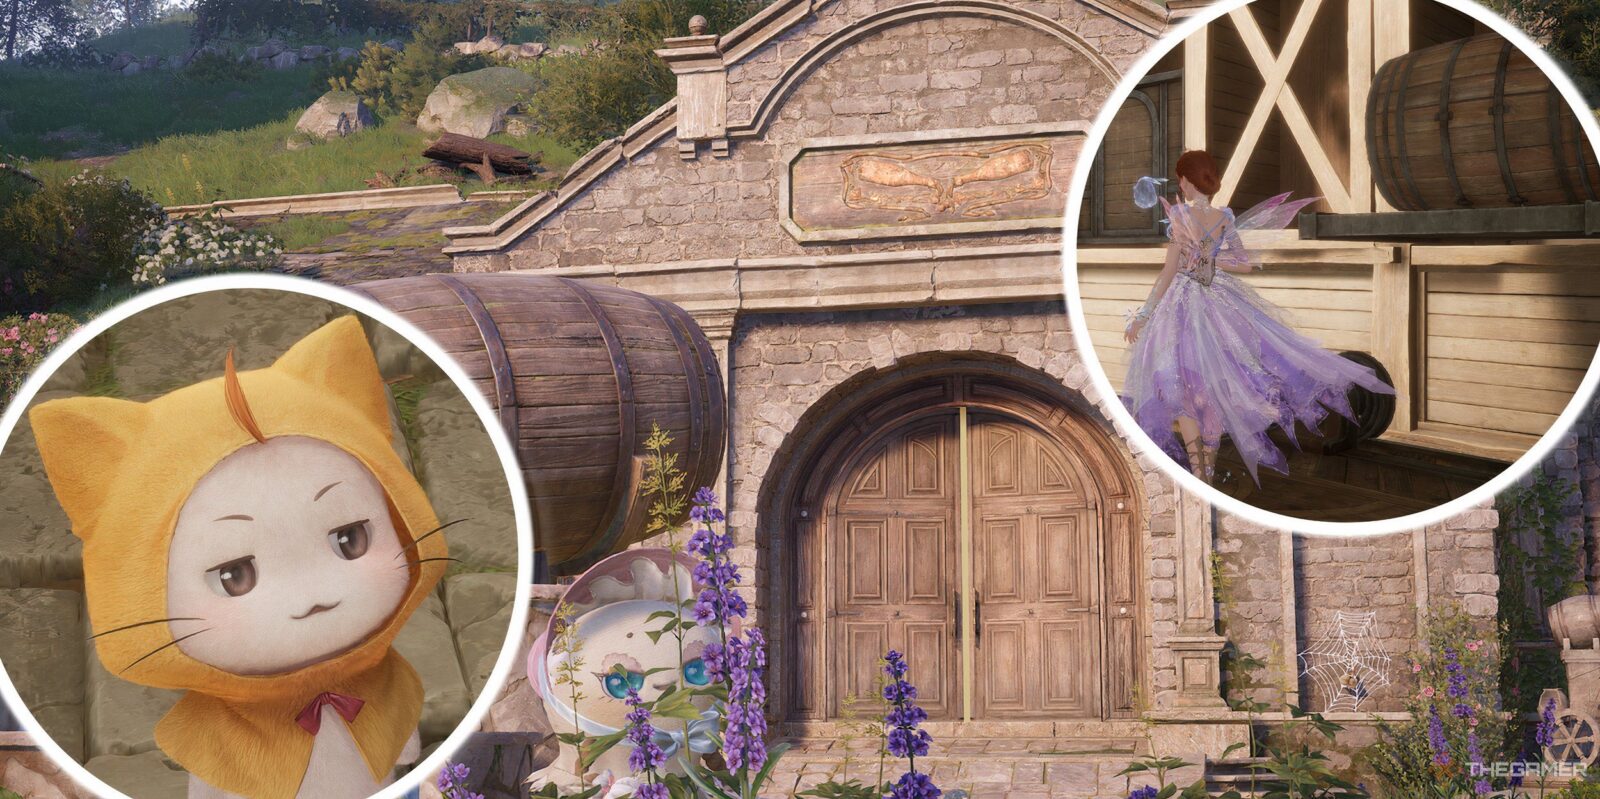
As you progress through the story, you’ll come to the Ripple Wine Cellar. To help the nearby Pieceys, you’ll have to head inside and clear the area to get rid of the threats within. Here’s everything you need to know to do a clean sweep of the Ripple Wine Cellar with Nikki and Momo!
Ripple Wine Cellar Transport Path
When you enter the winery, there are a couple of blings to collect in the front room. Follow the path into the transport room, then hop onto the crates and barrel at the far end of the room to reach an open window. Inside, you’ll find your first Whimstar.
Head back down and cross over the wooden transport platform to find two Dews of Inspiration behind a couple boxes. From there, step back onto the transport platform and walk up to the edge so it starts rolling.
You can ride the platform to the bottom, but you’ll miss a few treasures.
Leap off the platform to reach the ledge just past the esseling floating nearby. In this secret pathway, you’ll find two more Dews of Inspiration and another Whimstar.
Follow the shortcut path to reach the bottom of the track and collect two more Dews of Inspiration atop the next wooden structure. After you collect those, you’ll ride another transport cart through the winery. Keep an eye out for esselings along the way and defeat them!
While there are no more rewards in this section, you will have to remain vigilant!
As you pass through this part of the winery, giant barrels will start rolling and try to hit you. You’ll have to avoid them on the cart by moving Nikki out of the way, otherwise you’ll lose a heart.
Once the track runs out, you’ll end up in a watery clearing. Change course and step onto the next transport cart to continue deeper into the winery.
This track is not complete and the cart will drop off the end. Jump off the cart before it runs out and float to safety!
Ripple Wine Cellar Reserve Vault
Now that you’ve reached the Reserve Vault, the fun can begin. Hop onto the large barrel in front of you to things rolling–literally. The barrel will roll with your movements, so watch your footing as you make your way across the water.
It’s best to walk slowly to efficiently move the barrels in the water.
While your objective is to take the path to the right, detour to the left first. Guiding the barrels this way, you’ll find another trio of Dews of Inspiration. Then head back and take the path on the right to reach the next obstacle.
From here, you’ll cross through the winery by hopping onto numerous moving barrels. Head in the opposite direction of the barrel flow for the first line to reach a metal platform hidden with pipes.
Here, three more Dews of Inspiration await you. Afterward, head back on the barrels to reach the platform in the middle of the room.
Ride the next set of barrels into the adjacent chamber, then hop across to pass through a tunnel and collect another pair of Dews of Inspiration.
Climb onto the clearing and defeat the surrounding esselings to claim another Whimstar, then follow the staircase to collect another two Dews of Inspiration.
This path will bring you back to the start of the area, so you can either backtrack or quickly run through the chamber again.
Ripple Wine Cellar Office
In the last section of the winery, leading up to the office, you’ll find a large open room with a massive staircase, and several smaller pathways and alcoves.
Straight ahead, across the barrels to the far end of the room, are two more Dews of Inspiration. Then, move the barrels to the side of the room to reach the ruined wall. Inside are three more Dews of Inspiration.
Your last Whimstar can be found along the tunnel to the right, past the esseling napping inside.
When you’re ready, make your way to the staircase by gently rolling the barrels. Ascend and collect your blings before reaching the office. Take a moment to collect yourself here and let your hearts replenish if need be.
Head through the open door in the office, towards the voices, for a final confrontation and a battle with multiple esselings. Once they’re vanquished and purified, you’ll have completed the dungeon and collected all the rewards!








Leave a Reply