In Atlyss, you’re supposed to fight against a huge variety of enemies in dungeons and other areas that only get stronger as the game progresses. As you level up, you can unlock new abilities to make the fights easier and a lot more fun.
The dungeons in this game are unique, as they sometimes change their entire appearance and layout. While the map remains overall the same, the way you’re expected to progress through the dungeon drastically changes every time you enter it. It takes some time to figure out how dungeons work in Atlyss, but once you’ve gotten a grasp of it, you can easily overcome any challenge.
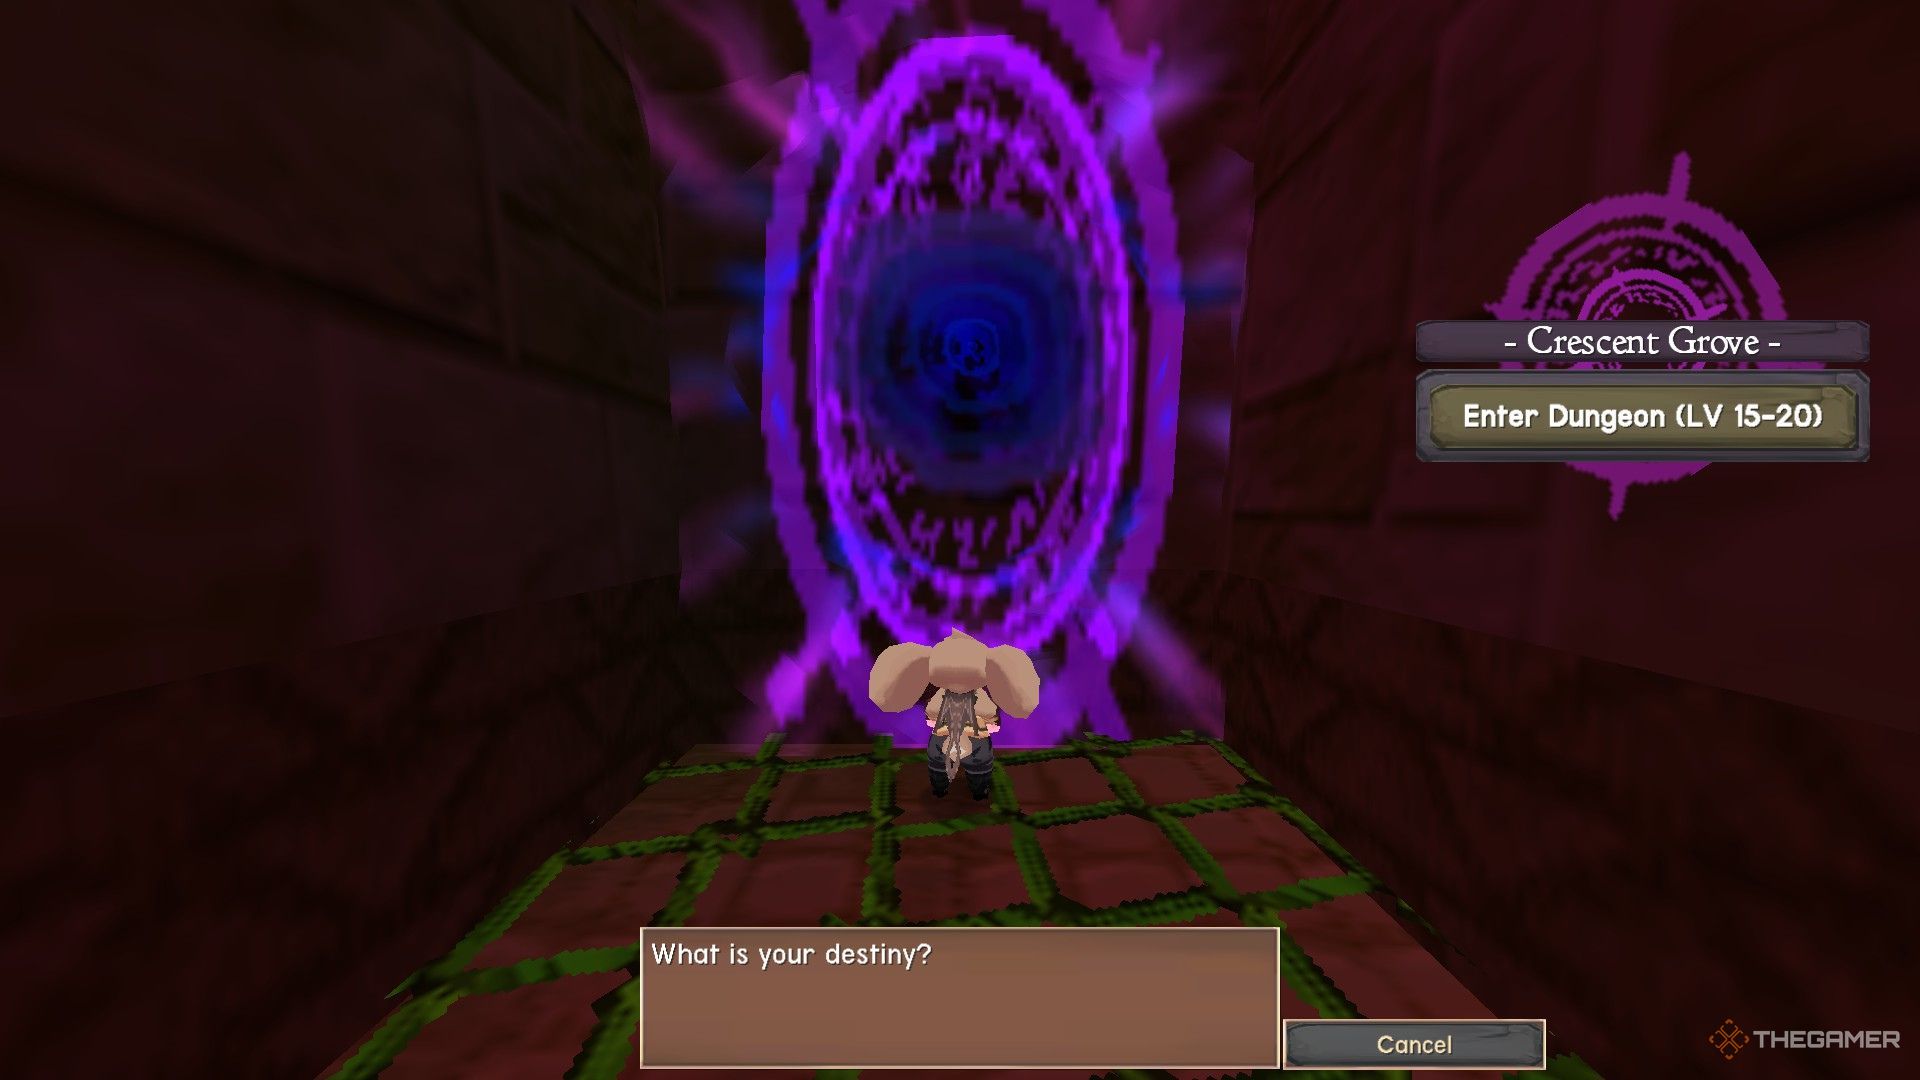
How To Reach The Crescent Grove Dungeon
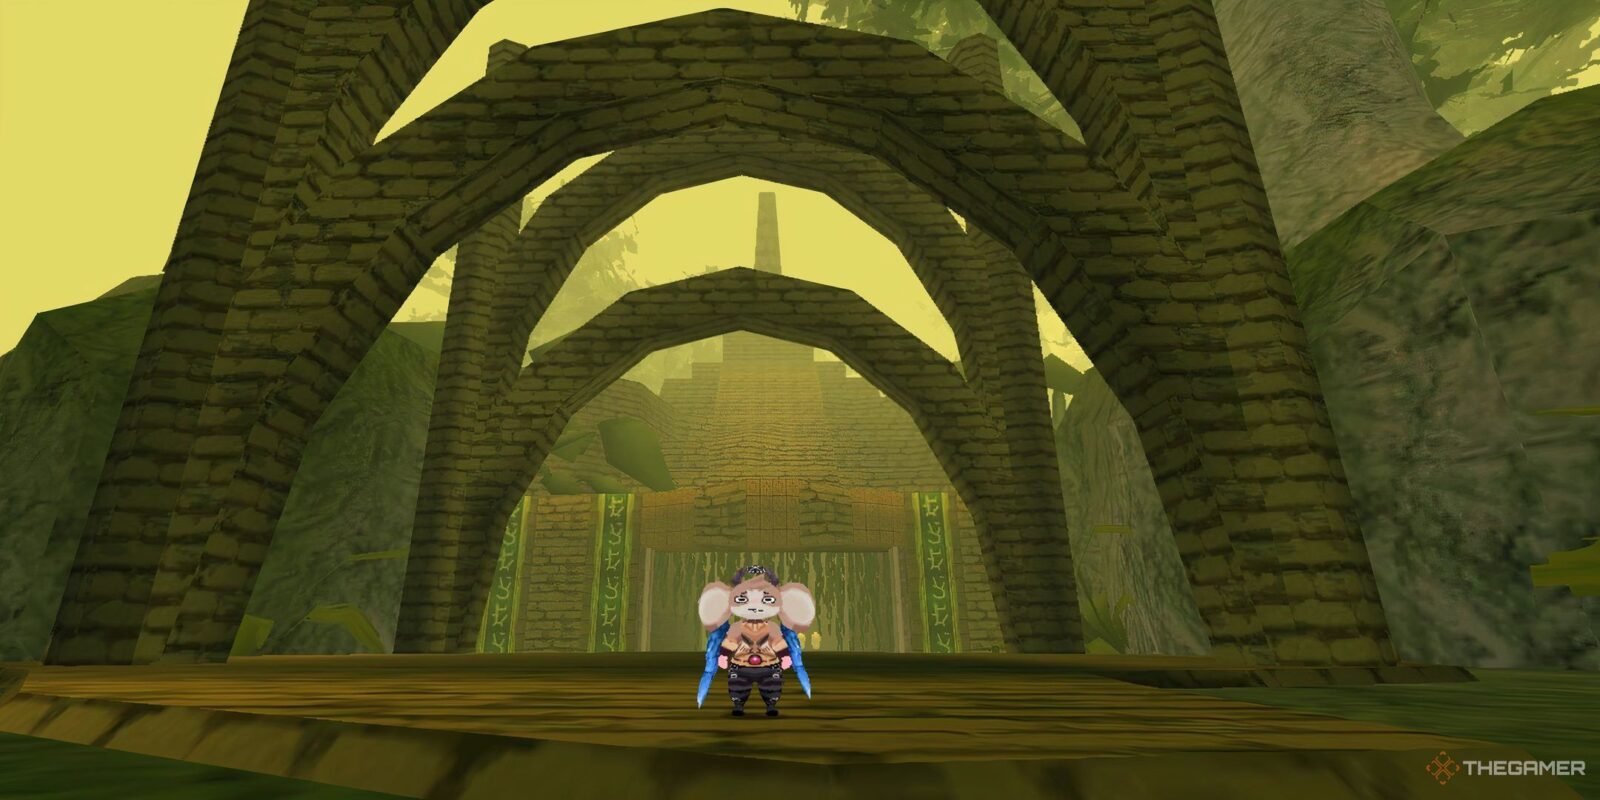
The Crescent Grove Dungeon is locked behind the Crescent Keep area, which can be accessed by going through the Woodreach Pass area inside the Effold Terrace field zone. To unlock this dungeon, you will first have to clear the Keep Within quest, which is given out by Angela inside the Sanctum.
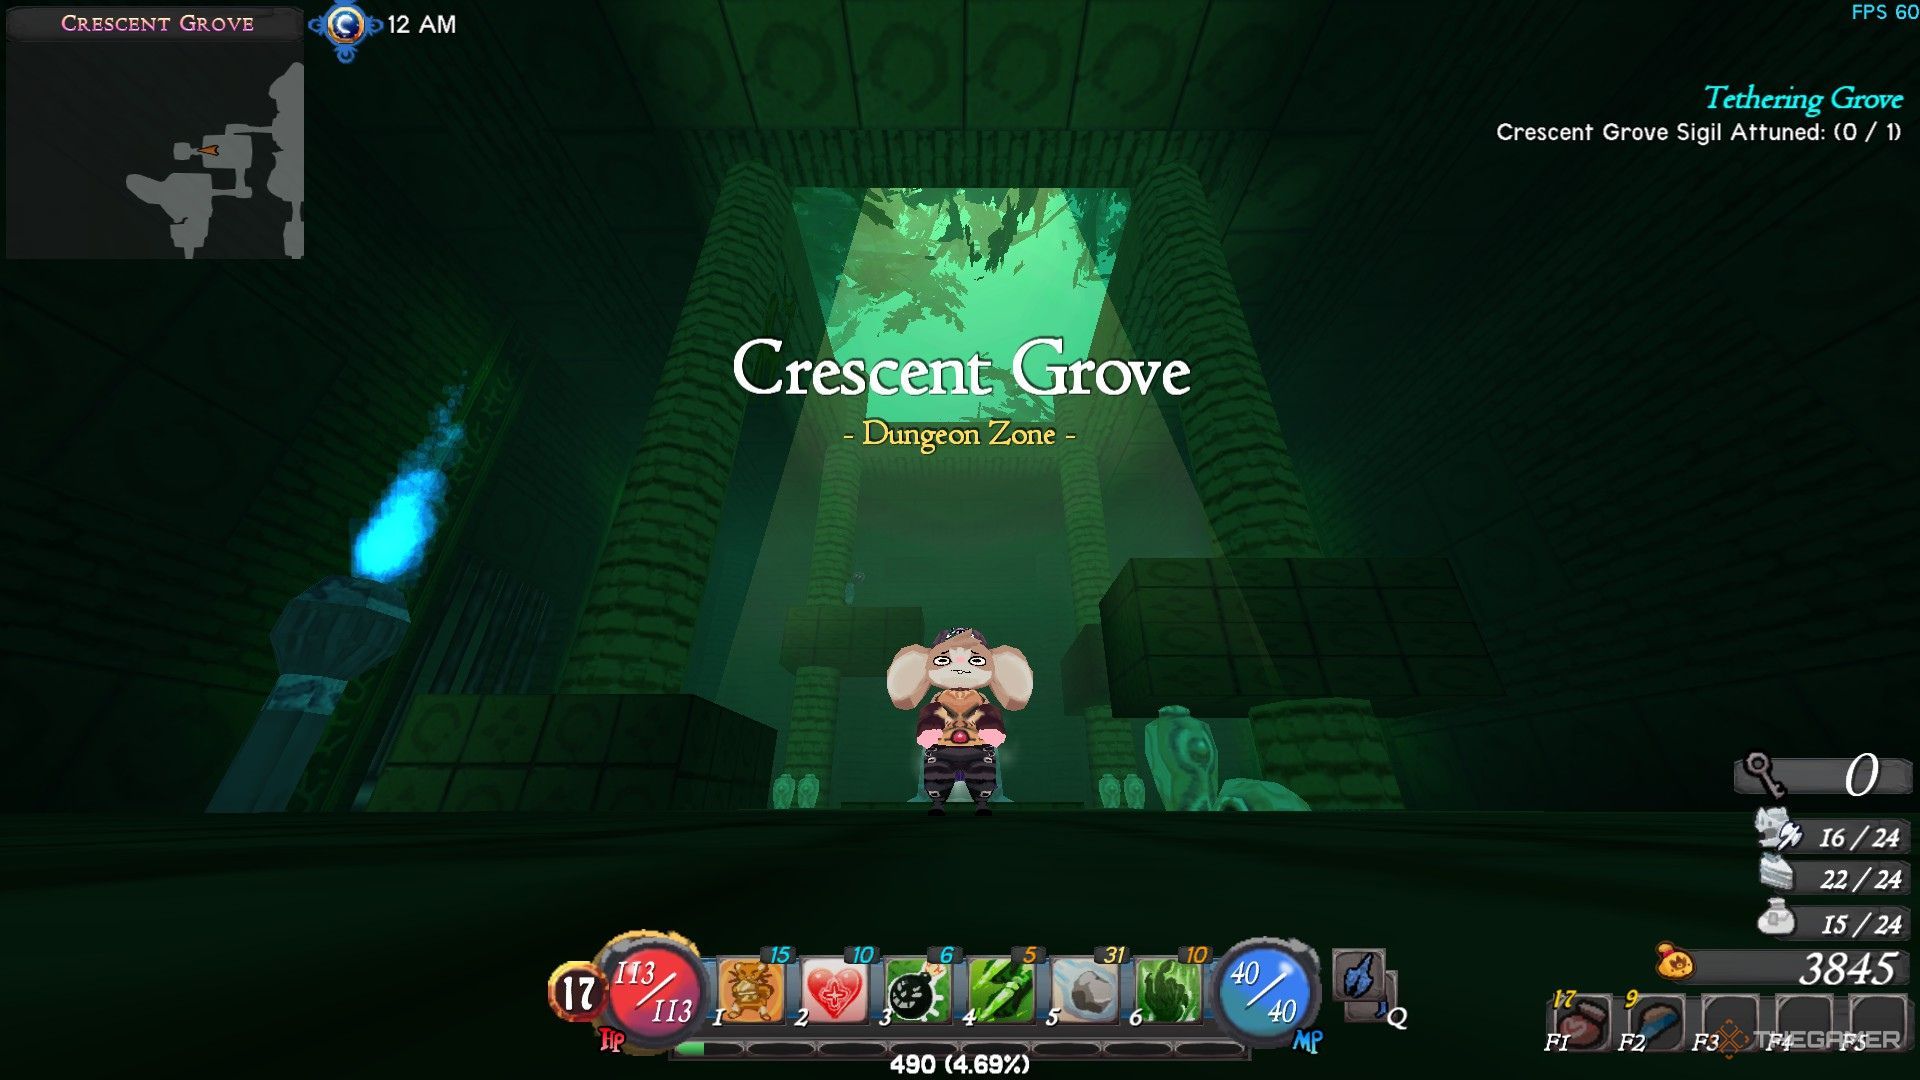
The Keep Within quest asks you to find the East Wing and the West Wing Sigil inside the Crescent Keep. Once you return to Angela after attuning both sigils, she will give you the Tethering Grove quest, asking you to find the third sigil inside the Crescent Grove dungeon.
The Tethering Grove quest will require you to head back to the chamber of the East Wing Sigil inside the Crescent Keep, and you will find that the large door in this chamber is now unlocked. With that, you can head straight to the Crescent Grove area.
Accepting the Tethering Grove quest is required to unlock the path to the Crescent Dungeon. If you don’t take the quest from Angela, you will not be able to progress further.
Crescent Grove Dungeon Preparations
The Crescent Grove Dungeon can be entered after you’ve hit at least level 15. However, it is best to wait till you’re at least level 18 or even 20 before you head into it. The enemies inside this dungeon are incredibly strong and parrying them successfully doesn’t stagger them for long.
Furthermore, most of the enemies inside the dungeon can take you out with two or three well-placed hits, which is why you should invest some stat points in Vitality to make it cross at least 20. You should also bring in some consumables for healing, such as the Bunpot or Bunjar.
If you’re having trouble leveling up, you can pick up repeatable quests from the three guardians or head to the Sanctum Catacombs dungeon to gain experience quickly.

Related
Atlyss: Lord Zuulneruda Boss Guide
Lord Zuulneruda loves to summon creatures that will make the battle more difficult than it already is. Learn how to beat this boss in Atlyss.
Crescent Grove Dungeon Guide
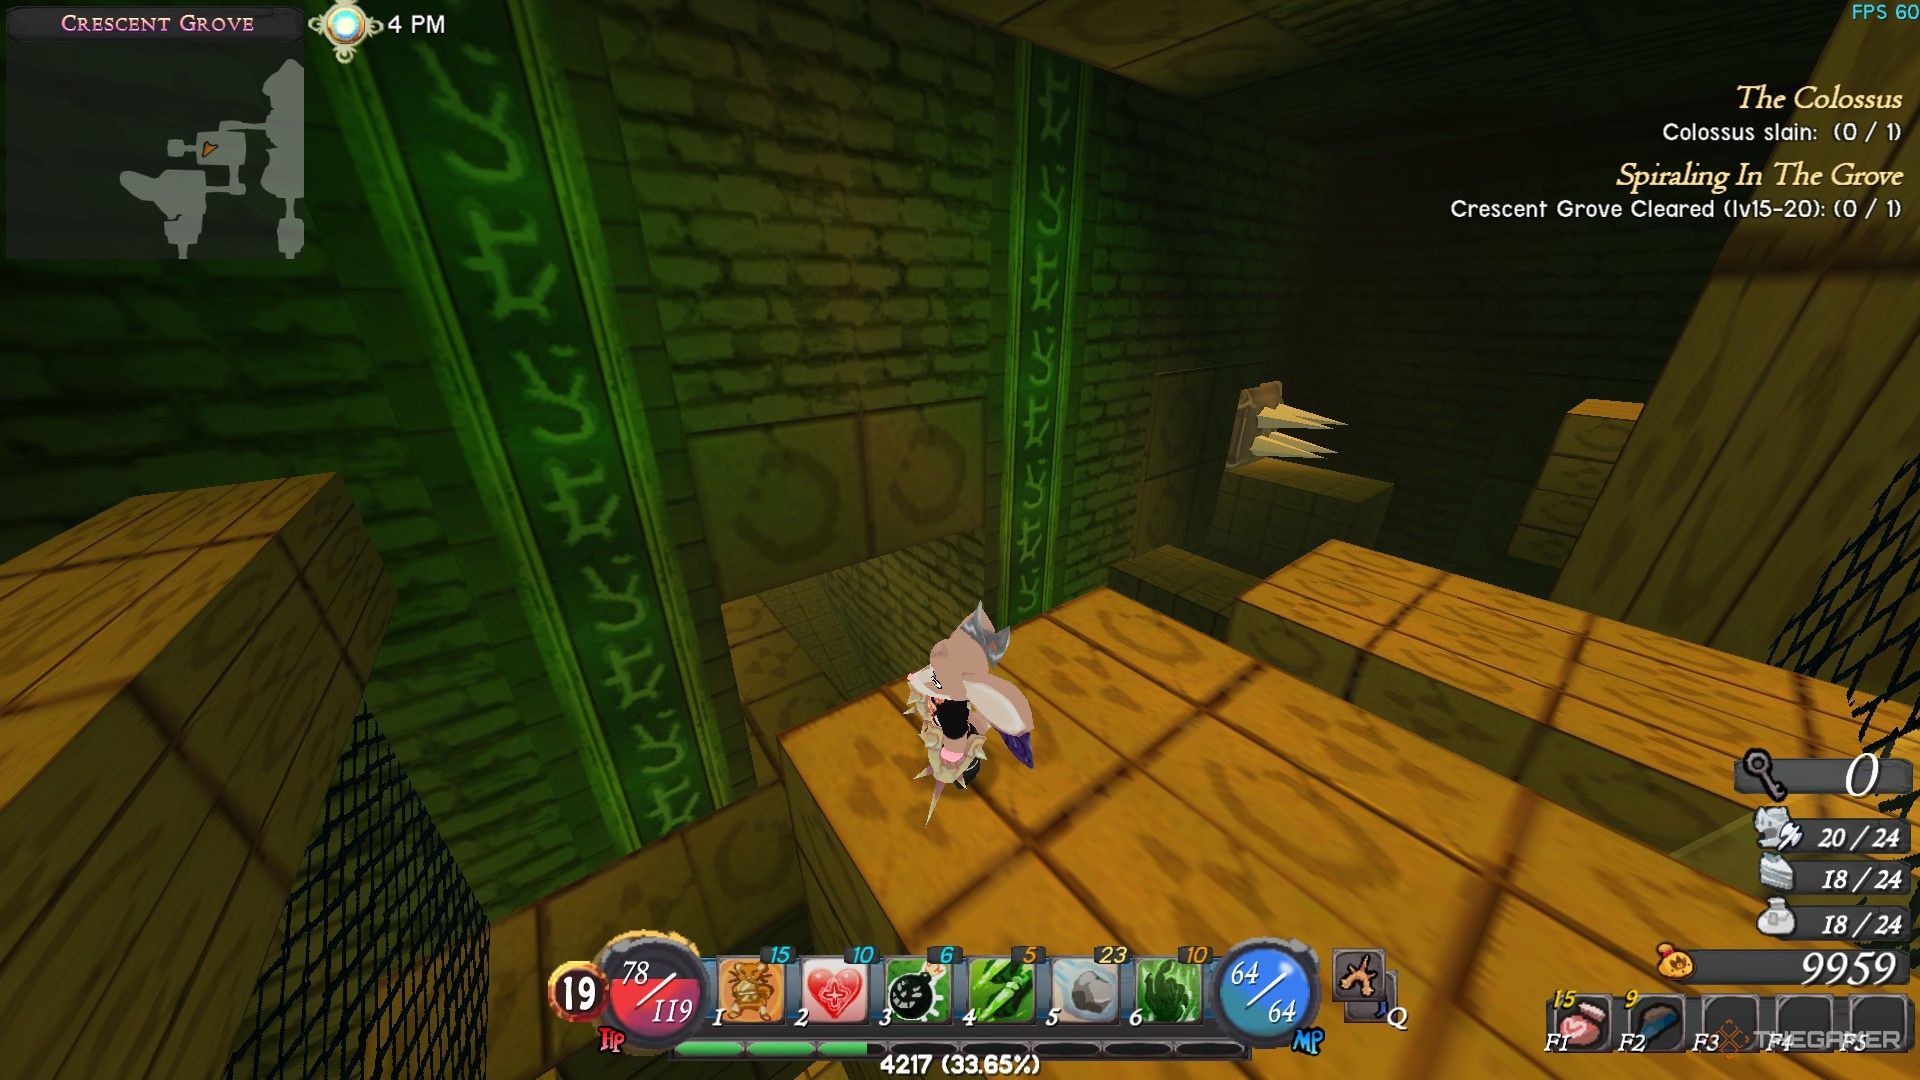
Regardless of the layout of the dungeon, the puzzles here are fairly easy. All you have to do is keep fighting against enemies and keep progressing ahead. If you find any levers that are hard to reach, you should use jump dashes and look for ledges that you can climb on to reach these levers.
If you encounter any doors that are locked with chains and have a keyhole in the middle of them, you will have to progress elsewhere in the dungeon to find a key to the door.
Some corridors and empty rooms have moving traps in them, so you’ll have to be patient while progressing from one room to the other inside the dungeon. These traps don’t deal a lot of damage and aren’t a threat unless you’re low on HP.
|
Crescent Grove Dungeon Enemy List |
|||
|---|---|---|---|
|
Name |
Level |
Attacks |
How To Defeat |
|
Deadwood |
15 |
Deadwood uses a ranged attack when you’re at a distance. You will see it glow before it shoots out a projectile. It also has one melee attack where it slams the ground under it, dealing damage in a small AOE. |
Stay close to this enemy and parry the melee attack to stagger it for a short duration. |
|
Red and Blue Mushrooms |
16 |
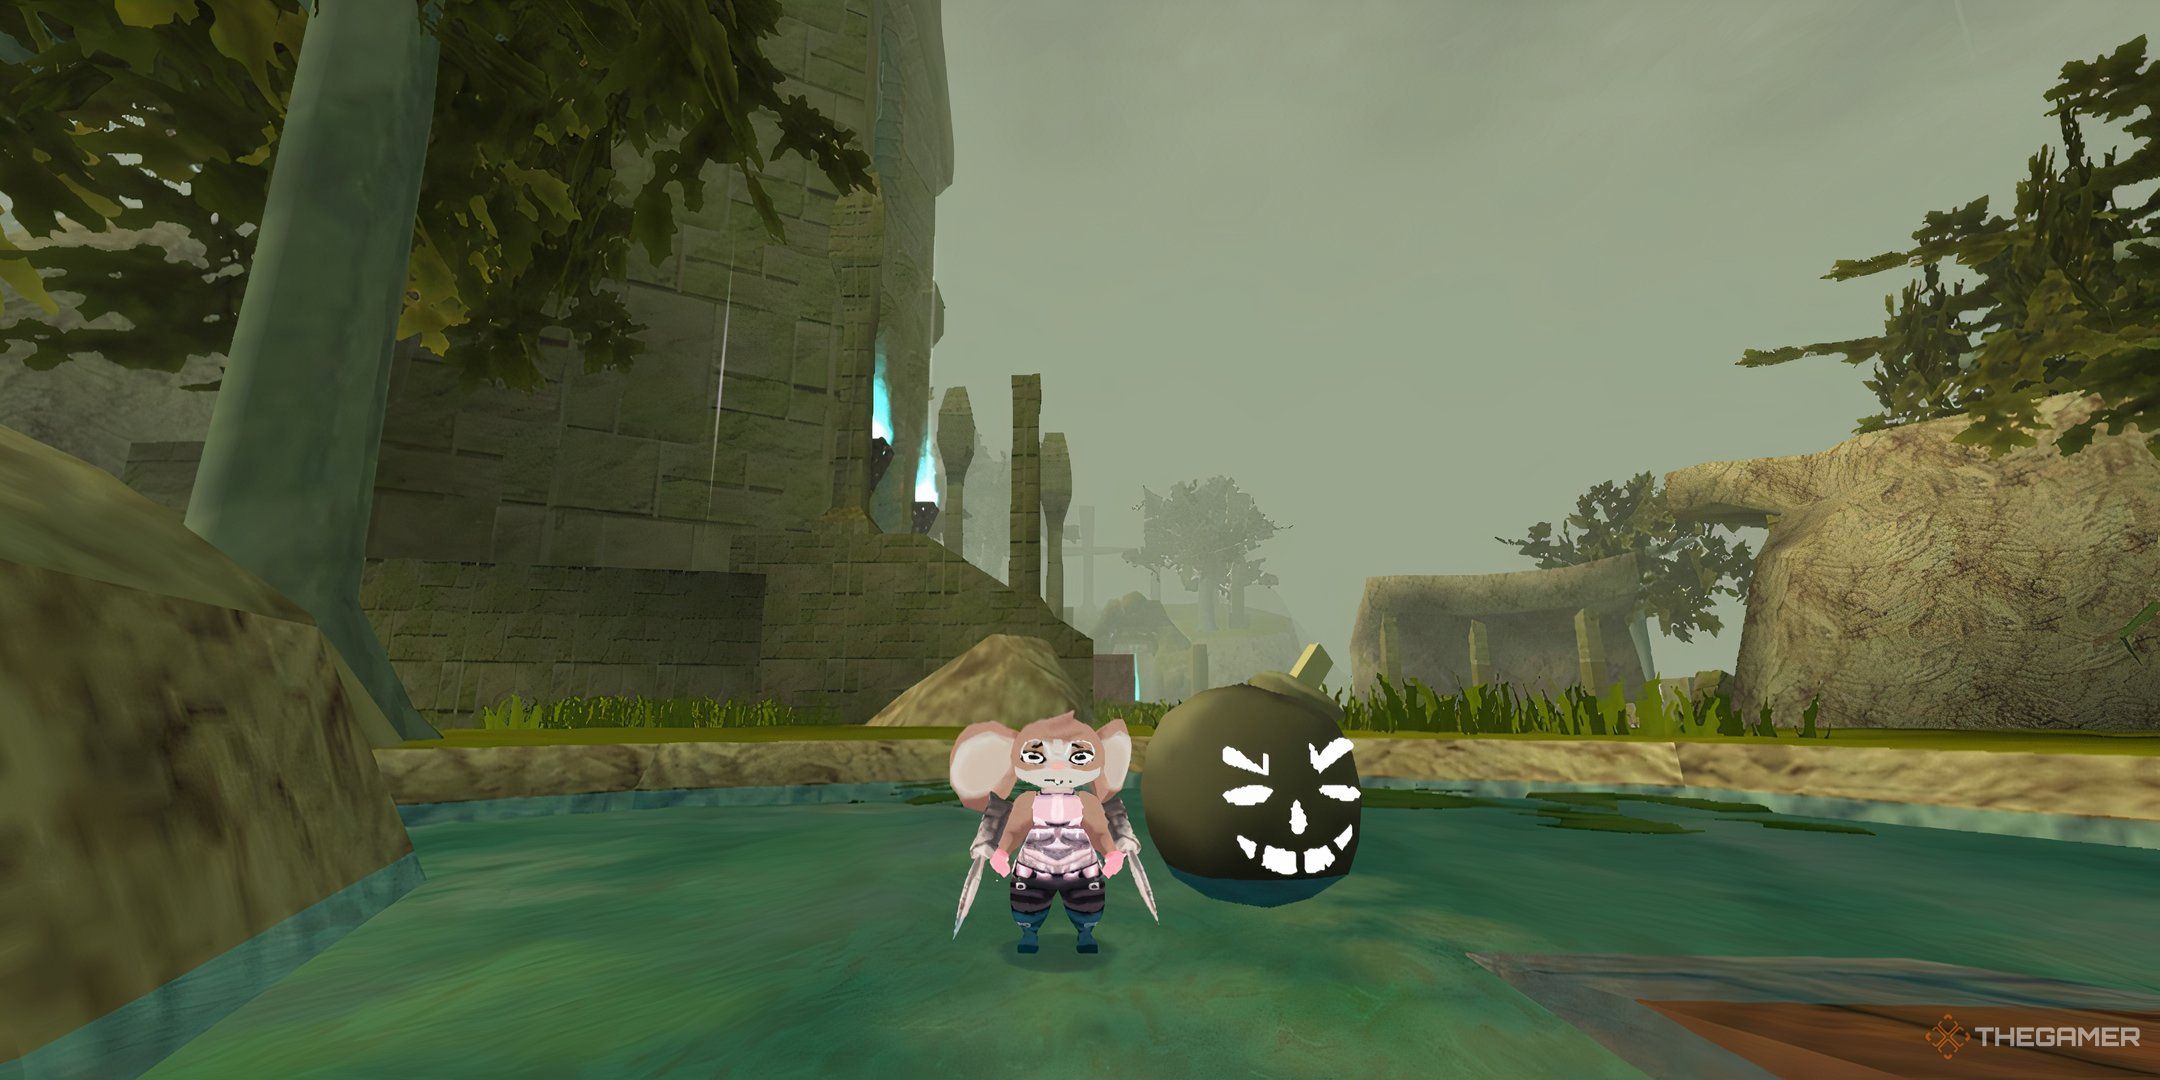
These two enemies are similar in every aspect, except one uses Ice attack, and the other uses Fire. These mushrooms will glow purple before they hit the ground with their heads, generating a small shockwave of elemental energy. If you get hit by this attack, you will also take damage over time. |
The smash attack is quite slow, and you can easily block or parry it. However, it’s best to not get hit by the shockwave at all by using a dash to get away from these enemies just as they’re about to attack. |
|
Maw |
17 |
These enemies are a stronger version of the Mouths that you encountered in Crescent Keep. Maws attack twice at melee range, which can deal a ton of damage if you fail to block or parry. These enemies also have a ranged attack where they shoot out a ball of poison that bounces on the ground a few times before turning into a puddle on the ground. |
The best way to fight against this enemy is to stay in its face and keep attacking with a weapon. Parry exactly when you see it opening its mouth. If there are several Maws, you should try to use AOE attacks to reduce their HP and potentially kill them. |
|
Carbuncle |
18 |
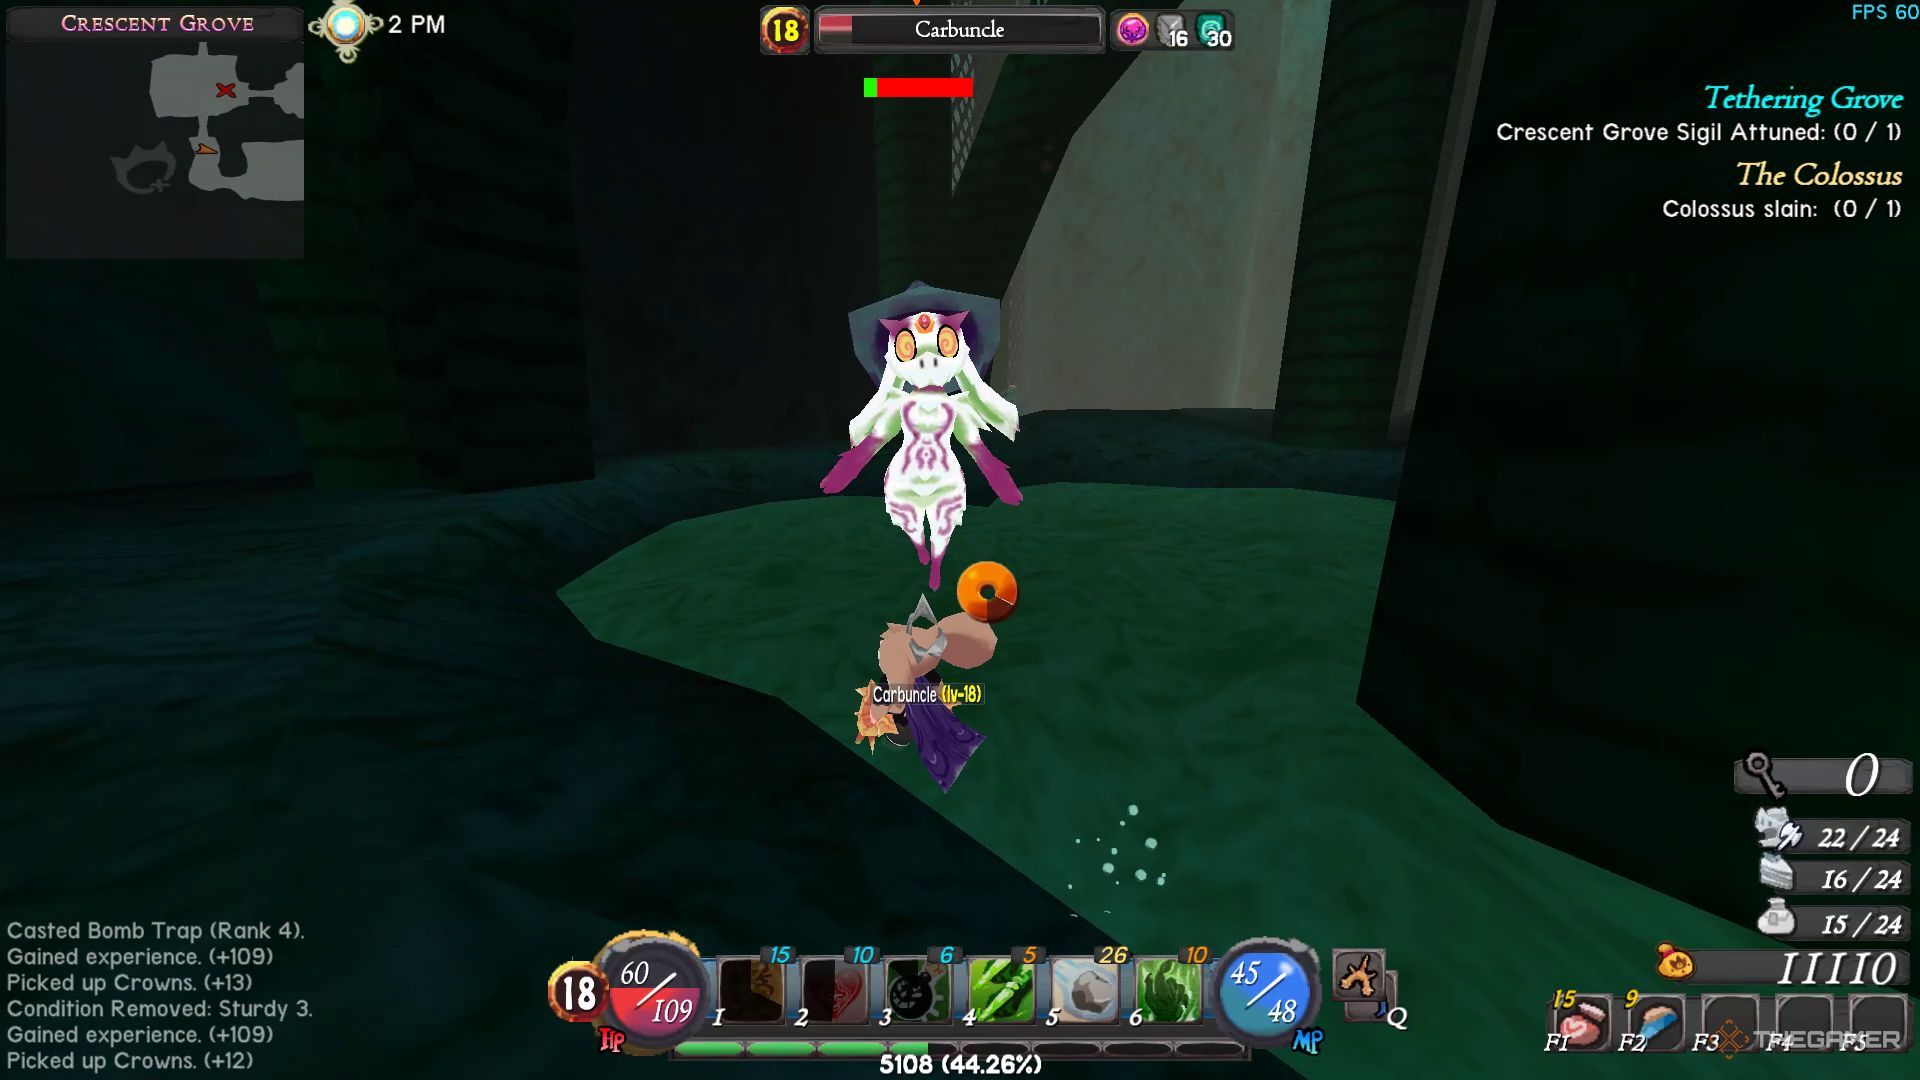
Carbuncles are Crescent Grove’s signature enemies. These enemies will keep levitating around you, attacking you with ranged magical attacks. |
Carbuncles don’t have a lot of HP and their attacks are fairly slow. You can easily fight them with a ranged weapon while avoiding their projectile attacks. |
|
Monolith |
19 |
Monoliths are a stronger version of the Golems that you encounter in the Crescent Keep, and they are also a lot more sturdy. While most of their attacks are similar to Golems, they have one new mid-range projectile attack where they dig their hands into the ground, causing several spires to erupt from the ground in your direction. |
You should either stay too far away from them and deal damage to them using a bow, or you should stick close to their face where they can’t use their annoying mid-range spire attack. At melee range, you can spot a circle around their arms just before they’re about to swing to parry the attack successfully. |
The best thing about the dungeons is that you can resume the trials from where you died. If you step into a room with purple smoke and enemies start spawning, try your best to defeat them and if you fail, you will simply respawn inside the dungeon and can progress to the chamber again to continue to challenge.
Clearing every challenge will spawn treasure chests, which may include some excellent equipment and weapons if your character is under level 20. So, if you’re having a tough time on your first run through the dungeon, don’t give up, as you may encounter a weapon that will make the rest of the dungeon a lot easier.
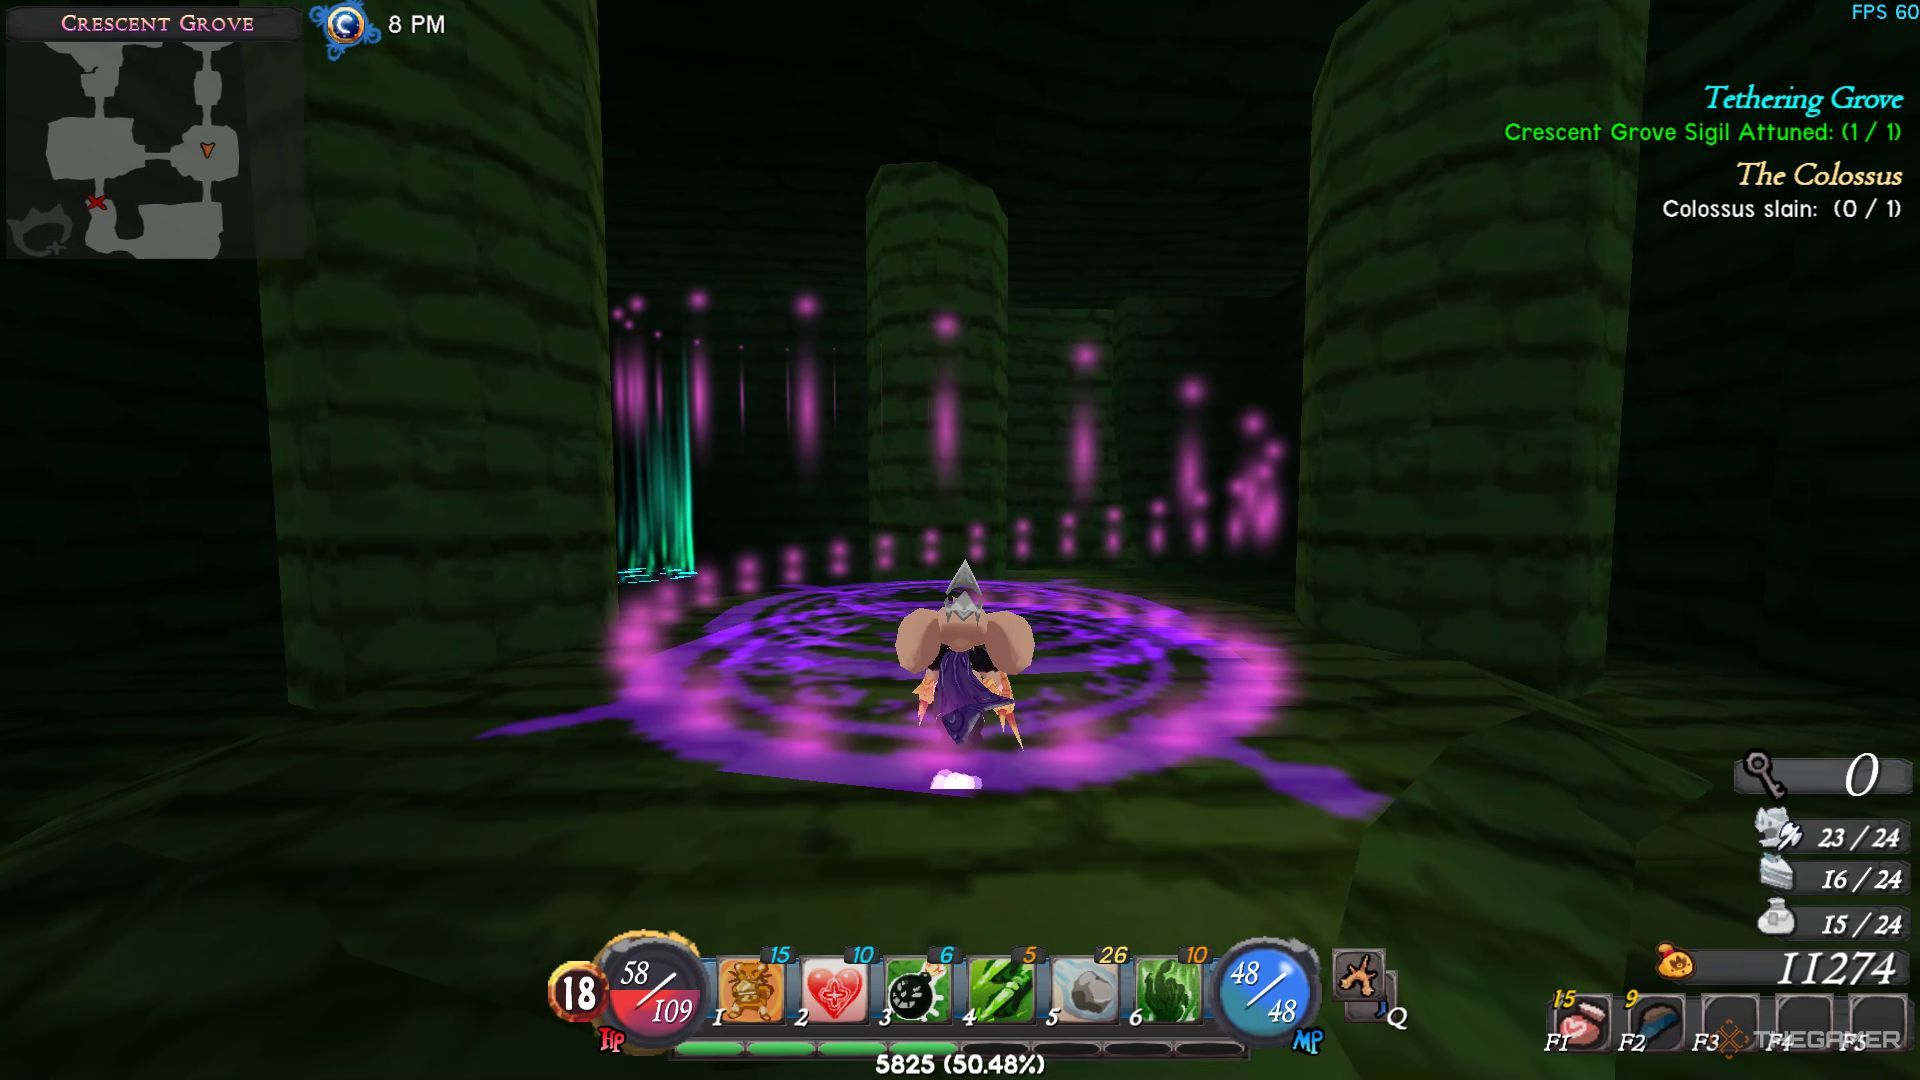
As you continue to make progress towards the end of the dungeon, you will eventually come across the sigil that you’ve been tasked to attune in the Tethering Grove quest. After attuning the sigil, you can return to Angela to complete the quest by using the Recall skill. Or, you can progress further ahead by using the purple portal in the middle of the room.
If you decide to use this purple portal, you will be teleported to the Colossus’ boss arena. Colossus is a level 20 boss with a ton of HP and armor. However, defeating it isn’t required to complete the dungeon or the quest. You can also return to the Crescent Keep by taking the smaller portal that is in the same chamber as the larger purple portal.
Rewards For Completing Crescent Grove Dungeon
Alongside all the loot you’ve encountered in the dungeon, you can head back to Angela to complete the Tethering Grove quest. Completing the quest will reward you with 800 crowns and over 3,500 experience.
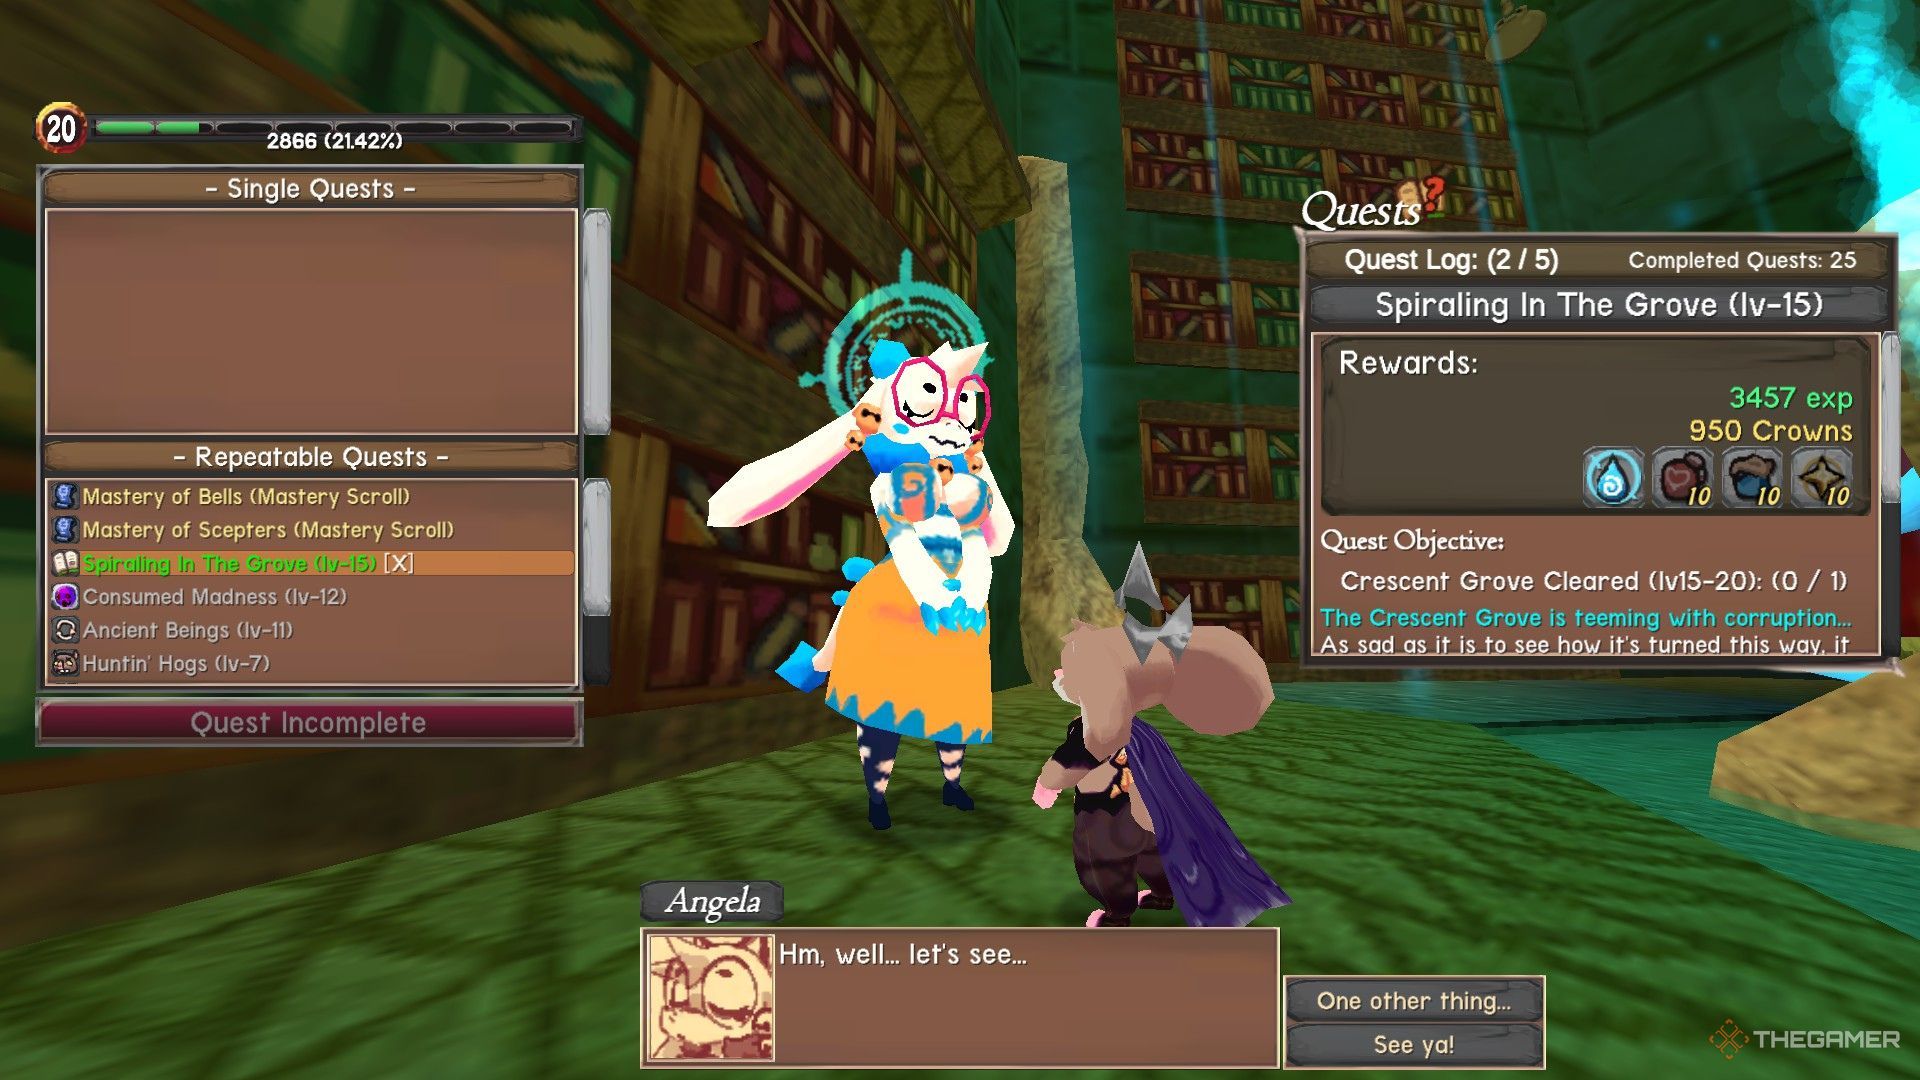
Furthermore, after clearing the dungeon once, you can talk to Angela again to take on the repeatable Spiraling In The Grove quest, which will give you 950 crowns, approximately 3,500 experience, alongside several valuable consumables for clearing the Crescent Grove Dungeon.
Next
Atlyss: How To Unlock All Classes
There are three classes for your character in Atlyss, and you need to complete some requisites before finding them. Learn about them here!




Leave a Reply