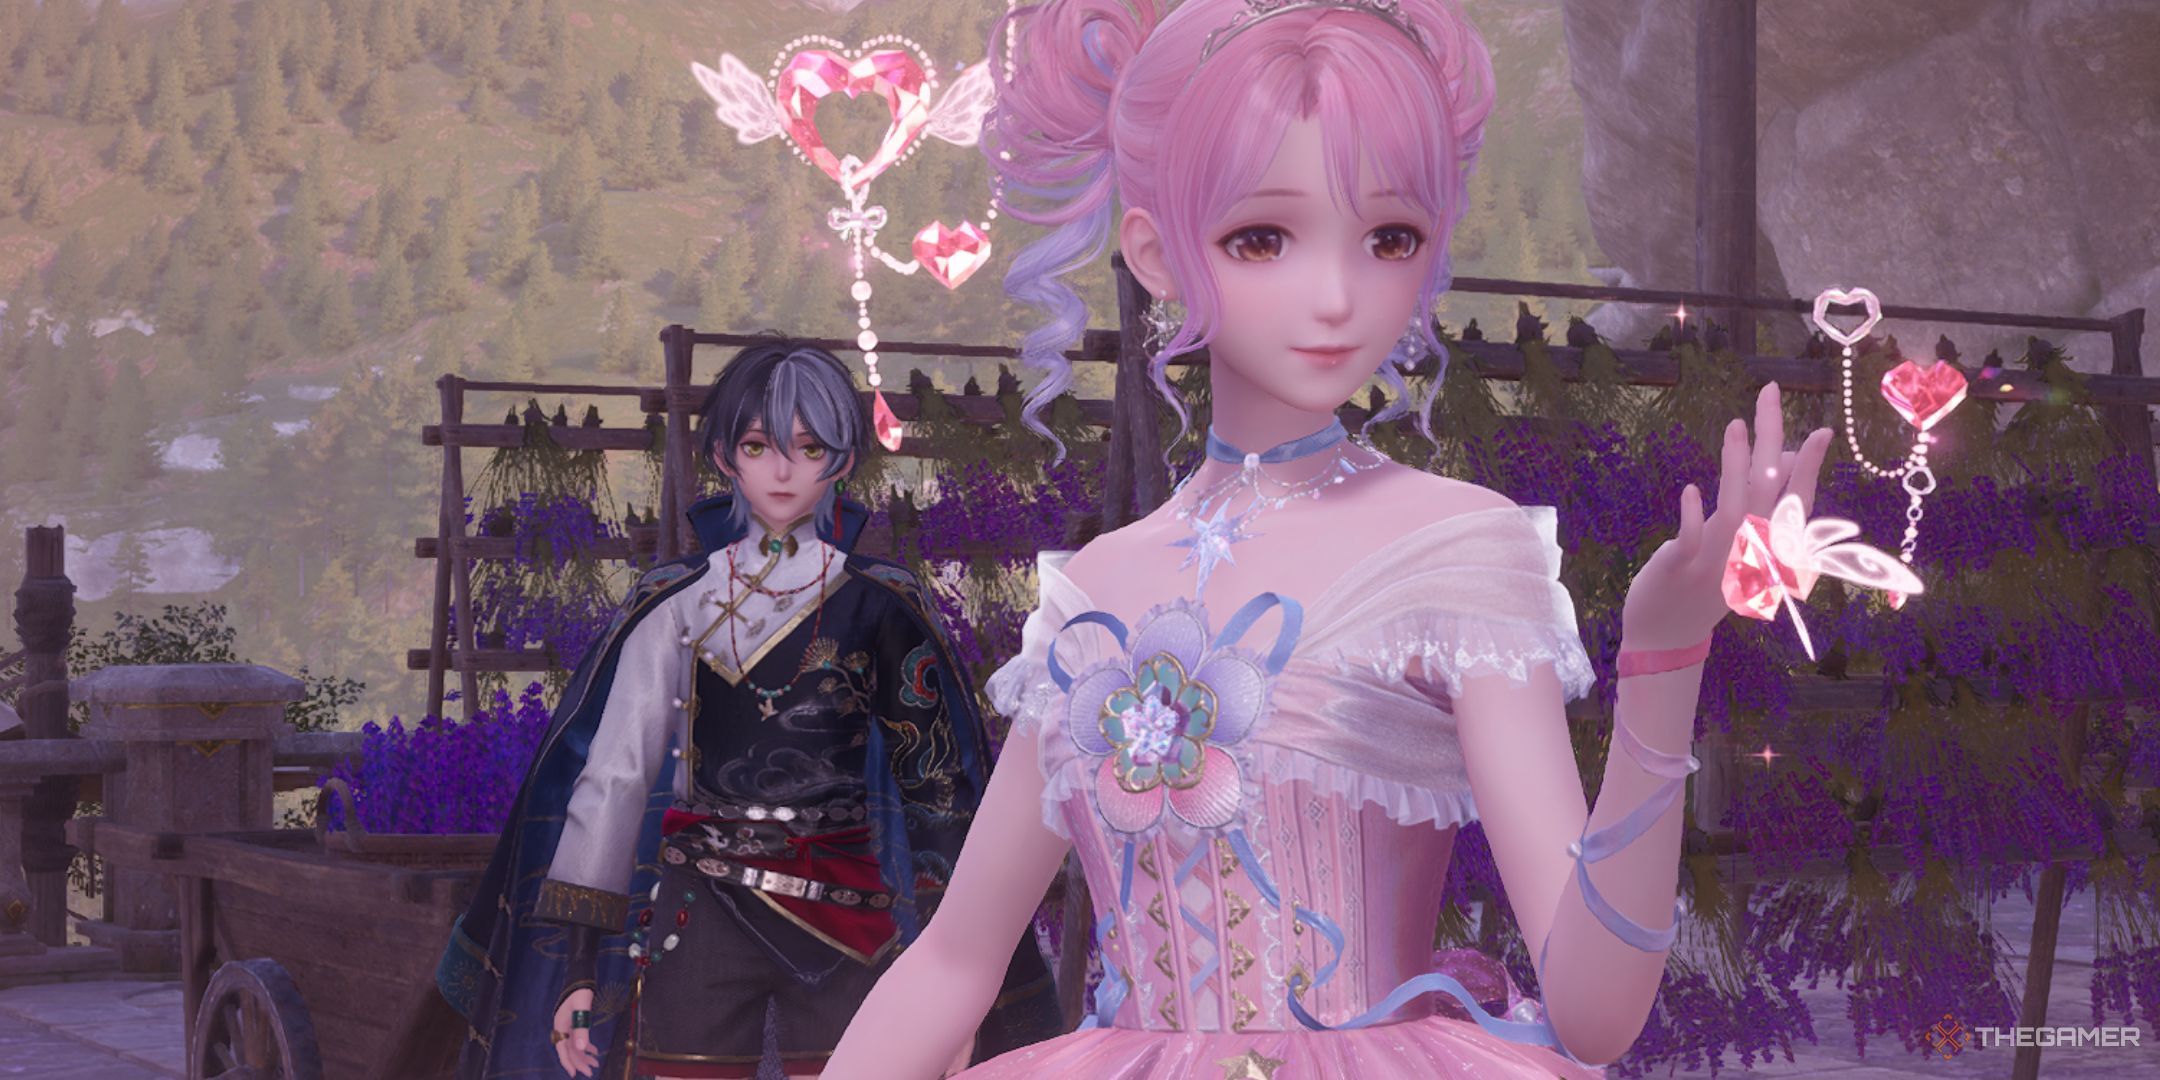
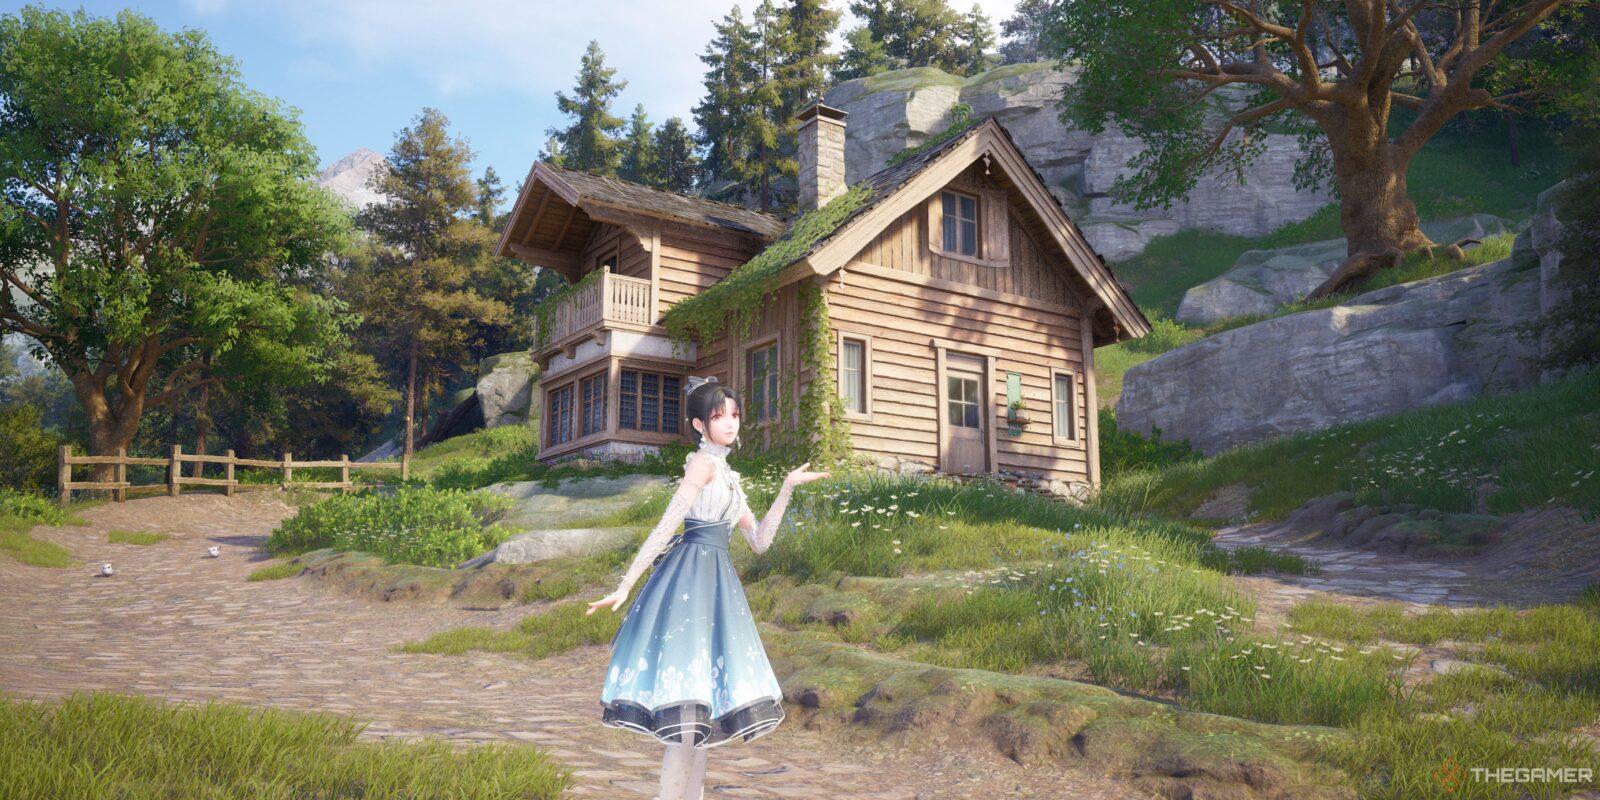
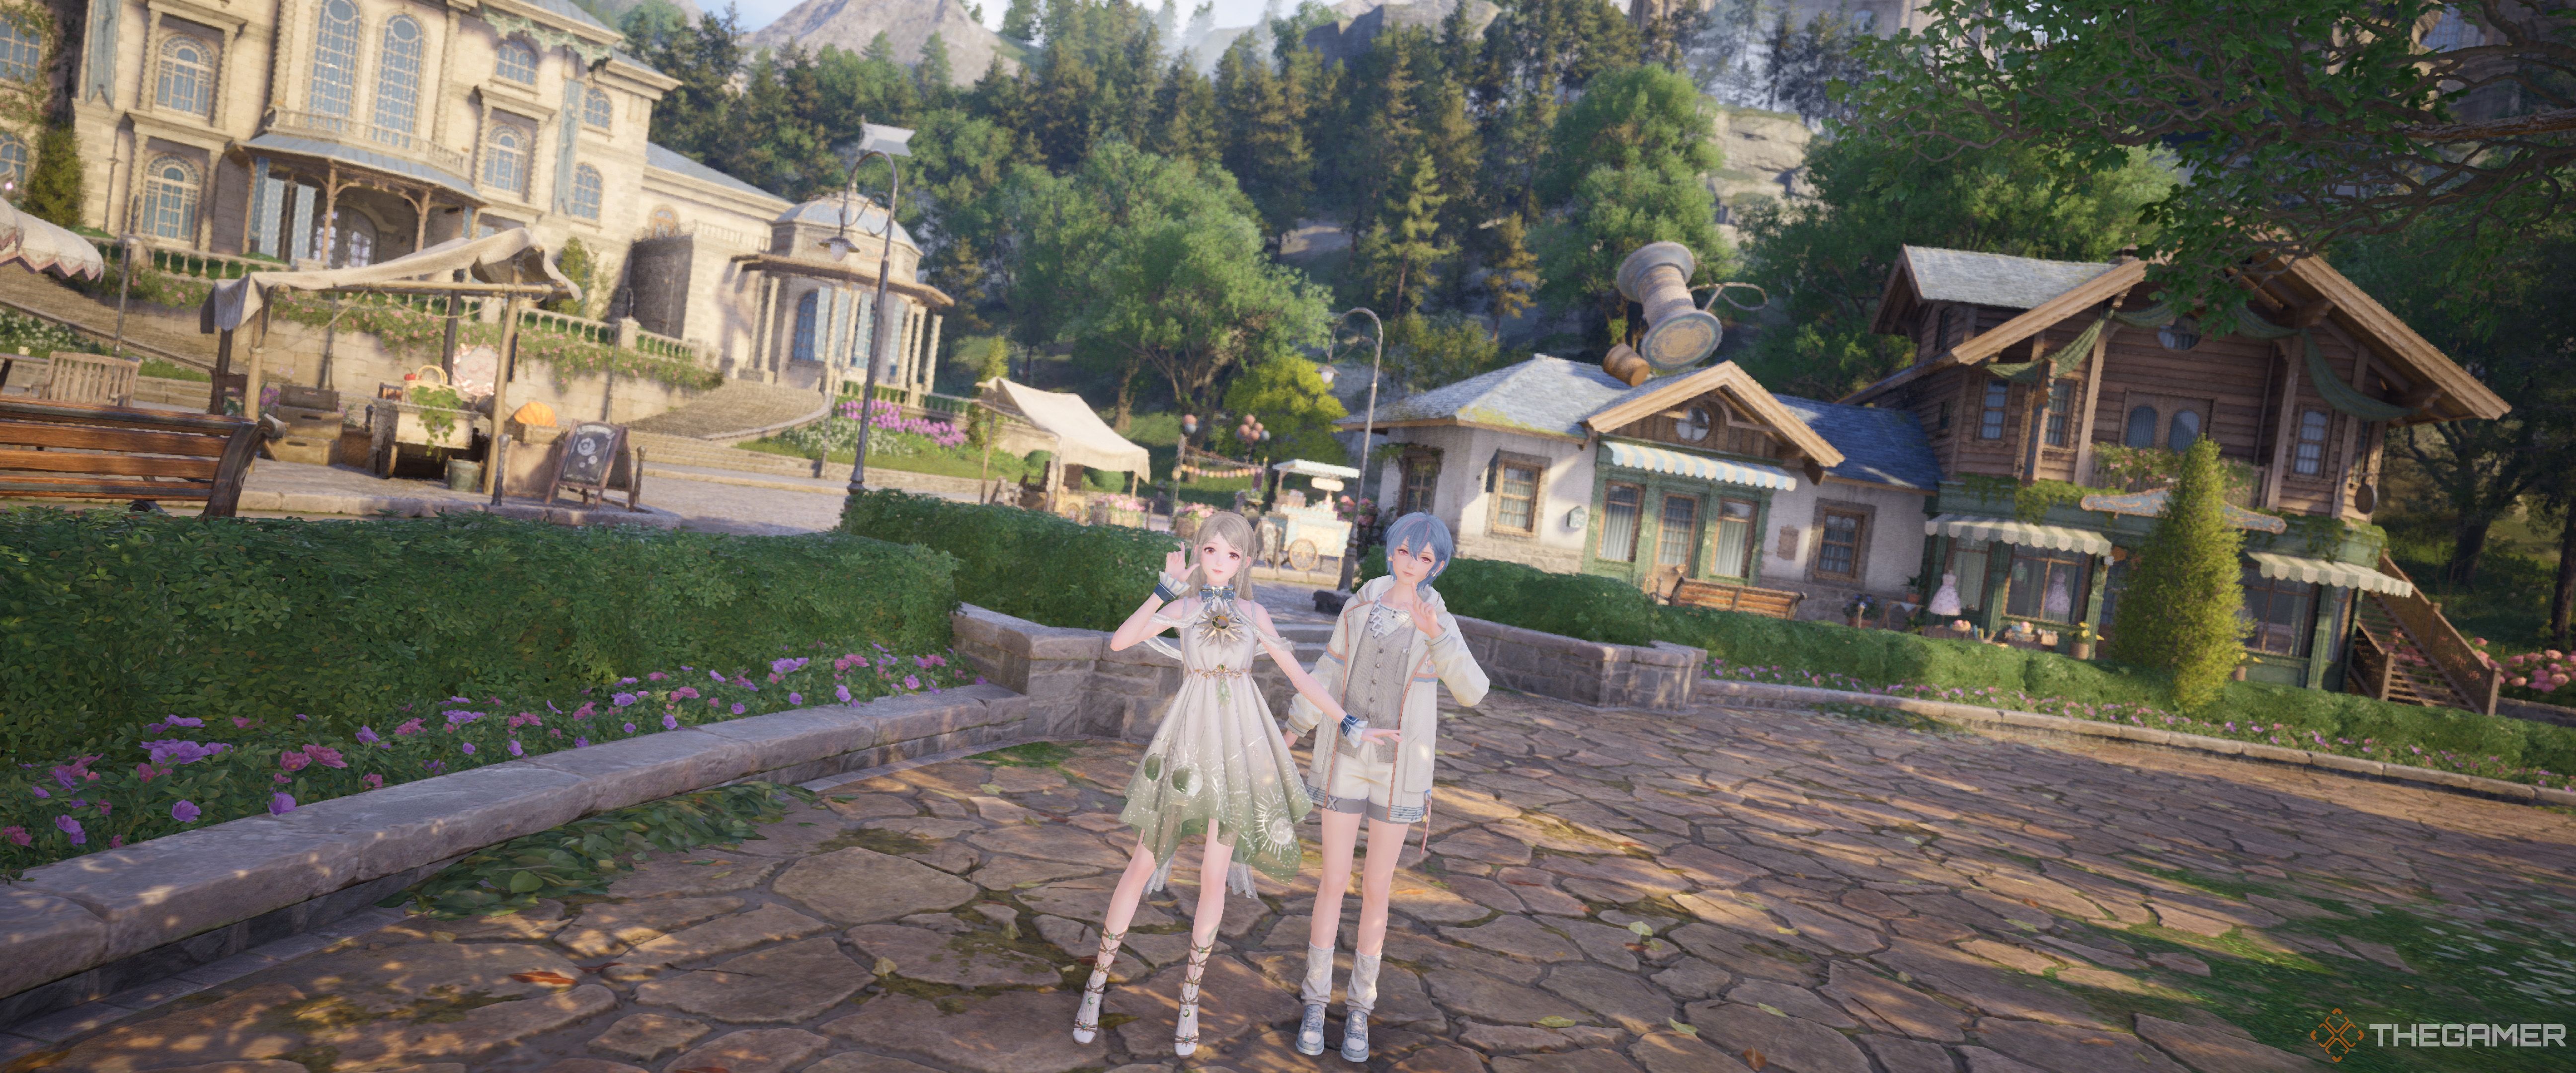
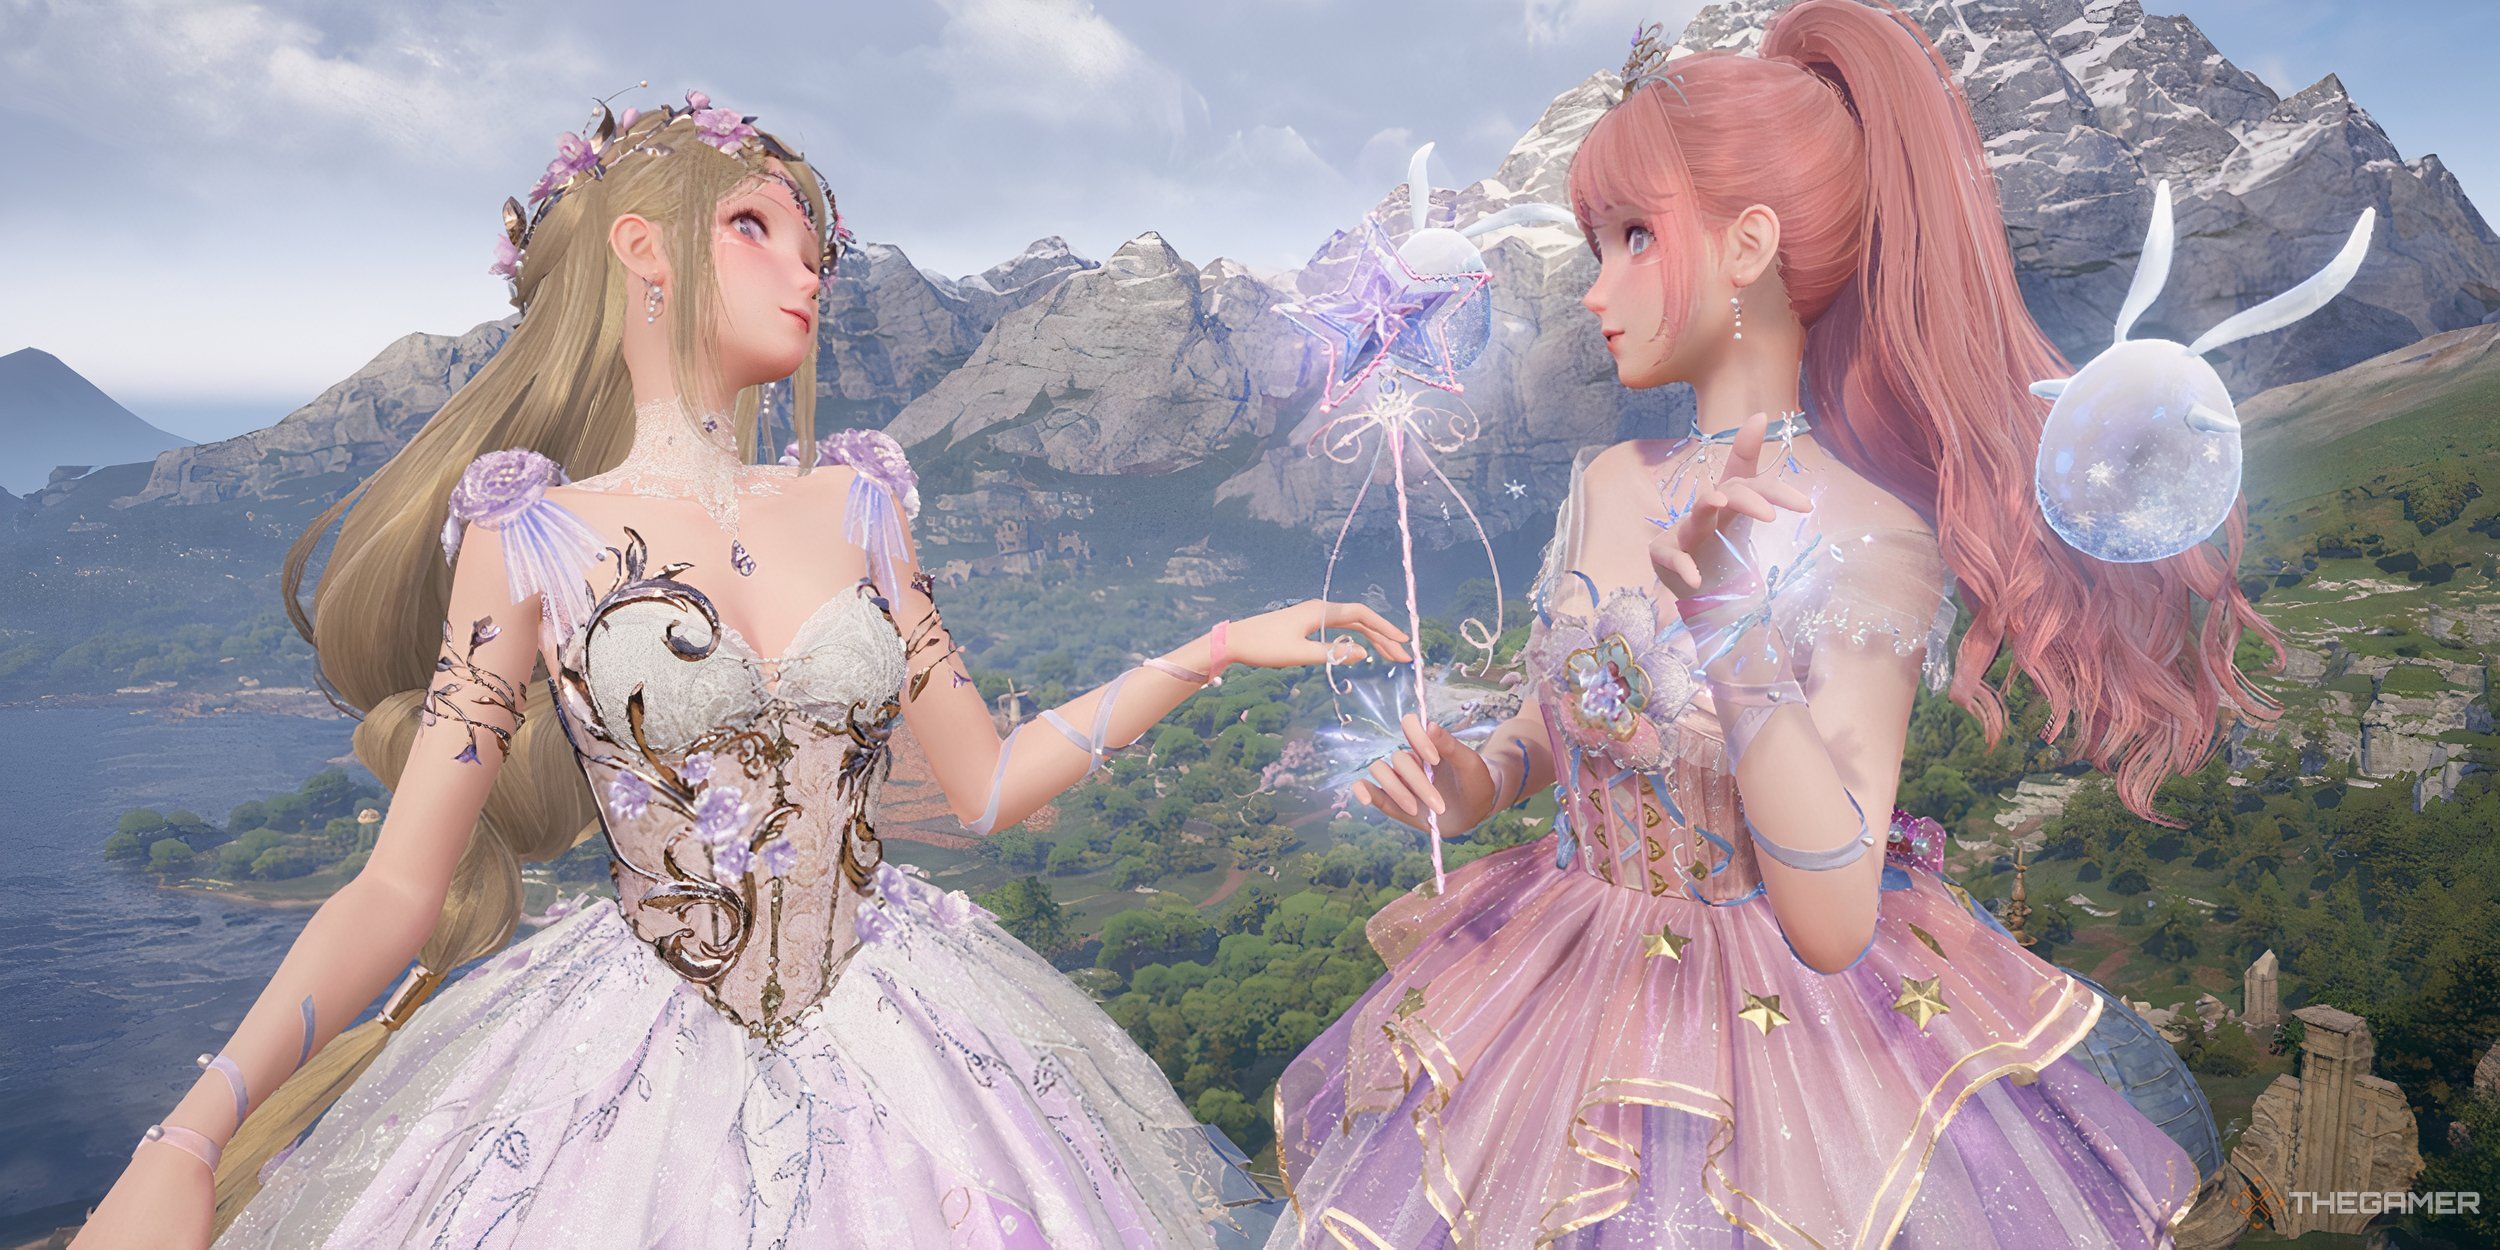
One of the best parts of any open-world game is wandering the landscape and taking in the vistas — the sky at dawn and dusk, the ocean reflecting the moon, or everyone’s favorite: god rays. Infinity Nikki is no different, and not only does it have beautiful scenery, it’s got a fleshed-out photo mode to take pictures of it all. It’s surprisingly feature-rich, as gacha game photo modes go, so taking great shots is a snap.
Related
If you need some extra incentive to be a shutterbug, you can earn in-game currency to get more outfits. Not a bad deal.
Complete Camera Guide For Infinity Nikki
Taking pictures of your outfits and the wider world in Infinity Nikki is as straightforward or as in-depth as you want it to be. The system can handle basic portraiture or shots with more complex compositions, though it does favor you taking pictures with Nikki in them. There’s even a progression path for your photography journey with a surprising amount of rewards for your hard work.
It won’t take long to unlock the ability to take pictures, nor does it take much to get deeper into the progression systems. Mastering photo mode, however, will take time.
How To Unlock And Use The Camera
You’ll unlock the camera early in your Miraland adventures during Chapter 1, the Land of Wishes. Specifically, you’ll unlock it after speaking to Jean and Ruby at the wishing tree and providing them with one unit of Floof Yarn.
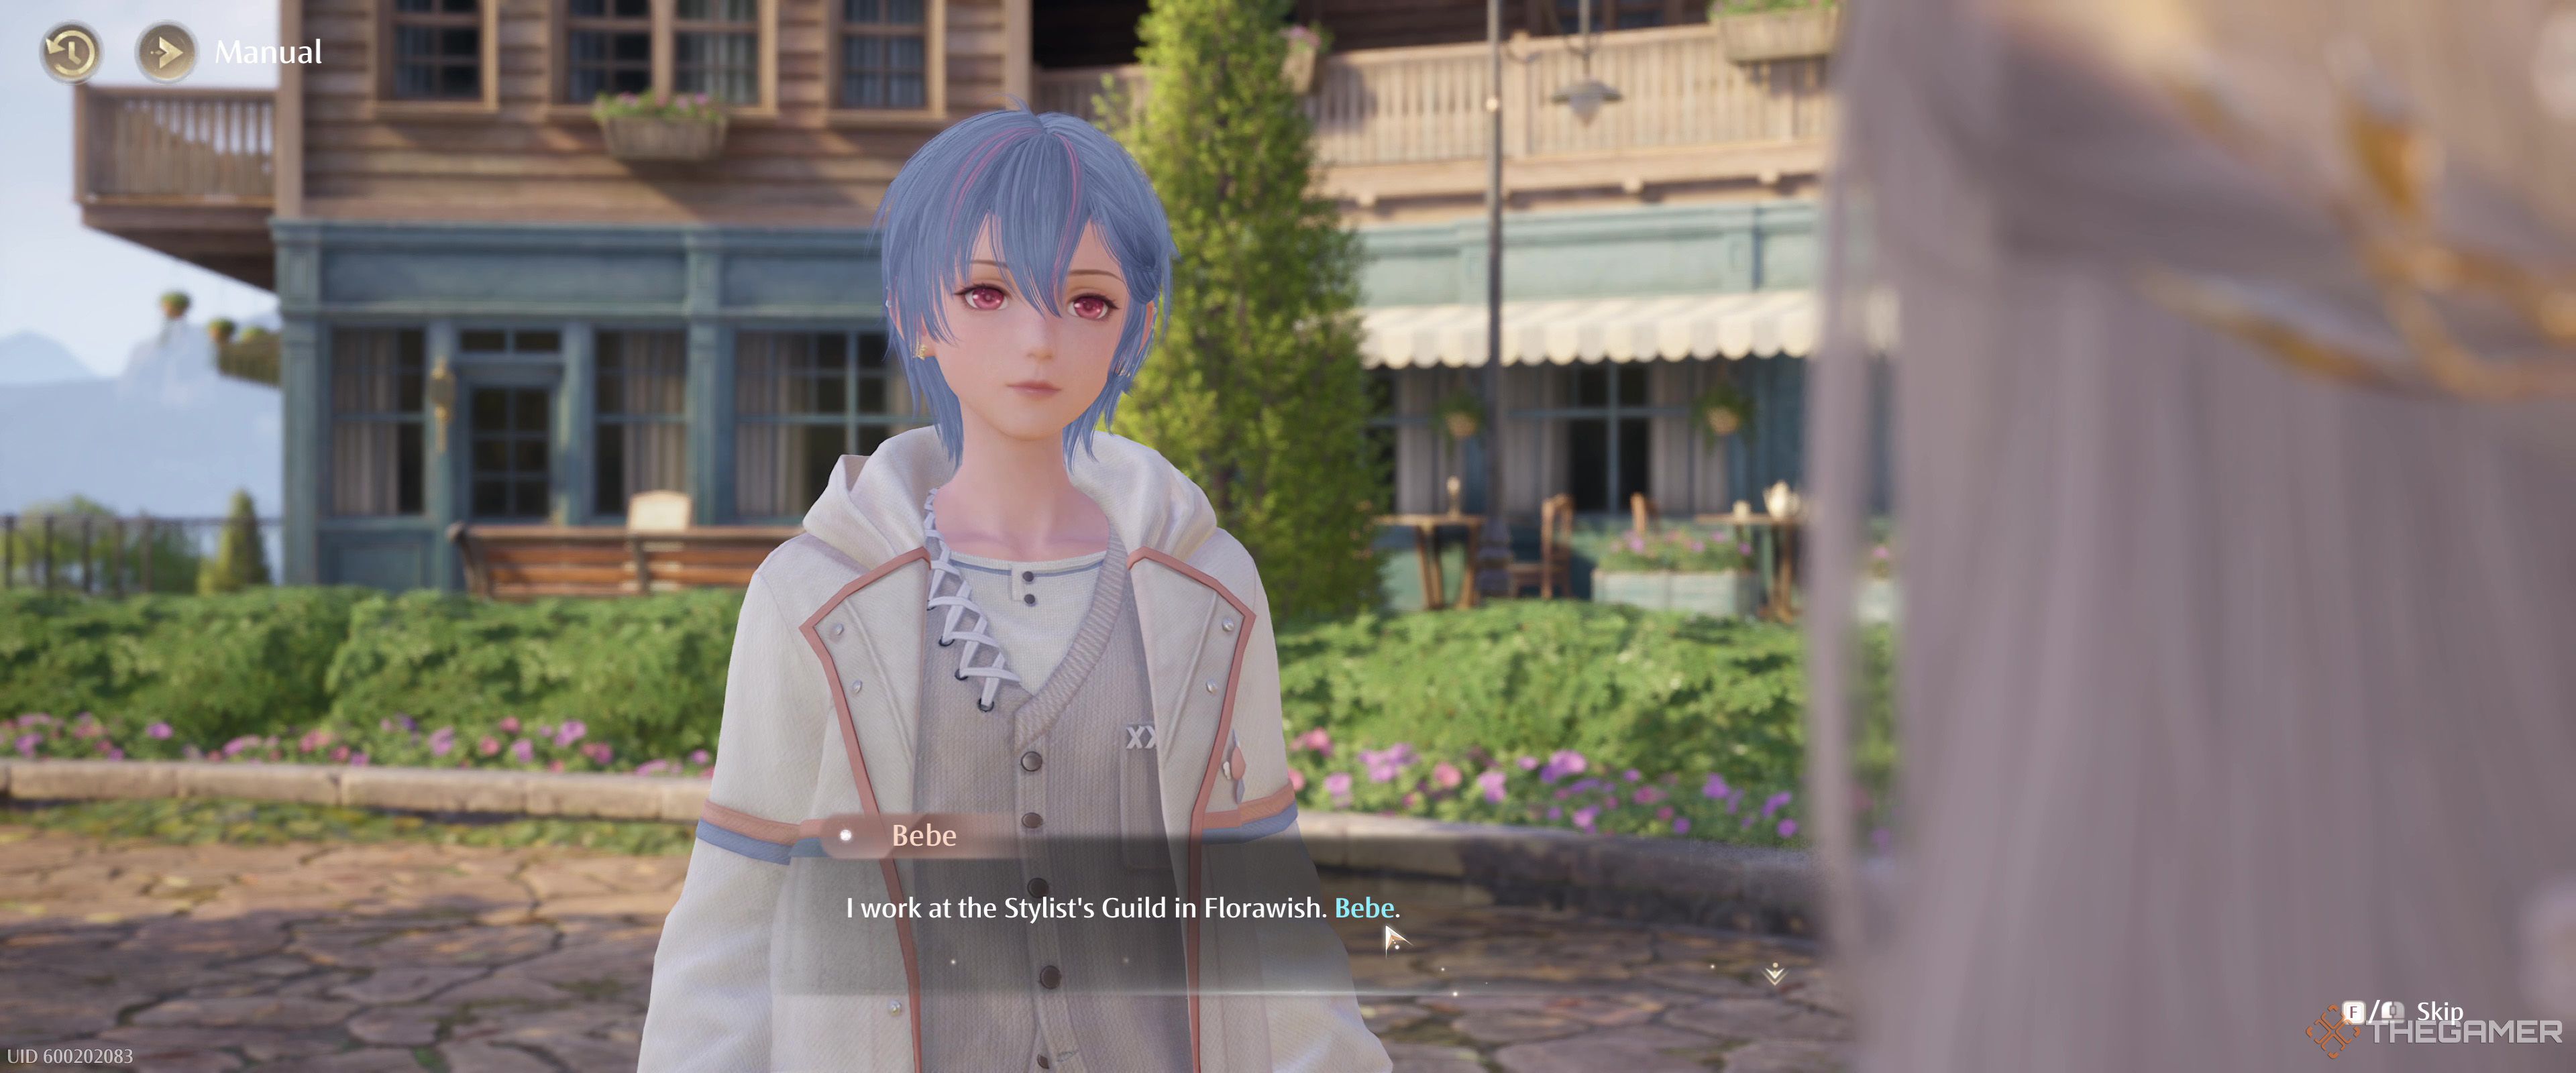
Shortly after, you’ll meet Bebe, who you might remember Dada mentioned in the Stylist Guild Hall a bit earlier. She’s a little unsure of herself, but after a bit of coaxing, she’ll warm up and hand Nikki a camera that you can use to take your first of (hopefully) many photos.
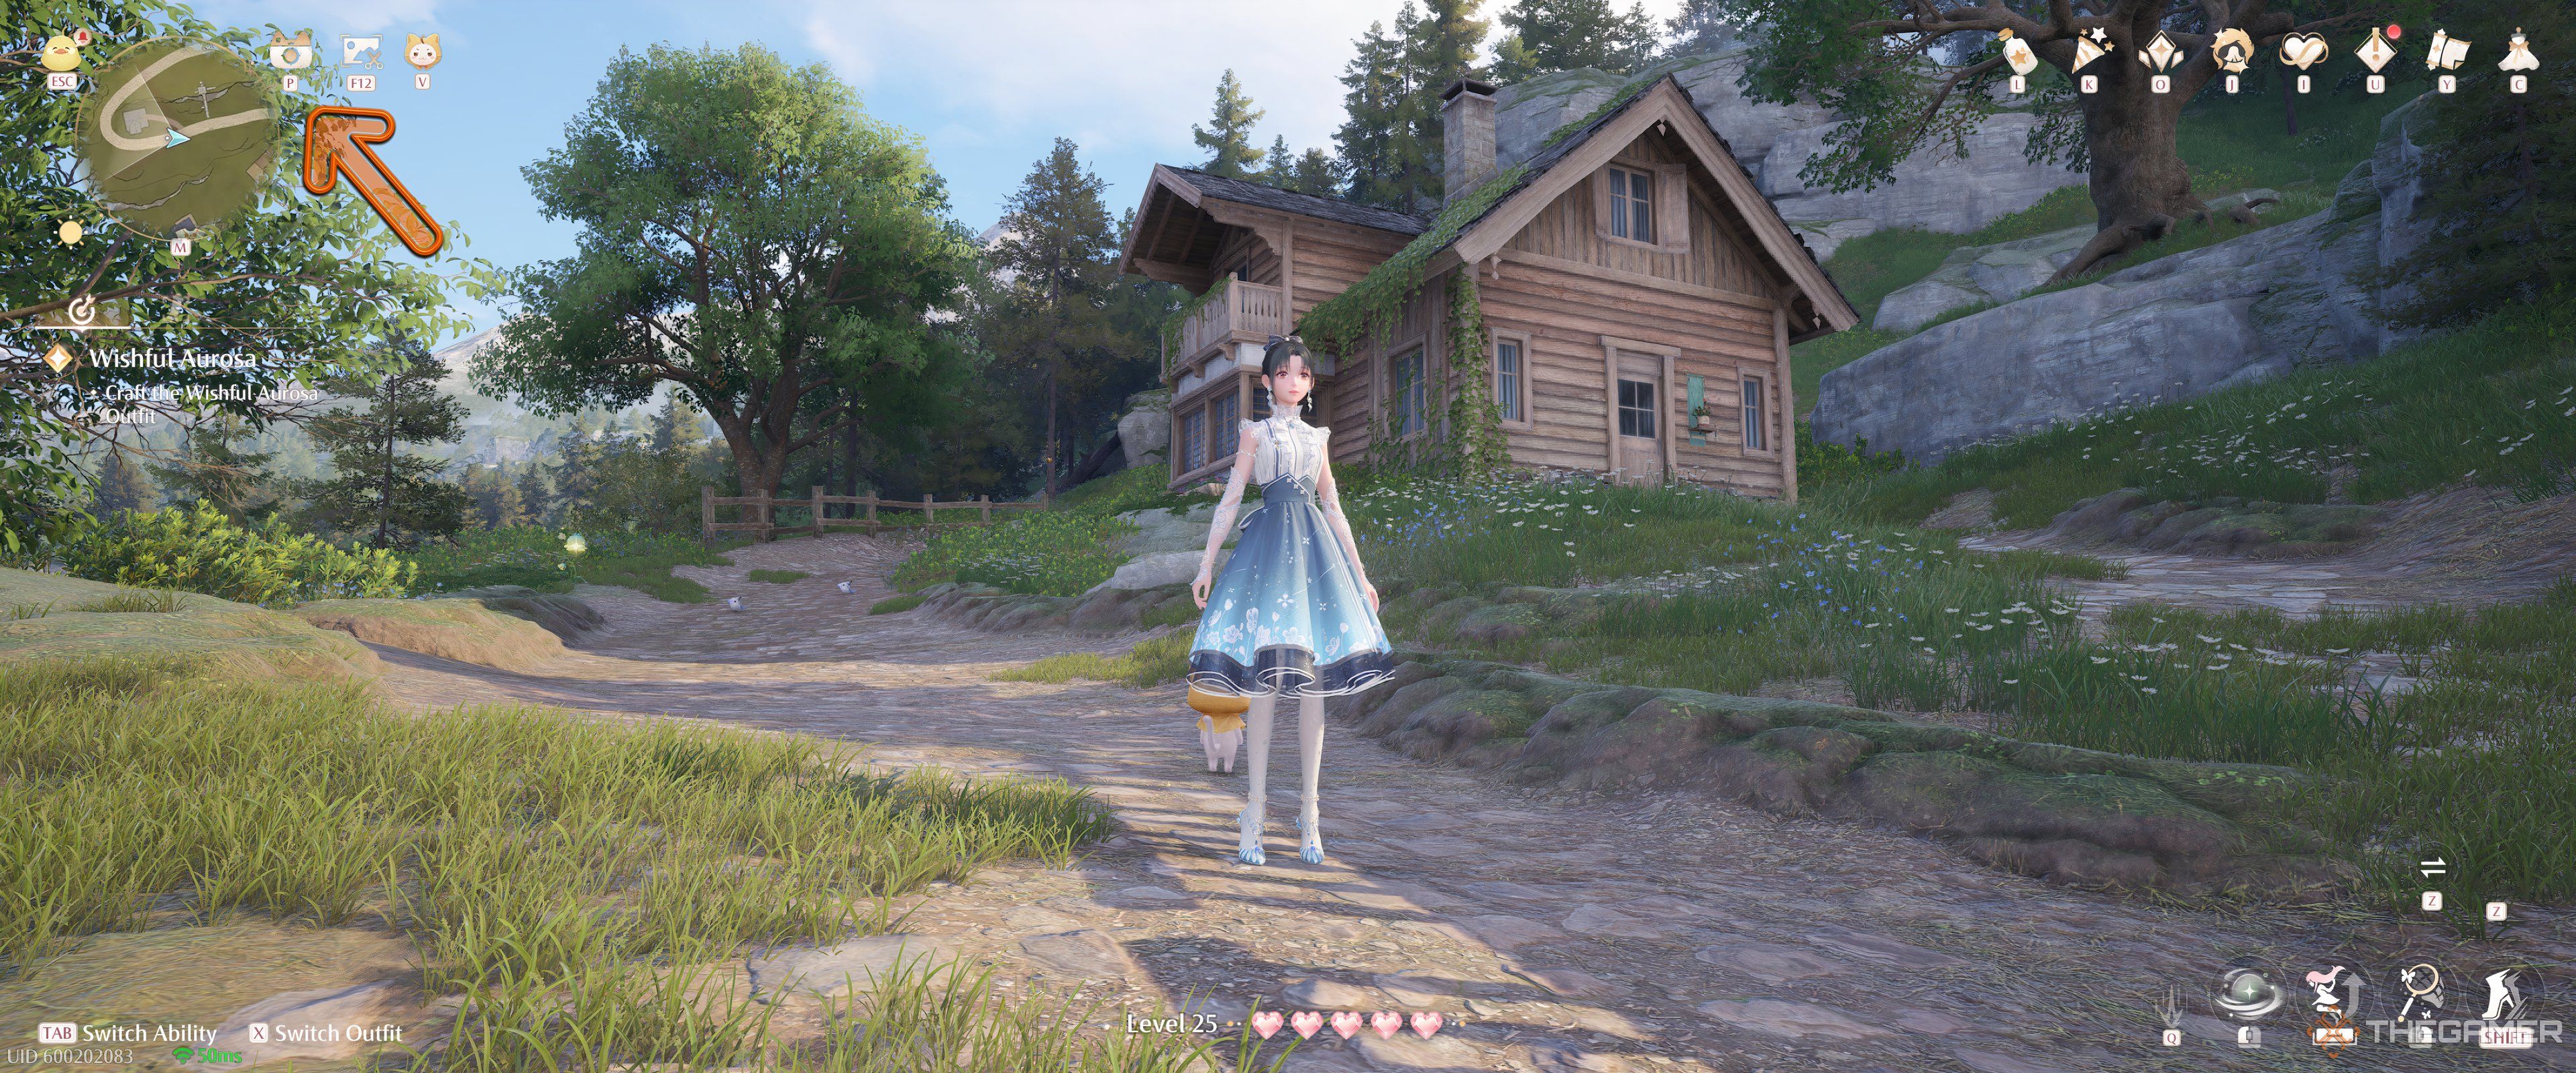
To access the camera, press P, left bumper, or up on the d-pad, or select the camera-with-cat-ears icon in the top-left of the screen, next to the map.
Pressing F12 on your keyboard or pressing both thumb sticks on the controller will instantly take a picture of wherever you are, as will selecting the image icon next to the camera icon.
Taking a quick photo with something like F12 does not open photo mode.
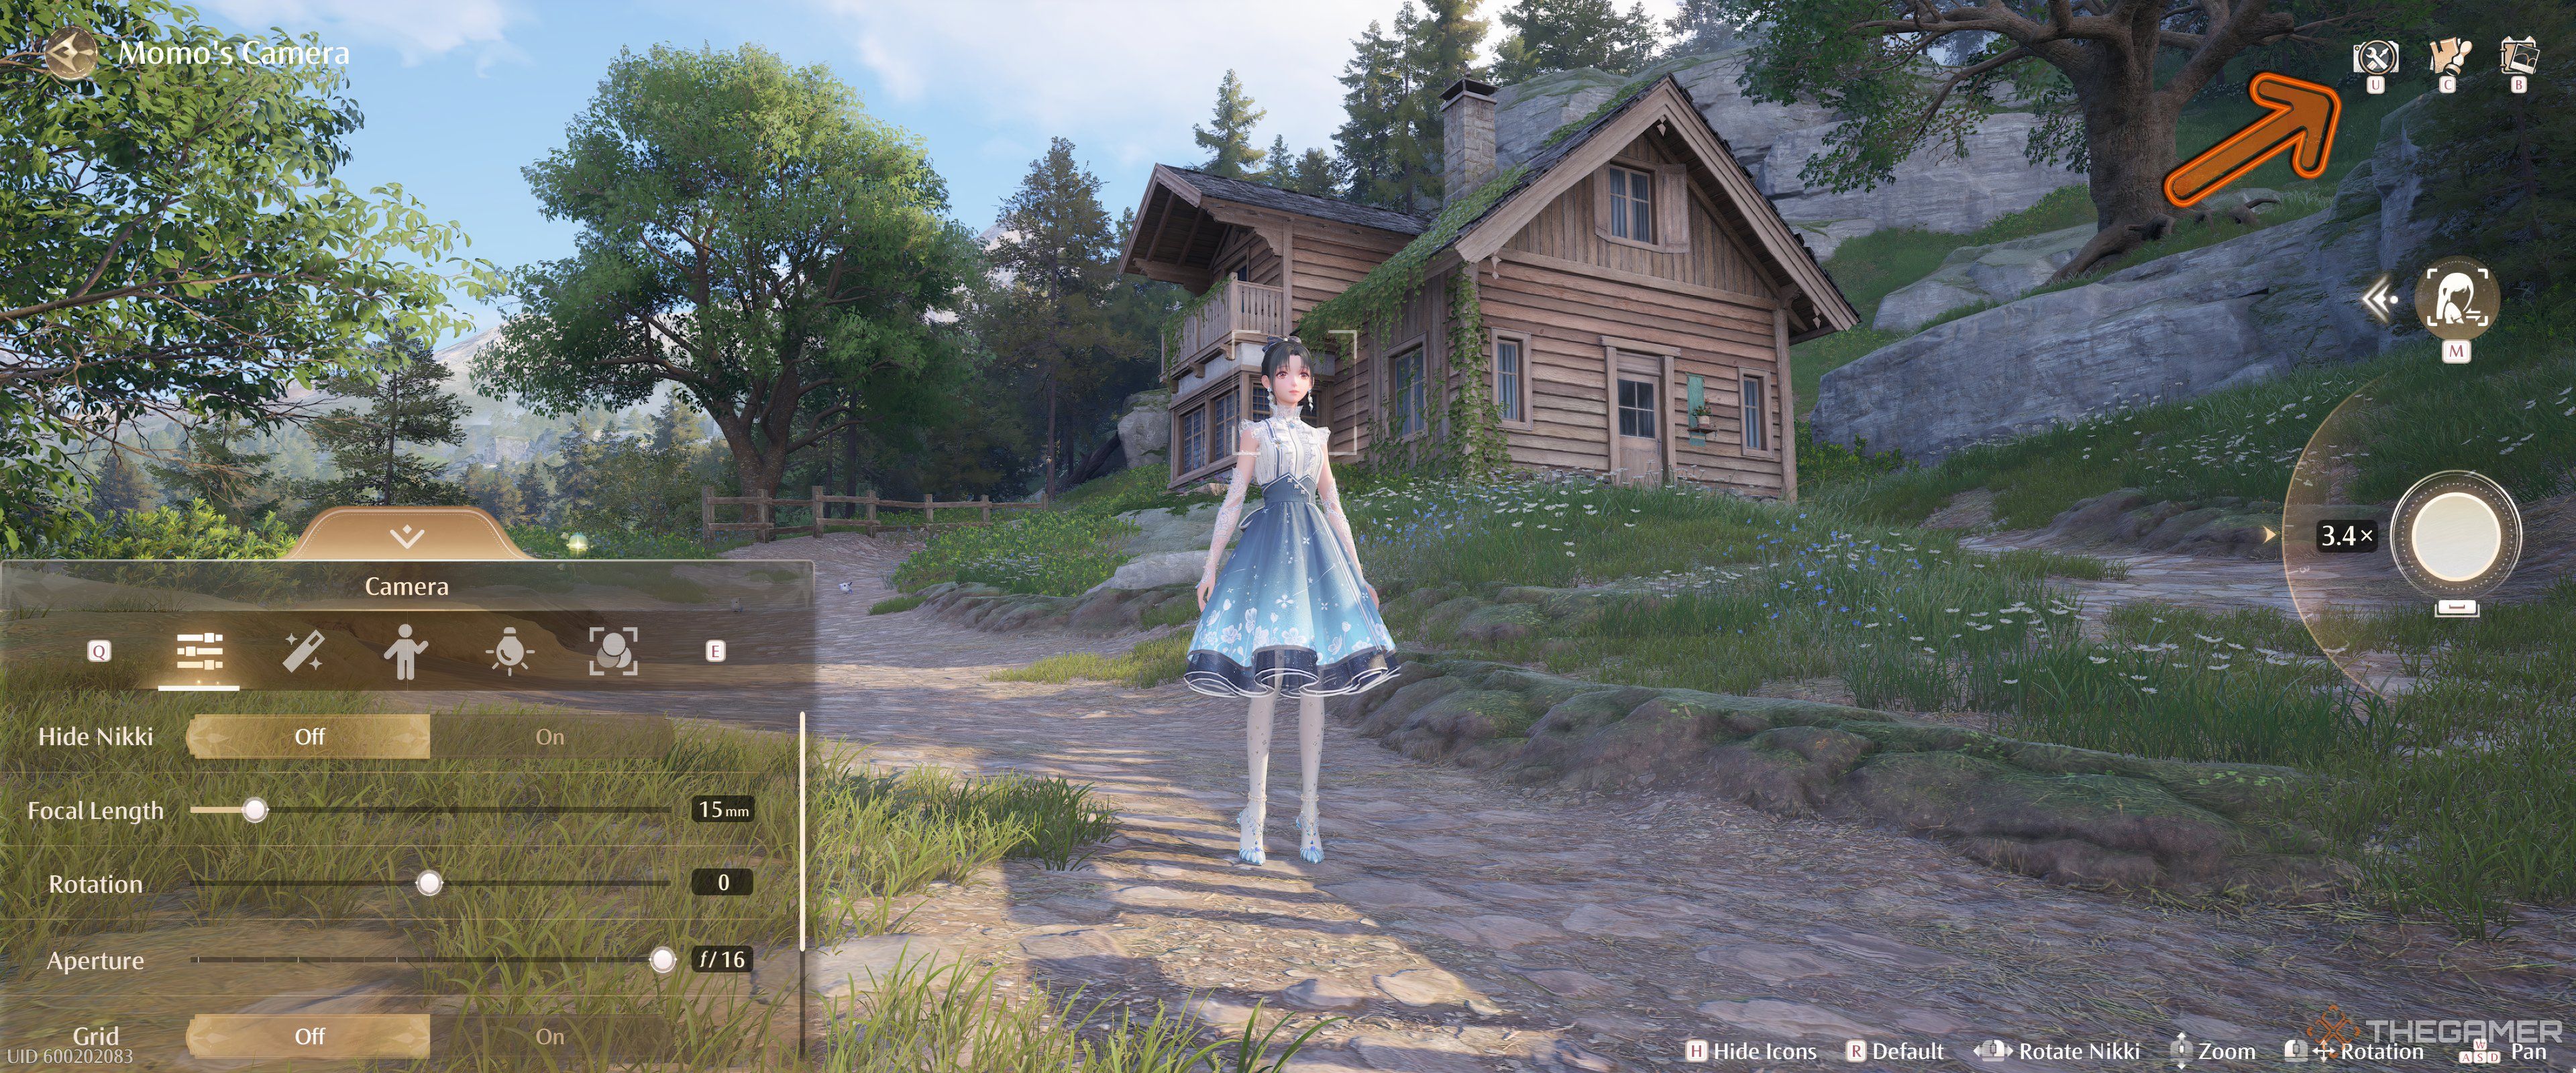
Once you’re in the photo mode menu, you’ll have access to a surprising number of features off the bat, including:
|
Control Type |
Control Options |
|---|---|
|
Camera |
Hide Nikki Focal Length Rotation Aperture Grid visibility NPC visibility Eureka visibility |
|
Graphics |
Vignette Soft Light Intensity Soft Light Range Brightness Exposure Contrast Saturation Natural Saturation Highlights Shadows |
|
Pose |
Choose from a long list of pre-built poses for Nikki to take. |
|
Lighting |
Choose from a list of different lighting setups for Nikki, including adding hue lighting. |
|
Filter |
Choose from a list of different filters to overlay onto the image. |
How To Get More Poses, Lighting Options, And Filters
While the selection of poses, lighting setups, and filters available as soon as you get a camera is significant, a big part of the photo mode progression path is earning additional options to choose from.
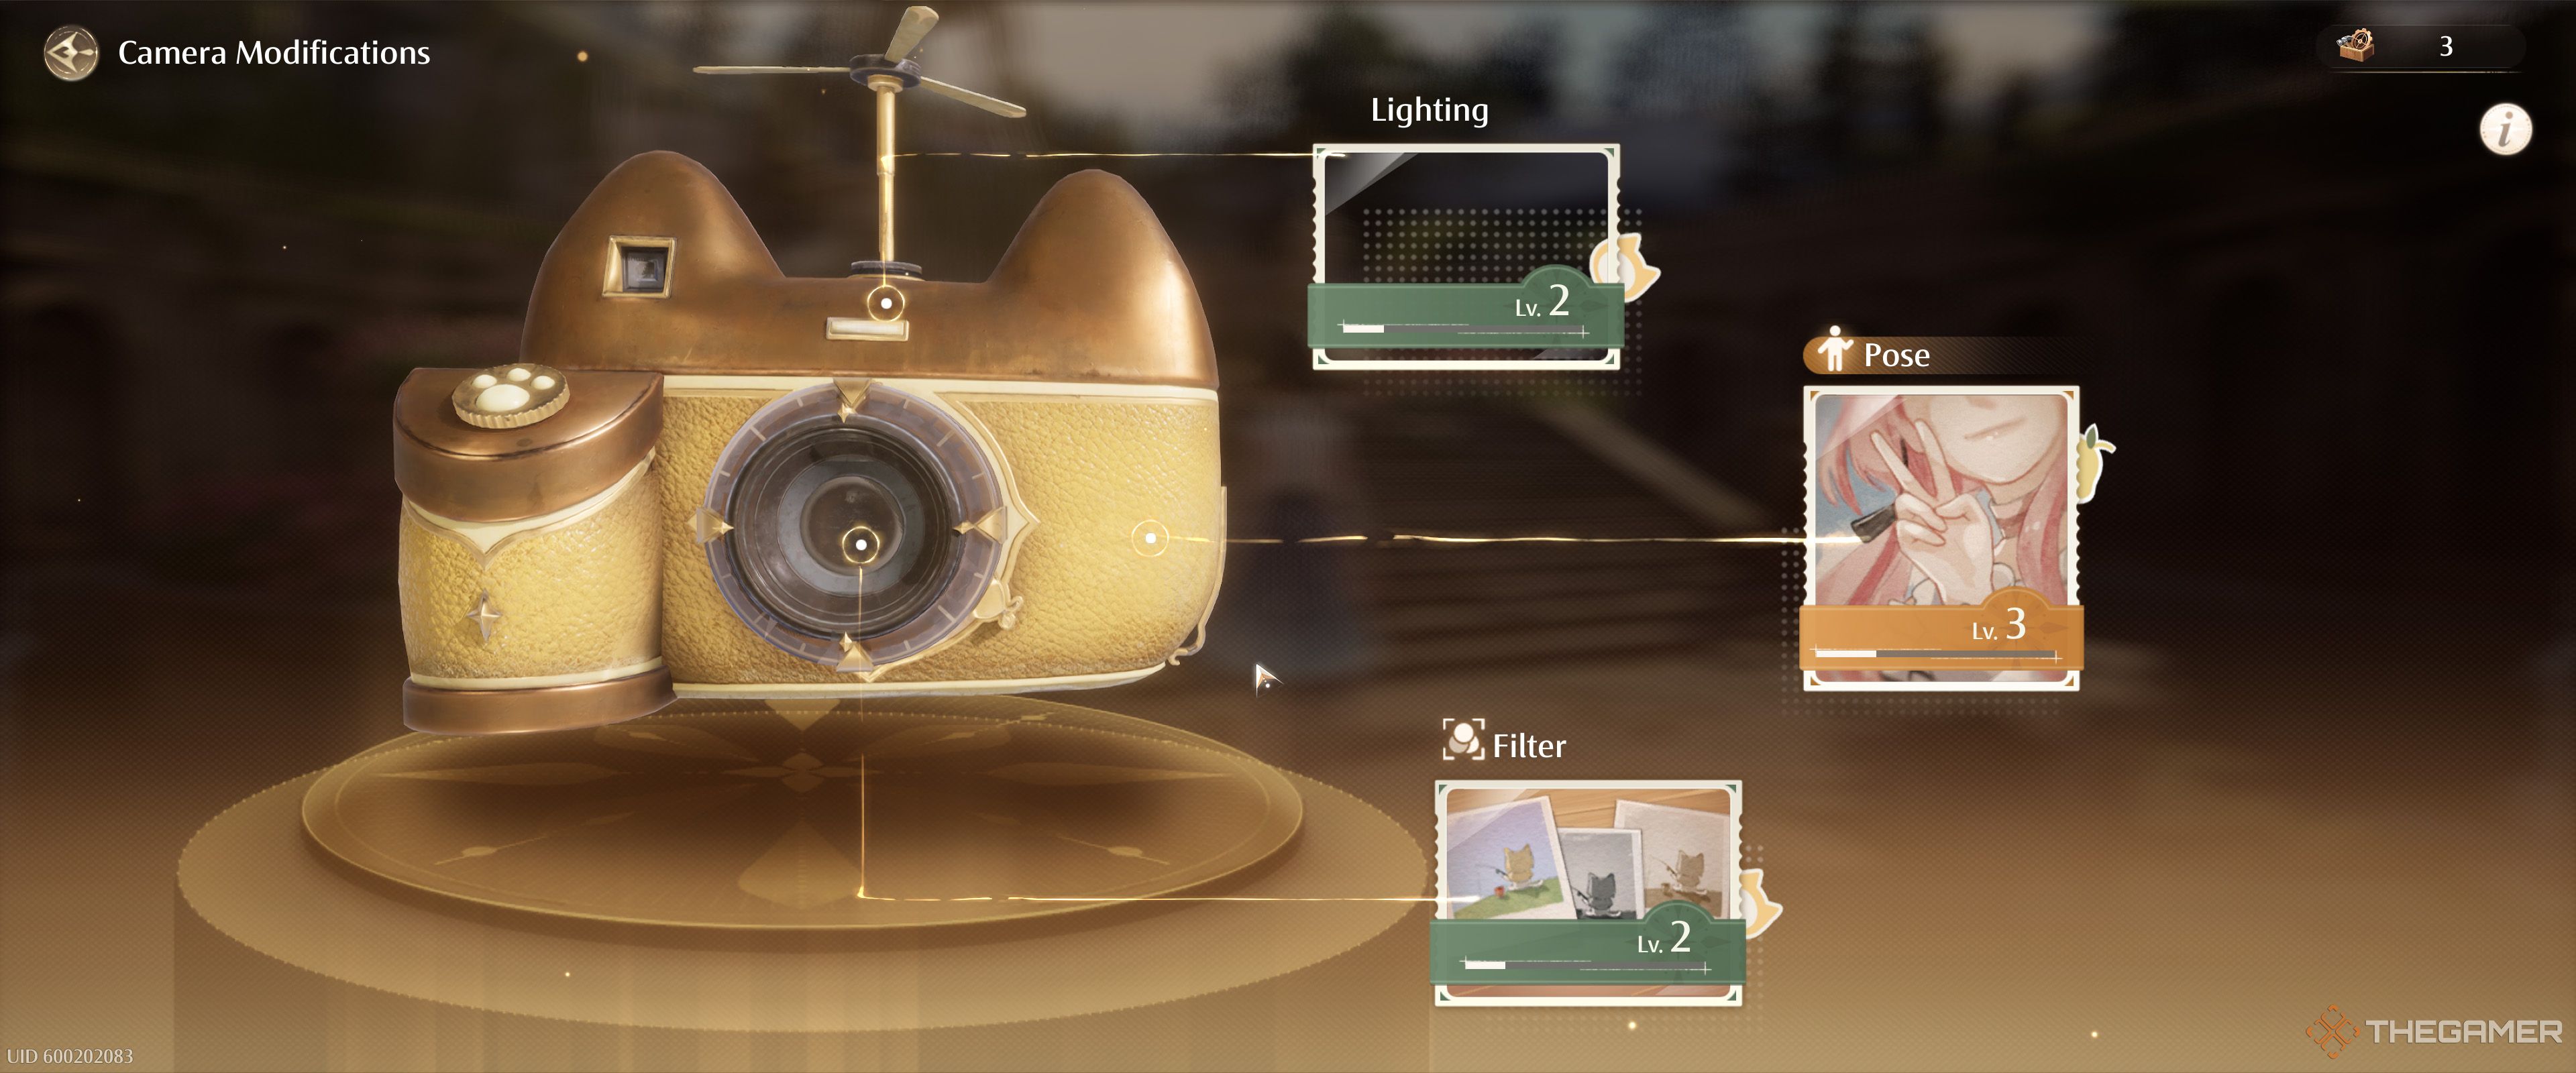
To expand your picture-taking prowess, first, open the photo mode with P or the icon in the top left, then press U or select the wrench and screwdriver icon in the top-right of the screen.
The menu that opens is called Camera Modifications, and it’s where you can get more poses, lighting, and filters. You don’t get them for free, however.
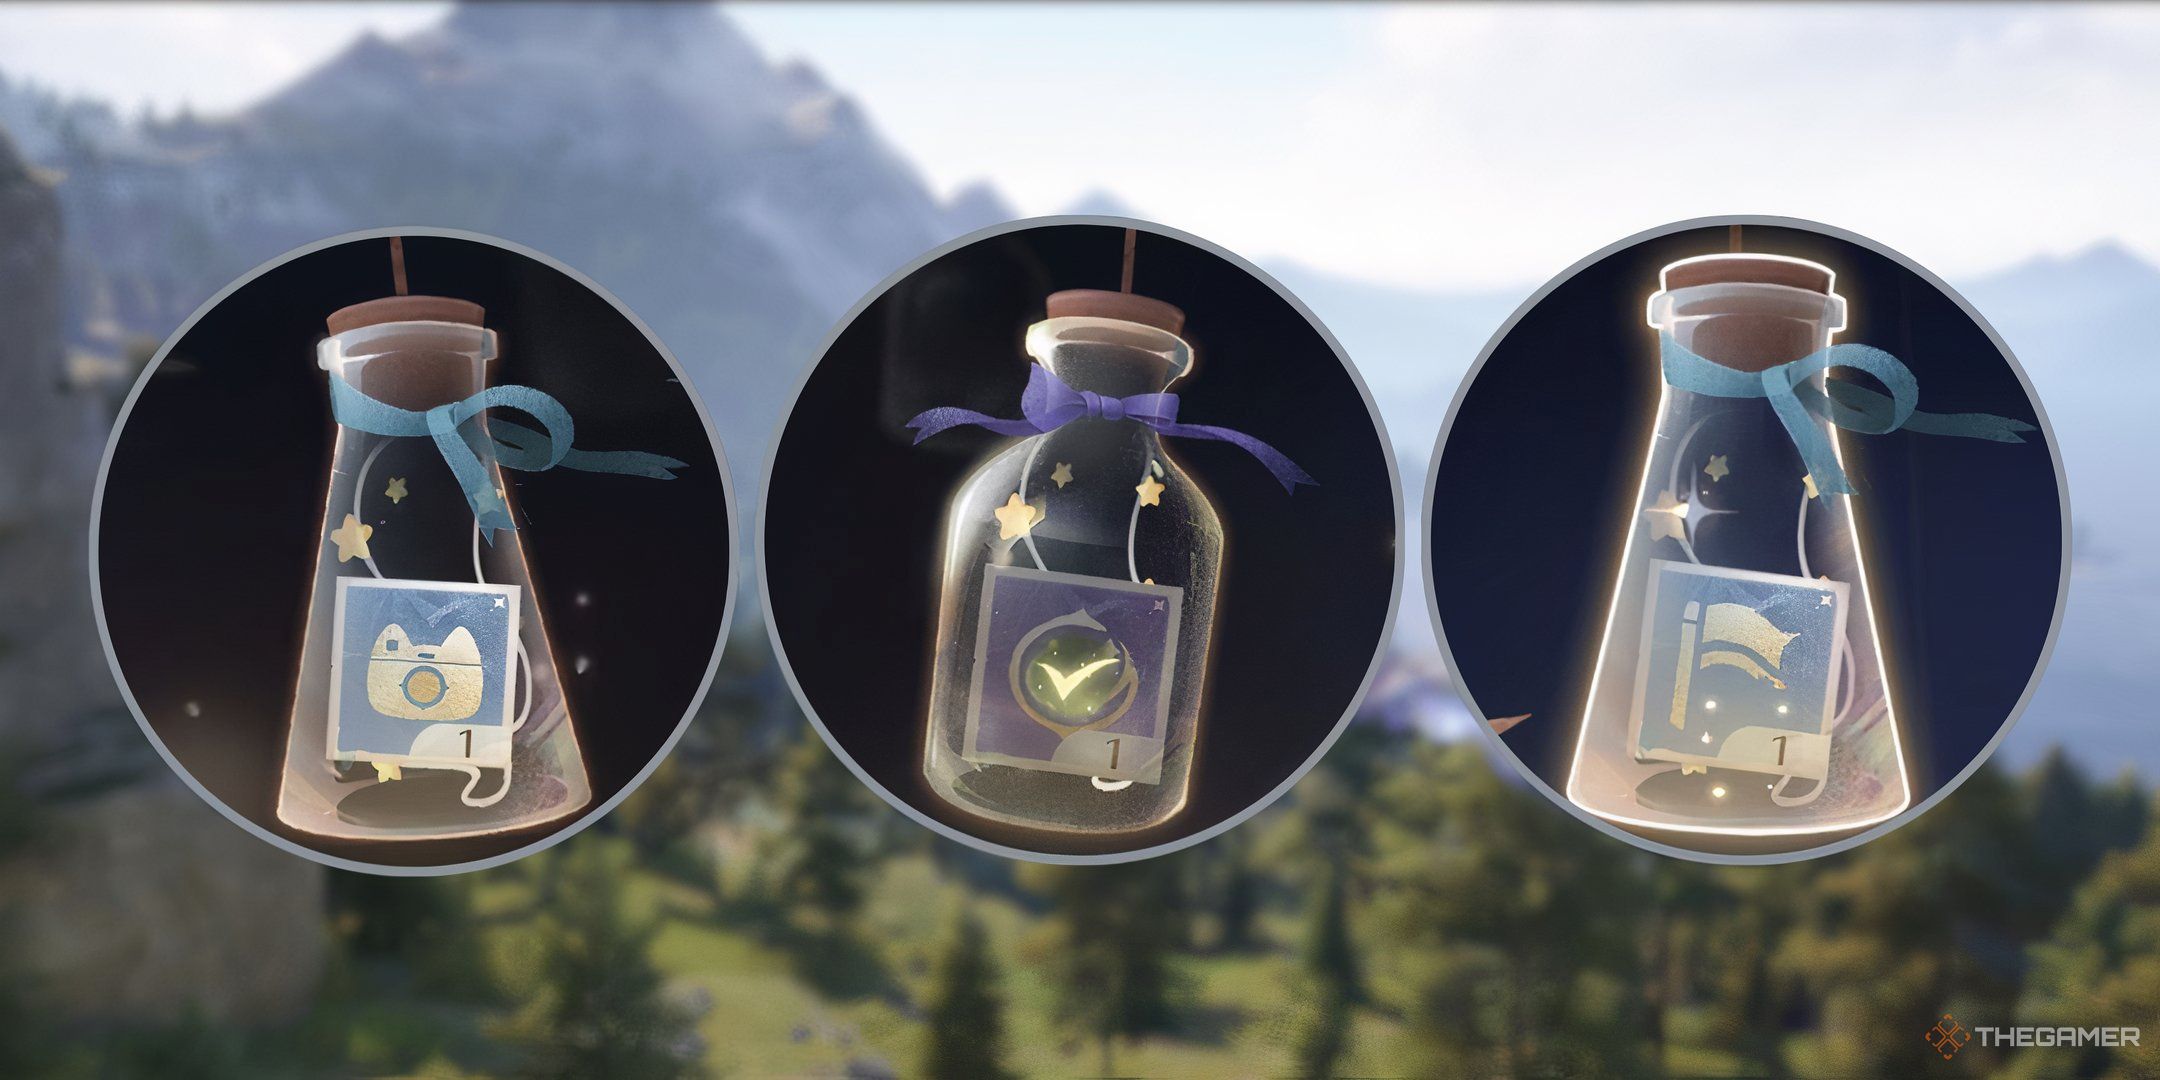
To upgrade your camera, you need items called Upgrade Packs, which you can get by completing Random Quests marked as photography tasks. These include Photo Investigations, Risky Photography, and Forced Perspective. As the name implies, you can discover these quests randomly while exploring the world.
Photography quests usually award three Upgrade Packs and ten Diamonds when completed. There’s a problem, though: the higher level a part of your camera is, the more Upgrade Packs it takes to improve. Specifically:
- Level 1: 1 Upgrade Pack
- Level 2: 2 Upgrade Packs
- Levels 3-4: 3 Upgrade Packs
- Levels 5-7: 5 Upgrade Packs
- Levels 8-10: 7 Upgrade Packs
- Levels 11-12: 9 Upgrade Packs
In total, you’ll spend 60 Upgrade Packs per camera upgrade, for a total of 180 Upgrade Packs to get all 12 additional poses, lighting setups, and filters.
How To Unlock And Use The Expedition Handbook
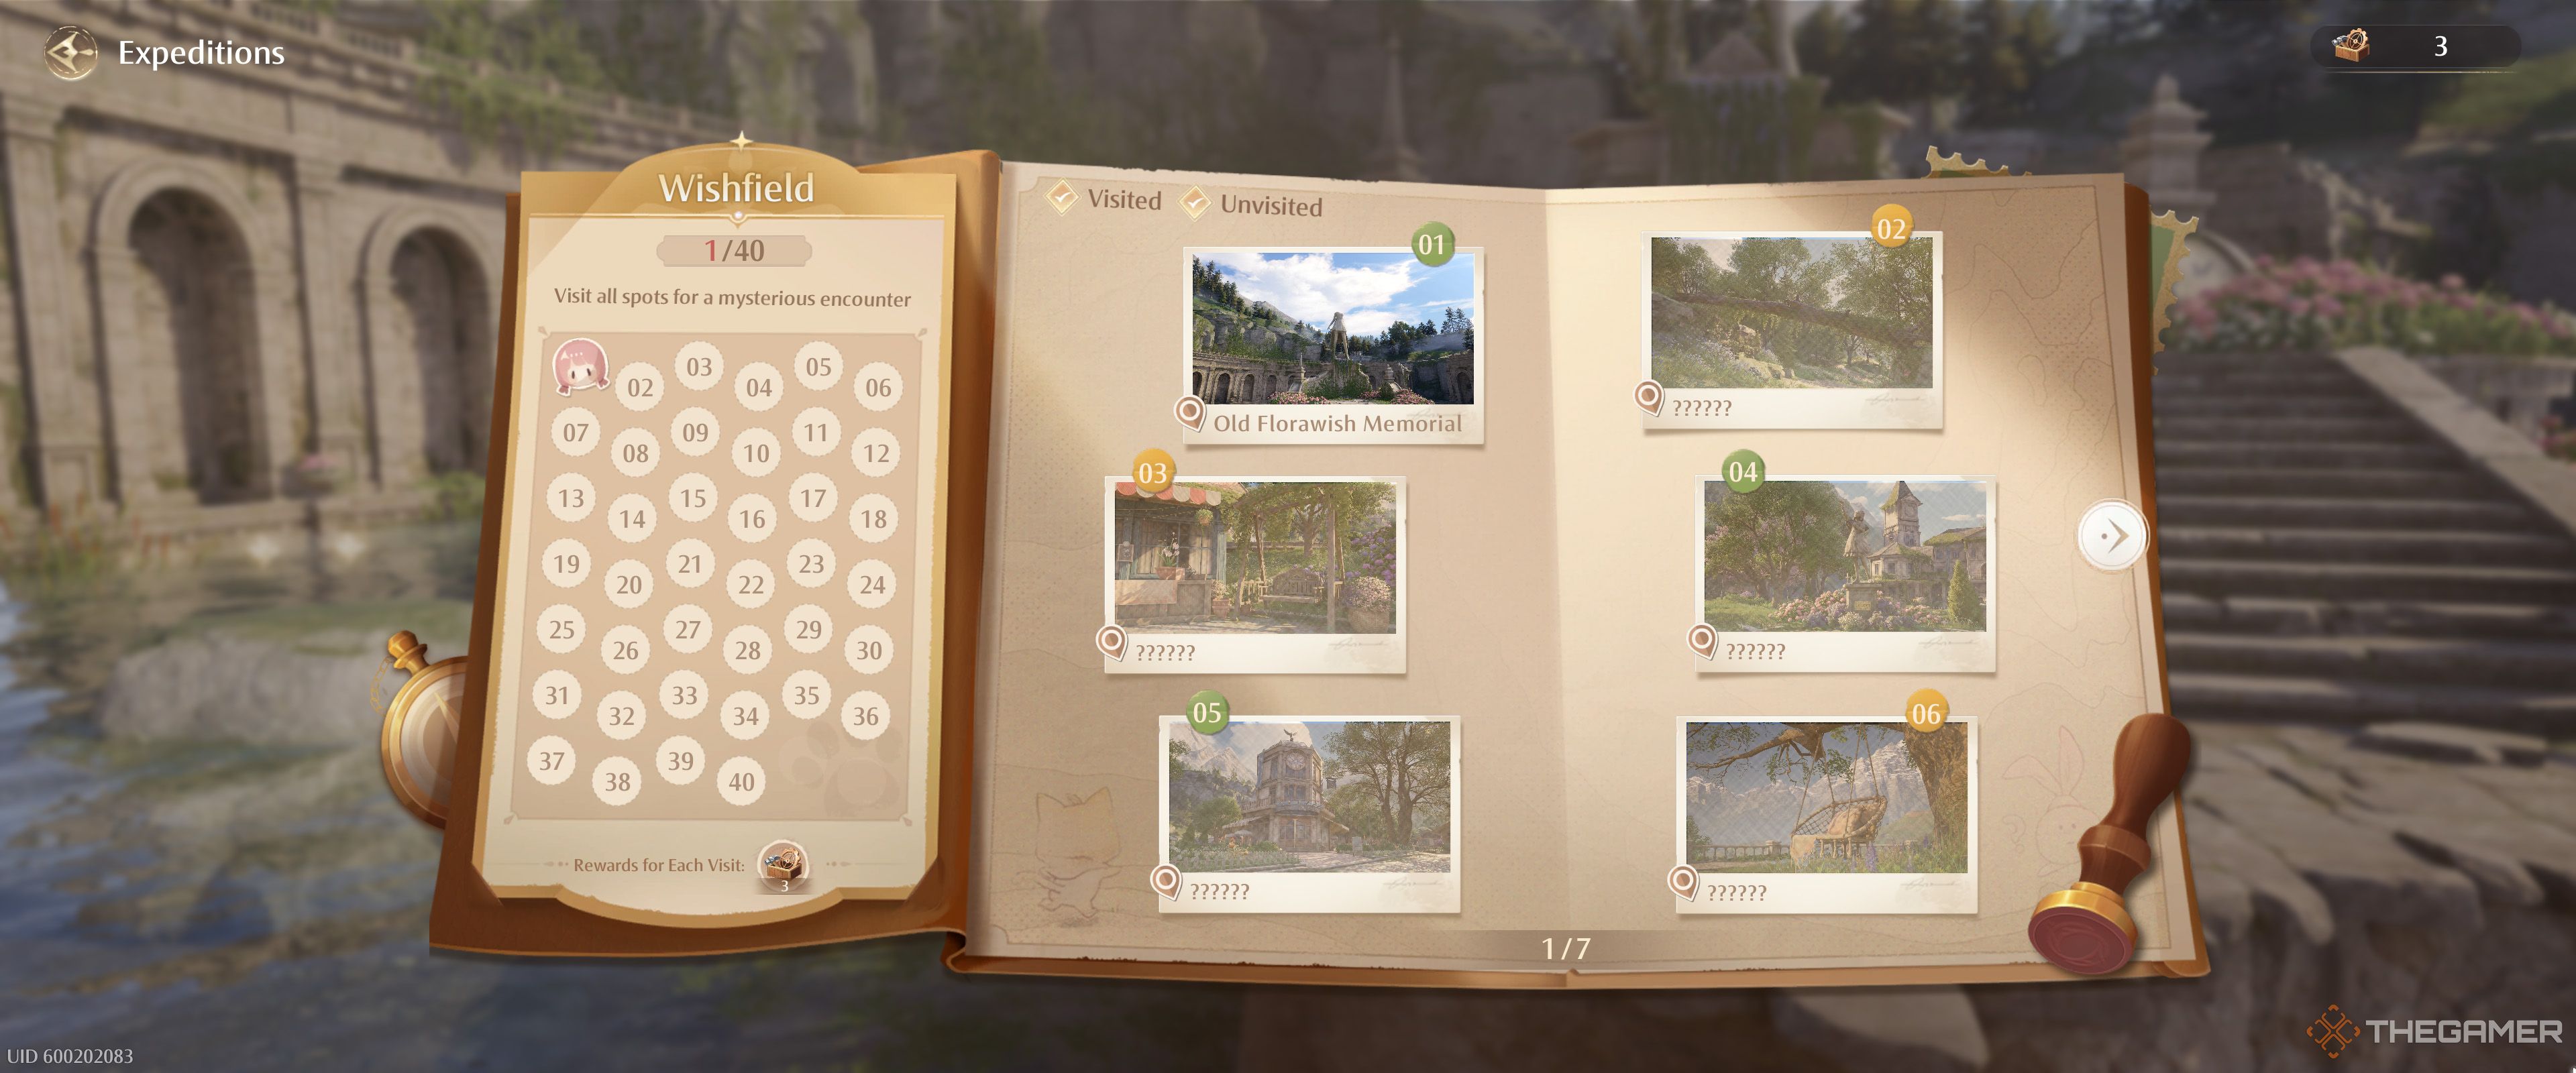
Another neat progression path with photo mode is the Expedition Handbook, a collection of 40 photos across Miraland that you need to find and photograph yourself for a “mysterious encounter.” Finding each photo location and taking a snapshot of it also awards three Upgrade Packs.
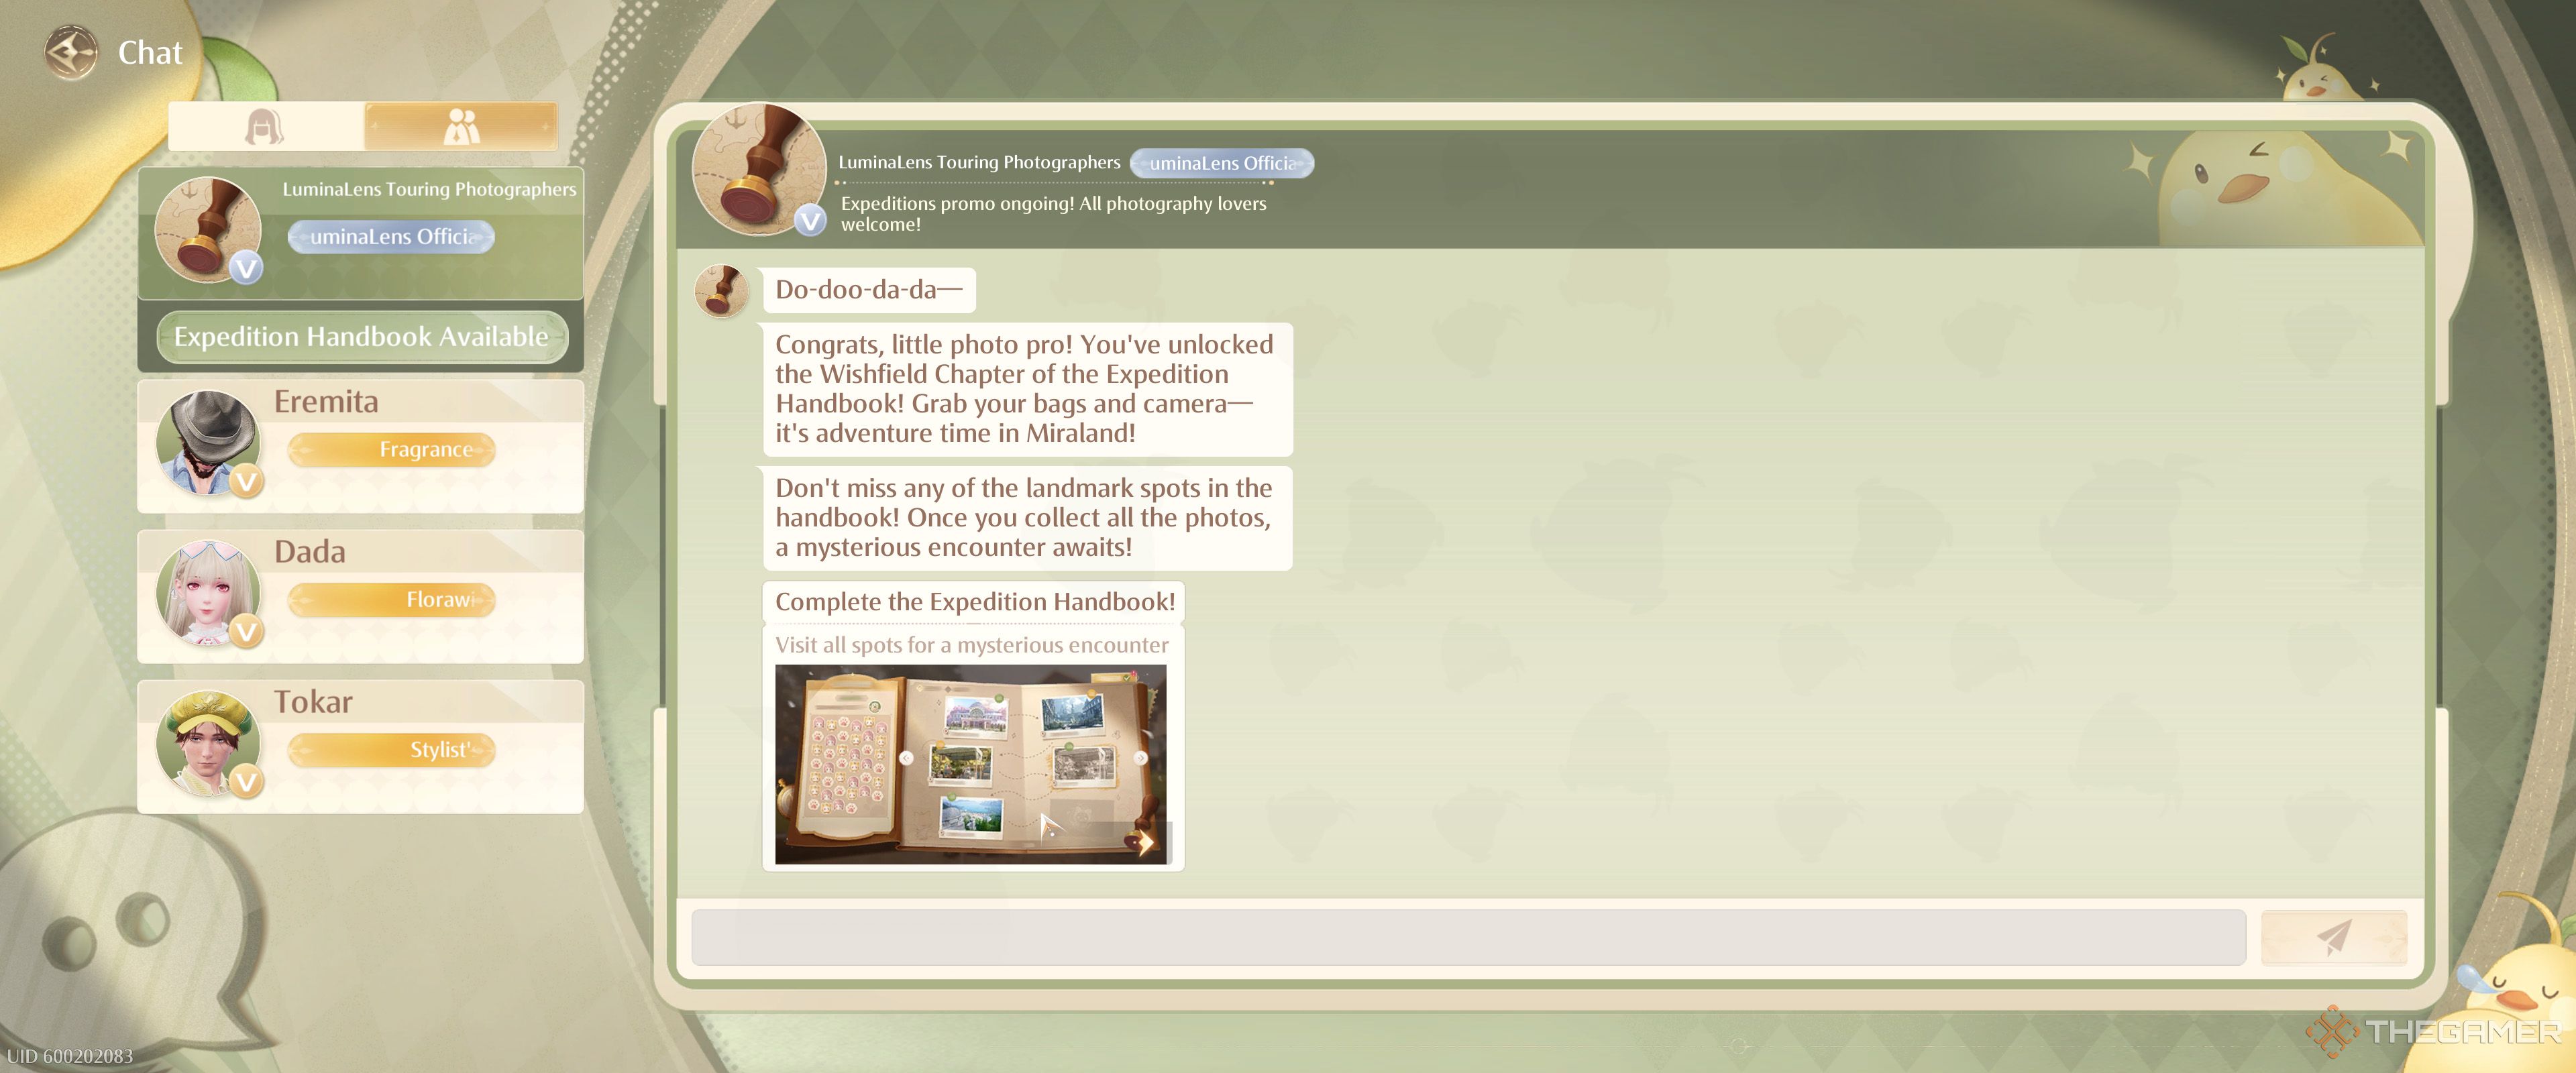
To unlock the Expedition Handbook, take five photos. Once you do, you should get a text from the LuminaLens Touring Photographer in your Friends menu, who will introduce the Expedition Handbook to you.
After receiving the text, you can open the Expedition Handbook by selecting the book and pawn symbol at the top right of the screen.
Having the Expedition Handbook marks 40 locations in Miraland where you can go and, when you reach them, take a picture to complete the expedition.
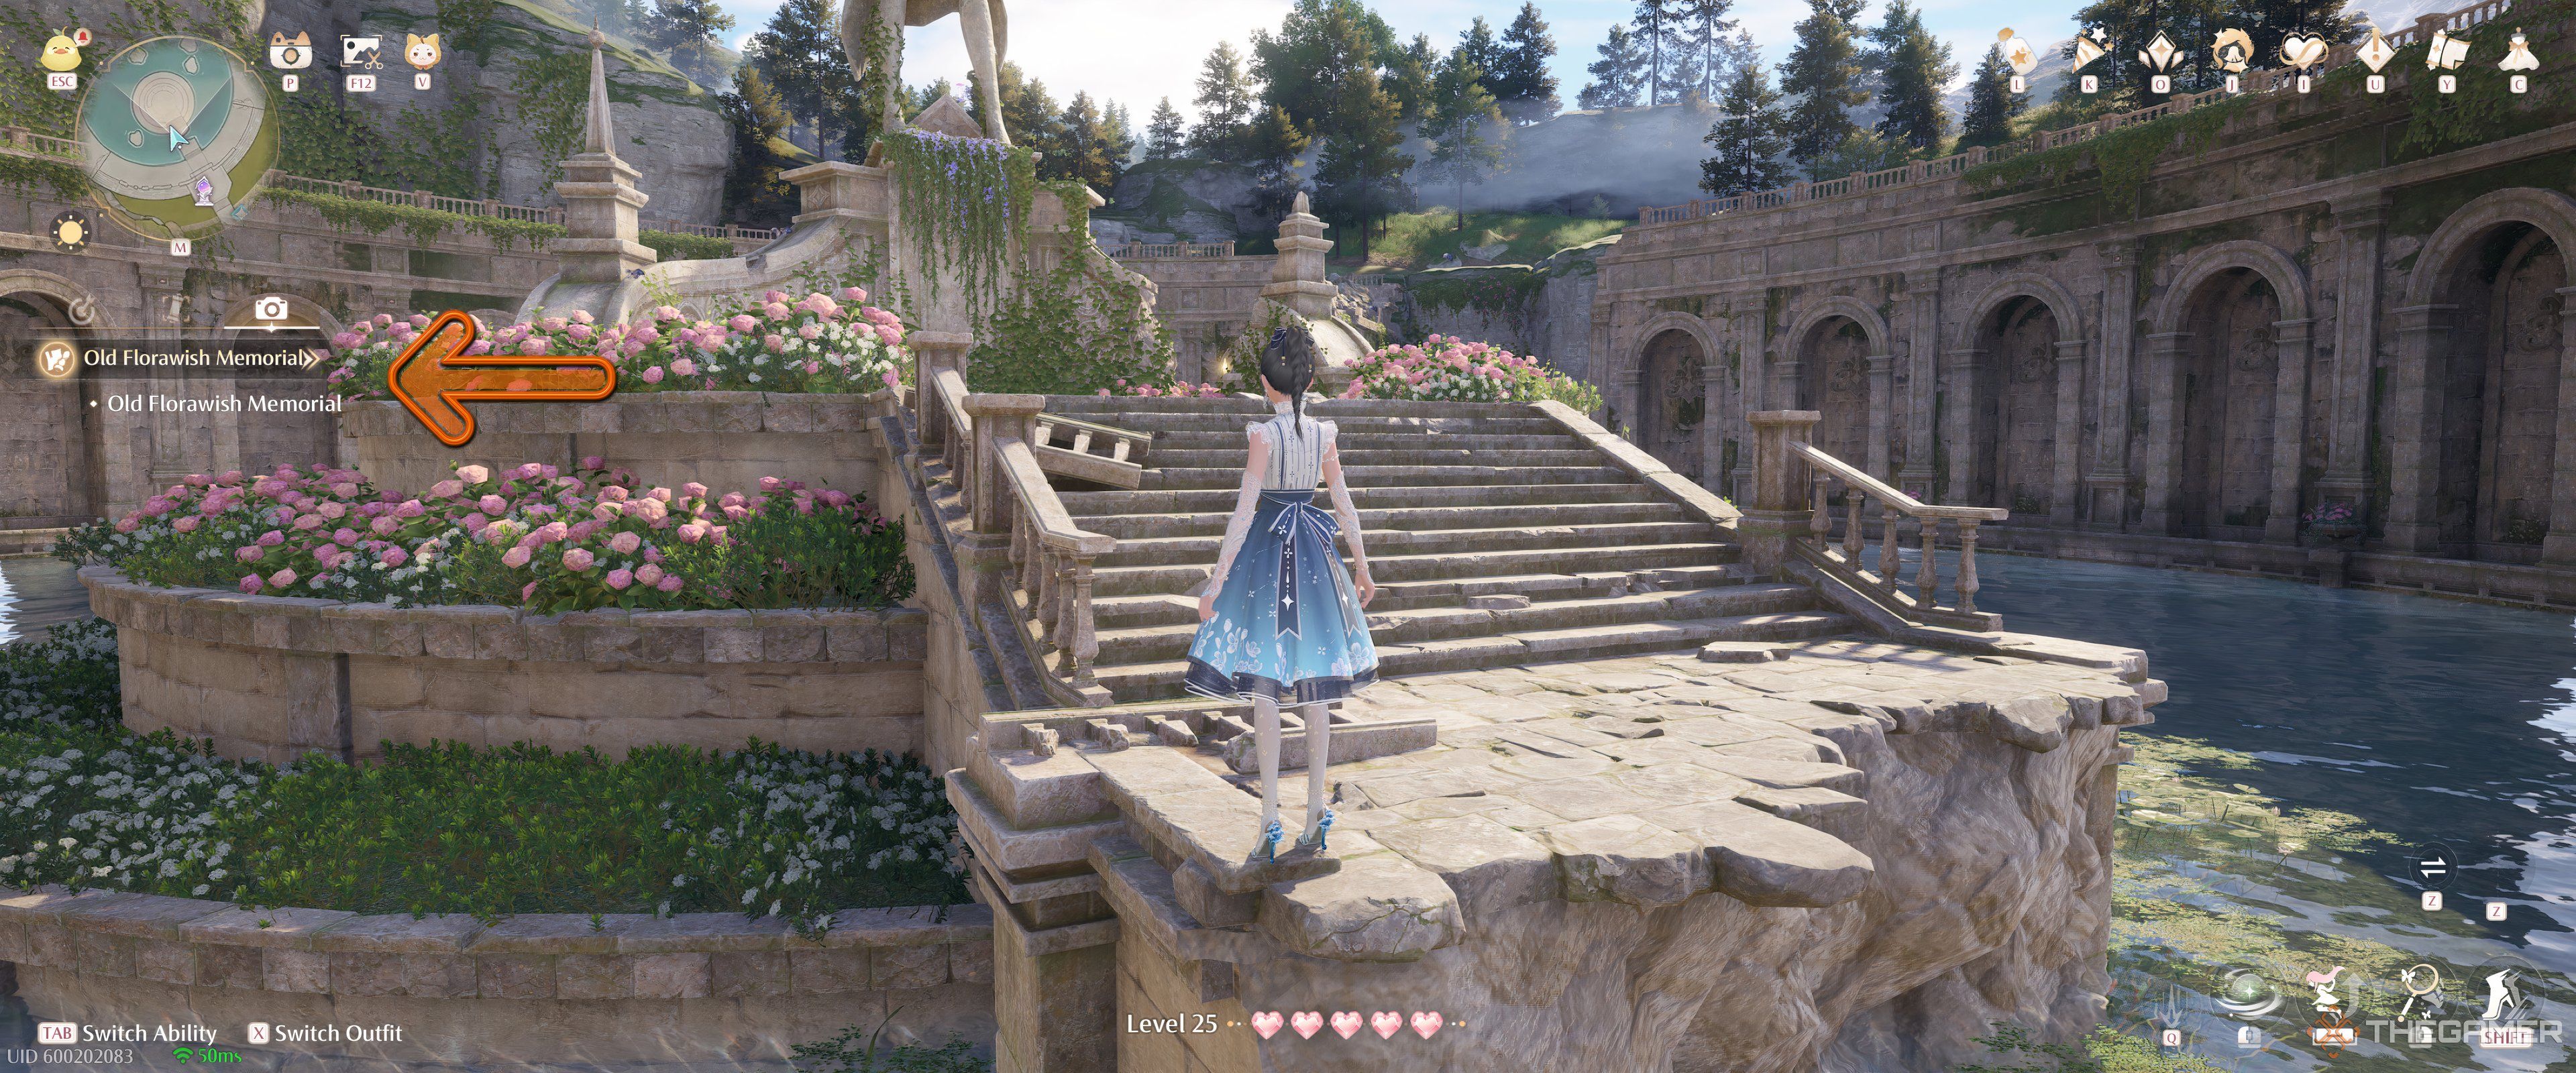
Actually getting the picture to register can be a bit finicky, sadly. First, you need to reach the location shown in the Handbook, then maneuver within the location until the name of the location appears in your quest log at the left side of the screen underneath the camera icon.
Once it does, open photo mode and pan the camera until the frame captures whatever landmark the Handbook wants a picture of. Get it right, and you will get a “Goal Achieved” message.
You then need to Upload the image to get credit for visiting the location and taking a successful photo. You’ll automatically get your Upgrade Packs once the image registers successfully.
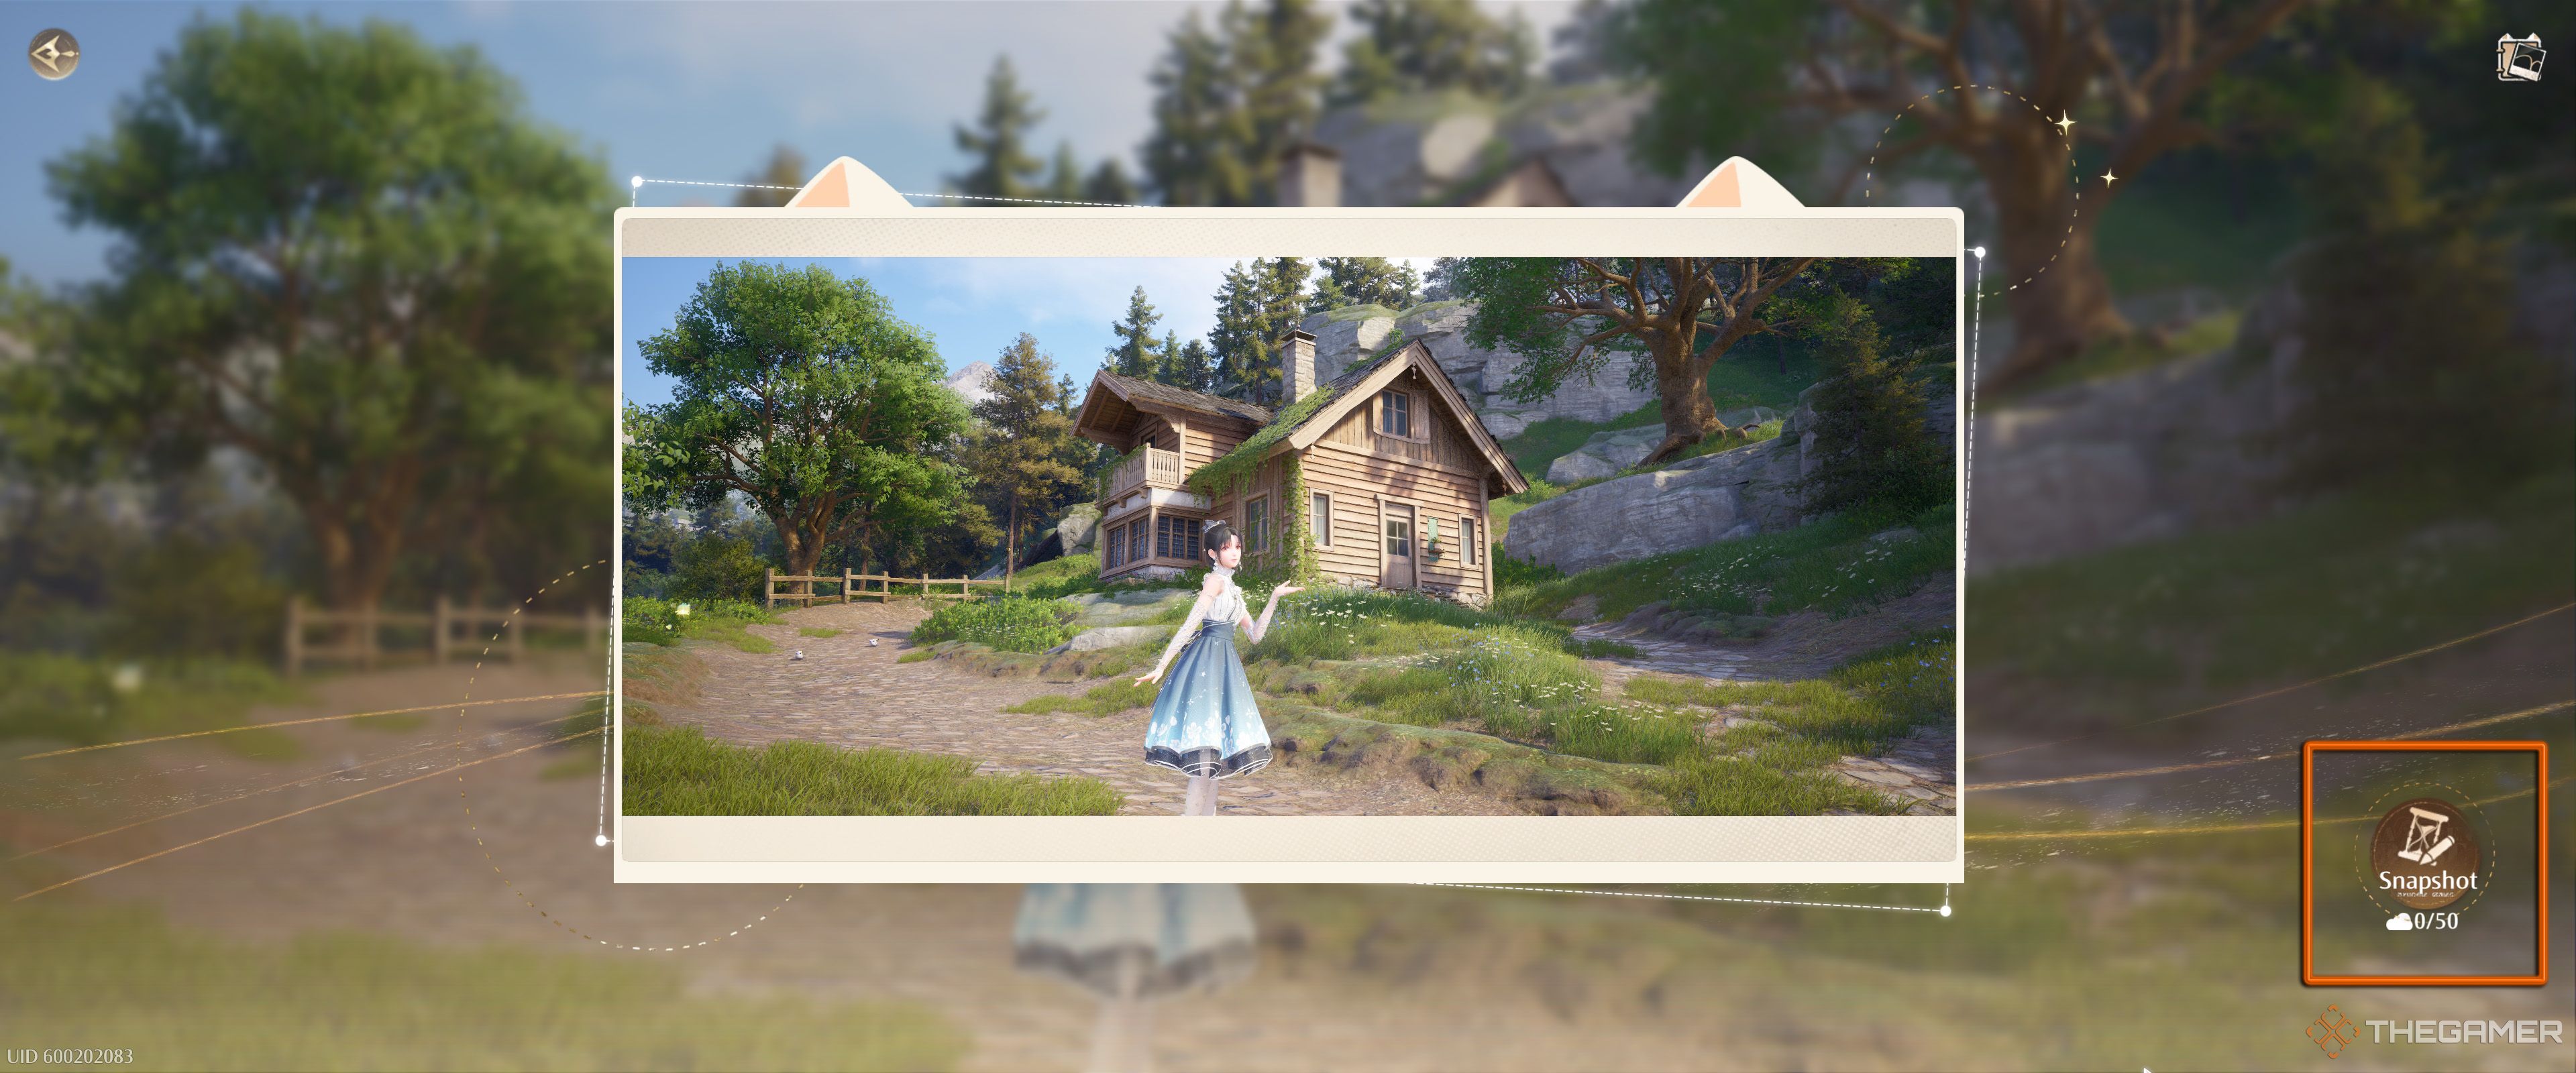
One of the sweeter features of Infinity Nikki’s photo mode is the ability to share your creations with other players. Once you’re satisfied with a composition, snap the picture, and if you want to share it, select Snapshot in the bottom-right of your screen.
From there, you can enter a description of the image (with a 100-character limit) and post it to the cloud. You have a limit of 50 posted snapshots. Other players who come across your image will see a glowing, floating hourglass where you took the picture and can interact with the item to see your artwork.
You can also choose to share the photo with other players, allowing them to share their own snapshots with your picture. They can also send a friend request if they enjoyed your piece. Choosing not to share lets them see your work but not interact with it.
Next
Infinity Nikki: Complete Daily Wishes Guide
The only thing we love more than daily rewards is how cute the menu for them is.





Leave a Reply