Between crashing onto the island and the earthquake that occurs soon after you arrive at Luma Island, access to other regions is initially blocked off. All the ways people used to get to them end up destroyed, and it’s up to you to repair them since… well, there isn’t anyone else proficient enough to do it.
Related
Luma Island: Complete Mining Guide
You’ll have to brave dangerous spiders and encroaching darkness to mine for valuable resources.
One of the repairs you’ll need to make is to the boat you crashed onto the island with, but not only does it need regular materials, but you’ll also have to find two boat-specific components: the Motor and the Propeller. While the motor just needs to be bought, acquiring the Propeller is a much more dangerous endeavor.
How To Repair The Cable Car
To find the Propeller, you’ll need to unlock the third region of the game, the Mountains, and this requires you to repair the Cable Car in town after the earthquake that occurs on Day Five.
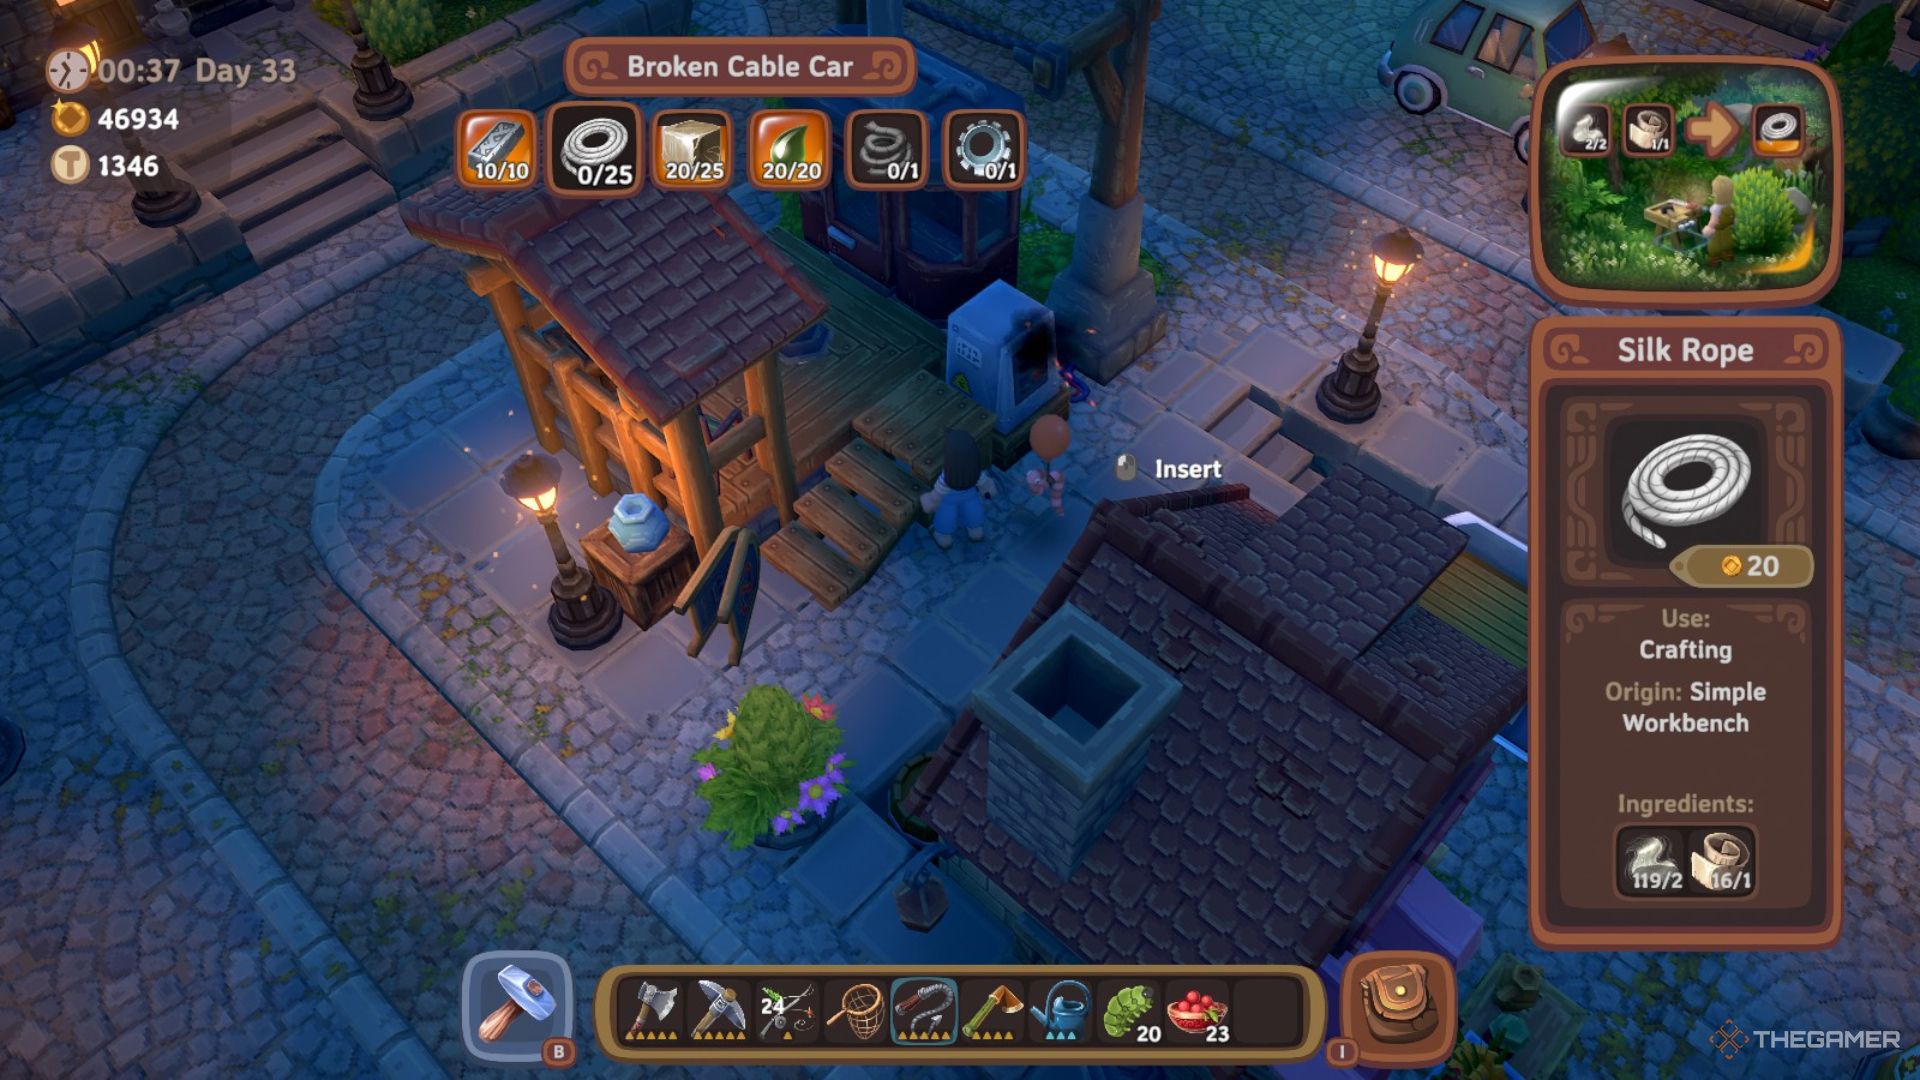
Unlike other broken locations, it doesn’t have a particular quest, but you can still see the materials needed by approaching it.
The first step in repairing the Cable Car is to repair the bridge to the Forest, as you’ll need materials from that area, such as Iron Bars and Forest Stone, and you can find the important Cogwheel item at the northwestern edge of this area.
Cable Car Repair Materials
|
Material |
How To Obtain |
|---|---|
|
Iron Bar x10 |
Smelt Iron Ore in any Ore Smelter. Iron Ore can be obtained from the Lost Forest Caves in the Forest area. |
|
Silk Rope x25 |
Crafted from Fiber and Spider Silk in a Simple Workbench. Spider Silk can be obtained by breaking Spider Webs or killing Spiders. Fiber can be obtained by crafting Reeds into them at a Simple Workbench, and the Reeds needed can be harvested from around any lake or river. |
|
Forest Stone Block x25 |
Refined at a Sawmill from Forest Stone. Forest Stone can be harvested from Forest Boulders. Can also be bought from the Stonemason’s Store once at least one is obtained. |
|
Forest Resin x20 |
Harvested from Forest Resin Bushes. Can be bought from the Carpenter’s Store once at least one is obtained. |
|
Cable For A Cable Car x1 |
Bought from the repaired General Store for 20,000 Gold. |
|
Cogwheel x1 |
Found on a small island off the coast at the northwestern corner of the Forest region. |
When you have everything, bring the materials back to the Cable Car and interact with it to unlock the ability to ride it to and from the Mountain region.
How To Find The Propeller
The Propeller is located at the very top of the Mountain, and it’ll be a long and perilous journey up to it.
You’ll want to bring at least 25 Mountain Wood with you to ensure you’ve got enough, even if you need to farm some, and it’s best to start early in the morning.
This will make it so you’ll generally be past section sections by the time Ghosts spawn, and you won’t have to deal with enemies respawning when the day changes as often.
How To Reach The Top Of The Mountain
Start by taking the path going to the northeast after arriving, and follow it around to the northwestern corner of the map to begin the journey, past the gazebo.
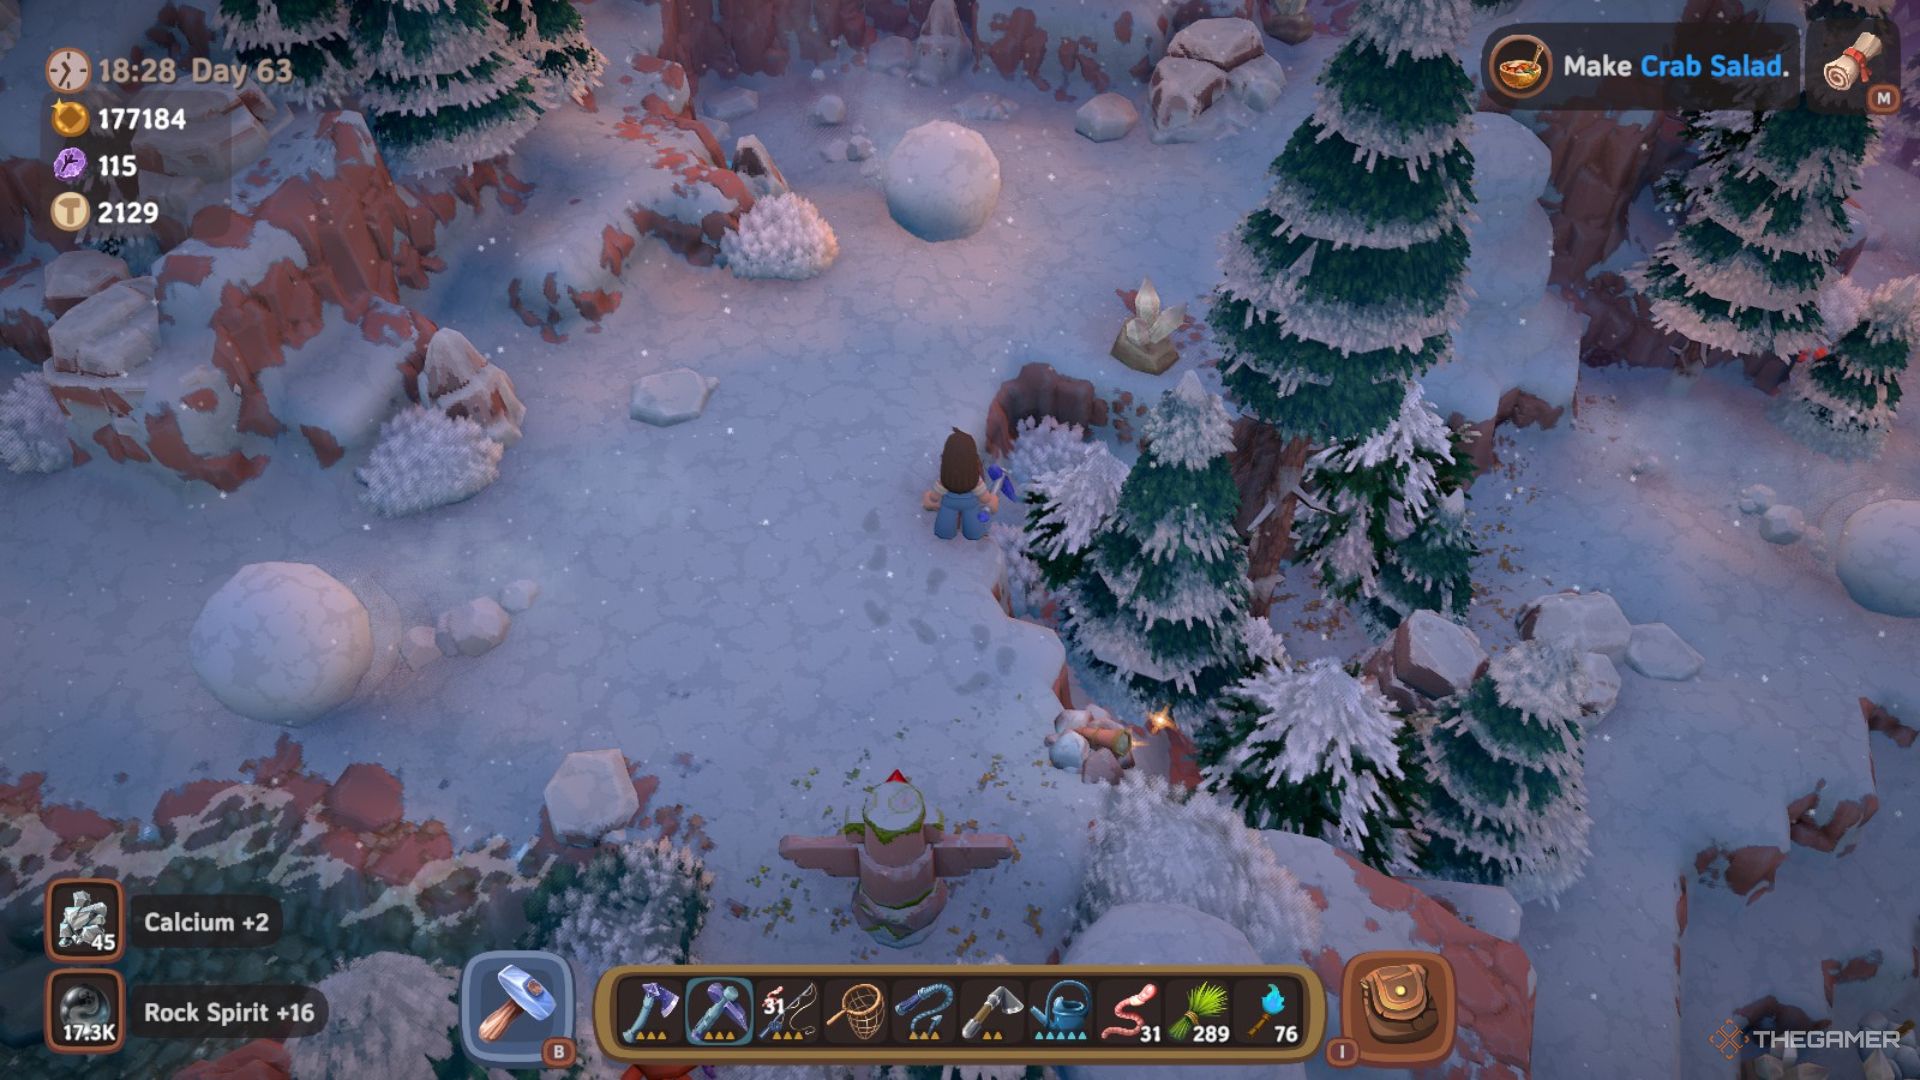
Run past the five Crow Snowmen enemies, but don’t go up onto the hill, and instead keep following the path over a low river and onto the snowy area with giant snowballs periodically rolling through.
Hug the cliff edge or wall farthest away from where the giant snowballs start rolling to give yourself the maximum amount of time possible to avoid them.
These serve as one of the main obstacles you’ll face while going up the mountain, along with your speed being reduced while in the snow, depending on how deep it is.
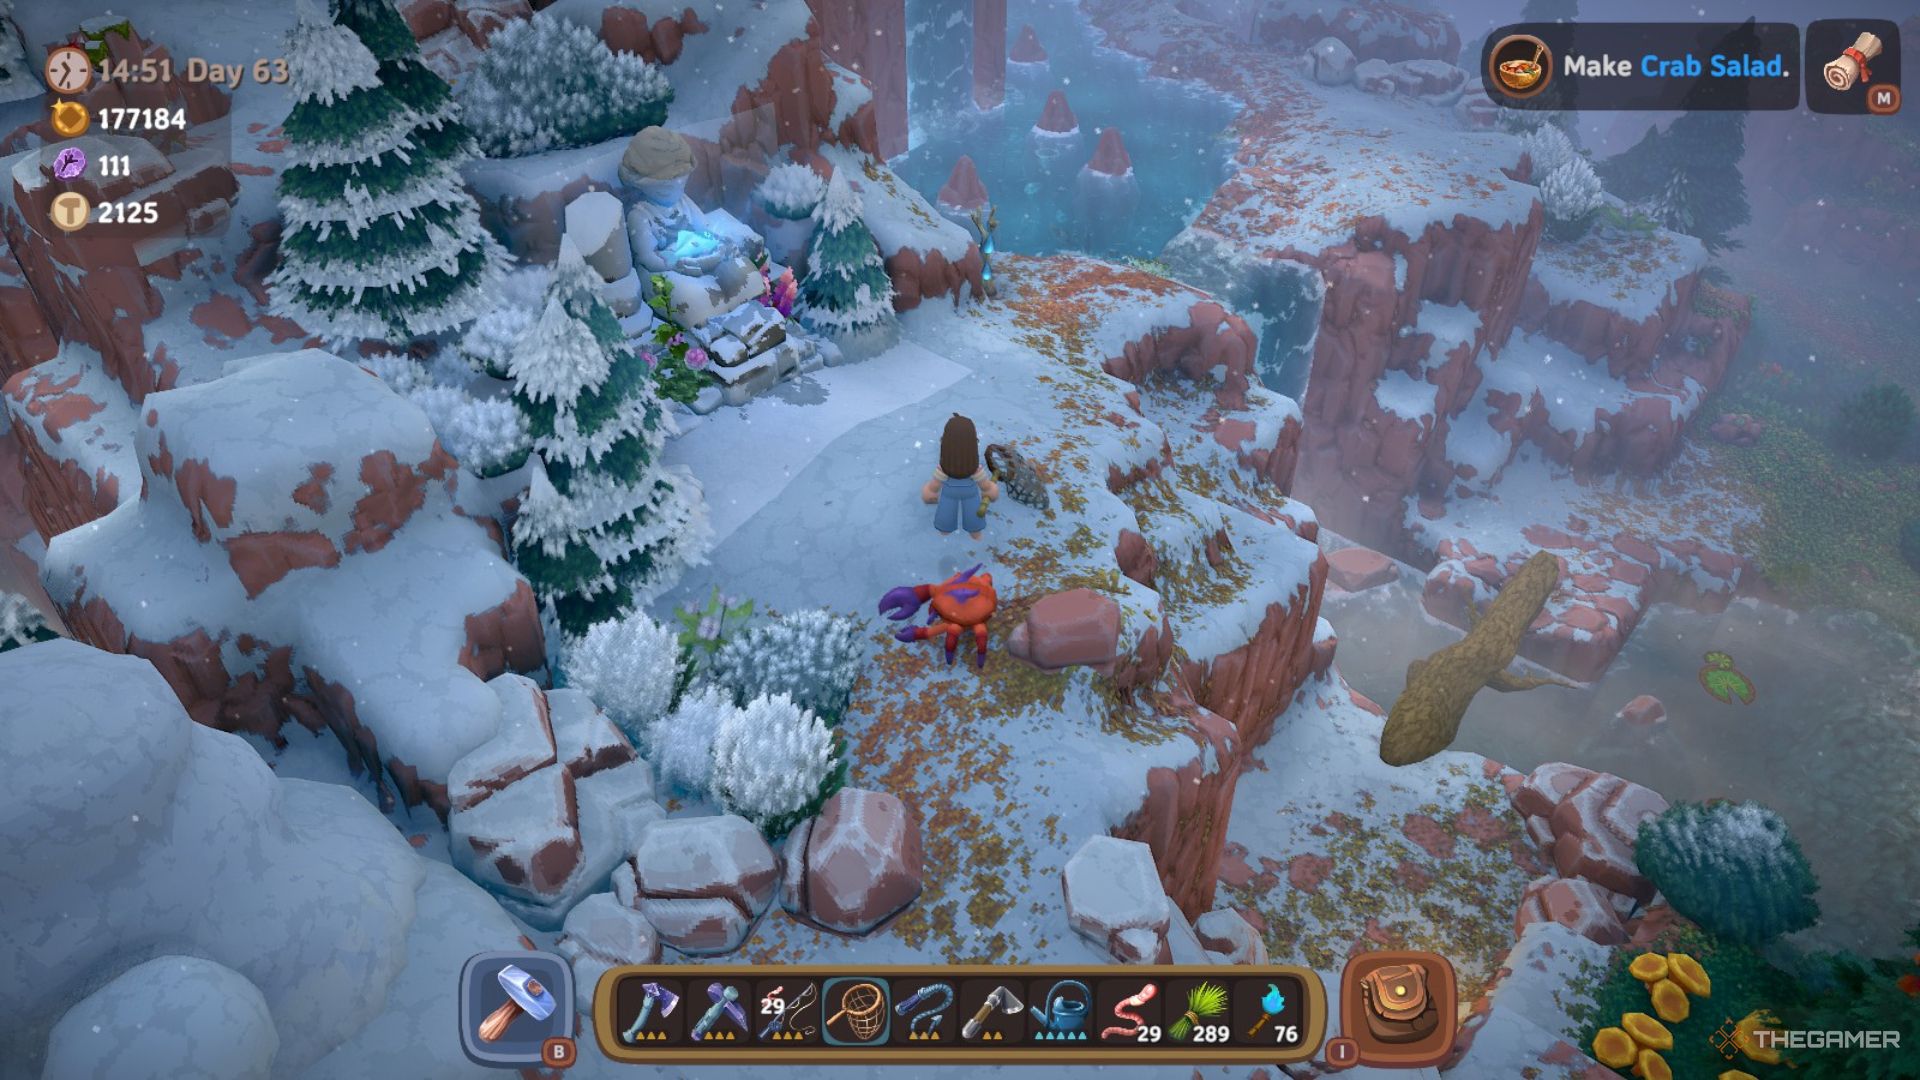
Avoid the giant snowballs as you follow the side of the mountain around and up until you reach the Seafarer Tribute Statue, a waterfall, and go past the two lakes with Frostfangs swimming around in them.
Continue making your way up and around, passing by Talking Stone Sne on the cliff, and you’ll have to go by another Tribute Statue as well, but this time it’ll be a Druidic one.
As you go up the Mountain, you can find ladders along the edge of certain cliffs you can roll out that give you shortcuts up to different areas.
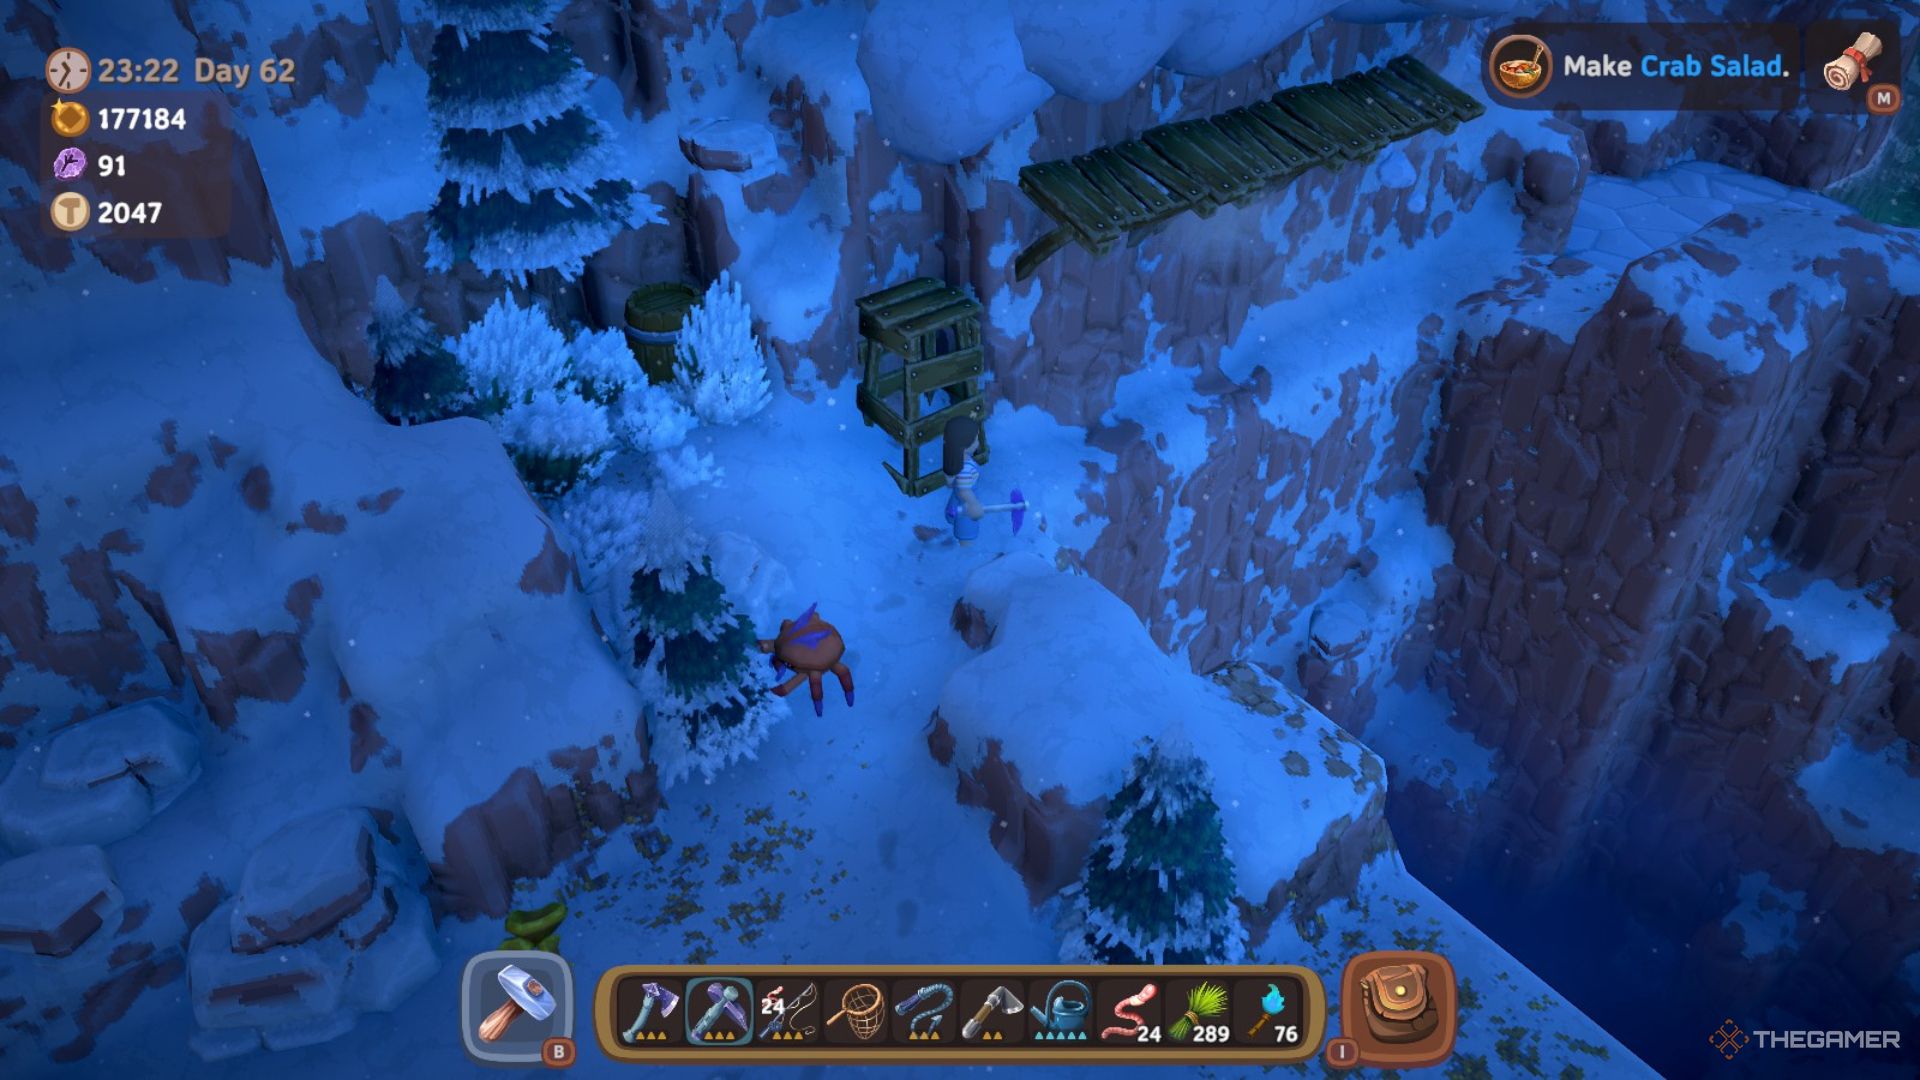
Past that statue, you’ll come to a cliff edge with large snowballs constantly dropping onto it. Use ten Mountain Wood to repair the scaffolding next to it and create a roof over it to block the snowballs and let you pass safely.
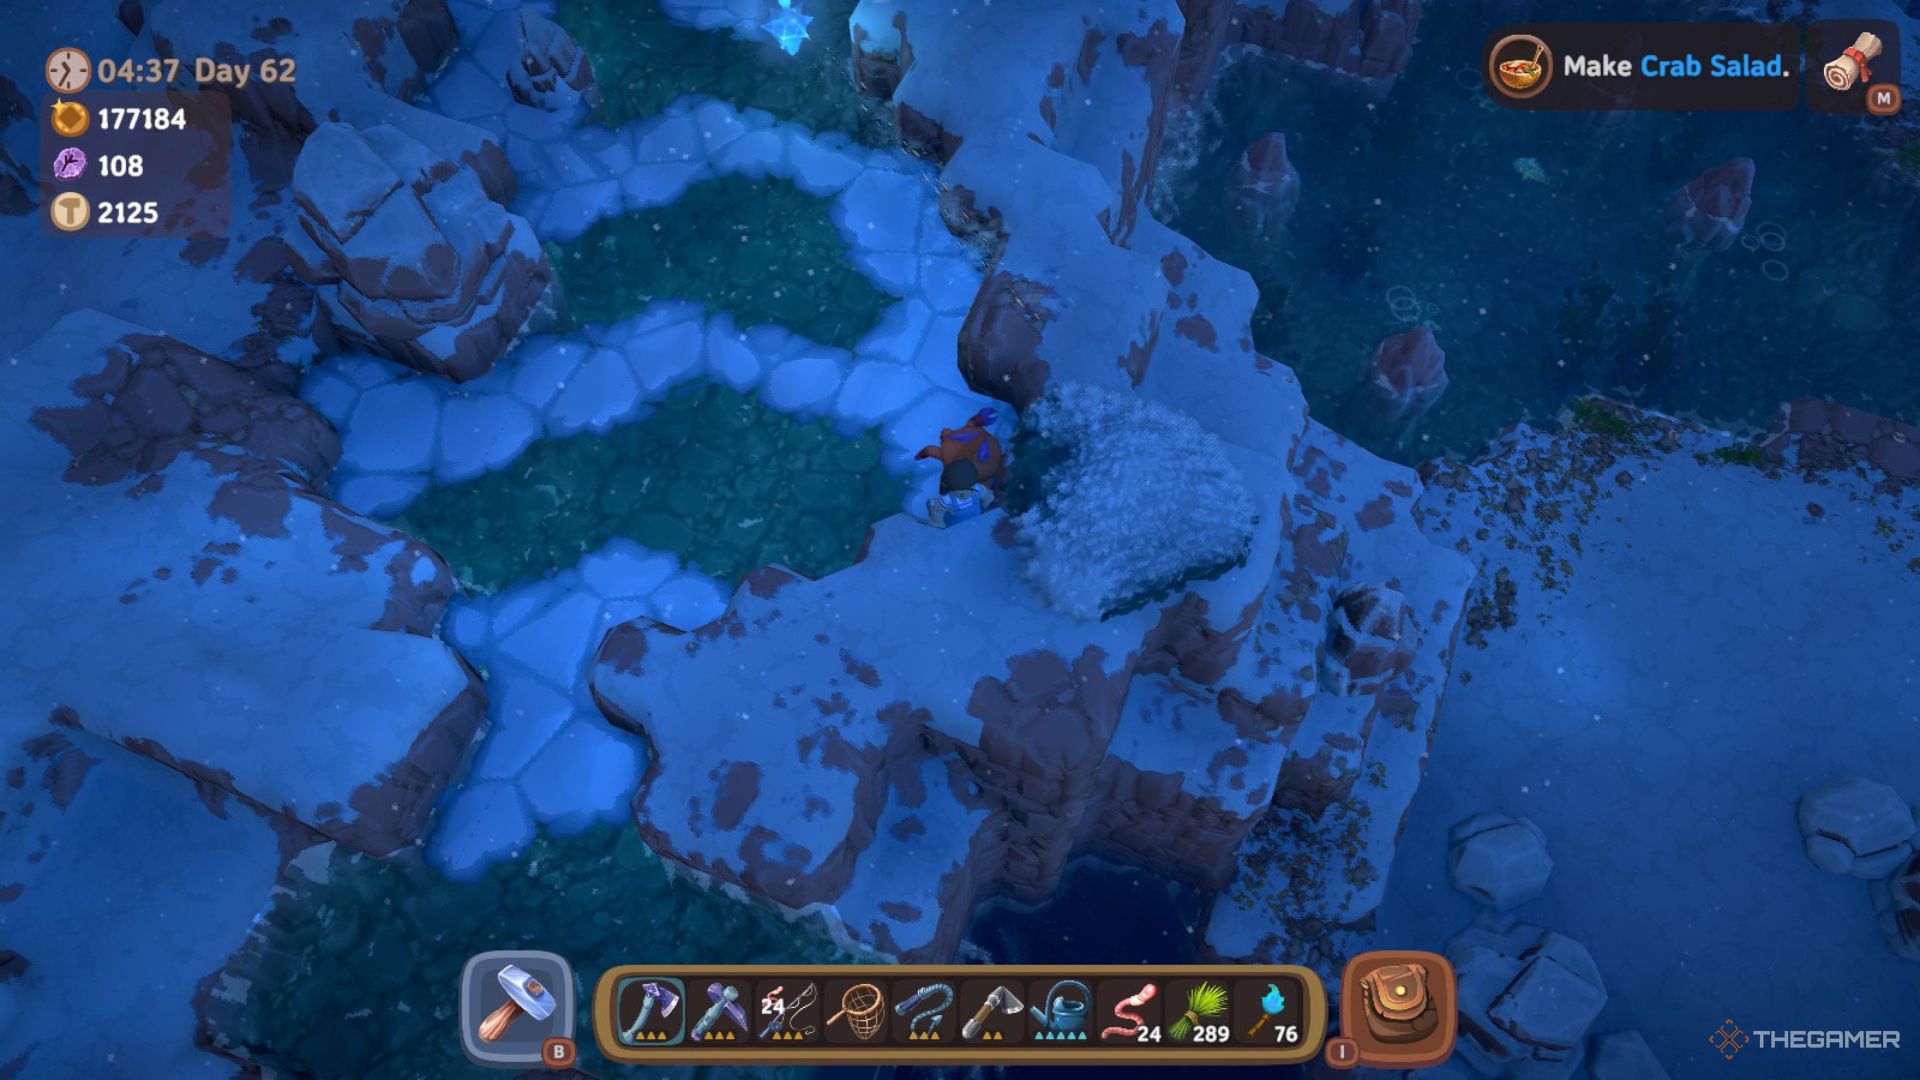
On the other side, you’ll come across another type of obstacle, the rotating Snowstorm Prism, and ice tiles that make you slide around on top of them. Use the rocks throughout the section to hide from the Snowstorm Prism’s beam and get to the other side.
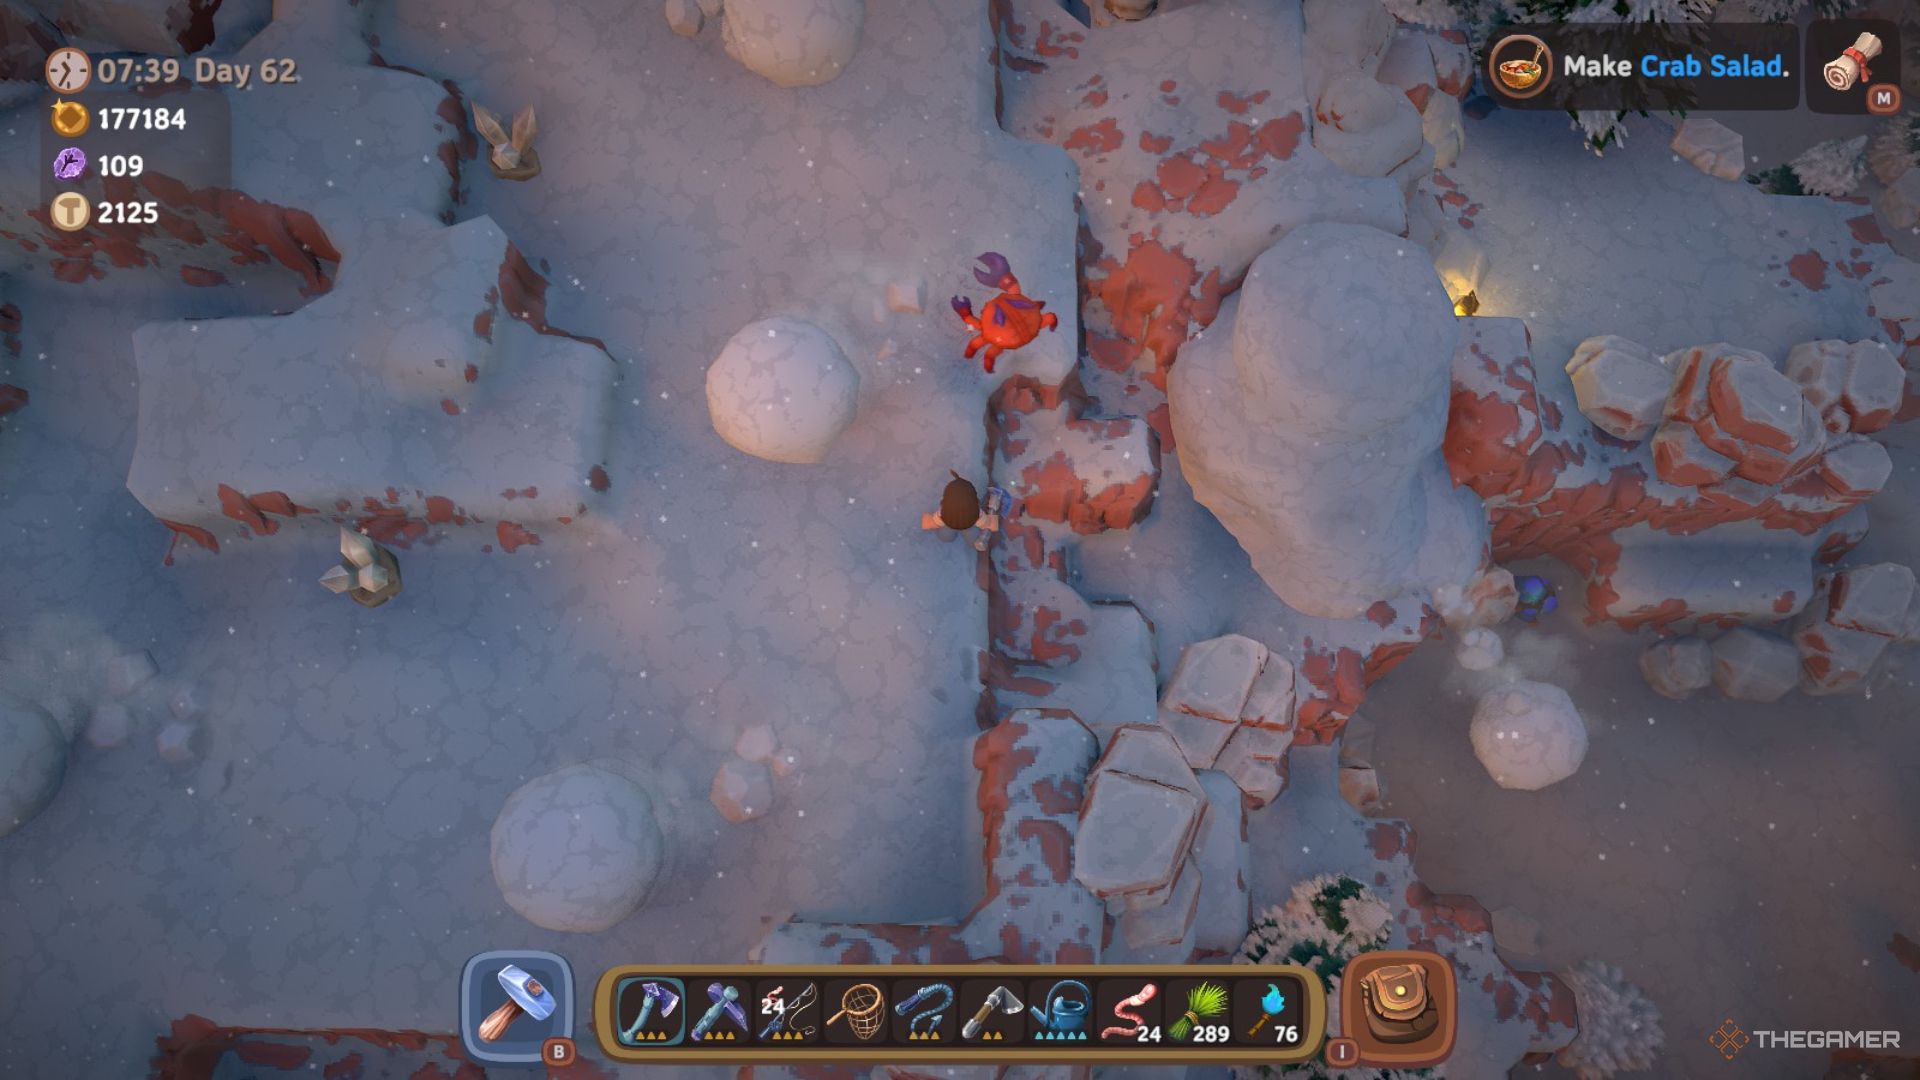
You’ll have another section of giant snowballs to avoid after, but this time they’ll begin to have longer and more complex routes they follow. Like the others, hugging the edges farthest away from the cliff gives you the most time to avoid the snowballs, and stick to any corners the snowballs avoid.
Once you get past them, you’ll go down and around to another cliff with more scaffolding to repair for ten Mountain Wood.
Hug either the cliff edge or wall and move diagonally as you go up the next giant snowball section, and end up at an overpass with a cave located above you, another scaffolding repair section further ahead, and the Forsaken Mountain Temple next to it.
If you go into the cave connected to the overpass, you can unlock the first of two major shortcuts that connects the top of the Mountain to the cave at the northern edge of the region.
Repair the scaffolding for another ten Mountain Wood, then go to the other side and over to the second Snowstorm Prism section. Instead of rocks, you’ll need to hide in certain corners where the beam can’t reach, so watch its pattern carefully. Safe spots include:
- The corner directly below the large bush.
- The corner behind the small rock near the Snowstorm Prism.
- The ice tile in the corner closest to the waterfall.
Once you’re through, there’s going to be another cliff with falling snowballs, but you’ll have two sets of scaffolding to repair as you cross and a safe zone with a totem between them.
This will bring you to the final and most difficult giant snowball section. Walk diagonally and hug the edge of the cliff until you reach a rock formation that gives you two corners to wait in.
Go forward and pause at the cliff edge in between the snowball’s path, then wait at the very edge of its path until you can cross over diagonally to the rock formations close to an unfinished tent.
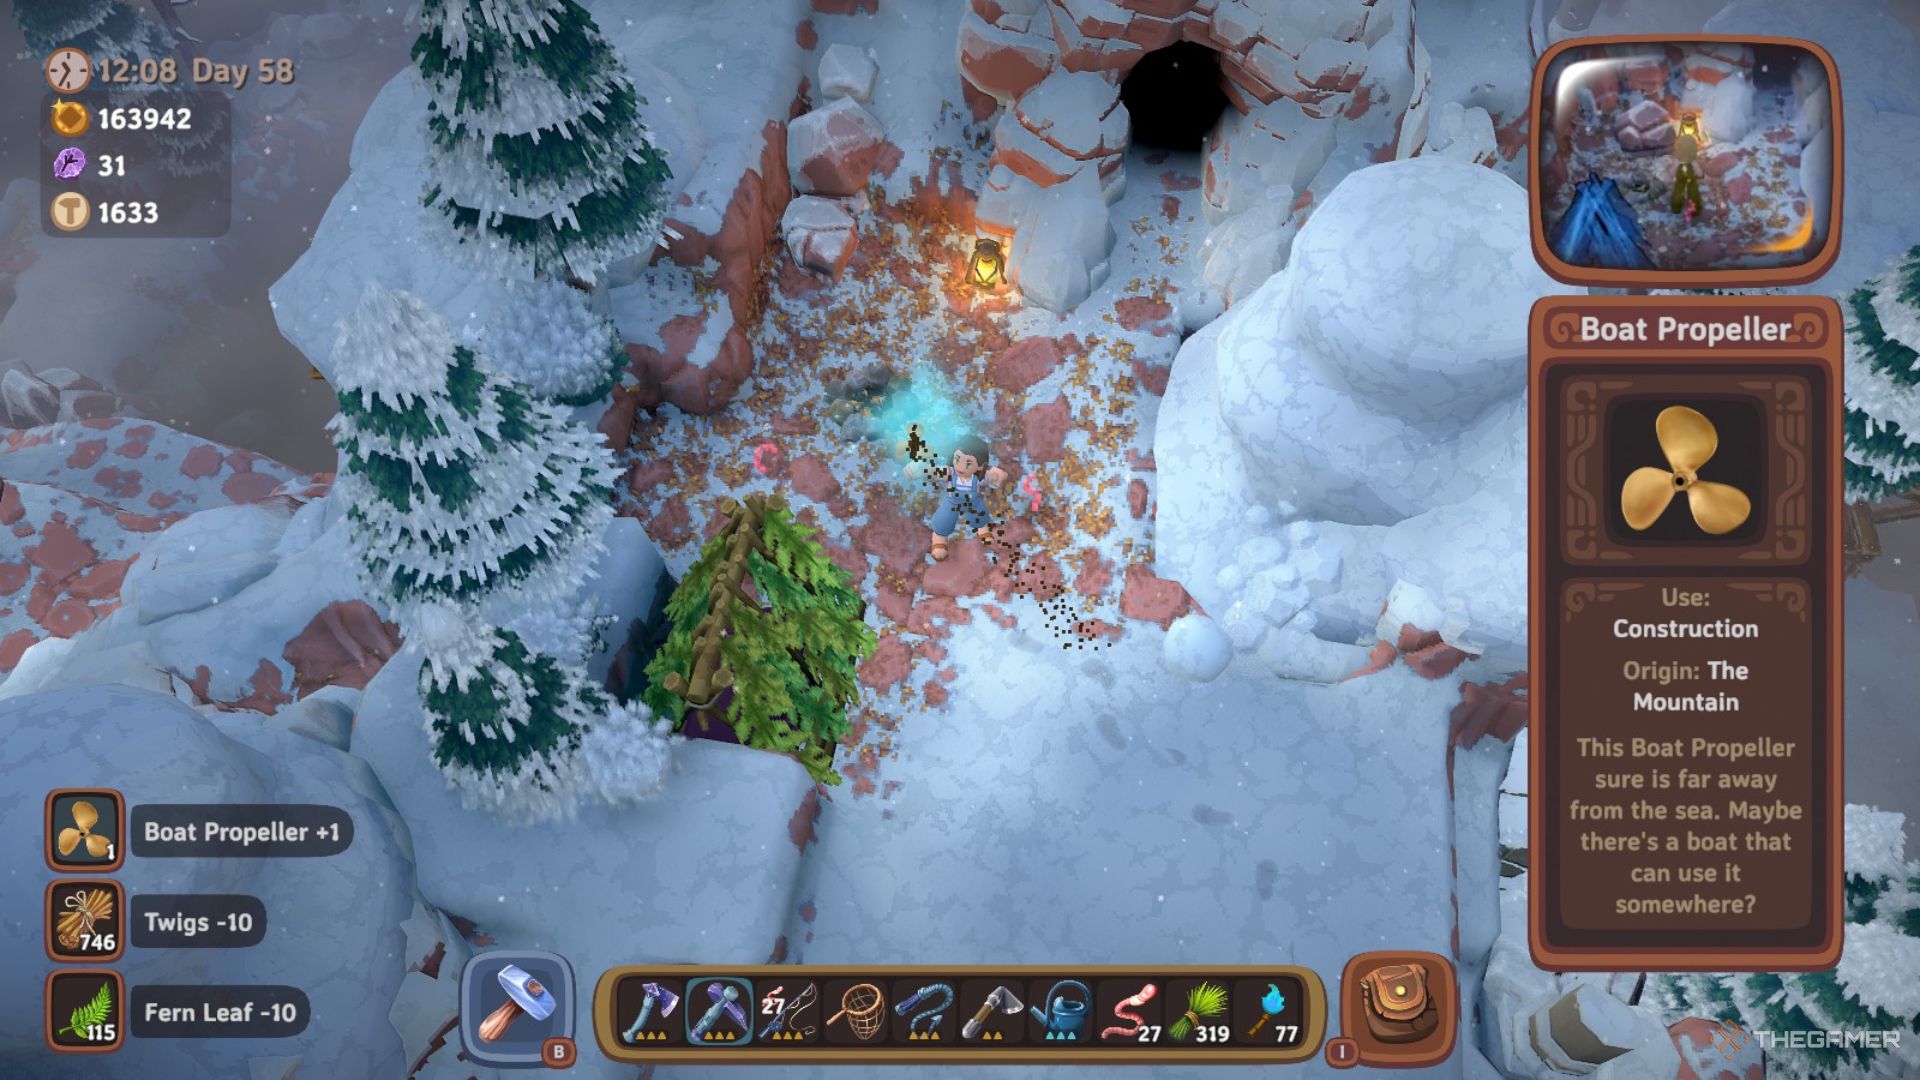
Run to the safe zone right ahead of you as soon as the snowball forms, and you’ll be at a campsite in front of another cave that connects to the cavern full of shortcuts down the mountain.
Pick up the Propeller from by the campfire, and now you’ll have one of the two non-craftable materials needed to repair the boat on your farm.
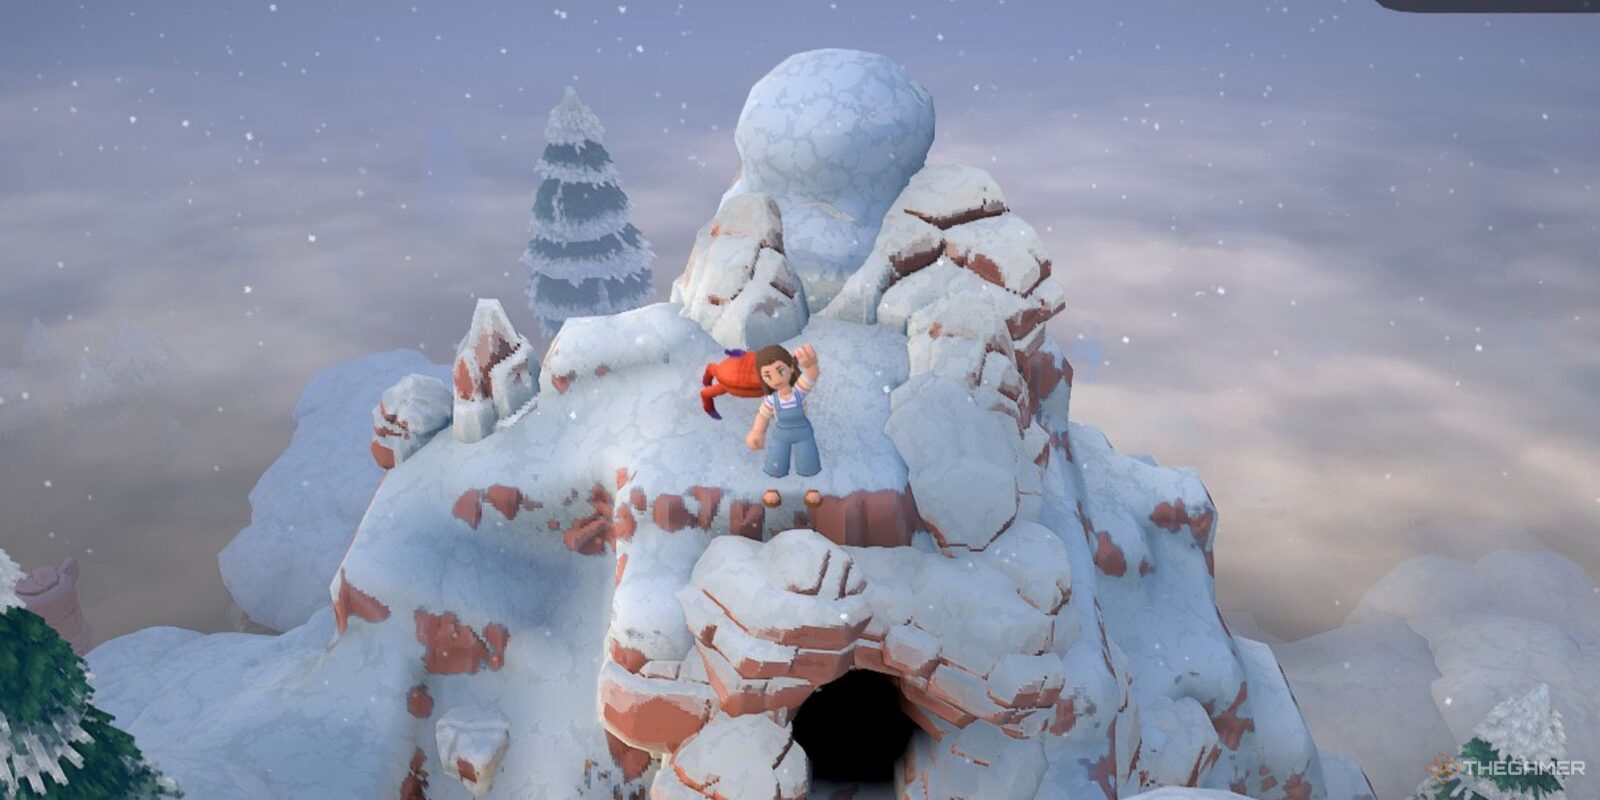
If you go up the small path up to the very peak of the mountain near the camp, you’ll find a Red Chest containing the Villa building drawing, and unlock the Mountain Explorer achievement.
Next
Luma Island: All Forgotten Tablet Locations
There are four ancient keys you need to find, and one needs three tablets to get it.






Leave a Reply