The Steam Deck is a gaming device and a pocket PC that offers gamers one of the most versatile and portable ways of playing modern and classic games available anywhere. It can be used as a desktop PC for work with the correct set-up and as a powerful equivalent to the Nintendo Switch.
The system’s backward compatibility can be extended further by playing classic PlayStation (PS1) games using an emulator for a stunningly nostalgic experience. To get classic PS1 games, Steam Deck users must install the correct emulator. This guide will provide the best methods for installing and playing PS1 games on the Steam Deck.
Related
Steam Deck: How To Use The Proton Compatibility Features
Proton Compatibility can bypass several issues when playing games. Here’s how to activate it.
Updated December 9, 2024, by Michael Llewellyn: The EmuDeck program is an outstanding all-in-one emulation program that lets you run classic PS1 games and more. For this, however, it’s advisable to install a third-party app called Decky Loader in order to install a plugin called Power Tools. As such, this guide has been updated to outline the steps needed to install them. It also details a fix that can be used if any of the latest Steam Deck updates break the Decky Loader program.
How To Install DuckStation On The Steam Deck
To run PS1 games on the Steam Deck, users must install the DuckStation emulator. This guide will use EmuDeck to install multiple emulators and configure all the necessary settings.
Before Installing Emulators
Players will need the equipment below to install an emulator on the Steam Deck:
- High-speed A2 Micro SD card: Players can use the extra storage to install emulated games and keep the internal storage for faster and more demanding titles.
- PlayStation ROMS and Bios files: Players can have digital ROMS of games they legally own. The Bios files are needed to operate the games within the emulator.
- Keyboard and mouse: Using a keyboard and mouse makes using the Steam Deck in Desktop Mode a more user-friendly experience.
Enable Developer Mode
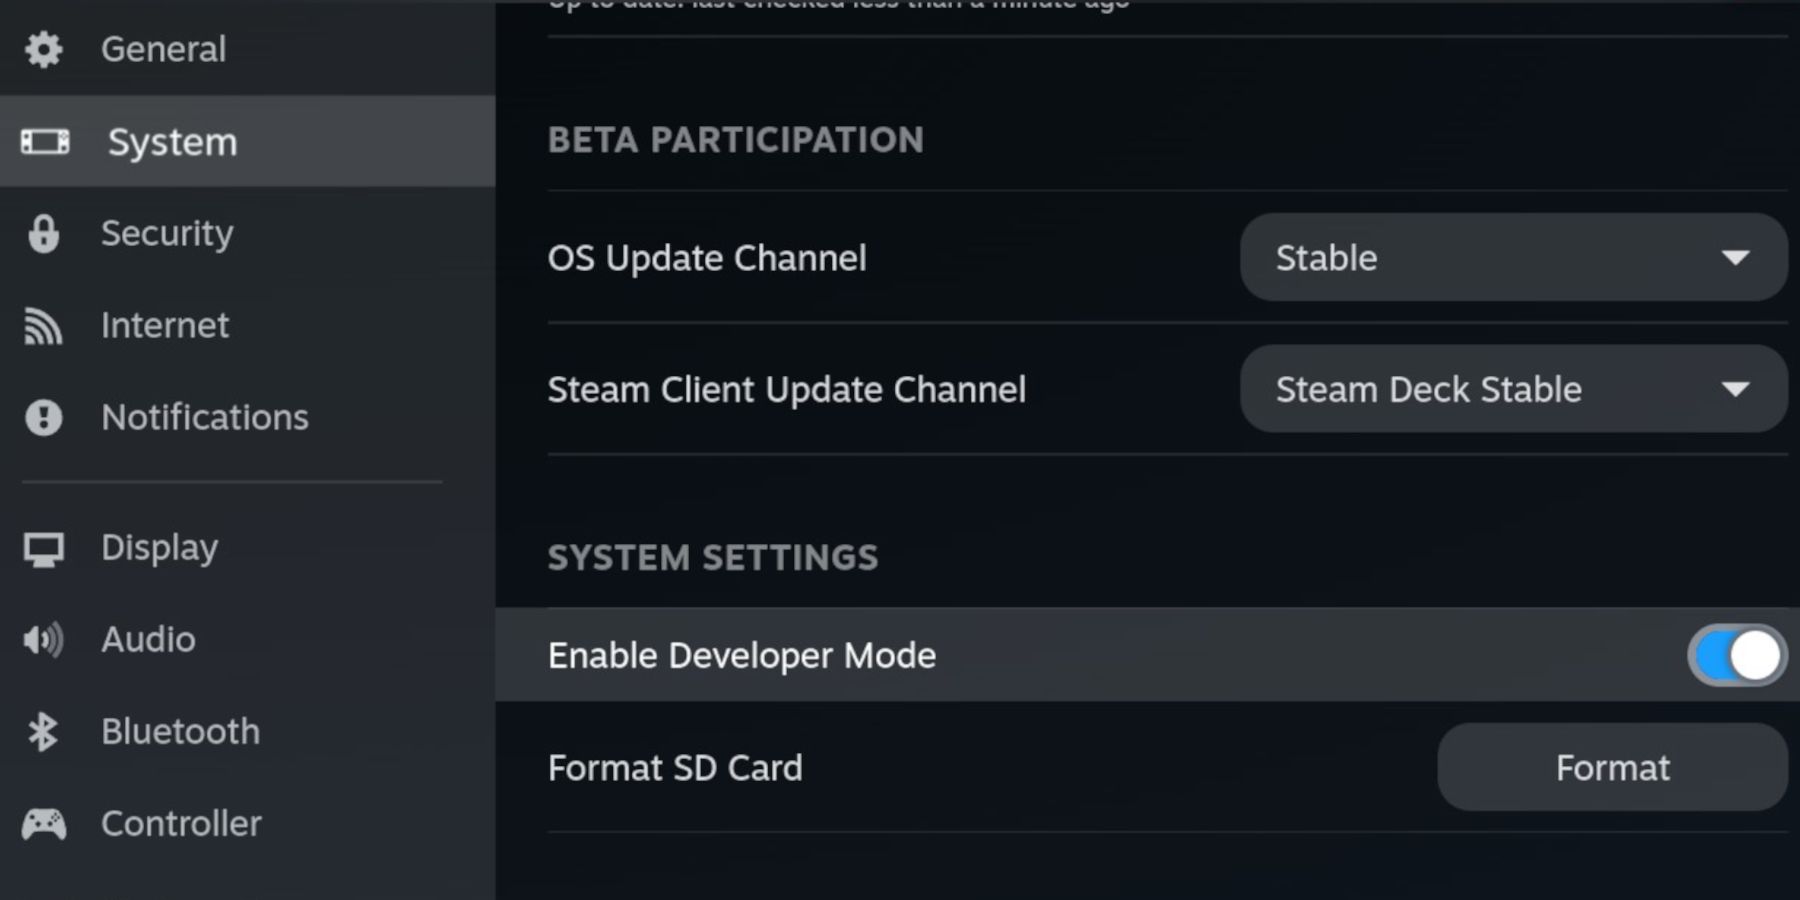
Before switching to Desktop Mode, you must enable the Developer Mode settings on your Steam Deck to maintain stability for programs like EmuDeck and any third-party plugins. Use the following steps to activate Decky Loader:
- Press the Steam button.
- Select Settings.
- Highlight and select System.
- Set System Update Channel to Stable.
- Under System Settings, toggle Enable Developer Mode.
- In the left access Steam menu, open the Developer menu.
- Under Miscellaneous, switch on CEF Remote Debugging.
- Press the Steam button again.
- Select Power and Switch to Desktop Mode.
It’s recommended to check your developer mode settings after every major update. Updates may cause developer mode to be disabled by default and disabling CEF Remote Debugging. Applications and plugins, such as EmuDeck, can lose synchronization with the regular updates of Steam Deck in Beta or Beta Candidate modes. It’s therefore advisable to operate the handheld in Stable mode as described above.
Decky Loader is an invaluable third-party program that lets you safely get the best performance out of your Steam Deck using plugins. To get PS1 games running as smoothly as possible, you’ll need Decky Loader and Power Tools. Use the following steps to install both:
- Optionally connect a keyboard and mouse for easier navigation in browsers and installation.
- Open a browser in Desktop Mode. Browsers can be installed from the Discovery Store at the bottom of the Desktop screen.
- Open the GitHub Decky Loader page.
- Scroll down the page and click on the large Download icon.
- After the download has finished, double-click the launcher and select Recommended Install.
- After the installation, restart the Steam Deck in Gaming Mode.
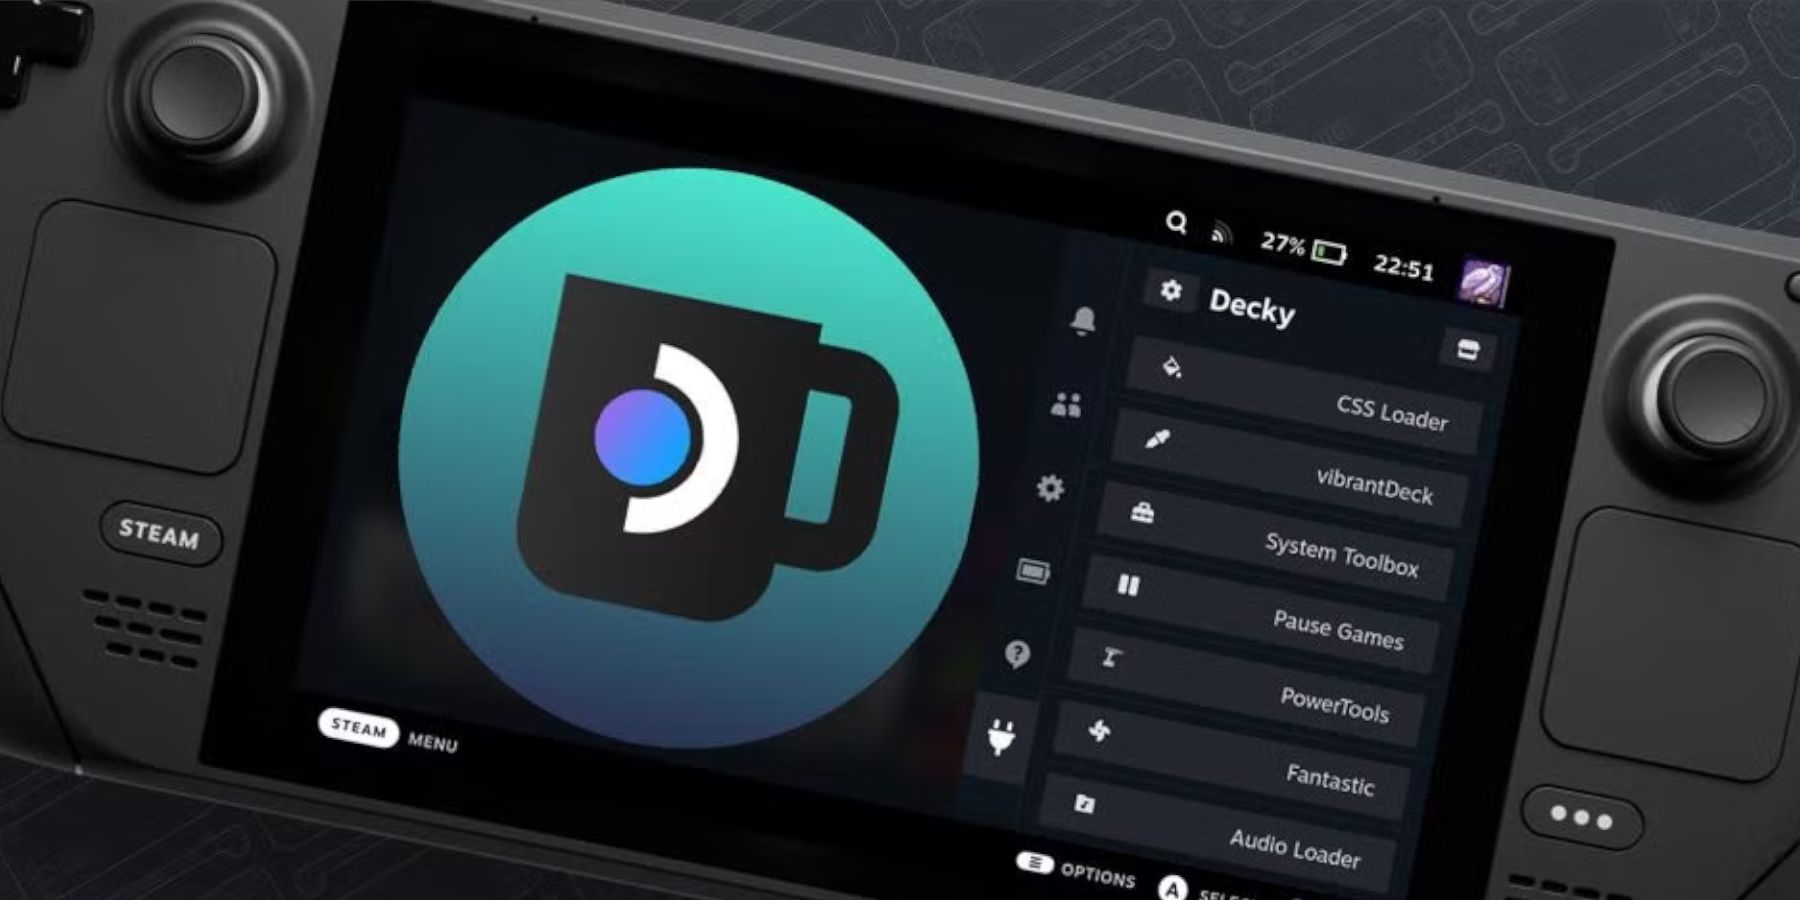
With Decky Loader installed, it’s time to install the Power Tools plugin via the Decky Loader application. The following steps can be used to install it:
- In Gaming Mode, press the Quick Access Menu (QAM) button under the right trackpad.
- Select the small plugin icon.
- Select the store icon at the top of the Decky Loader menu.
- Scroll down the store list to locate Power Tools and install it.
Power Tools Settings For Retro Games
- Select a PS1 Game from your library and launch it.
- Press the QAM button to open the Decky Loader menu, represented by the plug icon, and select Power Tools.
- In the Power Tools menu, set SMTs to off.
- Then, set Threads to 4.
- Press the QAM button and open the Performance menu.
- Now Enable Advance View.
- Then, switch the slider on for Manual GPU Clock Control.
- Increase GPU Clock Frequency to 1200.
- Finally, switch on ‘Per Game Profile’ to save these settings for specific PS1 games.
How To Fix Decky Loader After A Steam Deck Update
The most recent update for the Steam Deck may have caused the Decky Loader application to be removed from your QAM. To restore it, follow the steps below:
- Press the Steam button and open the Power menu to switch to Desktop Mode.
- In Desktop Mode, reopen your browser.
- Open the Decky Loader GitHub page, scroll down the page, and click the Download icon.
- You must select Execute; Do not select Open.
- After you run the installer, it will prompt you for your pseudo password.
- If you haven’t created a pseudo password yet, follow the steps to set one up. It’s recommended to use a memorable password or write it down for future reference.
- When the installation has completed, Power off the Steam Deck and restart in Gaming Mode.
- Press the QAM button, and your Decky Loader app will be returned with its settings intact.
How To Install The PS1 Emulator On The Steam Deck
To get DuckStation running on the Steam Deck with EmuDeck, use the following steps:
- Press the Steam button underneath the left trackpad.
- Highlight and select the Power option.
- Switch to Desktop Mode.
- Open a favored browser and download EmuDeck using this link.
- Select the SteamOS version and download it.
- After EmuDeck has downloaded, double-click the installer to begin the installation.
- Select Custom Mode.
- Select the SD Card option for the installation.
- On the next screen, select the Steam Deck image.
- EmuDeck will now display the range of available emulators.
- If users only want the PS1 emulator, unselect all the programs except DuckStation.
- Ensure that RetroArch and Steam ROM Manager are selected so the PS1 games appear in the Steam Library.
- In the next step, switch AutoSave on.
- Skip the Achievements section for now, as this can be activated later.
- Configure Game Bezels to on.
- Skip ahead until it lands on the Configure CRT Shader for Classic 3D Games page.
- Switch this on to give 3D PS1, Saturn, and Dreamcast games a more natural look. This feature works well with PlayStation games, providing a naturally upscaled – as opposed to stretched – look that emulates the classic CRT TVs the PS1 games were designed for.
- Skip ahead and select Finish to begin the installation of DuckSation, RetroArch, and the Steam Rom Manager.
Where To Place Bios And ROM Files On The Steam Deck
Assuming that Steam Deck users have legally obtained ROMs and have sourced the required Bios files to get their PS1 games running, players must know where to install them on the Steam Deck. EmuDeck has a built-in easy installation method, but manually placing the files in the correct folders is the most reliable. Use the following steps to place ROMs and Bios files in their proper folders:
The Bios Files
- With EmuDeck installed on the SD card, open the Dolphin file manager and select it by double-clicking primary.
- Click on Split to create two squares for the files.
- Select Emulation in the second and click on the Bios folder.
- In the first square, locate the Bios files. Highlight Bios files and copy them — do not move them — into the Bios folder.
The ROM Files
- Keeping the split folders, select the square with the Bios files.
- Move back into the Emulation folder and click on ROMS.
- Scroll down and click on the PSX folder.
- Locate the legally acquired PS1 ROMS.
- Highlight and copy them into the PSX folder.
Related
Steam Deck: How To Filter Mature Content For Younger Users
Steam Deck hosts a vast gaming collection, but not every game is appropriate for younger users. Here’s how to filter mature content on the device.
How To Add PS1 Games To The Steam Deck Library
With the PS1 emulator installed and the games in place, it is time to add them to the Steam Deck library under a new Collection tab. Players can launch the PS1 games from the DuckStation emulator, but EmuDeck allows them to add the games to the Steam Library with complete artwork. Use the following steps to add the emulated titles:
- Open the EmuDeck program and select Steam Rom Manager.
- On the Parsers screen, switch Toggle Parsers off.
- Scroll down and switch on Sony PlayStation – DuckStation, PlayStation Retroarch – Beetle, and PlayStation Retroarch – Swan. Enabling three emulators will give Steam Deck users more options to run a game if there are issues accessing a title from the library.
- Click on Add Games.
- On the next screen, select Refresh.
- We’ve added the three emulators to Steam Rom Manager, so it will appear as if the game has been added to the library three times.
- If the artwork for the game cover is correct, select Save to Steam.
- Close the box and switch back to Gaming Mode.
How To Fix Missing Artwork On EmuDeck
The Steam Rom Manager has a vast range of images and cover art for games across multiple platforms. Most players will find what they need with official artwork and alternative game covers for use on the Steam Deck’s library. However, there may be instances where the artwork is missing, and the user will need to fix it or add it themselves.
- If the Steam Rom Manager is displaying the wrong or missing cover art, select Fix.
- Enter the game’s title in the Fix Artwork and Title search bar.
- When the Steam Rom Manager displays a selection of new covers for the game, select one and click on it so that the tab’s background turns white.
- Save and close to add the new artwork.
- With the new artwork fixed, select Save to Steam, wait for the app to finish adding games and art to the Steam library, and close EmuDeck.
Upload Missing Or Custom Artwork
Some more obscure, Japanese, untranslated, or modded games may have missing art for the EmuDeck. Players can upload and add their own covers and artwork by using the following steps:
- Use a browser to download and save your preferred video game cover art in the Steam Deck’s Desktop Mode.
- Save it to the Pictures folder (or create custom art and transfer to the Steam Deck’s Pictures folder).
- Open the Steam Rom Manager within EmuDeck.
- Select Add Game.
- Then Refresh to update the library.
- Instead of clicking Fix, select the Upload option.
- Locate the cover art in the Pictures folder, then Save and Close.
- Select Save to Steam, wait for the app to finish adding the games and art to the Steam library, and close EmuDeck.
Gaming Mode
- In Gaming Mode on the Steam Deck, press the Steam button underneath the left trackpad.
- Select Library, and there should be a new tab called Collections.
- The Collections tab will have a new section for PlayStation games.
Accessing The PS1 Emulator’s Settings On Steam Deck
Most games will run and boot without issue. However, some some Steam Deck users may want to adjust and experiment with the PS1 game’s settings to try and get better performance out of them. To access more advanced emulator settings, use the following steps:
- Boot up a PS1 game.
- After launching a game, double-tap the Steam Deck screen. Occasionally, it takes three taps.
- The cursor will appear, along with a new menu system.
- In the new menu, players can save the game, take screenshots, change the disk if it’s a multi-disk game like Final Fantasy 7, and create their saves under the System drop-down menu.
- Under the Settings drop-down menu, players can change their display, upscale the resolution, force PAL games to run at 60hz, add chromo smoothing for less pixelated FMV cutscenes, and more.
- Double-tap the Steam Deck screen to close the settings.
Apply DuckStation Controller Settings
To get the best experience out of the PS1 emulator, players will want to install the DuckStation controller input to access the emulator’s hotkeys and shortcuts. To install the correct controller settings, use the following steps:
- Locate the DuckStation app in the non-Steam Library.
- Select the controller icon.
- Select the controller template and click on EmuDeck – DuckStation.
- Press the X button to apply the settings.
Playing PS1 Games With Multiple Disks On The Steam Deck
Several PS1 games come in multiple disks. This includes Final Fantasy 7, Xenogears, and more. As a result, the Steam Deck gaming library may not distinguish between the files or find the second, third, or fourth disk at all. The following steps can be used to play titles with multiple disks:
- Switch the Steam Deck to Gaming Mode.
- Press the Steam button.
- Select the Library option.
- Click on the Collections tab.
- Select Emulation.
- Then, select the Emulation Station tab.
- Navigate left or right to locate the PlayStation tab.
- Locate the game with multiple disks and select Disk 1.
This a much better and more efficient method of playing multi-disk games than using the double tap trick to access DuckStation. Emulation Station still utilizes the DuckStation emulator, but it places everything into a neat menu screen. It’s also a viable option for Steam Deck users who prefer not to have their emulated games appear on the SteamOS home screen.
Related
Steam Deck: How To Run PS2 Games With EmuDeck
Thanks to the EmuDeck program, it is possible to play PS2 games on your Steam Deck. Here’s what is required in order to do so.
How To Fix Slow Games On EmuDeck
Some games may encounter FPS issues when running from the emulation app on the Steam Deck. As a result, the games can behave like they are in slow motion and even freeze. The following steps can be used to fix this issue:
- With the emulated games running, press the QAM button (the button with three dots underneath the right trackpad).
- Select the Battery icon to open the Performance side menu.
- Increase the Frame Limit to 60 FPS.
- Switch the Use per-game profile on to keep these settings.
The increased frame rate should fix most issues with gaming slowdown. However, players may want to experiment with 40 FPS or switch on the Disable Frame Limit and the Allow Tearing options. Disabling the frame limit will allow games to run as fast as the Steam Deck allows. I
It’s also worth noting that the higher the frame rate, the more power the Steam Deck will consume.
Running PS1 Games With RetroArch
RetroArch offers Steam Deck users an alternative method for playing PS1 and other games. Use the following steps to play with RetroArch:
- Ensure the Steam Deck is in Gaming Mode.
- Press the Steam button.
- Open the Library.
- Press the R1 button to access the Collections tab.
- Click on the Emulation square.
- Open the RetroArch emulator.
- Click Load Content.
- Open Start Directory.
- Scroll down to the PSX folder.
- Click on the game with the file name that ends with .cue.
- Scroll down the next list, and RetroArch will display multiple PlayStation emulators. Try Beetle PSX HW first.
- The game will run, starting with the Sony PlayStation boot screen.
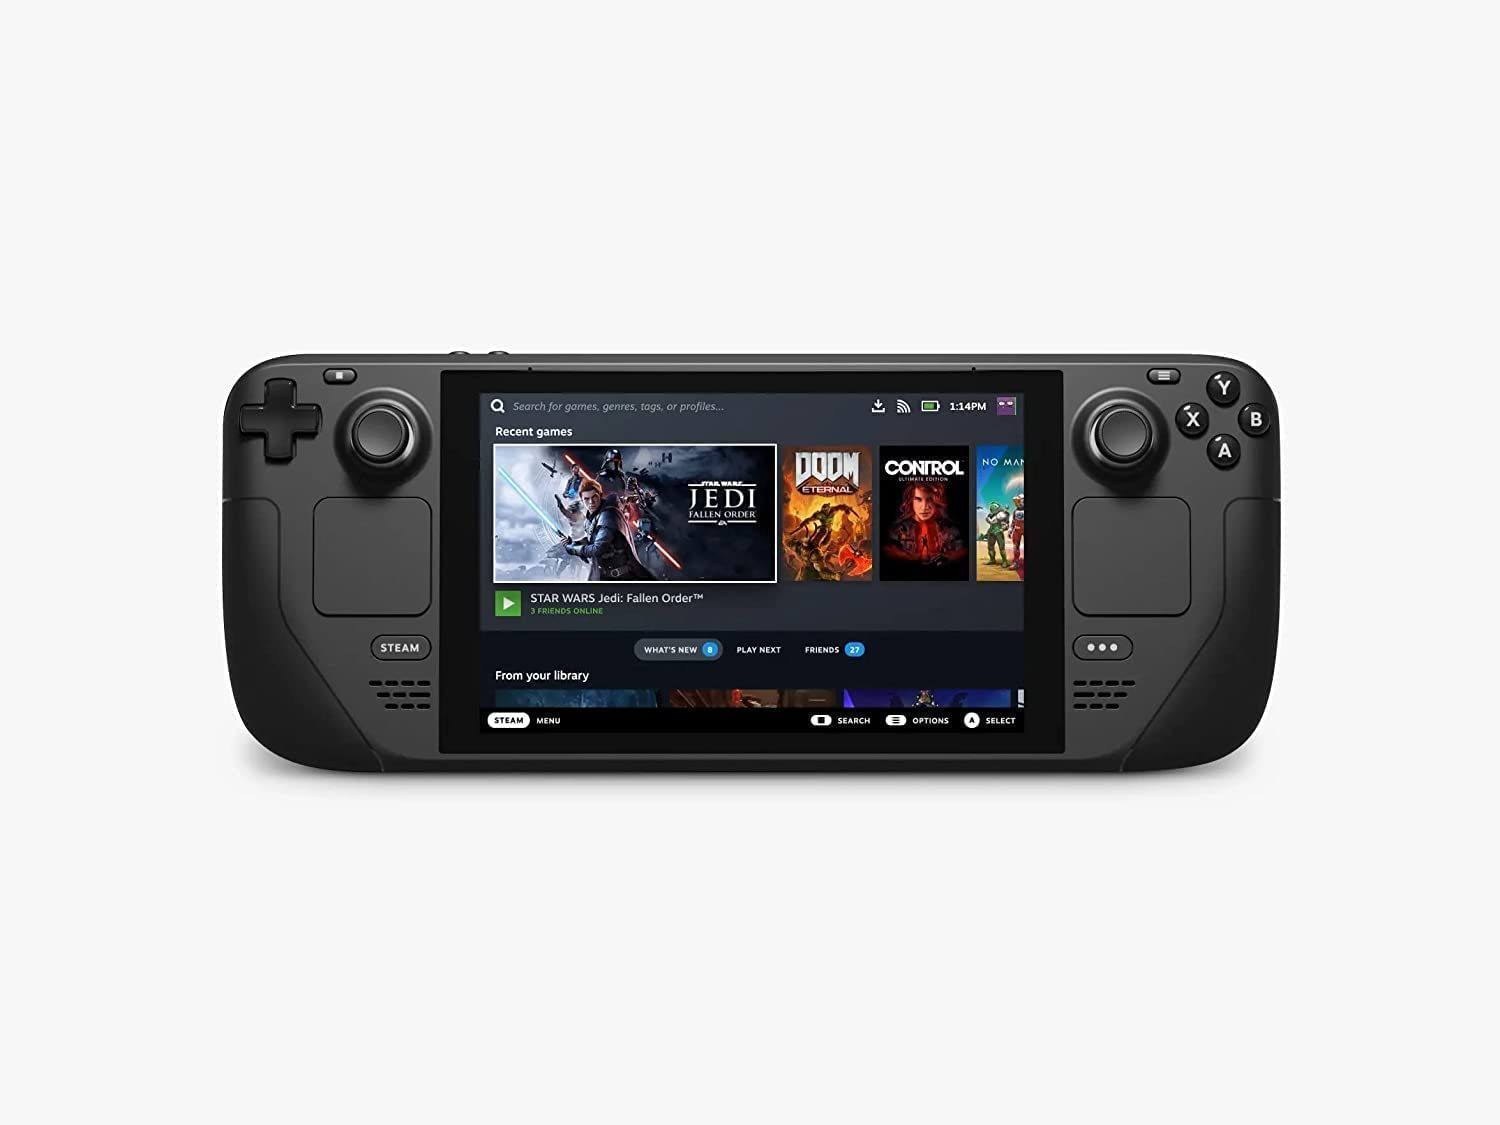
Steam Deck
- Screen
- 7″ diagonal 1280 x 800px (16:10 aspect ratio) 60Hz
- Storage
- 64 GB – 512 GB
- CPU
- AMD APU Zen 2 4c/8t, 2.4-3.5GHz
- Battery
- 40Whr battery. 2 – 8 hours of gameplay






Leave a Reply