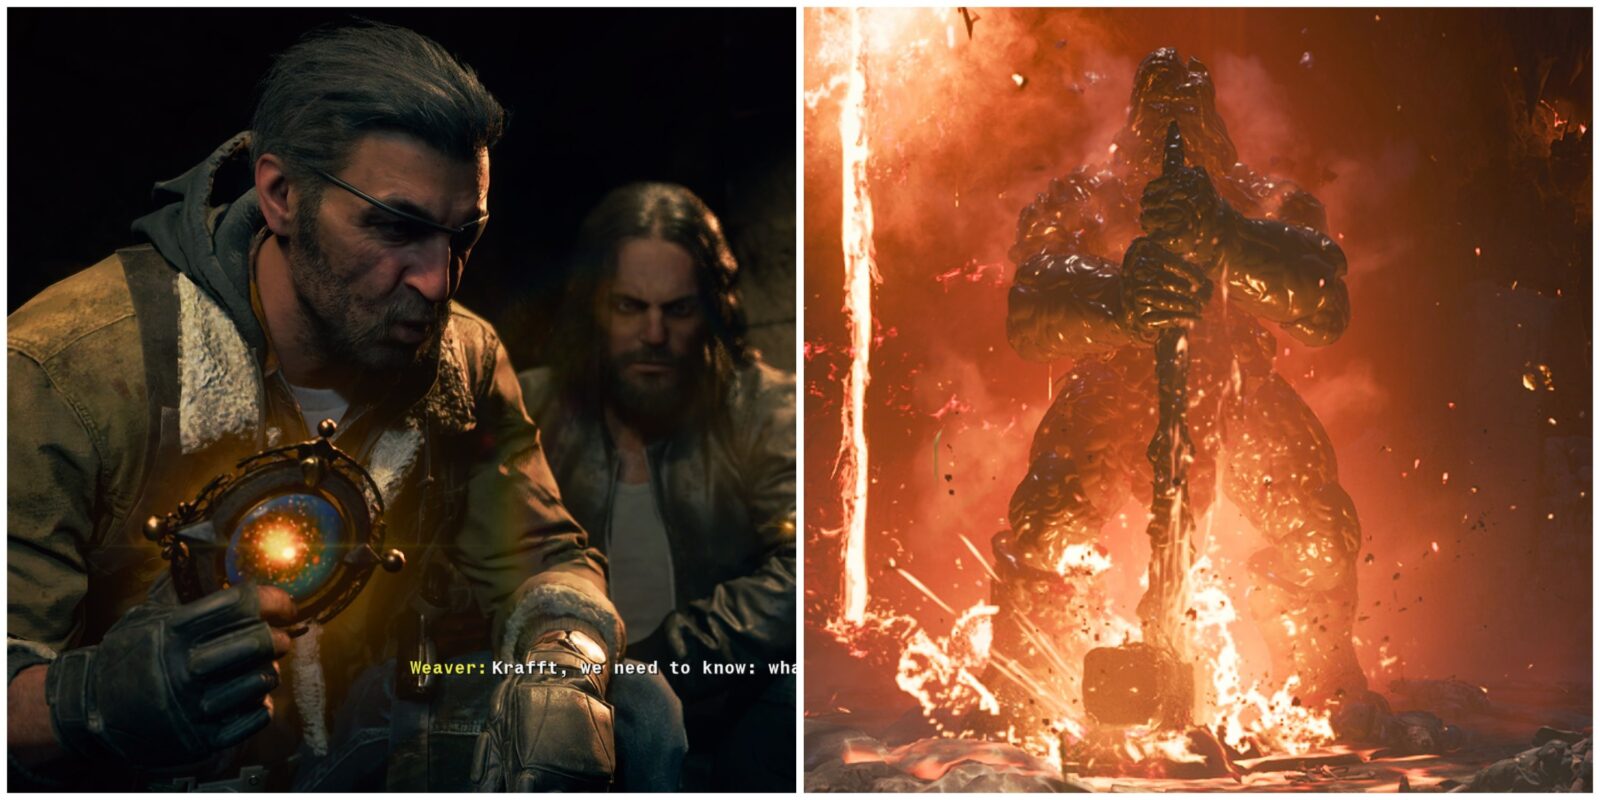
Black Ops 6’s Zombies mode has a French castle for players to explore in Citadelle des Morts, and those who are interested in conquering the hardest challenges of all can engage in the Citadelle des Morts Easter Egg, which features a Main Quest for the core Zombies Crew of Weaver, Maya, Grey, and Carver. There are quite a few steps to this Easter Egg, and all of them have been laid out for players below.

Related
Black Ops 6: How to Upgrade All 4 Elemental Swords in Citadelle des Morts
Black Ops 6 Zombies features immense power within the hilts of four Elemental Swords in Citadelle des Morts, and here’s how to get them all.
Completing the Main Quest in Black Ops 6 Zombies’ Citadelle des Morts isn’t going to be easy, especially for solo players, but the map is a great addition and any COD Zombies fan needs to attempt it for themselves to battle the boss within and uncover Richtofen’s next steps.
Step 1: Activate Pack-a-Punch and Speak with Gabriel Krafft
The first thing that players must do to trigger the main quest in Citadelle des Morts is to activate the Pack-a-Punch Machine found within the Oubliette Room. Players need to activate the cannon in the Courtyard’s Ramparts area to breach the Entrance Hall to the castle, which will allow them to navigate into the bowels and unlock Pack-a-Punch. After this has been done, head to the Dungeon where Quick Revive is located, and players can interact with the North West wooden cell to trigger a conversation with Gabriel Krafft. Zombies will not attack players while Krafft is speaking.
Step 2: Obtain All Torn Page Fragments
The next step is to obtain 4 Torn Page Fragments that are scattered around the Sitting Rooms area where the Stamin-Up Perk can be found. There are quite a few random spawn locations for the Torn Page Fragments, but all four of them are found within the Sitting Rooms area. Likely spots involve the North walls, opposite the North walls, the couch, the TV, the fireplace, and the crates. They aren’t too hard to find, as there are only 4 of them and they will always be in the Sitting Rooms. This is a step that can be completed in any order, but it’s best to get it done in the early rounds, and then it will become important again at Step 10.
Step 3: Obtain the Sword
Players must wait until Round 10 has been activated to allow for unique zombies to spawn on the map. These unique zombies will be wearing templar helmets that make them immune to headshot damage, so simply shoot them in the body to kill them. Every zombie with a templar helmet will hold a unique item: the Stamp. Players can head to the Dining Hall where Vulture Aid is located to find four Knight statues. Interacting with any of them will release their sword for players to take. The goal now is to upgrade each of these four swords, in any order, but for convenience, this guide will take this order:
- Dragon Sword (front right statue)
- Lion Sword (back right statue)
- Stag Sword (front left statue)
- Raven Sword (back left statue)
Steps 3 to 8 can be completed in any order, and players can also get the Incantation chests without the corresponding Elemental Sword, but will be unable to open it until they have the sword itself.
Step 4: Acquire the Caliburn Sword and the Fire Incantation
The Caliburn Sword can be acquired after picking up the Dragon Knight’s sword and completing the upgrade steps in the Entrance Hall that requires players to charge it with burning pyres that can be found here: How to Get the Fire Sword.
Once players have Caliburn, they can either use the Sword’s Special Attack or Molotov Cocktails to burn 3 specific wooden bonfires. Each of the wooden bonfires can be found in the Ramparts area, which is above the Courtyard accessed through the Elemental Pop or Melee Macchiato tunnels. Burning a bonfire will spawn zombies that will need to be killed. Here are the locations for each bonfire:
- Facing North of the Hillside Ramparts above the Elemental Pop room, look up to find a bonfire next to an antenna.
- Facing North, looking directly at the Entrance Hall to the castle, where the bonfire can be found on the upper platform.
- Facing South East of the village Ramparts, look out to the Speed Cola area to find a bonfire just above the Perk Machine.
The third bonfire spawns a Doppelghast, and killing it will reveal the Ra’s Ankh amulet that players can pick up. Players need to deposit Ra’s Ankh at the glowing symbol found in the North corner of the Courtyard’s Village Ramparts area. Now, kill zombies to charge Ra’s Ankh, which then spawns a chest that players with the Caliburn Sword can hit to acquire the Fire Incantation.
Step 5: Acquire the Solais Sword and the Light Incantation
Players can obtain the Solais Sword after picking up the Lion Knight Sword and completing its upgrade requirements found within the Upper Village: How to Get the Light Sword.
With the Lion Sword acquired, players will need to shoot crystals with their guns to deflect a beam of light into them. These crystals must be shot at the right angle to progress. The angle to shoot is always indicated by the beam of light, and players just need to face in the direction of the beam of light and its angle. Players must take the beam from the Dining Hall to the Alchemical Lab. There are 6 crystals to shoot, and here’s the order and placement that players will want to stand for it to work:
- Shoot the first crystal when standing between the four knight statues, and look up at the North wall when facing Vulture Aid so it deflects into the second crystal.
- Stand against Vulture Aid and shoot the second crystal so it reflects to the third crystal.
- Shoot the third crystal found above the Lion Knight statue while standing between the Crow and Stag Knight statues so that it beams into the Alchemical Lab’s fourth crystal.
- Head into the Alchemical Lab and shoot the fourth crystal when standing near the desk with the globe to the left to activate the fifth crystal.
- Shoot the sixth crystal to the left of the Arsenal, standing in the doorway to the Dining Hall. Doing so will shine a beam of light onto a marble bust on a desk in the East corner of the Alchemical Lab. Interacting with it provides players with the Paladin’s Brooch.
A pulsing golden circle will have spawned in the Dining Hall’s South wall, and now players need to place the Paladin’s Brooch within the circle. Hang around the circle and kill around 20 zombies so that a glowing chest spawns. With the upgraded Lion Sword, players can now hit the glowing chest to unlock it and then interact with it to claim the Light Incantation.
Step 6: Acquire the Durendal Sword and the Electric Incantation
The Durendal Sword must be acquired for this step, and it can be obtained by upgrading the Stag Knight Sword and finding the three Lightning Urns, with detailed steps found here: How to Get the Lightning Sword.
Once the Durendal Sword is claimed, head to the Hilltop area inside the barn with Deadshot Daiquiri and shoot the horseshoe that hangs off of the North West wall. Players can then pick up Otto’s Horseshoe. From here, head to the Rampart Cannon where they will be able to launch themselves to the Town Square for 500 Essence. Doing so will electrify the Horseshoe, and now players need to look up to the sky and scout the area looking for a singular storm cloud.
Underneath the storm cloud is the Pegasus’ Horseshoe item that players can pick up. Players must then take this item to the North West area of the Town Square, where they can place it down on a glowing sigil. Doing so will spawn zombies, and now players just have to kill them until the sigil disappears and a chest spawns. Hit the chest with the Durendal Sword to acquire Electric Incantations.
Step 7: Acquire the Balmung Sword and the Dark Incantation
For the fourth and final sword upgrade and incantation, players will need the Balmung Sword, which is first found on the Crow Knight statue. Players then need to head into the Alchemical Lab and search for a specific part, whether it’s a Horn, Fish, Scorpion, Jaw, or Bird Skull. Now, look to this guide on How to Get the Balmung Sword.
With the Balmung Sword acquired, head into either the Oubliette Room by Pack-a-Punch and access the Cave Slide for 500 Essence. During the Cave Slide segment, players will need their gun at the ready, as they are looking for a raven at the end of the slide that needs to be shot. After players arrive at the Town Square, the raven that they shot will be flying around, simply shoot it again to destroy it and then head over to its location to pick up the Raven’s Talon.
Now, head to the Undercroft area where players can find the fourth and final glowing symbol on the floor next to the West wall, which players will then need to interact with to place the Raven’s Talon and charge it with zombie kills. After which, hit it with the Balmung Sword to obtain the Dark Incantation.
Step 8: Locate and Shoot Specific Symbols
With all four Incantations acquired, it’s time to pick up Melee Macchiato from the Courtyard’s right room (It’s a Perk that players should already have for its synergy with the dedicated melee weapon of the Swords). With Melee Macchiato, head into the Undercroft and melee strike the South wall with a fist so that the wall crumbles and reveals 20 symbols. Don’t be intimidated, as players only need to remember 6 of these symbols.
The goal of this step is to shoot the symbols in a specific order, and the order can be found within the Tavern, noted by the Roman numerals on 6 distinct bottles. The placement of the bottles stays the same in the Tavern, but the symbol will be unique to everyone’s own game:
- 1 (I) On the left side of the bar
- 2 (II) On the table closest to the Arsenal
- 3 (III) In the North West corner of the room on a table
- 4 (IV) Upstairs in the Tavern on a shelf by the pool table
- 5 (V) On a booth table in the South section of the Tavern
- VI (6) In the far corner of the Tavern just behind the entrance door from the Town Square
After interacting with the bottles, players must memorize the symbols that they have in each one, along with the order in which they come in. It’s easier to draw them down as they will be unique for everyone’s game, but once players know the symbols, head back to the Undercroft and shoot the symbols in the order that they appear from 1st to 6th. After shooting a symbol, the position of them changes, so just try to find the next one until all 6 have been shot. Doing so correctly will spawn a red orb on the wall left to the symbols, and now players can interact with it, and then interact with it again to place the Torn Page Fragments they found in Step 2.
Step 9: Interact with the Book and Activate Corresponding Traps
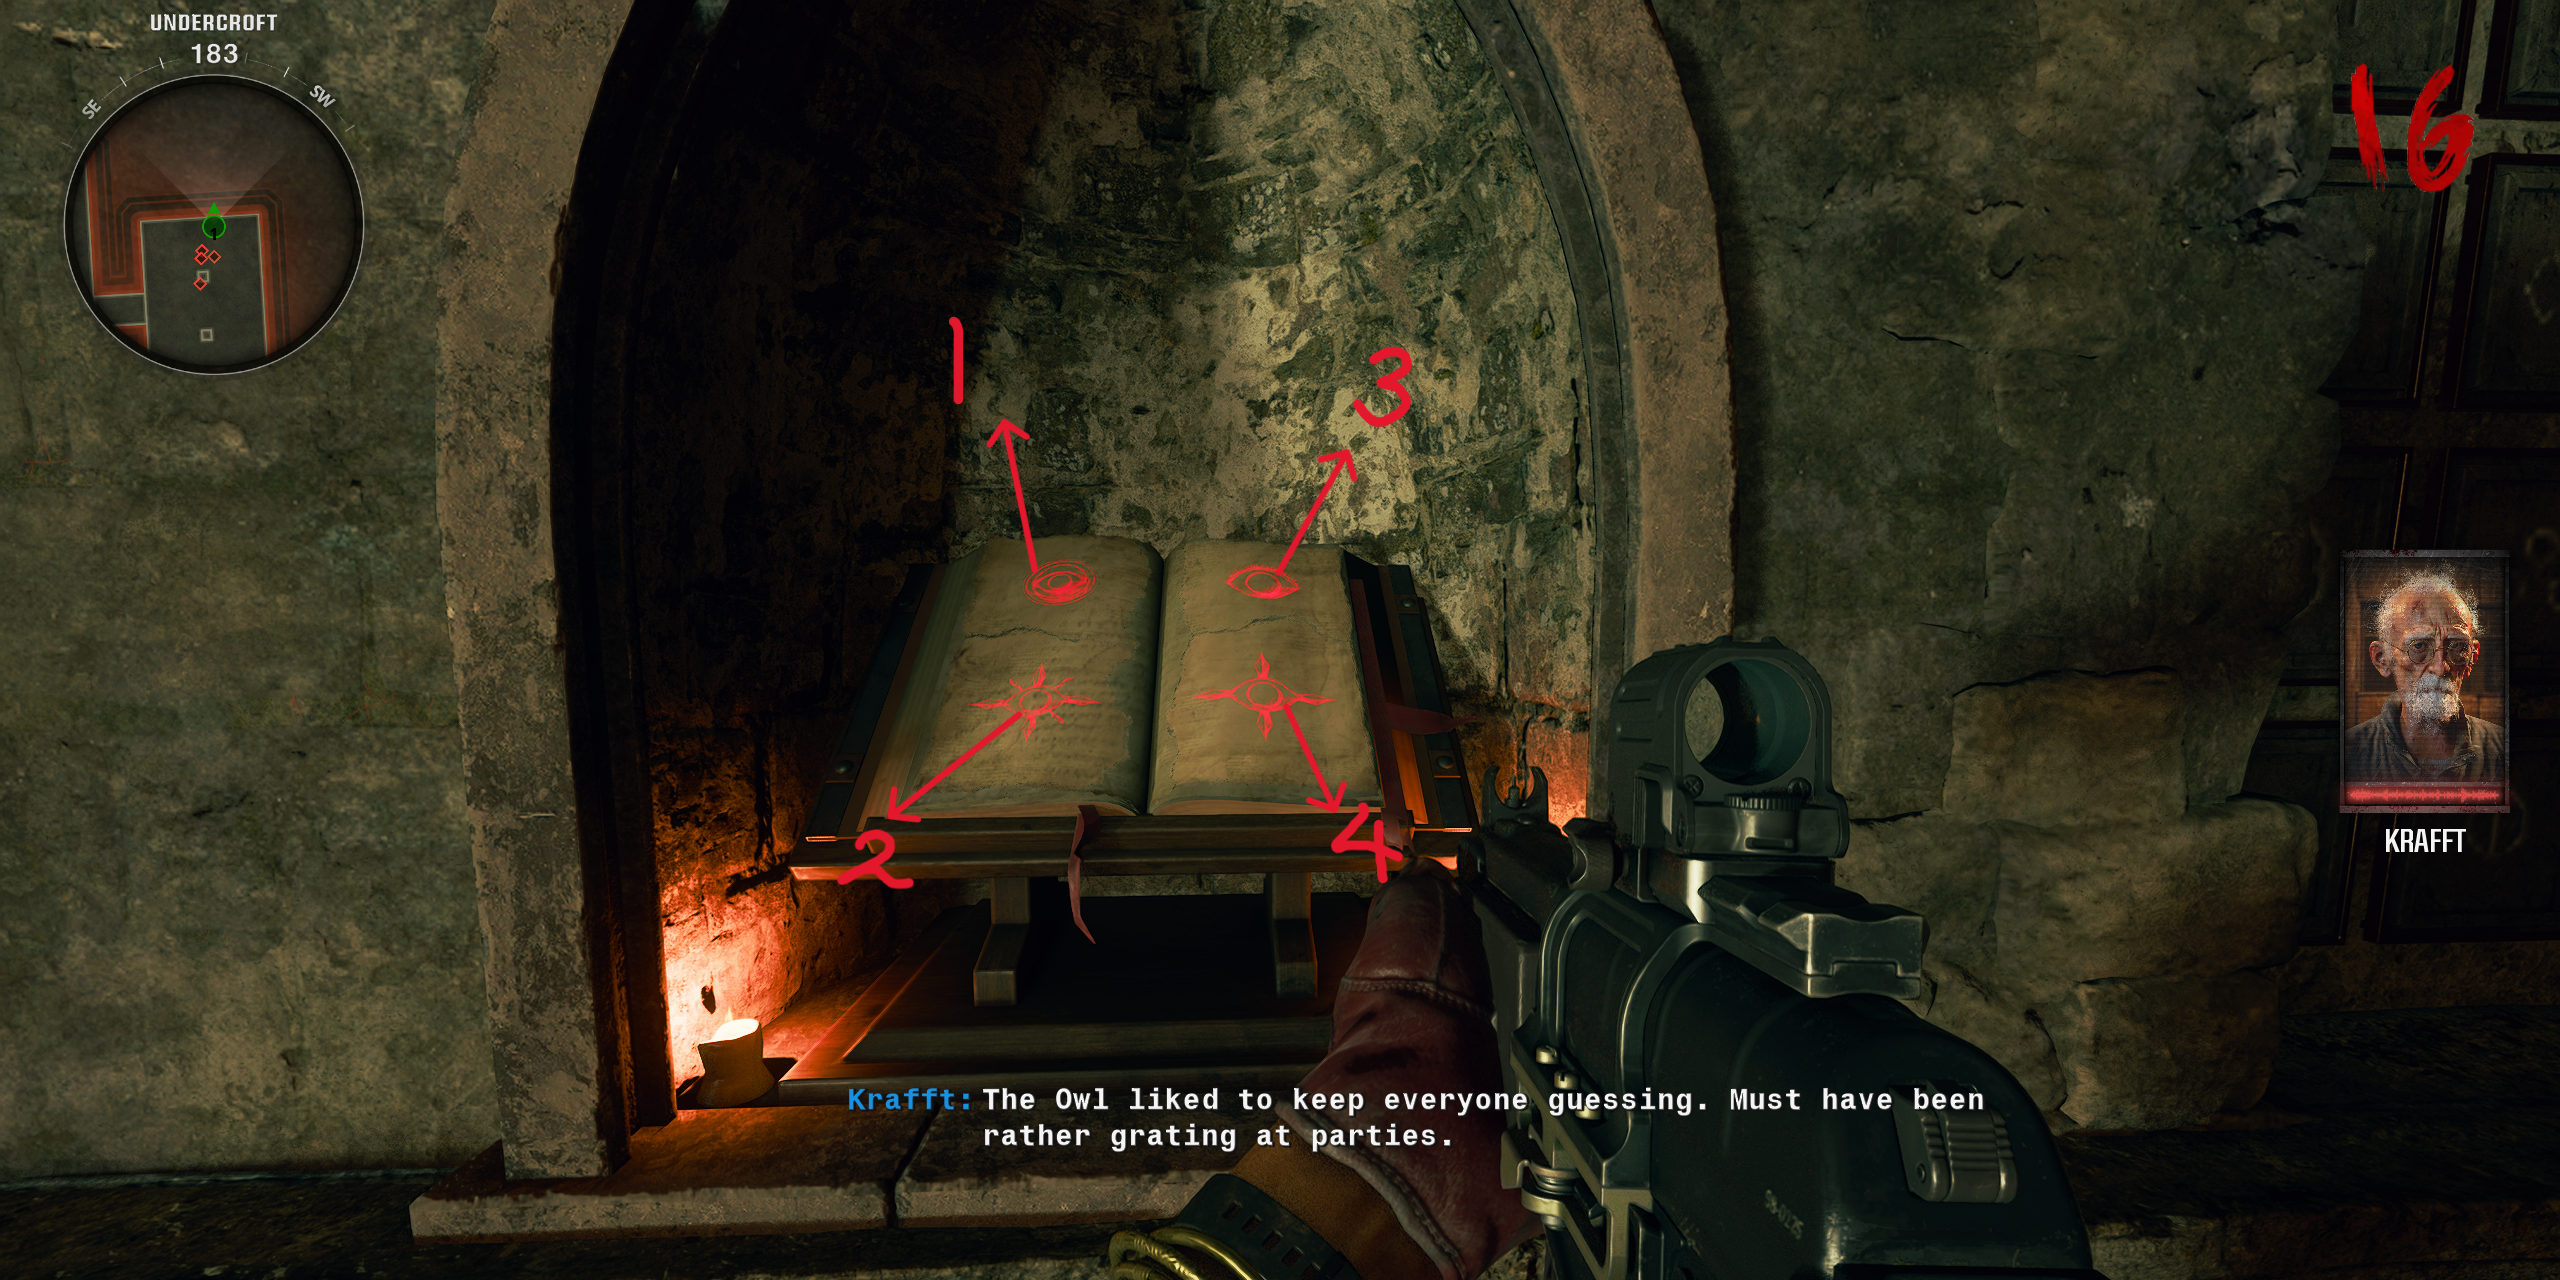
After interacting with the book, the torn pages from Step 2 will appear as red symbols, and players need to memorize these symbols in a specific order:
- Top Left is 1
- Bottom Left is 2
- Top Right is 3
- Bottom Right is 4
There are four symbols to memorize, and the order of them will be unique to every game:
- Eyeball with a circle around it
- Eye with 8 points
- Eye with eyelashes
- Eye with 4 points
Players now need to check the Tac Map and explore, looking for the Power Traps that have the symbol they are looking for. If their first symbol is the Eyeball with a circle, then look for that trap and activate it for 1,500 Essence – doing so and killing around 10 zombies in the circle will deactivate the trap, and players can now return to the Undercroft to see if the red symbol is now gray.
Players need to repeat this step for all 4 symbols, so it’s best to check after every Power Trap use to see if it’s worked, as it can be a tad glitchy as some Power Traps do not count despite being the symbol required. Luckily, there’s more than one Power Trap on the map.
Step 10: Inspect the Elemental Swords at the Knight Statues
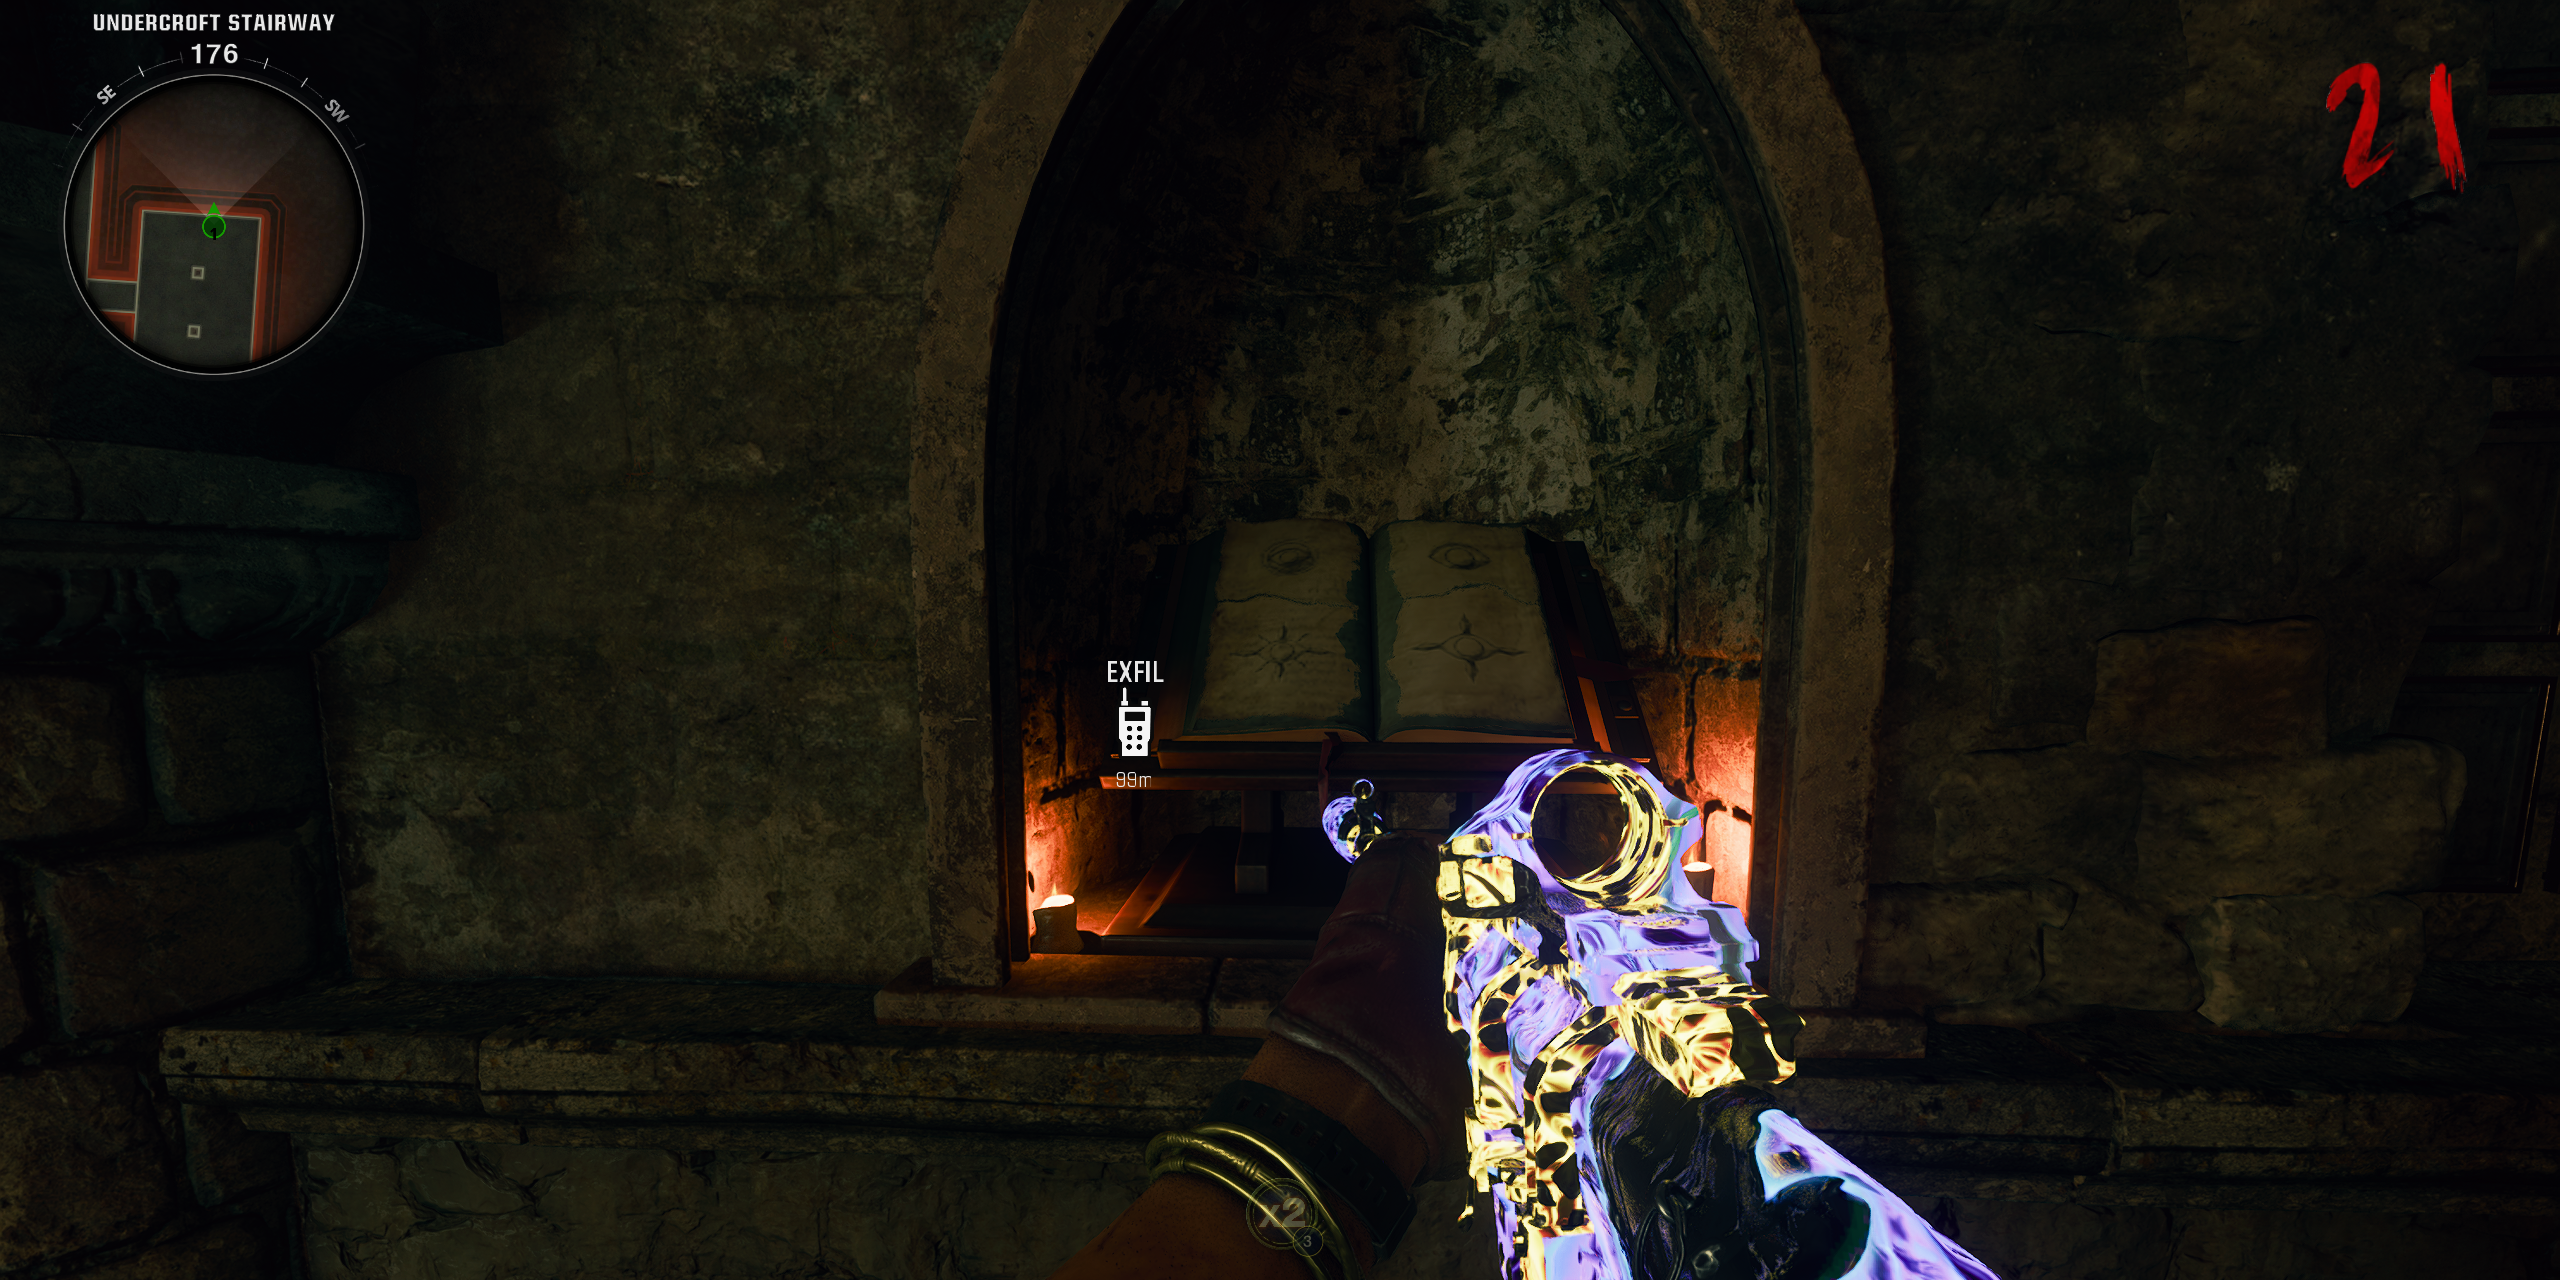
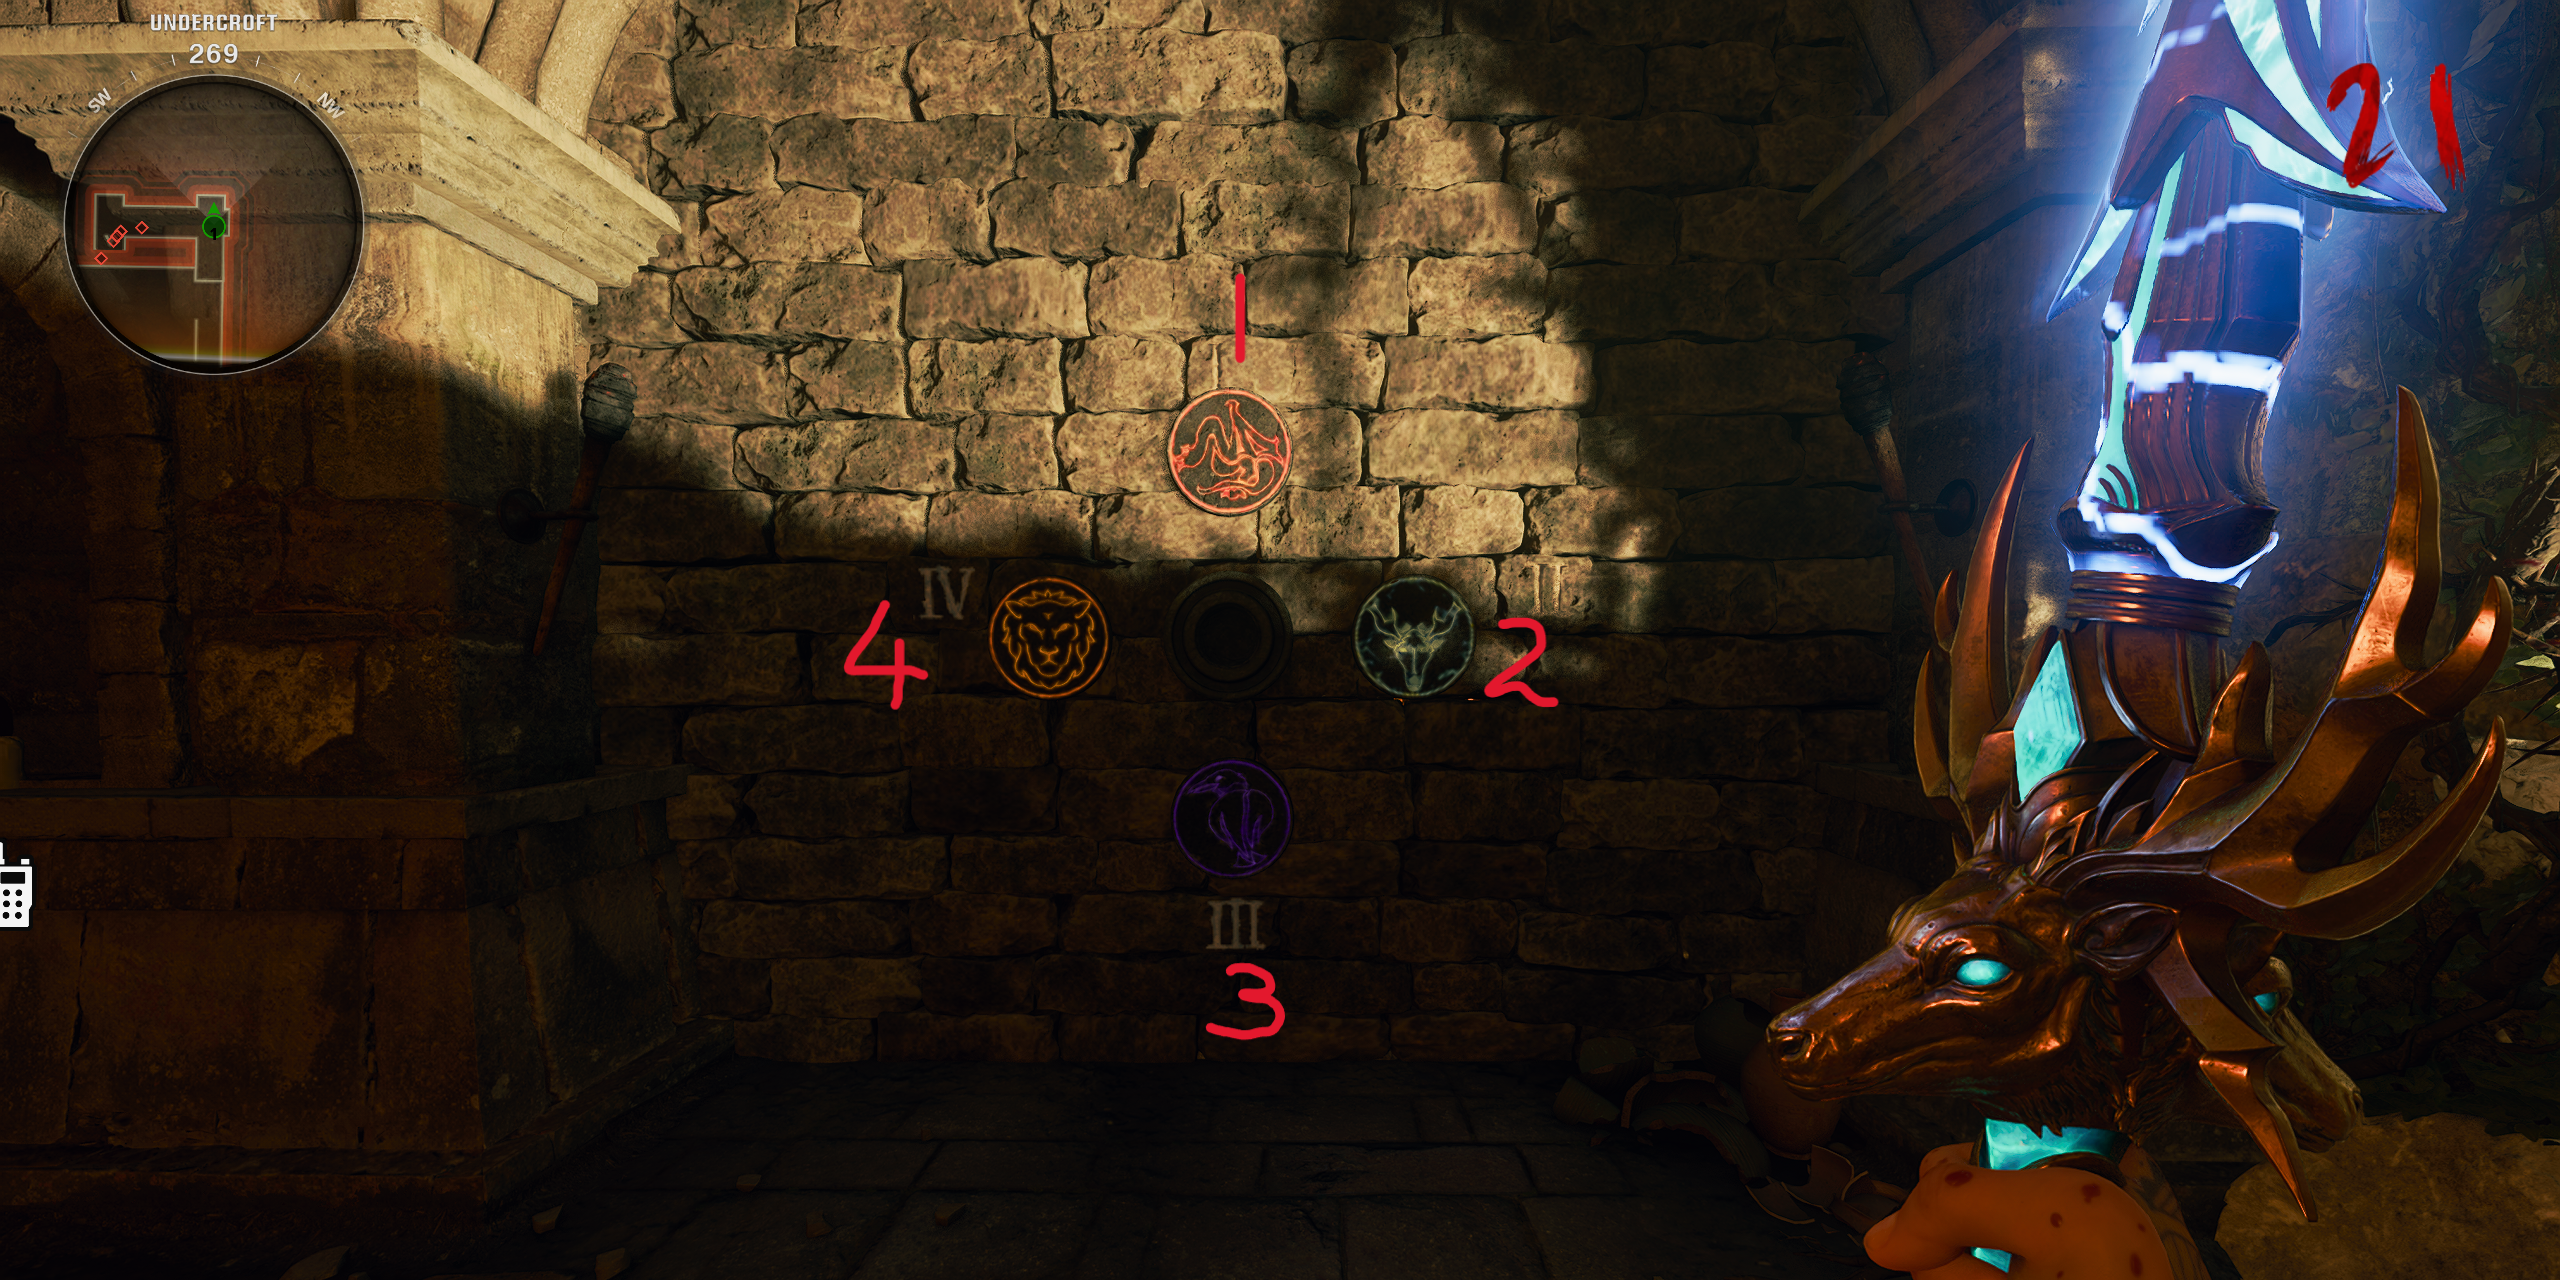
With all four symbols of the book now complete, players can head into the Undercroft Stairway leading to the Sitting Rooms with Stamin-Up. On the West wall will be four new symbols in a specific clockwise order, starting from 12 o’clock (up position) and going clockwise. The symbols will be different in each game, but players just need to note which order the symbols come in from:
- First Symbol – Up
- Second Symbol – Right
- Third Symbol – Down
- Fourth Symbol – Left
The symbols that appear will always be a red dragon, a blue stag, a purple raven, and a yellow lion.
Head to the Dining Hall, where there will be 4 Incantation boxes around the area. Players will then need to take the sword that corresponds with the first symbol and use their incantation on the knight that the sword belongs to. After using the Incantation, inspect the sword with the Weapon Inspect emote wheel (Left on the D-Pad) which will make that statue glow. Players need to repeat this step for all the statues, and just in case players are confused:
- Dragon Knight Statue – Caliburn Sword & Fire Incantation(Red Dragon symbol)
- Stag Knight Statue – Durendal Sword & Electric Incantation (Blue Stag symbol)
- Lion Knight Statue – Solais Sword & Light Incantation (Yellow Lion symbol)
- Raven Knight Statue – Balmung & Dark Incantation (Purple Raven symbol)
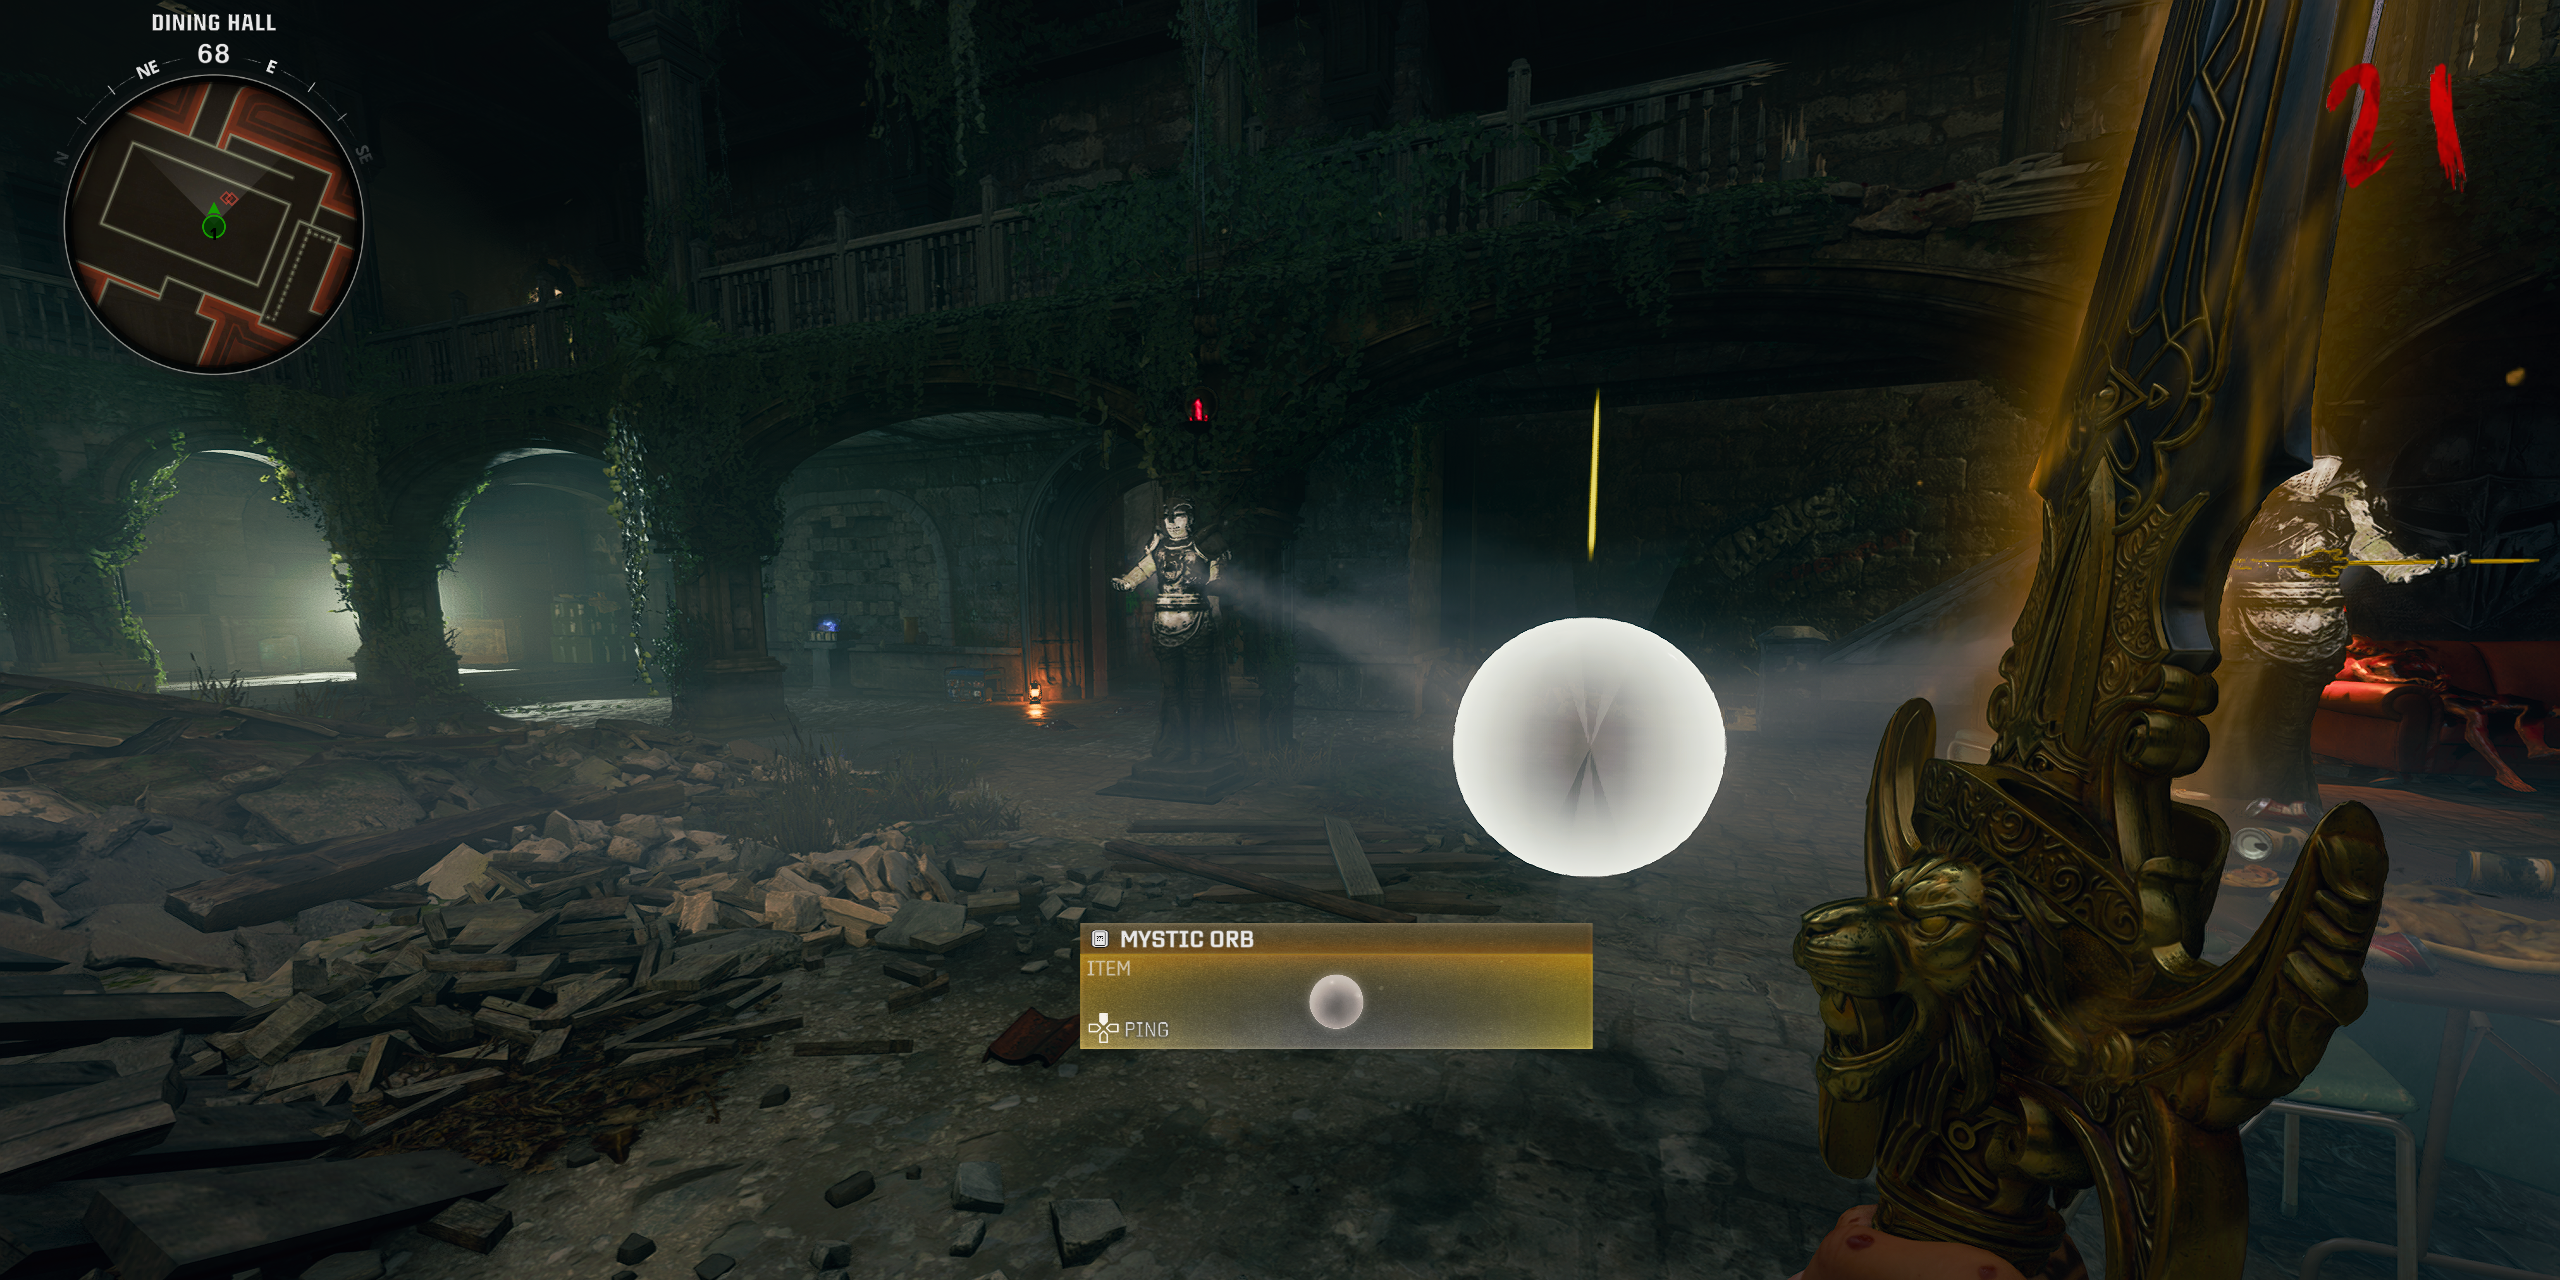
Once the statues have been activated in the correct order, a Mystical Orb will spawn in the center of the statues, and it can be picked up to begin the next step.
Step 11: Complete the Four Elemental Challenges with the Mystical Orb
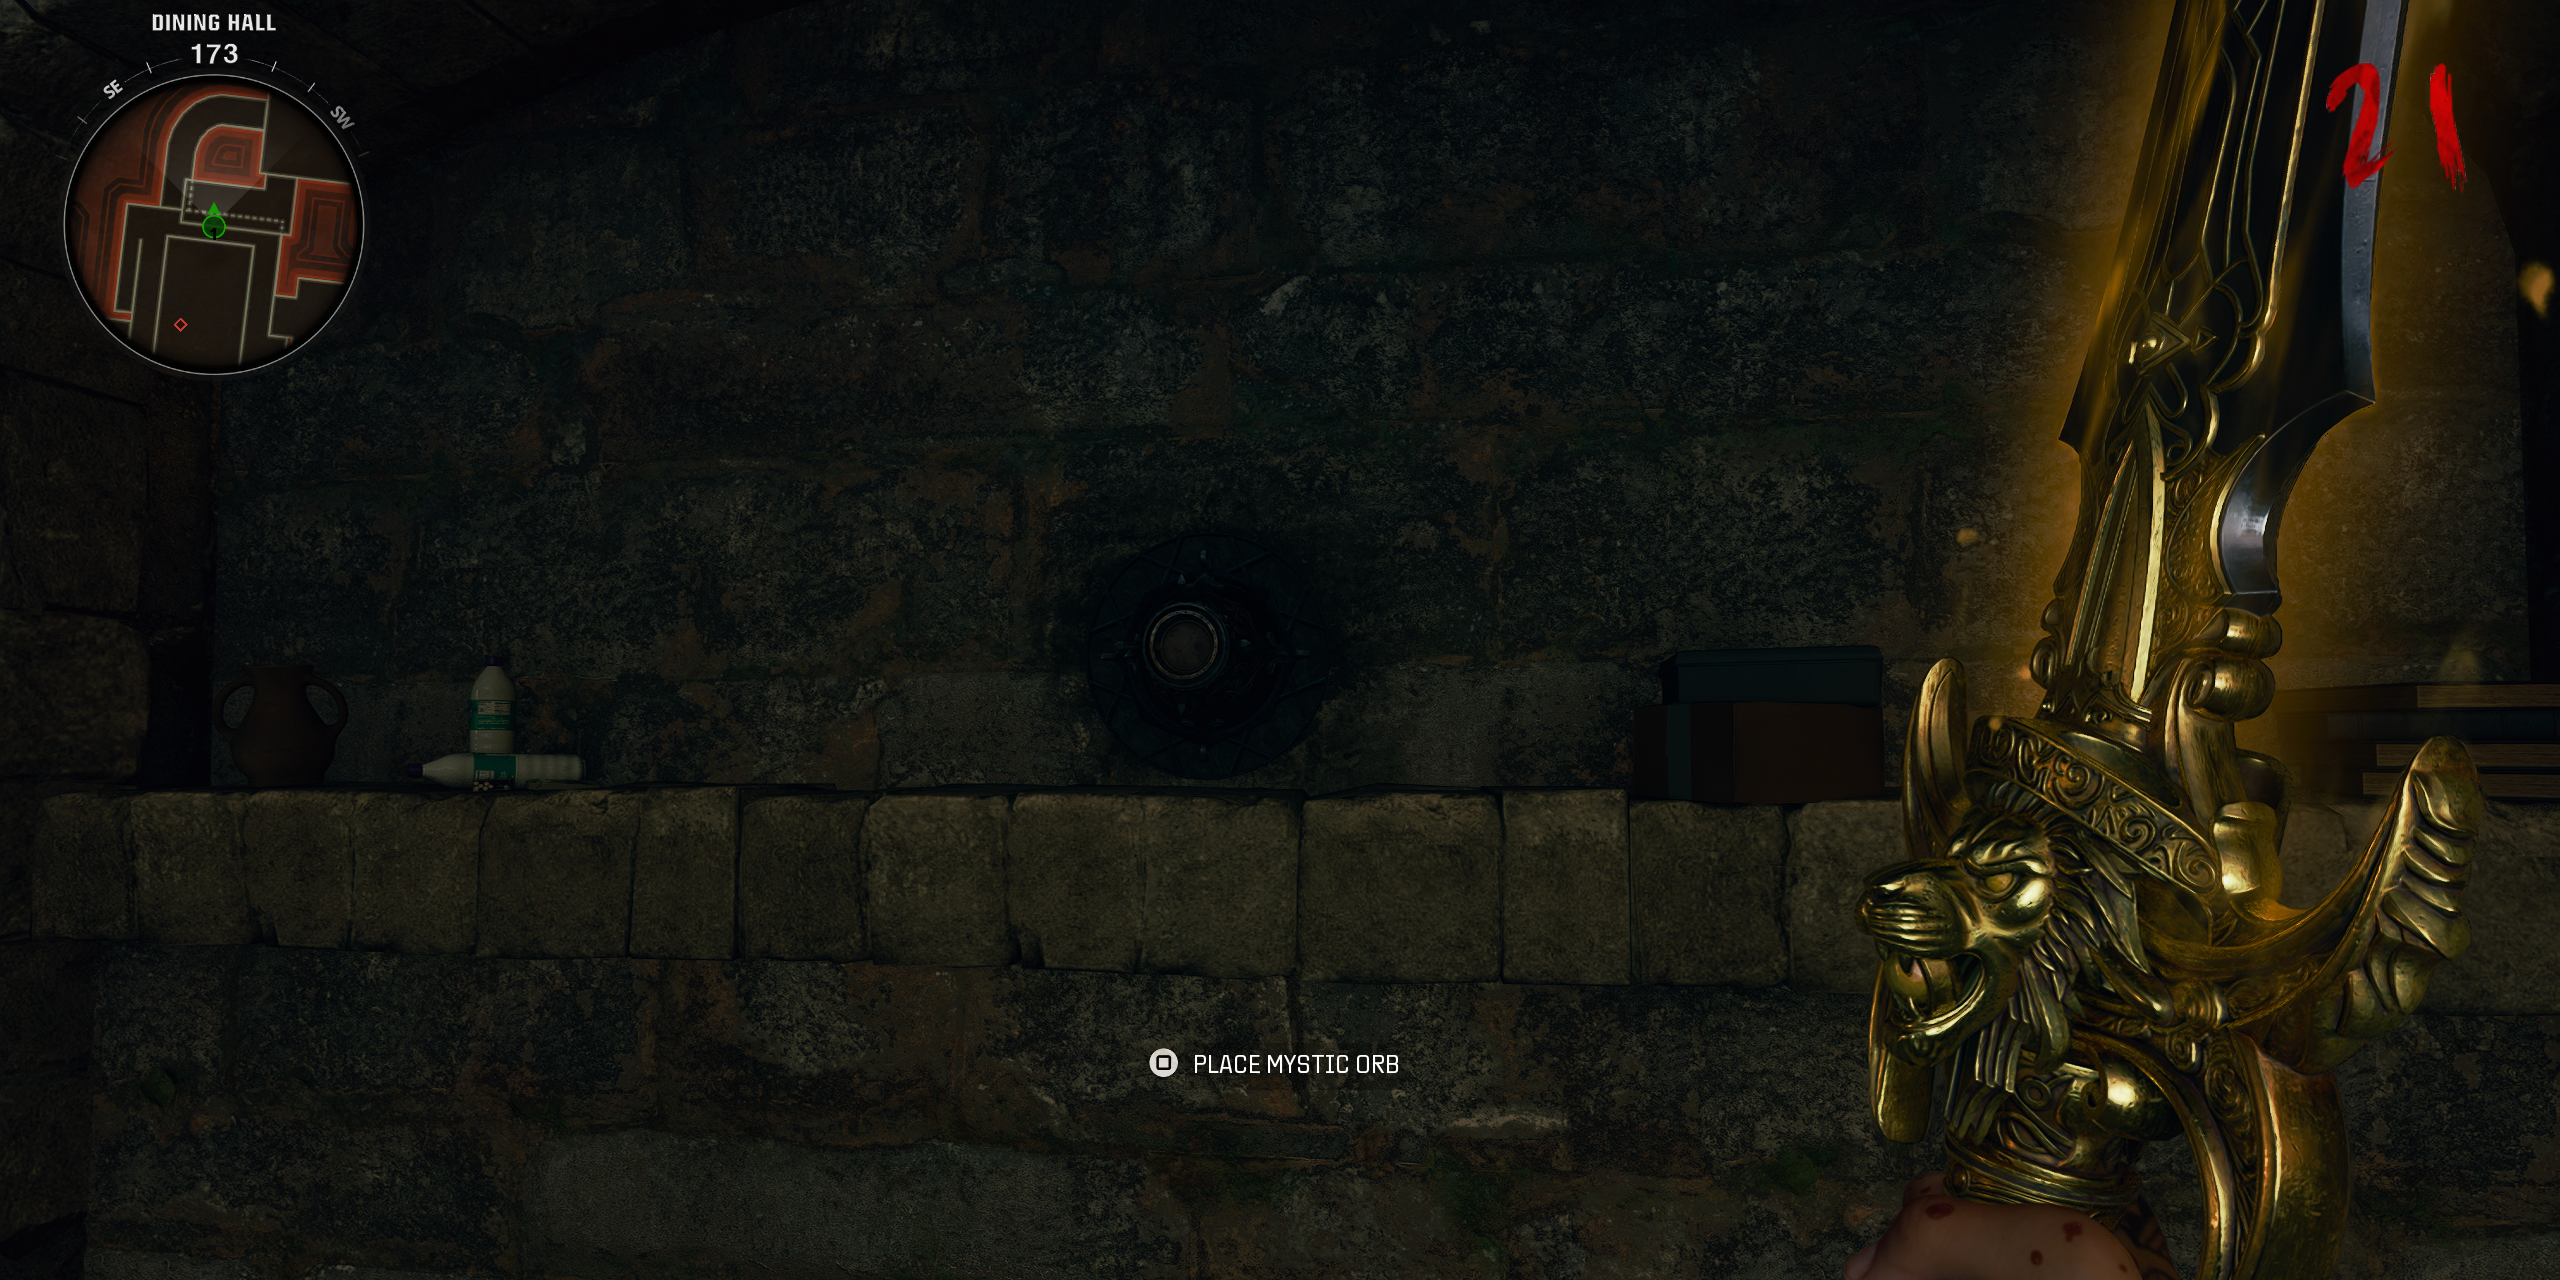
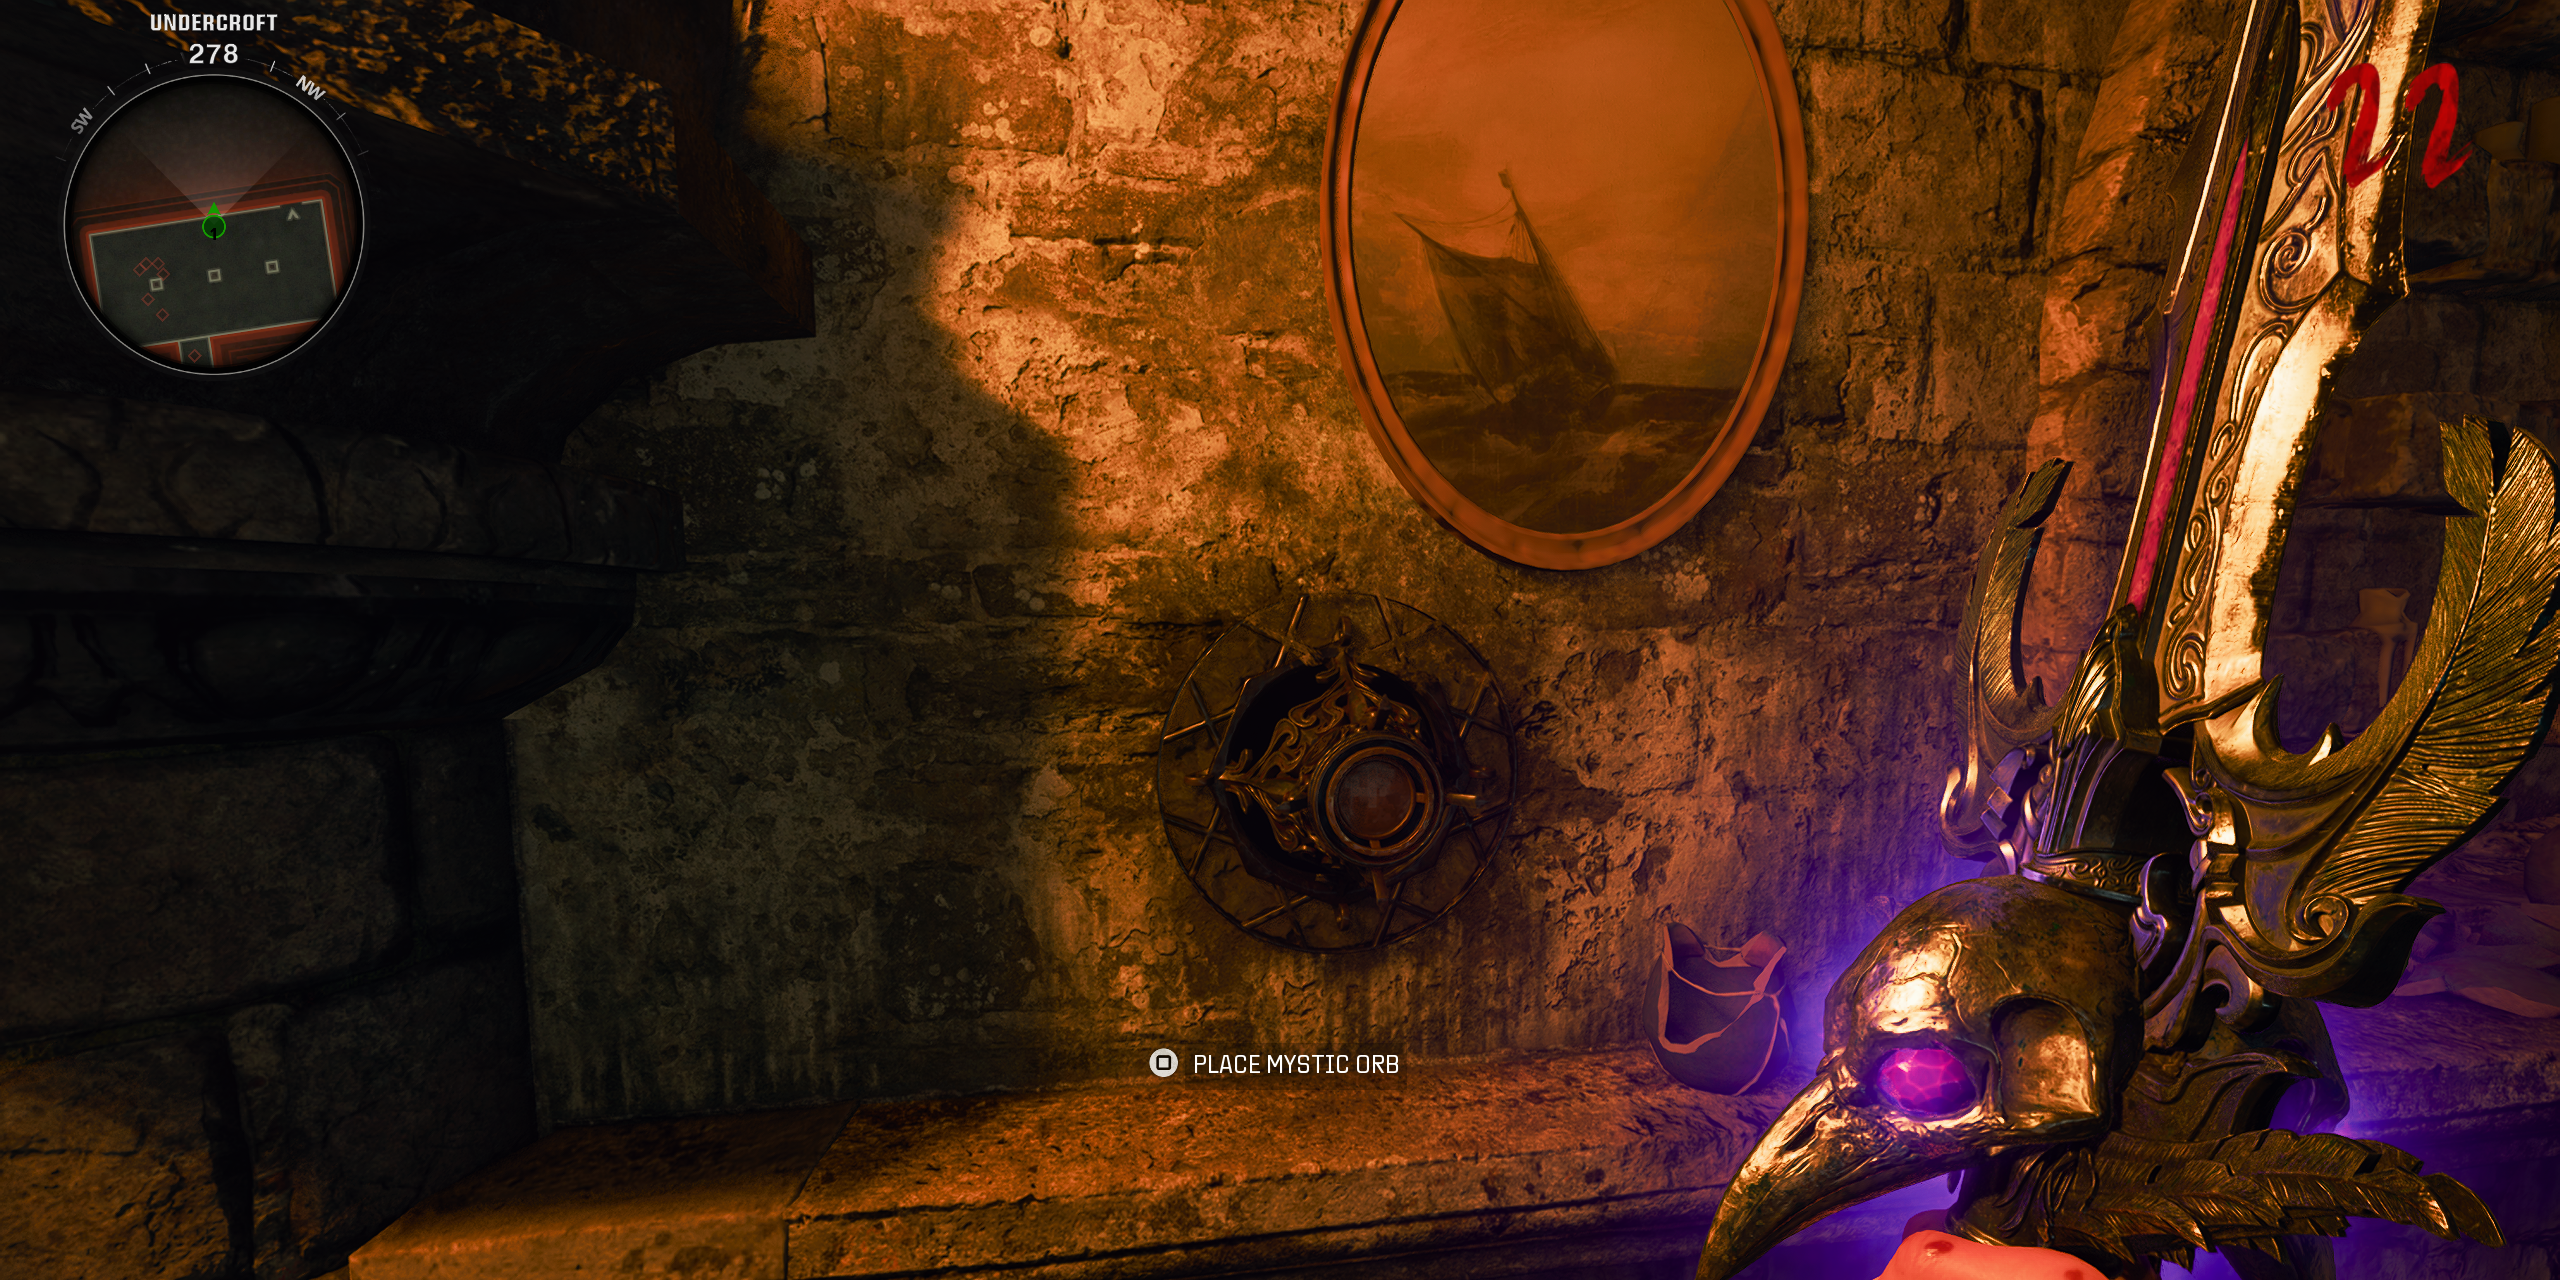
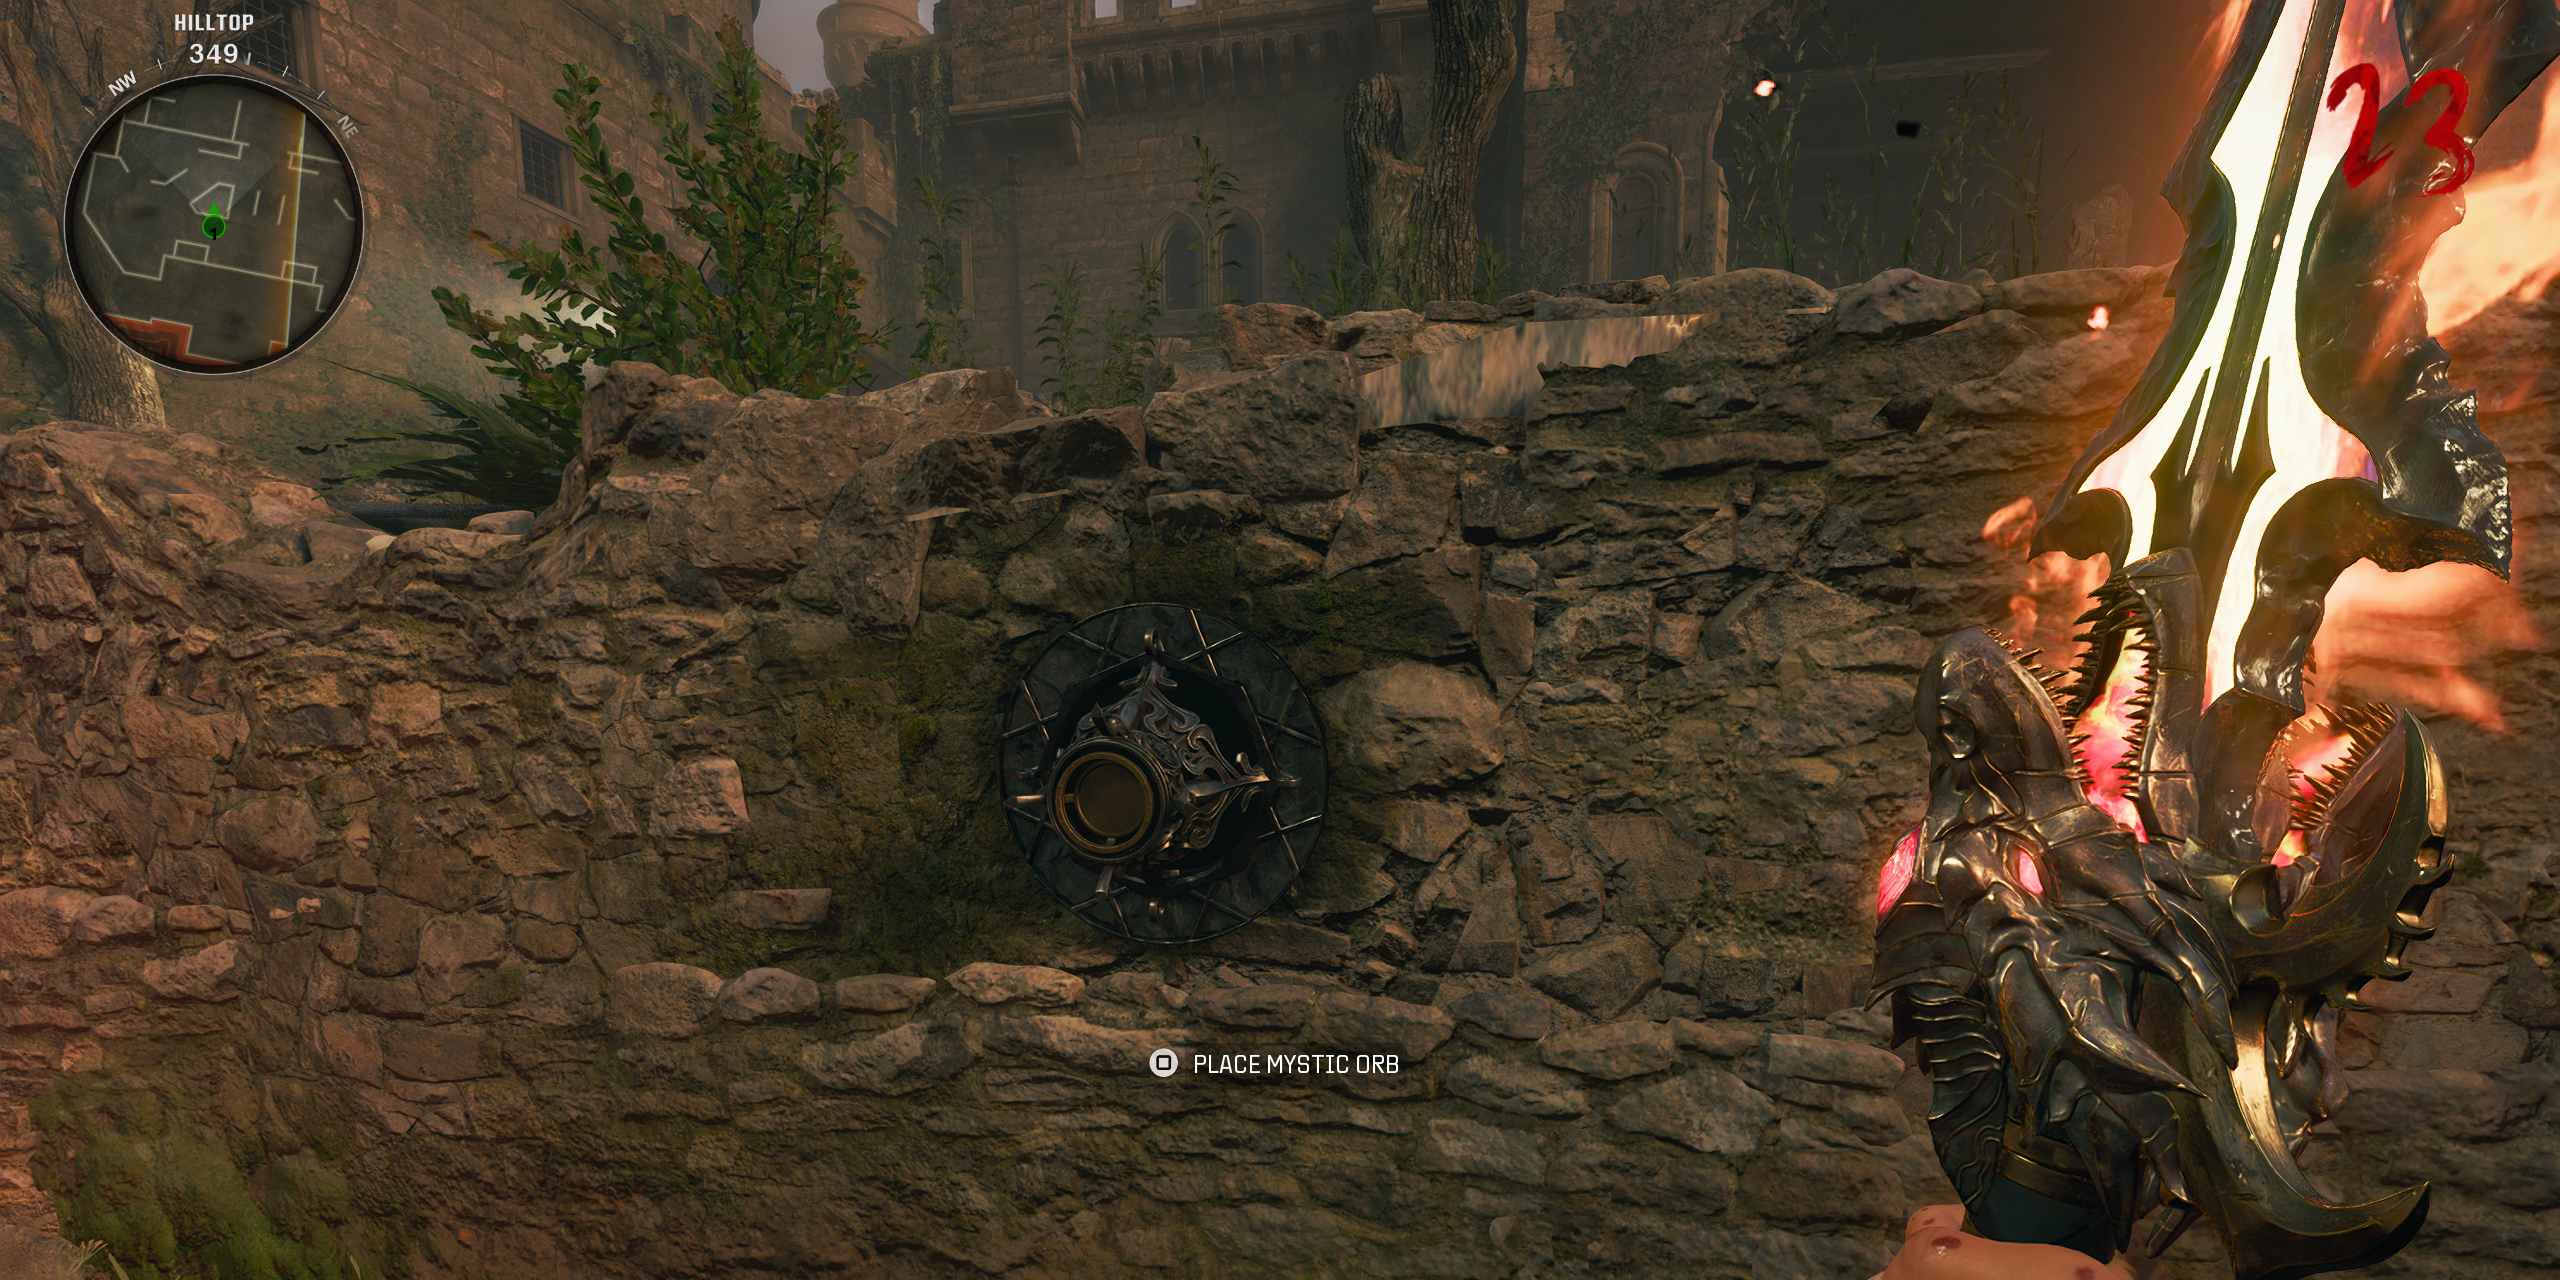
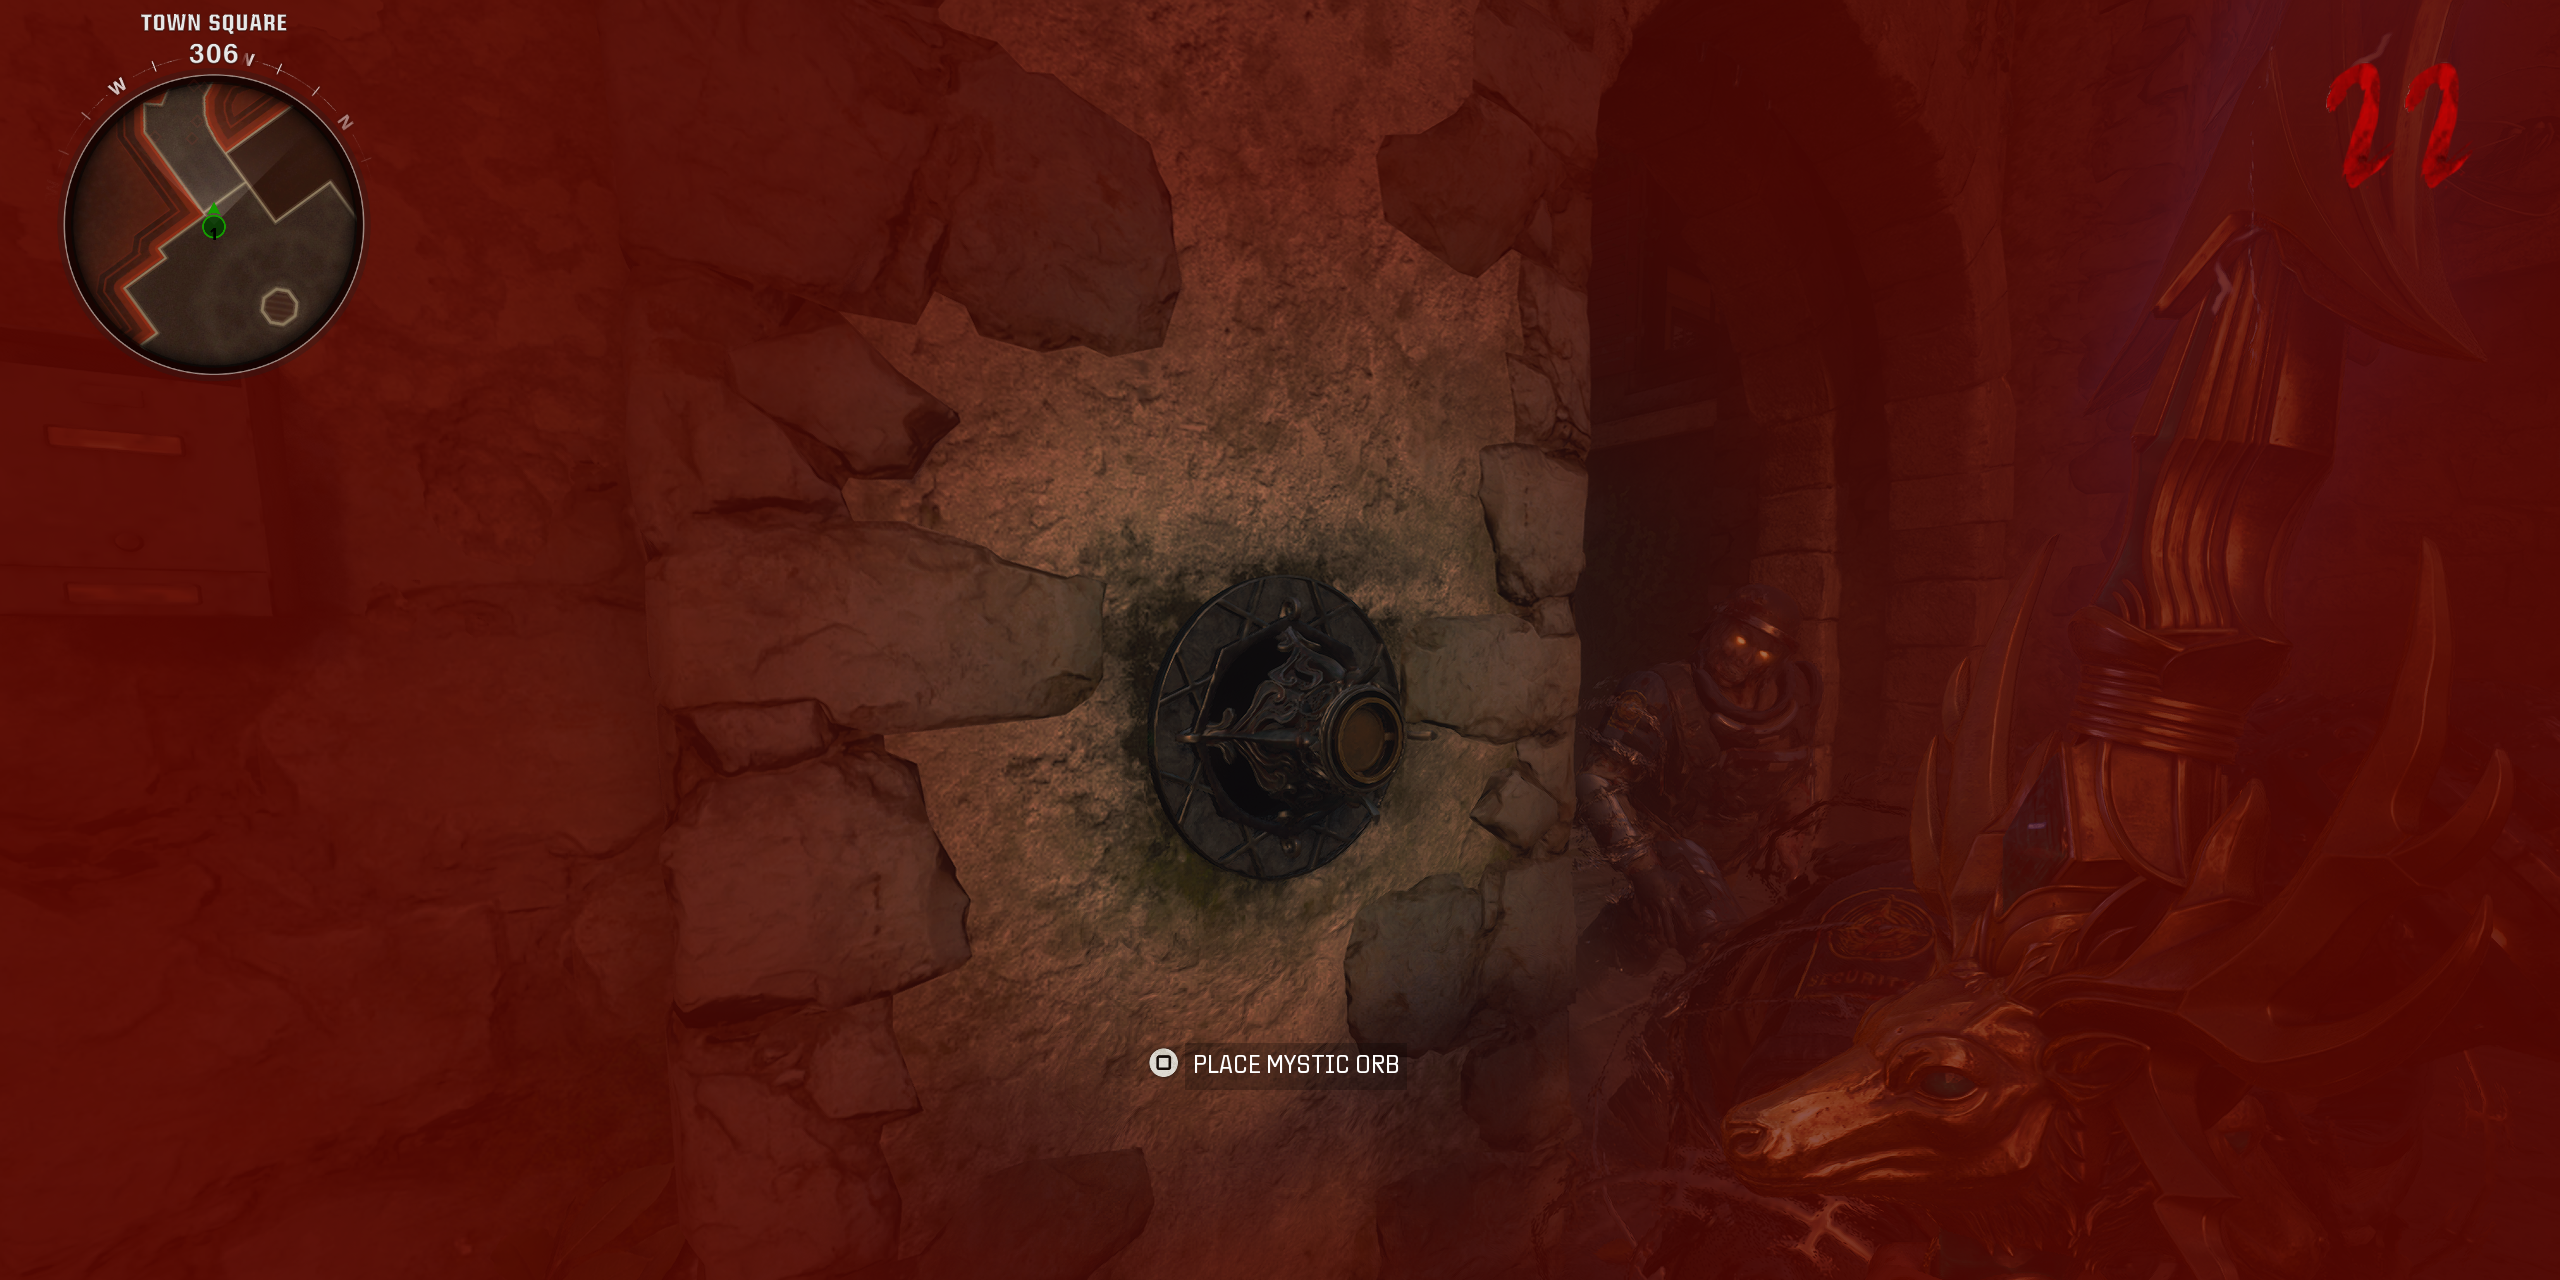
With the Mystical Orb acquired, players must now venture through the map to place the Mystical Orb in specific spots. There is no order that must be followed, but there will be specific spots on the map where players must take the Mystical Orb. Once the Mystical Orb has been placed in its holder, players can view the color of the orb that notes the sword they must use, and then they can go and grab that sword and interact with the orb to begin the Elemental Challenge. Luckily for players, this guide shows where to take the Mystical Orb and what Elemental Sword players need to bring.
The first Elemental Challenge can be found in the Dining Hall’s upper floor at the South wall, opposite Vulture Aid. This challenge requires the Solais Sword, and all players need to do for this challenge is run around the Dining Hall and collect green orbs until the Mystical Orb is satisfied and players can pick it back up again.
The second Elemental Challenge can be found in the Undercroft’s West wall, where players will need to bring along the Balmung Sword. This challenge requires players to get kills with void tears to feed the orb, so it’s best to use the Dark Incantation within the Undercroft, and to use the Special Attack of the Balmung Sword until the challenge completes.
The third Elemental Challenge can be found in the Hilltop area at the North wall opposite to The Arsenal. This challenge requires Caliburn, and the Fire Incantation, as players will need to get fire and immolation kills to finish this challenge.
The fourth Elemental Challenge is found at the Town Square’s West wall, the closest wall to the Nature Path. This challenge requires Durendal, and players can use Durendal’s Special Attack and the Electric Incantation to get electricity kills to complete this fourth and final challenge.
Step 12: Prepare for the Citadelle des Morts Boss Fight
Once players have finished all four Elemental Challenges, take the Mystical Orb to the Undercroft Stairway’s West wall and slot the Orb in the empty socket where players saw the four symbols. Doing so will unlock a Secrety Study room, where players can interact with the cylinder to Activate Ancient Mystic Recording and take the Guardian Key.
Players are now ready for the boss fight, but it’s imperative that players come prepared. The best weapons to fight the Citadelle des Morts boss is something that hits hard and fast like the explosive Pack-a-Punched GS45 dual-wields. Something with a great amount of DPS is also a good idea, like the XM4. Both weapons should be Pack-a-Punched to at least Tier 2, players should bring plenty of Essence to purchase more ammo in the arena, and they will want to have all Perk-a-Colas and Tier 3 armor before they enter the arena.
To start the boss fight in Citadelle des Morts, players can interact with the front of the statue found at the Town Square to Insert the Guardian Key and start the Final Encounter.
Step 13: Citadelle des Morts Boss Fight – The Guardian
The Guardian is no joke, and he is a boss fight with extreme aggression and an absurd amount of health to make him a rocky bullet sponge. This great boss will rampage around the arena, stomping at the ground and trying to hit players with his large hammer. The Guardian will also occasionally throw out fireballs that need to be avoided. The Guardian’s attacks are pretty lethal, but with Perks and Armor, they won’t one-shot players. Those in need of Armor can find it from the zombies that periodically spawn during the fight.
To damage The Guardian, players will need to shoot at his wrist gauntlets, boots, and back to break his armor and reveal his weak points. The most effective places to shoot The Guardian are the broken armor pieces that glow, as that will deal critical damage. Explosives and DPS are essential to damage The Guardian, and it’s important to use PhD Flopper with Tribologist to slide around fast and avoid his attacks.
Zombies and Doppelgangers will spawn at intervals, but The Guardian can kill these enemies himself, so players should avoid focusing fire on the boss until the zombies are dead so they avoid being overwhelmed. The Guardian has immune phases after players deal a certain threshold of damage, and during these phases, players simply need to kill all the zombies to progress. After each phase, the arena will get a little smaller and surround itself in lava.
Once The Guardian has been defeated, go over to his corpse and pick up the Amulet left behind. Doing so will trigger the Citadelle des Morts final cutscene, and after, players are given the choice to exit the game or continue playing to see what Round they can achieve.
After the Guardian has been defeated, players will have completed the Citadelle des Morts Easter Egg Main Quest!
Citadelle des Morts Easter Egg Rewards
Once players return to the lobby after completing the Citadelle des Morts boss fight, they will receive a few goodies for their triumph:
- Jacknife Operator Skin for Weaver
- Citadelle des Morts Quest Complete Calling Card
- Doppelghast Accessory

- Released
- October 25, 2024







Leave a Reply