The main story of Stalker 2 will have players re-visiting some of the most iconic places from the original series, and that includes the old Clear Sky base in the Great Swamps. Getting there is no easy task, however, as the region has only become more dangerous over the years.
After finding Nimble during a previous Stalker 2 quest, players will then be tasked with finding Faust in the swamps. That’s a little easier said than done, however, and if you’re having trouble reaching the right place, here’s a quick guide showing you how.
Related
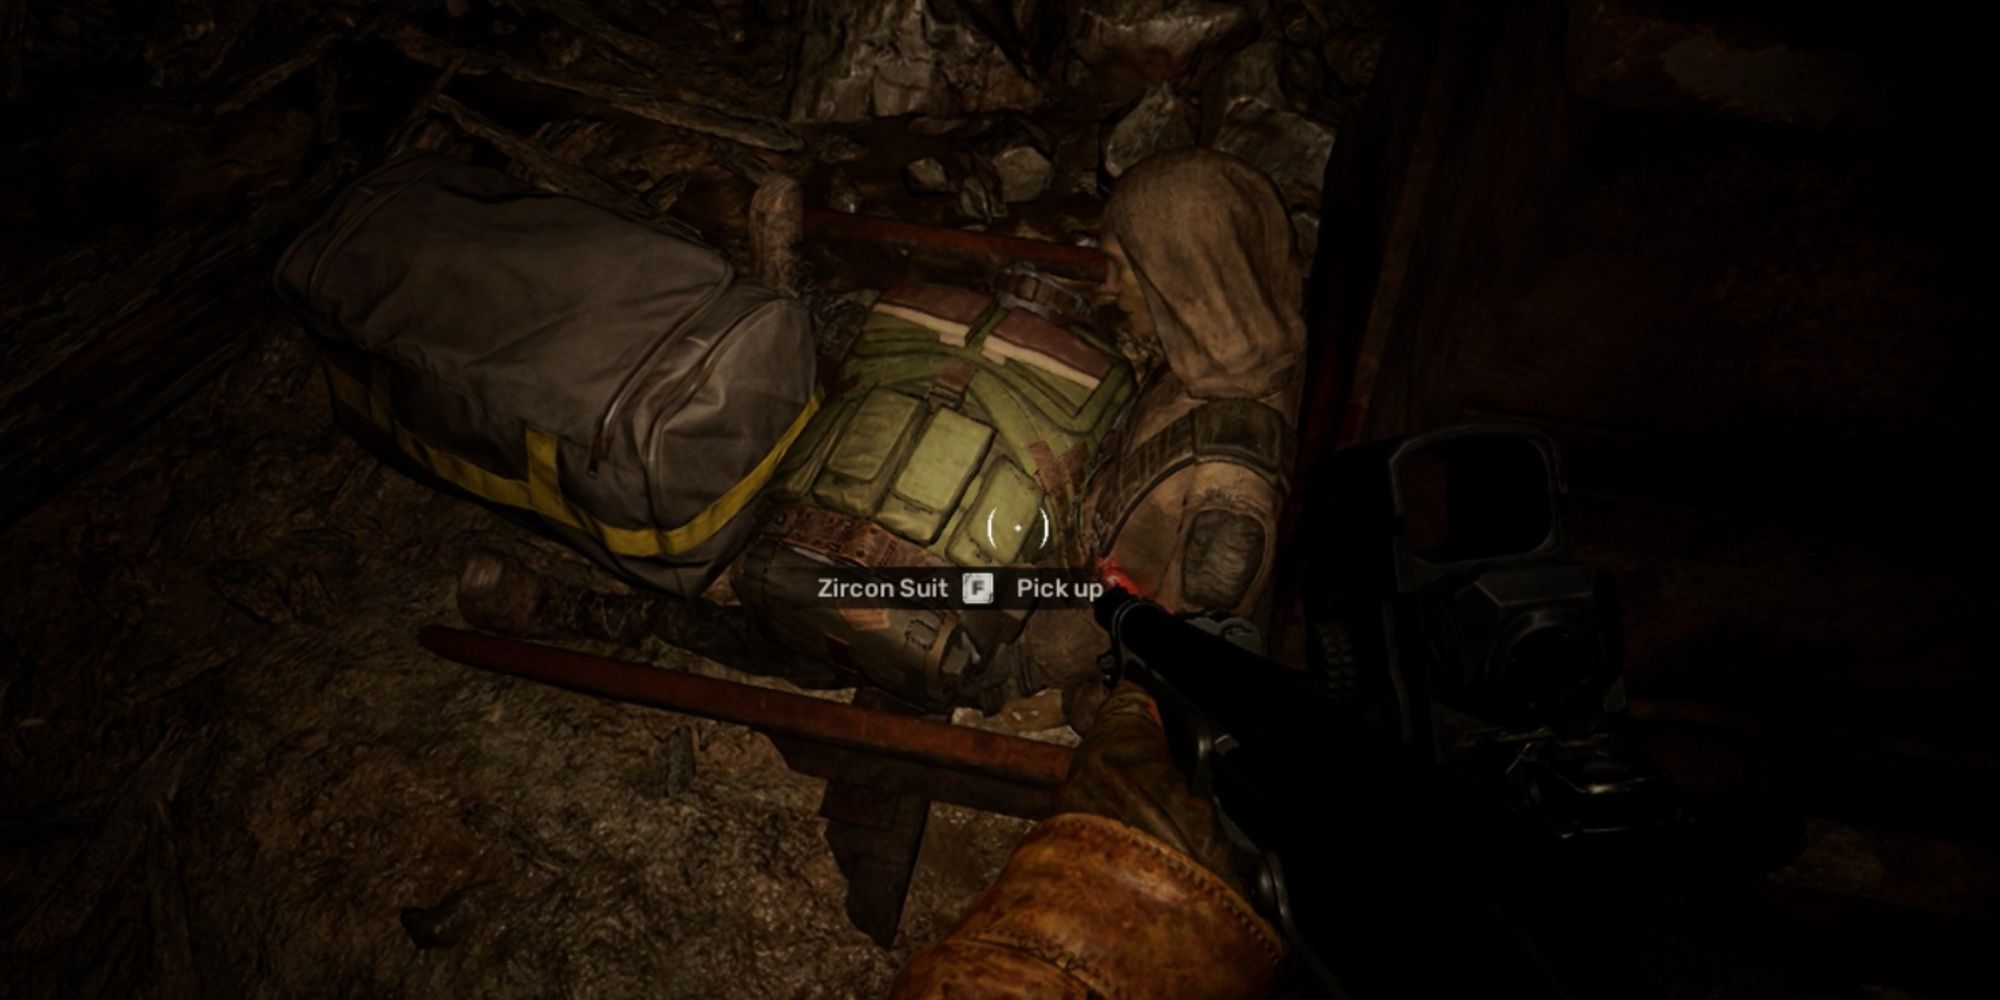
STALKER 2: How to Get The Zircon Suit
Learn all the ways you can acquire the Zircon Suit — one of the best early-game armor pieces — in STALKER 2: Heart of Chornobyl.
Where to Get Armor with Psi Protection
At this point in the game, your best bet at getting a suit with high Psi Protection is to get a SEVA-D from the Cage, an unfinished building in the Cement Factory region. There’s a Psi anomaly covering the Cage, so expect to take damage and experience blurred vision while you’re inside it.
The SEVA-D is on the roof of the Cage. To reach it, you need to climb up the stairs and carefully cross support beams inside the building, all while trying to avoid death from falling and whatever’s causing your brain to slowly melt. You’ll have to jump a gap near the top of the Cage to reach the rooftop. Once you make it to the other side, head on up to the roof and grab the SEVA-D lying against a concrete barrier. It has slightly better stats than the Sunrise Suit in Stalker 2, but it will prevent you from wearing gas masks.
The gap near the top floor is marked by a wooden plank with yellow paint on the floor.
Disable the Psi Beacons
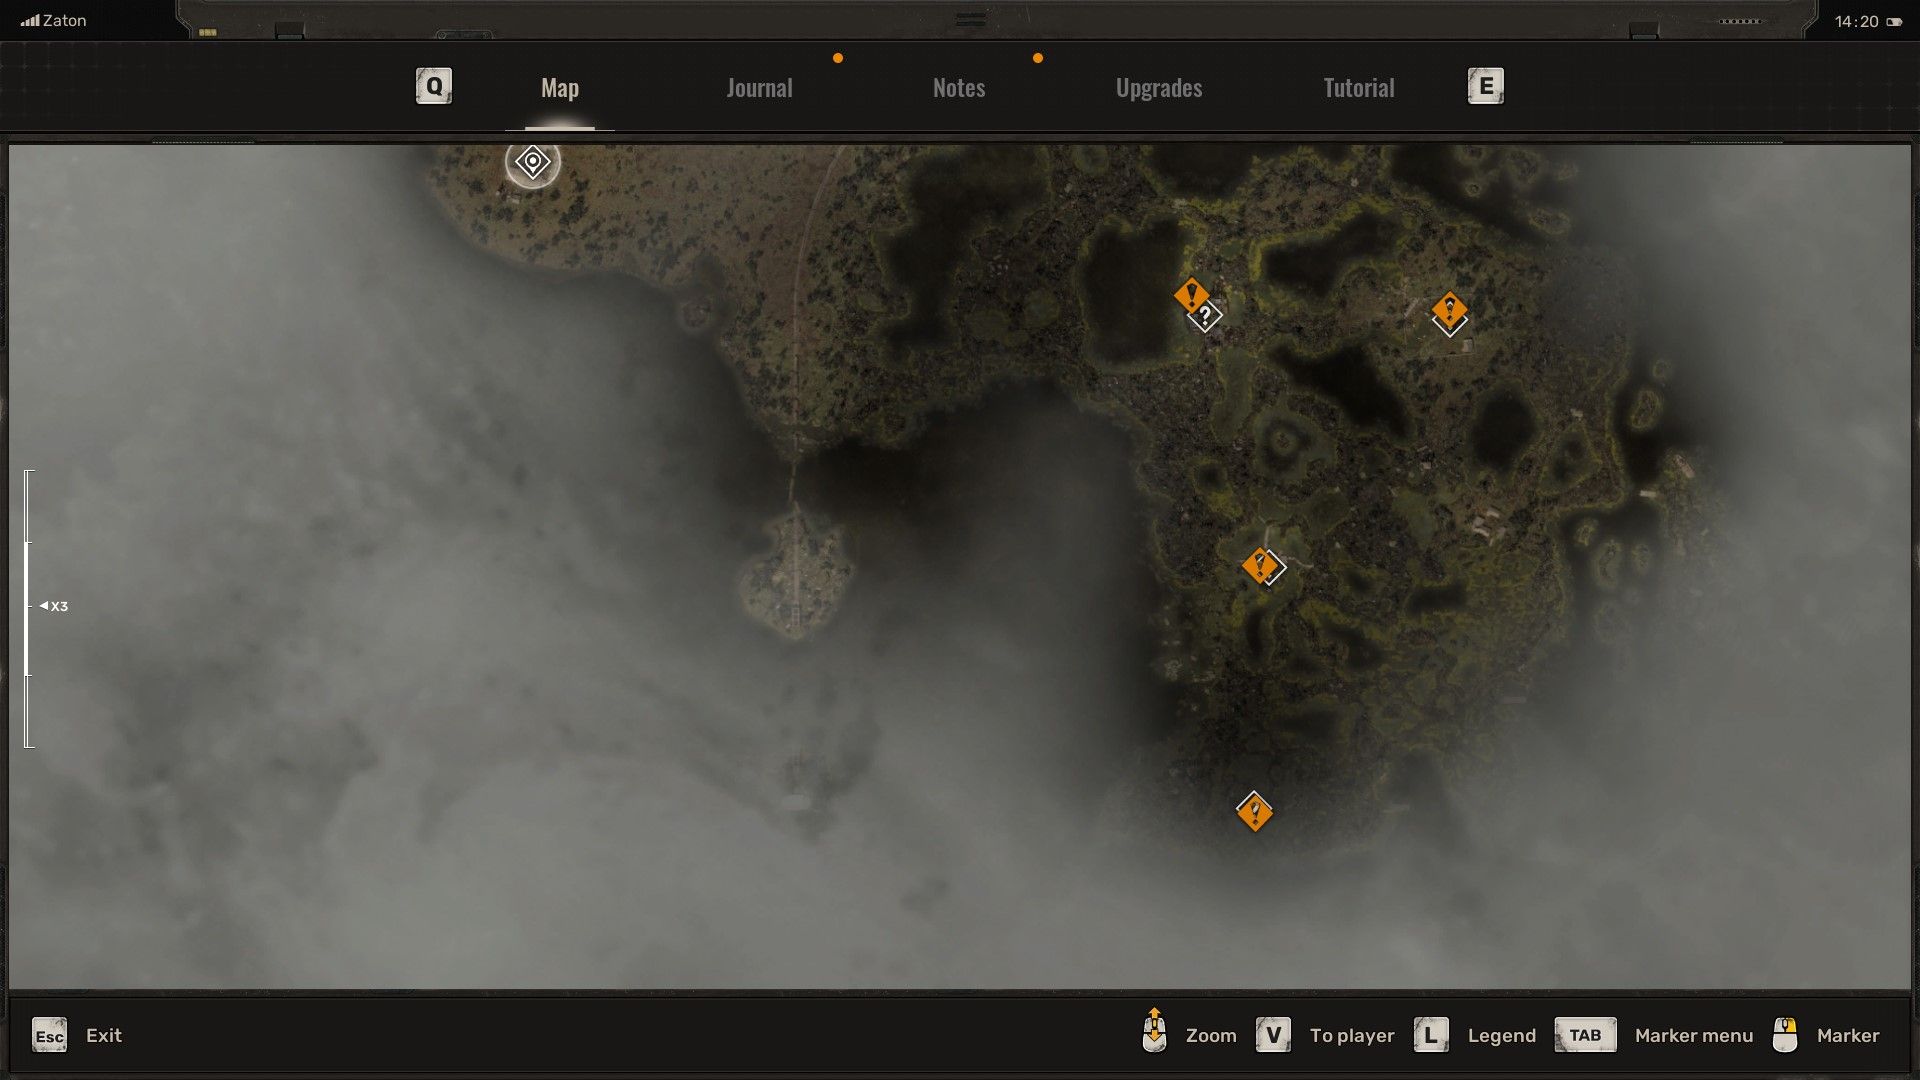
For the rest of the mission, you’ll be turning off Psi Beacons spread across the swamp. There are four beacons in total, and you can expect some resistance near or at their locations.
Burnt Farmstead Beacon
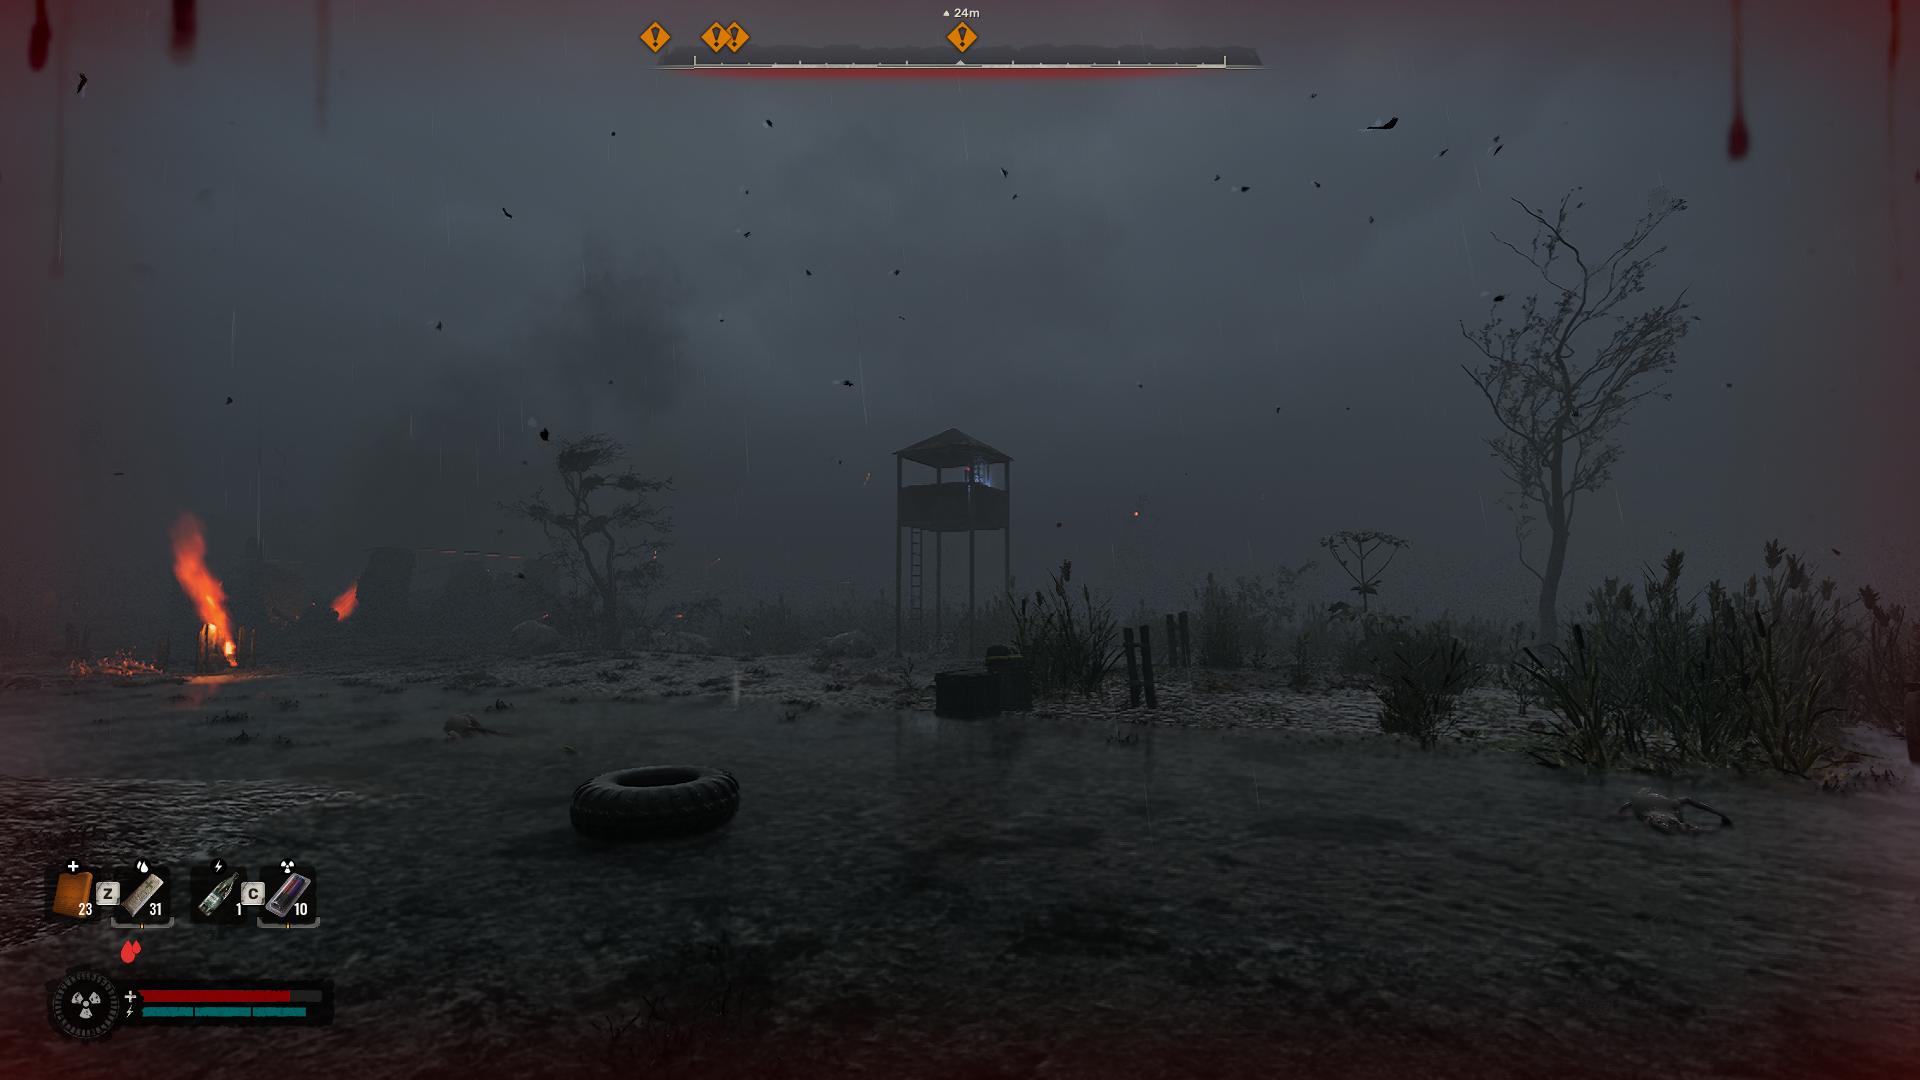
The beacon in the Burnt Farmstead is located on the wooden watchtower. You can take the ladder on the tower to reach it, but do mind the mutants and anomalies in the area. If you aren’t wearing a Psi-resistant armor while near a beacon, imaginary monsters will come charging at you from out of nowhere, damaging you in the process.
The Old Church Beacon
The second beacon’s location is a little tricky to reach. You’ll need to reach the roof of the church. There’s a secret path to the roof under some floor boards marked by yellow paint. Break the boards, drop down, then follow the path. Once you reach the roof, jump through the broken window to reach the top-most room of the church. The beacon should be there, just mind all the holes in the floor.
The Pumping Station Beacon
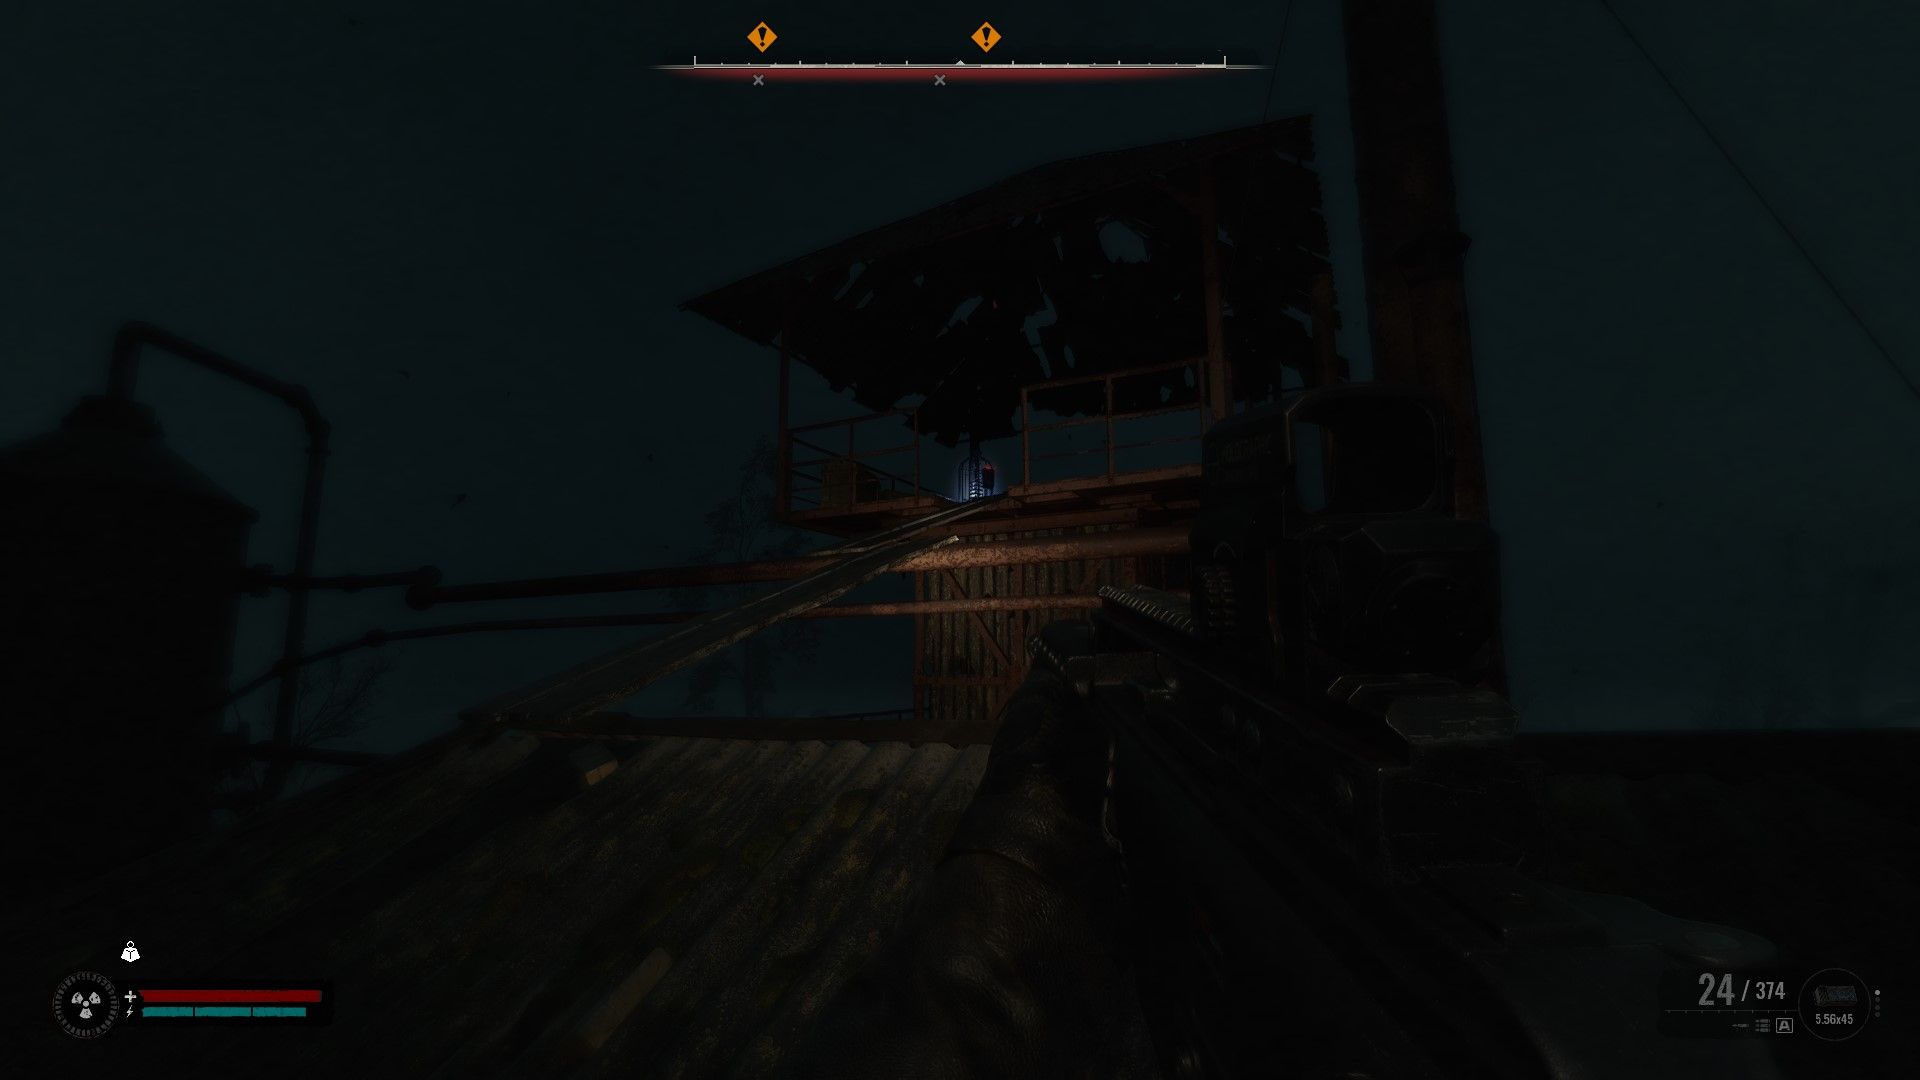
The Pumping Station beacon is on top of the tower. Getting to it should be much simpler — just use the ladder at the house on the back, jump to the neighboring roof, and cross the wooden planks to reach the beacon.
There may be some zombies and a Controller at the Pumping Station. Having a firefight out in the open is a bad idea, so if you can, consider bringing the Lynx sniper rifle from one of the previous Noontide quests. If you don’t have it with you, there’s an SVD-M in the watch tower south of the Old Church.
The Second Vanguard Beacon
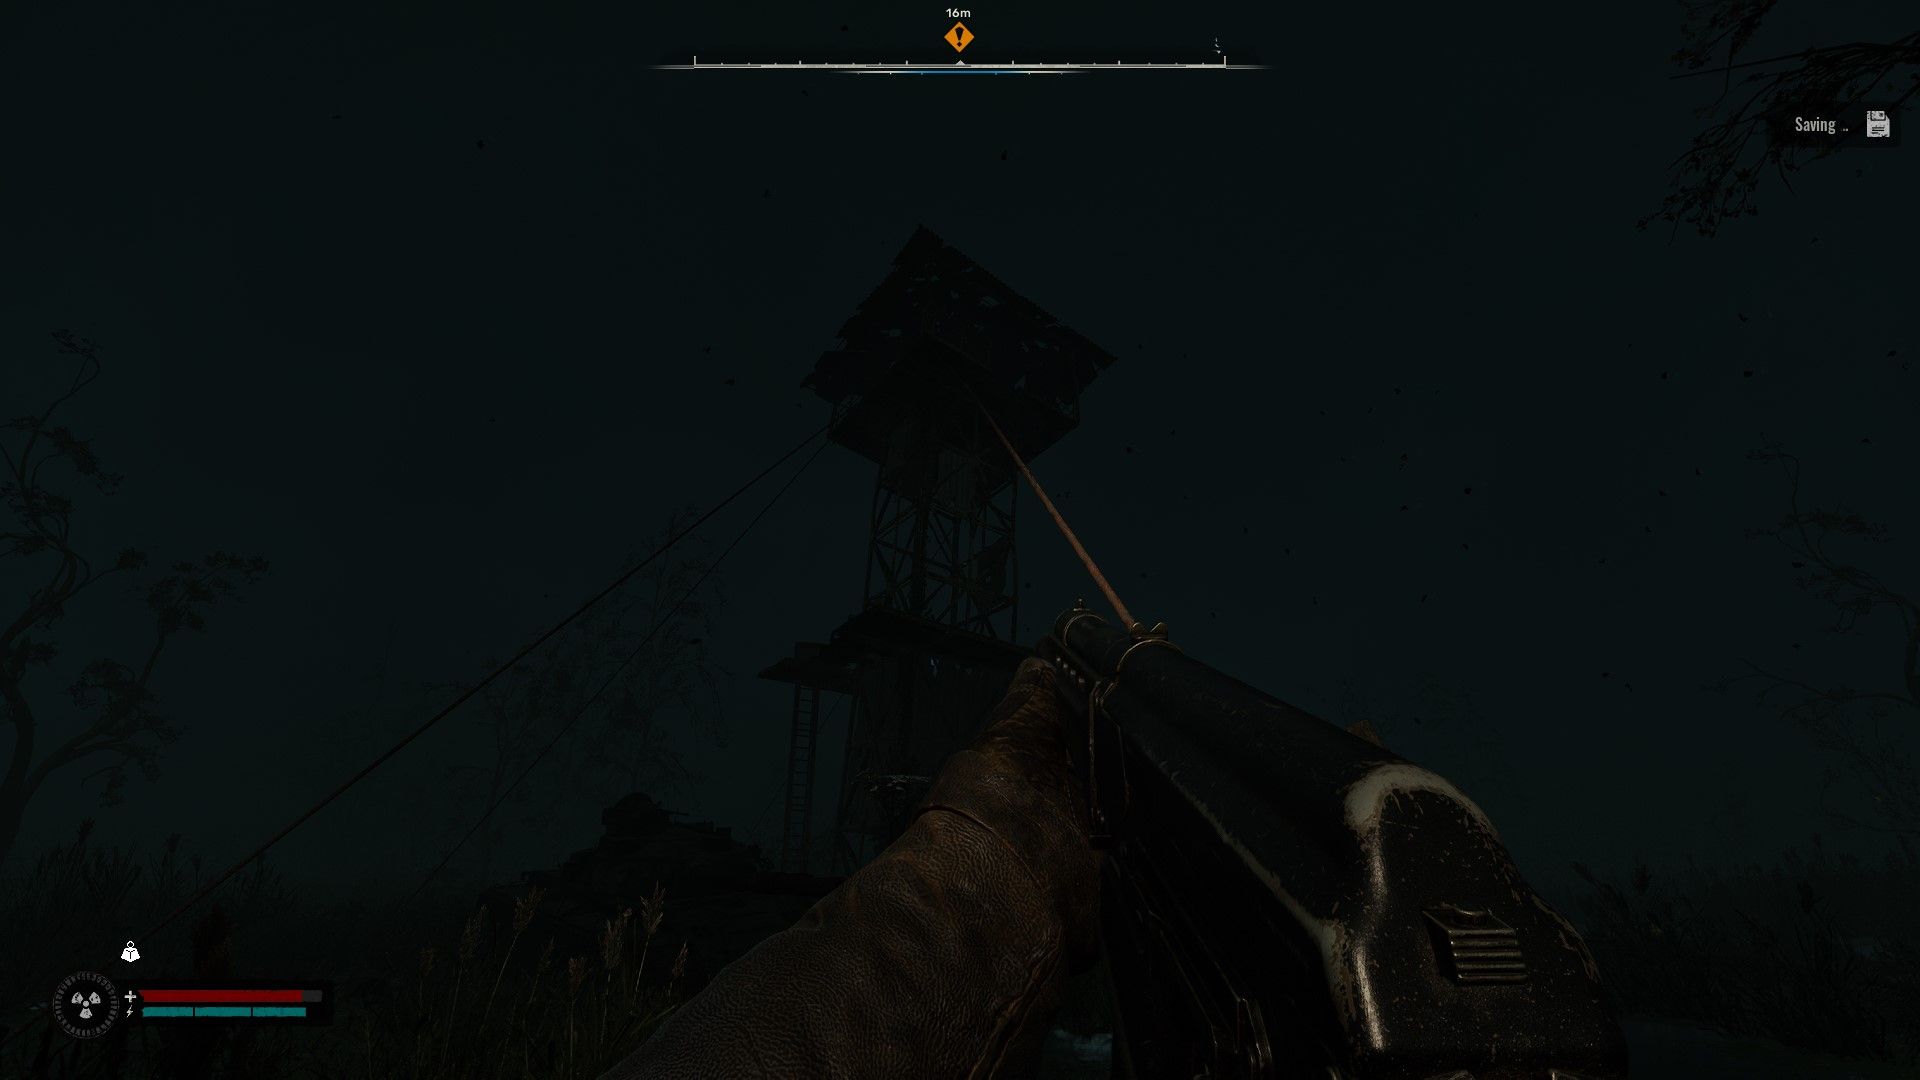
Much like the one in the Pumping Station, the beacon here is on top of a large watchtower further down south of the swamp. To reach it, climb the ladder next to the wrecked tank, and the beacon should be to your left.
Related
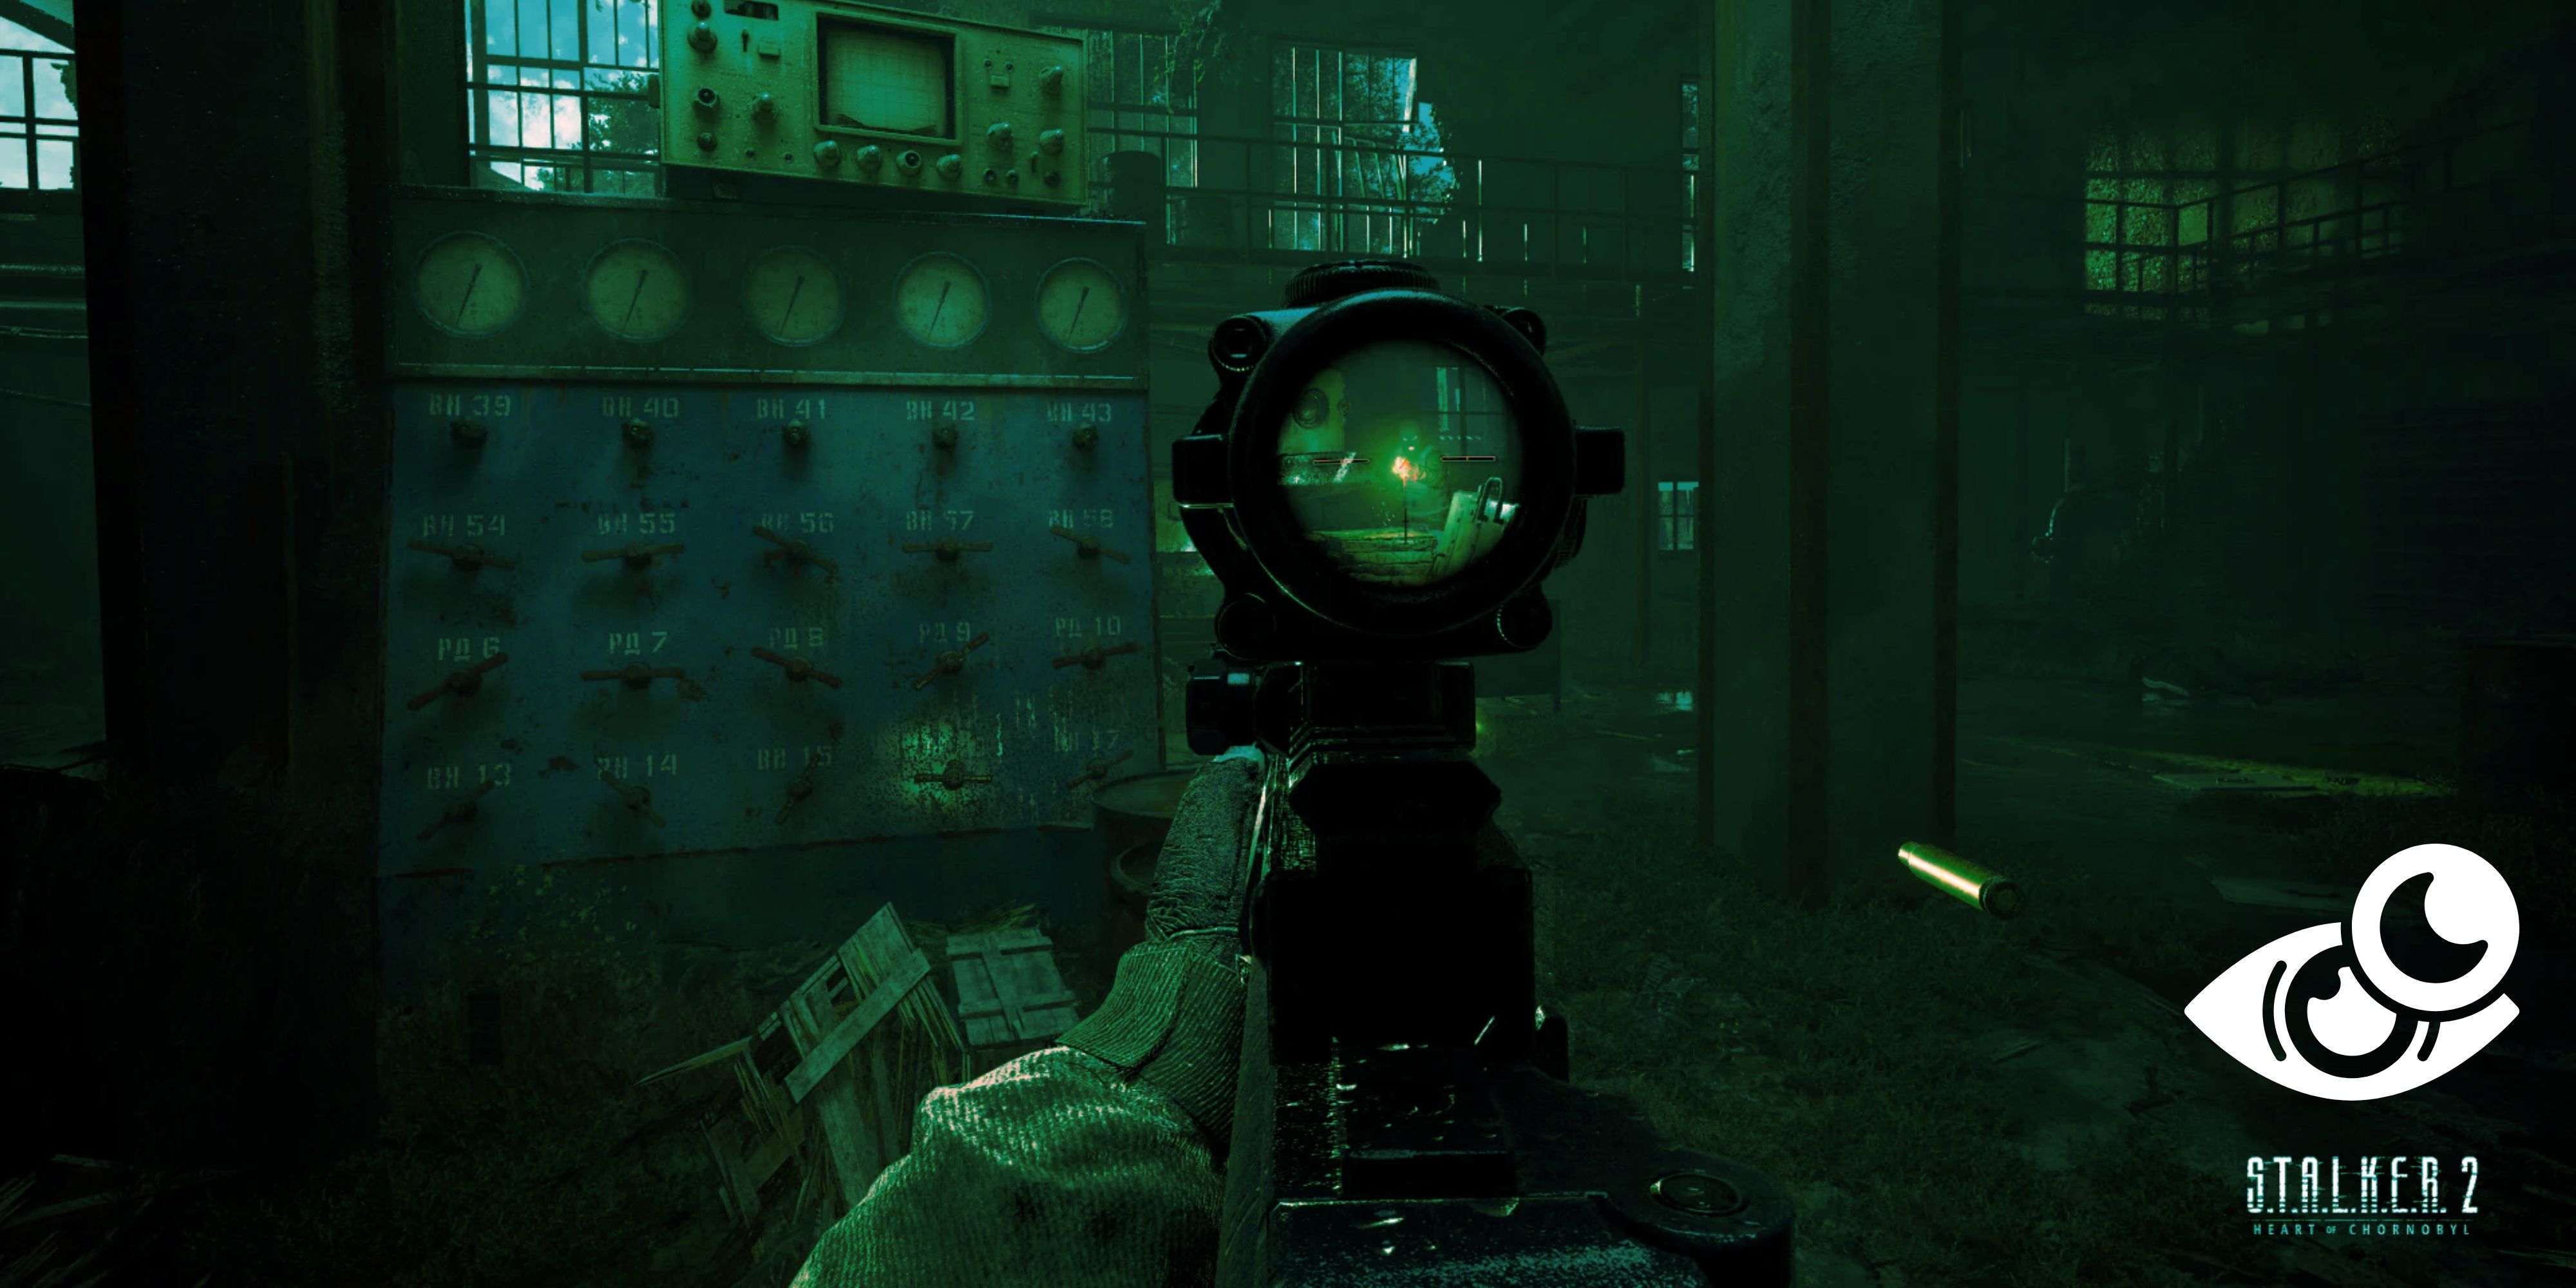
Can Players Use Night Vision In Stalker 2?
Night Vision has been important for the Stalker series and players have been wondering if it was included in Stalker 2: Heart of Chornobyl as well.
Pass Through The Warren Shack
After shutting all the beacons down, your quest marker will tell you to reach the Warren Shack. Spotting it will be easy, but the problem here is with the Chimera that’s lurking nearby. This mutant is extremely tough — not only does it have a lot of health, but it’s also very fast. Sprint to the sides when you think it’s going to pounce at you, and keep some Water or Energy Drinks at the ready.
Don’t bother killing the Chimera. It is extremely durable, and you won’t get anything out of it.
Reach the Clear Sky Base
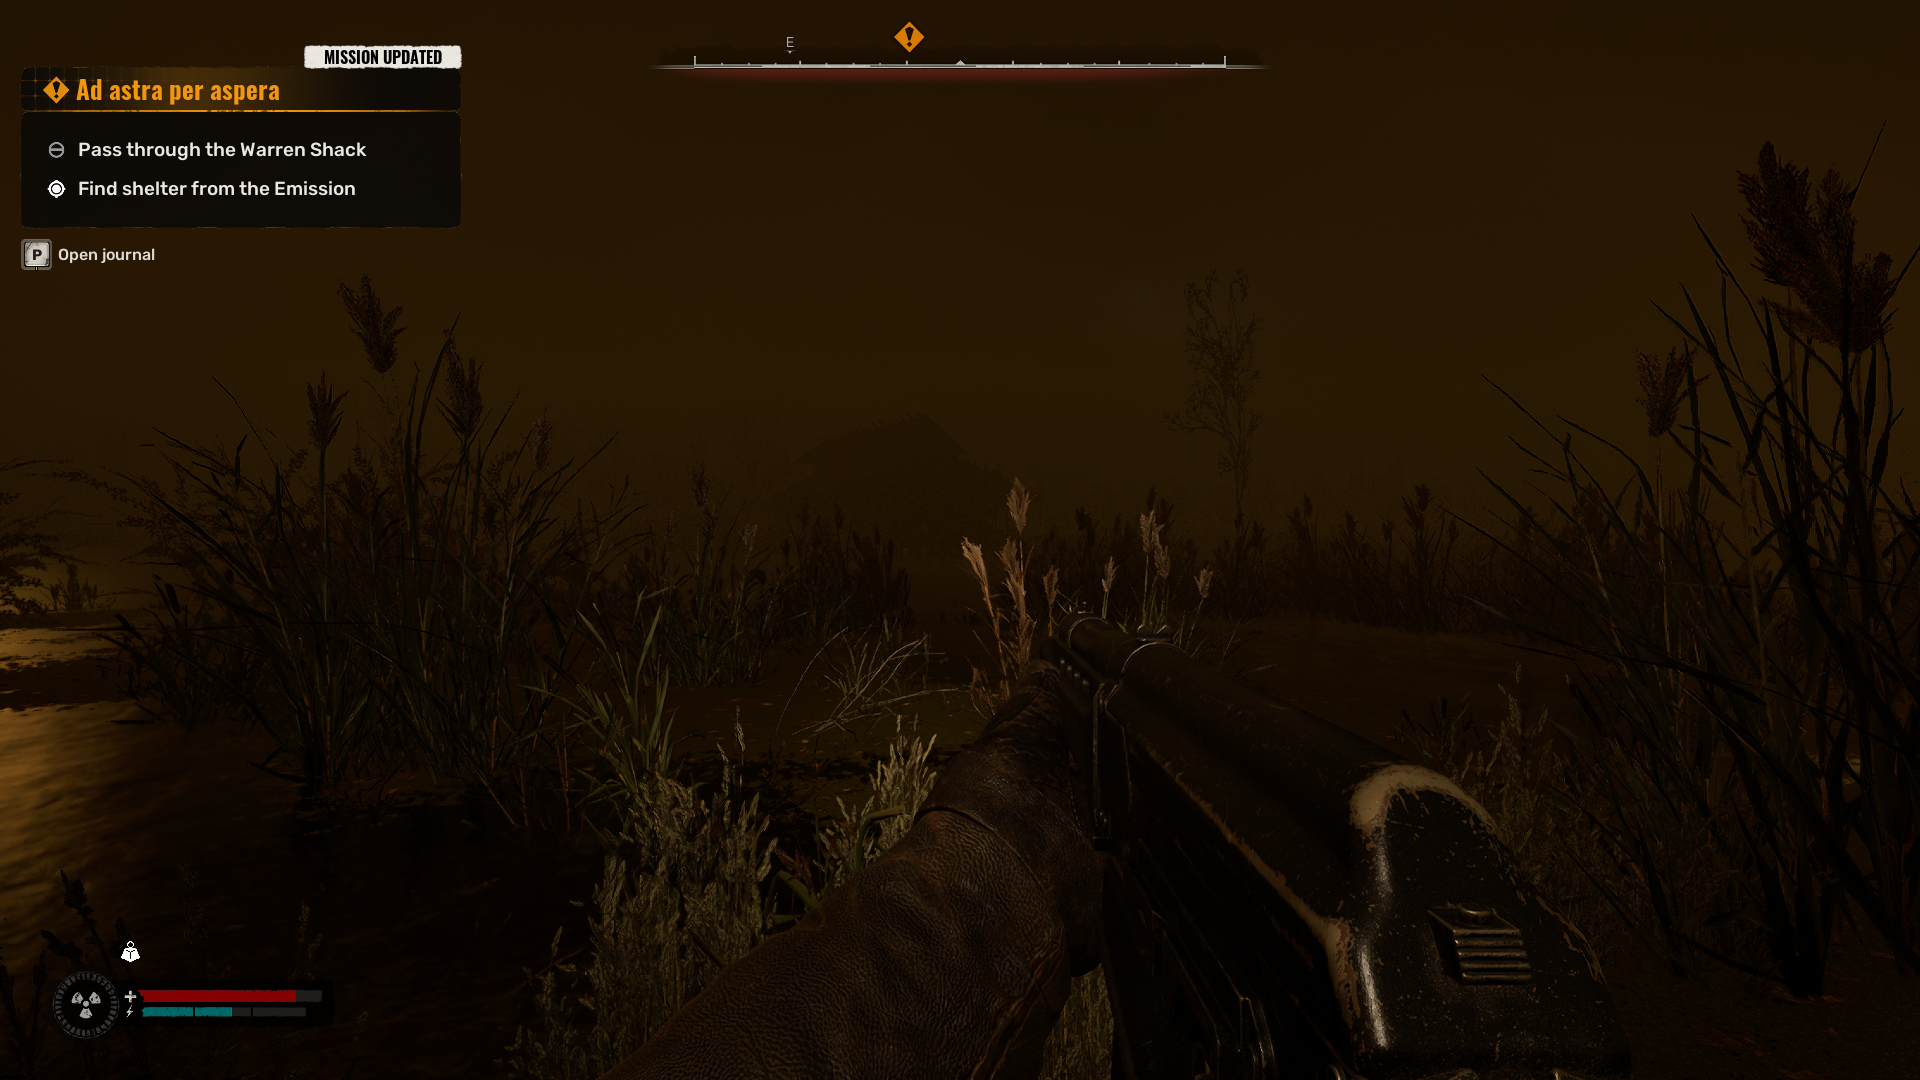
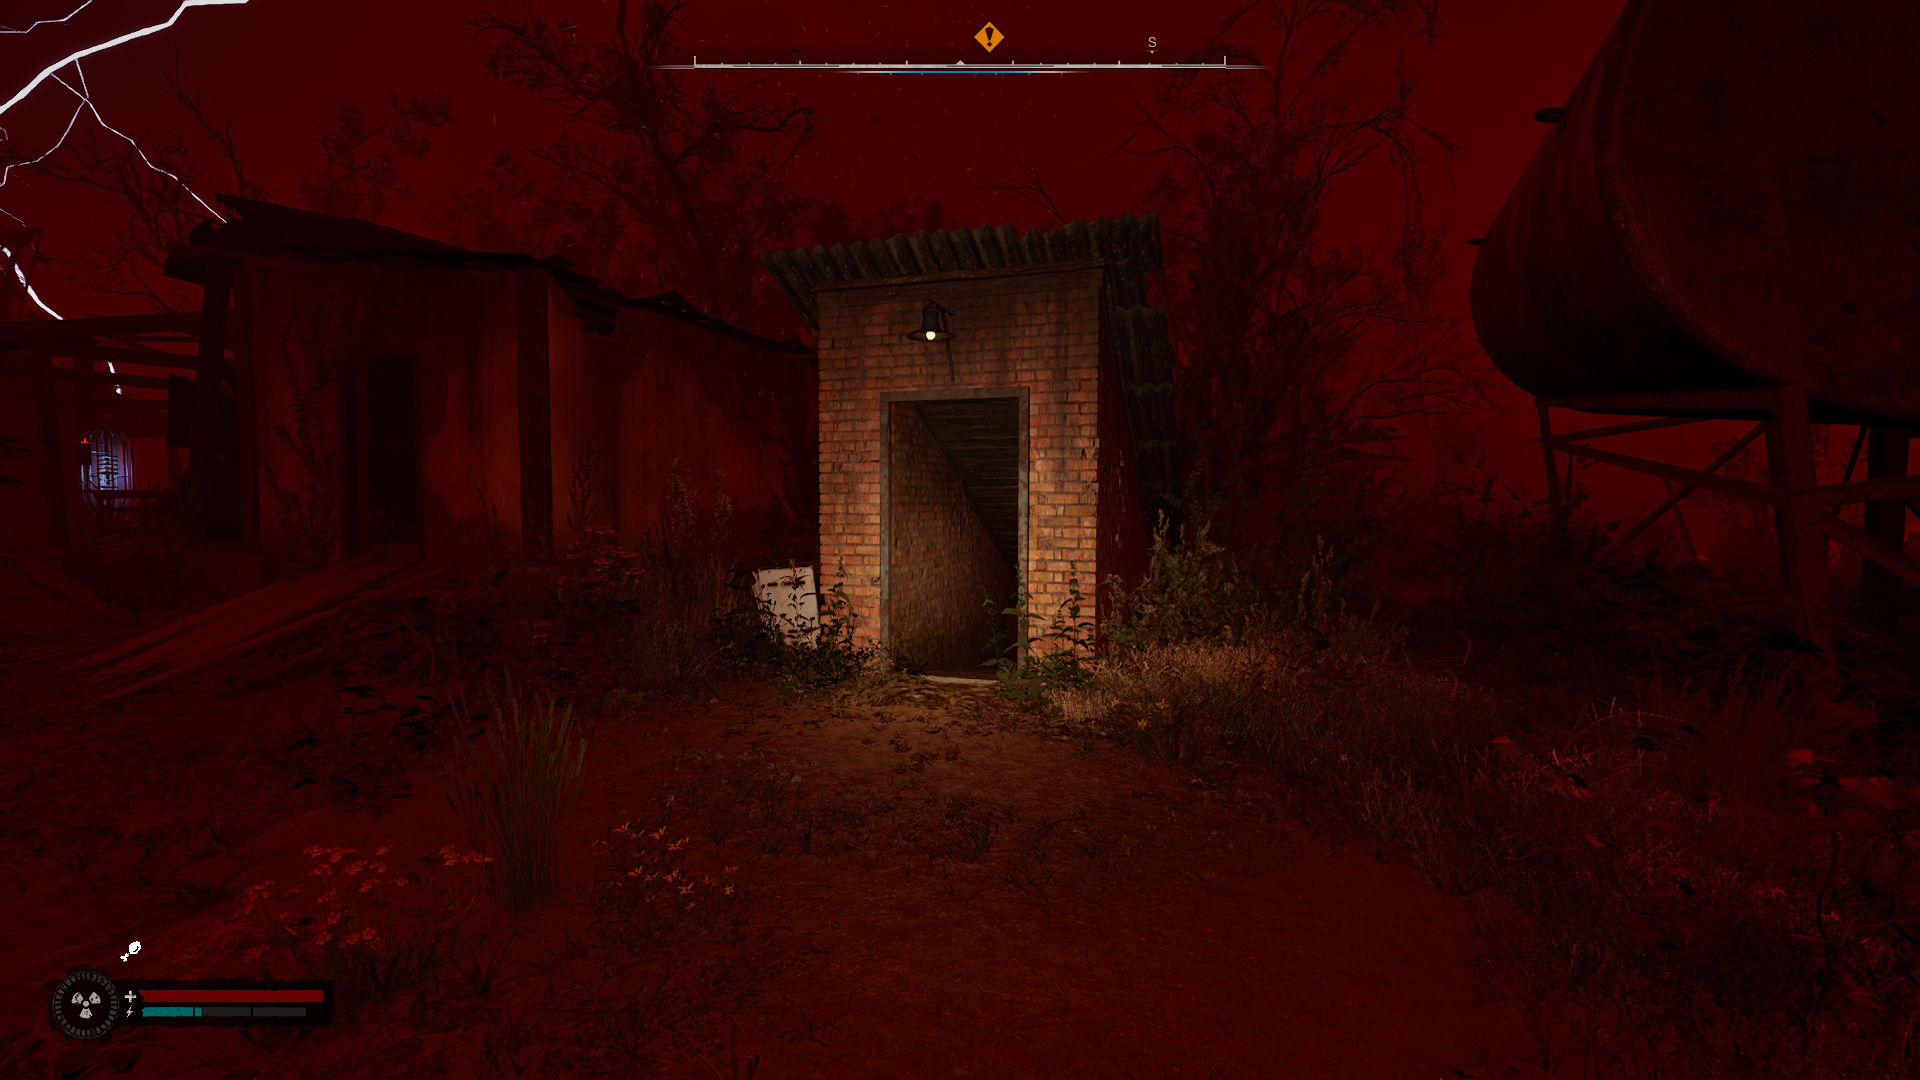
Once you approach the Warren Shack, an Emission will begin. Run past the Chimera and keep running toward the objective marker. Do not stay in the Warren Shack, as it is not enough to shield you from the Emission. Look for an underground shelter entrance and head inside it. Follow the tunnels, and a cutscene with Faust will play, ending the quest.
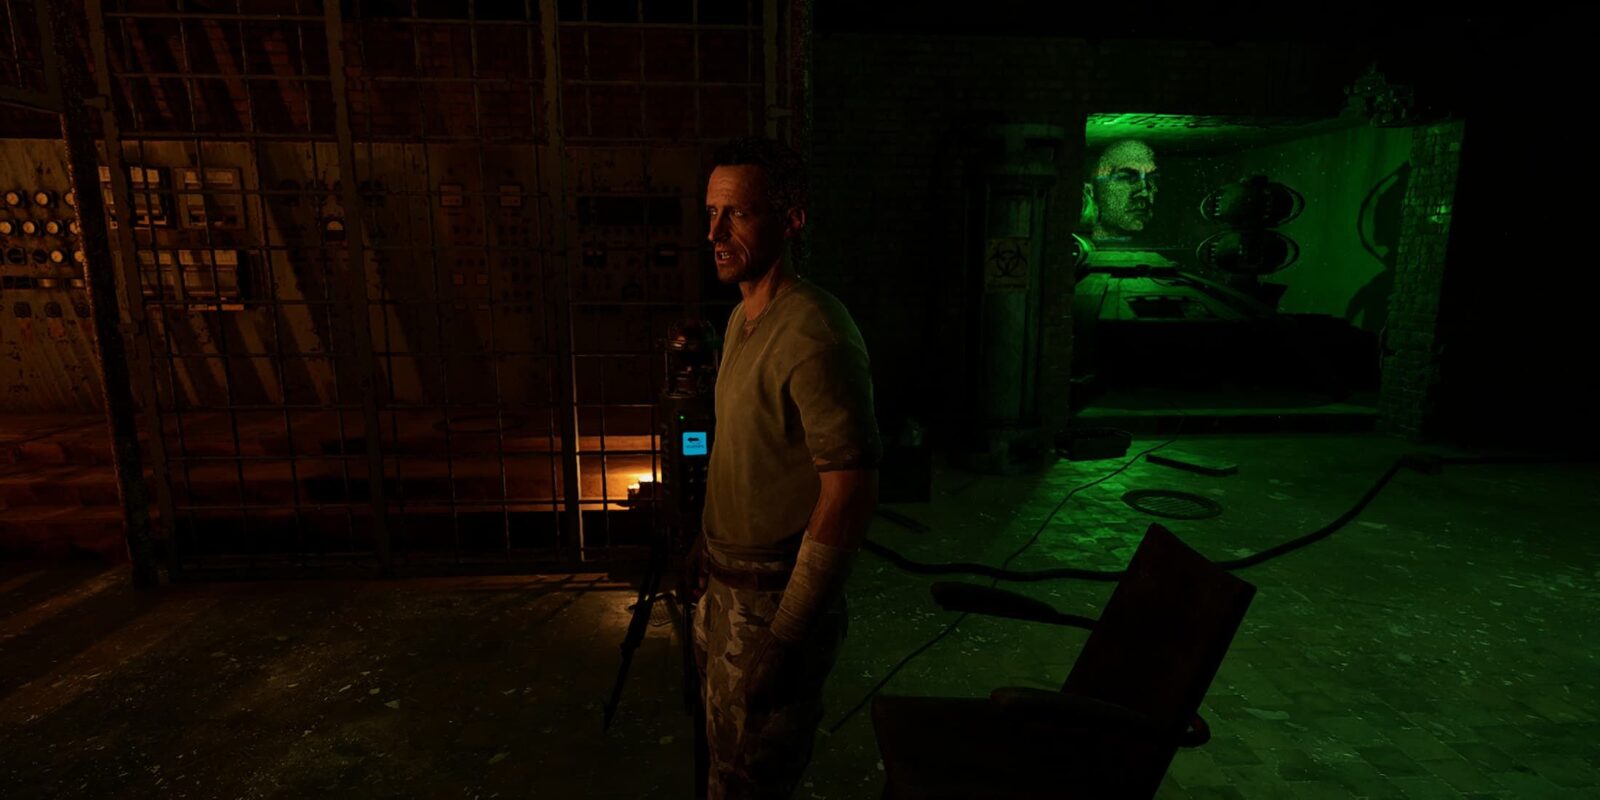
At the end of the cutscene, you’ll receive the scanner that you lost during the There and Back Again mission in Stalker 2, as well as a unique UDP pistol called Deadeye, which comes pre-equipped with a muzzle brake and collimator sight.



Leave a Reply