The Proving Grounds is a new area of Yaesha added in Remnant 2’s Forgotten Kingdom DLC that seems to be some ritual or trial that adults of the Pan are meant to overcome. It’s an area full of deadly poison darts, vicious enemies, cruel traps, and more. But, on every level of this multi-floor puzzle gauntlet, there are rewards waiting for you to find, you just have to know where to look.
Related
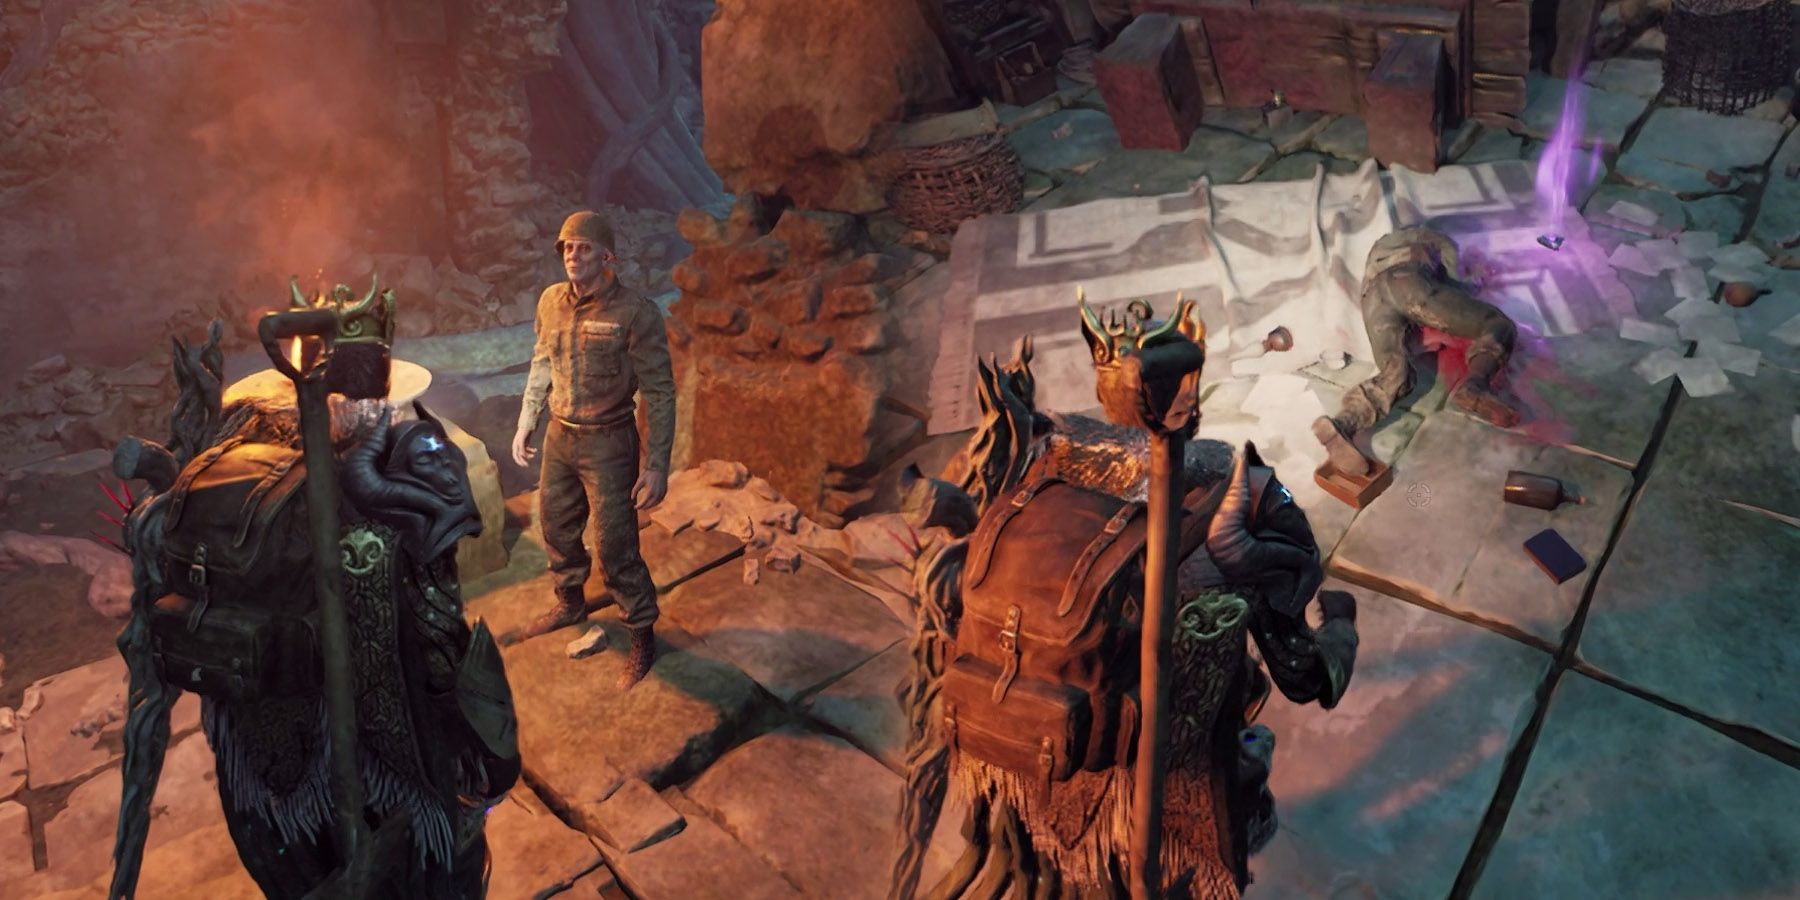
Remnant 2: Can You Save Private Jack Driver?
Private Jack Driver is probably the most likable NPC in Remnant 2’s Forgotten Kingdom DLC, so of course we want to save him if possible.
While the entirety of this map is ‘called’ the Proving Grounds, it’s really just this one section with the dart, moving platform, and spinning sawblade traps that is the Proving Grounds. The other areas of this map can be randomly injected with any variety of other Yaesha puzzles or events, so that’s worth keeping in mind. Now, without further ado, let’s take a deeper look at the Proving Grounds in Remnant 2 and go over exactly how you’re meant to get through this area.
Updated December 1st, 2024 by Jacob Buchalter: Now that all three main DLCs for Remnant 2 are out, it’s easy to look back and see what each one excelled at. The Awakened King has by far the most atmospheric new areas and the best final boss fight, The Dark Horizon has the most complex new Archetype and synergistic new Equipment, and the Forgotten Kingdom has the best puzzles and overall exploration. And, one big part of the exploration and puzzle side of The Forgotten Kingdom DLC has to be the Proving Grounds area/tileset. This area is literally packed full of traps, secrets, and items of all kinds. So, to make things a bit less arduous, let’s take an expanded look at everything in here and how best to go about getting through it.
Proving Grounds Rewards
All The Items & Equipment To Be Found Here
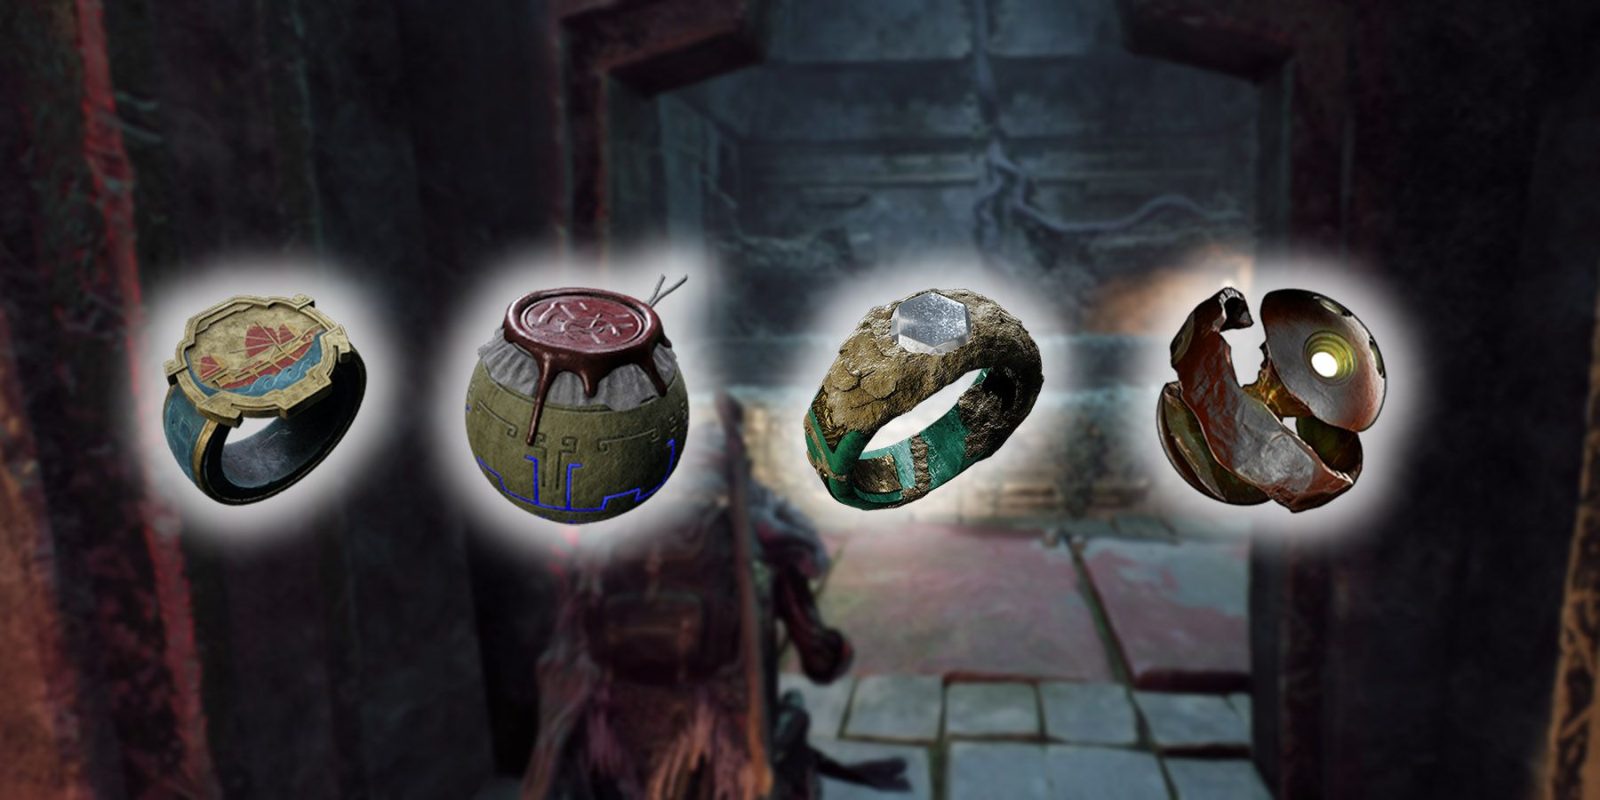
First off, let’s just go over all the items you can get in this Forgotten Kingdom DLC-specific area so you know what you’re in for. Unfortunately, despite how tough the puzzles in the Proving Grounds can be, outside of the Flying Bomb Trap Weapon Mod, most of the gear found in this area is pretty specific to very particular builds. Still, for the completionists and collectors out there, it’s still probably worth grabbing these:
|
Icon |
Name |
Item Type |
Effect |
|---|---|---|---|
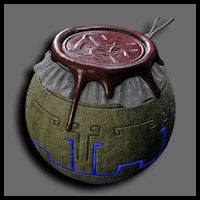 |
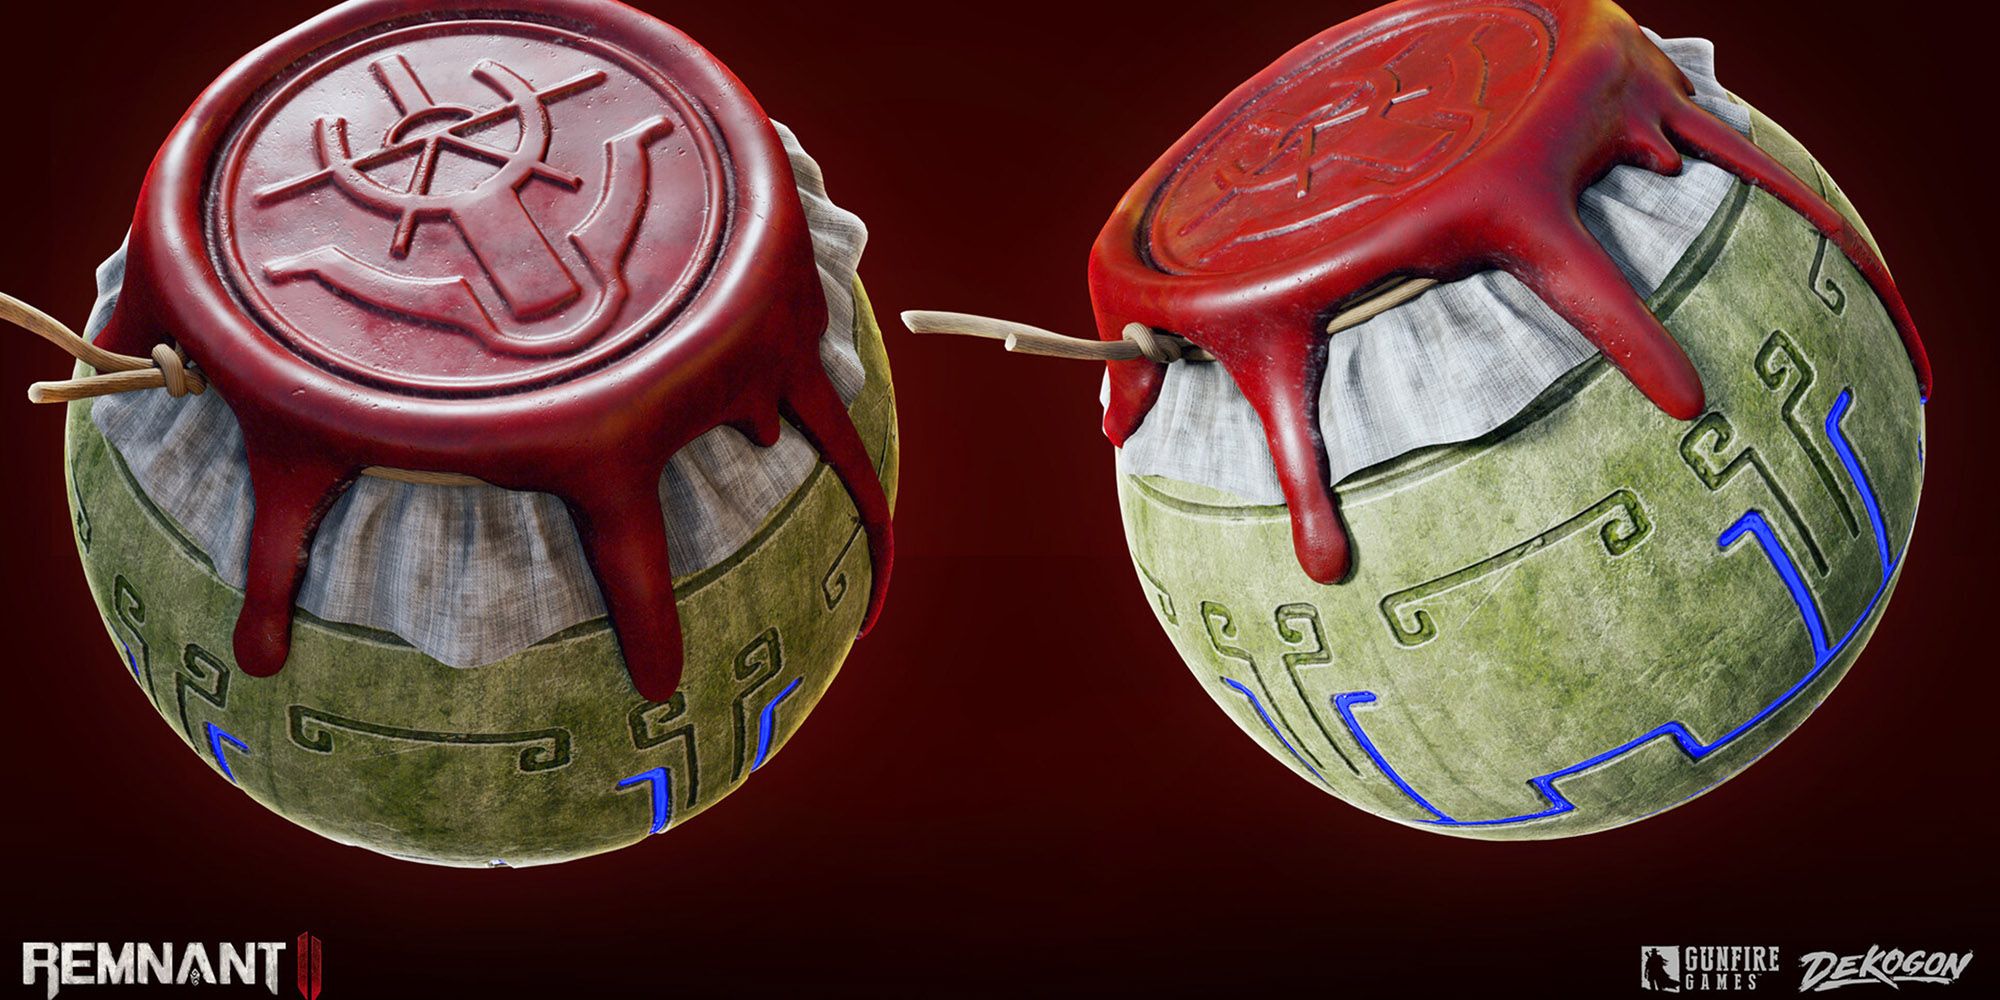
Ceramic Flask |
Crafting Material |
Can be crafted into the Flying Bomb Trap Weapon Mod if you take it to McCabe in Ward 13 |
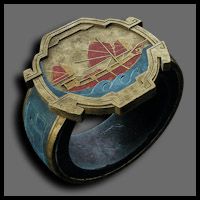 |
Dark Sea Armada Crest |
Ring |
On Relic use, increases all Elemental Damage by 15 percent for 15 seconds. |
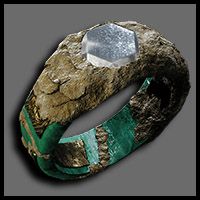 |
Floodlit Diamond |
Ring |
Increases Weakspot Damage by 12 percent. Bonus is doubled against Exposed targets. |
 |
Battle Set |
Armor Set |
Medium Armor Set with 68.4 Armor, has 27.7 Weight total, and gives 9 Bleed, 7 Burn, 5 Blight, and 4 Acid Resistance. |
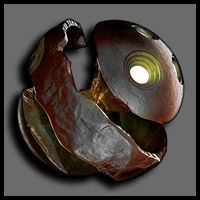 |
Gladiator |
Mutator |
While brandishing a Melee Weapon, receiving Enemy Damage increases Melee Damage by 25 percent for 5 seconds. At Level 10, receiving Enemy Damage while brandishing a Melee Weapon grants 1 stack of Bulwark. |
Proving Grounds Puzzle
Advancing Downward Through This Arduous Gauntlet
Now let’s get into the actual puzzles of the Proving Grounds. This area is a multi-leveled vertical gauntlet where you’ll be advancing through a series of rooms with different types of traps all to get to a switch at the end that lowers the water level enough for you to progress down to the next level of puzzles. The video above goes through all the traps in detail, but for those who don’t want to watch it let’s go through each of the three floors individually.
Floor 1: Dart Trap Obstacle Course
Dodging Back & Forth Is the Key
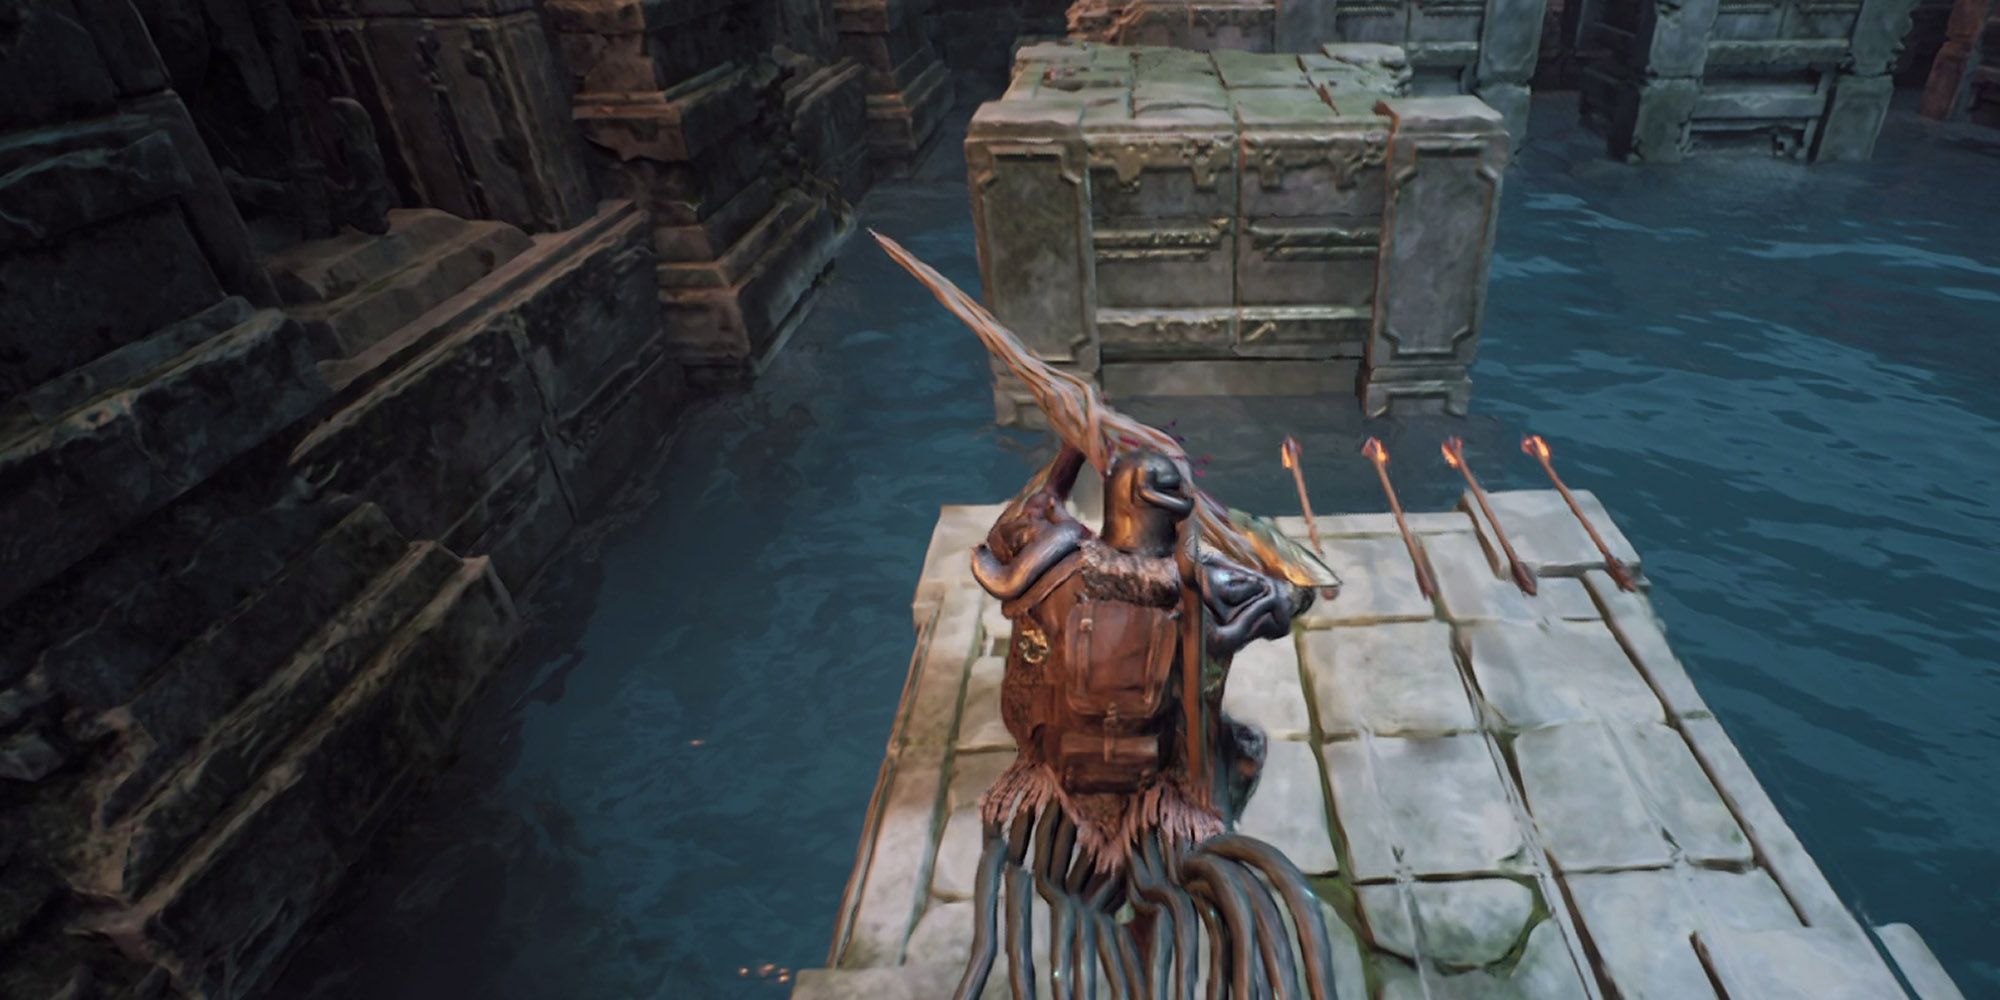
In this first room, there’s no avoiding activating the dart traps, you can’t sidestep the pressure plates that turn them on when you walk in. To get through this first puzzle area, it’s just a matter of taking notice of the firing pattern of the darts and progressing forward until you step on a pressure plate that turns off the current dart traps and activates the next ones. There are three main ‘sections’ of this in total:
|
Step # |
Description |
|---|---|
|
Step 1 |
The first section has you alternating between the left and right side of the ground as the dart traps fire, simply jump forward onto the first floating square platform, and you should step on the pressure plate that turns the first dart traps off and turns the next ones on. These second dart traps are higher up and are fired just above your head from the opposite direction (AKA the direction you’re facing). You want to stand on either the left or right side of the platform and then right as the associated side of darts fly over your head, you want to jump to the next platform and climb up. The climbing animation takes a bit, so you really want to jump as soon as the darts pass over you so you have time to climb up and move to the opposite side to dodge the next set of incoming darts. Jump forward onto the next platform, slightly climb up on the platform to your right, and you should activate the pressure plate that turns these off and turns the next ones on. |
|
Step 2 |
The second section has a very irritating start to it, if you climbed up on the left side of the platform that activated the previous pressure plate, you likely got hit by a sudden incoming barrage of darts. You have to climb up on the right-hand side of this platform, as the second the pressure plate is activated a volley of darts flying directly at your ankles is sent out. Alternate between left and right as you dodge these, and jump forward right as the darts firing perpendicular to you between the platforms fly past, do this twice and climb up another small bit of terrain to activate the next pressure plate. |
|
Step 3 |
For the final area of the dart traps, you’ll simply want to jump forward whenever you see the darts that are flying directly up cross over with the ones that are flying from left to right. Typically they’re fired a half second after each other, but with every other volley they’ll line up, and this is the right time to move forward. Do this for about 3 jumps, and follow the path to get to the switch that deactivates this area and allows you to progress forward. |
This area is pretty frustrating at first, but after a few tries you’ll get used to the patterns and it’ll become a lot easier. In multiplayer we would recommend attempting this separately, as you can sort of get in each other’s way if you attempt to go through the Dart Trap sections at the same time. Another thing we’d recommend is that, for any of the parts where you have to jump across the gap, wait until the darts for the side you want to jump from have just passed the gap, then jump. If you do it a bit too haphazardly or a bit too late, you’ll end up doing the mantling animation which will almost assuredly get you killed.
Floor 2: More Darts & Platforming Floor
Platforming & Some Well-Timed Jumps
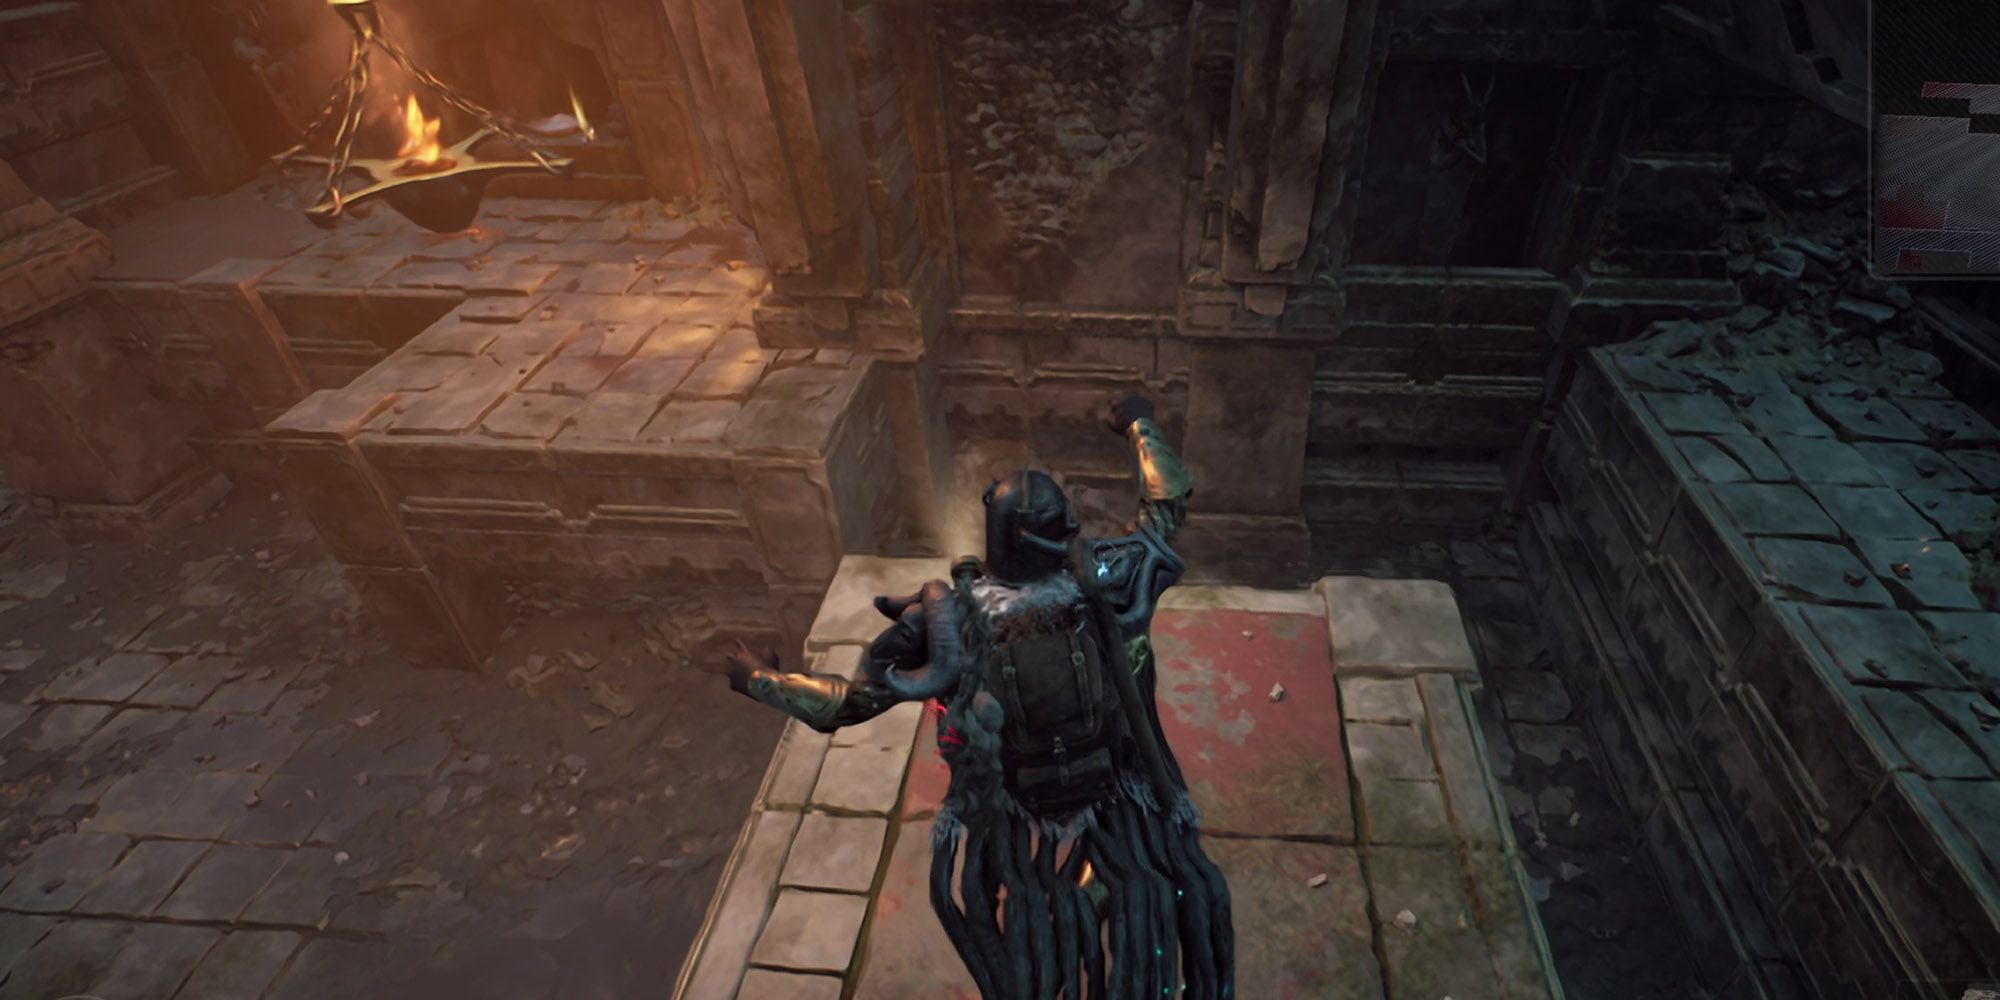
Next up is another room with a lot of dart traps, but they aren’t the primary ‘focus’ of the room this time around. Instead, you’ll want to pay attention to the pillars around the room that can be lowered by stepping on specific pressure plates. If you’re going through this room solo, you’ll notice that after lowering a pillar and moving off of the pressure plate the pillar will start to raise itself after a short duration has passed.
In co-op, the lowering and raising of the pillars seem to work differently and it seems to require the player on the pressure plate to actually move off and step on another one for the pillar to raise, but maybe that was just our experience.
The puzzle for this room is pretty simple overall, it just involves a small jumping puzzle after clearing out the room. First off, clear out all the pot-shaped stone constructs in the room, and after that:
|
Step # |
Description |
|---|---|
|
Pillar 1 |
From the entrance of the room, turn left, walk forward to the Upgrade Material sitting on a slightly raised platform, then turn to your right. Head over to the red-painted square of ground in front of you and step on it, avoiding any darts you may have activated along the way. Turn to your right after stepping on this plate, and you should see a pillar lower directly ahead (and a bit to the right) of you. Wait until it comes all the way down, then run forward and stand on top of it. When you stand on it, turn to your left, and jump off onto the raised platform in front of you, then jump across to the raised area on your left with another Upgrade Material on it. |
|
Pillar 2 |
From here, stand on the red-painted area again and look out into the open room again. You should see another pillar slowly lower itself while you stand on this area. Wait until it comes all the way down, then jump off and stand on the (now lowered) pillar. Once you stand on it, turn to the raised platforms on your right and wait for it to begin raising itself again. Jump off onto these platforms. Then, jump across again to the raised area in front of you, aiming for the right-hand side of the area that juts out a bit more towards you. |
|
Pillar 3 |
Step on the red pressure plate in this section again and look to the right-hand side of the open room. The pillar directly touching the raised area with an exit should lower, jump off, go stand on top of it, and it’ll raise you up to the exit leading to the switch that deactivates this area and allows you to progress downward. |
This is by far the easiest room in this gauntlet, but it’s still a bit of a pain. If you have to make subsequent attempts, always make sure to kill the potted enemies at the four corners of the room right as you walk in, just to get that out of the way. Overall, it should only take a couple of attempts as, at worst, you might end up crushed against the ceiling once or twice.
Floor 3: The Buzzsaw Gauntlet
It’s All About Patience & Timing
The third and final section of the Proving Ground is probably the most frustrating, but thankfully they do give you checkpoints on each floor so respawning isn’t too tedious. The goal in these buzzsaw rooms is to find the pattern in the way the buzzsaws move, walk through them, stand on a pressure plate, wait for a door to open, and then move forward through said door. Just like the other two areas, there are three sections in here:
|
Step # |
Description |
|---|---|
|
Room 1 |
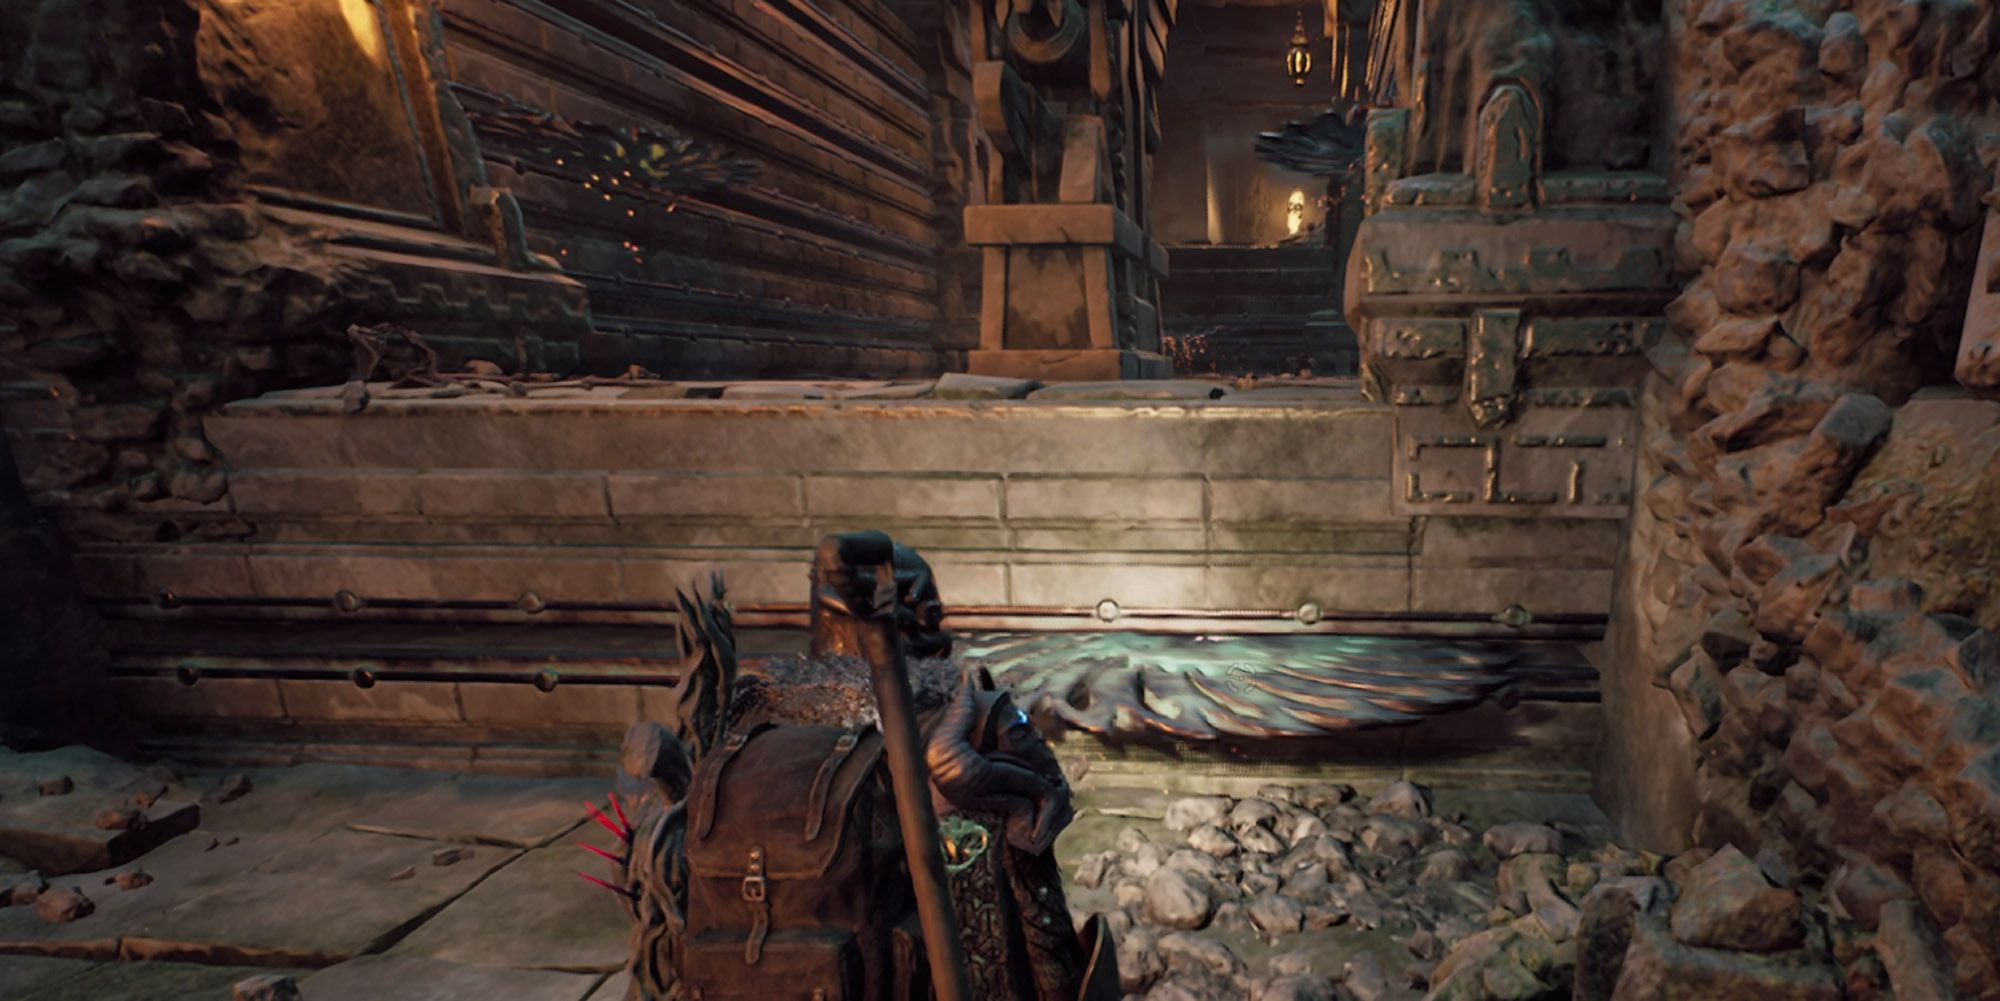
The first buzzsaw room is relatively simple. The buzzsaws move in opposite directions to the ones next to them, so simply follow one then move to either your left or right as it starts to come back towards you. There’s a red pressure plate in the middle of this room that you can safely stand on the edge of if you’re crouching and off to the side. Stand on this pressure plate and the wall in front of you (as well as a small section of wall behind you) should open to reveal a path forward. Wait until it opens all the way then safely move forward through the buzzsaws through the exit. |
|
Room 2 |
Follow the path forward, stepping on any pressure plates you need to continue the path. You’ll end up in a new room with a red pressure plate on the right-hand side and a whole obstacle course of buzzsaws ahead of you. Stand on the pressure plate and look to the end of this room to see that it raises another wall leading to the exit. All you have to do in this room is climb up onto the first platform right after the horizontal buzzsaw passes the area you want to climb at, then, jump forward onto the next section, hugging the side opposite to the buzzsaw on the wall. Finally, jump at the last wall right as the buzzsaw moves past the section you’re about to climb and run for the exit. This door is on a time limit so if you don’t do this fast enough you’ll have to circle back to the pressure plate and do it again. |
|
Room 3 |
The third room is by far the most intimidating, but again they give you a checkpoint nearby so it’s really not too bad. Essentially, you’ll be following the same pattern as the previous two rooms, only the area with the buzzsaws will be longer and it will require you to make more successive well-timed jumps in a row. Remember how you got past the previous rooms, and be sure to only jump forward if there isn’t a ceiling buzzsaw nearby or if you’re jumping between the two ceiling buzzsaw before they start moving toward each other again. Get through this and you’ll hit the last switch that lowers the water level all the way. |
Backtrack & Grab Some Items
After lowering the water level for the final time, simply follow the path forward that leads down, and you’ll end up in a room with the Ceramic Flask on a pedestal in front of you. Grab this and head forward, taking the elevator back up to the beginning. Open the shortcut, then you’ll want to go back through these three levels again, as there are new items to find.
Floor 1: Lower Area
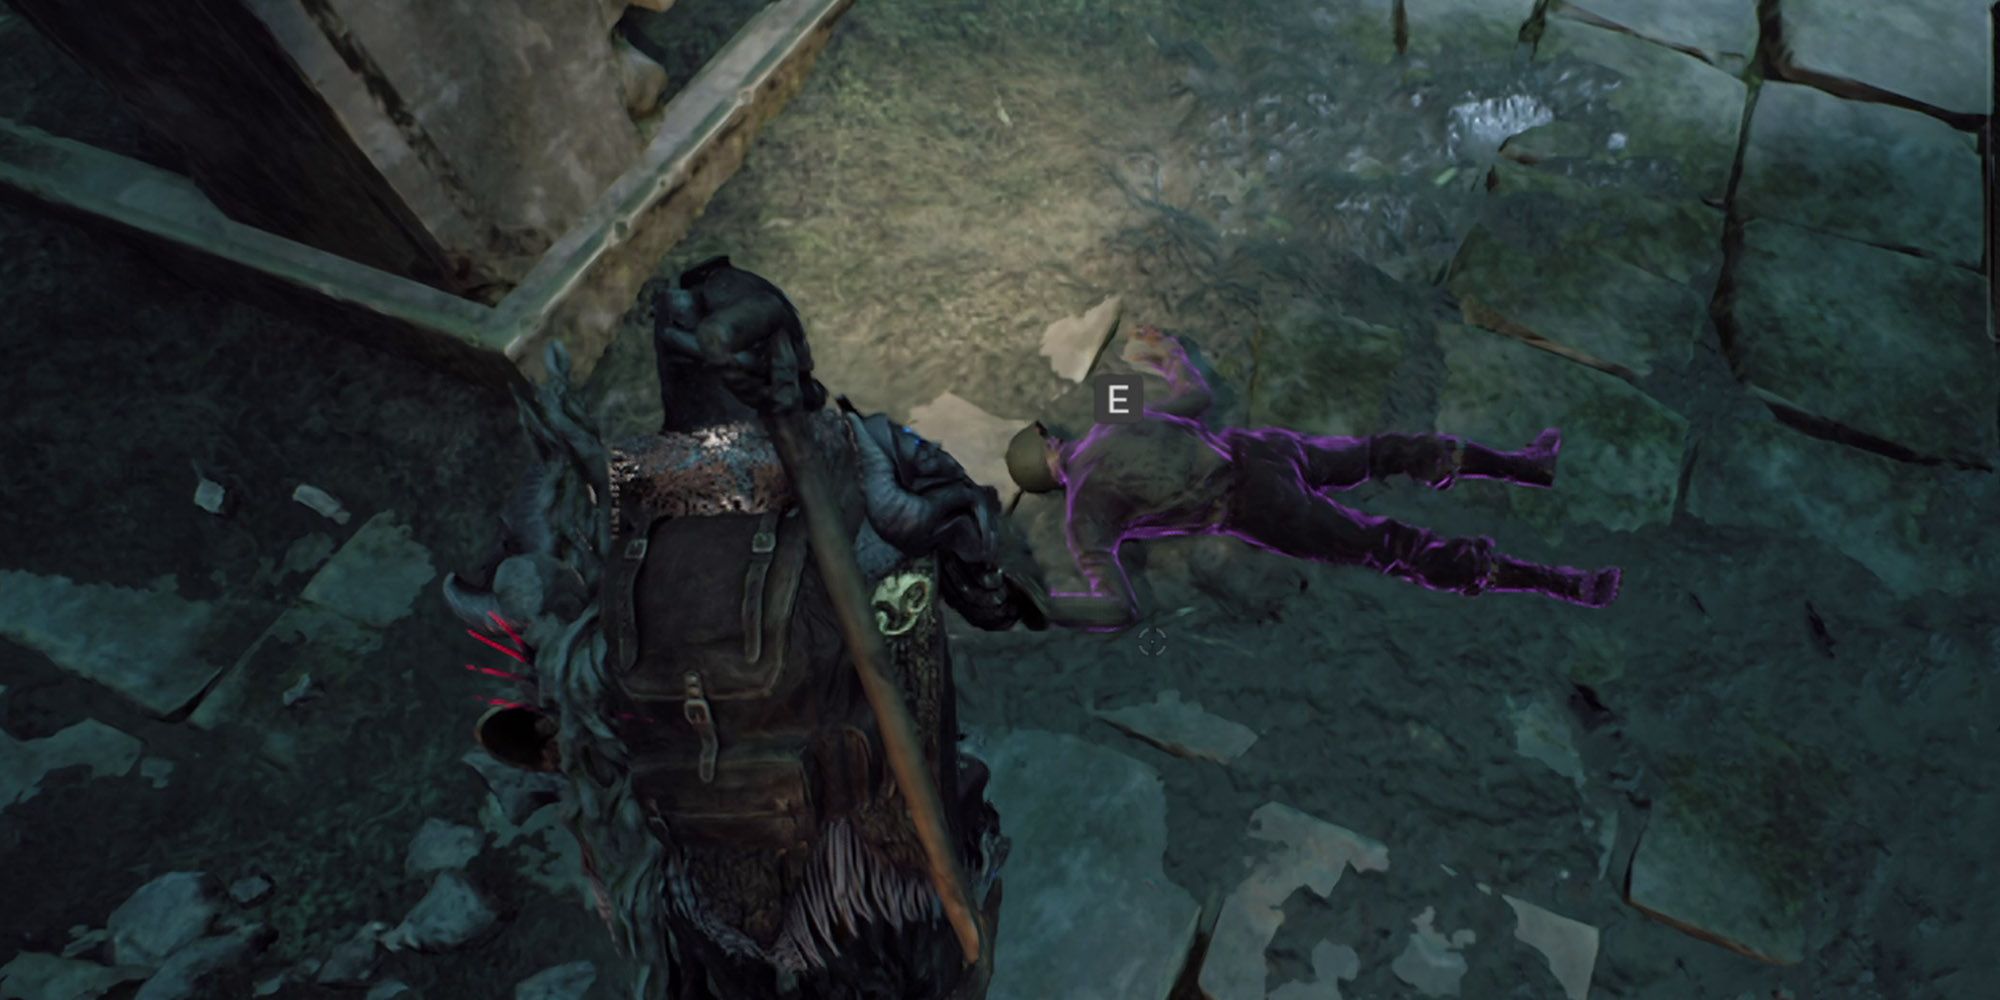
First off, when checking the lowered area in the dart room you’ll find the Battle Set on a body on the ground that was previously submerged underwater (as well as a few stone golem enemies as well). Take the ladder back up and run forward to go back to the room with the pot enemies and raised pillars.
Floor 2: Illusory Wall
Originally, we didn’t think there was any extra item to find in this room. However, as it turns out, there’s an illusory wall here. Step on the first pressure plate that lowers the pillar between two other raised sections. Run over and stand on this lowered pillar, facing the back wall.
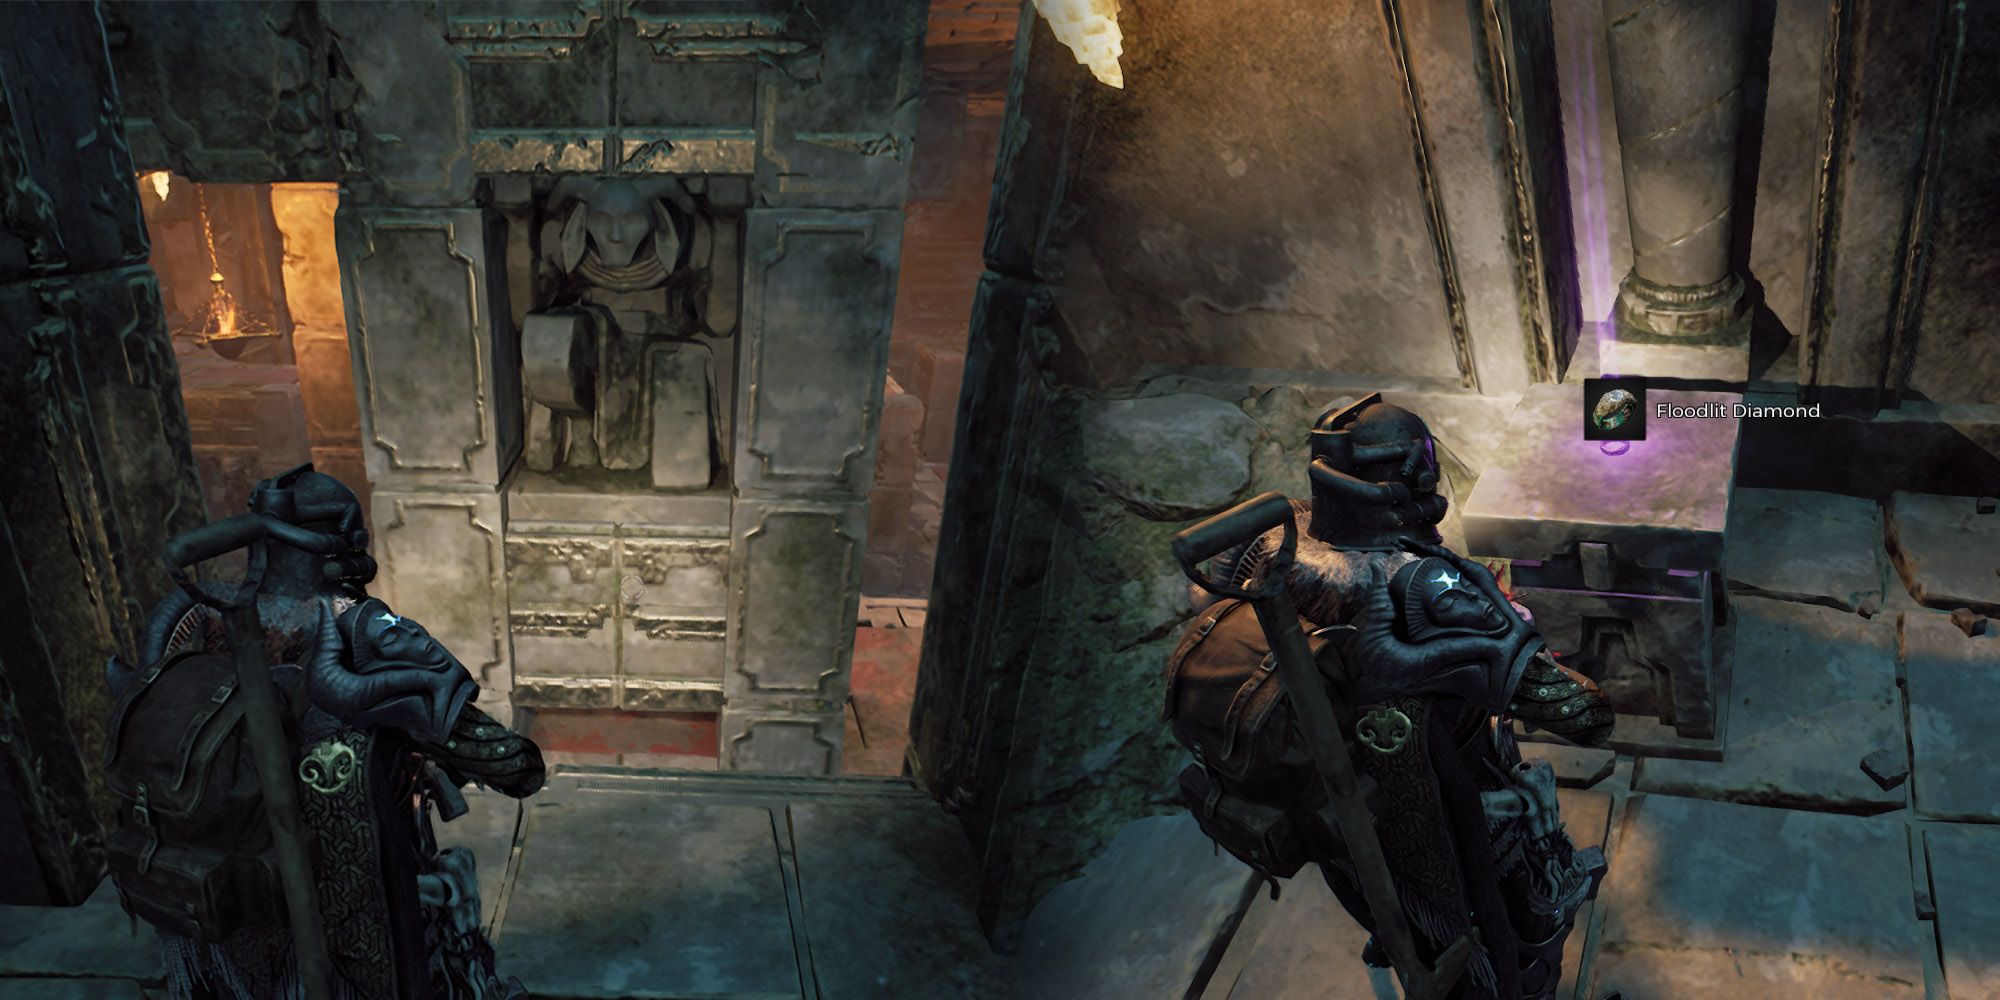
You’ll want to wait until the pillar gets pretty close to crushing you on the roof, then jump off directly at this square of wall. You should phase directly through the illusory wall if done correctly, and then you just need to follow the path forward to find a sarcophagus as well as the Floodlit Diamond Ring.
Floor 3: Hidden Paths
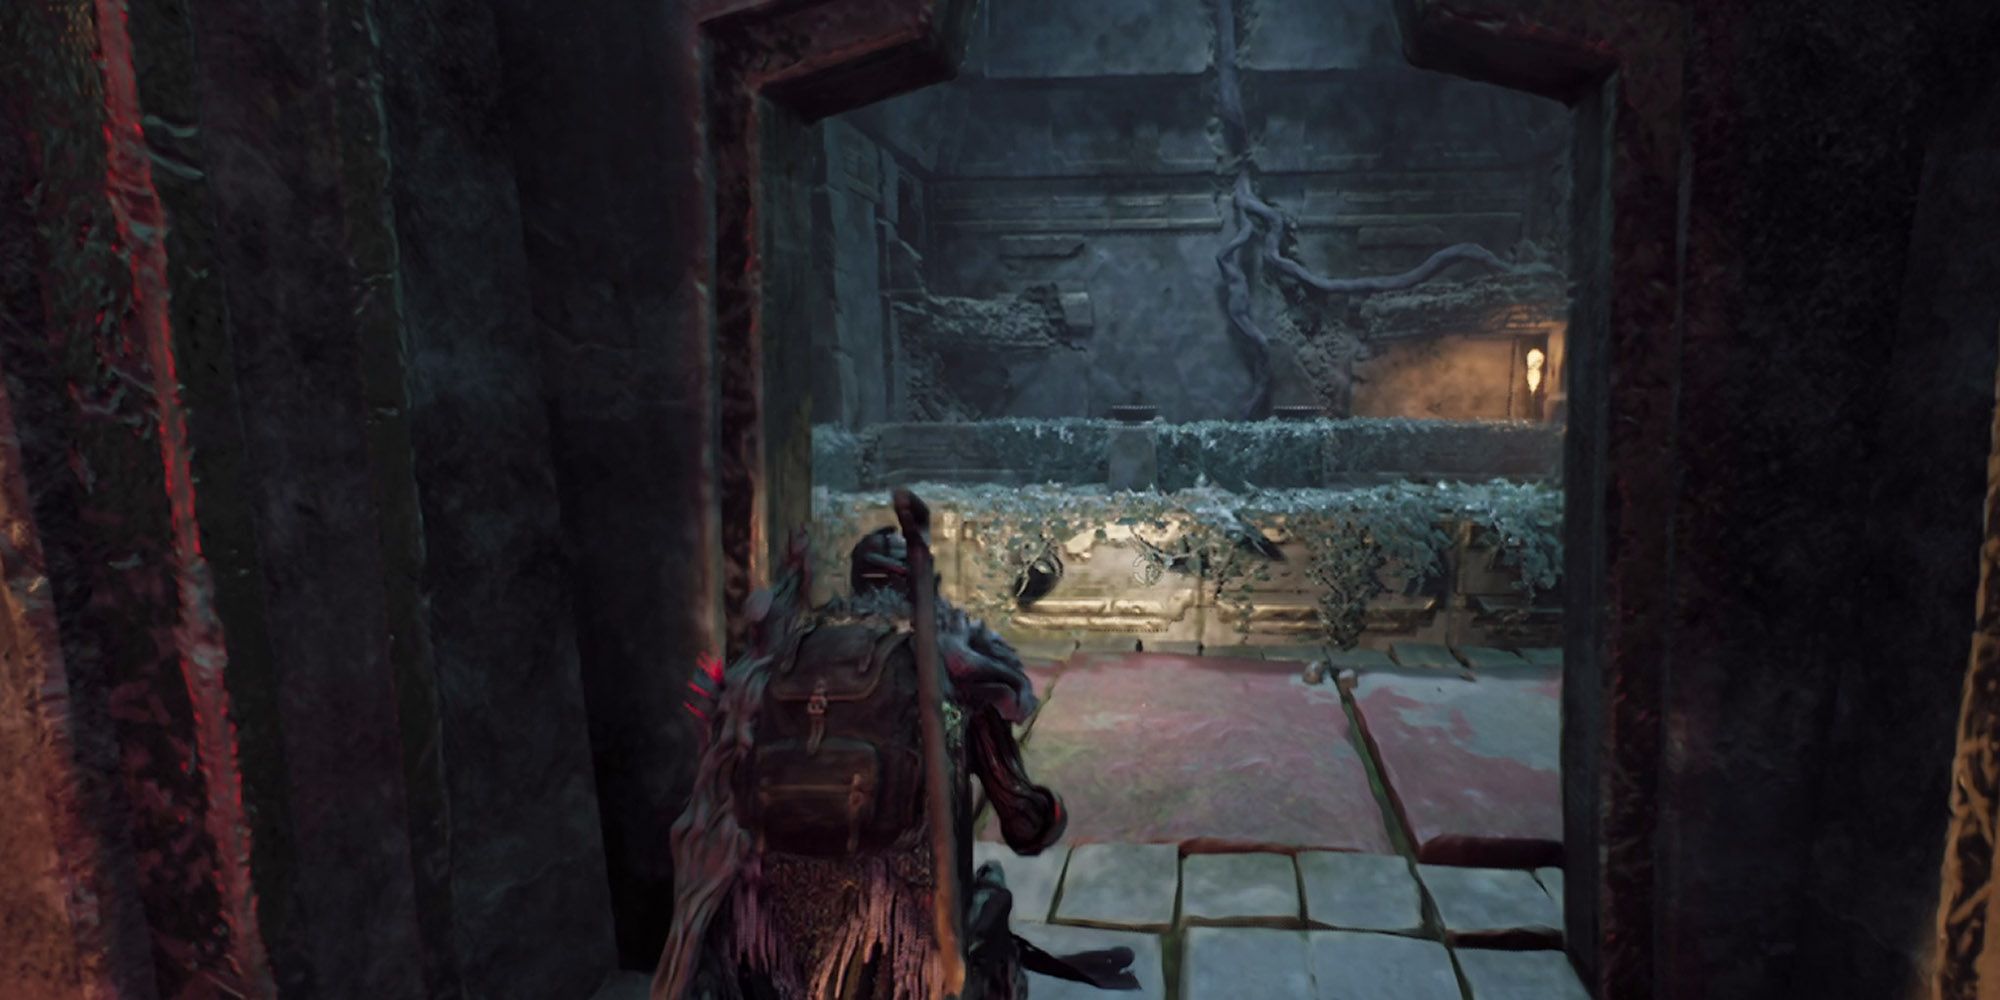
There are a couple of optional paths to be found in the three buzzsaw rooms, starting with the first room. In the first room, simply stand on the pressure plate then turn around entirely. You’ll see a small section of wall rise as well, so head through this when it fully opens. Follow this path and you’ll end up in a room with ankle-high water where The Fractured can be found.
Kill this Abberation to get the Gladiator Melee Weapon Mutator, then step on the red pressure plate in this room to open the path that leads back to the buzzsaw rooms. In the second room, there is no hidden path, so just continue forward into the third room.
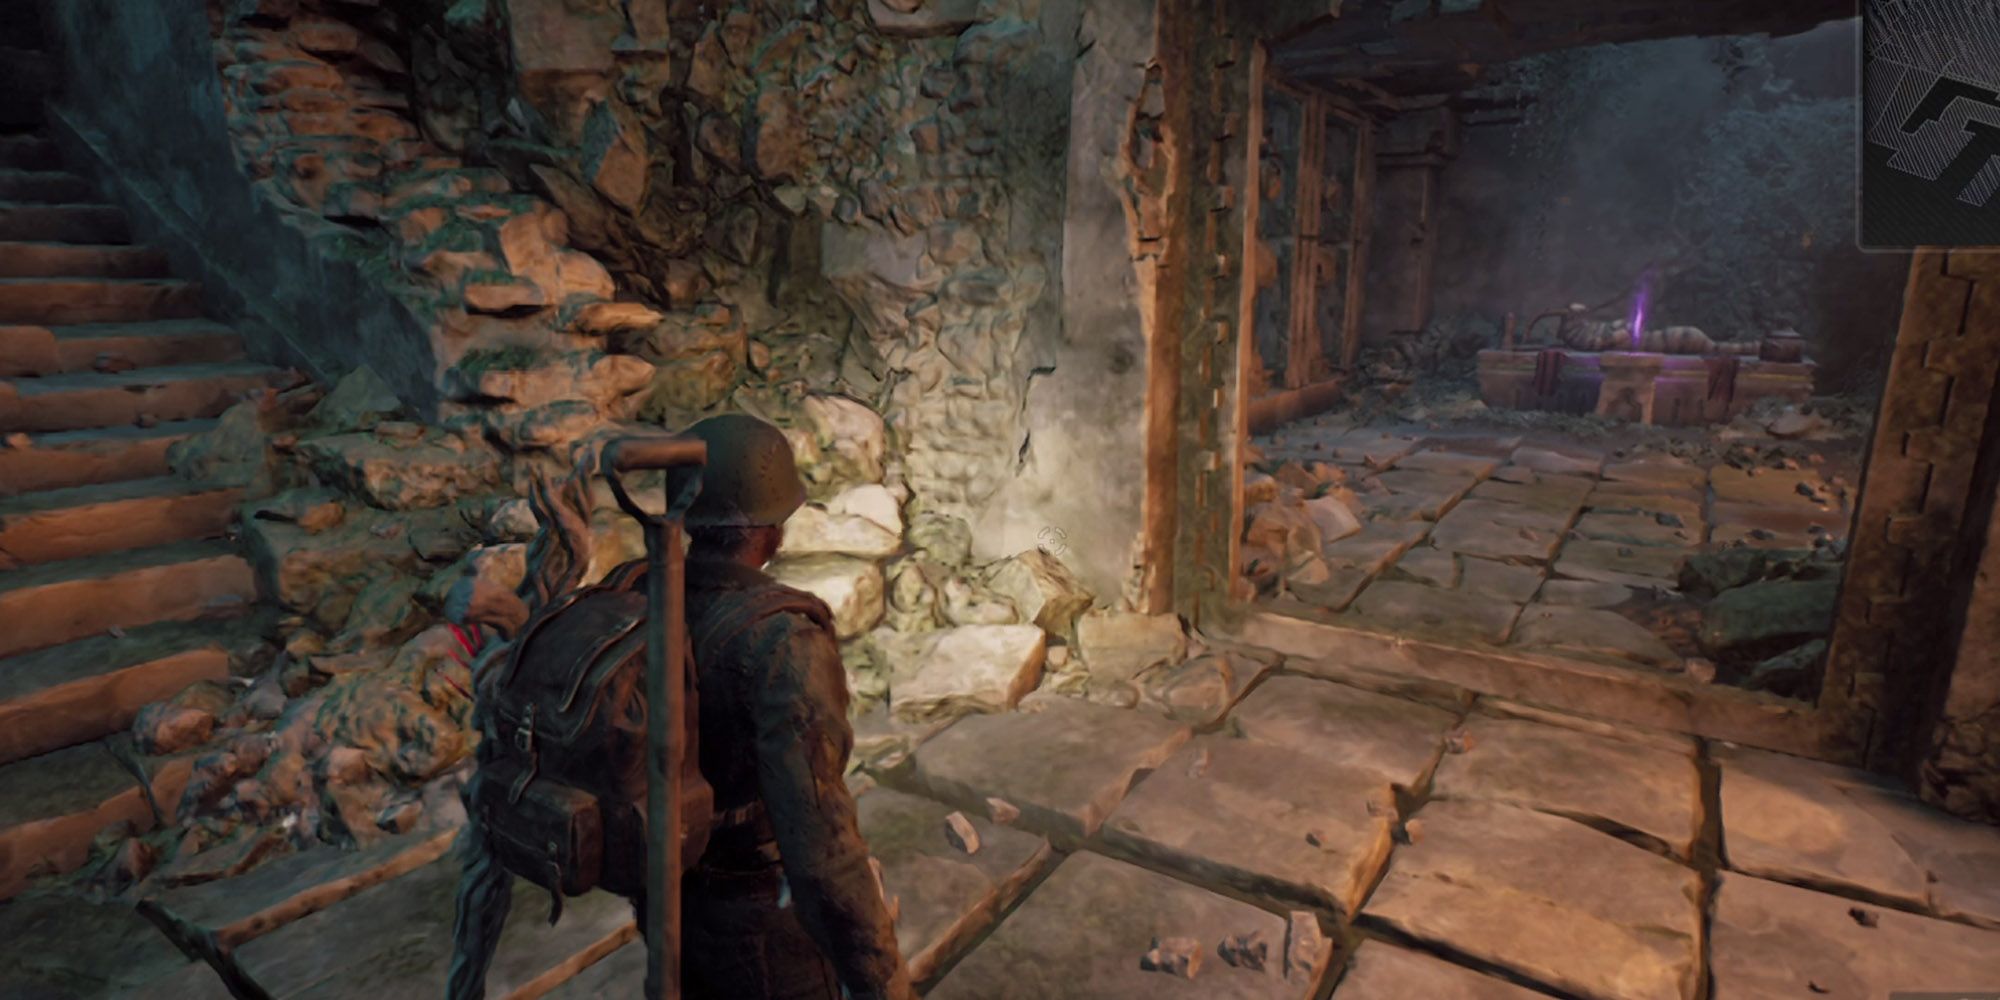
In the third room, step on the pressure plate and then head forward until you get all the way across. But, instead of heading through the exit, take the path that would typically lead back around to the start of the room. There should be a new pathway that opened on the left side of this hallway, follow this to find the room with a mummified Pan body in it as well as the Deep Sea Armada Crest Ring.

Soulslike
Third-Person Shooter
- Released
- July 25, 2023
- Publisher(s)
- Gearbox Publishing
Source link








Leave a Reply