Whether it’s a survival game like Minecraft or a cozy, life-sim one like Fields of Mistria, mining is often a pretty important mechanic, and Luma Island puts its own spin on it. You’ll be delving deep into old caves located around the island in search of useful metals and valuable gems, and you may even find some treasure too.

Related
Luma Island: How To Hatch A Luma
If you want a magical Luma friend on your adventure, here’s how to get one.
Besides the resources, spiders make their home in the caves, and they’re all too eager to take a bite out of any unprepared explorers looking for resources. A rock might drop onto your head, and even the darkness itself seems out to get you.
How To Locate The Caves
While you can find small amounts of ore nodes in specific mountainous locations or after unlocking certain temple rooms, the main place you’ll get ore, and the only place you can mine for gems, is in the biome-specific caves.
- The first available cave is the Abandoned Farm Cave, and it’s located next to your house.
- The second available cave is the Lost Forest Cave, and you need to repair the town’s bridge so you can access the Forest. It’s located in the northern corner of the western side of the area, past the stone bridge.
- The third available cave is the Frozen Mountain Cave, and you need to repair the town’s Cable Car to ride it to the Mountain. It’s located northwest of the entrance to the area.
Some areas, such as the Forest, also have minor caves that contain Charcoal and different Ores, but these don’t have gems or enemies, are much smaller, and can’t be reset once you’ve mined all the resources found in them.
Many of the
minor caves can help you access new areas or give you a shortcut
closer to the entrance of an area, so they’re still worth exploring.
You’ll also begin finding unfinished campsites outside a major cave once you reach the Forest. They’ll have all the basic crafting stations, like a Sawmill, Kiln, Ore Smelter, and Simple Workbench, and you can finish their construction with the regional material equivalent.
How To Explore The Caves
When you first go down into a cave, you’ll start in a well-lit area with a few trees and bushes, while the rest of the area is in complete darkness except for glowing gems in the distance if they’ve spawned close enough.
You’ll need to use one of three torch types to light the area around you as you explore to keep the darkness from consuming you and sending you back to the entrance. Each area has its own Resin and Torch type that differs in light color and effectiveness:
|
Torch Type |
Resin Needed |
Light Radius |
How Long It Lasts |
|---|---|---|---|
|
Farm Torch |
Farm Resin |
Small |
Two In-game Days |
|
Forest Torch |
Forest Resin |
Medium |
Four In-game Days |
|
Mountain Torch |
Mountain Resin |
Large |
Six In-game Days |
Torches will go out after a certain amount of in-game time passes, but you can
reignite them by running over them
.
Charcoal and the area’s ore type can be found throughout the cave, but the gems are always located farther out according to their rarity, with the lowest rarity located closer to the cave entrance, and the rarest one near the edge of the cave’s interior.
Each cave, save for the Abandoned Farm Cave, also introduces a rare, dangerous variant of its regional stone that can kill you and send you back to the entrance if you don’t avoid it.
- For the Lost Forest Cave, rocks may explode into a cloud of poison gas that will cause your screen to go hazy. These rocks are always large and pointed.
- For the Frozen Mountain Cave, rocks may detonate and explode after a few seconds, destroying rocks and ores around them in a small radius. These rocks are always flat, round, and medium-sized.
While exploring, you’ll also find Old Barrels and Crates you can break with your Whip, and these mostly contain cave-related items, such as Torches and Flares, and occasionally a small amount of Ore and Charcoal.
Flares are great for
revealing a wide radius around you briefly and can save you from dying
if you run out of torches.
Rocks will also occasionally fall from the ceiling and create a new boulder that can block a path you’ve made, but they often fall on top of other boulders instead, and it’s rare for them to hit you since they spawn on the outskirts of where you’re standing.
How To Deal With Spiders
The longer you stay inside a cave, the more likely it is that a Spider enemy will spawn near your location, and these serve as your main threat while in a cave.
A Spider will start wandering around the cave once they’ve spawned, and if you or they get close to them, they’ll initiate a chase and begin hunting you down unless you run far away enough to lose its attention.
You can tell if a Spider is spawning as they always
produce a flash of colored light at their location
while spawning, and they make a
loud hissing noise
.
Besides those that spawn over time, mining a gem of any type also produces a loud noise that attracts Spiders and each hit drastically increases the chance of a Spider spawning near you.
If a Spider comes after you, or you don’t want to be bothered by it, use your Whip to fight them off. Each hit with your Whip will stun them for a few moments, and you can time it so you stun them each time they try to move until they’re dead, or it can just give you a chance to escape or avoid them.
You can
farm Spiders for their rare drops like Webbed Gems to sell
by mining gems and making them spawn near you.
Each type of cave has a Spider variant, with a different appearance and spawning light color, but they all do the same amount of damage, and the main difference between them is how fast they go.
- The Farm Spider is the slowest.
- The Forest Spider is the second fastest.
- The Mountain Spider is the fastest.
In mid-to-late game caves such as the Frozen Mountain Cave,
multiple Spiders can spawn at once
, either naturally or by attracting them via striking a gem.
How To Reset A Cave’s Interior
Eventually, a cave can run out of resources, and if this happens, you’ll need to locate the Cave Reset Beacon and use it to spawn new resources.
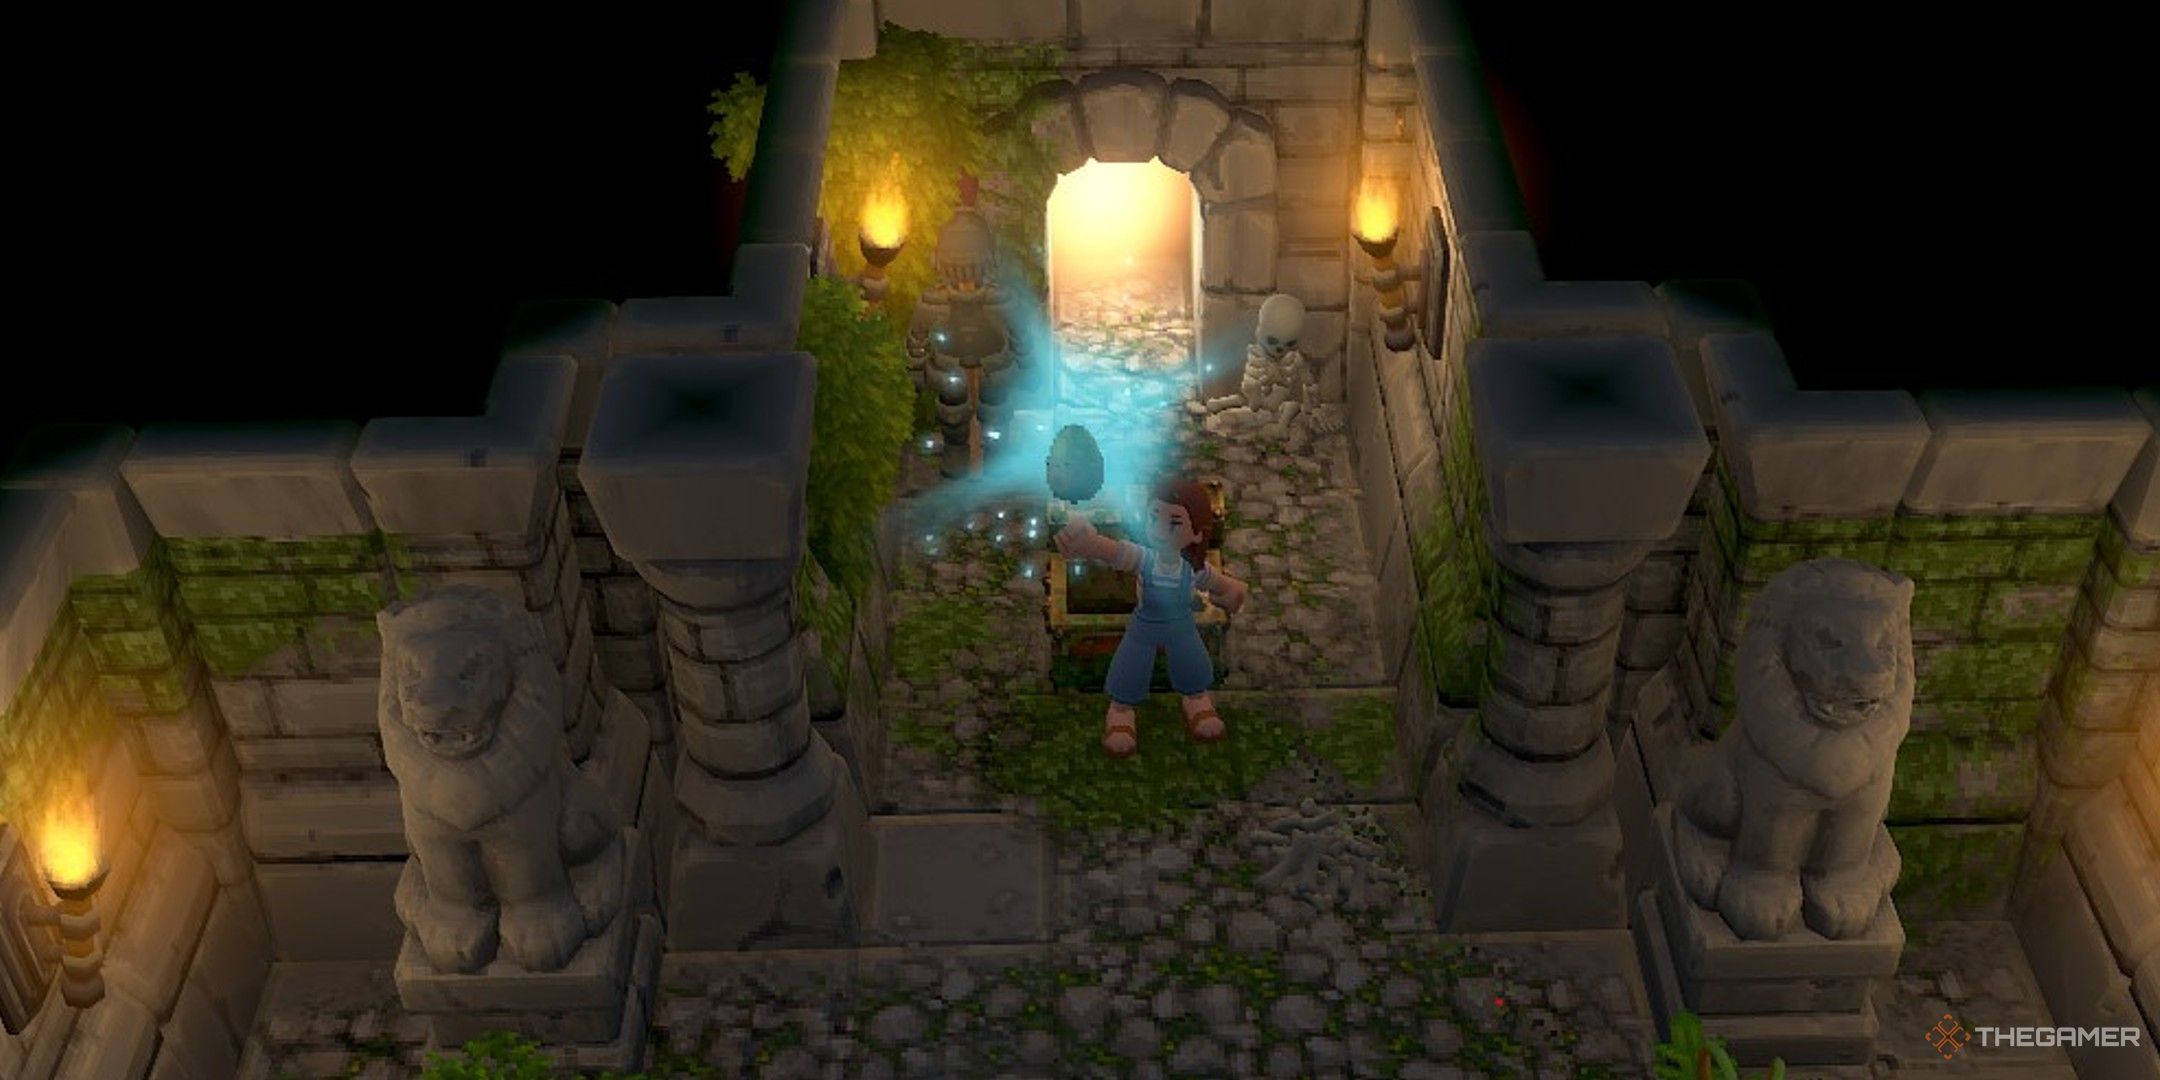
Each cave has one, and they’re always located somewhere along the very edge of the cave’s interior, so they require quite a bit of exploring and torches to reach them. They sit in a well-lit area like the cave’s entrance, so you can see them from afar if you’ve gone deep enough.
When you find the beacon, all you have to do is interact with it and a countdown will start. You’ll have 90 seconds to mine any last resources and exit the cave, or else it will collapse on you and send you back to the entrance.
Next time you go back inside, the entire layout will be reset, allowing you to get more resources. There isn’t a limit to how many times you can reset a cave, but you will have to find the beacon again each time.
All Mining Resources And Their Uses
All cave resources are important for upgrading your tools, but ore and gems provide the main materials needed for the Blacksmithing and Jewelrycrafter Professions, and you’ll need metal bars for making the magnets as a Treasure Hunter.
|
Resource |
Main Cave Found In |
Refined Versions |
|---|---|---|
|
Charcoal |
Abandoned Farm Cave Lost Forest Cave Frozen Mountain Cave |
N/A |
|
Copper Ore |
Abandoned Farm Cave |
Copper Bar Copper Magnet |
|
Bronze Rubble |
Bronze Bar |
|
|
Mountain Crystal |
Mountain Crystal Earrings Mountain Crystal Necklace |
|
|
Tiger’s Eye |
Tiger’s Eye Ring Tiger’s Eye Necklace |
|
|
Kyanite |
Kyanite Ring Bronze Tiara |
|
|
Lost Forest Cave |
Iron Bar Iron Magnet |
|
|
Silver Rubber |
Silver Bar |
|
|
Pyrite |
Pyrite Earrings Pyrite Necklace |
|
|
Bismuth |
Bismuth Ring Bismuth Necklace |
|
|
Crocoite |
Crocoite Ring Silver Tiara |
|
|
Moonstone Ore |
Frozen Mountain Cave |
Moonstone Bar Moonstone Magnet |
|
Gold Rubble |
Gold Bar |
|
|
Fluorite |
Fluorite Earrings Fluorite Necklace |
|
|
Azurite |
Azurite Ring Azurite Necklace |
|
|
Uvarovite |
Uvarovite Earrings Gold Tiara |

Next
Luma Island: How To Repair All The Lamps
It’s still a long way to go with the town’s repairs, and next on the list is taking care of the lamp posts.


Leave a Reply