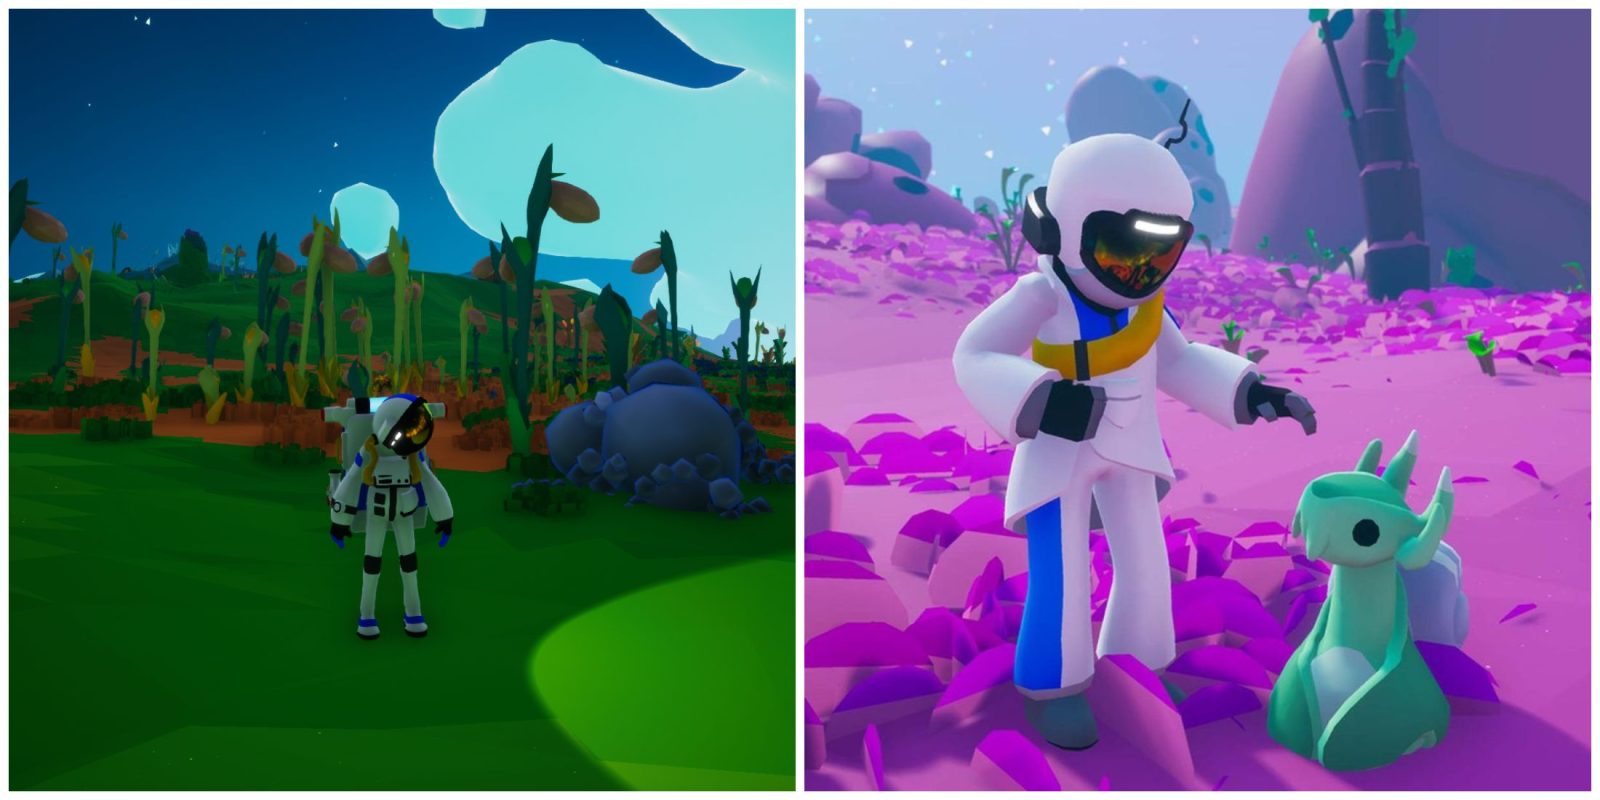
Astroneer is a popular adventure sandbox game that allows players to explore a large space environment to their heart’s desire. The game also allows multiplayer for those who are interested, and you can even set up your own private server to host friends. However, there is a certain process you will need to follow.
Figuring out how to set up your own server for multiplayer in Astroneer can be quite complicated and takes a lot of steps. To make the process easier for those who wish to make their own server and share their base with friends, here is everything that you will need to do.

Related
Astroneer: How to Make Solid Fuel Thrusters
Solid Fuel Thrusters are a must-have for early-game inter-planetary travel in Astroneer. Here’s what you need to unlock and craft them.
How To Host A Server in Astroneer
There are quite a few steps that you will need to follow in order to properly host your own dedicated server in Astroneer. Keep in mind that this will take some time, and will require obtaining files from Steam. Here’s what you need to do to start hosting a server and bringing your friends into your world.
Required Steps:
- You will first need to download the dedicated server files from Steam. Start by going into Steam, click Library at the top, and choose Tools. Find Astroneer Dedicated Server here, and choose to install.
- Next, you’ll need to locate and change the dedicated server .ini files. After you initially download the dedicated server files, you’ll want to locate them in the directory you downloaded them to. Once you are inside the directory of installation, you will then need to go to Astroneer Dedicated Server, then to Astro, then Saved, then Config, and finally Windows Server. The two files that will need to be edited are Engine.ini, and AstroServerSettings.ini.
- In the Engine.ini file, we’re going to configure a port, which you can choose from any you prefer. We’re going to use Port 8777 for this. You will then want to add the following to the Engine.ini file:
- Make sure you give an exception to your firewall to approve the change.
- Then, open AstroServerSettings.ini. You will notice a few lines here, which you can use to change the settings of the server you will be running.
- In AstroServerSettings.ini, you will then need to input your PublicIP. If you aren’t sure what yours is, you can use this search to find it. Then, input it into the file, like so:
- Finally, we are going to set up an owner for the private server. To do this, you can add the following lines to your AstroServerSettings.ini file:
- OwnerName=steamname
- OwnerGuid=0
Once you complete this final step, you can easily jump into the game, and you will be able to connect to your new private server. You can also change the owner in the future if you want, just by going back into the file and changing the Steam name written.


Leave a Reply