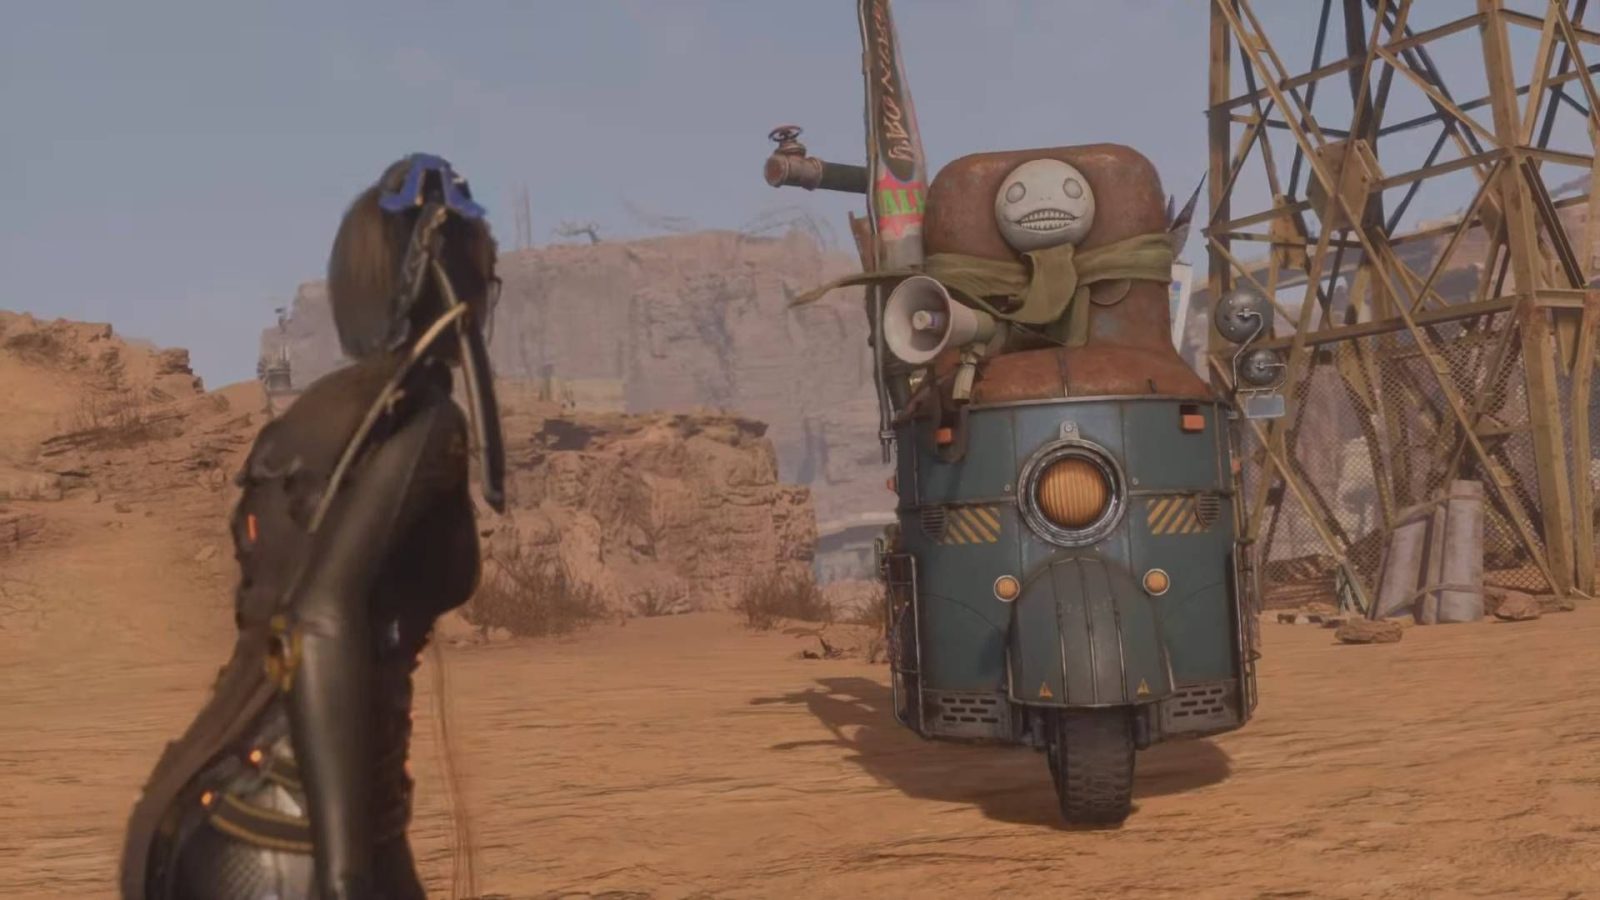
Stellar Blade‘s latest DLC introduces several items from Nier Automata, including the outfits of 2B, A2, and 9S. In order to get these new items, players are required to track down Emil as he drives wildly around the Wasteland and the Great Desert. After meeting him for the first time, he’ll provide EVE with photographs showing how to track down a new collectible scattered throughout the world.
In Stellar Blade‘s Wasteland and Great Desert regions, you can now find Stellar Tears, which Emil is collecting. In exchange for these, he’ll provide you with the new cosmetic items added by the Nier Automata DLC. This guide will explain how to track down all eight of the available Stellar Tears in the Wasteland.

Related
Stellar Blade: How to find Emil’s Shop
Stellar Blade’s Nier Automata DLC adds new cosmetic items to the game, but earning them will require you to track down Emil and a new collectible.
Stellar Tear #AC8653E
For this Stellar Tear, head for the Central Scrap Plains Supply Camp, shown on the map above, and head north to find a big sign with the letters D and G on it. The Stellar Tear is just in front of the sign.
Stellar Tear #AJ4875L
This one is close to the Stellar Tear mentioned in the last section. You’ll need to head southeast to find the Fast Travel waypoint on the above map. From there, head a little further southeast to find the sign in the second image, which has the Stellar Tear next to it.
Stellar Tear #A03521P
This Stellar Tear is found at D 1 G-g2r’s scrapyard. Head to the right after entering to find the spot shown in image 1, then look to the right from there to find the boxes shown in image 2 and climb them to reach the Stellar Tear.
Stellar Tear #AT8154E
To get to this Stellar Tear you’ll need to head to the Wasteland Plant. This is found in the southeastern part of the map and can be reached by heading south from the Junkyard Supply Camp. Once you arrive at the Plant, head around to the right side and up the stairs. Head to the left at the top of the stairs to find the Stellar Tear sitting on a blue tarp near a crane.
Stellar Tear #AW42150
This Stellar Tear can be found among the small solar panels at the Solar Tower, near the spot shown on the map above.
Stellar Tear #AB6148M
This next Stellar Tear is also near the Solar Tower. From the Solar Tower, look north for the path shown in image 1 and follow it up to a cave. Inside the cave, the Stellar Tear can be found on a small island in the lake, in clear view from the entrance. If you head to the lower island you can climb up on, just to the left of there, you can hop to an outcrop along the cave wall and then jump/air dodge to land on the island with the Stellar Tear.
Stellar Tear #AC62588
This one is found under one end of the giant ruined boat in the southwest part of the Wasteland. Head under the section of the boat circled in image 1 to find it on the ground. There’s a path down the east side of the area with the Solar Tower that can get you down to the boat pretty easily.
Stellar Tear #AT4756L
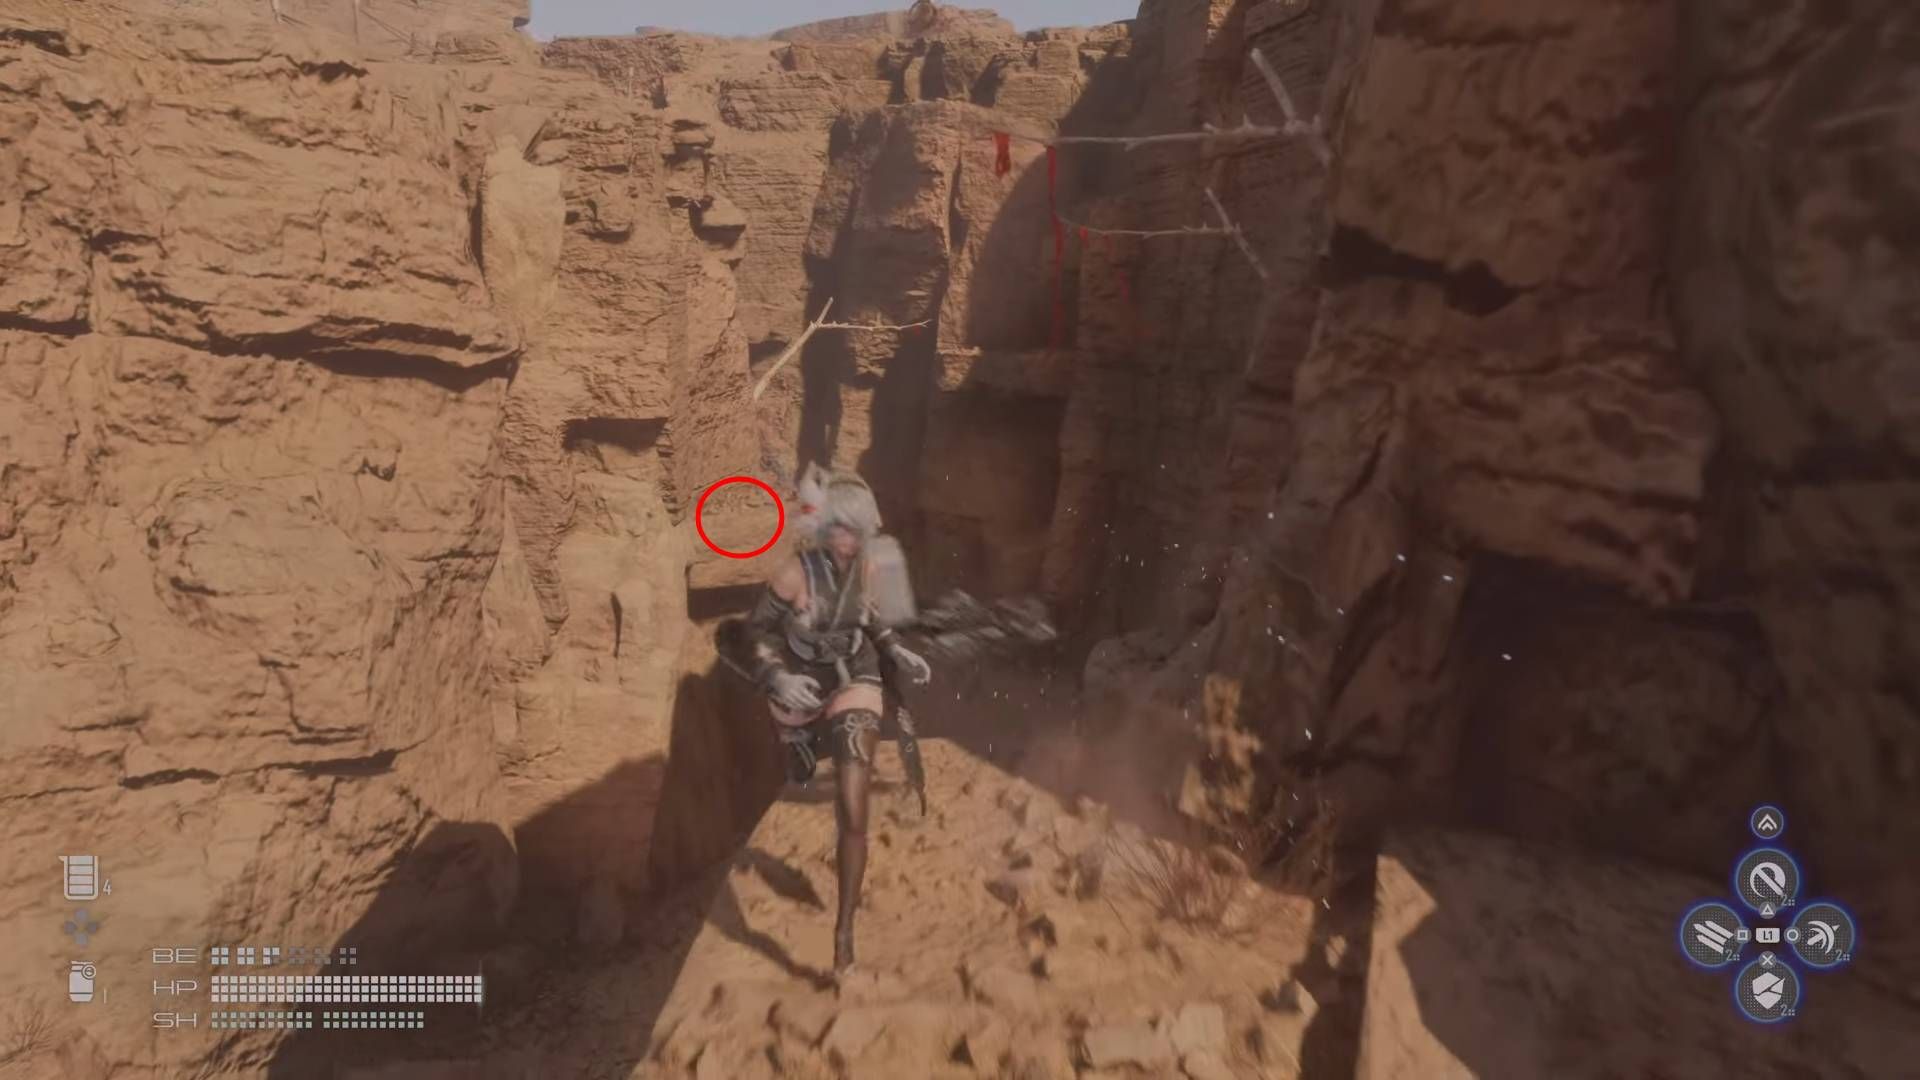
This Stellar Tear requires you to get the Double Jump before you can reach it, so if you don’t have it yet, you’ll have to progress through the main story a bit more. Once you’ve got the double jump, head for the Western Great Canyon Supply Camp (shown on the map above), and then go north to find a wall with handholds you can use to climb up. Hop up to them using the double jump and climb up to the top. This section can be quite tricky, so I’ve also included a video guide below:
From here, you’ll need to use the monkey bars shown above to move forward, which can also only be reached using the double jump. Double jump and air dodge if necessary to reach the second bar, then use the double jump and air dodge to reach the ledge on the left (circled in the image above.)
From here, hop to the next monkey bar and use it to swing across to another ledge, then hug the wall and hop to the next ledge (on the left after you land.) From here, hop to the next monkey bar and swing across to the next ledge.
One final monkey bar swing, then a double jump into an air dodge to land on the big ledge up ahead. There are some enemies here, so take them out before you move onward. Once you’ve cleared them out and grabbed any loot you can find, head up the climbable wall near where you landed and then turn left, heading past the bridge and taking out a few enemies. Look down at the edge here to find a lower section where the Stellar Tear can be found.


Leave a Reply