As soon as you land on the map of Stalker 2: Heart Of Chornobyl, you’ll quickly realize that the map is divided into various sections, and each of these sections has a story to tell. Garbage is one of the sections in the game, and it mainly focuses on locating someone called Nestor.

Related
This starts with your information hunting during the Answers Come At A Price quest, which takes you to Slag Heap where you can talk to Diode. This is where The Price Goes Up quest starts, and here’s how you can beat it.
How To Enter Diode’s Workshop
The first part of the quest takes you to Diode’s workshop where he asks you to retrieve some items. As you get close to this workshop, you’ll first have to deal with an anomaly that produces a spark explosion on your path. When you get near, you’ll see a small spark spawning in front of you.
This can track your movement and spawn at the location where you’d be in a couple of seconds, which is the same amount of time it takes to explode. You have to bait out the spark and then run in a different direction to avoid it. Do this until you reach the small well beside the main workshop building, which will let you go down.
If you get hit by the explosion, you’ll be flash-banged and concussed while losing your HP at the same time.
This will make it a lot more difficult to avoid subsequent explosions from this anomaly.
Once you’re in the well, break the wooden planks below to go further down where you’ll find a scanner along with some anomalies and dead bodies. Wait for the scanner to stop producing electricity and then go near it, which will allow you to turn the scanner and the fire anomalies nearby off.
You can then search the bodies to get a drive and the key card required for the quest. Go to the other end after retrieving these items and you can take a ladder back to the top, where you can use the keycard to exit the workshop.
How To Find Nestor’s Stash
The trickiest part of this quest starts when you talk to Diode again and he asks you to get Nestor’s stash at the top of Slag Heap. You have to follow a specific path for this, and here are the easy steps:
- Leave Slag Heap through the main door and use the stairs and ladder on the right side to climb as high as you can. At the top, you can jump on a metal structure going to the right to go further up.
- Follow the path without any junk on it and when you get close to the first cave, turn right and keep going. Go through the destroyed minibus here and you’ll find the path to the cave you have to enter.
- Inside this cave, crouch through the metal structures on top of the toxic anomaly and then get to the end with some more metal structures. Once at the end, turn around and jump up on one of these structures and you’ll be able to reach another ladder.
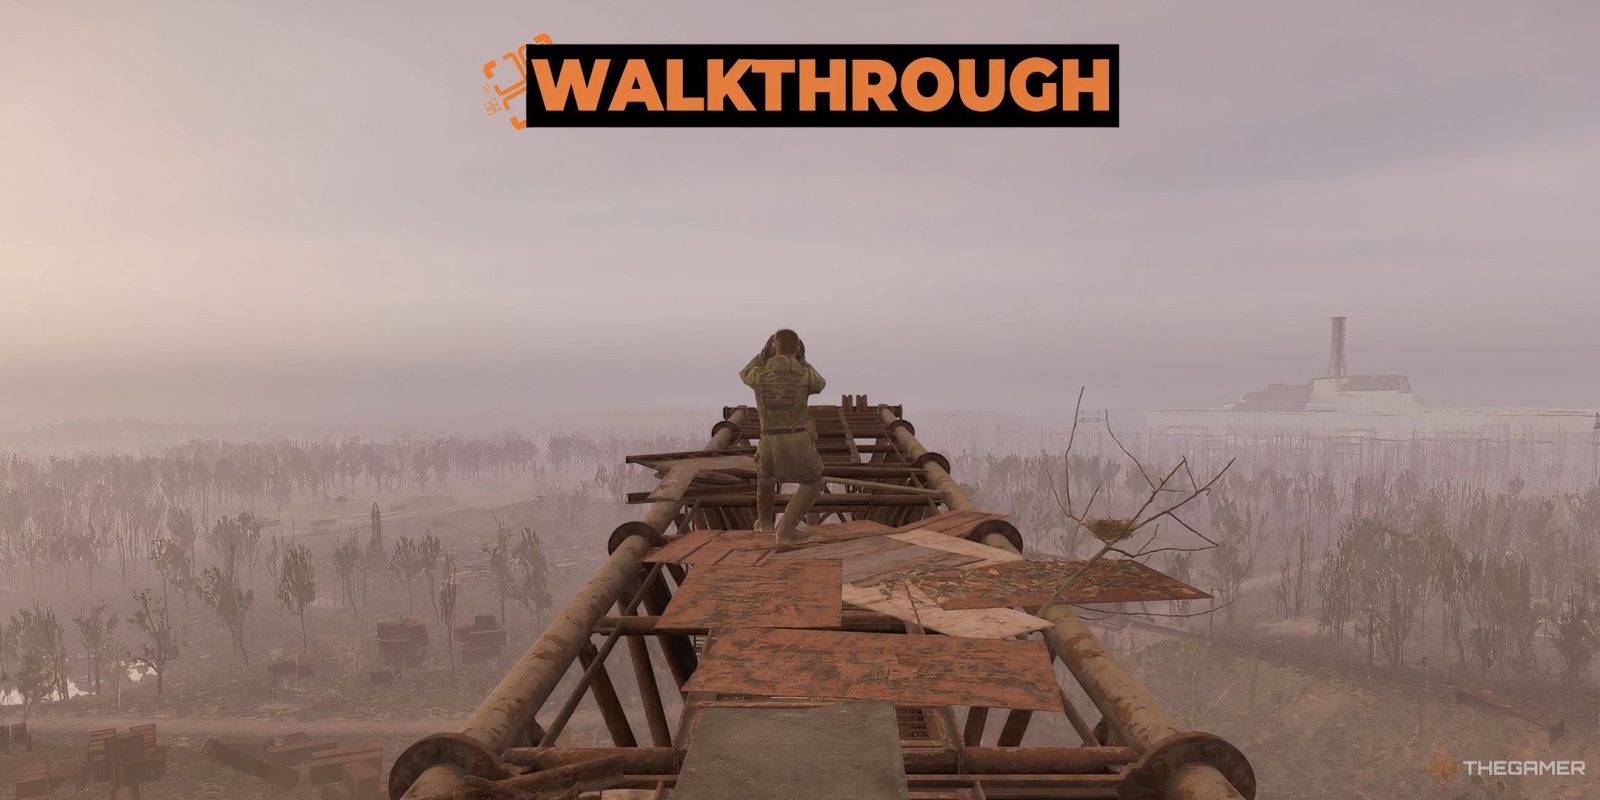
- This will lead you to the main crane at the top with Richter on it. Talk to Richter and then get to the end of the crane, where you’ll find Nestor’s bag.
After collecting the loot in Nestor’s bag, you have to head back down through a slightly different path. Go back through the same crane to the junk area. As soon as the crane ends, you’ll see a sign on your right with two people on it. This leads to another sign with a hole in the ground, which will take you out of the first cave you saw on the way up.
You can then follow the same path back for the final part of the quest.
Should You Go To The Dig Site Or Labyrinth
For the last part of this quest, you have to find clues about the scanner scheme by visiting Labyrinth and Dig Site. However, you can only visit one of these areas since you’ll find the clue in the first one you visit. However, the overall rewards you’ll get from the quest will differ slightly based on what you choose.
If you choose Dig Site, you’ll have to find a small shack when you get to the area. There will be a cave entrance through this shack that leads you to the main part. Down in the cave, you’ll have to fight a special mutant that can use the surrounding guns to shoot at you, make you drop your gun, and also hurl objects at you.
This mutant can also gain a shield every few seconds, which is symbolized by the white aura around it.
Once this monster is defeated, you can check the bodies to finish this quest. You won’t find much high-tier loot here. On the other hand, if you visit Labyrinth, you’ll first have to battle a huge wave of rodents, and it’s highly recommended to carry some grenades for these. Once they’re dealt with, you can find a van inside the Labyrinth.
This van will have two artifacts and a few bodies around. As soon as you touch any of these, multiple NPCs will pop out of nowhere and start shooting you. Defeat these NPCs and search their bodies to finish this quest. You can also claim the two artifacts here, making it the better way to finish this quest.
Next
Think you can survive anything thrown your way? Here, you can check out the best survival games available on PC.







Leave a Reply