What are the best Stalker 2 settings? If you’re chomping at the bit to return to the zone in Stalker 2, you’ll be wanting to know the best graphics and other game settings to find the best balance of performance and immersion, and that’s precisely what we’ve provided for you here.
Given the scale of Stalker 2 and its use of all the latest modern graphics tech, it’s no surprise it puts a fairly heavy demand on your GPU. However, you won’t need the very best graphics card around to run it, with plenty of mid-range options providing solid performance.

Best Stalker 2 graphics settings
- Overall: High
- Motion blur: 0%
- Upscaling: On – DLSS or FSR Quality or DLAA/FSR NativeAA
- Frame generation: On
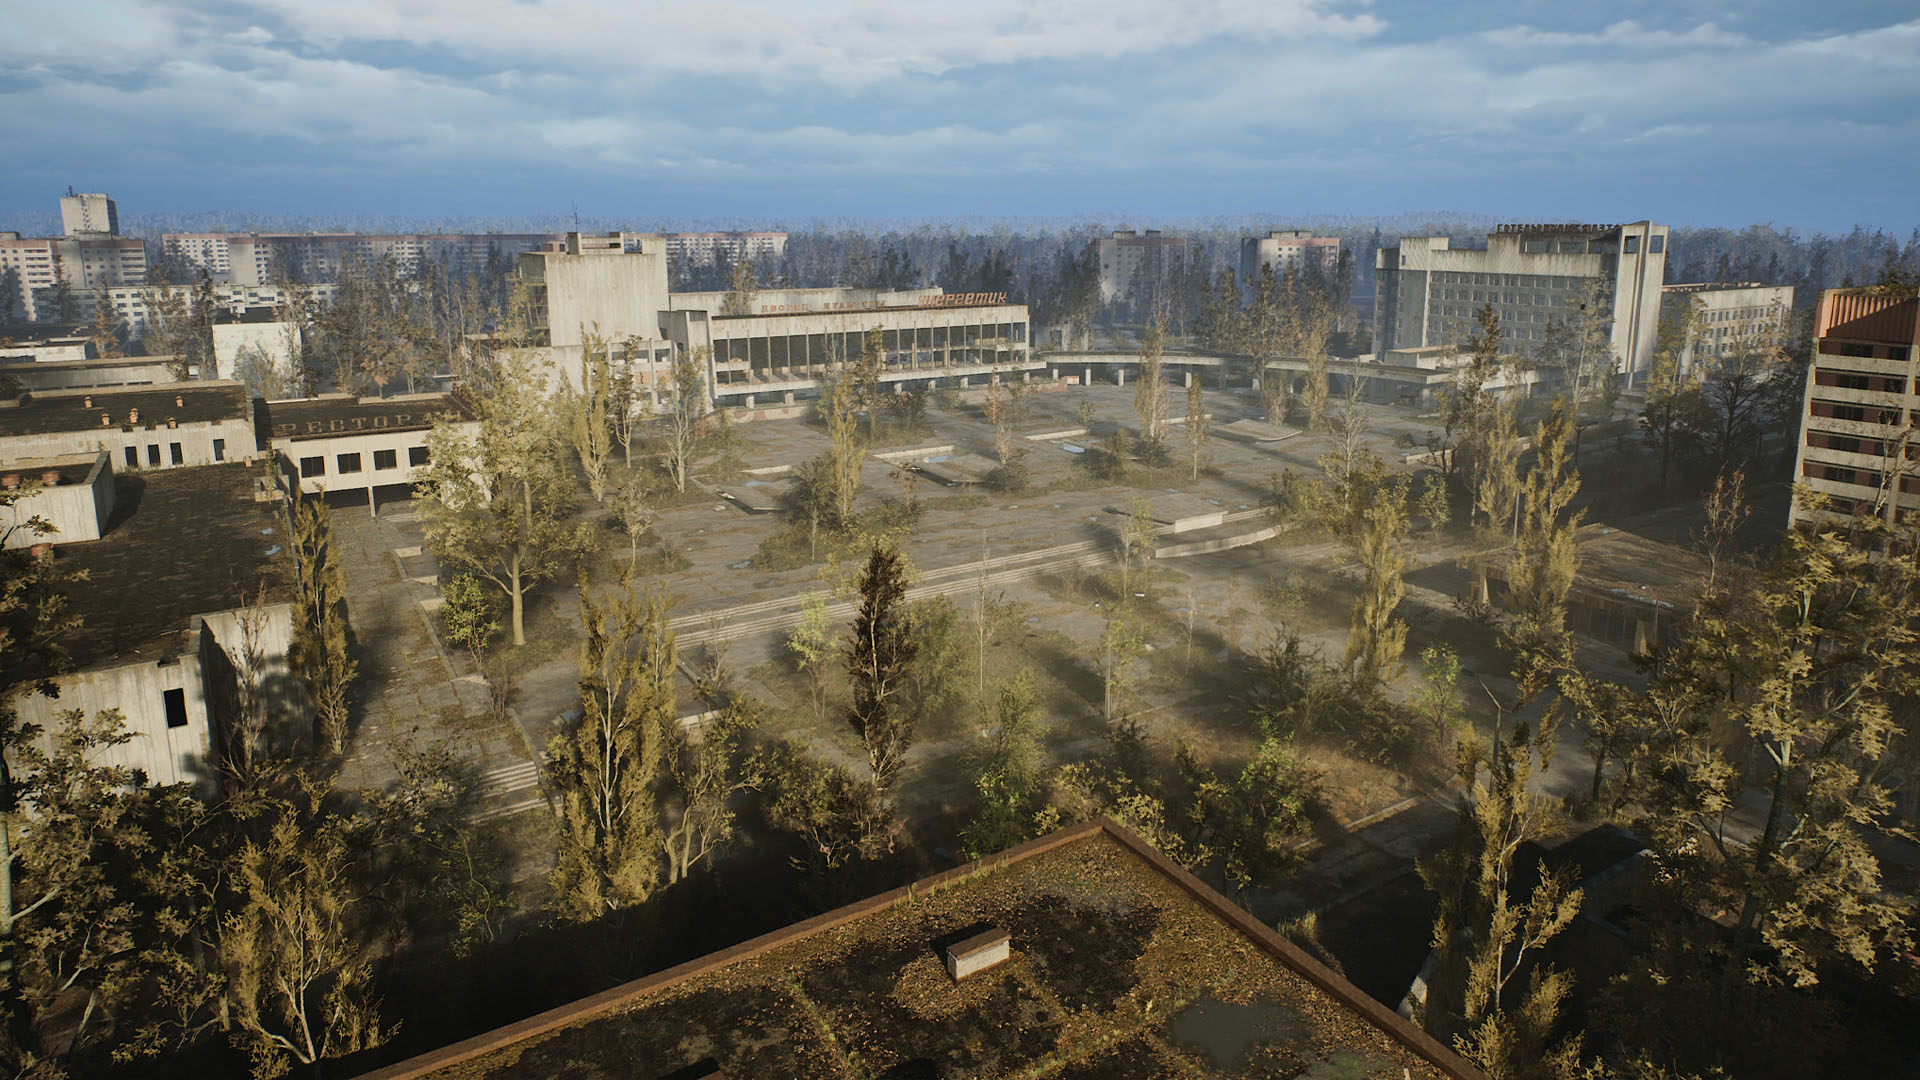
As a modern, AAA, single-player, first-person shooter, Stalker 2 benefits a great detail from being able to crank up all its visual details, giving you a rich, realistic, and absorbing environment to explore. As such, we’d recommend starting out by cranking the game all the way up to Epic overall graphics settings then dialing things back as best you can.
For our test system’s Nvidia GeForce RTX 4070 running the game at 1080p with no upscaling or frame generation turned on, it delivered an average of 54fps, which is a touch below what we feel is playable in this title. Dialling back the overall graphical detail levels to High and this average stepped up to 60fps, with 1% lows of 41fps, which is just about playable and the game still looks great at these settings.
At Medium settings the frame rate jumps to 69fps average while at Low we got 77fps. The detail levels do noticeably drop, but the game still looks decent, maintaining an immersive feel thanks to the presence of on-screen foliage and key lighting effects like your torch.
However, to get the best look you’ll want to experiment with two more settings. These are using DLAA anti-aliasing (or FSR NativeAA if you don’t have an Nvidia GPU) and Frame Generation. The former really smooths out the jagged lines and particularly the flickering foliage in the game with almost no performance hit. Meanwhile, Frame Generation bumps the frame rate up nicely without harming visually quality.
Setting the game to 1080p, High, DLAA, with Frame Generation enabled and it looked great, delivering 106fps on average with 62fps 1% lows for a really playable, smooth feel. Crucially, as this isn’t a competitive FPS, the slight increase in input lag from these settings isn’t a major concern – the better image quality and smooth frame rate is totally worth it.
Moving up to 1440p and the game really benefits from the extra resolution but performance takes a marked hit. At 1440p, High without upscaling or Frame Generation the game delivers just 45fps, though this jumps to 78fps when using Frame Generation. At 4K you’ll get just 33fps on our test system without DLSS or Frame Generation. Setting DLSS to Quality, though, and enable Frame Generation and we got 66fps, which is just about playable.
As for specific settings to watch out for, the upscaling and frame generation settings change as you change the overall graphics setting level, so watch out if you’re dialling those in separately.
Also worth changing is the motion blur setting. This can add an atmospheric feel but can be particularly distracting when you’re trying to aim in a first-person shooter. You can either dial it back to around 20% from the default 100% or just turn it all the way off.
Outside of these settings, most others have a more modest impact on performance and image quality individually. With only a difference of between 54fps and 77fps average from Epic details all the way down to Low details, it really is just the raw performance of the game’s engine and bigger-impact settings such as your display resolution that will make the biggest difference to this game’s performance.
Notably, the game doesn’t support ray tracing so you don’t have this hugely performance-impacting setting to worry about.
Best Staker 2 controls and gameplay settings
- Invert vertical axis: Disabled
- Invert horizontal axis: Disabled
- Mouse sensitivity: 20%
- Mouse aim sensitivity: 10%
- Aim: Hold
- Hold breath: Toggle or Hold
- Hold to crouch: Toggle or Hold
- Hold to sprint: Toggle or Hold
- Hold to walk: Toggle or Hold
- Lean: Toggle or Hold
- Slide down the ladder: Toggle or Hold
Most of the control settings in Stalker 2 you can leave well alone, unless you prefer an inverted mouse axis. However, the mouse sensitivity was too high for our liking. We dialled this all the way back to 20% using a mouse set to 800dpi. This provides a nice balance of it being relatively easy to turn 180° while still providing tight accuracy for aiming. Likewise the Mouse Aim sensitivity we reduced even further for a bit of extra precise control when aiming down sights.
Best Stalker 2 audio settings
- Master volume: 100%
- Mute all: Off
- Music volume: 40%
- Combat volume: Enabled
- SFX volume: 100%
- Dialogue volume: 100%
- Output device: Default
- Output device type: Whatever matches your output device
- Mono: Disabled
- Dynamic range: Medium
Stalker 2 is an atmospheric game that benefits from the extra tension of its sound track and from being able to really hear what’s going on around you. As such, we’d recommend finding one of the best gaming headsets to feel that sense of immersion.
Regardless of your sound output device, and even with us appreciating the music of this game, we prefer dialling back the music a bit, as it can get quite distracting and overwhelming at times. Setting it to 40% is a good compromise. Likewise, the Dynamic Range setting is a useful way to be able to move between a more atmospheric high dynamic range where quiet noises are just that but then loud noises hit hard – just like in real life – but for a more comfortable playing experience, sticking to Medium dynamic range or even Low is a sensible choice.
Most other settings you can just leave as default, though you may want to disable Combat Music if you find the extra musical distraction too much.
How we test Stalker 2
At PCGamesN, we use dedicated gaming rigs to test the best settings for performance and gameplay in the latest releases. The test rig used for Stalker 2 includes the following components: Intel Core i7 11700F, Nvidia GeForce RTX 4070 12GB, 32GB of DDR4 3200MHz RAM, MSI B560 motherboard. We also test using Windows 11 64-bit.
We always run our testing first at 1,920 x 1,080 to identify the best settings in the most commonly-played resolution, then again at 2,560 x 1,440 and even 4K using the same setup to gauge the difference in performance. We use CapFrameX to capture frame data and compare testing sessions.
How to monitor performance in Stalker 2
If you want to keep an eye on performance in Stalker 2, you can follow these instruction to find an easy method that works whether you’re using an Nvidia or AMD graphics card.
For Nvidia cards, ensure you have GeForce Experience or the Nvidia App installed and the in-game overlay enabled. Then hit Alt + R in-game to bring up your performance monitor. With AMD cards, you can enable performance monitoring via the Radeon overlay using the shortcut Ctrl + Shift + O.
Alternatively, you can download free software such as CapFrameX or Nvidia FrameView to get a cleaner, more simplified benchmarking tool that works with any graphics card.
If you need to upgrade your hardware to start playing Stalker 2, follow our handy guide on how to build a gaming PC, which takes you through the process step by step from start to finish.
And that concludes our best Stalker 2 settings guide. If you’re looking to find out more about the game, check out our Stalker 2 weapons and Stalker 2 anomalies, that each explain these crucial features of the game.


Leave a Reply