The most prominent selling point of the Steam Deck is that users can take it anywhere and play a vast library of verified games on a handheld. It is a clever device that can be used as a desktop with the right tools and applications, too, making it an incredibly versatile machine.
Related
Steam Deck: How To Take And Transfer Screenshots
Learn how to take screenshots and transfer them using the Steam Deck.
The Steam Deck can even run some demanding Triple-A games without issues. On top of that, the Steam Deck’s portability goes even further than its handheld mode. Users can play it remotely on a PC screen, giving the machine more usability when it comes to compatibility.
Updated November 19, 2024 by Michael Llewellyn: In addition to playing from the PC, this guide shows you how to use the Steam Deck as a streaming device to play games remotely via services such as PlayStation Plus, Xbox Cloud, Epic Games, and others.
For this to work, the Steam Deck requires the NonSteamLaunchers plugin via Decky Loader. Unfortunately, the last Steam Deck update broke the Decky Loader program and removed it from the Steam Deck Quick Access Menu. This guide has been updated to include the steps to restore Decky Loader.
Playing The Steam Deck Remotely
Playing Steam Deck remotely is a practical feature for those who don’t always want to play their games in handheld mode. However, some limitations apply to playing remotely, and getting it to work will depend on how capable a player’s PC or laptop is at running games and how good their Wi-Fi connection is at the time.
Assuming that users have a capable PC for the stream and a powerful internet connection with a good router, use the following steps to play Steam Deck remotely:
The Steam App On PC
- Ensure that Steam is installed on the PC.
- Launch the Steam app.
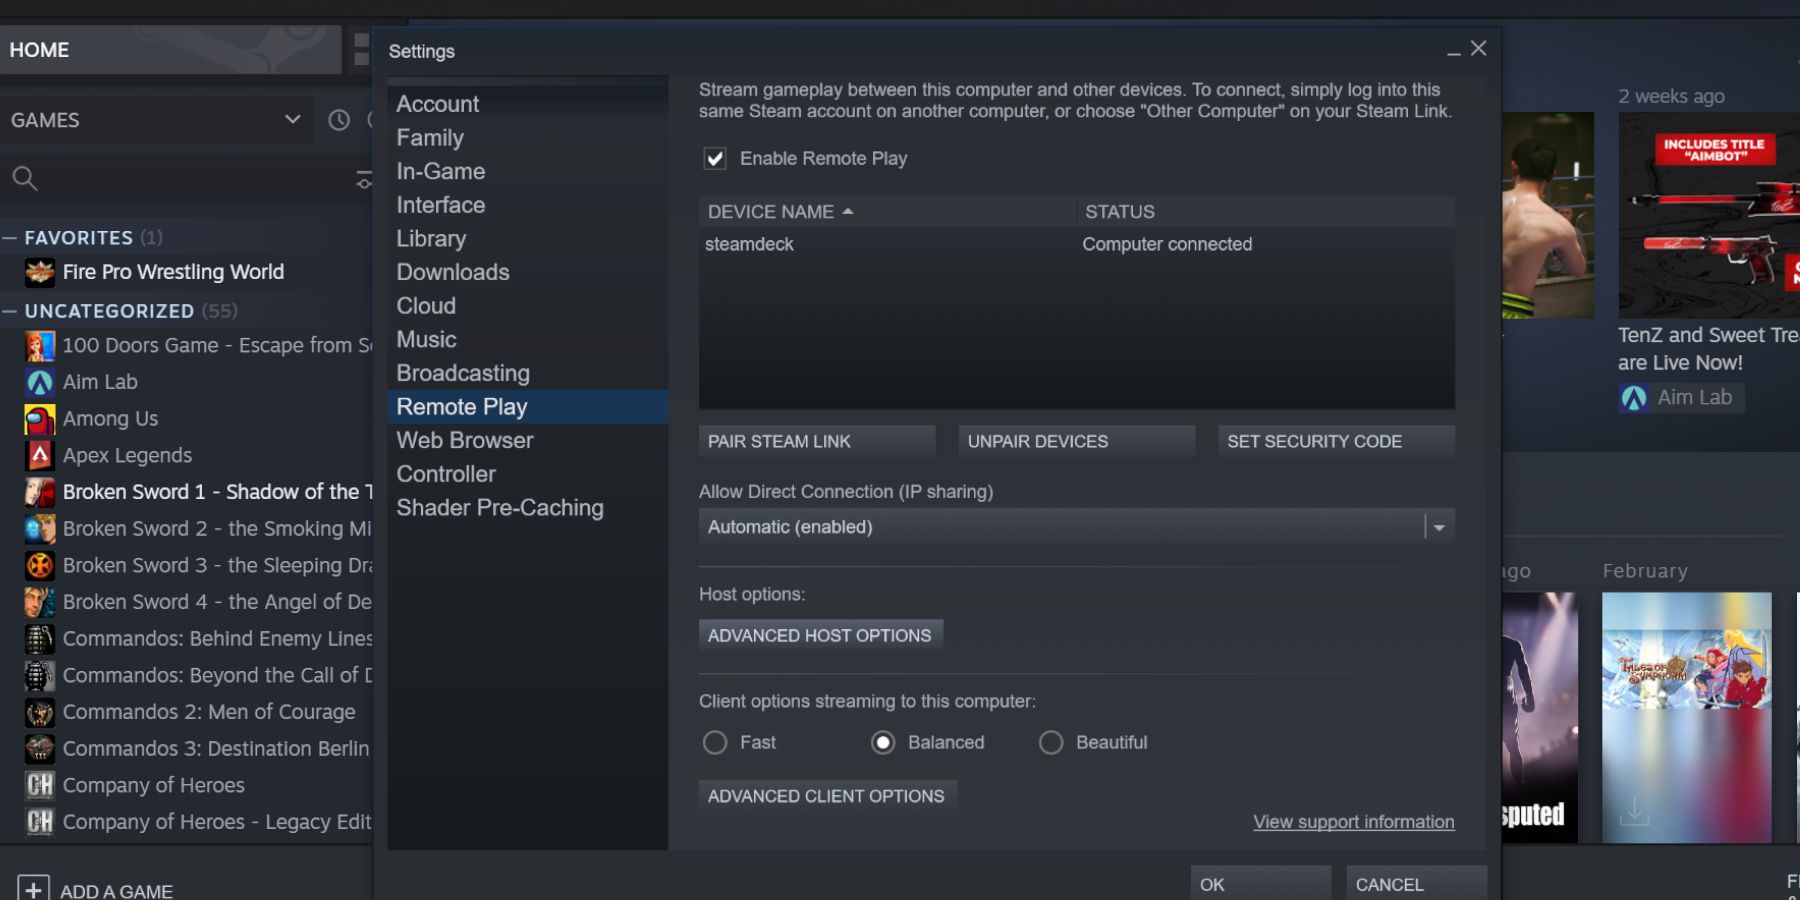
- In the Steam app, select Settings.
- Select Remote Play.
Related
Steam Deck: How To Use Xbox Cloud Gaming
The Steam Deck can run Xbox Cloud but it takes some effort to make it work; here’s how to set it up.
- Ensure to check the Enable Remote Play option.
- Ensure that the Steam Deck is showing up under Device Name – if the Steam Deck is switched on.
- Under Client options streaming to this computer, either select balanced or fast. It’s a good idea to try selecting fast if the user isn’t confident in their connections and PC.
- Now, Select Advanced Host Options.
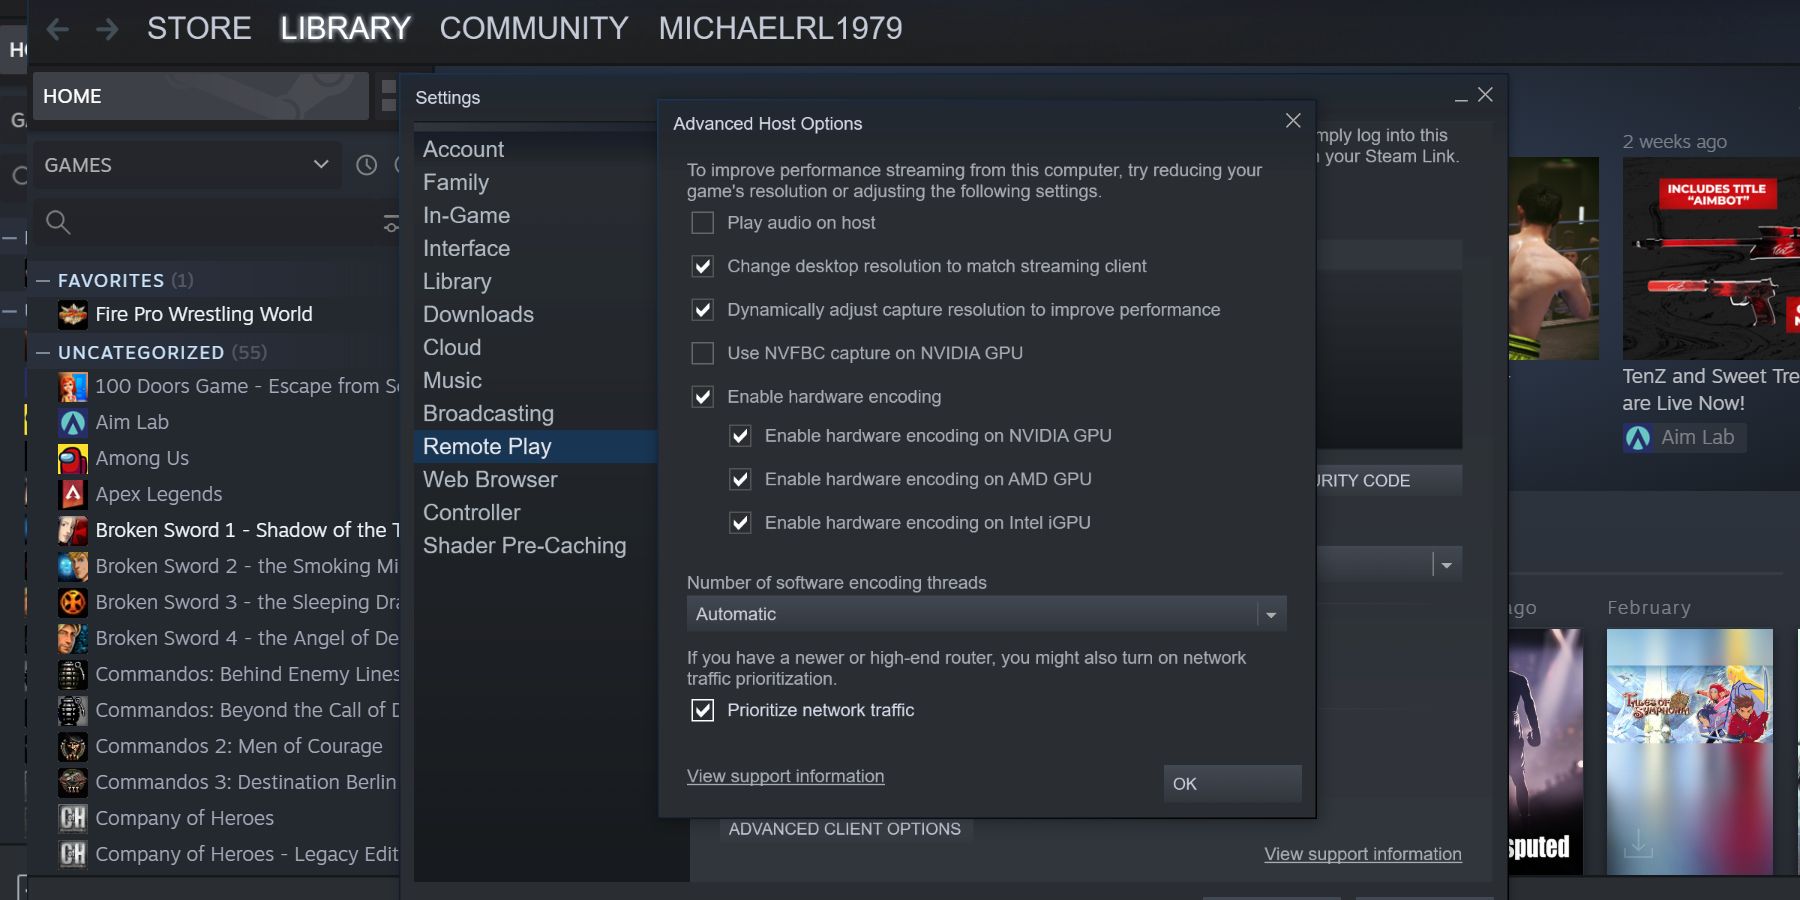
- Check ” Change Desktop to match the streaming client.” This will prevent the PC or laptop from having strange upscaling issues and keep it in line with the Steam Deck’s resolution.
- Check the “Prioritize network traffic” option if the user has a high-end router that can turn traffic prioritization.
- Ensure the Number of software encoding threads is set to Automatic.
- Press OK to confirm the settings.
More Recommended PC Settings
- In the Steam app on the PC, select Settings.
- Highlight and select Remote Play.
- Enable Advanced Host Options.
- Disable NVFBC capture on Nvidia GPU.
- Set the games to borderless fullscreen mode.
- Increase the time for the PC to go into sleep mode. Some PCs have a habit of going to sleep when operating remote play.
Steam Deck
- Power on the Steam Deck.
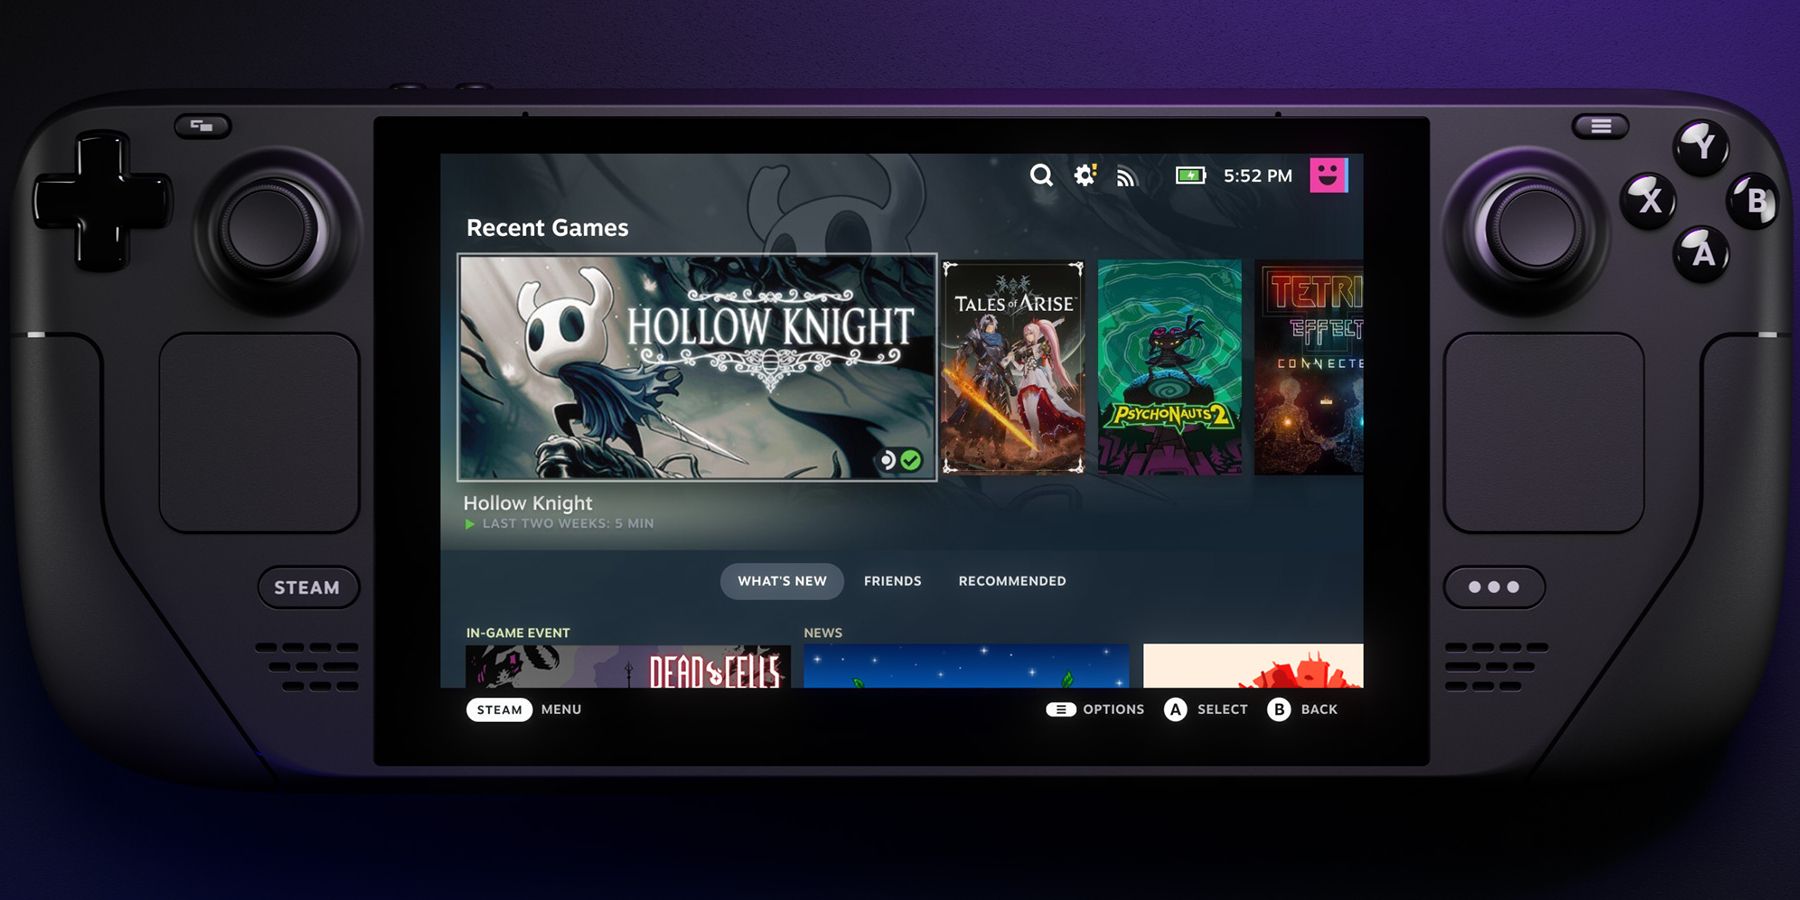
- Press the Steam Button.
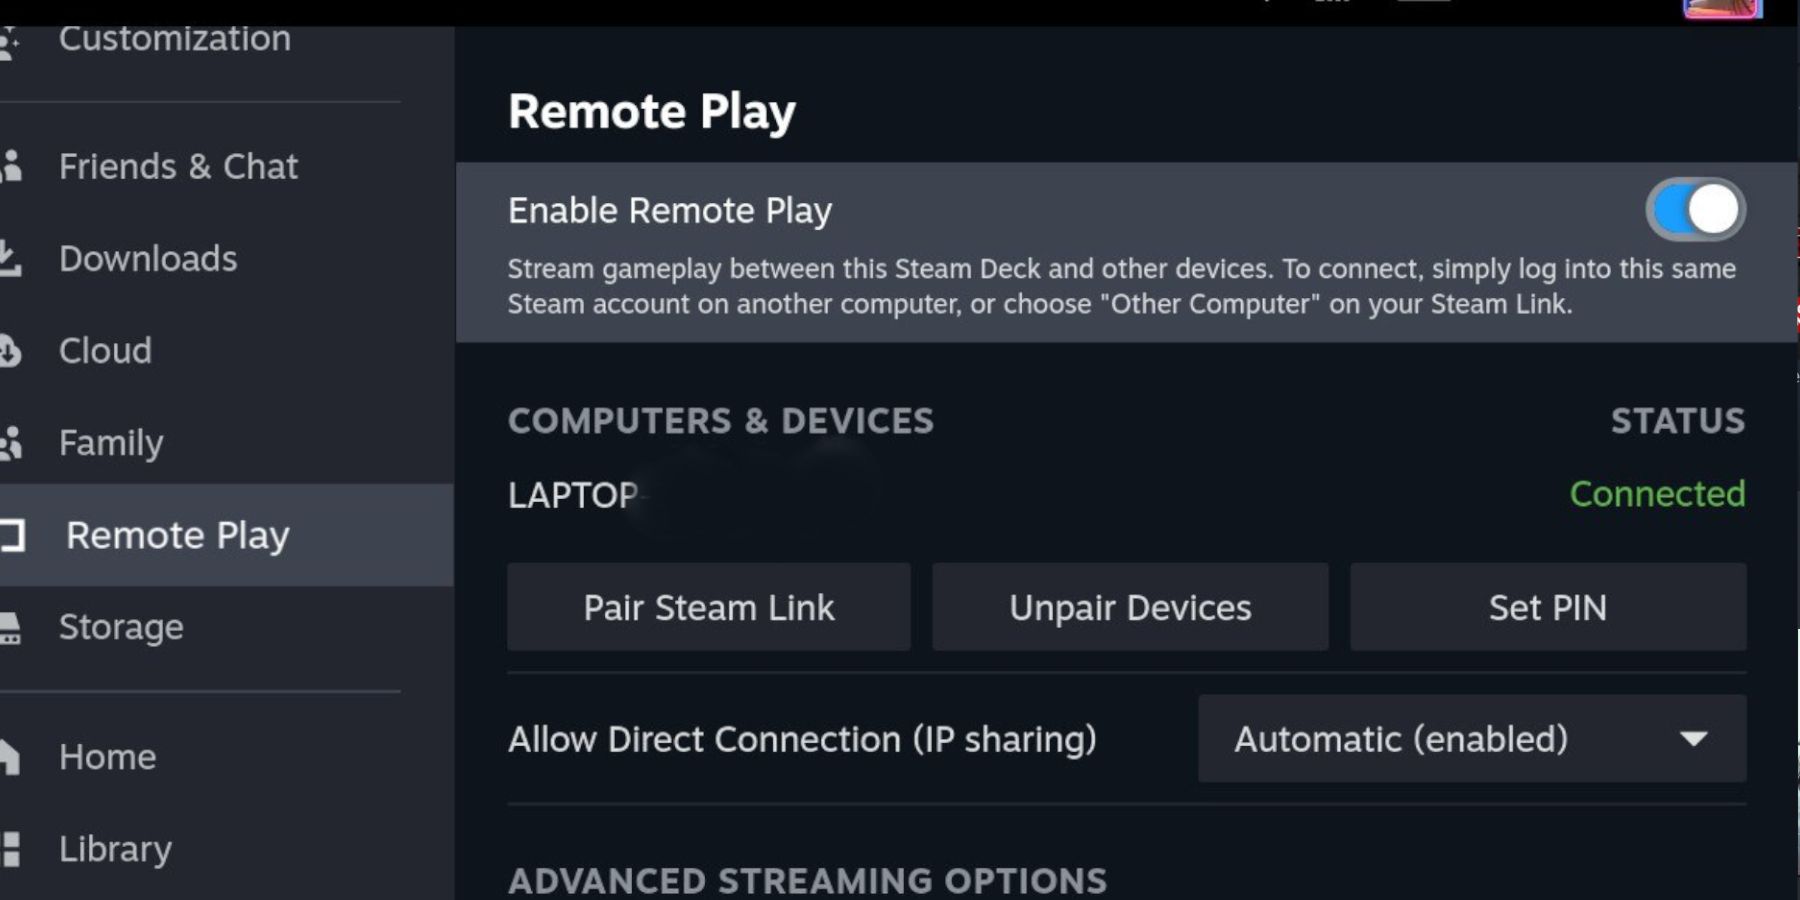
- Scroll down and highlight Remote Play.
- Switch on the Enable Remote Play option.
- The PC or laptop should appear under Computers & Devices.
- Select Enable Advanced Client Options.
- Under Video, select Fast, Balanced, or Beautiful. Select Fast first to see how the stream performs.
- Scroll down to ensure that Framerate and Bandwidth limits are set to Automatic.
- Under Resolution Limit, users can select a range of resolutions from standard 480p to 8K. Experiment with the lower resolutions first.
- Head into the game library and select the desired game – not all games work with remote play.
Related
Steam Deck: How To Install The Amazon Games Launcher
For gamers looking to get Amazon Games running on the Steam Deck, this guide outlines all the steps that need to be followed.
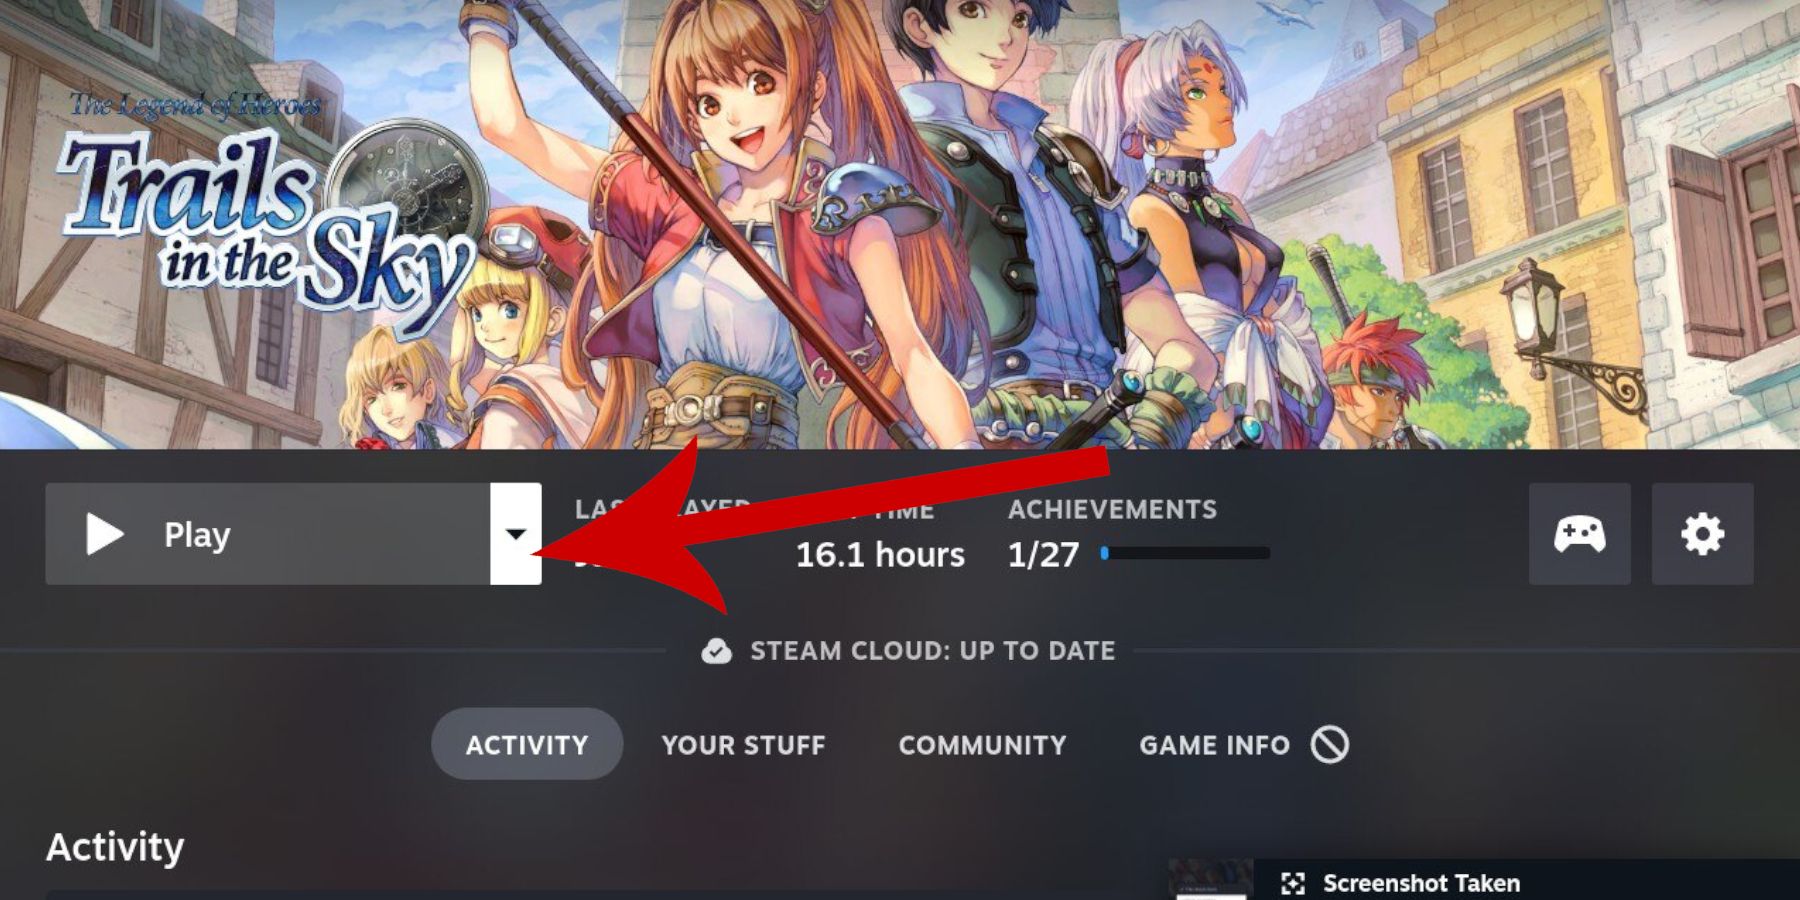
- Instead of selecting play, press the dropdown arrow and click on the paired PC or laptop to play the game.
Use The Steam Deck As A Streaming Device
The Steam Deck is capable of being used as a device for incoming streaming services, but first, you need to install the Decky Loader program to obtain the NonSteamLauncher program.
Enable Developer Mode
- Press the Steam button.
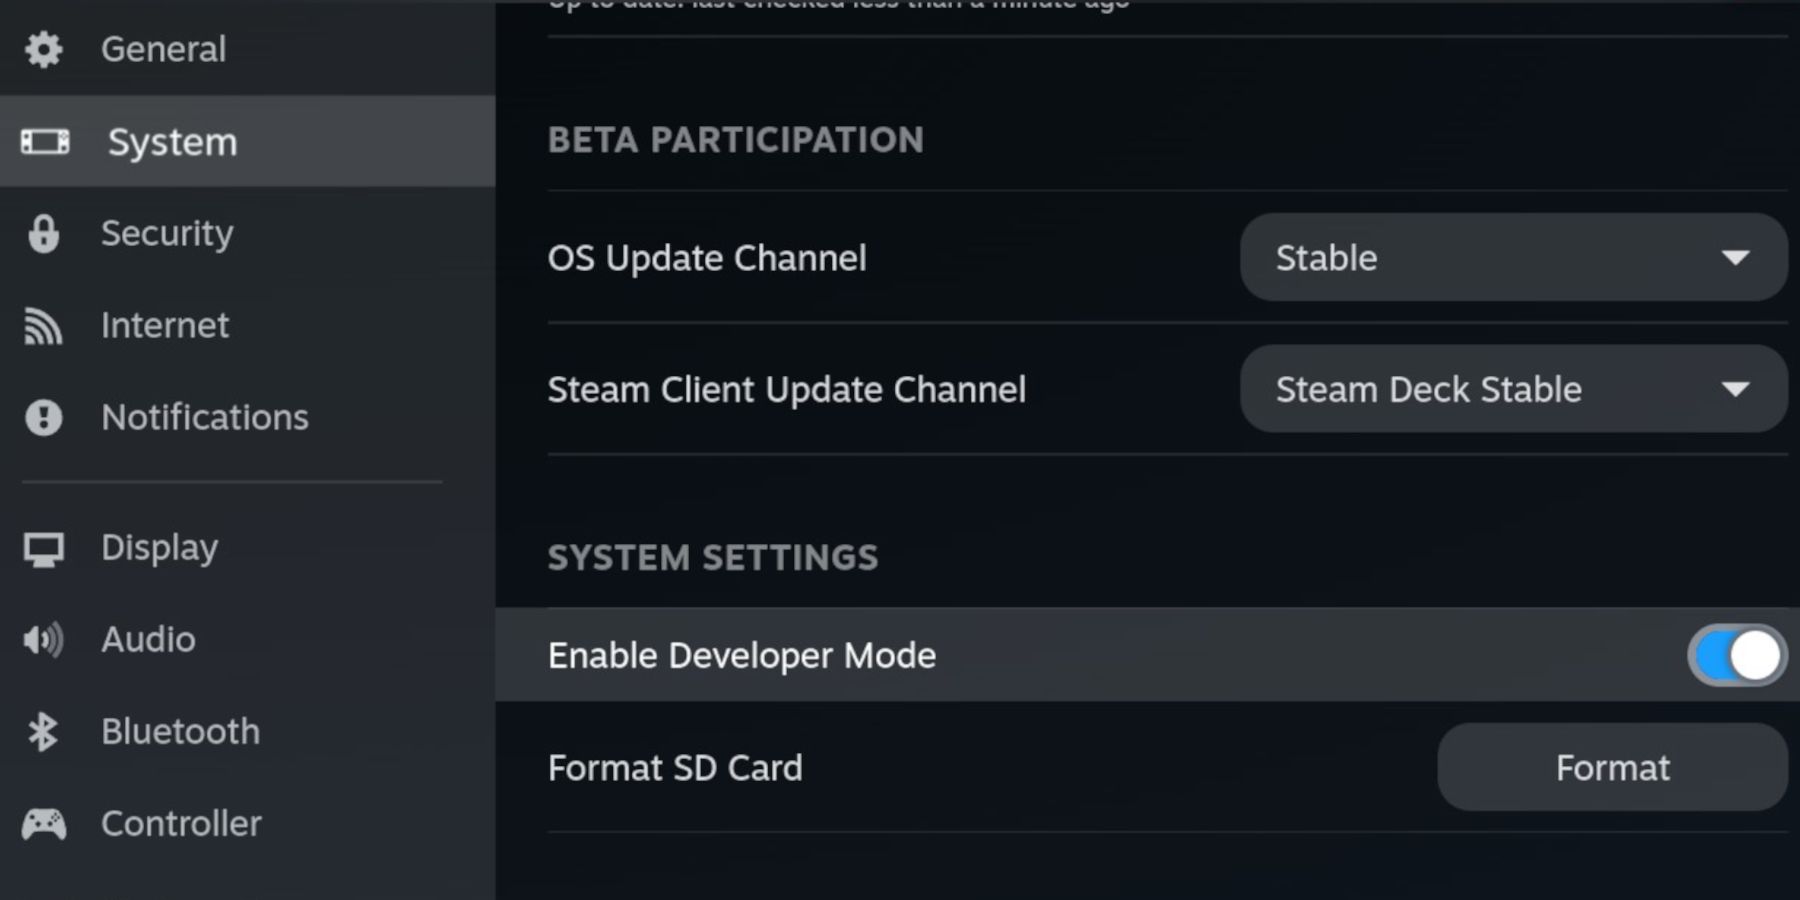
- In the Steam Menu, select System.
- Ensure the System Update Channel is set to Stable.
- Enable Developer Mode under System Settings.
- In the Steam Menu, select the new Developer menu.
- Under Wi-Fi, disable Wi-Fi Power Management. Keeping this turned off will make the Steam Deck use 5GHz networks, which is better for streaming services and non-Steam launchers.
- Under Miscellaneous, enable CEF Remote Debugging.
Download Decky Loader
- You can optionally c onnect a keyboard and mouse.
- Press the Steam button, and select Power.
- Switch the Steam Deck into Desktop mode.
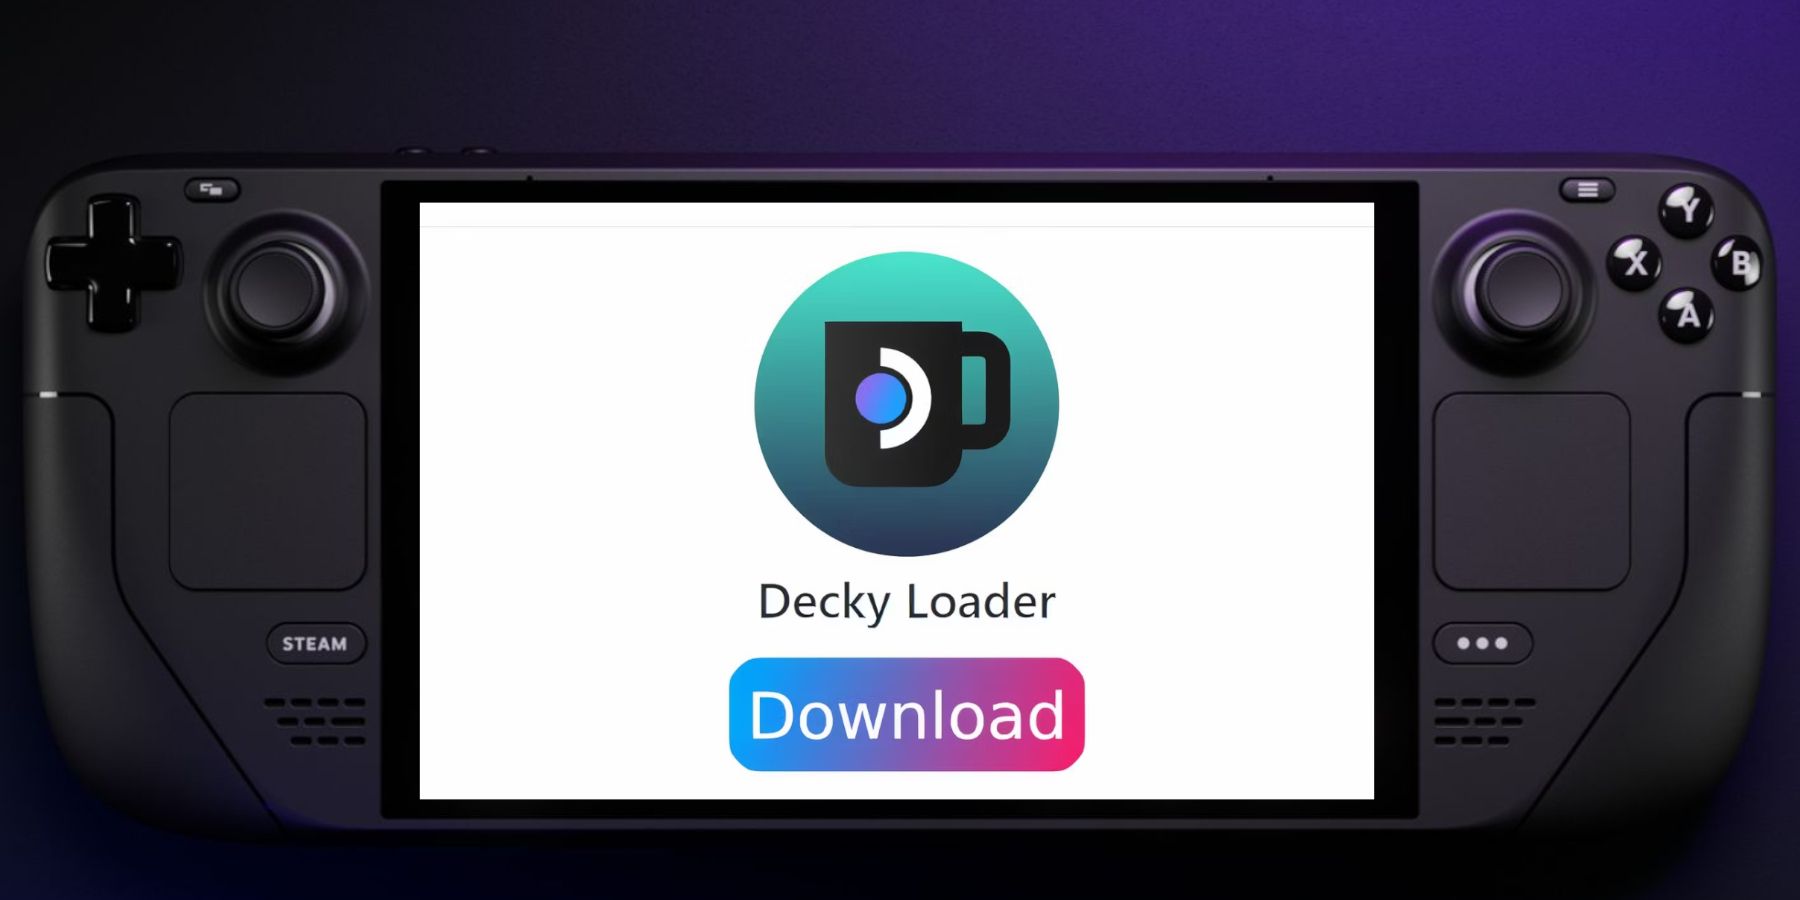
- In desktop mode, use a browser and download Decky Loader.
- Scroll down the page to find the big Download button and select “Recommended Install.”
- After the download has finished, switch back to G aming M ode.
Install NonSteamLaunchers
With Decky Loader installed and your Wi-Fi connection set to 5GHz, you can now set up your Steam Deck as a streaming device for gaming and media services like Xbox Cloud and Netflix. Use the following steps to install the plugin:
- With the Steam Deck in Gaming Mode, press the QAM button.
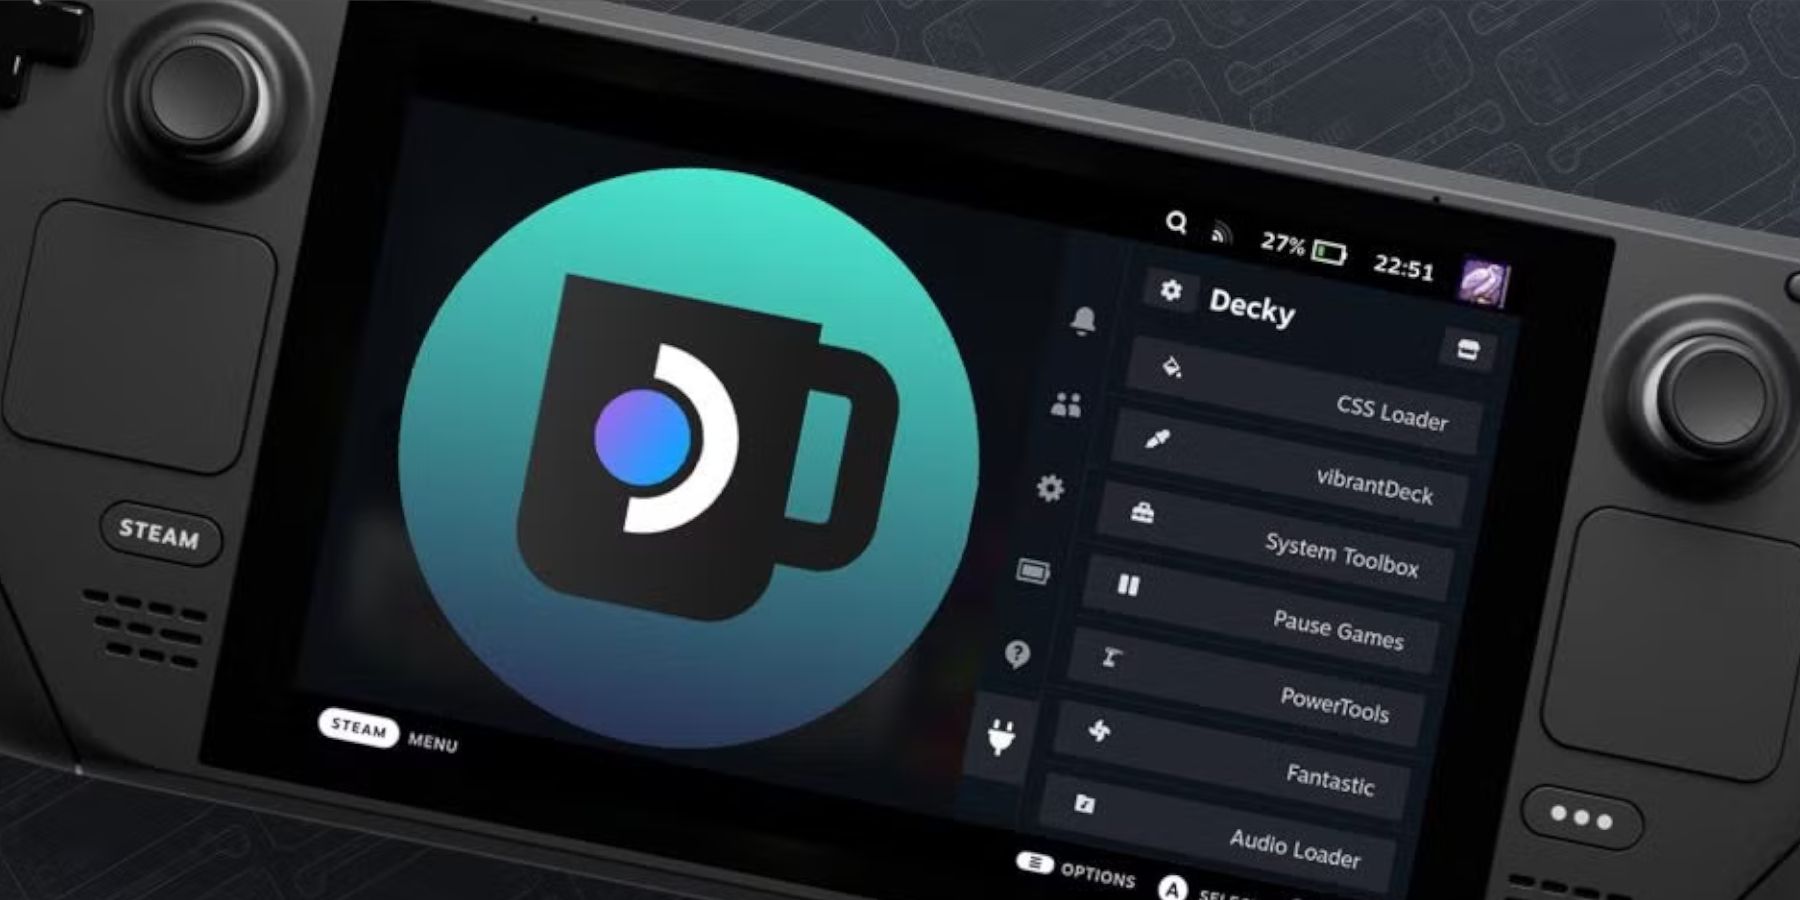
- Open the new plugin menu for Decky Loader.
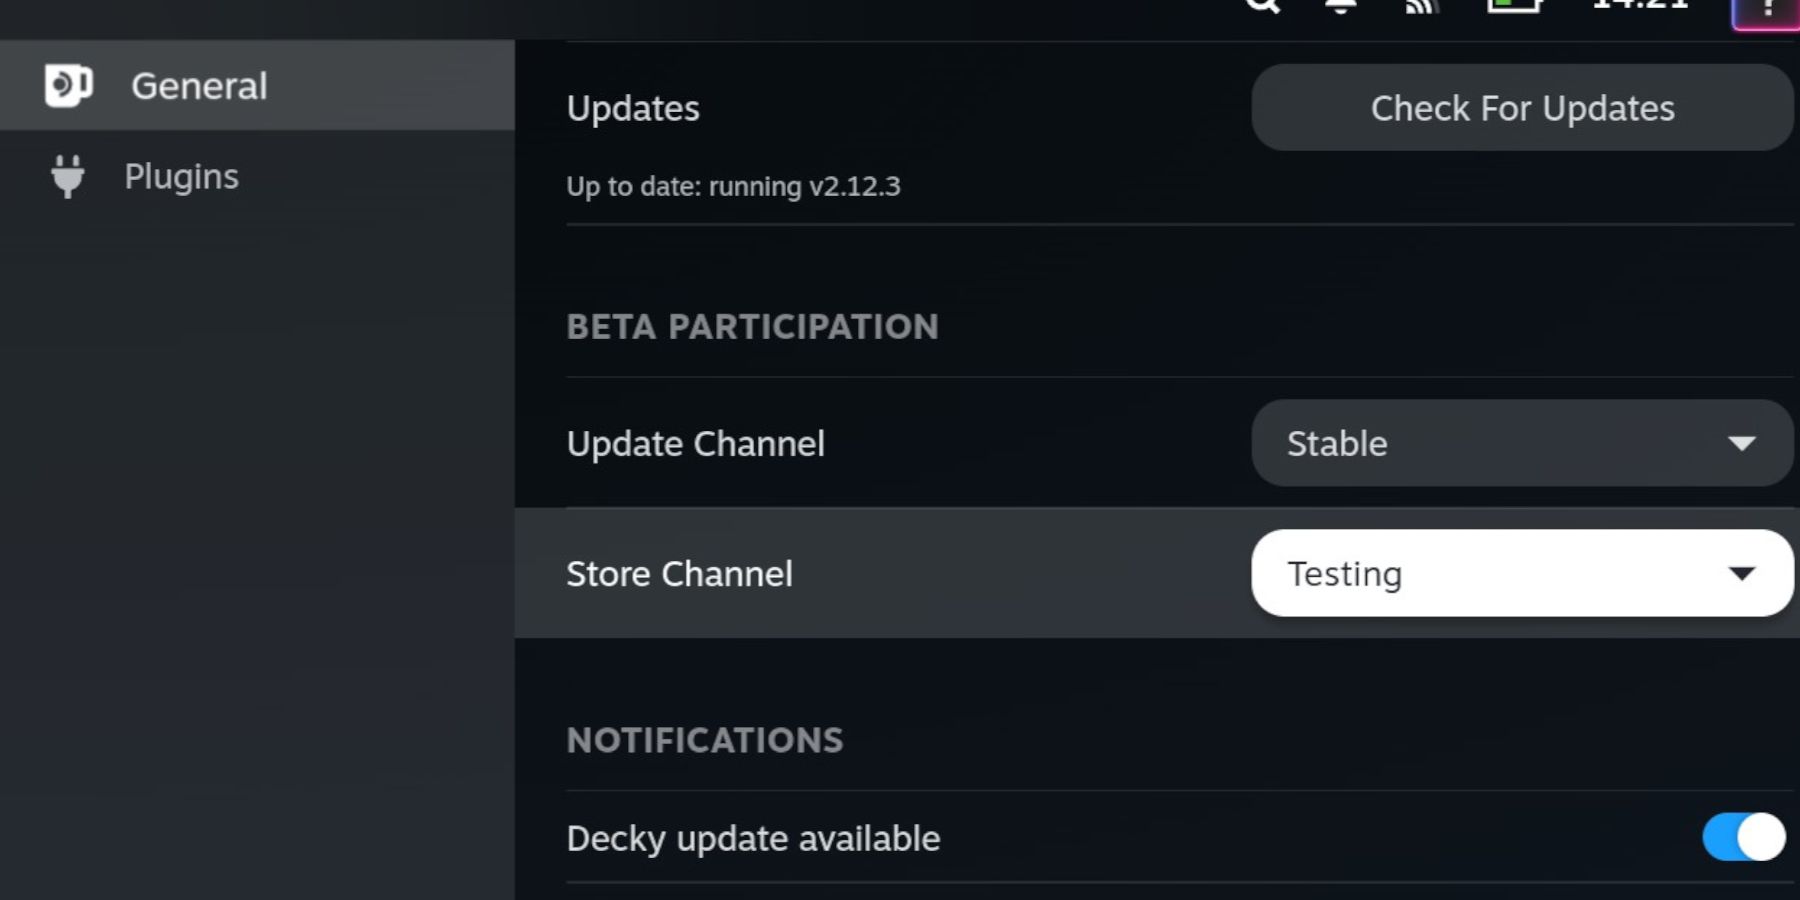
- Open the Settings cogwheel at the top of the menu.
- Under the General menu, change the Store Channel dropdown to “Testing.”
Testing Mode allows access to plugins that are still in the developmental phase.
- Now, access the store by clicking the shop icon next to the settings cog.
- Locate the NonSteamLaunchers plugin and select Install.
- NonSteamLaunchers will now appear in the Decky Loader menu.
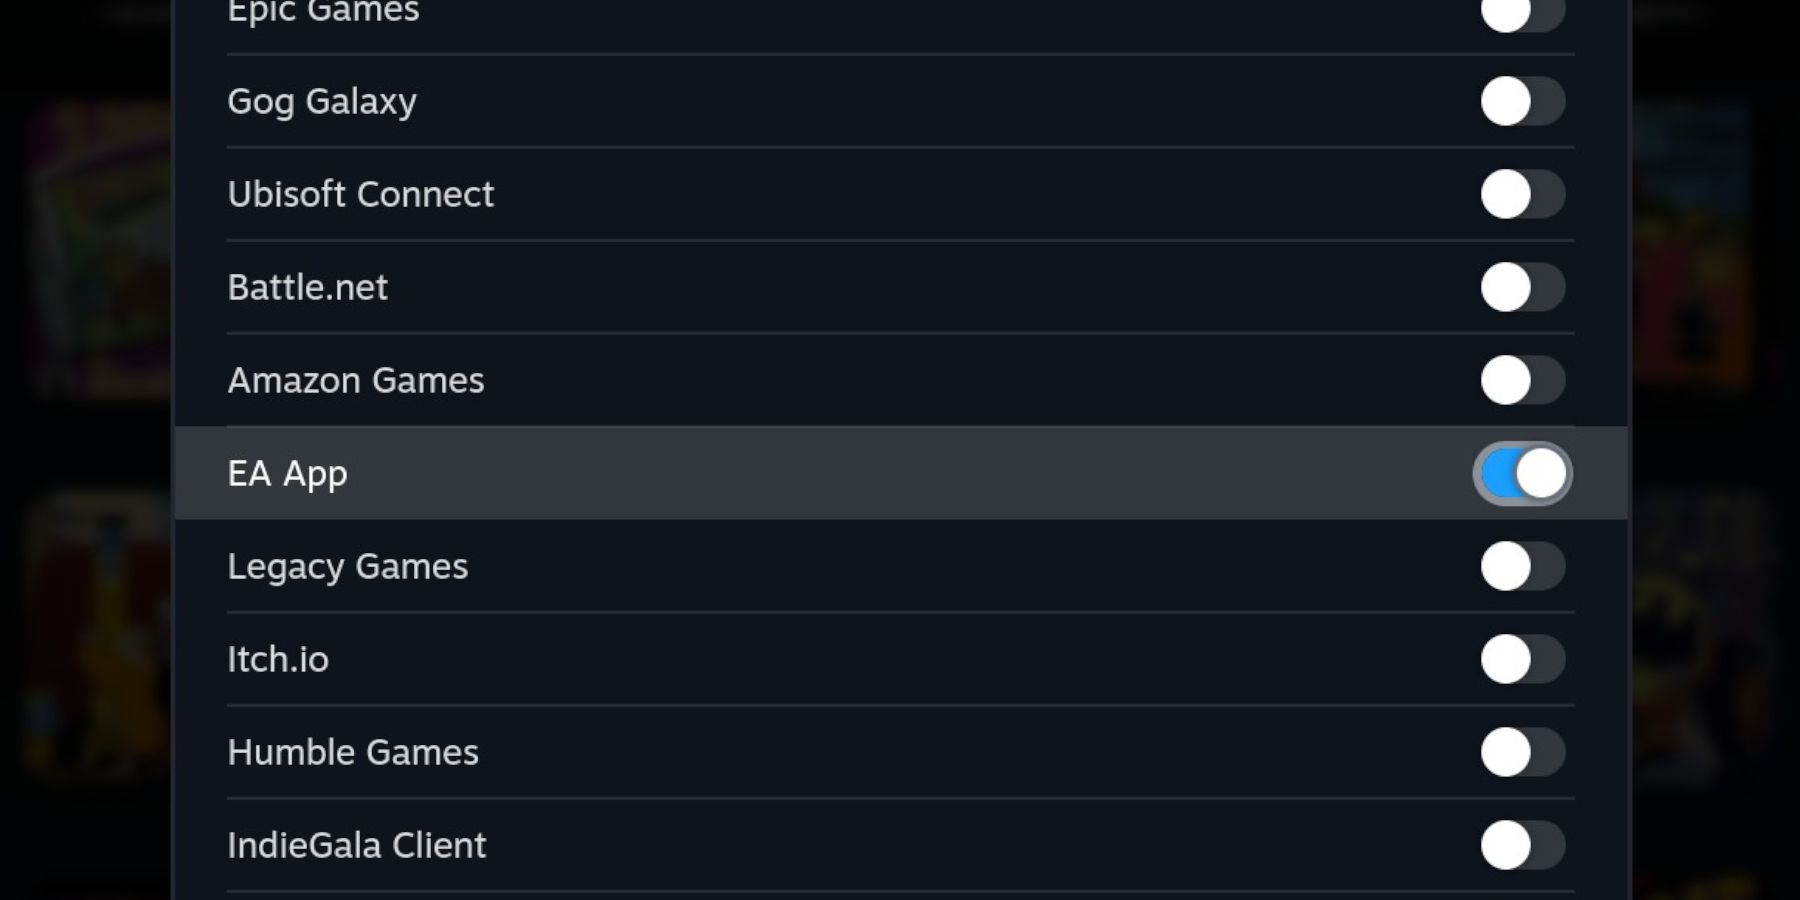
- Open it, and you now have access to multiple services to play games or watch films through the Steam Deck.
How To Restore Decky Loader On The Steam Deck
The latest and biggest Steam Deck updates can break the Decky Loader program. In most cases activating Developer Mode and adjusting the settings accordingly will prevent this, but major updates can cause compatibility issues. Thankfully, you can restore Decky Loader, your saved plugins, and your preferred settings. Use the following steps to repair the Decky Loader application.
- Press the Power button and Switch to Desktop mode again.
- Open a browser, navigate the Decky Loader GitHub page again, and select Download.
- After the installer has downloaded, double-click and select Execute.
- Do not select Open.
- You may get asked for a sudo password or to set one up.
- Make sure you use a memorable password.
- Enter the password and wait for the installation to finish.
- After installation, power off the Steam Deck and restart in Gaming Mode.
- Press the QAM button and the Decky program with all your settings and plugins like NonSteamLaunchers will be intact.
Steam Deck
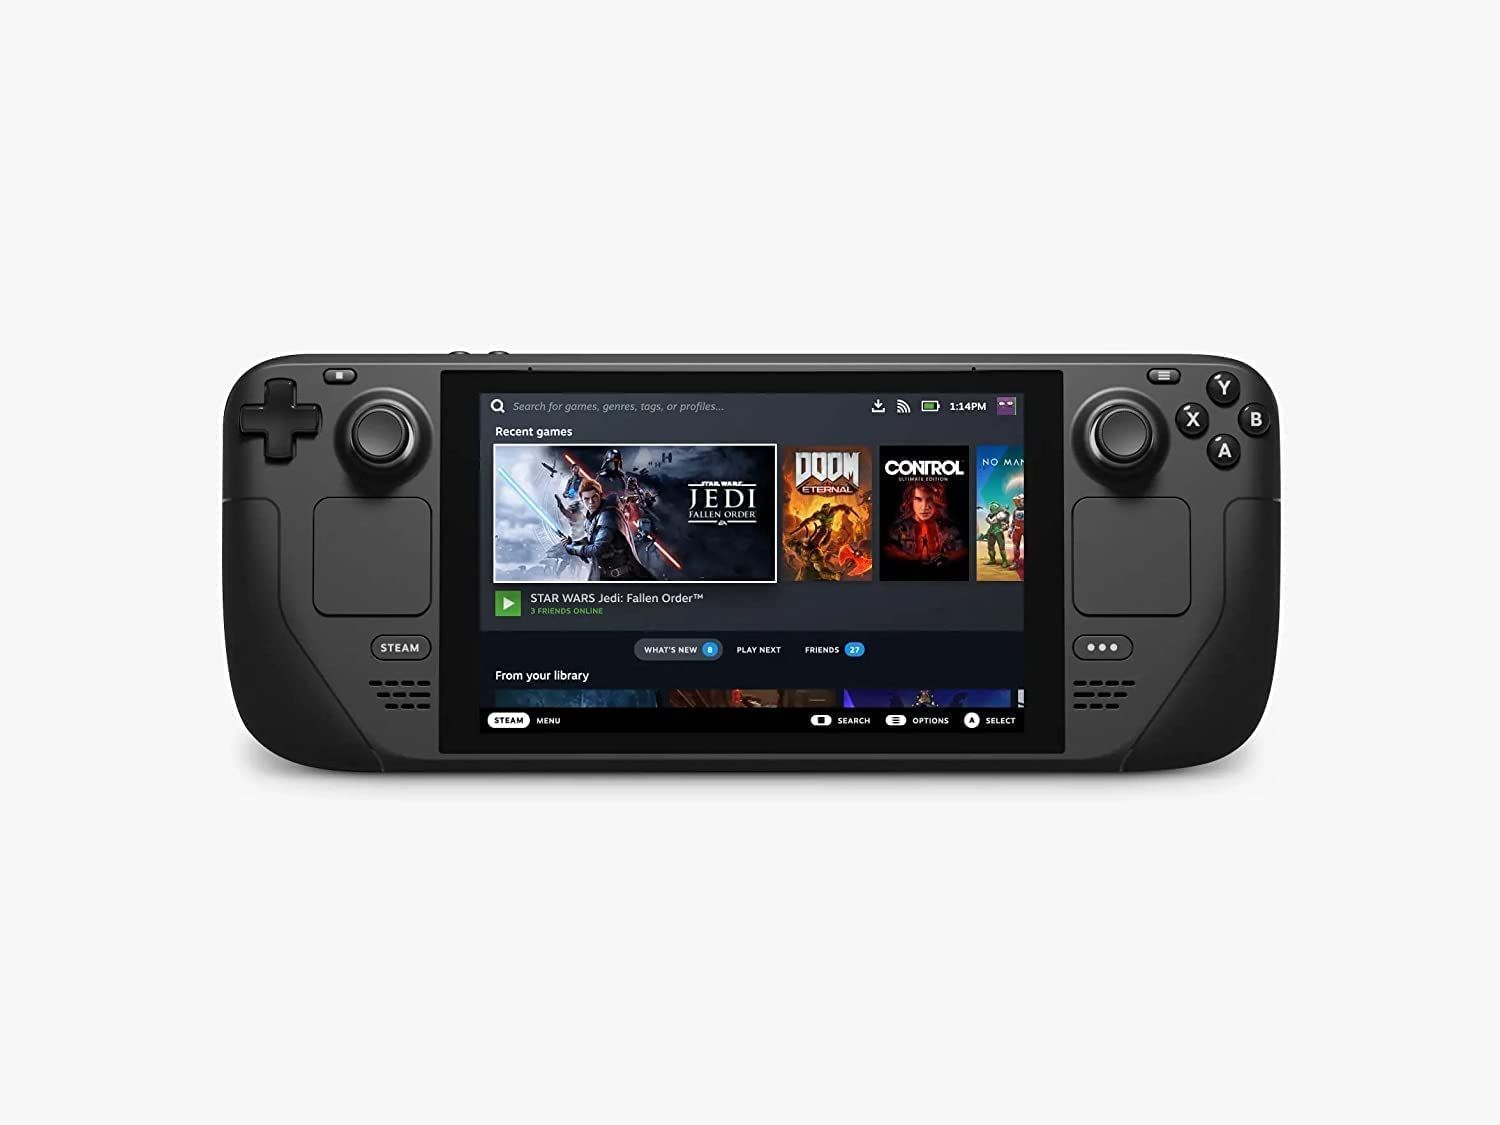
- Screen
- 7″ diagonal 1280 x 800px (16:10 aspect ratio) 60Hz
- Storage
- 64 GB – 512 GB
- CPU
- AMD APU Zen 2 4c/8t, 2.4-3.5GHz
- Battery
- 40Whr battery. 2 – 8 hours of gameplay
- Ports
- 1x USB-C with DisplayPort 1.4 Alt-mode support; up to 8K @60Hz or 4K @120Hz, 1x USB 3.2 ,1x Micro SD slot, 1x 3.5 audio jack
Source link





Leave a Reply