Slitterhead has many jarring and shocking moments that can surprise you as you make your way through the main story, making the actions of some of the Rarities seem downright sinister, which helps build the tension and atmosphere as you get closer to the finale.

Related
Slitterhead: Jar Of Poison RE (2nd Loop) Walkthrough
Here’s how to uncover even more of the facility’s mysteries in Slitterhead’s Jar of Poison RE (2nd Loop) mission!
Tracking down the Doctor and eliminating the Slitterhead Family is one such moment, but having to go through it again during Ghost Family RE (2nd Loop) makes it clear that Alex may not be approaching this in a sane or moral way, leading the charge is a vicious and evil manner.
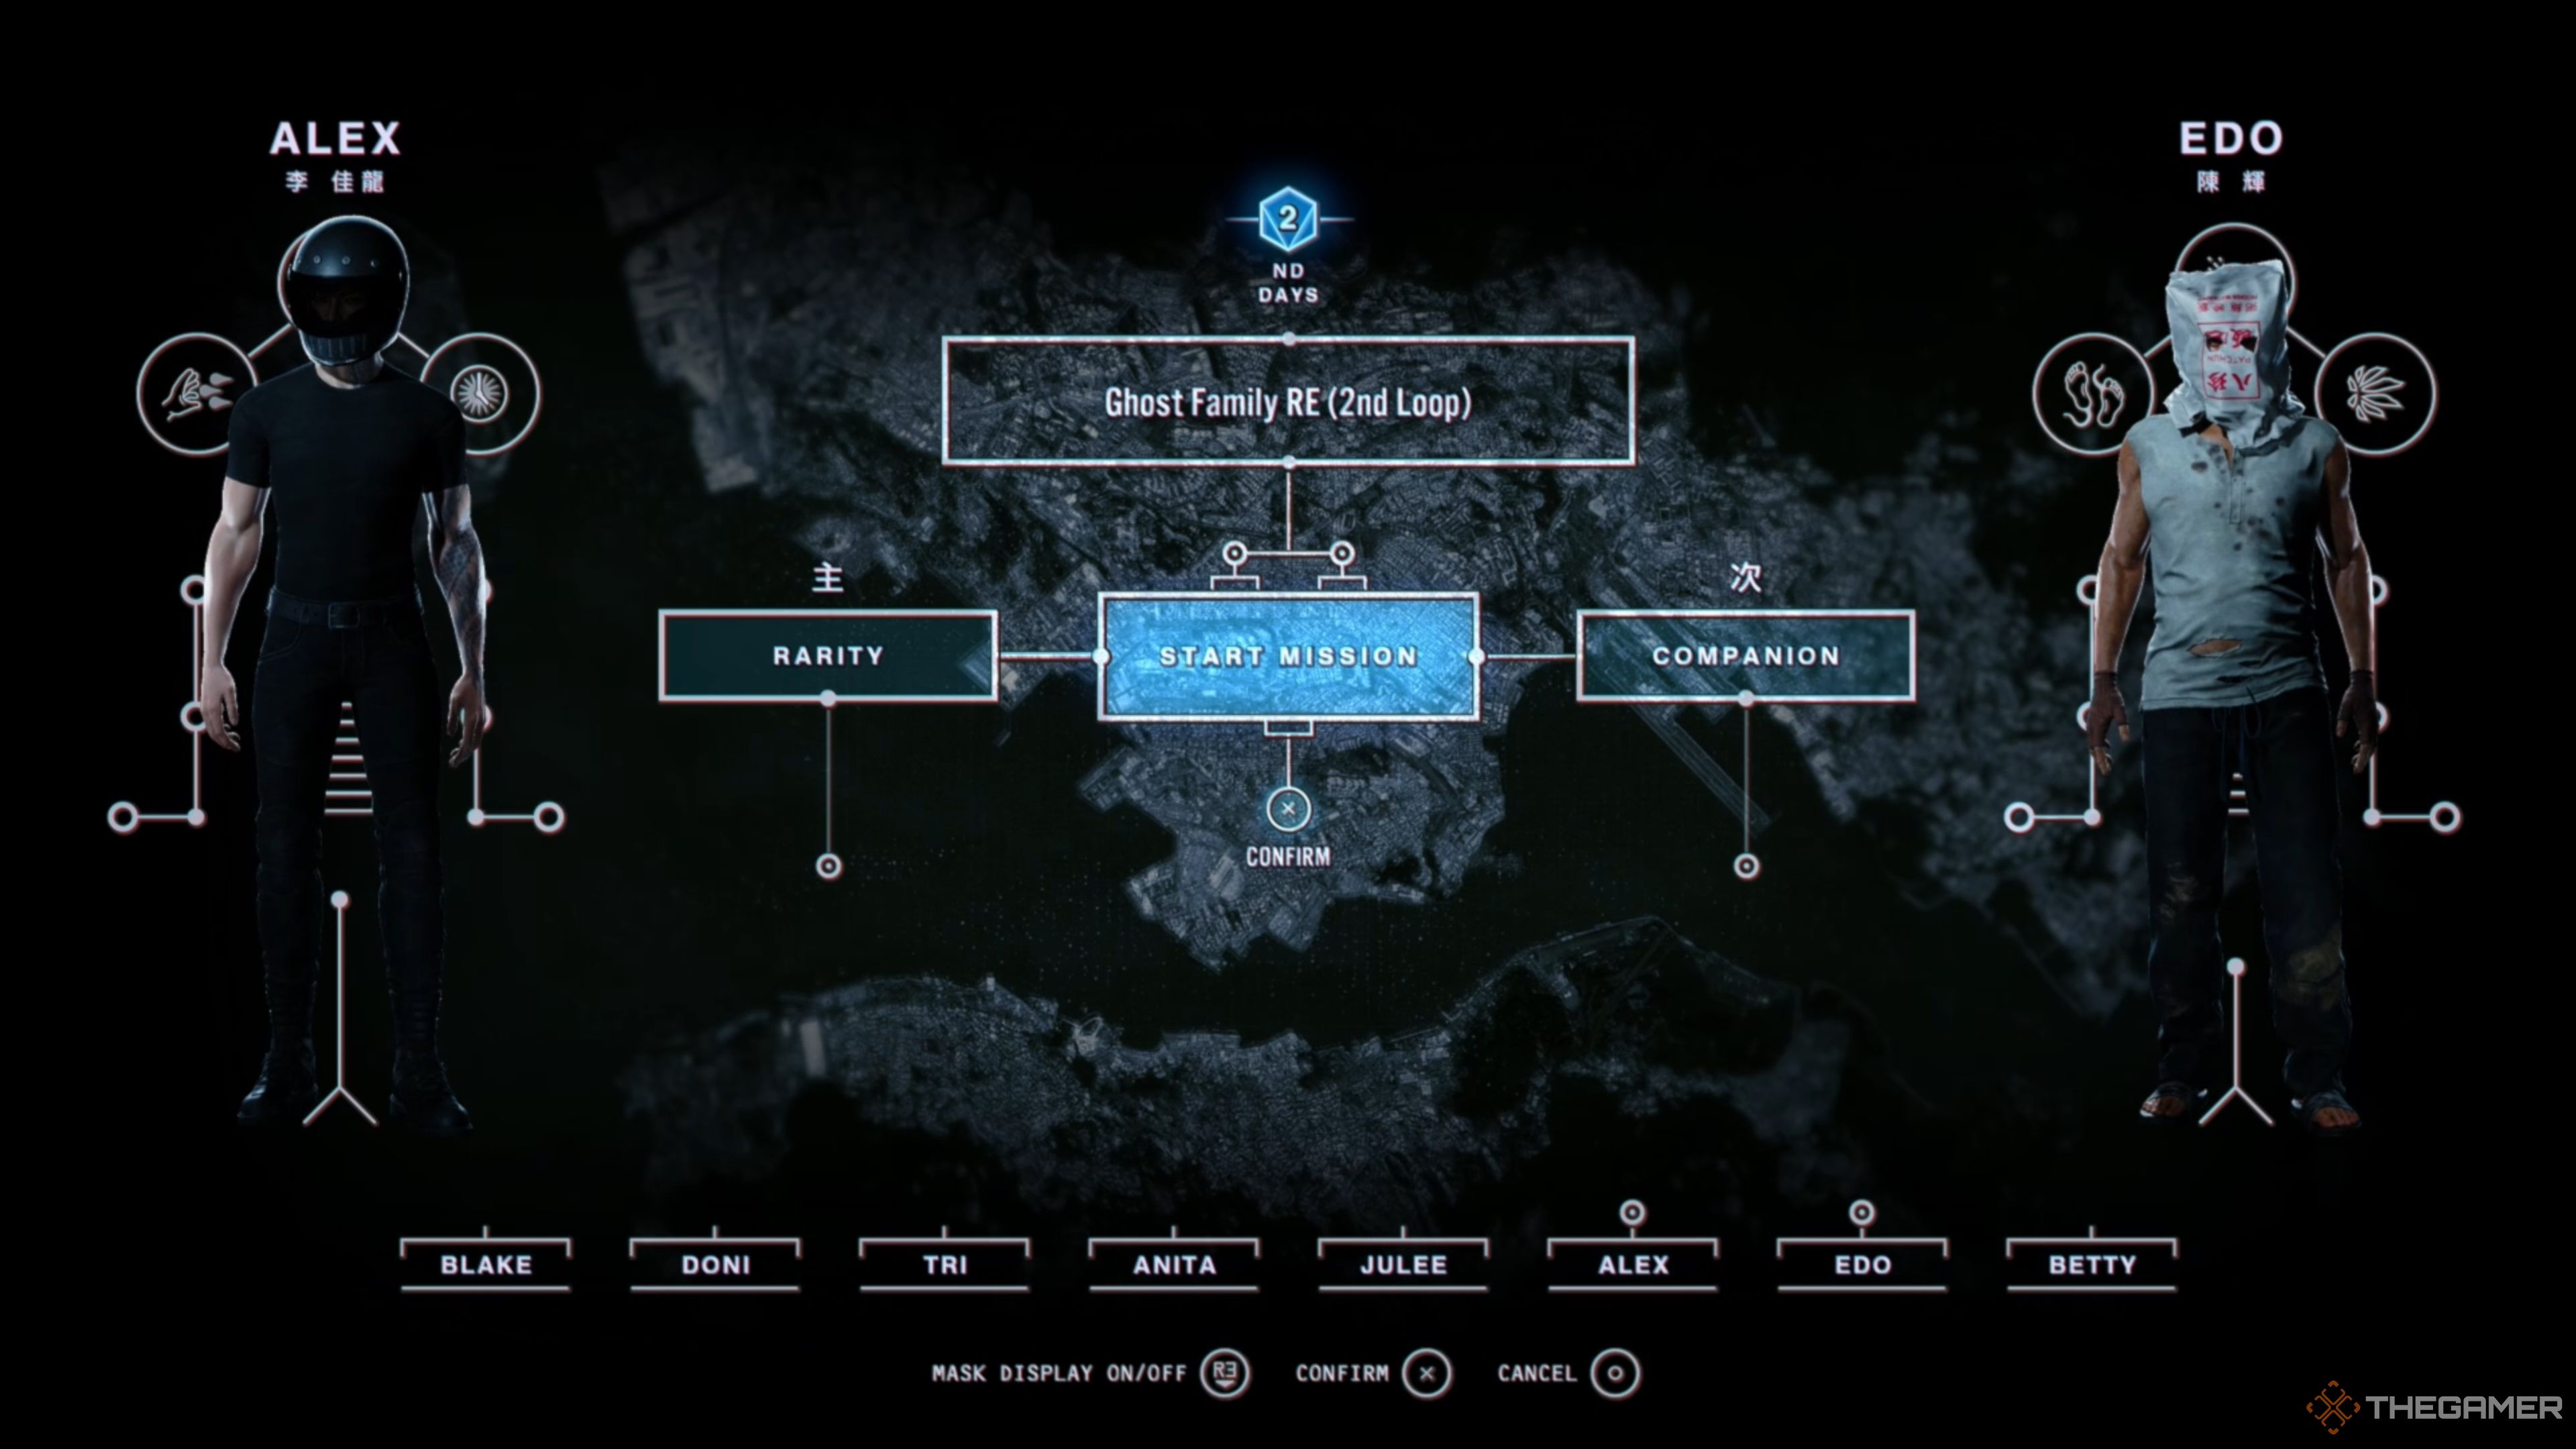
Starting Ghost Family RE (2nd Loop)
Revisiting the slums of the Slitterhead Doctor and Family for the Ghost Family RE (2nd Loop) mission will force you to use Alex as your primary Rarity, leaving only the Companion Rarity slot open for your choosing. We, of course, went with Edo, as he is arguably the best Rarity in the game thanks to his high damage output and Burning Edge Skill.
Julee, Anita, and Tri will also work well for this mission, but we strongly recommend Edo, as his Skills can make some encounters trivial. Nonetheless, whoever you choose will be taking a backseat to Alex, as his Blood Well and Bloody Blast combo is still extraordinarily strong and can punch through many fights as well.
Confront The Doctor
At the start of the mission, you will be standing directly in front of the Doctor’s Office, allowing you to enter as soon as you gain control of Alex. Once inside the Office, navigate to the Lockers in the back right corner and interact with them to open up the secret passage into the basement.
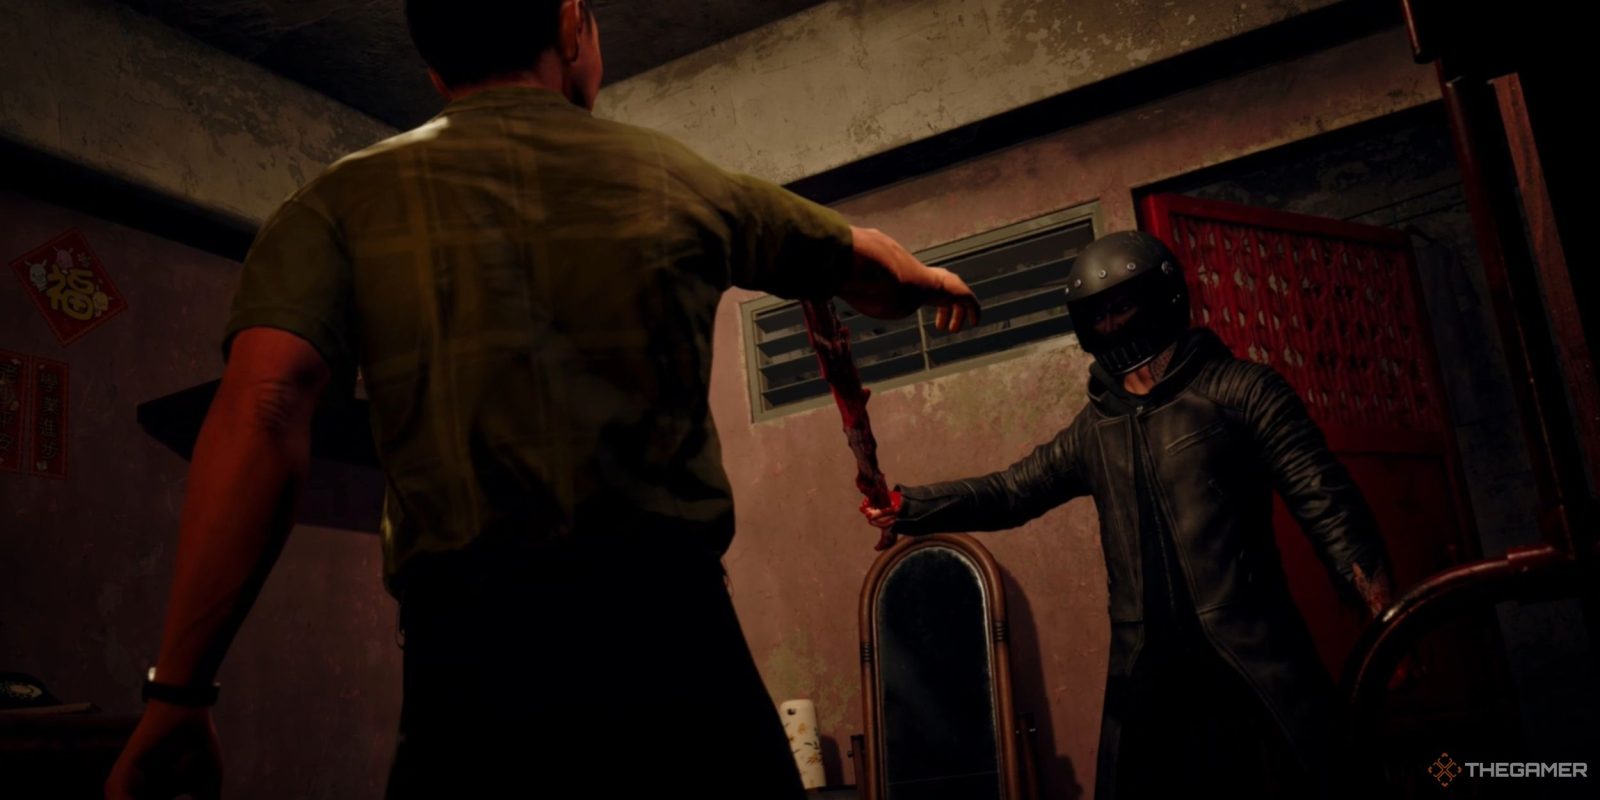
Follow the pathway into the basement to find the Doctor working at a desk. Approach him to trigger a brief cutscene, having him flee from the Office, having Alex chase him down. You can land several hits on him as he runs out of the Office, but you won’t be able to do anything significant to him just yet.
Chase The Doctor
Chase after the Doctor until he runs into a small room deep in the slums, forcing him to fight you. Your Rarities won’t be here at the start of the encounter, but it’s not too challenging. Keep possessing the residents in the room to get behind him, then land several hits on him before jumping to someone else and repeating the loop.
Dropping the Doctor’s health down halfway will have another Slitterhead enter the room, allowing the Doctor to escape. You must deal with this Slitterhead before moving any further. Luckily, your Rarity will show up, allowing you to make quick work of them with Burning Edge (if you chose Edo as your Companion).
If your Companion isn’t Edo, you can use Alex’s Blood Well and Bloody Blast combo to also dispatch the Slitterhead quickly. Whoever your second Rarity is, they should be able to clean up from there, especially if they have their Skills primed and ready to go!
Continue Chasing The Doctor
With the other Slitterhead taken care of, exit the small room and chase after the Doctor into the abandoned lot, finding him in his human form. As you approach him, he will turn back into a Slitterhead and will flee the scene once more, forcing you to use Blood Jump to keep on his tail.
Stay after him until he reaches the courtyard in the center of the slums and approach him to trigger another brief cutscene, having him transform into the Flying Squid Slitterhead. Prepare for battle!
Defeat Flying Squid Slitterhead
After chasing the Doctor into the courtyard, he will transform into the Flying Squid Slitterhead, letting out a thunderous roar the instant the encounter begins. This roar will place the Weakening Ward (Level 1) and Corrosion Ward (Level 1) on everyone in the area, lowering their Maximum Health slightly and reducing their Blood Weapon’s durability.
As soon as you gain control of Alex, unleash his Blood Well and Bloody Blast combo on the Slitterhead, then keep up the pressure by switching to nearby residents and landing attacks on his backside to quickly stagger him. Once he’s staggered, you can land several uncontested hits on him for massive damage.
While this encounter is the average run-of-the-mill encounter in Slitterhead, the Doctor has one move you should be wary of, and that’s his grab that cannot be guarded or parried against. The moment you see the Slitterhead emit a bright red light, get far away from him to avoid the incoming attack.
Mixing in Burning Edge with your Blood Well and Bloody Blast combo will have the Doctor finished in no time, so long as you can heal up between each combo, as it will use up much of Alex’s health. Don’t forget to switch to a random civilian, use War Cry, and then jump back to Alex to heal without interruption!
Head To The Family’s Apartment
Now that the Doctor is taken care of, it’s time to deal with the Slitterhead Family. Again. Which is just as depressing as it was the first time around. Run up the stairs in the courtyard, turn right, and follow the alleyway until you reach the apartment complex. Once inside, interact with the elevator to trigger a cutscene, causing the Daughter to flee again, just like she did during the standard mission.
Chase The Daughter
Begin chasing after the Daughter, tailing behind her across the rooftops of the slums until you are ambushed by a couple of lesser Slitterheads. Make quick work of them with your Blood Weapon, then push onward. They shouldn’t be much of a threat, as they are only here to slow you down.
From here, you will have to follow her aura to track her down, leading you to the top of another rooftop, where you will find her doubled over in despair. Approach her to get jumped by several more lesser Slitterheads, having her escape the area yet again. Deal with these Slitterheads the same way you did the others, then continue the chase.
Continue Chasing The Daughter
Continue following the Daughter’s aura to eventually find her on another rooftop, devastated by despair again. Approach her to get ambushed by more Slitterheads, allowing you to quickly deal with them by using Alex’s Blood Well and Bloody Blast combo, finishing them off with Burning Edge.
Next, follow after her aura again until you reach the top of a building that looks down over an empty lot, where the Daughter will be hunched over again by the despair you brought upon her. Make your way down to the empty lot to be ambushed by a lone Slitterhead.
This lone Slitterhead won’t put up much of a fight until you get it down to half health, where it will transform into an Octopus Slitterhead. Making things slightly more challenging, but not by too much.
Defeat Octopus Slitterhead
Knocking the lone Slitterhead’s health down halfway will have it transform into an Octopus Slitterhead, but it won’t be a proper boss, so it’s a bit weaker than it typically would be. We strongly recommend getting behind it by way of possession to land hits on its dangling body, as that will stagger it faster.
Of course, Alex’s Blood Well and Bloody Blast combo will also work flawlessly here, allowing you to end this fight in seconds. Once it’s stunned, toss everything you have at it, then switch to your Companion Rarity to finish it off, allowing the other one to recover afterward.
Despite not being much of a challenge, this Octopus Slitterhead does have one action to be wary of, and that’s its Pouncing Attack, which is telegraphed by a flashing red light, signifying that it cannot be guarded or parried. When you see this, simply run away from it to avoid damage. Then reapply your offense until it’s dead!
Defeat Weedy Scorpionfish Slitterhead
Running into the large abandoned lot after defeating the Octopus Slitterhead will trigger a cutscene, having the Daughter turn into the Weedy Scorpionfish Slitterhead again, forcing you to take it down. As soon as the encounter begins, use Alex’s Blood Well and Bloody Blast combo to deal considerable damage off the rip.
Occasionally, the Slitterhead will perform a Lunging Strike that is telegraphed with a bright red light, indicating the move cannot be blocked or parried, so run away from her the moment you see this. Other than that, you should be more than fine, as this is the same exact encounter from the initial mission.
When it’s available, activate Burning Edge, and use the Blood Well and Bloody Blast combo frequently to defeat this Slitterhead quickly. Fueling Alex’s monstrous impulses to destroy every last Slitterhead, no matter the cost.
Ghost Family RE (2nd Loop) Rewards
Annihilating the Slitterhead Family once more in Ghost Family RE (2nd Loop) will net you a whopping 30 Skill Tokens that can be spent how you see fit. Though they are shared, so once you confirm them on something, they are gone forever and cannot be used on another Rarity.
More ‘Talk’ dialogues will become available upon clearing this mission, so exhaust all of them before moving on to anything else in the game, as it will unlock additional missions!

Next
Slitterhead: Over Limit Walkthrough
Here’s how to defeat Lisa during the Over Limit mission in Slitterhead!




Leave a Reply