Quick Links
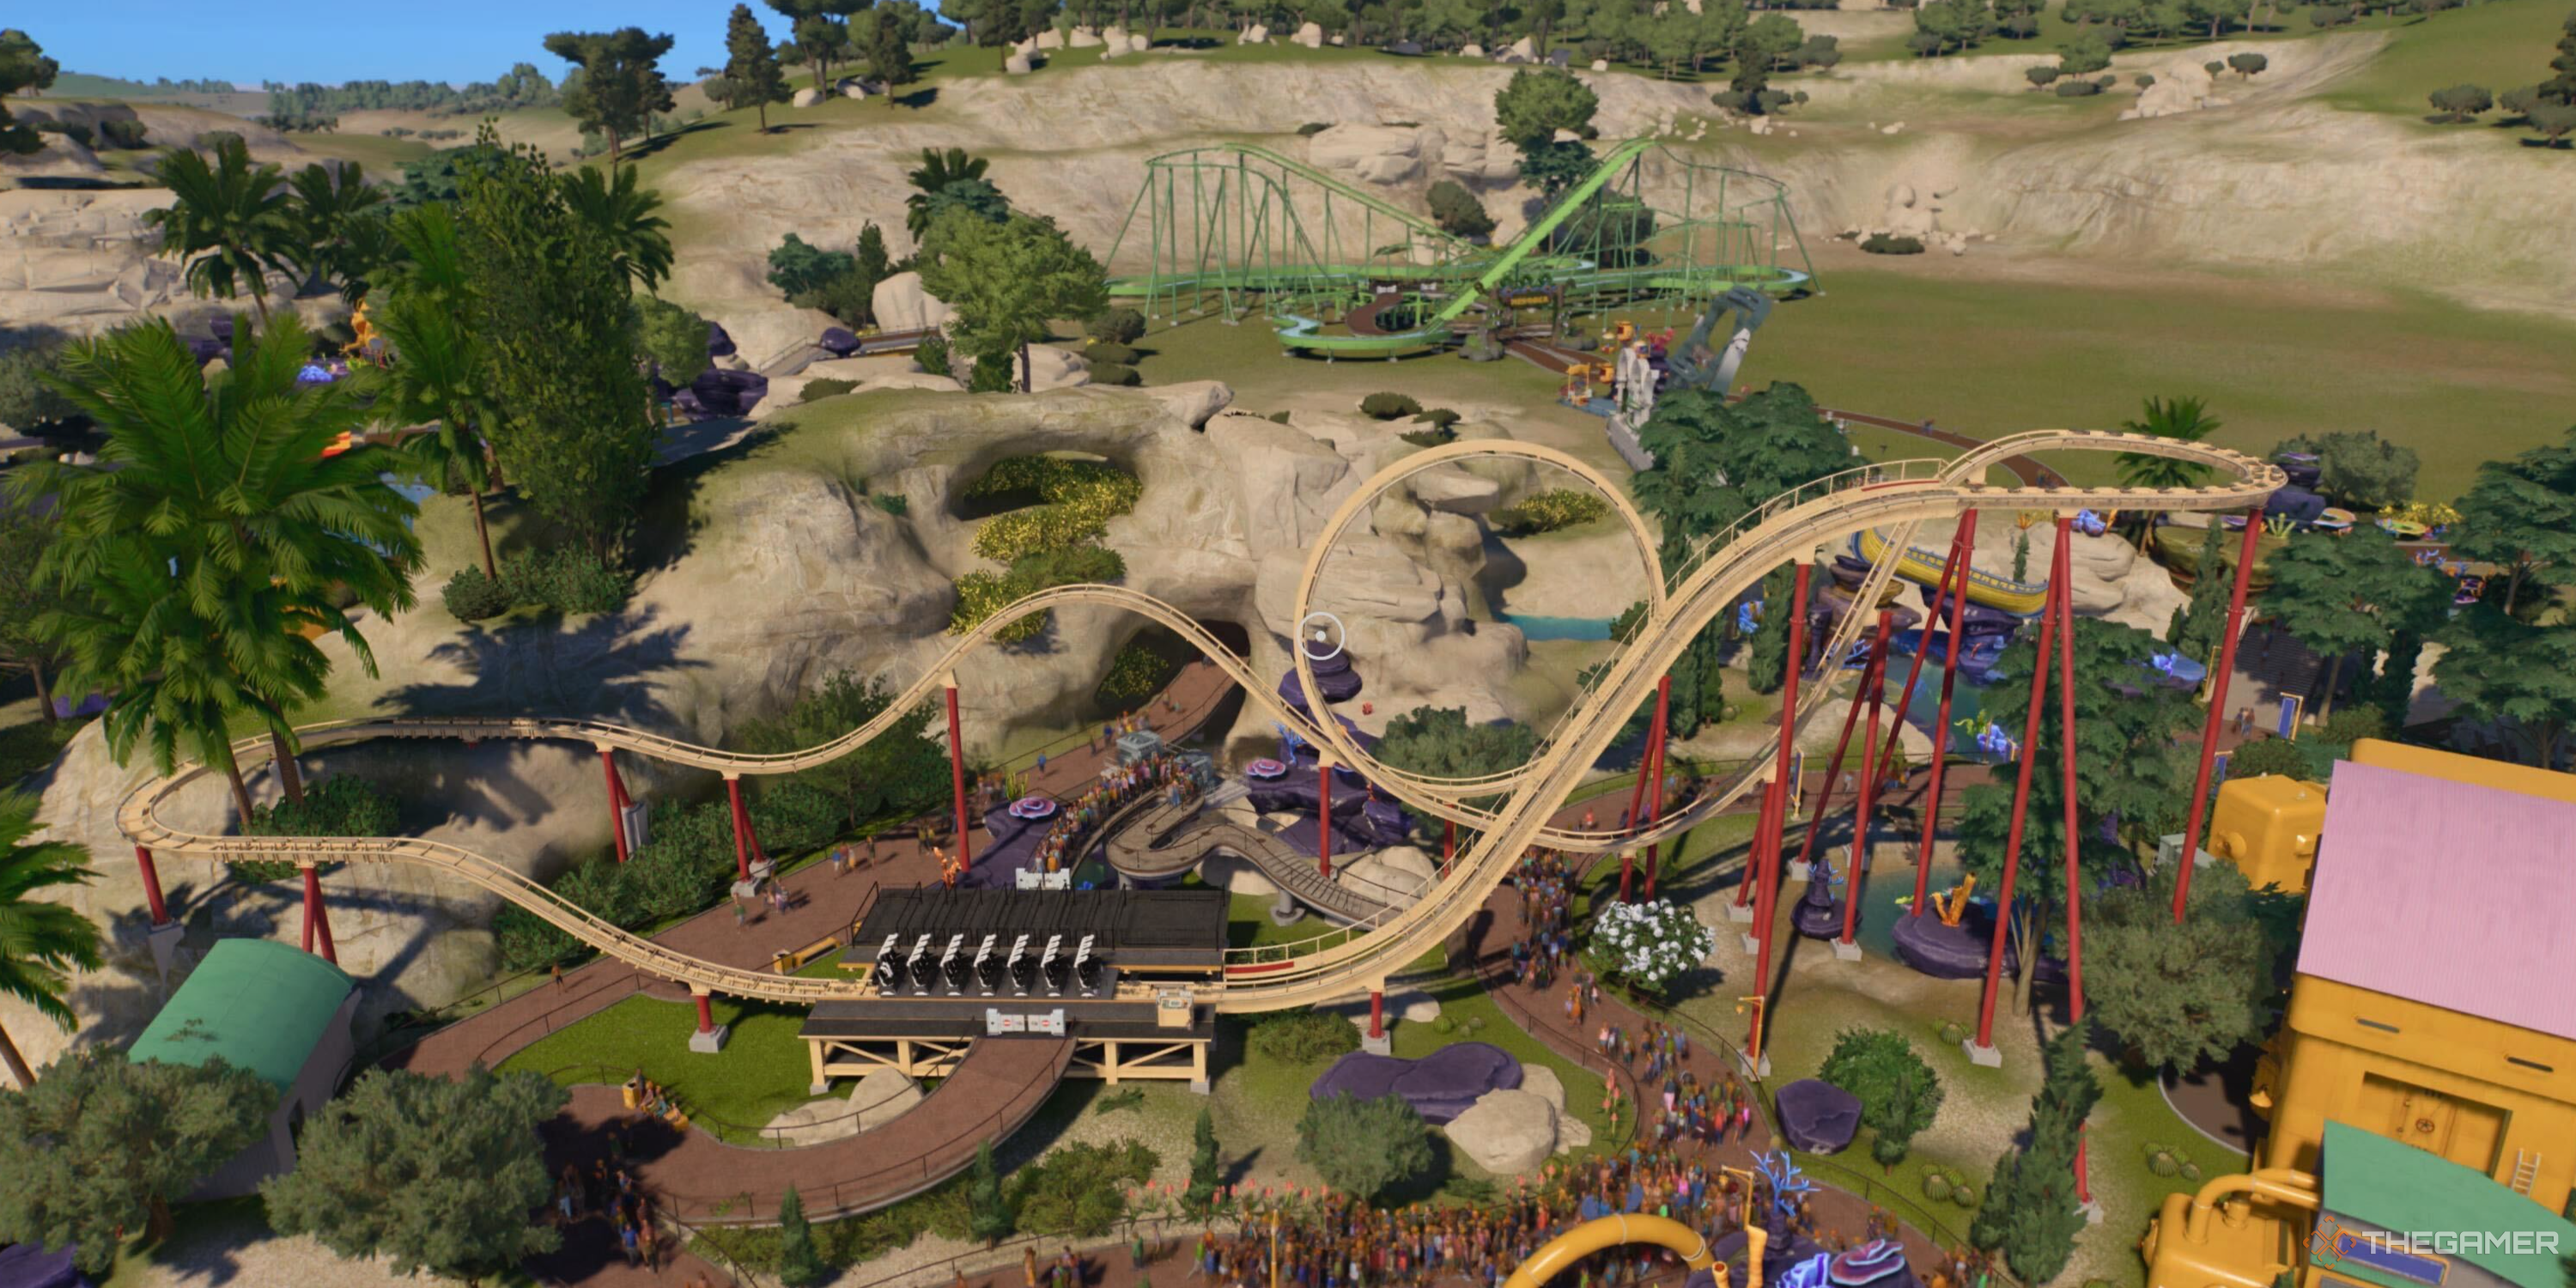
Building your own theme park takes work, and designing rides, shops, and scenery will consume your creativity. The best part of Planet Coaster 2 is getting to design your own coasters according to your tastes. However, you’ll also need to cater to your guests if you want to be profitable.
Related
Planet Coaster 2: 8 Best Rides To Build First
You need to use Research points to unlock new rides, but what are the best rides to build early in Planet Coaster 2.
We’ll show you how to build your own coasters, whether it’s a ride for all ages or a more extreme attraction just for teens and adults. From the initial stages to testing and opening the ride, we’ll help you create your own coasters and wow your guests in Planet Coaster 2.
How To Use The Coaster Builder
To build a coaster, you’ll first start by opening the coaster menu, then select the create custom option. This will bring up a larger menu that shows all the coaster attractions available to you.
Select the coaster you want to build, then place the corresponding station in your park. This is where the ride begins and where guests will enter and exit. From here, you can start building your coaster.
To build your coaster, you’ll need to build momentum and move the cars around the track. There are several types of track pieces you can use, including:
- Standard track. These are the basic and most common track pieces. You can rotate them, make turns, and alter the elevation and length.
- Chain lift. This track piece will specifically hook onto the car and carry it up to a higher elevation and provide a bit of momentum.
- Drive tires. This type of track will gently push the car forward, but it will not carry it.
- Friction brakes. These brakes are powerful and will greatly slow down the car. Use them after intense, high speed maneuvers to counter G-force.
- Trim brakes. These brakes will slowly stop the car, so they’re great for gentle stops or breaking momentum that’s too strong.
While these are the most common pieces, each coaster is different and may have specific track pieces unique to it.
With the track pieces at your disposal, you can create steep climbs, breath taking drops, and plenty of intense loops and corkscrews. These special track pieces are contained in a separate tab and should be used sparingly.
Coasters have ratings for excitement, nausea, and fear, and exceeding the limits will make your coaster too extreme to open. Keeping these scores in moderation will make it easier for you to open the ride and minimize editing time.
How To Test A Rollercoaster
Once you’ve connected the track back to the station (or created a second station and connected the track), it’s time to test your new coaster. This process allows you to see whether it’s safe to open and what changes need to be made if not.
Click the middle button between close and open on the coaster menu or select the option to start testing the coaster. The ride will begin and you can either watch from an aerial view or take a seat in the coaster to see what your guests will experience.
If the coaster stops at any time, you’ll need to make edits to ensure that the coaster makes it all the way to the end and try again.
Your coaster will need to safely make it through the full track to complete the test. While this should be an easy step, it can reveal some difficult problems with your design, like too much speed, not enough momentum, or any number of issues.
Once the test is complete, you can view the results. A brief overview will show you whether the ride can open or needs work. For more specific details, you can comb through the other tabs in the coaster menu in the top right corner.
Here you can check the excitement, fear, and nausea ratings as well as the different forces your coaster embraces.
How To Fine Tune A Rollercoaster
When you find that the coaster can’t open due to being too extreme, you’ll likely need to adjust different parts of your coaster. Finding these heightened points of G-force and nausea can be tricky on your own. Thankfully, you can use heatmaps!
Too many loops or sections where there’s high speed can prevent your attraction from opening!
In the more detailed coaster test results menu, you can activate the heatmaps and filter them based on the different attributes that make up your coaster. The track will then light up in shades of red and green.
Red spots indicate danger zones and intense areas while green sections suggest an easier, less stressful part of the coaster. You can enter construction mode to delete specific sections of the track, adjust the angles, and swap pieces out with brakes to reduce force.
You can use the bulldozer and autocomplete tools to remove and reconnect track pieces as needed to correct your test scores!
How To Save A Custom Rollercoaster
After everything is prepared, you can save your coaster to put in other parks or share with friends! You can select just the coaster or use the selection tool to select the coaster, path, and scenery to save.
Select the option to save as a new blueprint, then fill out the required fields to give the ride a name, description and filter so you can find it later.
Once you save the ride, you can place it like any of the prebuilt coasters available by default. Don’t forget to schedule maintenance for the ride so it doesn’t break down!






Leave a Reply